How to Make Sous Vide Prime Rib: Maximum Tenderness, Minimum Effort
As far as festive meats go, it’s hard to beat prime rib. We’ve written plenty on the subject, including a deep dive on how to cook it as well as how to smoke prime rib. But today we’re talking about a method for cooking the very tenderest prime rib ever, with minimum oven time and no worries about overcooking. That’s right: we’re cooking our rib roast sous vide. We’ll talk tools, temps, times, and techniques, so read on for the very best prime rib we’ve ever made.
Why sous vide a prime rib?
Cooking your prime rib sous vide may seem unorthodox, but it pays out in big dividends. First, there’s the ease of cooking. You put it in a bag and drop it in the water bath. Then you come back a long time later, and it’s practically done. Easy. Ok, it’s not that much easier than a standard prime rib roast, but it moves the effort further away from dinner time, which gives you more time and oven space for other things closer to dinner.
But the biggest edge sous vide prime rib has over roasted prime rib is the tenderness caused by enzymatic action. Two groups of meat enzymes—calpains and cathepsins—work to break down different parts of the meat that make it chewy. The calpains deactivate when they reach 105°F (40°C), while the cathepsins don’t shut off ’til they reach 122°F (50°C). So the longer your meat takes to move through those temperatures, the more tender it will be. In the case of our roast, we were in the enzymatic action zone for 5 hours, which made this the tenderest prime rib we’ve ever had.
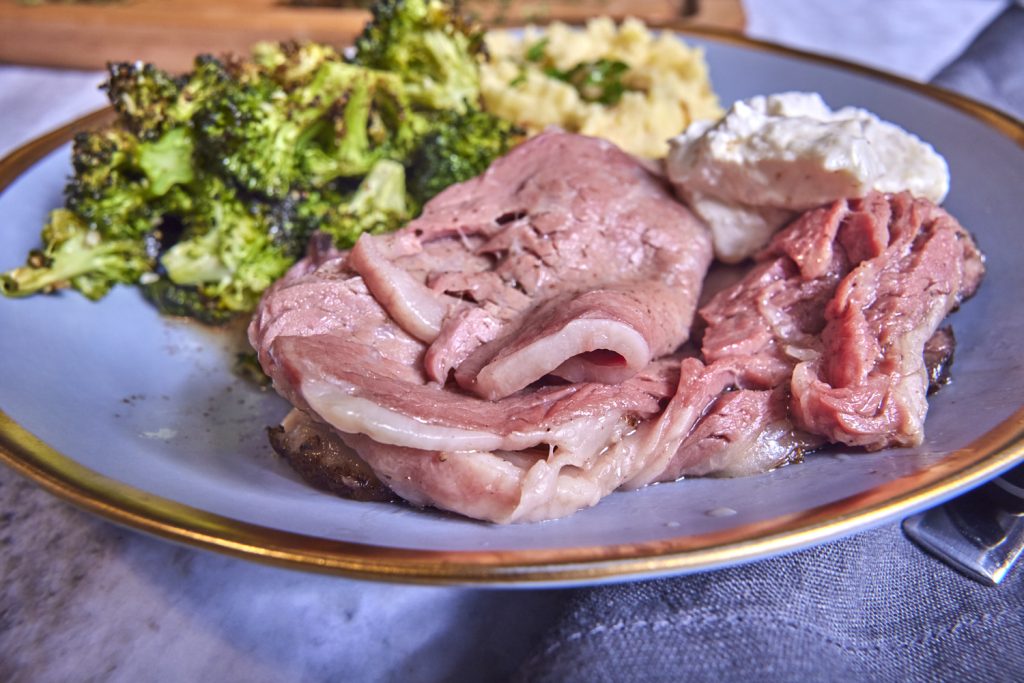
What about the seared flavor?
Unseared meat doesn’t taste amazing. And it sure doesn’t look amazing. But on a cut as big as prime rib, there’s precious little sear flavor that comes with each slice. Yes, we want what we can get, but we don’t need much to approximate a thorough roasting. Once the roast has left the water bath, we can dry it off a little, then toss it under the broiler to pretty it up and activate those smells and tastes. About six minutes under the broiler should do it.
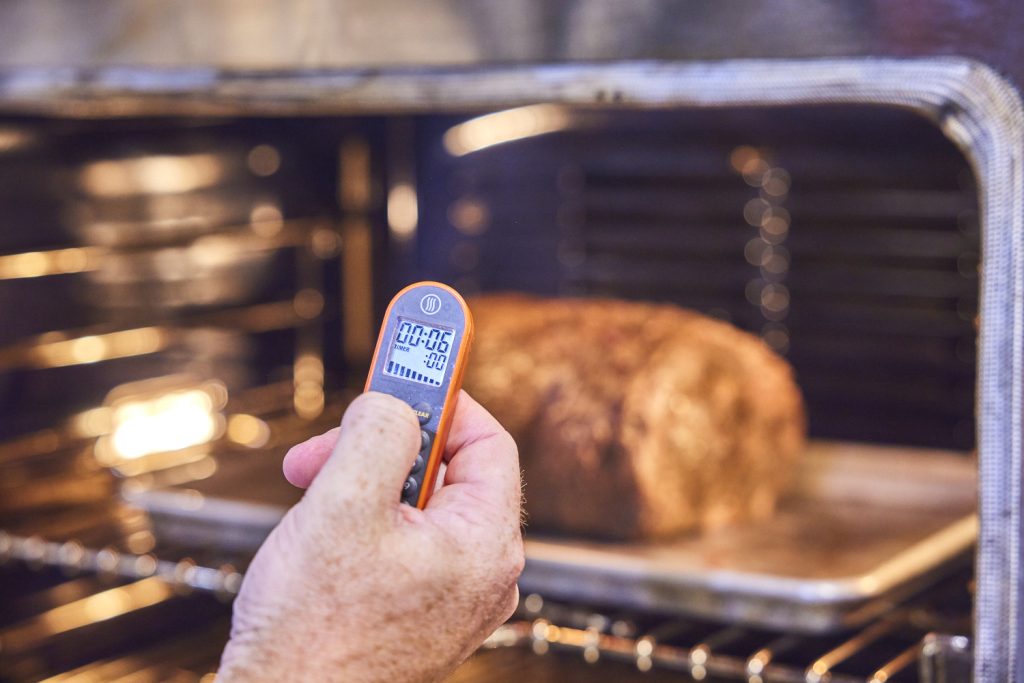
Boneless or bone-in prime rib for sous vide?
Buy what you want, but you’ll need to cut the bones off before you vacuum-seal it. It’s just too risky that they’ll puncture the bag and drown the meat.
How long does it take to cook a prime rib sous vide?
Our 5-rib roast took about 18 hours to cook. Yes, 18 hours. That means that dinner at 5 means putting it on to cook at 11p.m. the previous day! But all of that time is hands-off, except for 6 minutes under the broiler.
Your time may vary, of course. A larger-diameter roast will take more time (though a longer roast won’t, because of how the geometry works out). A roast that starts colder will take longer; a warmer roast will take less time.
Also, you can vary the cook time on your rib by fiddling with the water temperatures. You could, conceivably, turn the heat up a little bit (not more than 5°F) once you pass an internal temperature of 122°F (50°C). That will speed things up, but won’t significantly impact the final doneness. There is room for experimentation here, though you may want to experiment on a cheaper cut (such as eye of round) before you throw $150 of prime rib in the bag.
Isn’t that long a cook a food safety concern?
In short, no. Our cooking water will be at 136°F (58°C), and the outside of the meat will be in contact with that temperature for many hours. It takes only about 80 minutes in fat-rich tissue to kill salmonella at that temperature, and we’ll be at that temp much longer. What about the interior of the roast? Not really a problem. Almost all bacterial contamination happens during butchering, and is spread on the surfaces of meats. The bacteria do not delve deep into the tissues and lie in wait 1 to infect us. And we’ll broil most of the surface anyhow. This is as safe as medium-rare oven roast.
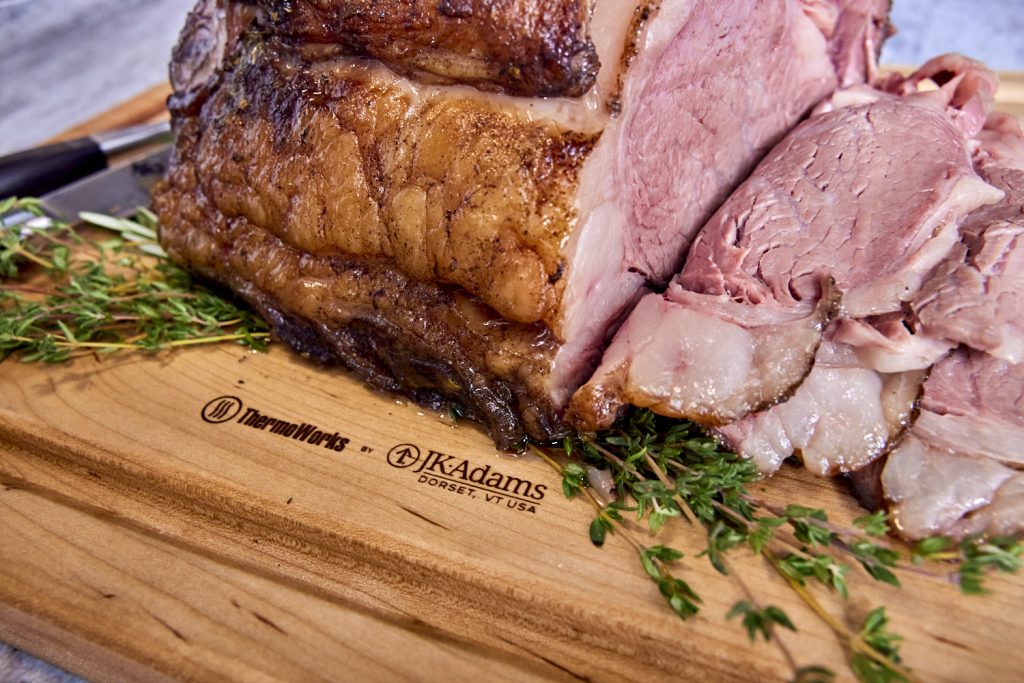
Can you cook it longer?
Yes, you can leave your meat in the bag longer, but it is a game of diminishing returns. Do it for the convenience, not for the added tenderness: put it on at 9p.m. instead of 11 so you can have a better night’s sleep, not because you’ll get 2 hours more tenderness out of it.
Do I even need a thermometer for this?
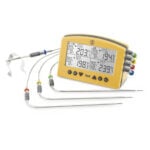
Yes! Sure you could toss the vac-sealed roast in the water and let it ride for the better part of a calendar day, but then you won’t notice that (perhaps) your water level dropped and your circulator shut down and the water was venting heat. If that were to happen, your app-connected Signals could alert you to the fact so you could remedy the situation as fast as possible. (This is the sous-vide equivalent of running out of pellets in a pellet smoker). It happened to me!
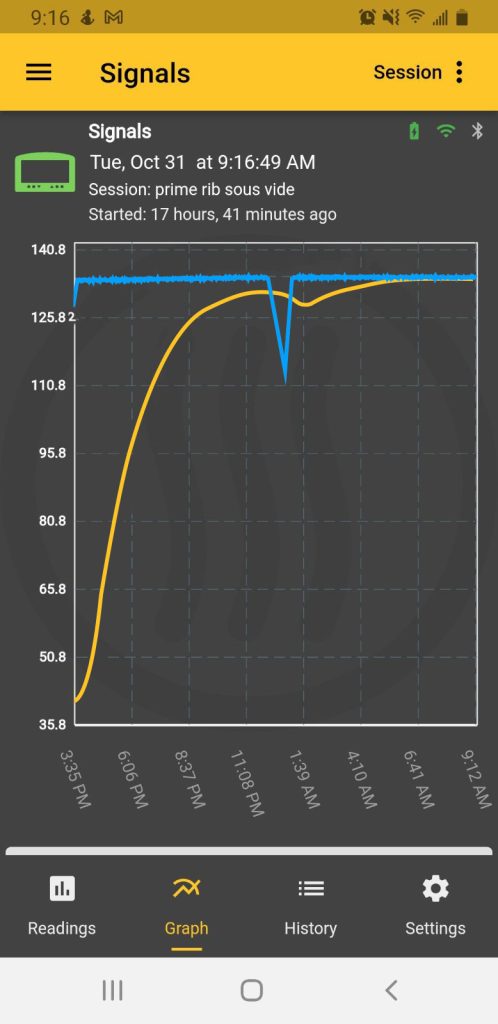
You can see I had to run back into the office, top off the water level with some more hot water, and get things cranking again. Don’t risk it! Use a thermometer!
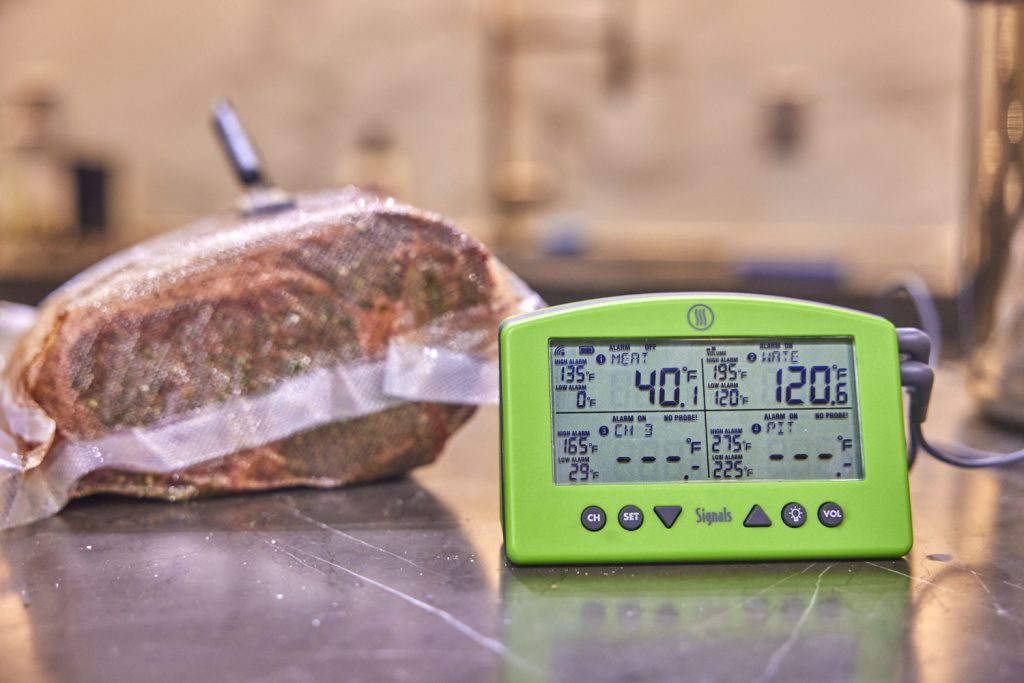
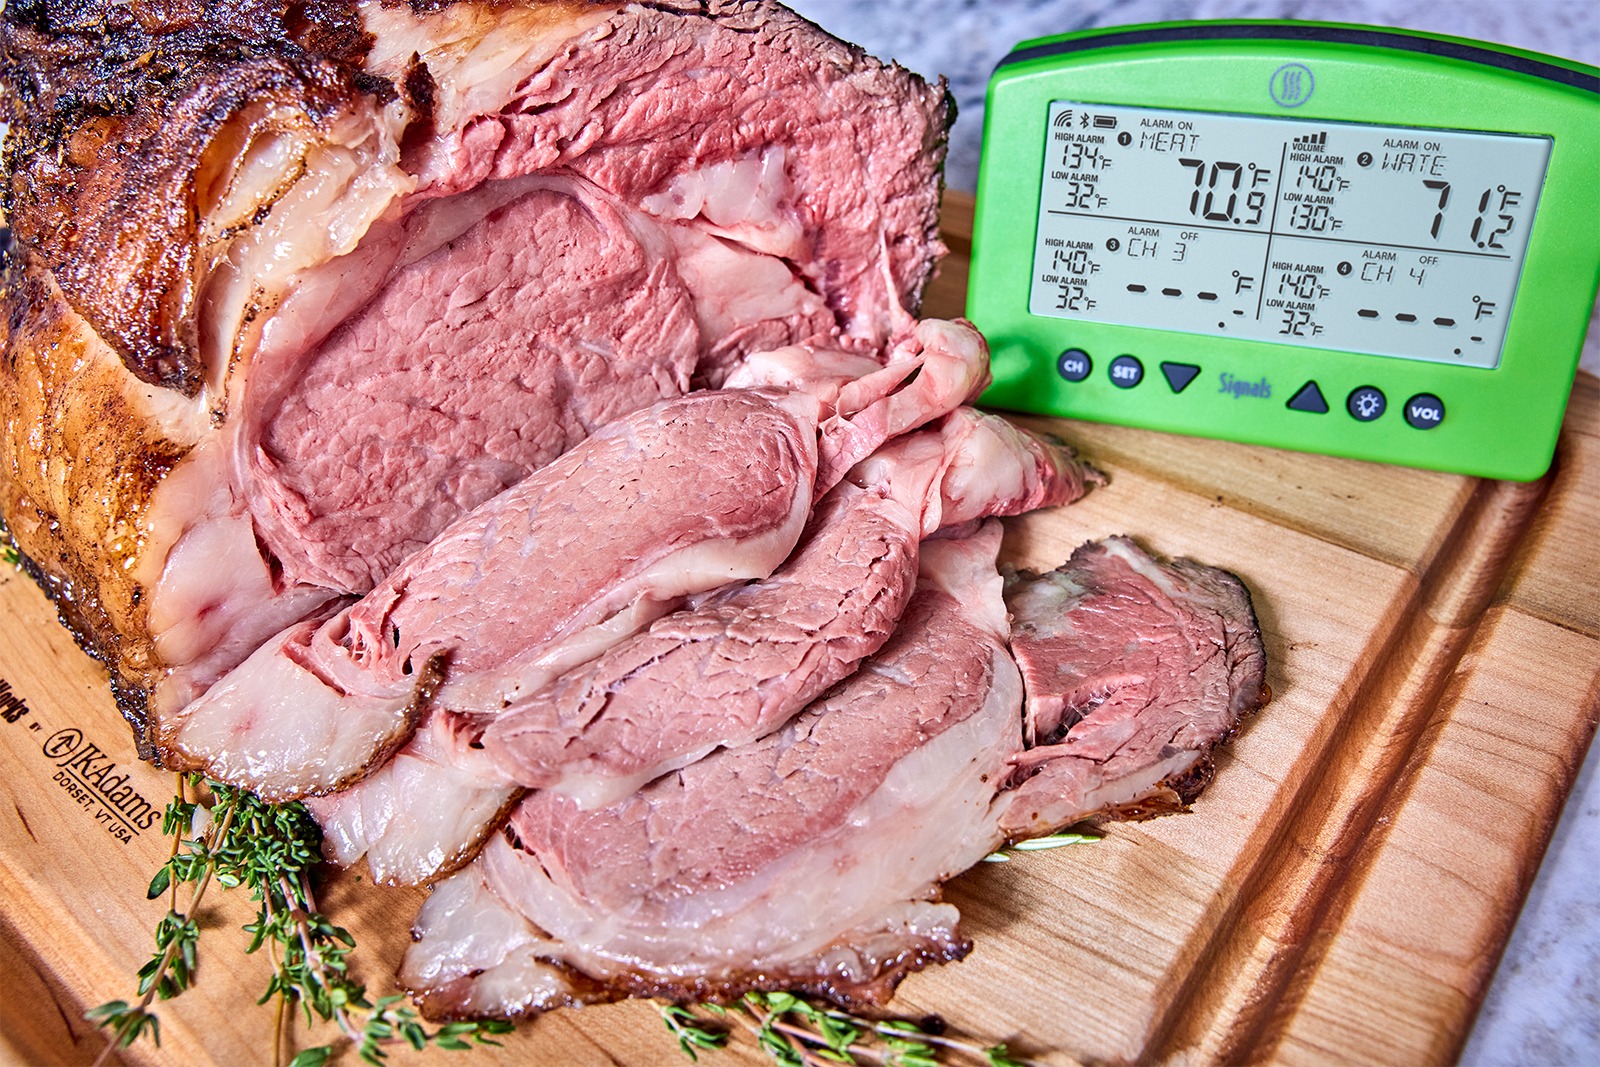
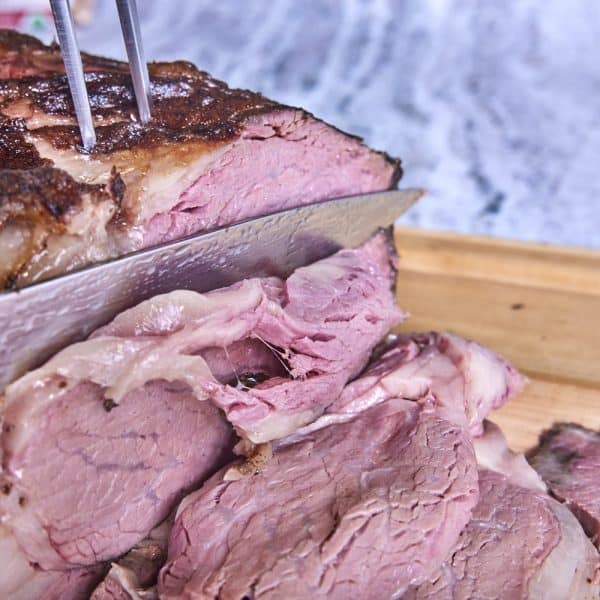
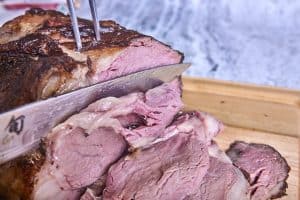
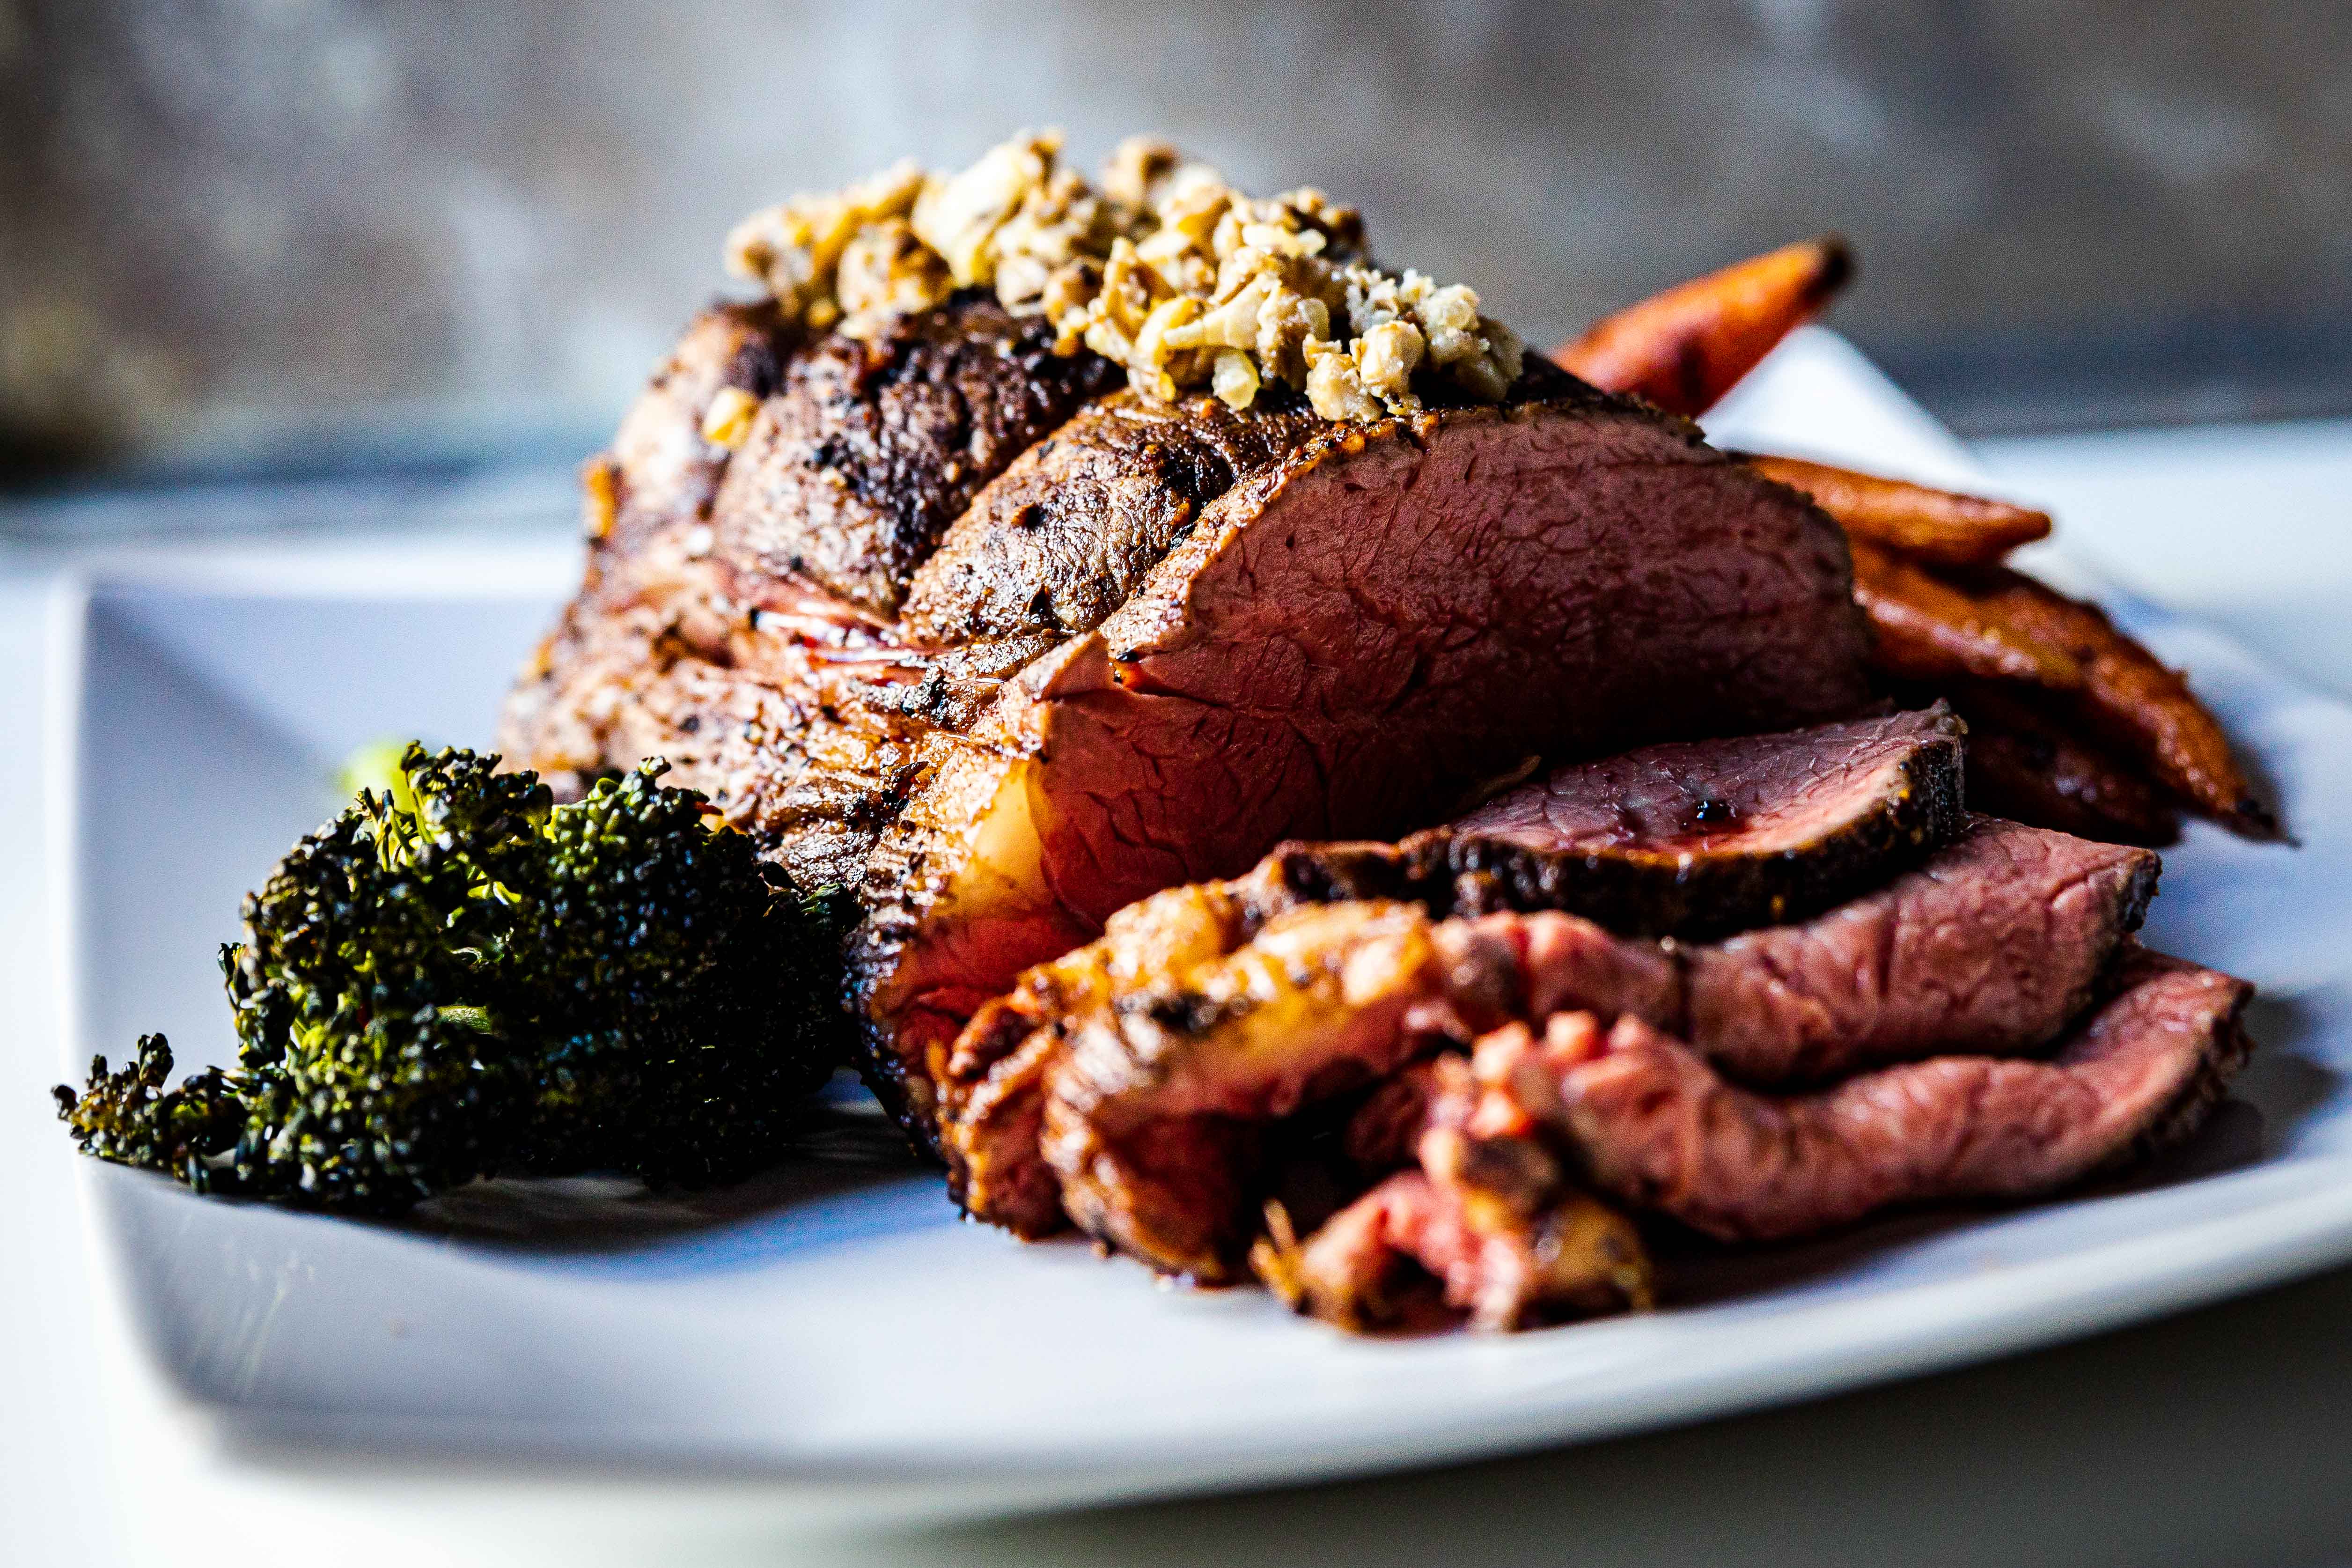
An expensive, celebratory cut of meat like this is worth doing right and this is the right-est way we’ve found to do it. It comes out fall-apart tender, juicy beyond measure, and gorgeously pink from edge to edge. If you have a circulator, give it a try. Hook your Signals up, crank the water bath up, and go. You may never go back to roasting ever again. Happy cooking!
Sous Vide Prime Rib Recipe
Ingredients
- 3 –5 bone prime rib
- 3 sprigs fresh rosemary
- Kosher salt and fresh-ground black pepper
- Special equipment: large vacuum bag that can fit your roast vacuum sealer, sous vide circulator
Instructions
- Preheat your water bath using your sous vide circulator to 136°F (58°C). Submerge the sensor of a probe in the water and connect it to your Signals. (You can attach a probe to the side of the container with its transition held out of the water, or use a waterproof needle probe and submerge the whole probe.)
- If your rib roast is bone-in, cut the bone plate off. Cut off the fatty tail of the roast as well, making the cross-section approximately round. Trim any excess fat that you don’t want.
- Very liberally salt and pepper the surface of your rib roast.
- Finely chop the rosemary and apply it to the roast as well.
- Place the roast in the vacuum-sealable bag and close it, vacuum it, and seal it.
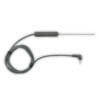
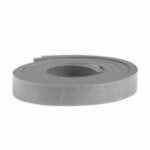
- Place a segment of sous vide tape over the middle of the roast and insert a waterproof needle probe through the tape and into the center of the meat.
- Submerge the meat in the water bath. Set the low-temp alarm on your Signals’ water channel to 130°F (54°C) and cook.
- If your low-temp alarm alert ever pings on your phone (if you’re using the free app) or the Signals alarm ever sounds, check your water levels, replacing any water that may have evaporated with hot water from your tap.
- After about 18 hours, remove your rib roast from its bath. Its temperature should be at roughly 133°F (56°C).
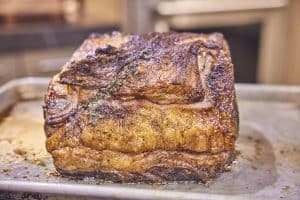
- Remove the roast from its bag, saving any juices to add to your jus, and set it on a baking pan. Pat the top of the roast with some paper towels to dry it off somewhat.
- Preheat your broiler with a rack set just below the middle of your oven.
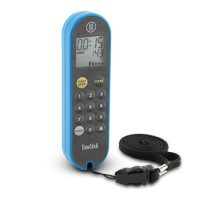
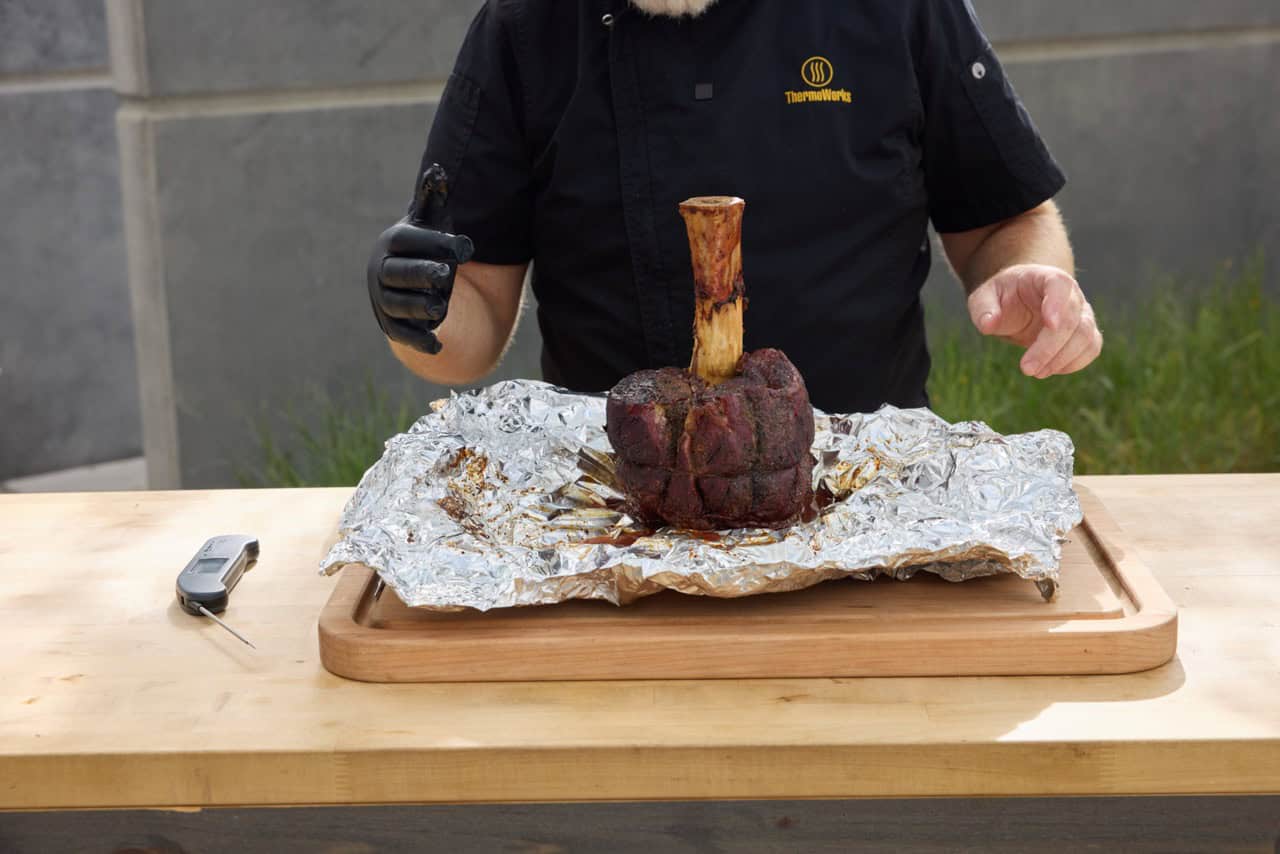
- Place the roast under the broiler and cook just until the top is browned and seared-looking, about 4–8 minutes. (Use a TimeStick to keep track of the time so you don't overcook the top.)
- Remove the roast from the oven, let it rest for a few minutes (just to distribute the heat in the top of it) slice, and serve to tremendous acclaim!
Balrog-style↩





The recipe is great but leaves no pan drippings for gravy or jus.
There is some juice that lands in the bag, but it is true that most of the juice stays inside the meat! We use some good beef stock to make a jus.
Buy oxtails, roast them with veggies the old fashion way. You will have your drippings in the bottom of the pan and oxtail bones for onion soup. Win win.
I love this! Fantastic answer.
Great idea! I am going to try that next time! Thank you.
GREAT idea!! 👍
I use the bones from the roast to make the stock/jus. You can make a nice stock with 3 rib bones and the trimmings. I use a searzall/flamethrower to get the char, though searing all sides in a large cast iron skillet with tallow also does a decent job.
Fantastic!
I had a lot of drippings in the bag. I drained them into a pan with 2 cups of beef broth, garlic powder, onion powder, Worcester sauce (2tsp), balsamic vinegar (1tsp), salt and pepper. Brought to a boil…YUM!
Thanks for the article. Can you please clarify this “The calpains deactivate when they reach 105°F (40°C), while the cathepsins don’t shut off ’til they reach 122°F (50°C)”. Are you saying the longer the meat cooks from the start until 122, the more tender the meat becomes or are you saying the longer the meat cooks BETWEEN 105 and 122, the more tender the meat becomes?
Always enjoy the articles!
The longer it stays below 122°F, the tenderer. But you lose one aspect of tenderization after 105°F.
Will I have any negative effects if I put it in a 500° for 10 minutes at the end to get a sear over more of the roast? or is the broiler method better?
You may get a little gray-banding, but that should be fine!
Try a searze all or a butane kitchen torch or one from hardware store.
What is sous-vide tape?
I would assume that using this sous vide tape keeps the meat bag sealed when the probe is inserted.
Did I not see that picture?
Thanks,
Steve Rose
Sous vide tape is a foamy tape that you insert the probe through into the plastic bag.
I have had nice results by taking the still-vacuum-sealed roast out of the circulator bath and dropping it in an ice bath to cool the surface layer for 5–6 minutes prior to broiling or searing.
Been a big fan for a long time, Chef Martin – and once again you’ve changed my life by introducing me to sous vide tape! The container I use is too small to fit this and I’ve been meaning to upgrade. Any chance you can share what container you’re using here (or the dimensions)? Thanks!
Noel,
I’m flattered! I’m using a basic plastic container box with the lid removed. It’s 12″x9″x9″, making it about 4.2 gallons. The vessel I’d recommend is a Cambro that is 18x12x9. You can pick them up at nearly any restaurant supply store. A five-gallon pot would also do great, if you have one!
I use an ice chest
I use a large stainless steel insulated iced drink presentation container and two bags of the sous vide, insulation balls to cover the top of the water.
I bought one of these but just needed to cut a notch in the edge with a dremel tool or saw to fit the sous fide probe. This is a way cheaper option than buying one from Anova or the like. They sell lids but that too would have to be modified. Floating plastic insulation balls work well instead.
https://www.webstaurantstore.com/vigor-18-x-12-x-9-clear-polycarbonate-food-storage-box/247FB12189C.html
I’m used to clipping Sous Vide items to the side of the vessel.
The picture doesn’t show it, but I’m guessing with this much weight, it’s just sitting on the bottom…or do you prop it up for circulation?
With the fat content of this cut, it kind of floated in the middle, so circulation wasn’t a problem. The biggest problem was finding a vessle big enough for the meat and enough water to circulate!
My wife just bought me some magnets to keep the bag from moving around. A couple inside the bag, a couple outside the bucket and it’s locked in.
She upgraded me big time this Christmas! A circulating sous vide pump, purpose made bucket, and silicone bags. I was using 1 gallon ziplocs and a small cooler soI had to constantly monitor the water temp every hour or so. The rubber coated permanent magnets are great, perfectly locks it into place.
I’d never thought of those—great idea!
Don’t let the 18 hour sous vide stop you from trying this recipe. The beef is perfectly cooked and very tender. I will not hesitate to cook again.
I seared my roast over lump charcoal on my PK Grill, sear time was around 10 minutes.
I use a steam oven for sous vide now – any concerns I should be aware of?
I’d just verify the temperature of the oven with Square DOT or ChefAlarm, otherwise no.
I have started using a steam oven to Sous vide versus water bath. Are there any issues that I should consider using this method?
I’d use the waterproof thermometer in the oven as an air probe to make sure the temperature is where it should be. Otherwise, it should be fine. It will take longer, though. The lack of direct water contact will slow the cook down.
We tried this method out with a two-bone sized (3 lb. with bones removed) fresh prime rib. Tied with string to round it before bagging. The method worked well in the end. However, we got a surprise, time-wise. The Smoke temp alarm, set at 133 F, alarmed at only 4 hrs into the cook. Since we anticipated a much longer cook, we had started at midnight. So it was an early morning 4 am pull from the water bath! Tossed it in the fridge and returned to zzzz. Put it back into the sous vide 1pm next day, water temp 125 F. Took 3 hrs for the prime rib to get to 125 F internal, then pulled and seared it on a preheated 600 F pellet grill, turning it on all sides, for a few minutes. Result was perfect medium rare throughout with a nicely seared outer 1/8 inch. Next time, we might try graduating the water bath temp during the sous vide to try and get more time in the 95 F to 122 F zone on this smaller cut (during daylight hours, though!). Thank you for this post.
Long time user of Thermoworks products and Chef Earl’s recipies. Followed this recipe exactly using a 5.07# Choice Prime Rib from Costco, vacuum sealed bag, Avova Circulator in a modified, fully insulated (including the lid) Coleman cooler, Smoke with a 12″ Pro Series Probe (for water temp) and the waterproof needle probe using Sous Vide Tape. Cooked for 18 Hours – 17 min with ending temps of Prime Rib 136.3F & water 137.1F. Broiled for 7 minutes. No noticable water evaporation during the 17 hour cook.
Results:
Sous Vide tape did not remain attached to the bag – very little if any water entered the bag – no real issue but troubling.
Prime Rib was very tender but doner and dryer than expected – still excellent.
Questions:
What water temperature would you recommend to get true Medium Rare? 126F? 131F?
If you lower the temperature do you recommend reducing the time from the 18 hours?
If you found yours to be too cooked then pull the temp back by 5°F. I would not shorten the time any. The proteins in meat are less sensitive to time than they are to temperature. I’m glad it turned out as well as it did for you and hope the next one is even better!
Can you recommend a vacuum sealer?
Americas Test Kitchen recommends the Nesco Deluxe Vacuum Sealer, and we have one in the Demo Kitchen here.
A little late to the party, I believe searing (either in a very hot oven or cast iron skillet) before bagging creates more flavor to be absorbed during sous vide. If you sear it right out of the fridge there would be very little risk of graying.
I love using the sous vide, but never thought of a whole prime rib. I use the same Anova you have there. With smaller cuts of meat, searing in a cast iron pan is a great alternative than the oven.
I like using strong magnets to keep the bag pinned to the pot while sous vide(ing).
Good stuff.
Use a Browning sauce with pre cook ingredients.
Color is attractive and hangs on during Broil.
How is it that your finished roast will be 133 degrees when it has been in a 136 degree water bath for 18 hours. I would think the finished product would be the temperature of the water. I’m still new to sous vide so I want to understand the chemistry.
This is a very large piece of meat, and the heat takes time to migrate through the tissues to the center. By the time the very center is at 133°F, our outer edges will be at 136°F, yes, but that is a much, much smaller temperature gradient than we get in an oven, even at a low temp like 225°F. You could let it go longer and that internal center temp will rise, as well, but by the time it gets to 133°F, the meat is ready to go.
I enjoy cooking various cuts of meats sous vide. I’ve been looking at recipes and the one big difference I’ve seen is cooking time. I have a 6-pound roast and I am planning on cooking the roast at 131 degrees in the bath. Suggested cooking times have ranged from 6 hours to 18 hours. I’d really like to get this right so any suggestions for narrowing that range of options would be greatly appreciated! Thank you!
This is a fantastic question! I’m pulling my answers here form one of sous-vide cooking’s foundational texts, Immersed, by Philip Preston. He includes time-temperature-shape charts in the back that are VEWRY useful for this kind of thing. So here are the assumptions I’m working with: A 5-lb roast that is roughly 6 inches in diameter and 4-6 inches long. Coming from a refrigerator running between 33 and 39°F, and shooting for a doneness temp of 129°F (your water temp should be set 2°F higher than your target doneness temp).
If it’s 4″ thick and your fridge is 39°F, it should take about 5 hr 43 min. If it’s 6 inches thick and your fridge is colder, 33°F, it should take about 7 hr 45. So the exact time probably lies within that range. If the diameter is thicker, it will, of course, in crease the time, but then may be correspondingly thinner. 18 hours seems…extreme.
Big crew coming over for Christmas. I have four standing rib roast that I have prepared. Rib plates Detached and then bones tied back to the main portion of the meat. Well, seasoned on all sides, dry aging in the refrigerator for three days. Roasts range from 4 1/2 to 5.5 pounds.
My water bath is about a 30 x 18“ plastic Highwall storage container inside of a thermos style drink cooler. Last year I did pretty much the same thing with an upgrade this year to the ice cooler insulated bath container
Last year I had them sit in the water for 20 hours And they came out perfect. Kept a pretty good eye on the water level and bath temperature.
My commercial oven does not have a broiler so I used my outside four burner gas barbecue to sear all four at the same time – – – – – – – –
What do you recommend as far as a water bath cooking time?
You’ve probably already done it, but for that much meat, even split into separate roasts, I’d plan on 12–18 hours (I know, a wide spread!).
Hello, I’m doing a full 7 rib boneless rib roast. It’s about 7″ diameter and 19″ long. 15 lbs. Do you think I need to change anything if I use your recipe?
I know I’m probably a day late, but no, you shouldn’t need to change a thing!
I don’t have a Signals probe, but could you insert one of the new RFX probes in the meat, and seal the bag shut? Would the sensor’s battery last 18 hours?
Yes you could! If you set the transmission to every 3 degrees you should easily get 18 hours out of it, especially if it’s fully charged.