

Rye Bread: Temp Tips for the Ultimate Turkey Sandwich
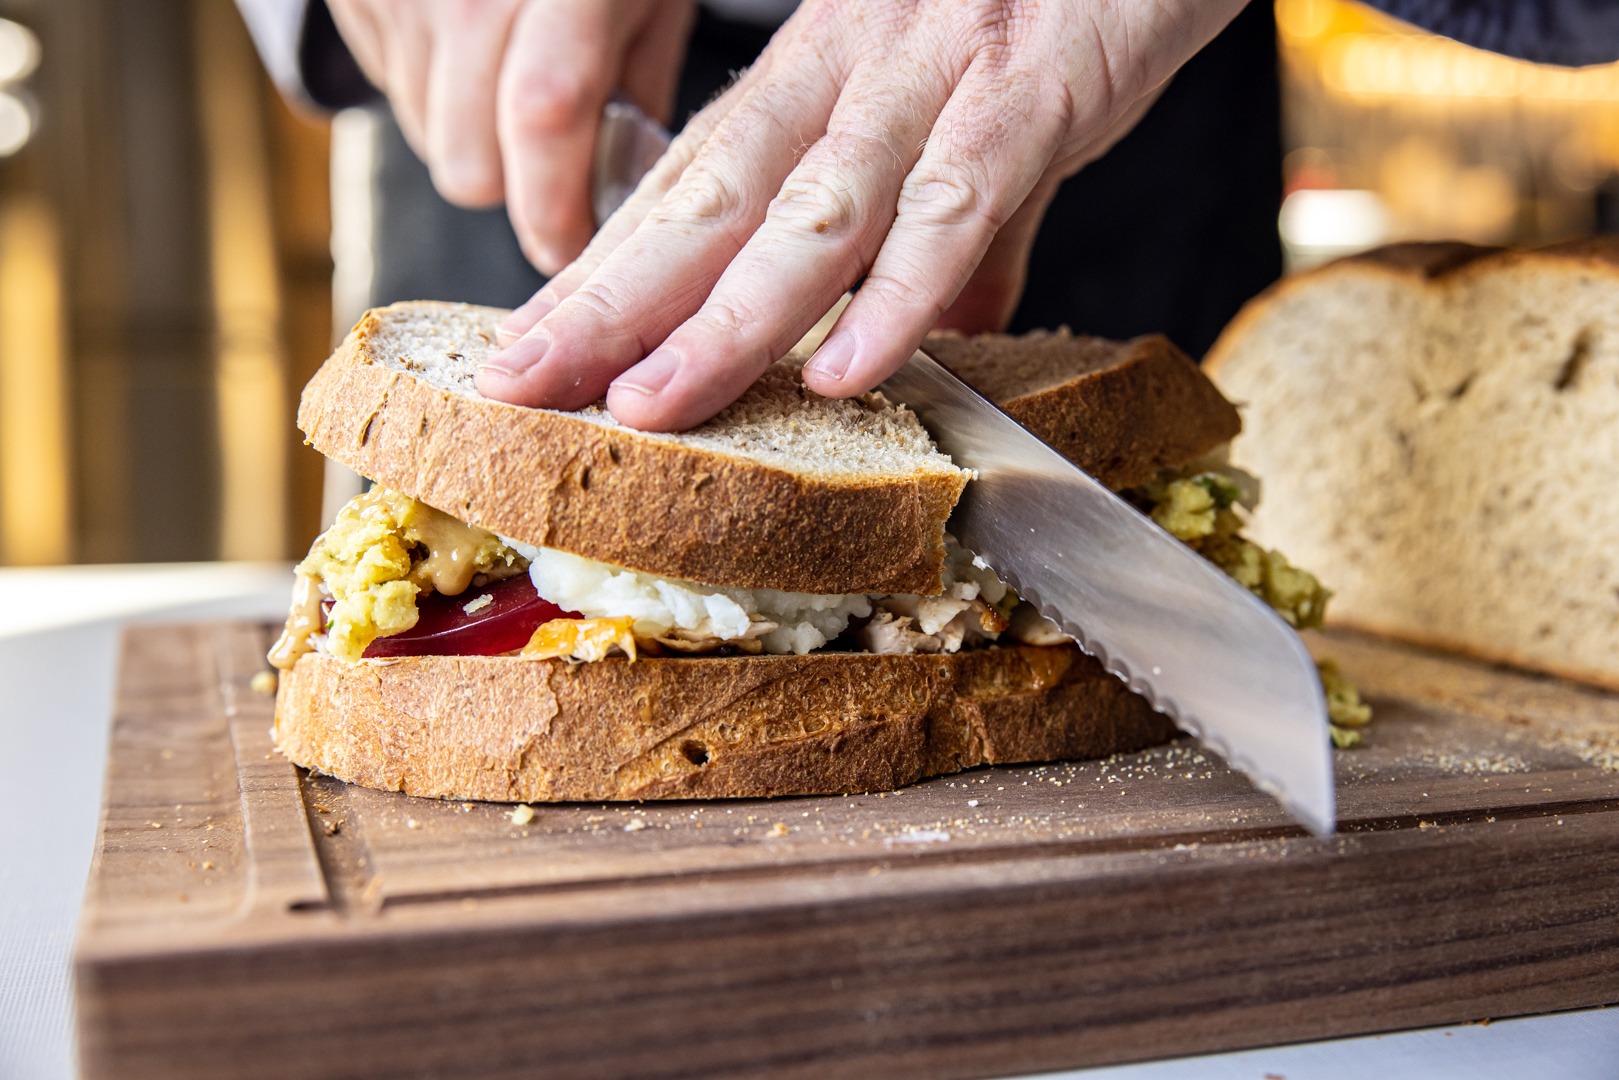
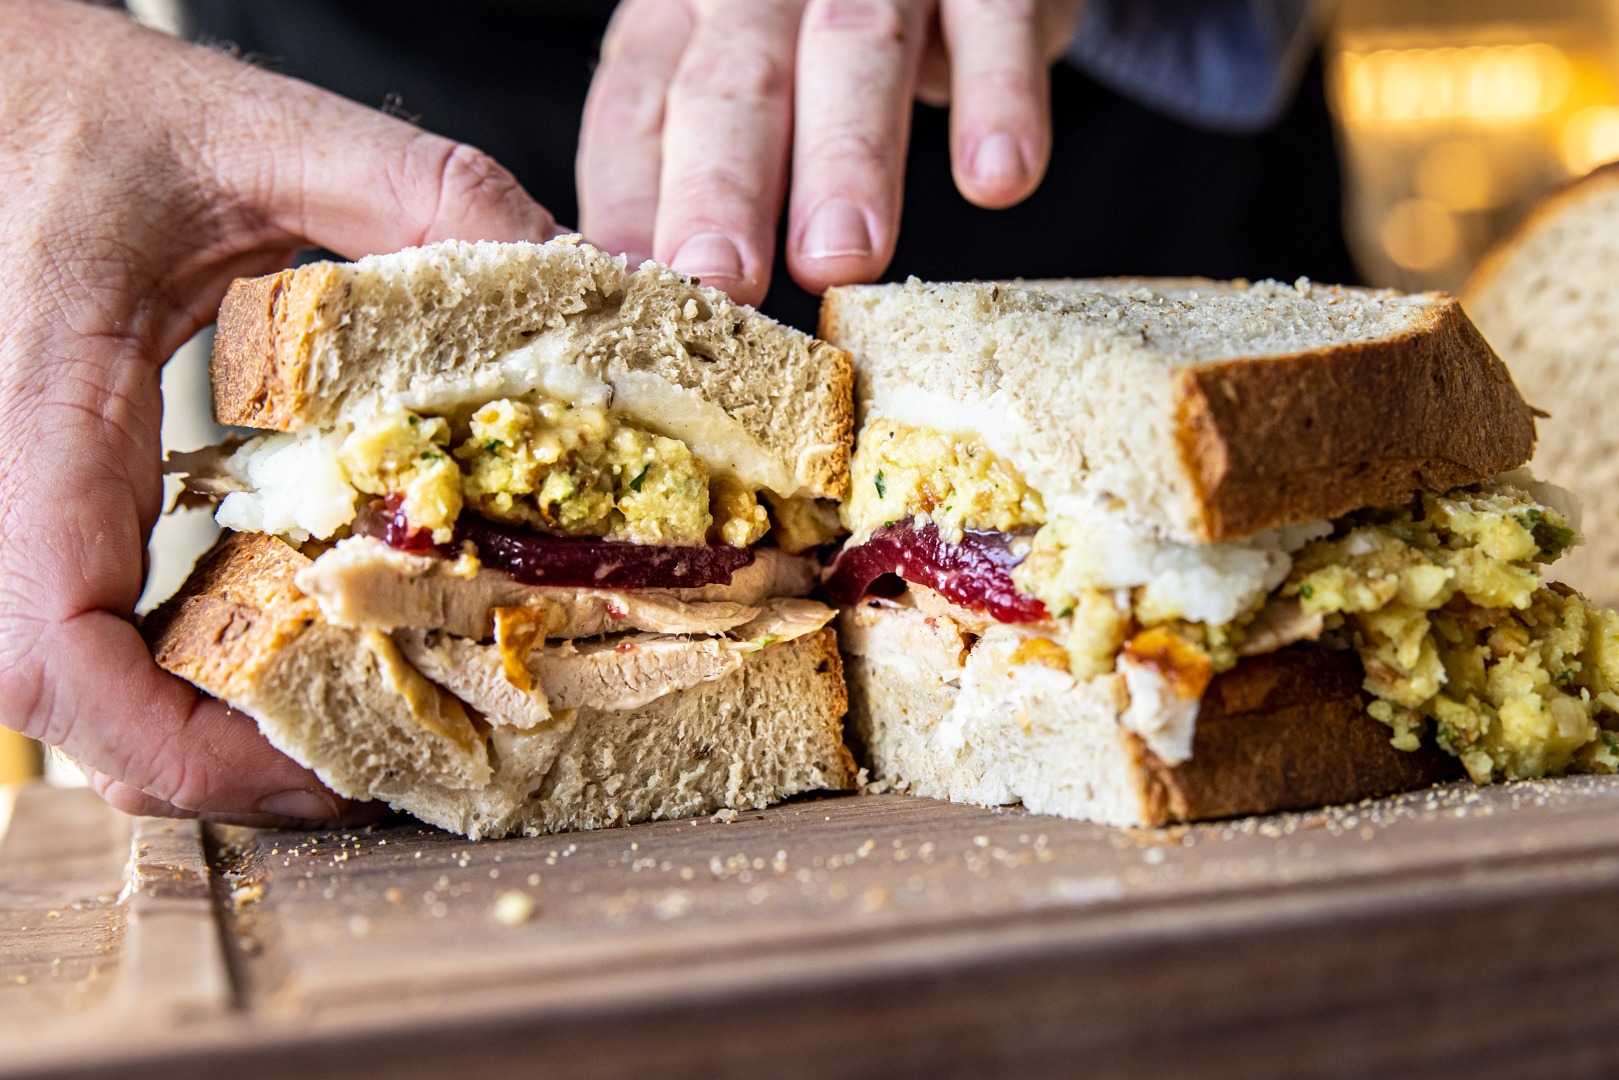
Let us imagine for a moment a perfect sandwich. Perhaps it is loaded up with thinly sliced, perfectly cooked roast beef, shocked with pungent horseradish. Maybe it’s piled high with smoky ham, warm under melted swiss, or cold with crisp lettuce and a slab of ripe garden tomato—smeared with grainy mustard, either way. Or maybe, just maybe, it has chunks of leftover turkey, flavorful and moist (because you know how to make that happen), crammed together with stuffing, mashed potatoes, some gravy, and, of course, generous slices of canned cranberry jelly.
No matter how you top your perfect sandwich, there is one common denominator: the bread. Good bread is always key to a good sandwich, and here we’re going to share with you one humdinger of a good bread recipe for a lightly seeded rye loaf. Based on Rose Levy Beranbaum’s recipe, this bread will compliment any savory sandwich from well stacked pastrami to a simple topping of butter and radishes. And, if you’ve never made a rye loaf, this is a fantastic introduction to the genre. Get the critical temps you need for a perfect finish below!
What is rye bread?
First, let’s address this question. (To those that know, this may seem like a strange thing to ask, but you’d be surprised how many people don’t actually know the answer.) Rye bread is bread made with rye flour, and rye is a grain similar and related to wheat. It has a green/blue cast to the grains and when ground into flour, which is almost always whole grain, it produces a flour that is a beautiful grey with a hint of blue. Rye has a delicious earthy flavor with a hint of spiciness that you just can’t get from wheat.
Okay, so rye is tasty…why don’t we use it in all our breads? Well, there are some historical, economic, and cultural reasons we don’t eat rye bread all the time, as they do in parts of Germany and Eastern Europe, but that’s an essay for another venue (as none of those reasons has much to do with temperature and its effects on cooking). There are also practical reasons. You see, rye flour has much less gluten in it than wheat flour. Bread doughs made with rye, especially those with a high percentage of rye, tend to be quite sticky and—to most American bakers—harder to work with. (To make up for this, any flour that is added to a rye dough recipe will usually be high gluten bread flour.)
But there are positive tradeoffs. For instance, yeast and sourdough cultures love rye flour. I feed my starter with 50/50 bread flour and rye flour, and it does wonderfully well. And, as already stated, there is the flavor. If you’re willing to deal with dough that is a little more work and might be a little more dense, it is well worth getting into rye breads.
This recipe has an easy percentage of rye, enough to be flavorful and to add depth and color to the bread, but not so much that it’s super sticky. And the resultant texture and crumb is at once sturdy enough to handle loads of toppings (I’m looking at you stuffing and potatoes), yet tender and soft.
What are those seeds in rye bread and do I need them?
Most rye that Americans have tasted is seeded rye (often also called Jewish Rye), which is studded throughout with whole caraway (or, less commonly, dill) seeds. In fact, it is so common that many people think all rye has caraway, that the caraway is the rye, or that rye flour tastes like caraway. But none of this is true.
Rye bread need not have seeds at all, and certainly need not be seeded to be delicious. I understand that some people don’t love caraway, but a little bit of this delicious, cool-weather spice is absolutely appropriate in a good rye bread. When used in moderation, its flavor tends to float along with the bread’s, not overwhelming everything in its path. This recipe has a perfect balance, in my opinion. But if you just can’t stand it, you can leave it out. The bread will still be delicious, just not quite as interesting. Give it a try with the seeds, make a sandwich, then decide if you must leave them out.
Rye bread temperatures
Making any yeast bread is a temperature-sensitive operation. Temperature matters for the yeast in both the preparation and the rising. And the oven temperatures and finish temperatures are also critical.
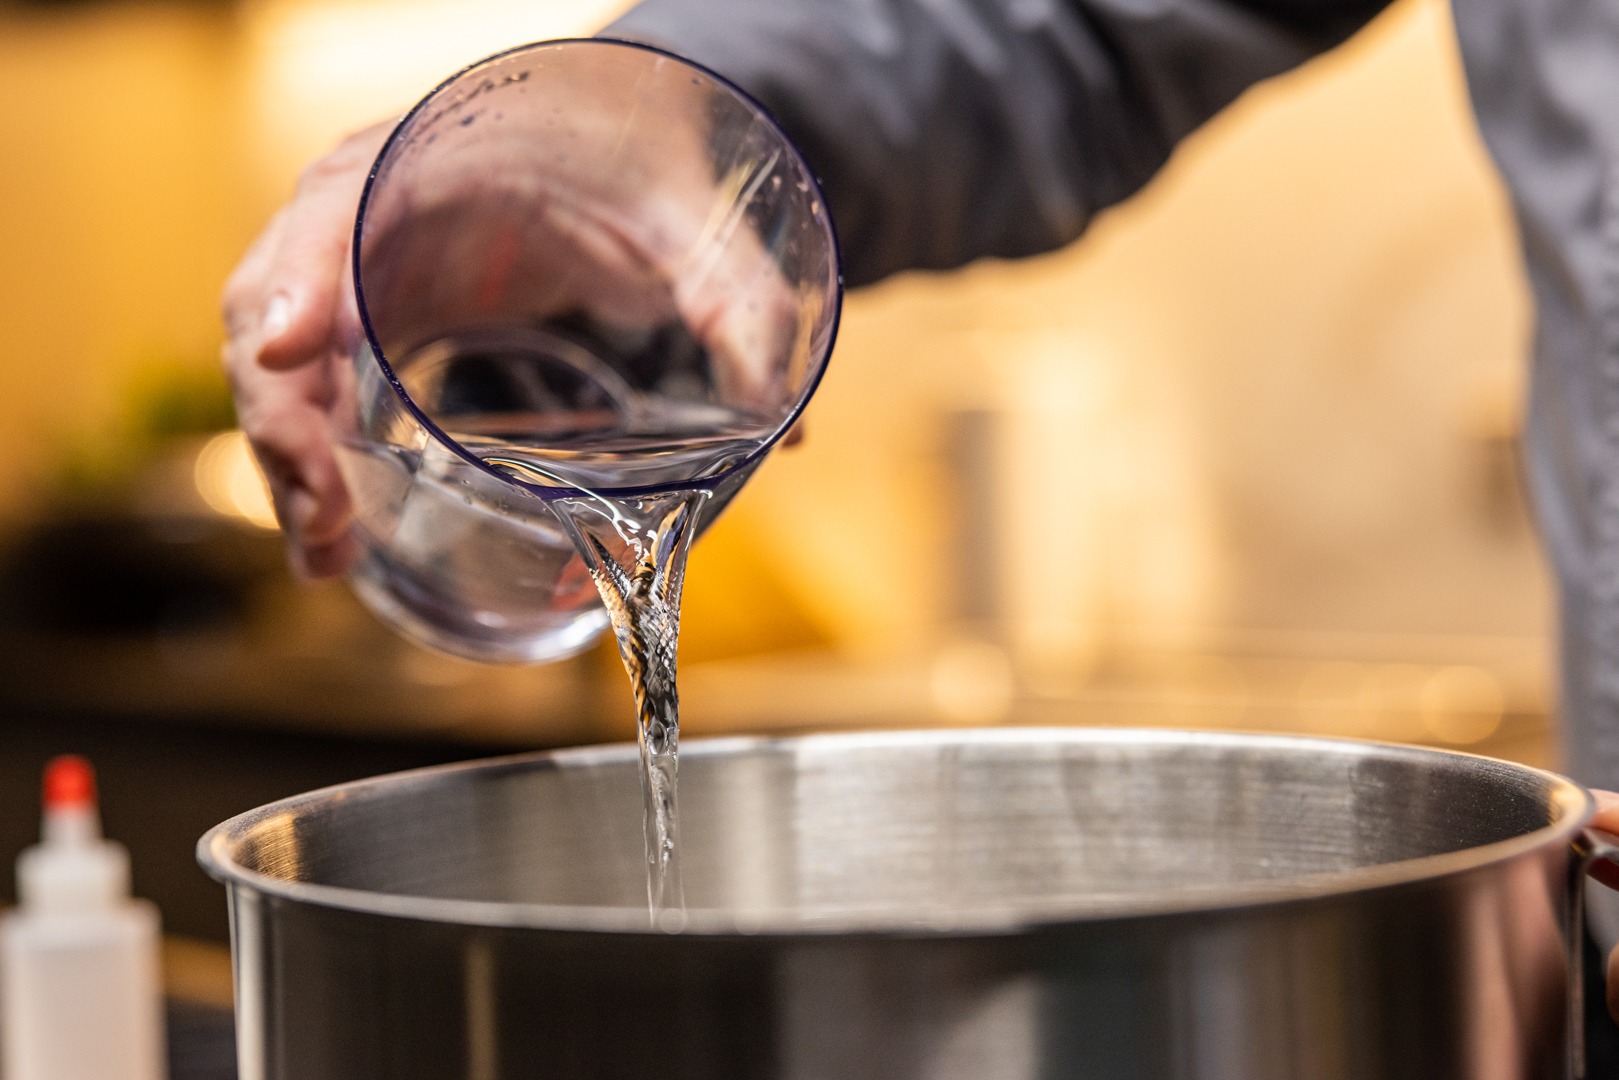
Yeast hates waking up to a cold shower. Who can blame it? To activate the yeast for this recipe, it’s best to use water that is neither too hot nor too cold. Water that hovers just above room temperature, 70–90°F (21–32°C), is perfect for the pre-fermenting sponge (more on that later). Temp the water with a Thermapen® to make sure you aren’t scalding or chilling the yeast.

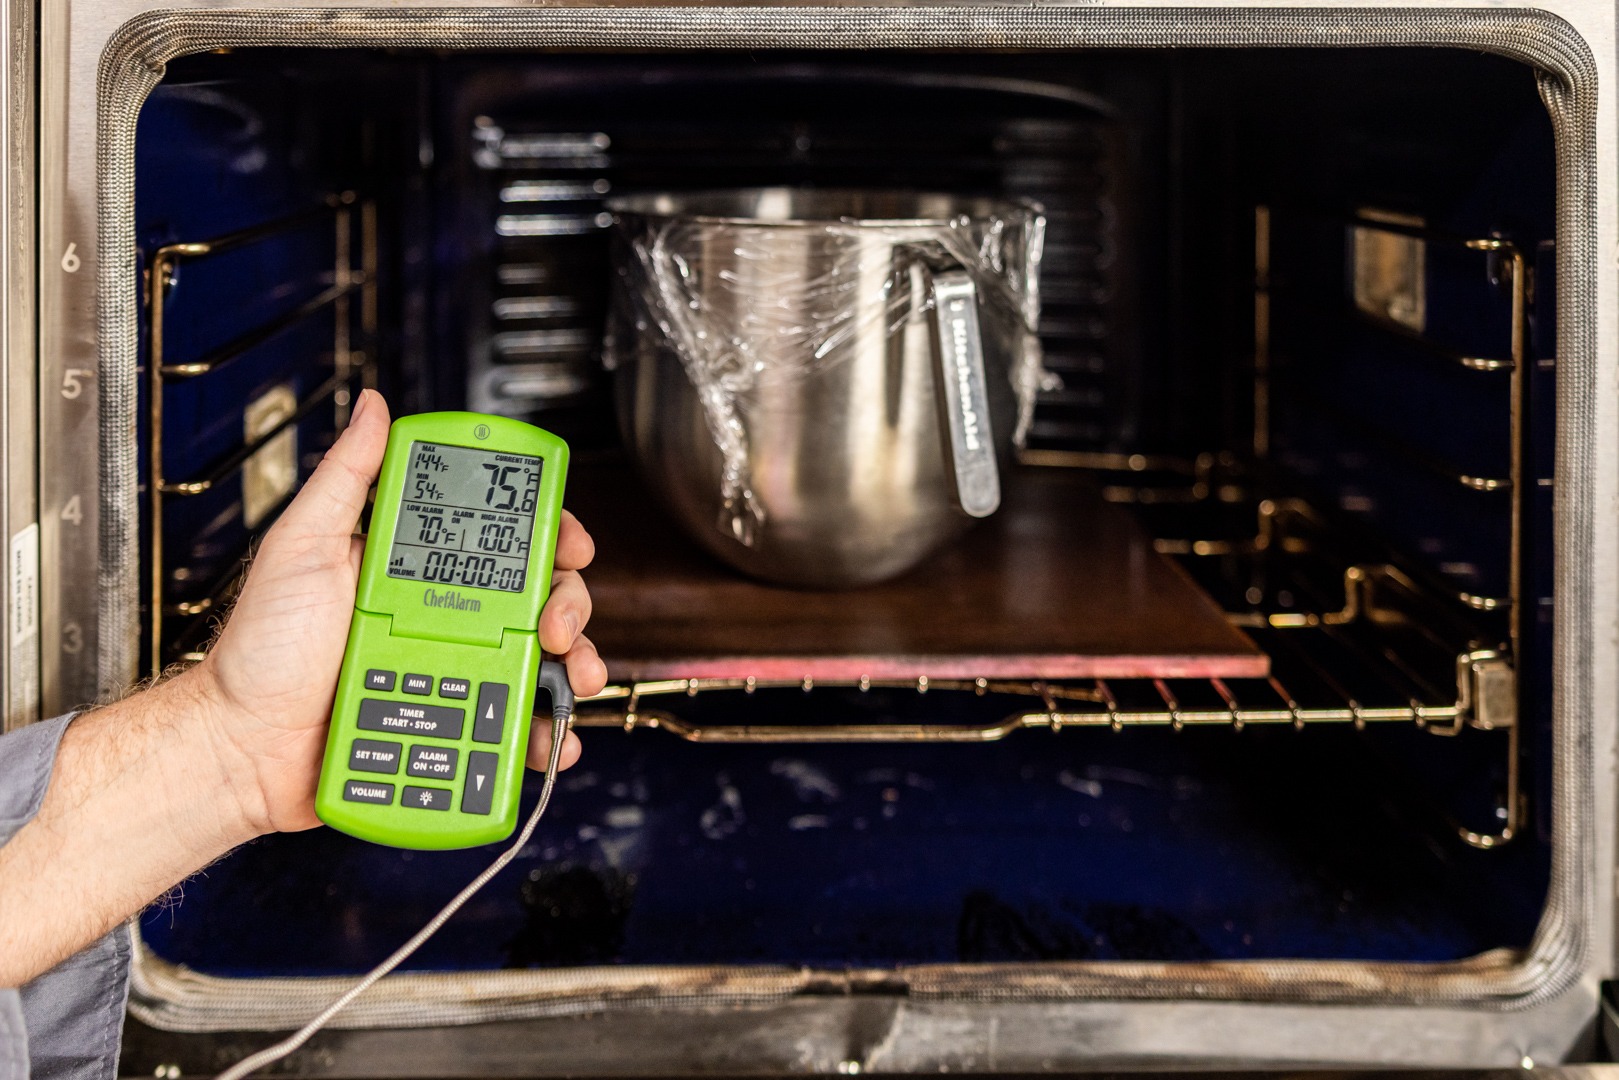
As for the rising (a layman’s term for both the bulk ferment and final proofing of the dough), the same basic temperature range prevails. A proofing box or a slightly warm oven between 85 and 105°F (29 and 41°C) will help you leaven your dough quickly without risking off-flavors or killing your yeast. Use a ChefAlarm® with an air probe to monitor your proofing box and make sure you’re getting the best temperature for your dough.
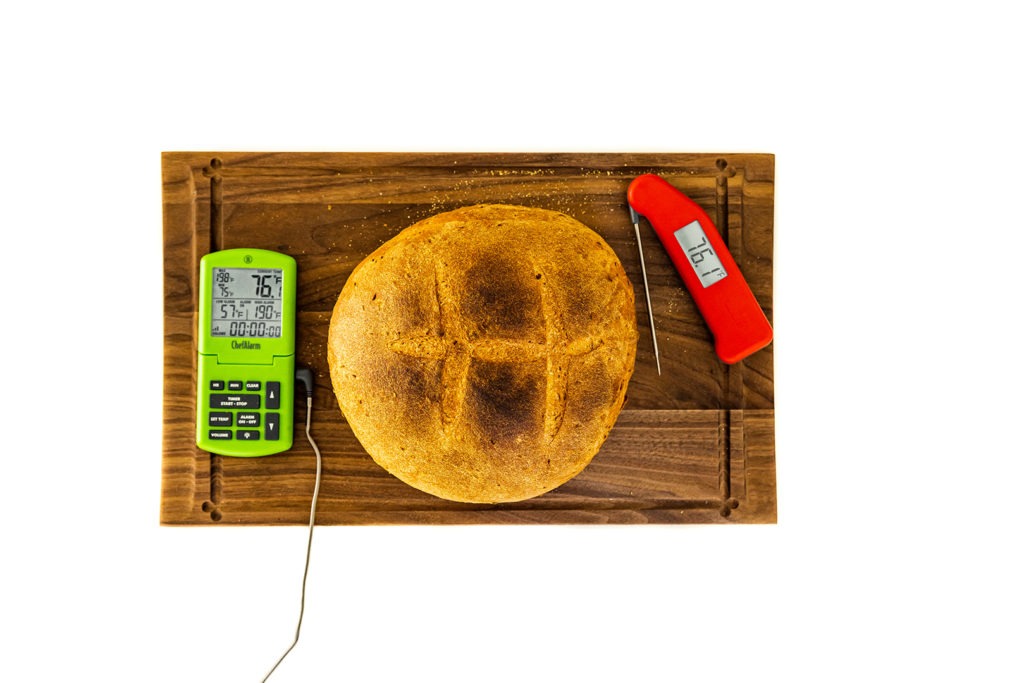
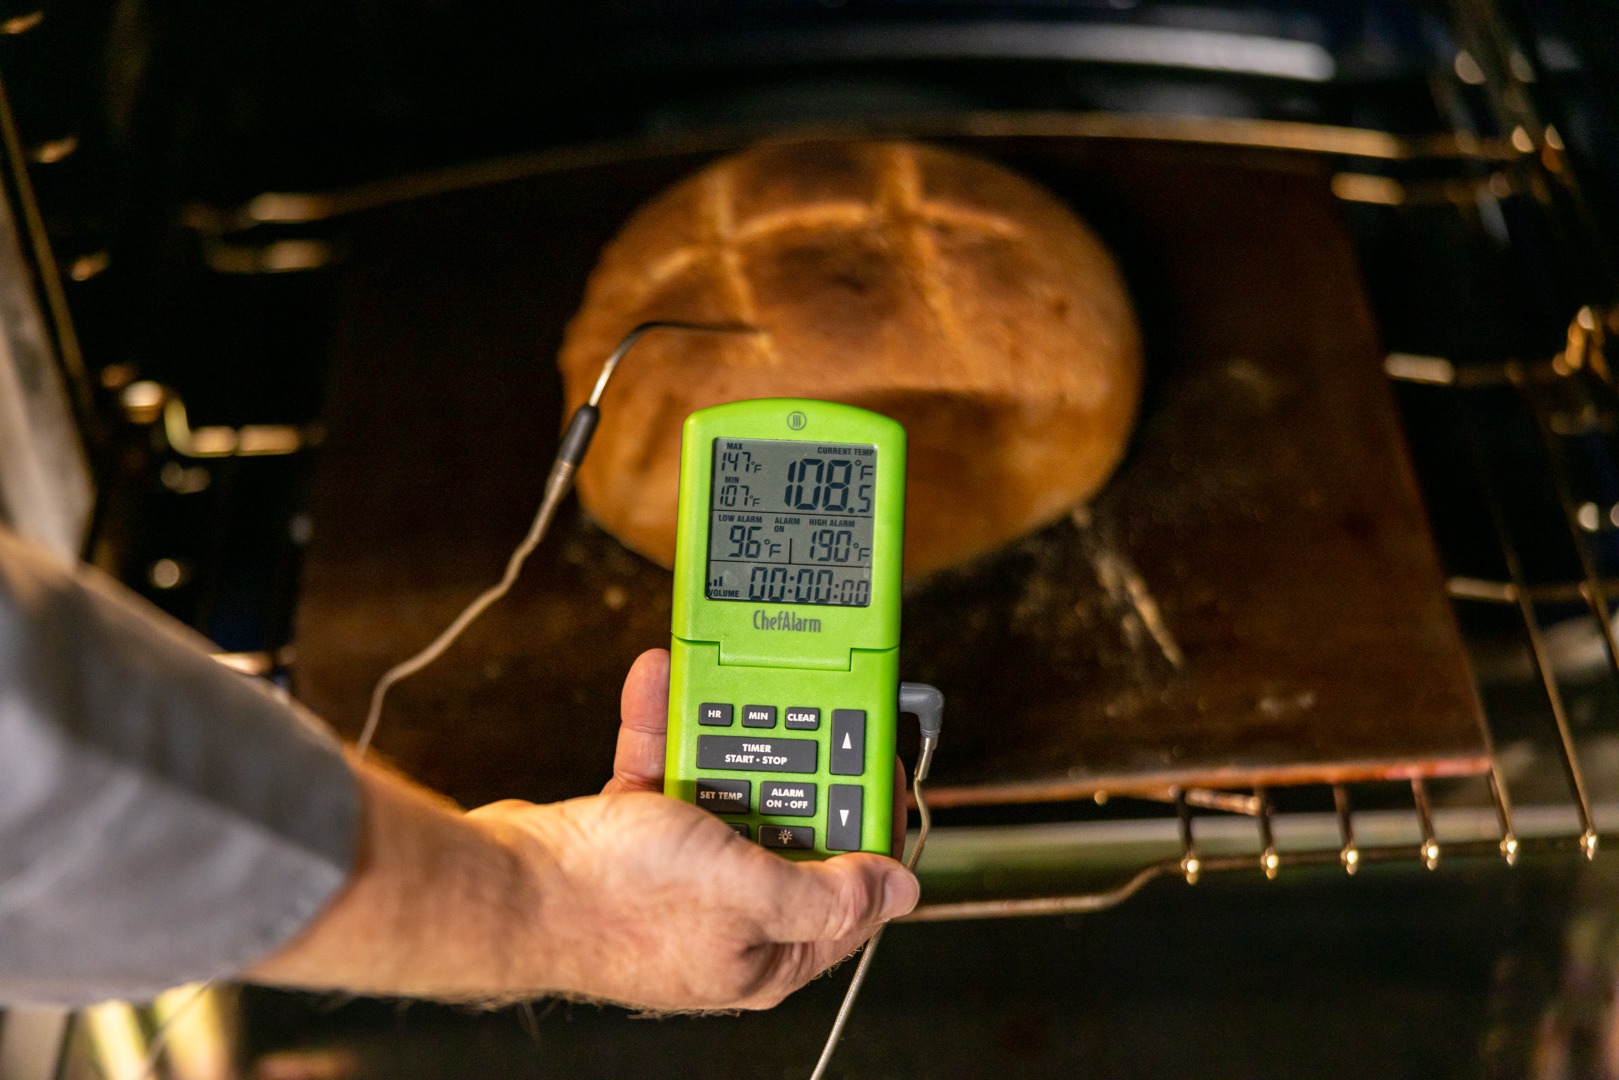
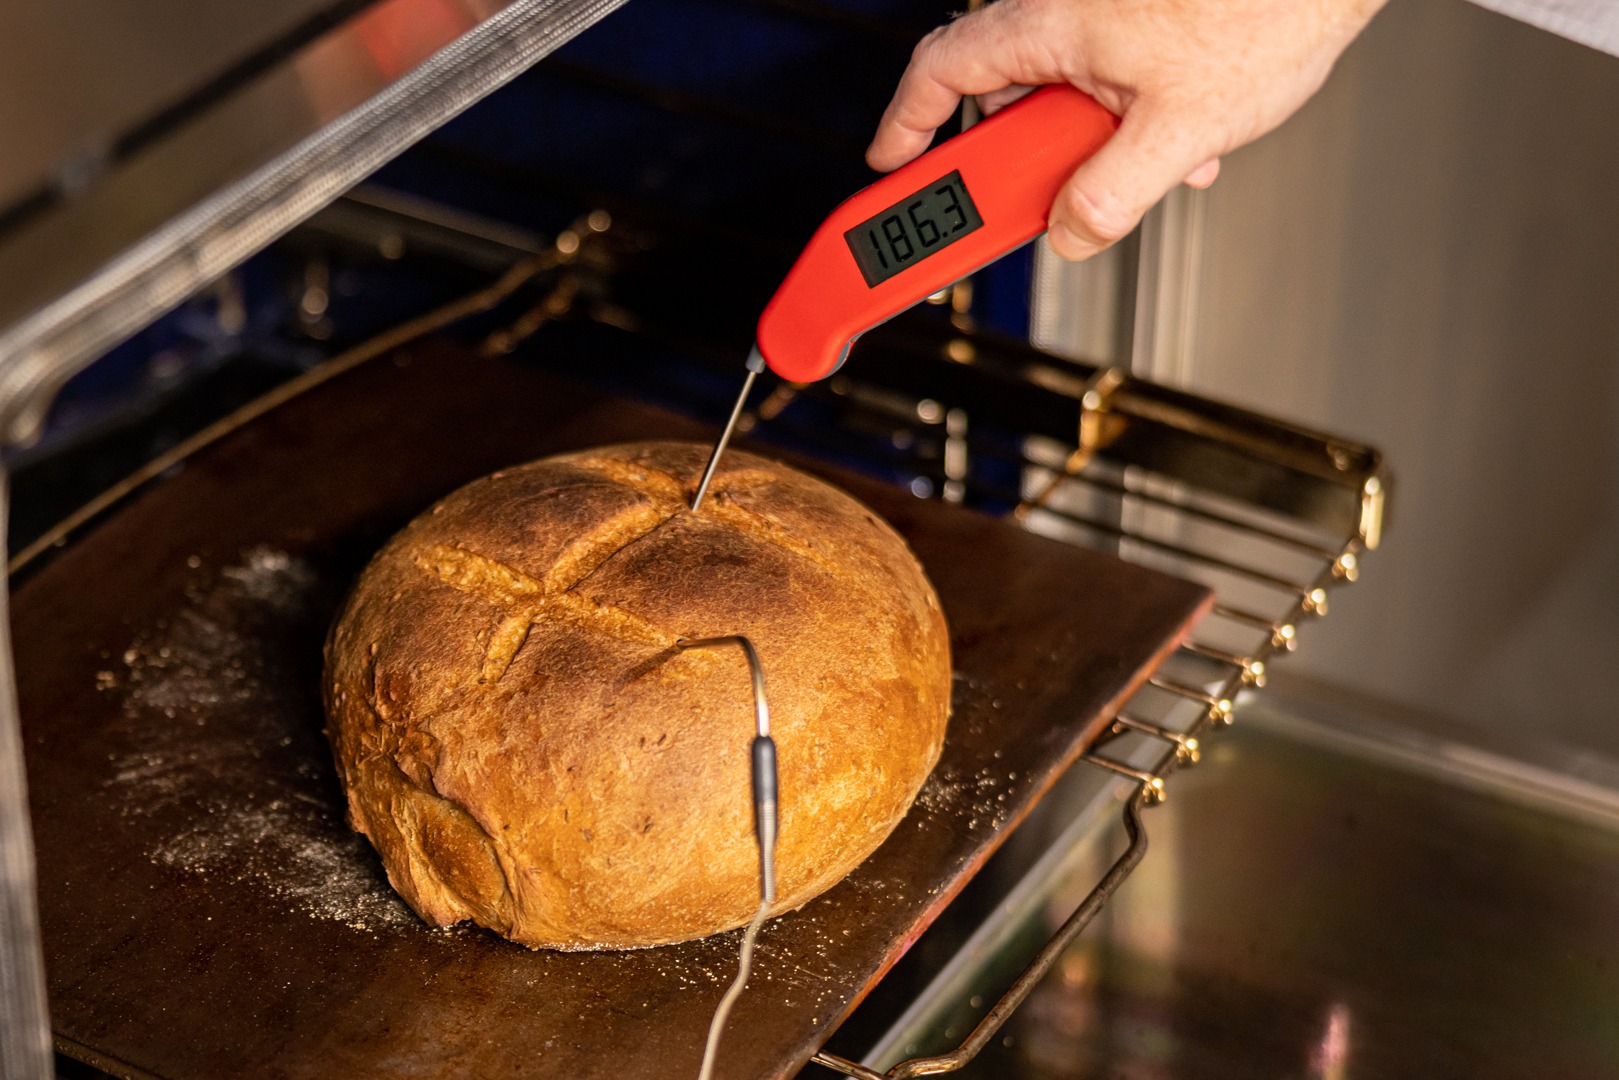
As for final temperatures, this rye bread, like many others, is a lean-dough bread, meaning that it has (almost) no fat or milk in it. It is composed mostly of flour, salt, water and yeast, and lean dough breads have a finishing-temp of 190–210°F (88–99°C). After the bread has experienced its oven spring (after the first 15 or 20 minutes) a probe from your ChefAlarm can be inserted into the bread and a high-temp alarm set for 190°F (88°C). When the alarm sounds, verify the temperature with a Thermapen and remove the loaf from the oven. This is far more exact than thumping the bottom of the loaf to check doneness.
How to make simple Jewish Rye bread
Make the sponge and let it ferment
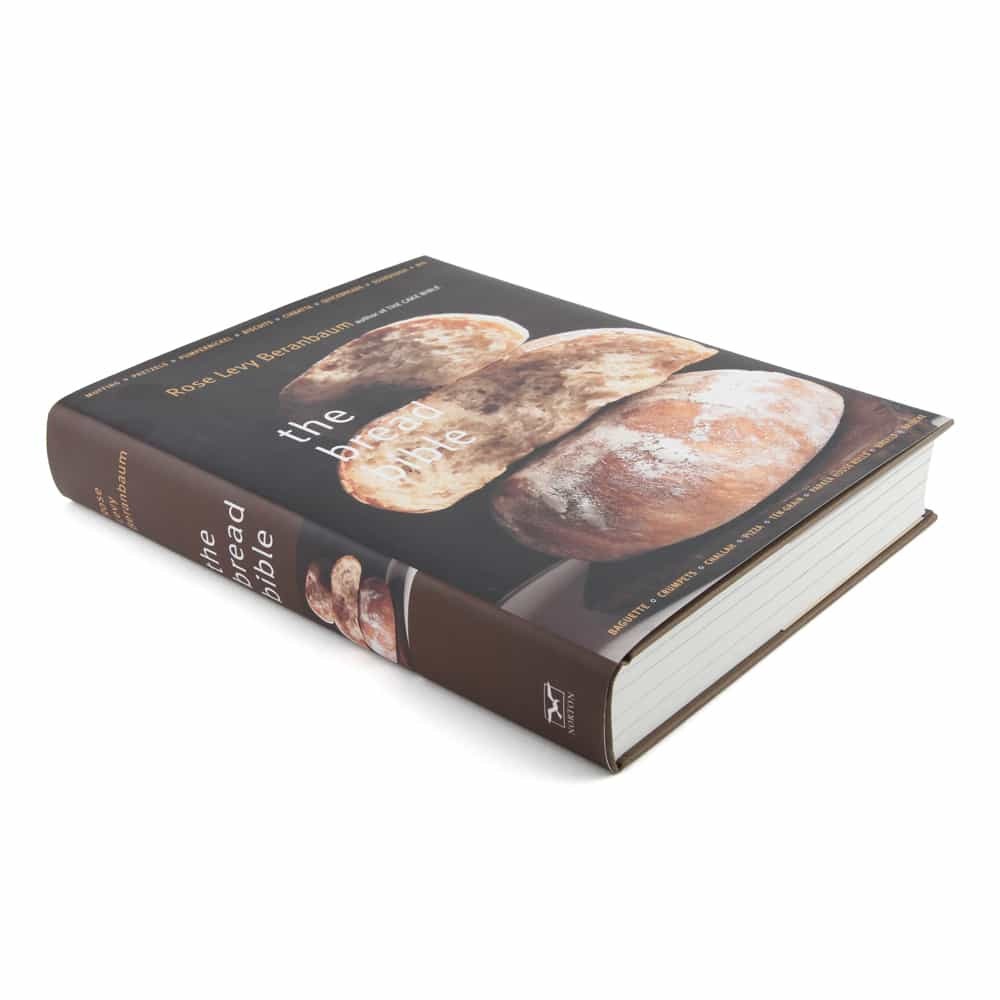
For rye flour to fully develop its flavor, it is best to start with a sponge:
A batter consistency pre-ferment or dough starter created from commercial yeast (some bakers use the term sponge to mean any form of pre-ferment).
—Rose Levy Beranbaum, The Bread Bible, pg. 606
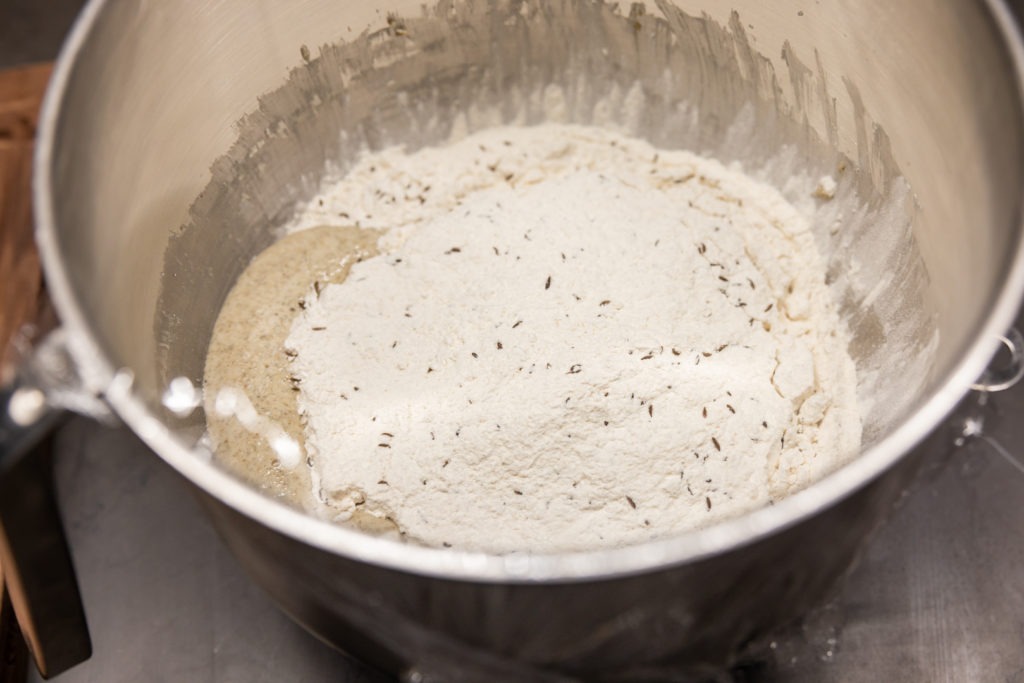
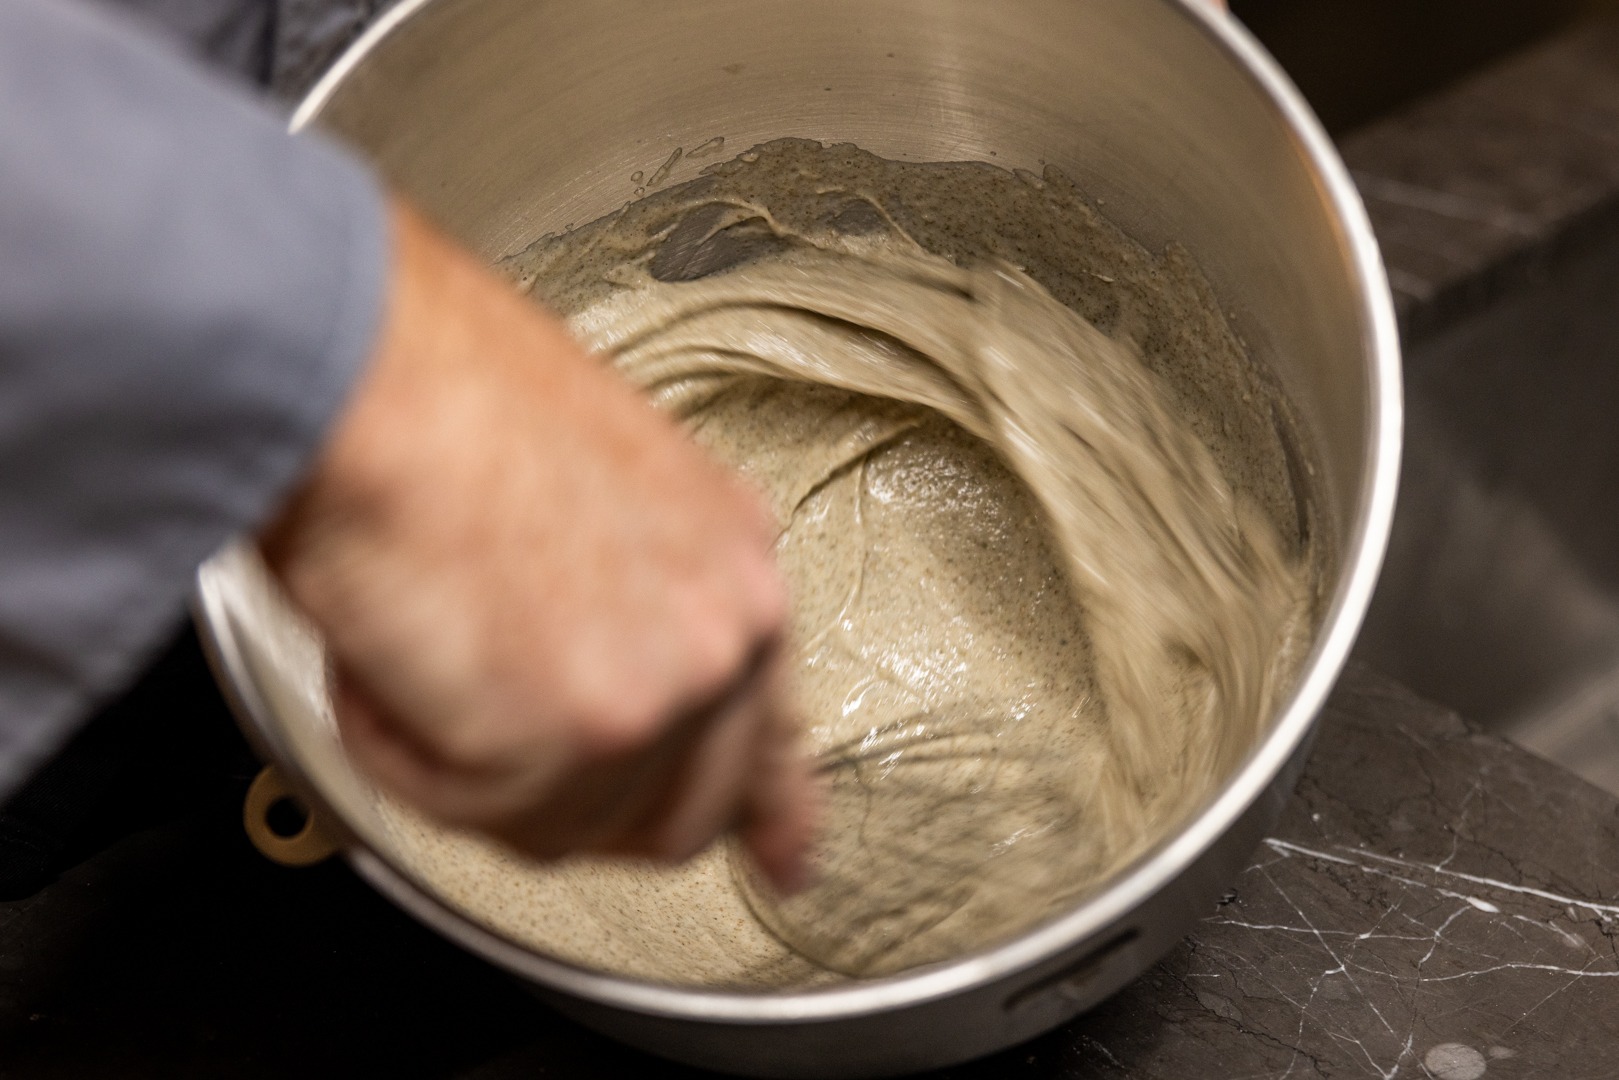
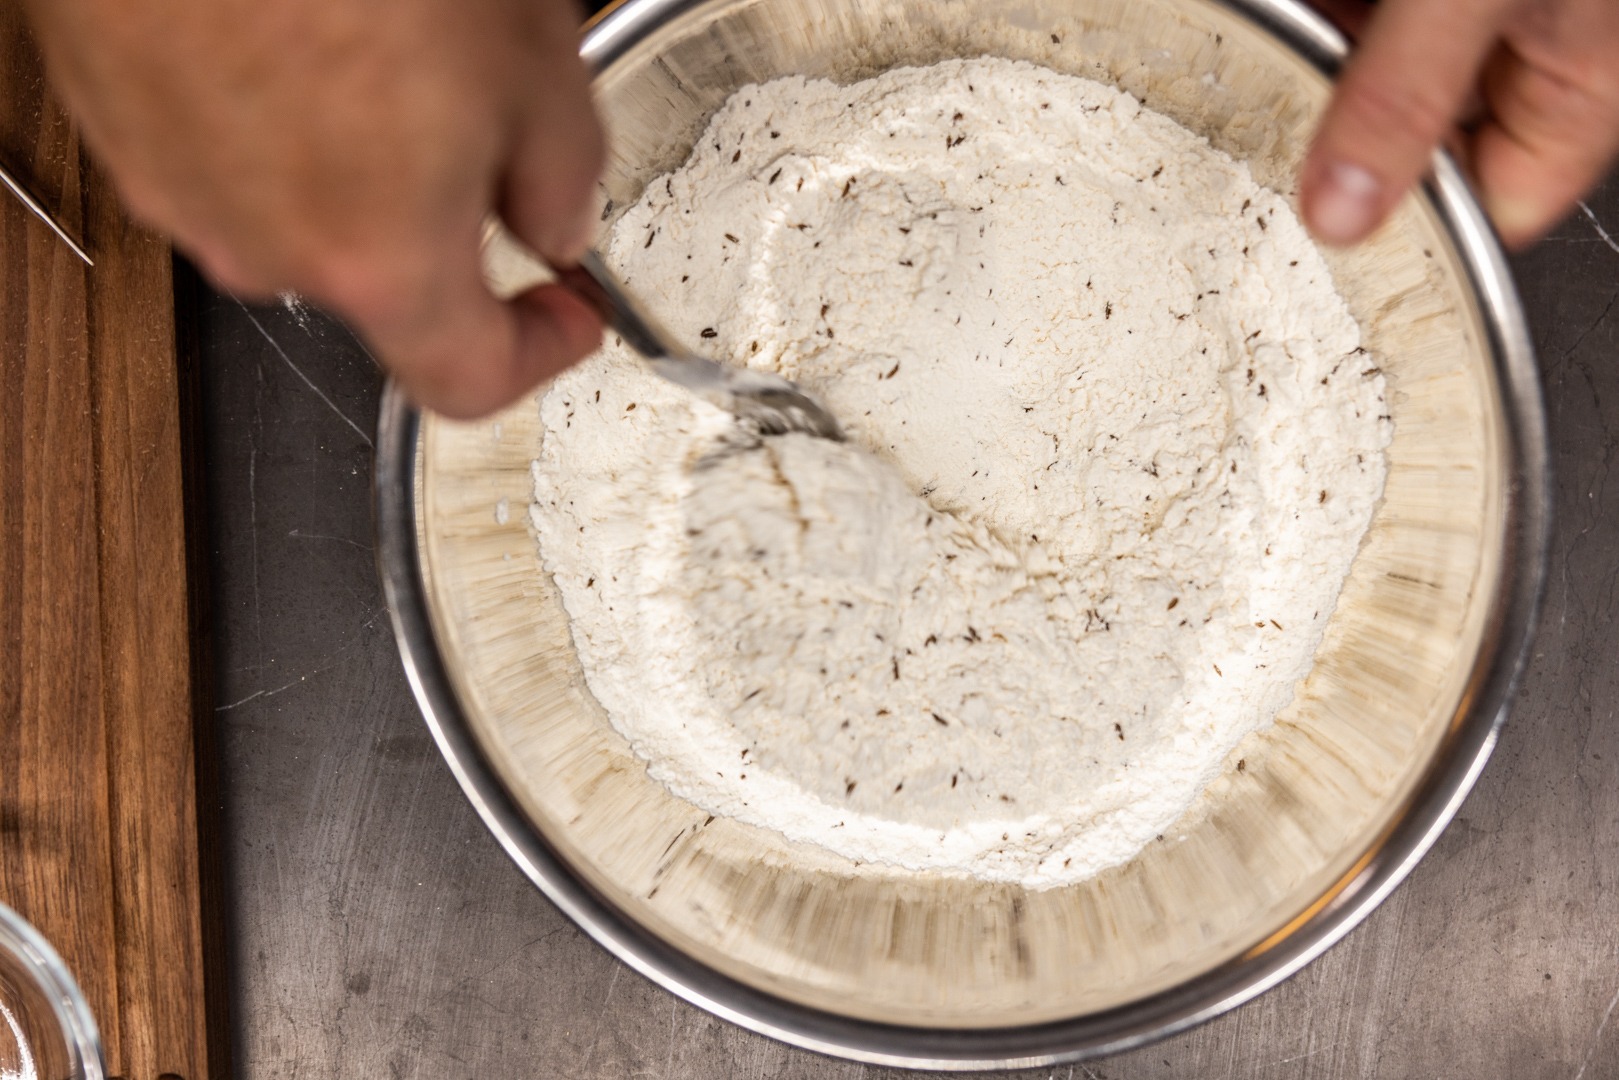
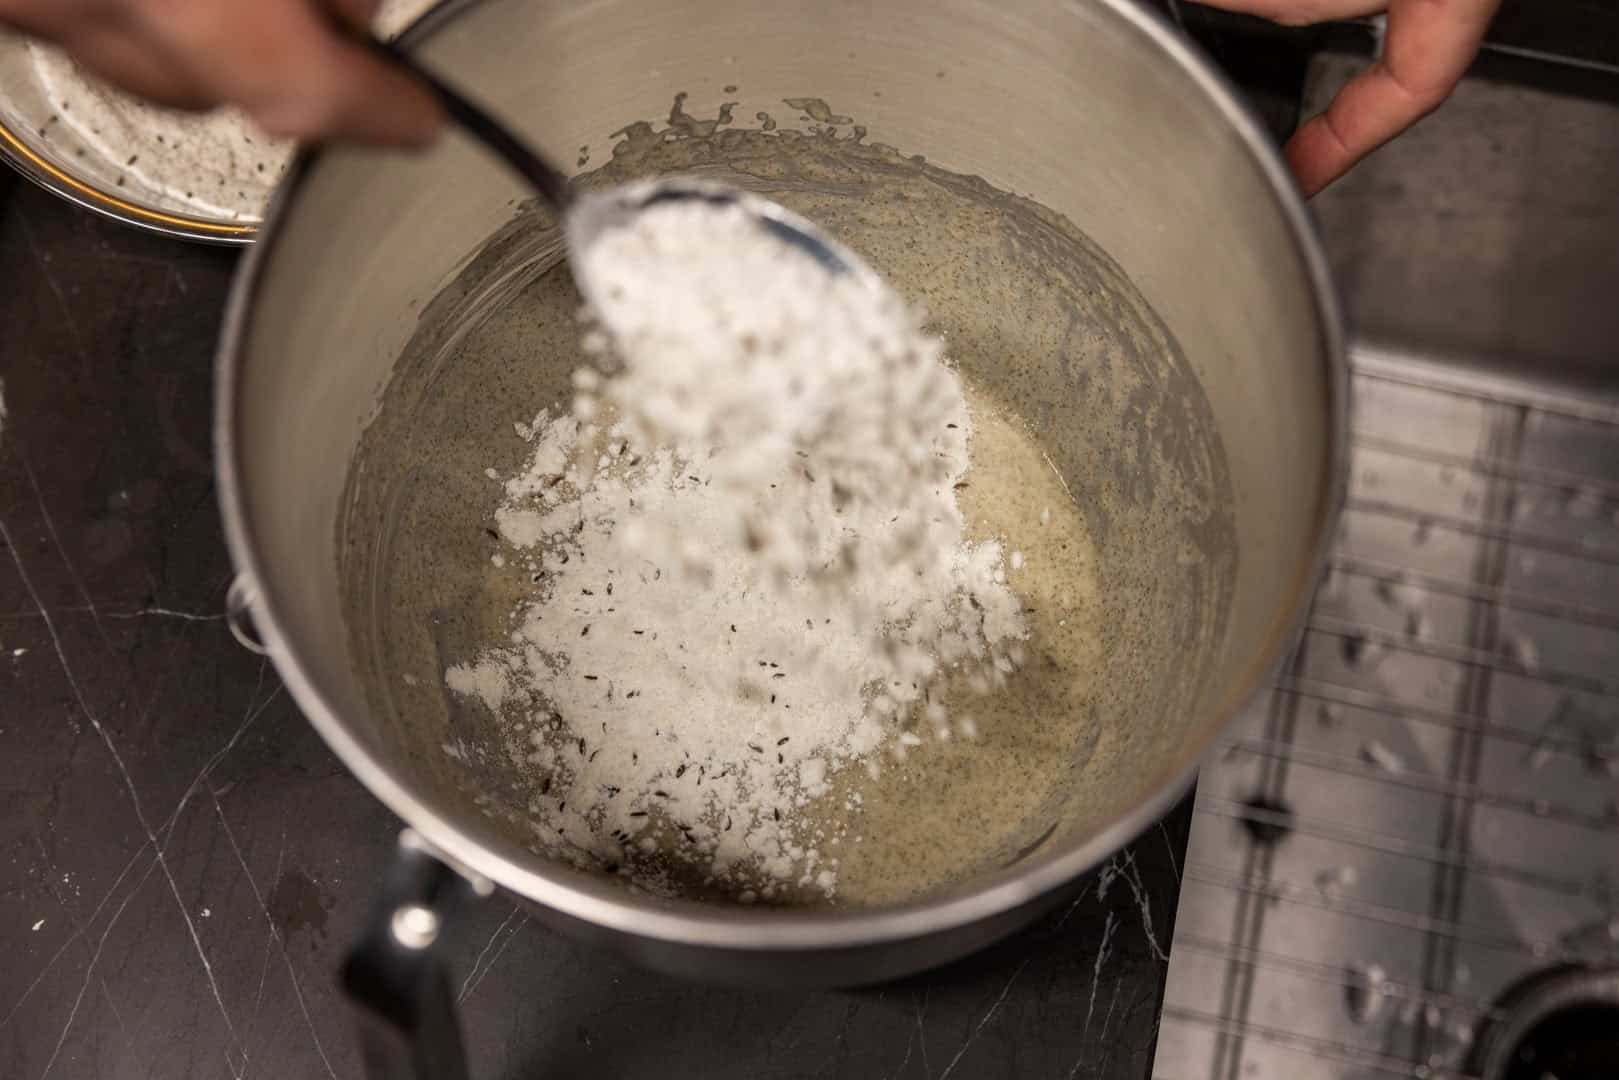
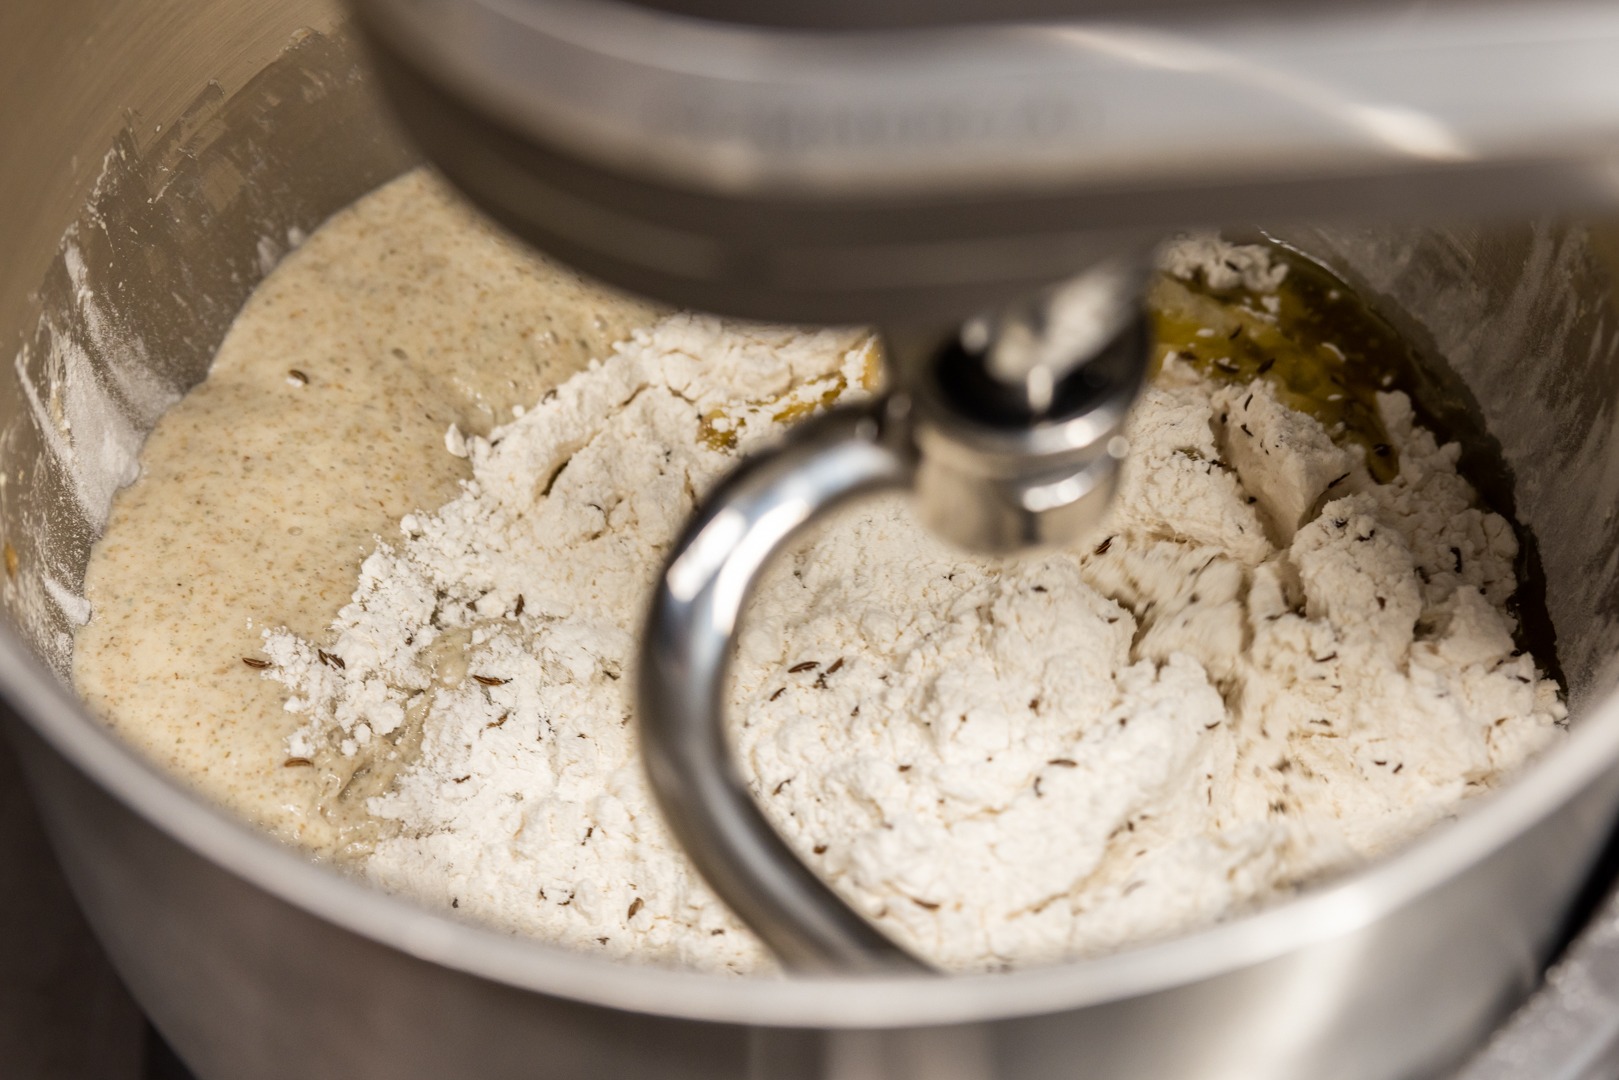
Rye flour and bread flour are beaten together in a bowl with properly temped water, yeast, sugar, and some honey. This runny batter is the sponge. Atop this sponge, the rest of the dry ingredients are carefully spooned, and the whole thing is placed in a warm proofing box to ferment for 1 to 4 hours. (Our oven proofs at about 100°F [38°C] and the fermentation took about an hour.) The sponge will bubble up through the dry ingredients.
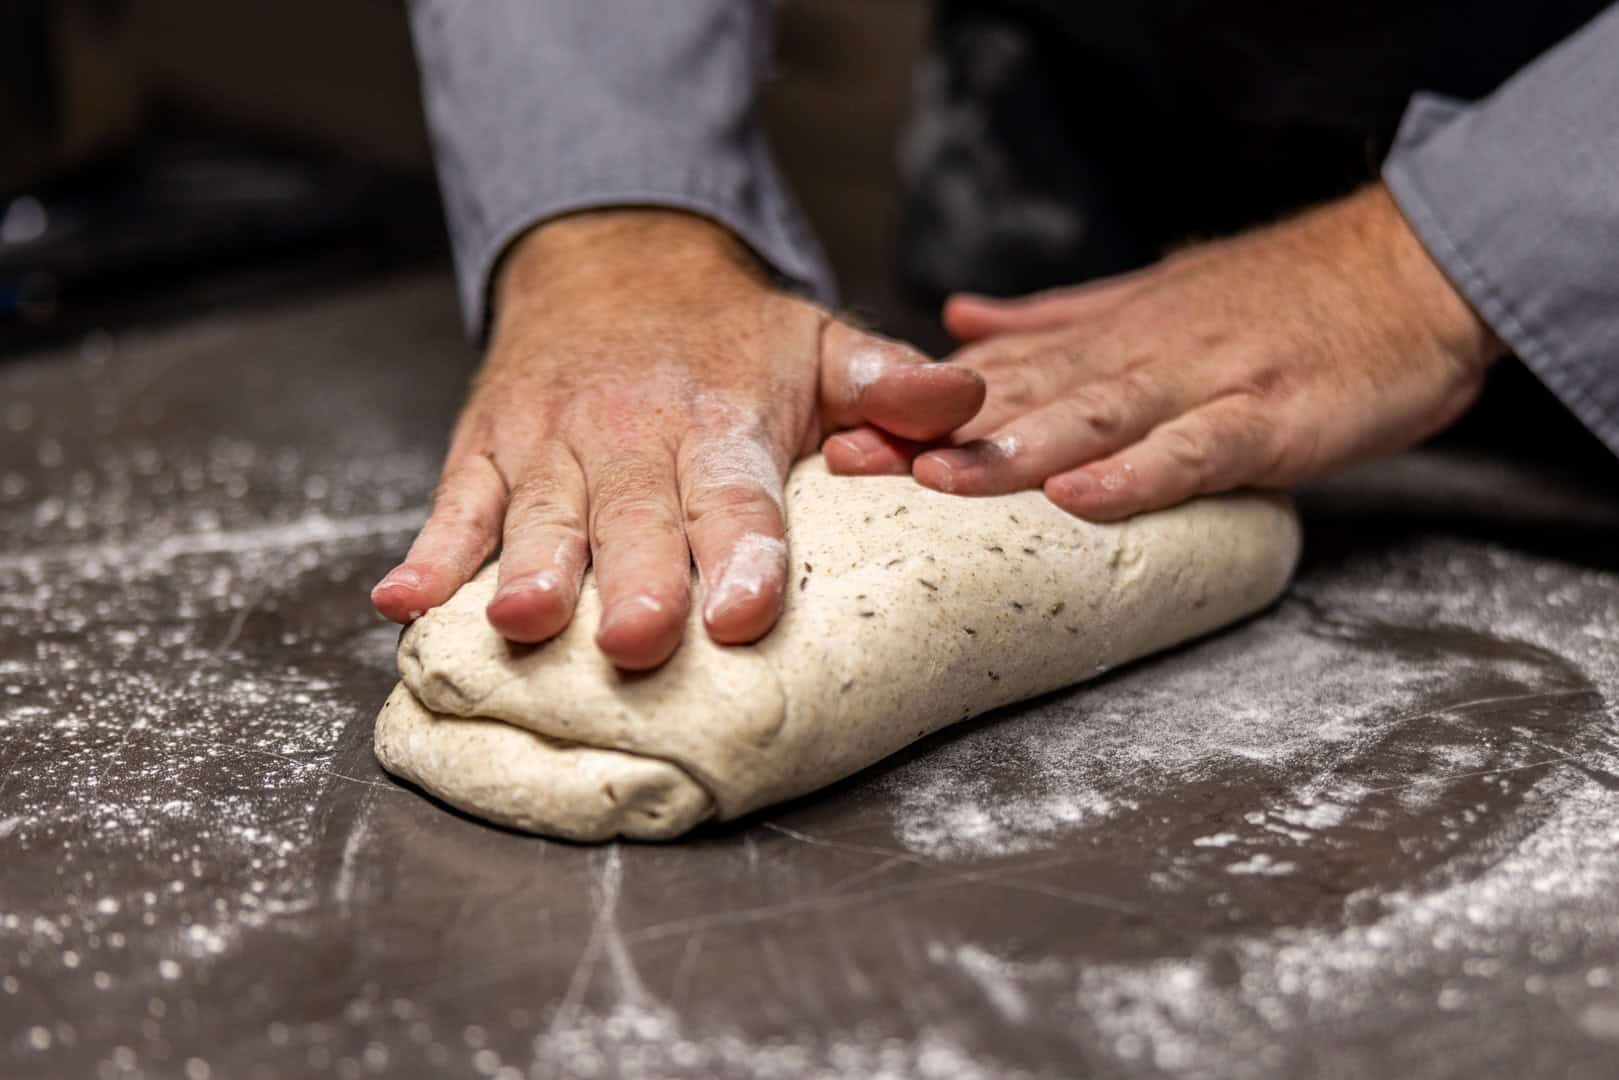
Make the dough
The small amount of oil in the dough is added to the dry ingredients and the sponge and the whole lot is mixed together using a stand mixer, then kneaded for 10 minutes, also in the mixer. Because most of the weight of the flour in this recipe is bread flour, the dough will not be too sticky once it is properly kneaded. It should be smooth, almost silky except for the coarseness of the whole-grain rye flour, and spring back when poked.
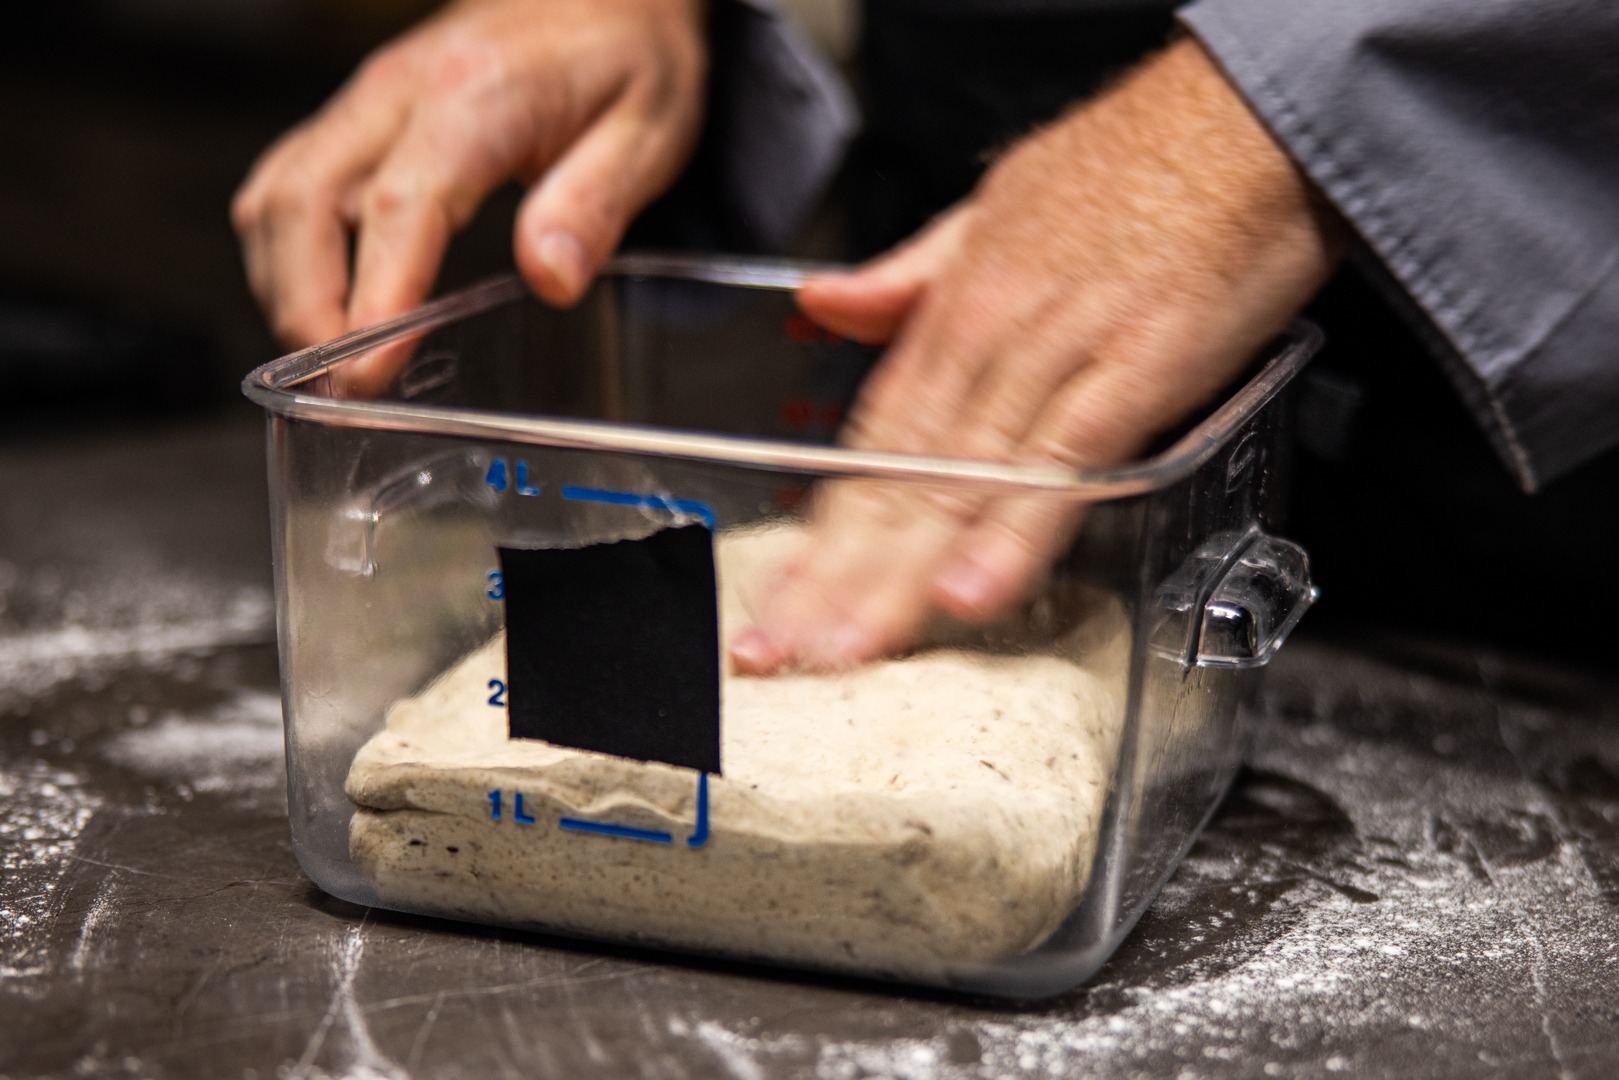
Ferment the dough
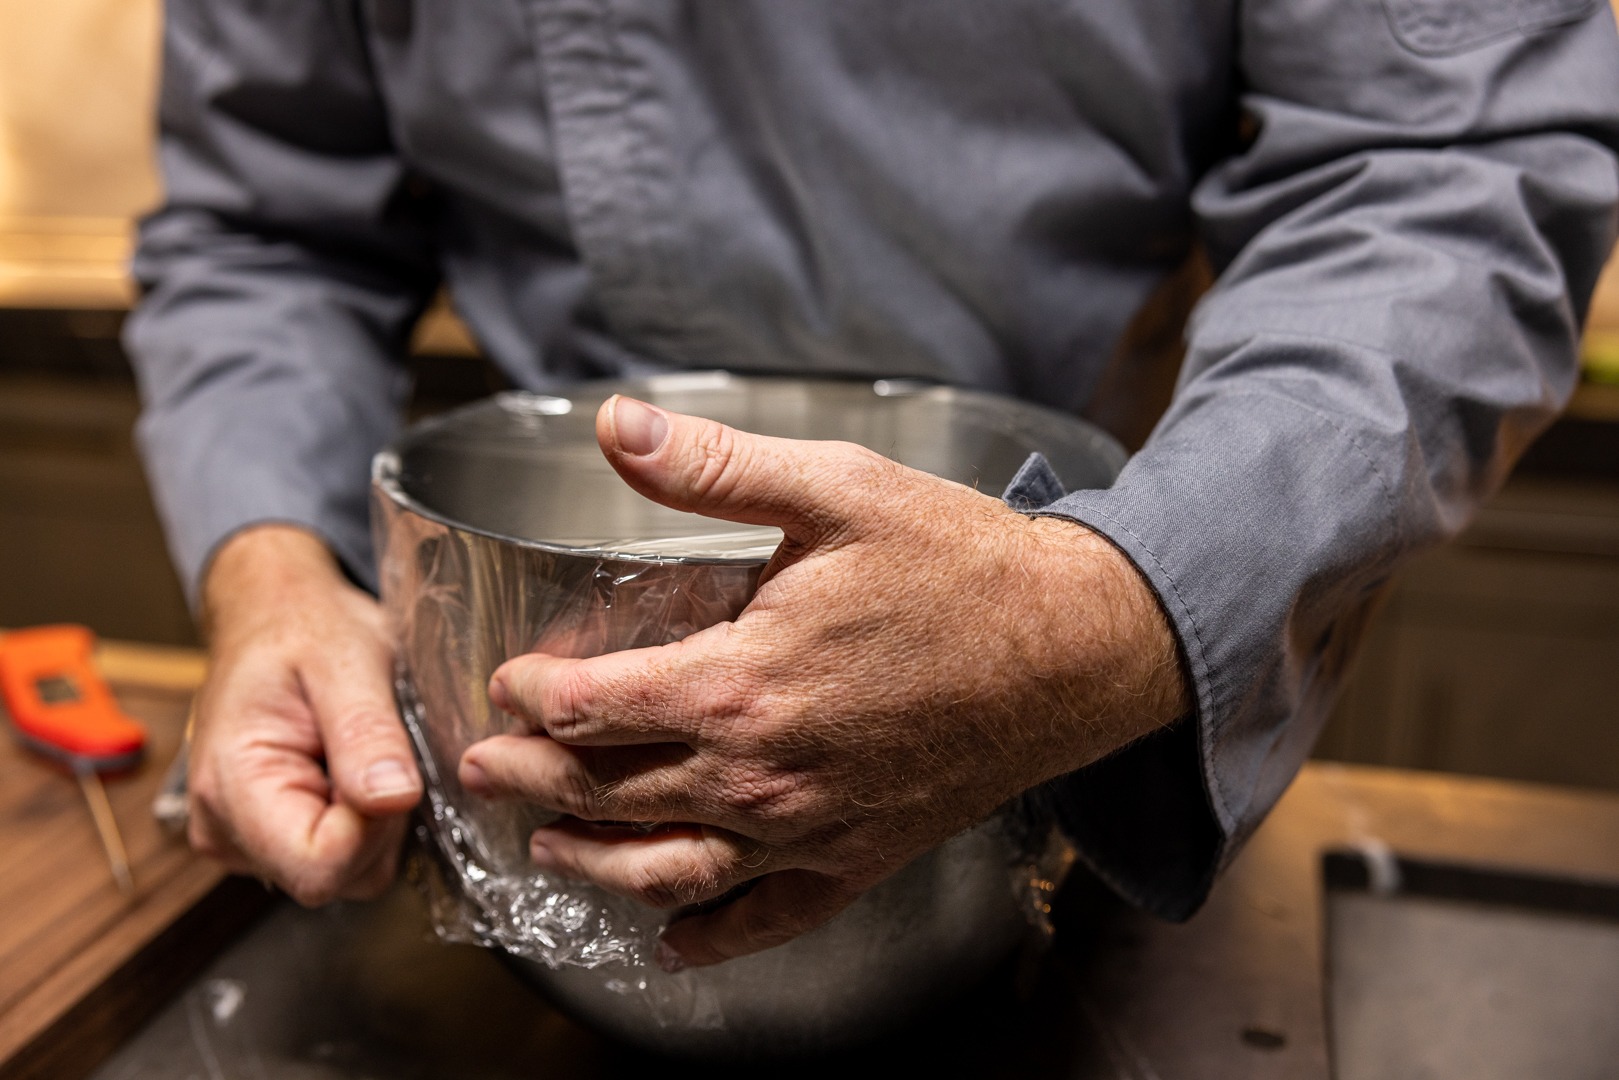
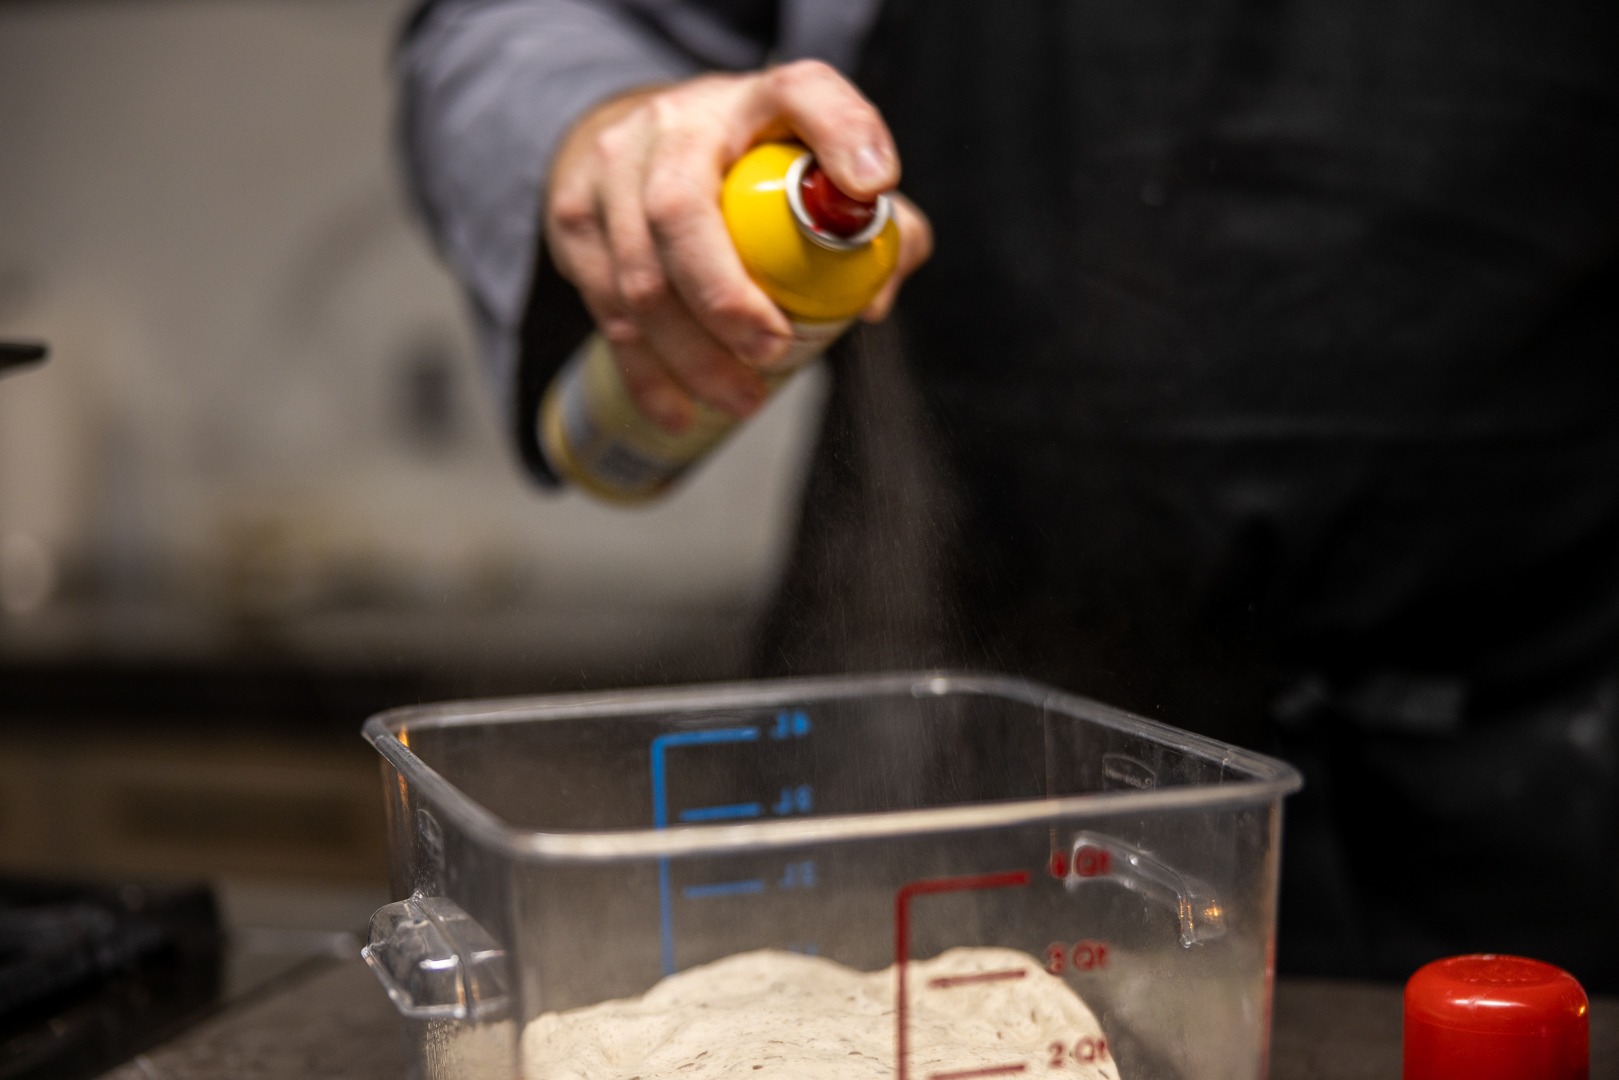
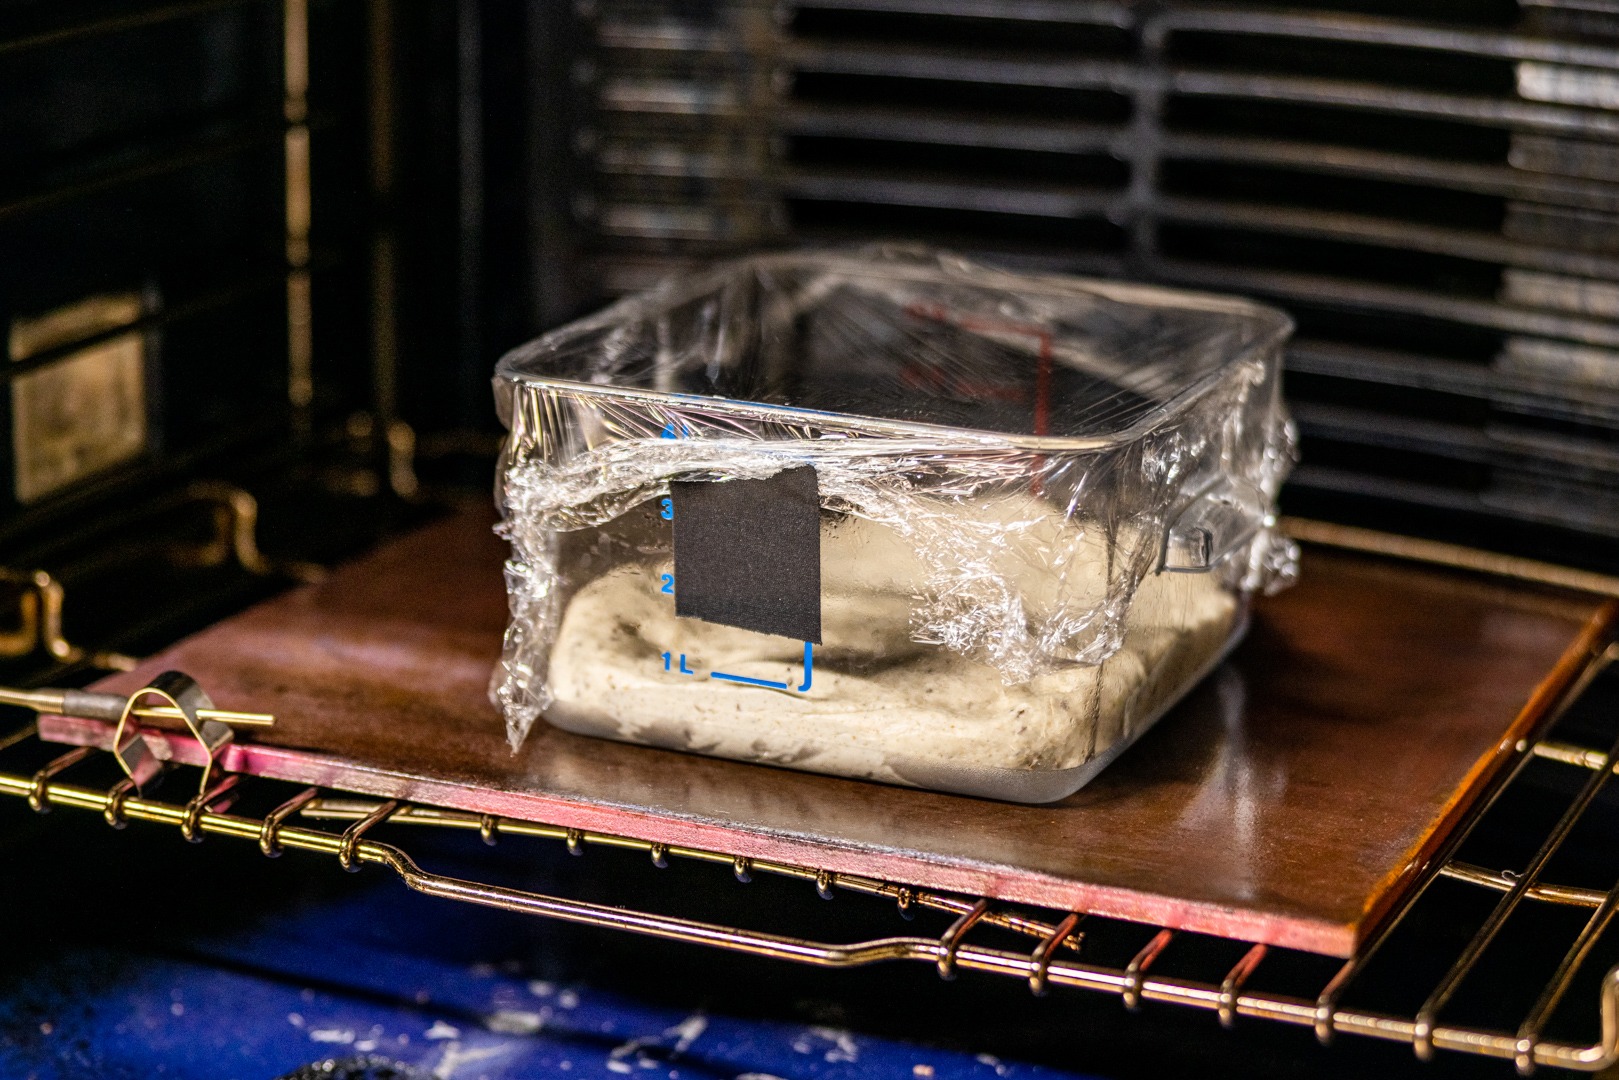
The dough now needs to ferment in two stages. It is easiest to properly gauge the fermentation if you use a flat-bottomed container, preferably clear, and press the dough down evenly into the bottom of it. You can then more easily judge when the dough has doubled in bulk by measuring the initial height and marking a point indicating twice the volume. (Rose suggests using a piece of tape as a marker on the outside of the container, a simple innovation I kicked myself for having never thought of on my own.) It is then fermented in a warm proofing box (as discussed above).
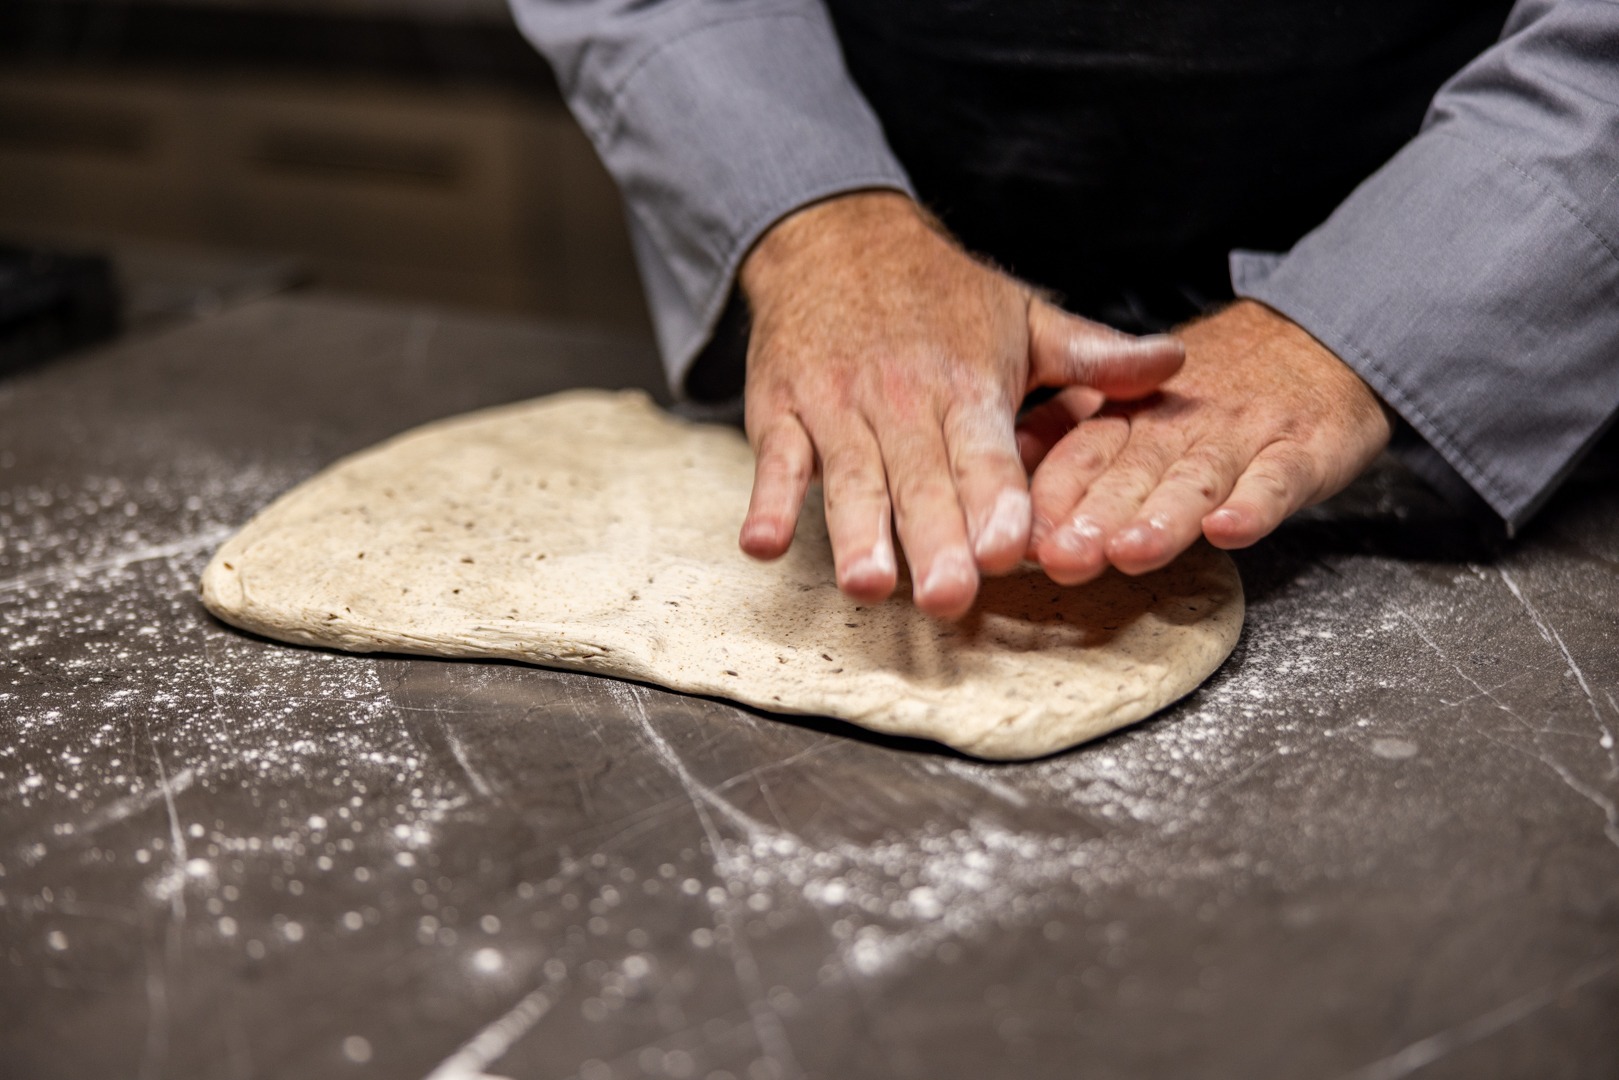
After doubling isn size, the dough is scraped out onto a floured countertop, stretched and folded in on itself like a business letter (in overlapping thirds), and put back in for another rise, with the tape marker adjusted accordingly.

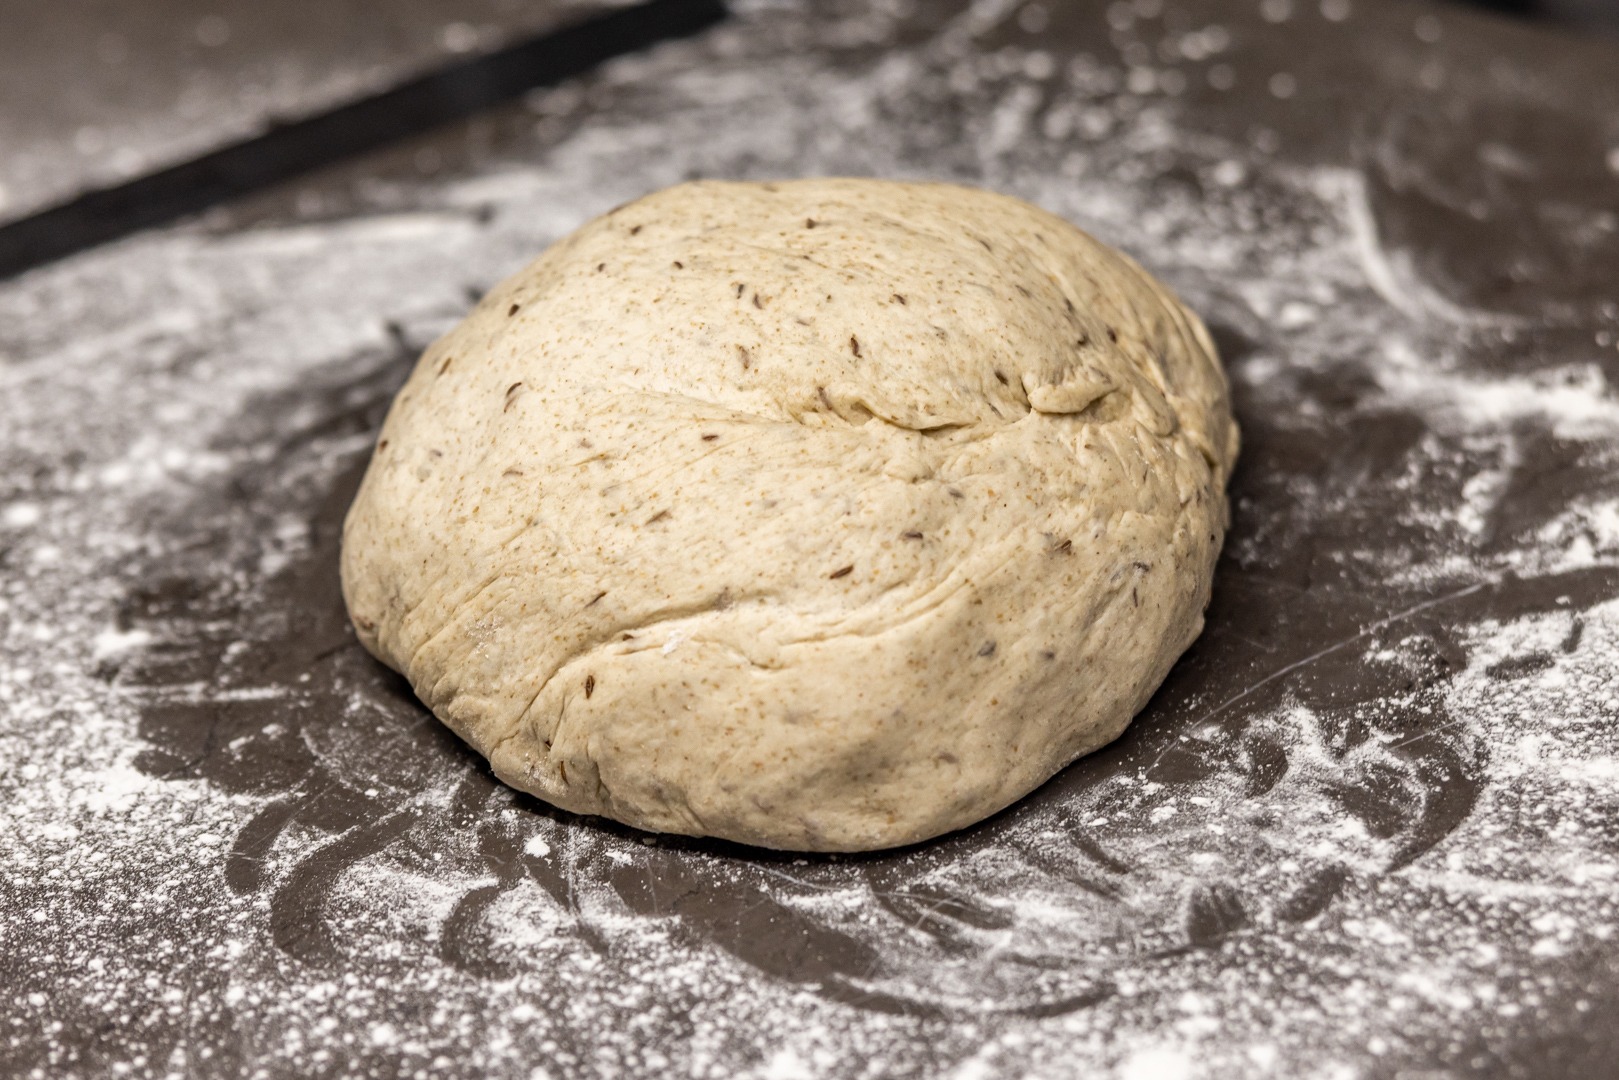
Shape and proof, bake
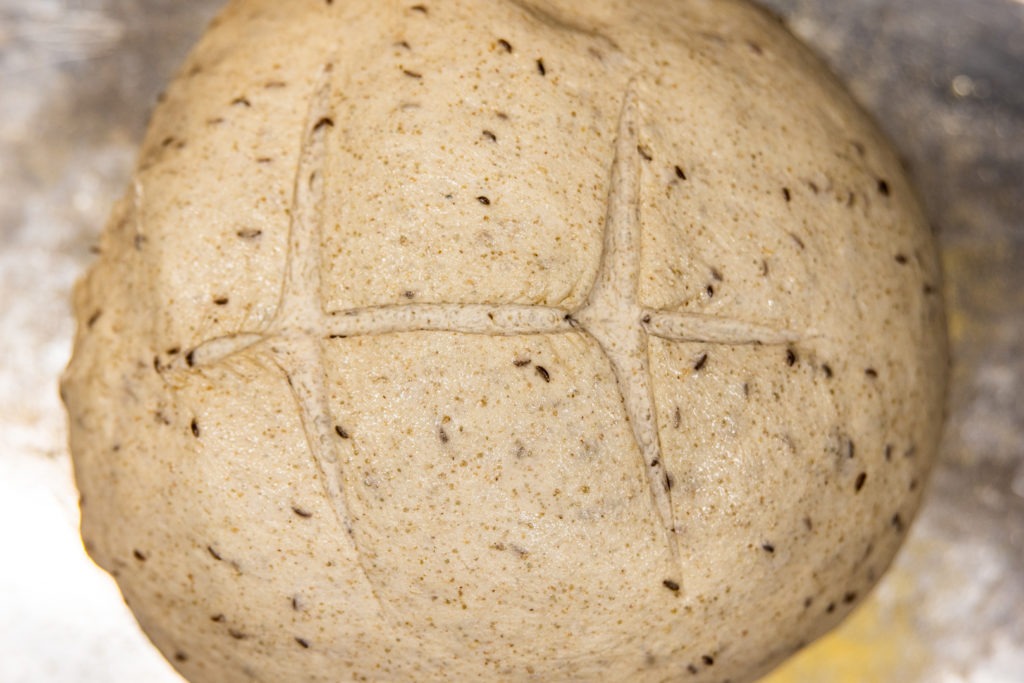
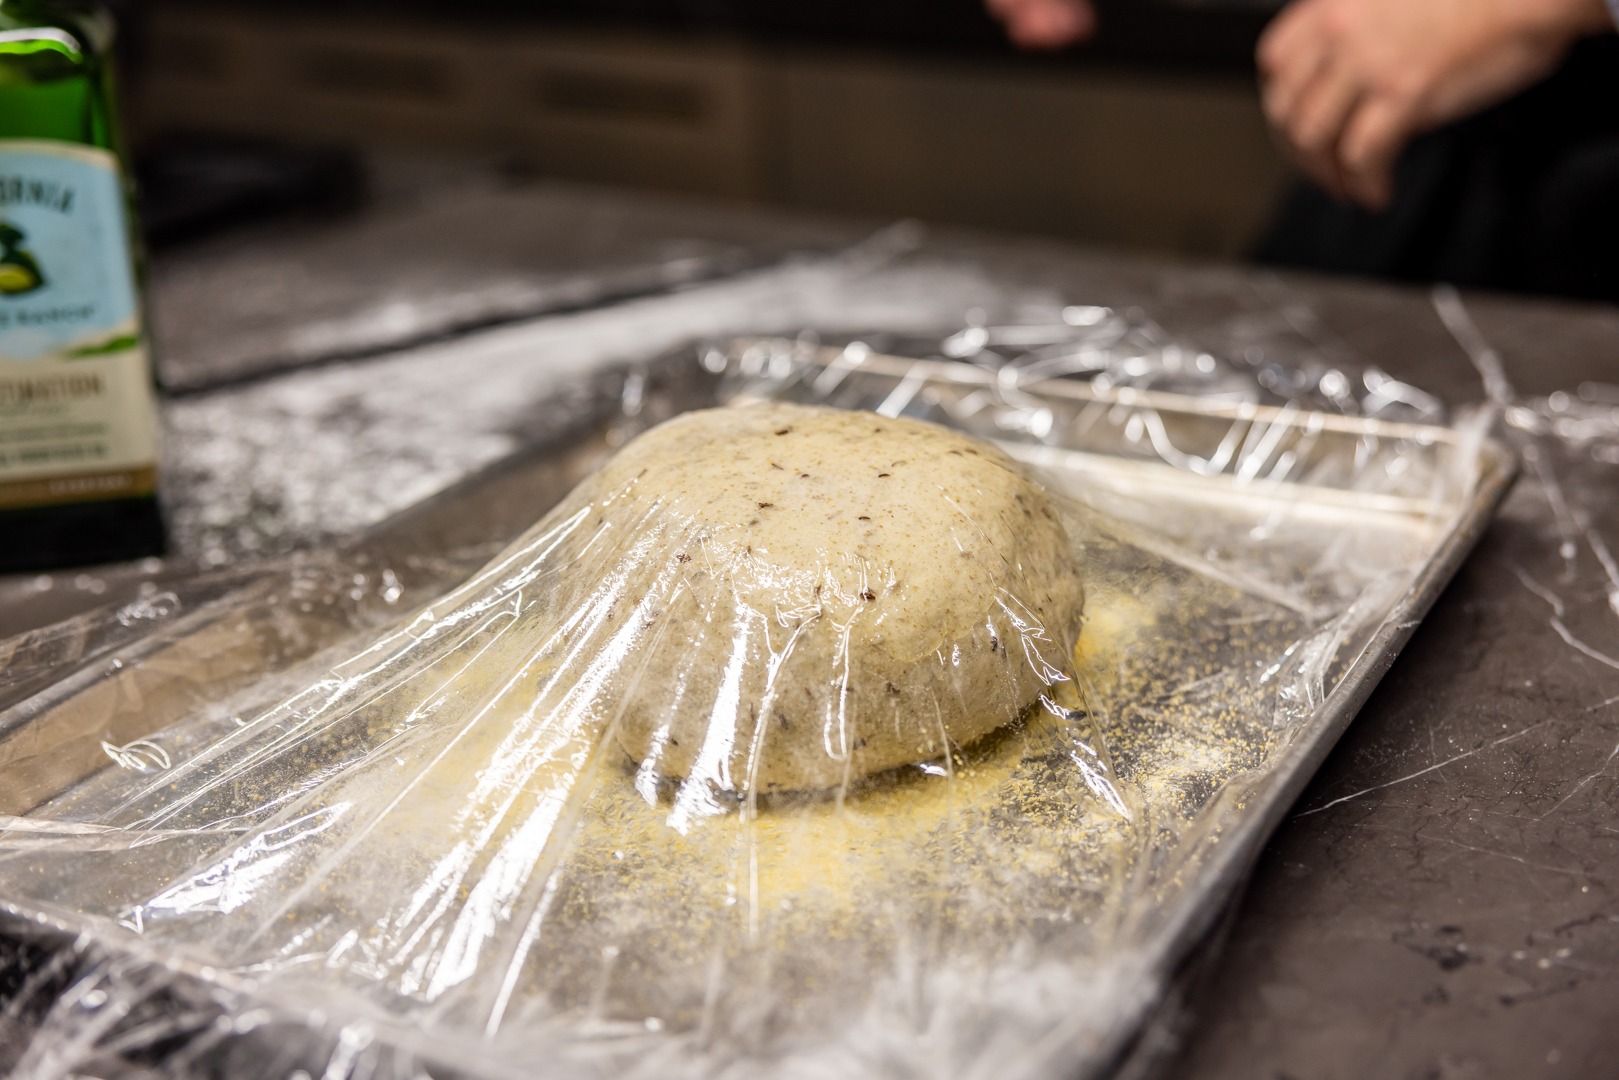
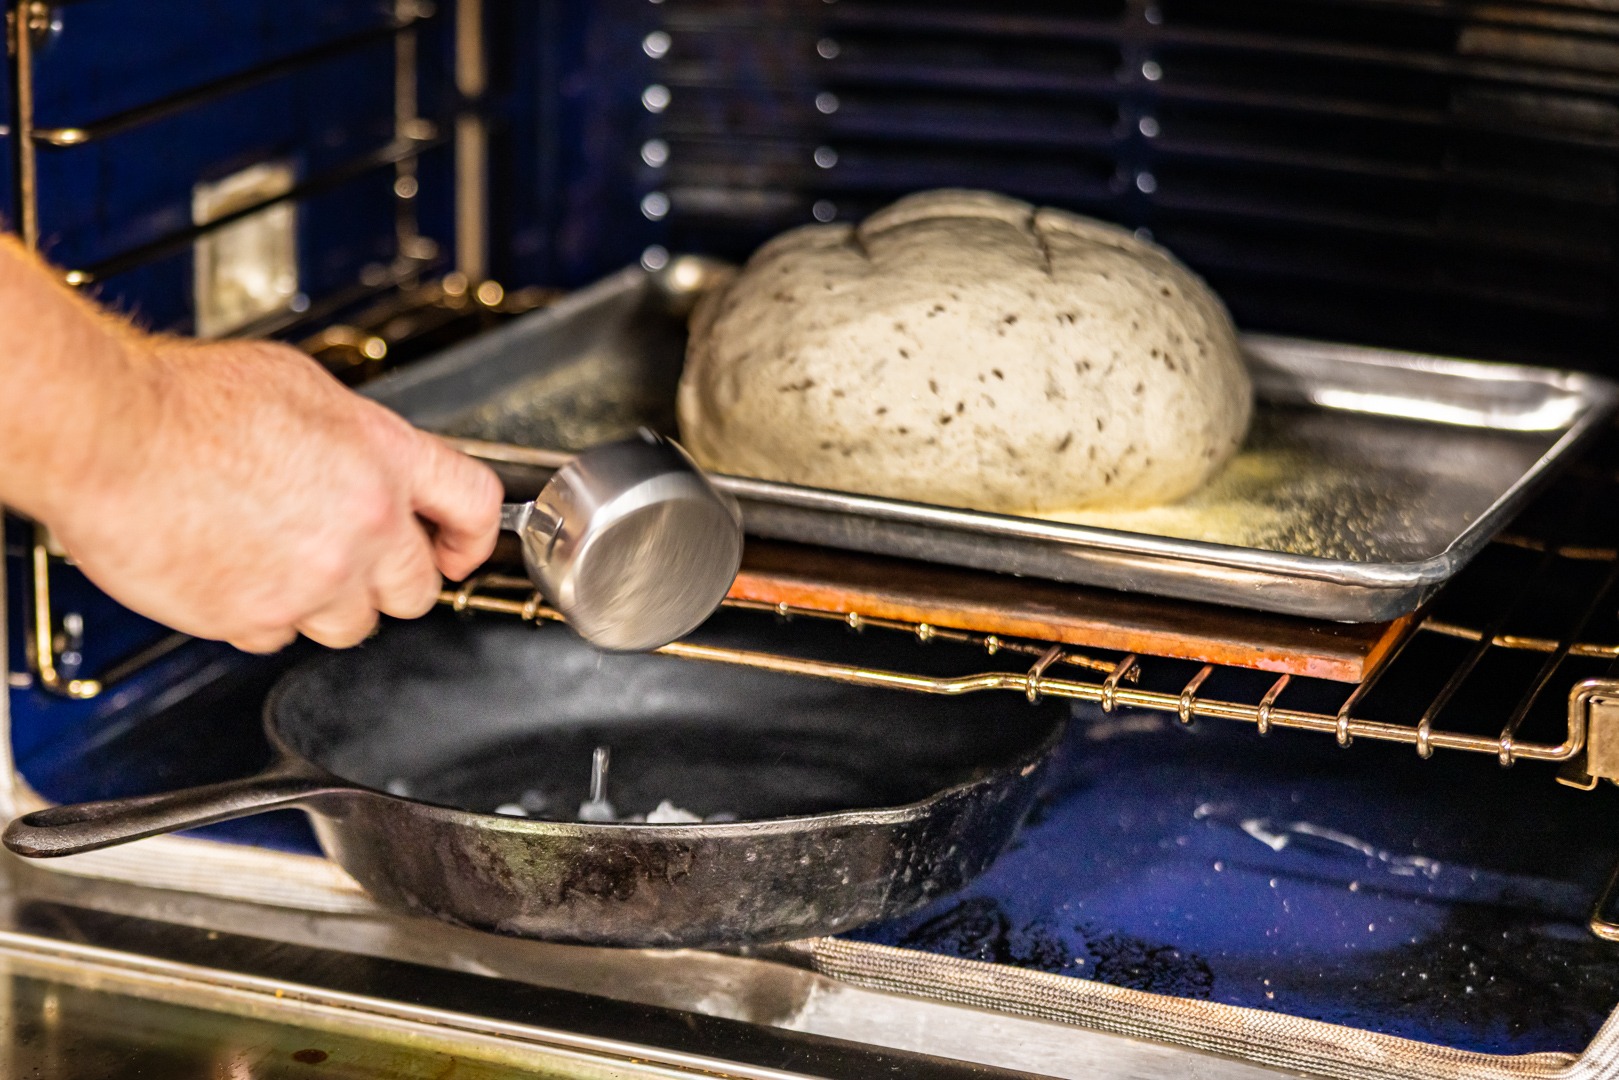
For any bread to have a light texture, it needs to rise in its final shape. It is shaped into a flattened ball and placed on a cornmeal-strewn baking sheet and allowed to rise. The final rise, the ‘proof,’ is accomplished on the countertop. During the final rise, preheat the oven to 450°F (232°C) for a full hour with a cast-iron skillet set on the floor of the oven. (If you have a heating element on the floor of your oven, place the skillet on the lowest shelf, instead.)
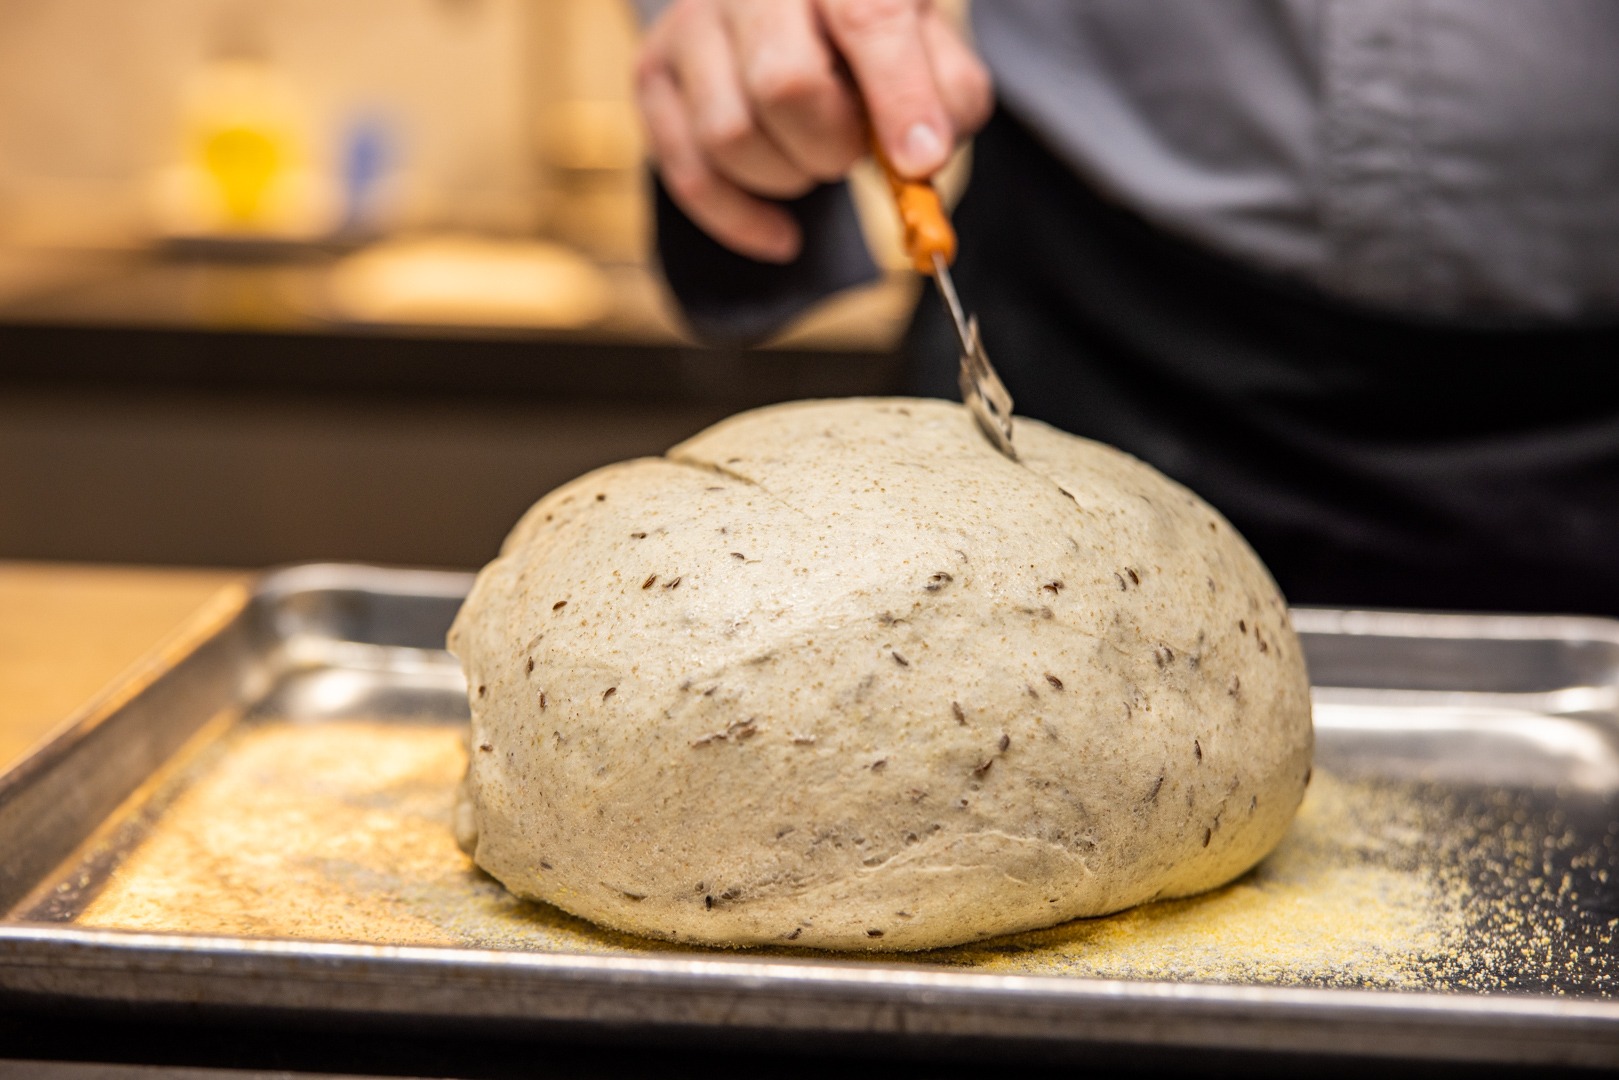
Once the bread has grown to an appropriate poofiness (so that when poked lightly it will fill back in very slowly), the top is slashed in a few places, the loaf is spritzed with water, and it is placed in the oven. To generate the steam needed to make the crust wonderful, a handful of ice cubes is tossed into the very hot iron skillet in the bottom before the door is closed.
Bake for 15 minutes before lowering the heat to 400°F (204°C), inserting the probe from a ChefAlarm, and finishing until the alarm sounds at 190°F (88°C)—roughly 10 minutes. You should verify the doneness with a Thermapen.
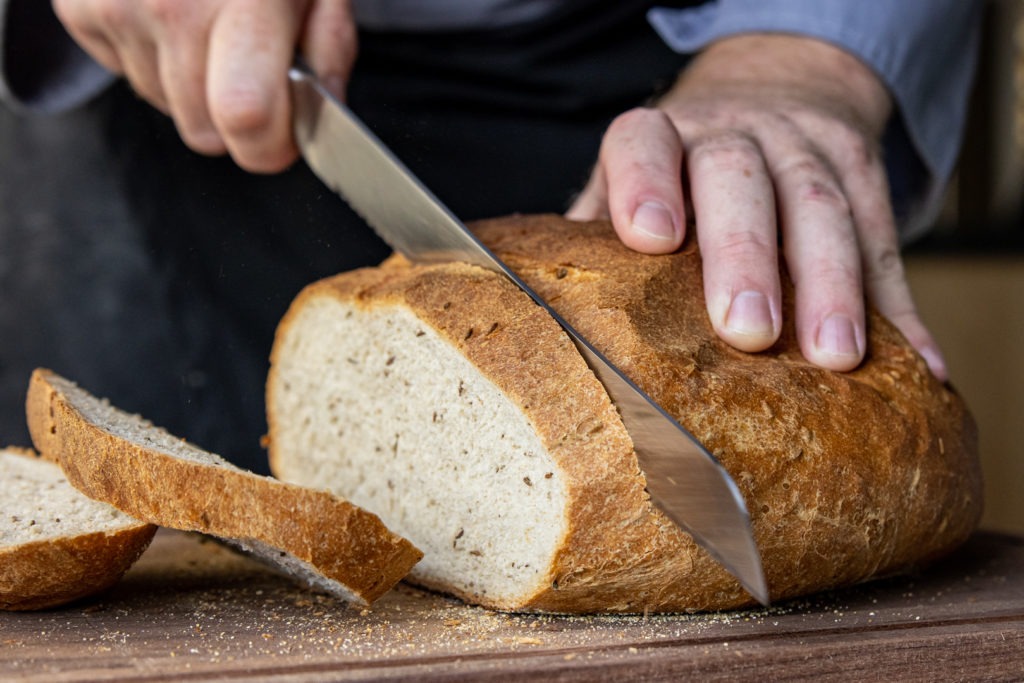
Resting, slicing, and eating fresh rye bread
The loaf must be allowed to cool (as almost all fresh bread must) before slicing into it. This is unfair—one of the trials of life—but we must endure. Once cool, slice it into thick, meaningful slabs and load it with turkey, stuffing, mash, gravy, and cranberry sauce (or hot pastrami/tuna salad/corned beef, kraut, Swiss cheese, and dressing, etc.).
Oh, and don’t forget the mayo. Or butter. Sandwiches need an oil barrier between the bread and the wet ingredients to help maintain structural integrity. Eat and be grateful that you know how to bake bread of such quality and culinary magnitude.


I know this recipe has a lot of steps, but great bread is not something you do in 15 minutes during halftime. Nothing here is hard to do, but it does take some time. With the help of your ChefAlarm and Thermapen, though, you can get perfect rising and perfect doneness. And that, of course, is essential for a perfect sandwich, whether for Thanksgiving leftovers or just anytime. Enjoy!
Print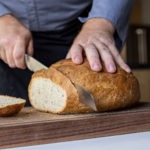
Jewish Rye Bread Recipe
Description
Based on “‘Levy’s’ Real Jewish Rye Bread” in The Bread Bible by Rose Levy Beranbaum.
Ingredients
For the sponge:
- 3/4 C (117 g) bread flour
- 3/4 C (95 g) whole rye flour
- 1/2 tsp (1.6 g) instant yeast
- 1 1/2 Tbsp (19 g) granulated sugar
- 1/2 Tbsp ( 11 g) honey
- 1 1/2 C (354 g) 70–90°F (21–32°C) water
For the bread mixture
- 2 1/4 C (351 g) bread flour
- 5/8 tsp (2 g) instant yeast
- 2 Tbsp (14 g) whole caraway seeds
- 1/2 Tbsp (11 g) salt
- 1/2 Tbsp (7 g) neutral vegetable oil
~2 tsp cornmeal for sprinkling on the baking sheet
Instructions
Make the sponge
- Combine all the sponge ingredients in the bowl of your mixer, making sure the water temperature is at the proper temperature, and beat them together well with a whisk.


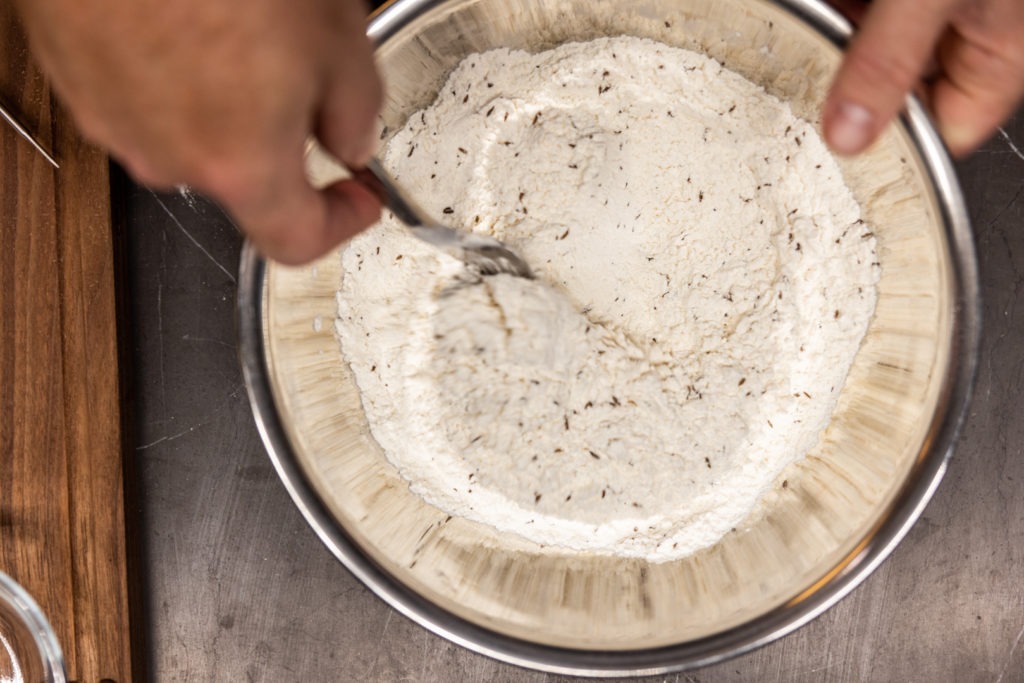
- Mix together the rest of the dough ingredients (flour, seeds, salt, yeast) except the oil and spoon them gently on top of the sponge batter.
- Cover the bowl with plastic wrap and set it in a warm place to proof. Use a ChefAlarm to monitor the temps, including the min and max temp achieved. Keep the area between 85 and 105°F (29 and 41°C). Allow it to ferment for 1-2 hours. The wet mixture will bubble up through the flour.
Mix the dough
- Place the mixing bowl on the stand mixer and add the oil to the bowl.
- Mix with the dough hook on low speed until a rough, shaggy dough has formed.
- Increase the kneading speed to medium and knead for 10 minutes (a TimeStick® could help here). The dough should become elastic so that it springs back when poked, and also quite smooth.
- If it is still quite sticky, knead in a little bit more flour.


Let the dough rise and ferment
- Place the dough in a greased container for rising. Mark the height it will be at when doubled in volume with a piece of tape. Give the surface of the bread a light oiling so that a skin doesn’t form.
- Wrap the container and place in your proofing box or warm spot in your kitchen. Continue to monitor the temperature with your ChefAlarm, shooting for the same 85 to 105°F (29 to 41°C).


- When to dough has doubled in volume (about 1–2 hours), turn it out onto a lightly floured work surface and press it gently into a rectangle shape.
- Fold the dough in on itself like a letter, into thirds.
- Place the dough back in the container, adjust the tape to reflect a new doubling, rewrap, respray, re-oil, and referment.
Form the loaf and proof it
- When the dough has once again doubled in volume (about another 45 minutes), turn it out onto a floured surface.
- Deflate it slightly by pressing on it.
- Round it into a ball that is 5–7 inches across.
- Scatter the cornmeal on a baking sheet and place the dough ball on the cornmeal.


- Cover with oiled plastic wrap and let it rise on the counter for about an hour, until it has doubled in size.
- During the rising, preheat the oven to 450°F (232°C) with a cast-iron skillet either on the floor of the oven. If you have a baking stone, be sure to use it in this recipe.

Bake the bread
- Give the bread a few slashes in its surface with a sharp knife or a razor.
- Spritz the surface of the loaf with water, place it in the oven, and add a half cup of ice to the hot skillet under the pan.
- Close the door and bake for 15 minutes.


- Lower the oven temperature to 400°F (204°C), and insert the probe from a ChefAlarm into the bread. Set the high-temp alarm for 190°F (88°C).
- You may want to spritz the top of the bread with water again if it looks a little dark already.
- Continue to bake until the ChefAlarm sounds. With your Thermapen, verify that there is no temperature lower than 190°F (88°C). If there is, place the bread back in the oven to cook more.

- Remove the bread from the oven and allow it to cool completely.
Serve!


Shop now for products used in this post:


Wow what great detail, all useful for novice as well as experienced baker. Rye bread remains the trickiest for this home baker but reading through the above and applying new information (and temperature guidelines) made the difference. My bread tastes and looks great – thank you.
That’s fantastic to hear! Thanks for commenting!
Why such a warm proofing temperature? Aren’t you sacrificing taste for speed?
If you want even deeper flavor, you can certainly do it at a cooler temp, but we found this bread to have plenty of delicious flavor at this proofing temp.
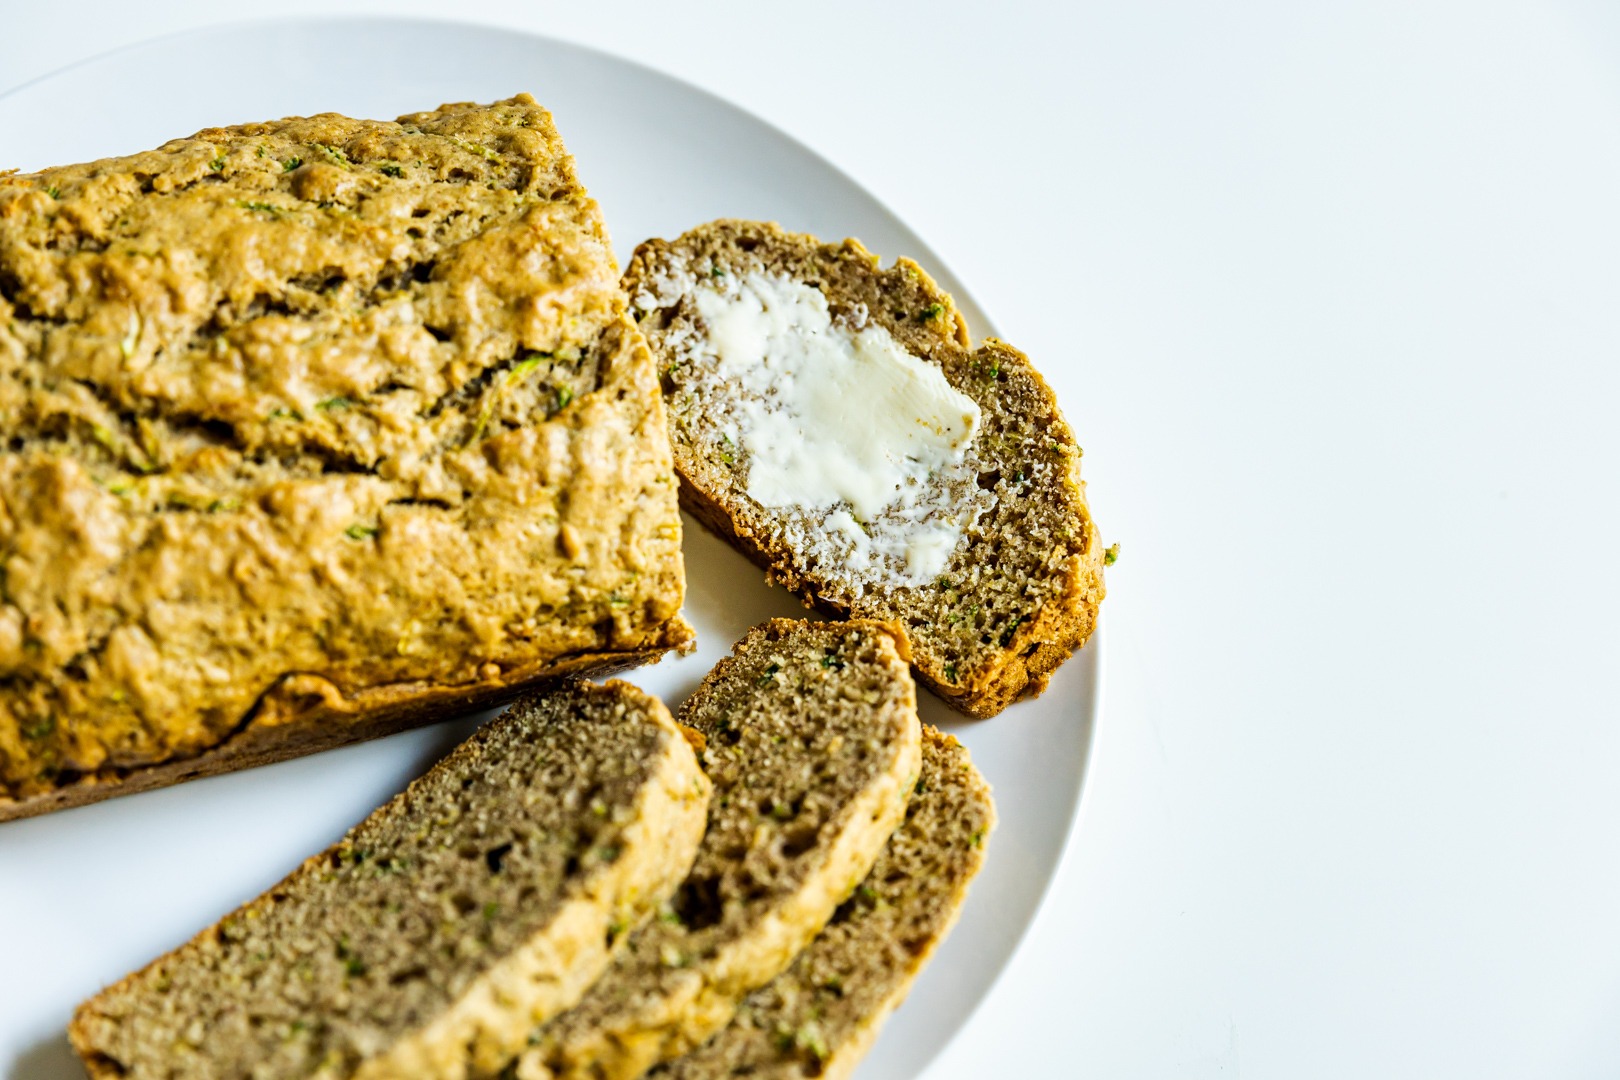
I’ve also used the basics of this recipe to make bread for people who don’t like rye bread. Easy to make with white/wheat flours (leave out the caraway!) and, perhaps, adjust the liquid slightly.
Excellent.
Hi Martin,
Rye is indeed difficult to master. However don’t cheat by adding wheat flour! I bake pure rye flour bread because of allergies. I kept trying until I got it right. It is possible. Also, I bake 1 Kg of flour in two tins. It doesn’t last long because it gets eaten!
Cheers,
Ken
I stuck to the recipe and this bread came out fantastic! Quality rye bread is the default, go-to option in our house and this recipe easily ranked among our favorites.
Do you think the outcome would be as good if I were to bake this in a loaf pan? I have 1-pound and 1.25-pound loaf pans on hand. Would this recipe fit either size without alterating quantities?
That should work!
There is always the “professional” advice to let the bread cool before eating. Ignore it. There is nothing tastier than hot bread lavished with generous amounts of butter. Just slice it gently so it does not get squished down. (From almost 70 years of firsthand experience with homemade bread.)