


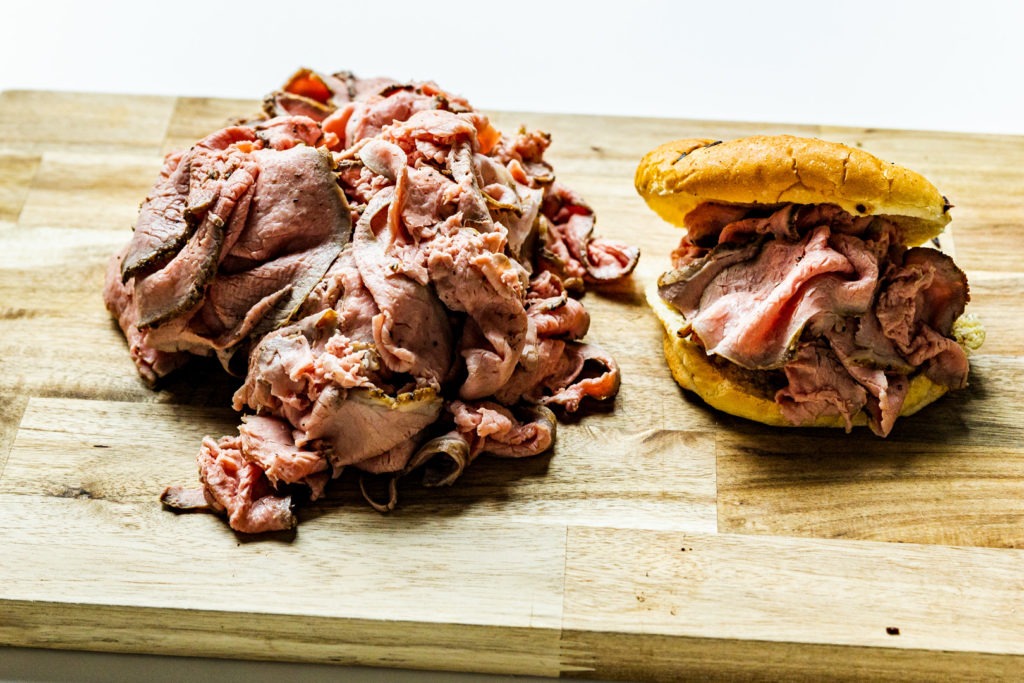
Homemade Deli-style Roast Beef: Temperature Tips for Sandwich Meats
If you spend a lot of time thinking and learning about sandwiches, you’ll eventually come to the conclusion that your life just won’t be complete without the ability to make perfect deli meats at home. Think of it! Perfect, sliced pastrami layered on homemade rye bread. Smoky ham with pickles, coarse mustard, and melted swiss. Italian beef, spicy with giardiniera. Beef on weck—horseradishy. Homemade French-dip sandwiches.
Why not? Why not have all the sandwiches, even though you don’t live in Chicago, Buffalo, or France? (Isn’t that where French dips come from? No?) But if you’re buying your roast beef from your grocery store deli, you can only get so fresh, so high-quality cuts. And you can generally forget pink, medium-rare beef. Ham, yes, but good roast beef? Hardly.
Yes, the sandwich life demands better meats. It demands you make your own. Here, we’ll show you the basics of making deli-style roast beef at home. It is, of course, a temperature game—but it’s one that’s easy to win. We’ll take you all the way through the process, and by the end, you’ll be thinking about how shelling out $3–11k for a vintage-style, hand-crank deli slicer doesn’t sound all that bad. (Don’t do it…you don’t need it.)


What beef to use for homemade deli roast beef?
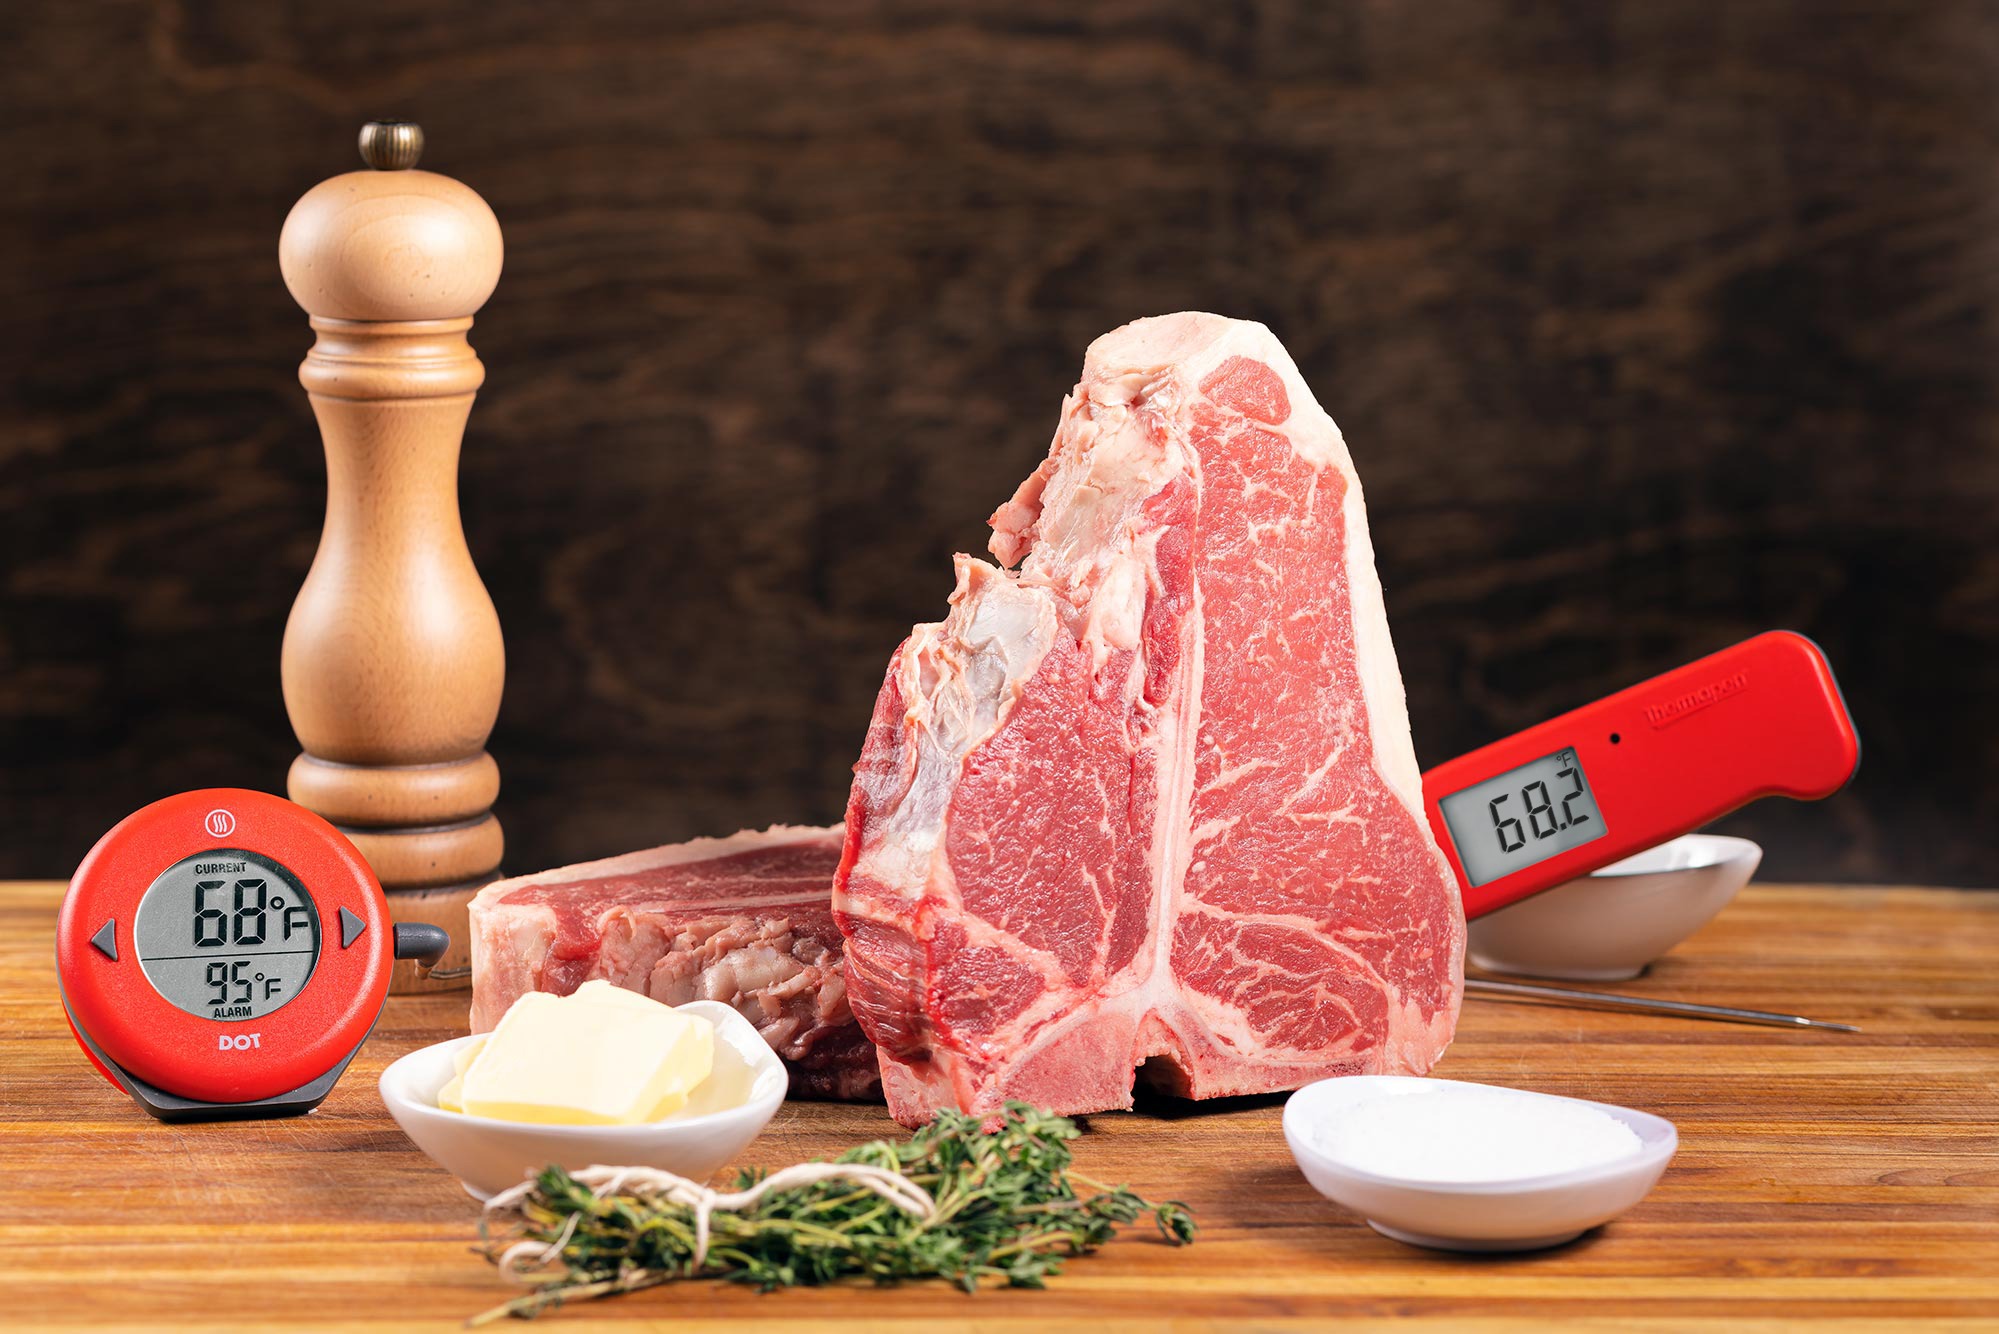
There is a little debate about the best cut for deli roast beef. The main contenders are top sirloin, the eye of round, and top loin (also called strip loin). (Some might argue for chuck or brisket, but for plain roast beef, those aren’t the right answer. Brisket is great for pastrami and corned beef, but for rare or medium-rare roast beef, stick to the leaner cuts with big, beefy flavor. Save chuck for other things altogether.) Top sirloin is full of deep, mineral, beefy flavor, and is a great contender. Strip loin would be obviously delicious, but it will also cost a good deal more than eye of round or top sirloin.1
Eye of round has plenty of beefy flavor, is wonderfully lean, and has a pretty uniform shape. It’s kind of perfect for this project. I recommend you start with eye or top sirloin. Maybe get a strip loin for some very special sandwiches.
If you remember and have time for it, salt your beef roast, uncovered, in the fridge the night before you cook. This dry-brining will help tenderize the meat and make it juicier while also deepening the flavor.
How to cook deli-style roast beef
For the best roast beef, you want two things in your cooking: a quality sear and a perfect pinkness from edge to edge inside the roast.
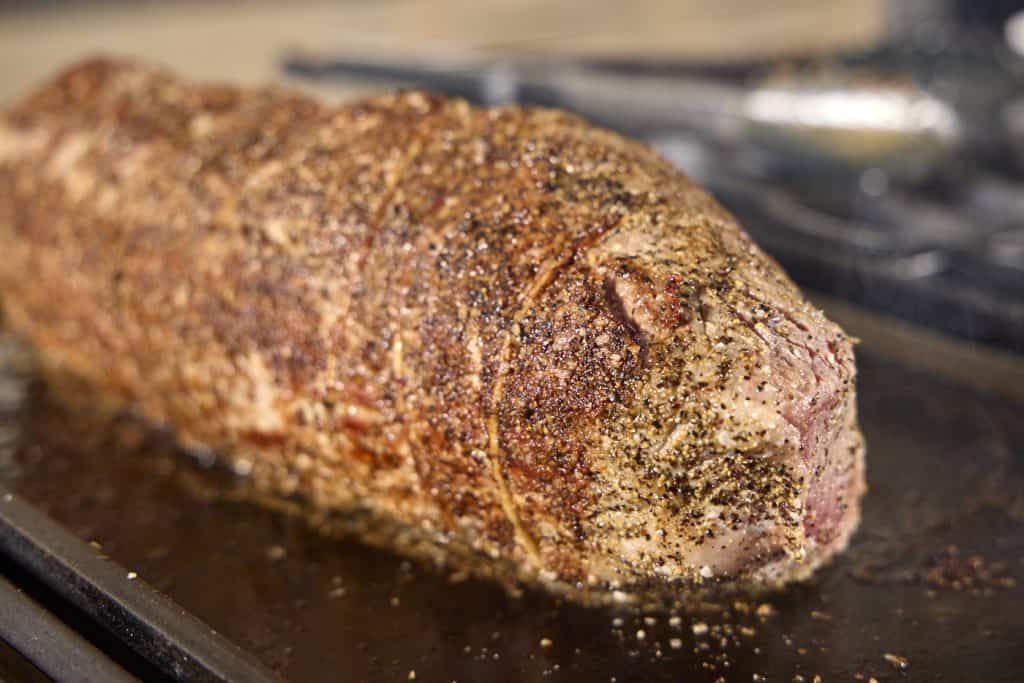
The sear will give a deeper, meatier, roasted flavor. Without it, it’s just beef, not roast beef. And while there’s not a lot of that roasted portion on any given slice of beef, it’s essential for the right flavor. To get the sear right, heat a heavy skillet2 over high heat, put a little high smoke point oil in the pan, and sear all sides of the roast hard. Get a nice, rich brown on as many sides of the meat as you can. It doesn’t matter that the crust may fade during cooking; after all, this is going to be sliced very thinly.
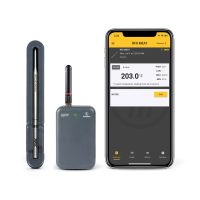
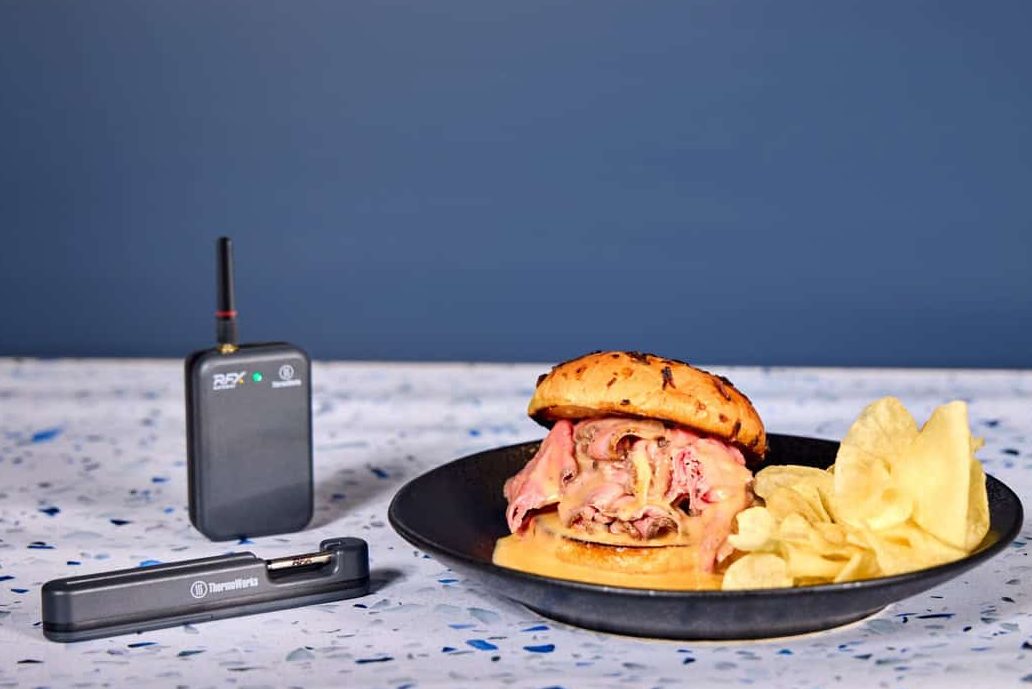
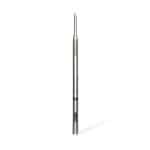
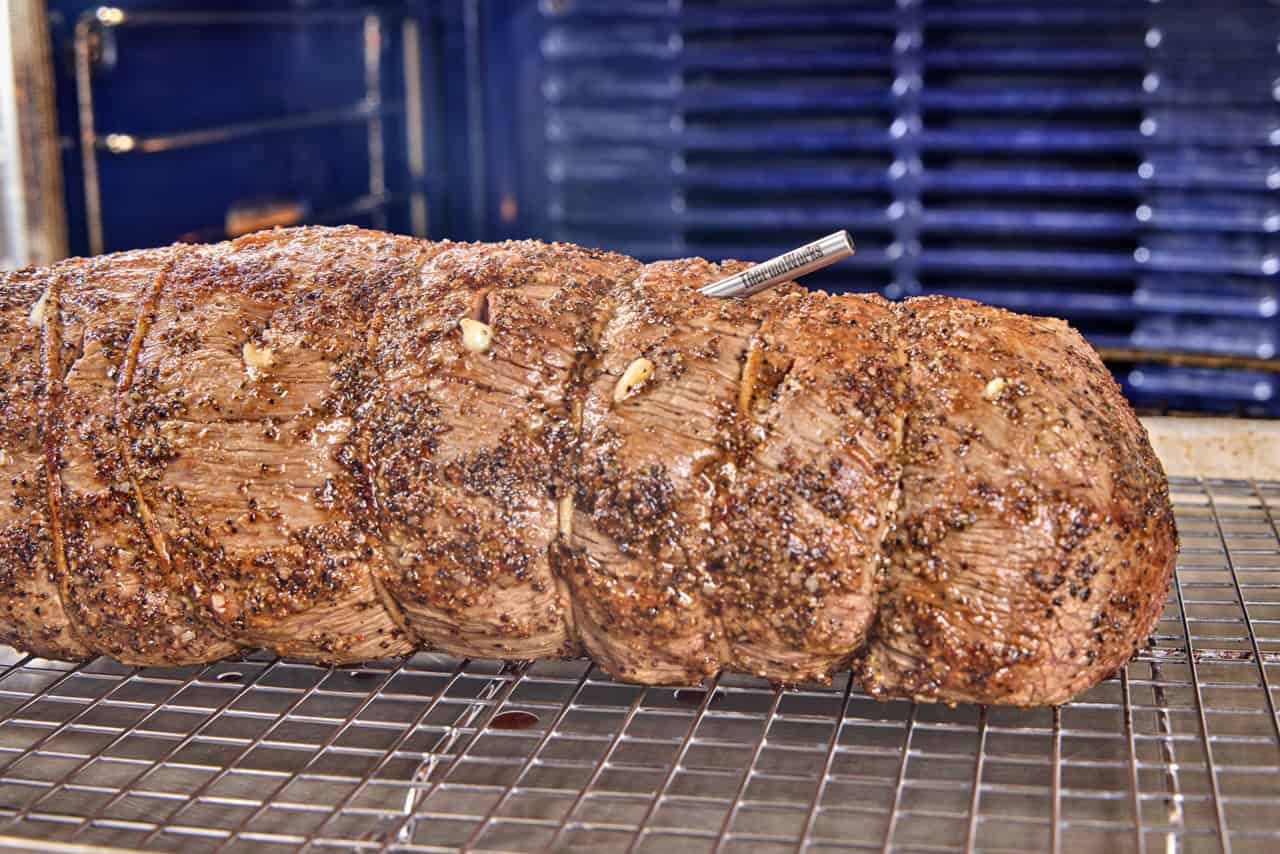
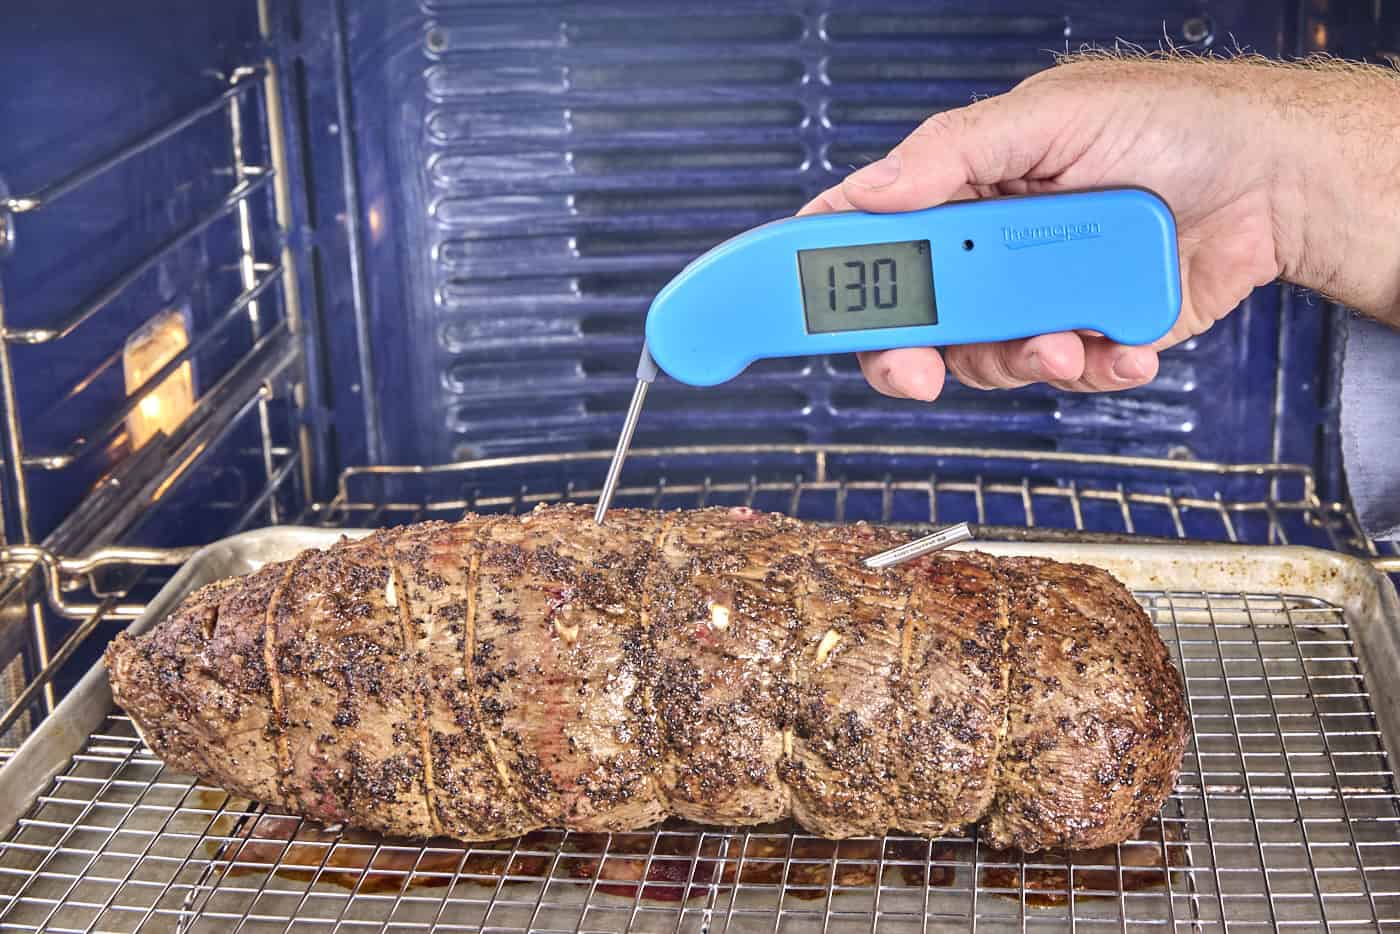
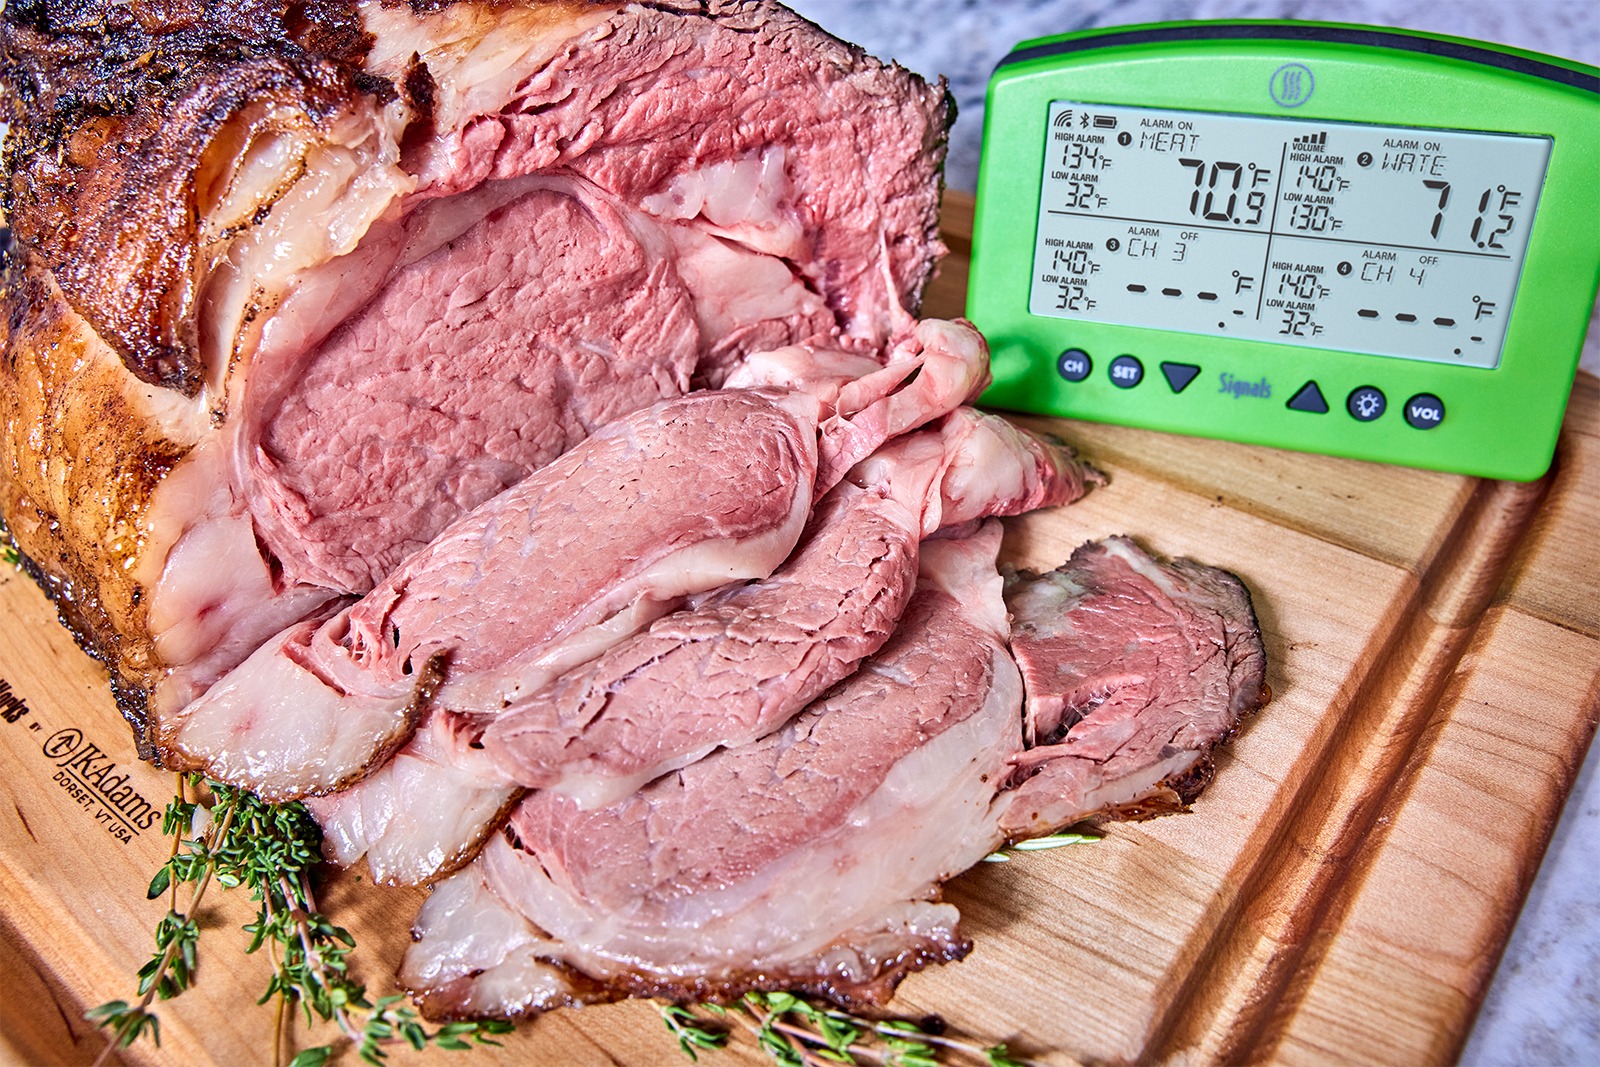
As for the perfect rosy color, that’s easily accomplished by slow-roasting the beef. This has two thermal advantages. The first, most obvious, advantage is that slow-roasting decreases the temperature gradients in the meat, as well as minimizing carryover cooking. That means you’re less likely to overcook the meat or end up with an unsightly gray band around the edge of your sliced roast beef. Using a leave-in probe like the RFX MEAT with RFX GATEWAY will help you know when to take it out of the oven so that it’s temperature-perfect every time you make it. Pulling the beef out of the oven at 130°F (54°C) will ensure a beautiful medium-rare after the 3–5°F (2–3°C) of carryover cooking you can expect from this roast.
But there is another advantage to lower, slower roasting—enzymatic action!3 As red meat comes up to temp more slowly, there are enzymes that activate and break down tougher connective proteins in the meat. The more slowly meat moves through the enzyme-activity zone, the more tender it will become. This is great because top sirloin and, especially, eye of round are not the very tenderest cuts on the cow. A slow roast at 200°F (93°C) will give you the perfect bite and texture for your sandwiches.
Cooling and slicing
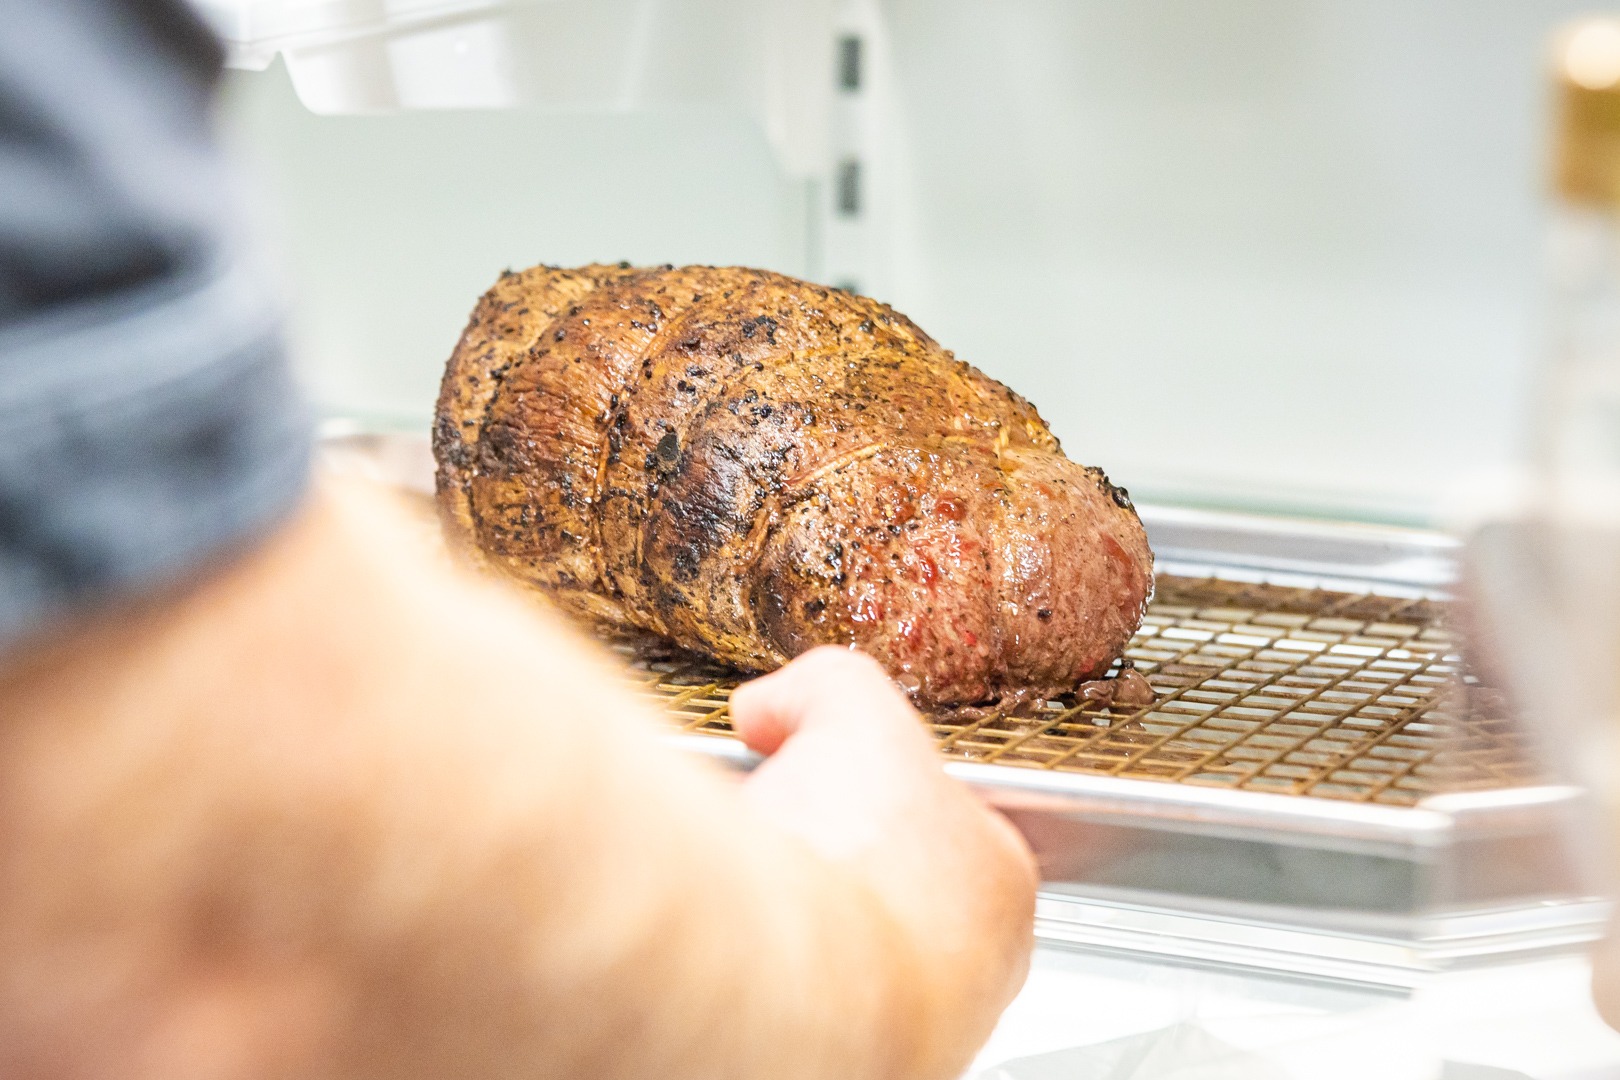
They aren’t called “cold cuts” for nothing. Deli meats are kept cold not only to keep them from spoiling, but also because they cut better when cold than when hot. When a roast cools completely, most of the juice is locked back into the protein structure, and the cold fats become solid. The whole structure is more amenable to slicing than when the roast is hot.
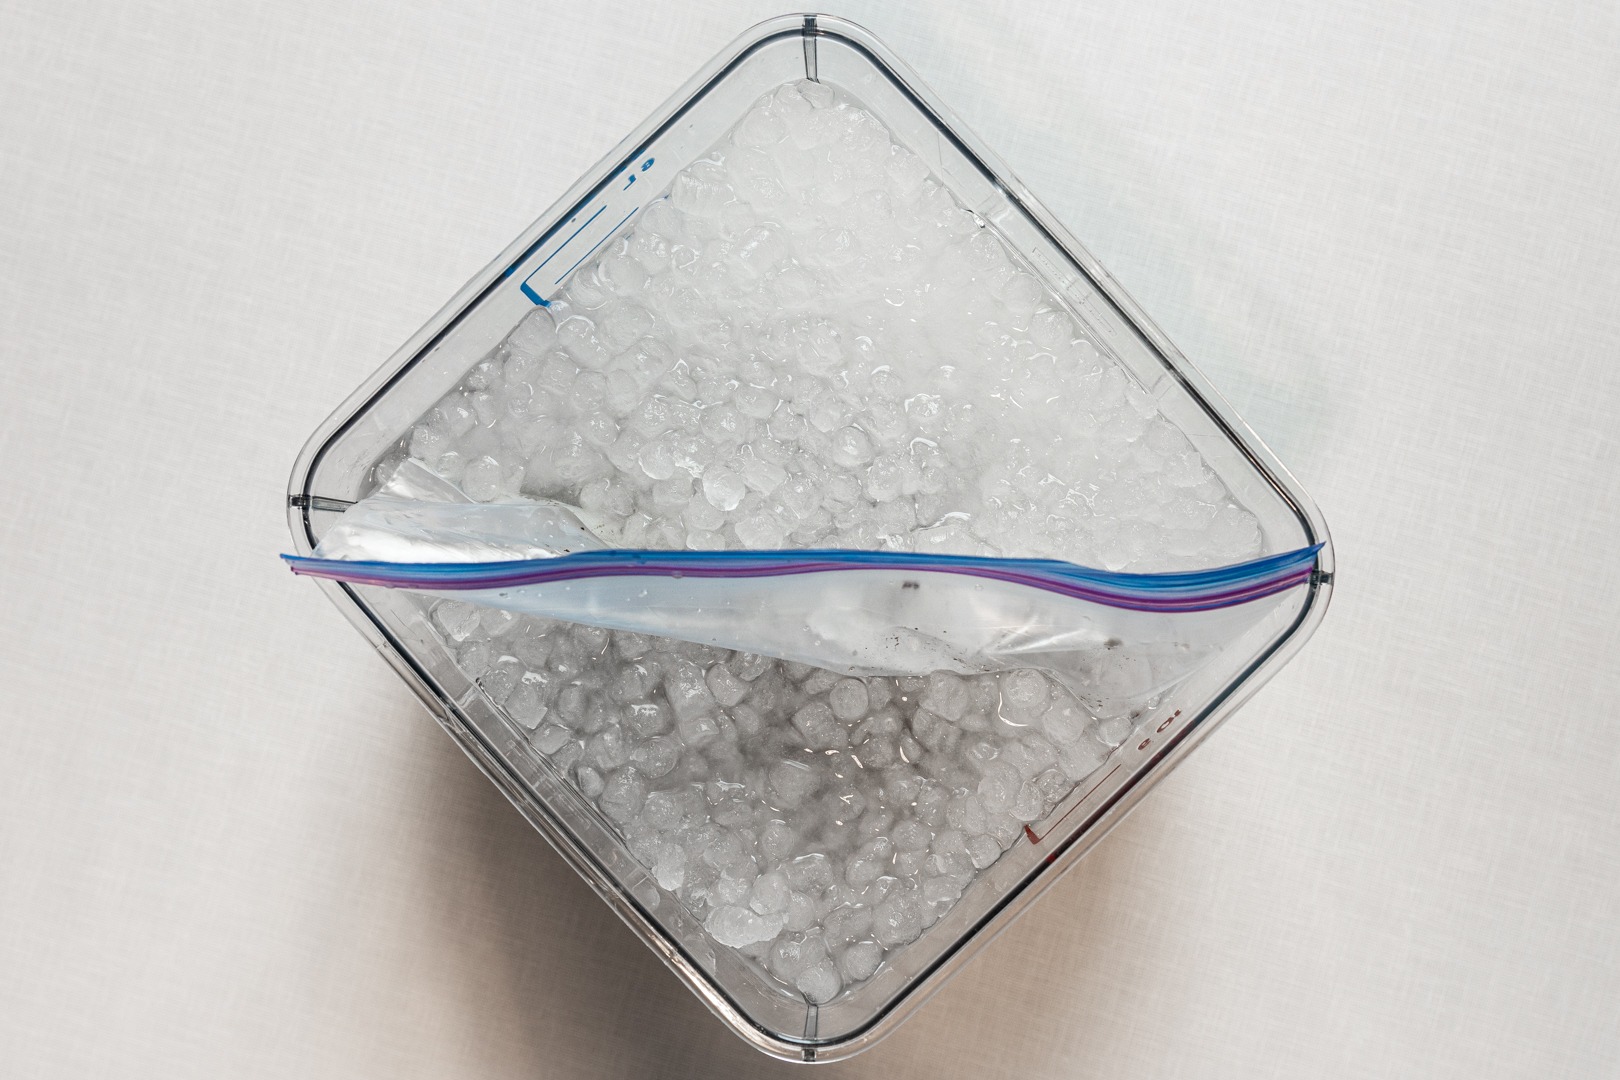
To chill your roast for slicing and for storage, you can simply let it stand on the counter until it nears room temperature, then move it to the fridge for 3-5 hours or overnight. For food safety purposes, get down to 70°F (21°C) within two hours, then get it below 40°F (4°C) within four more hours. The graphing function and the low-temp alarms on RFX MEAT make that monitoring easy. If you’re in a rush, you can seal the roast in a plastic bag and submerge it in an ice bath for significantly less time. There are a few sandwiches that call for hot slicing, but for the most part, cold slicing is the best way to go.
As for the slicing itself, you don’t need the $3–11k slicers I alluded to in the intro. I mean, I want one, but I don’t need one. You can get a decent deli slicer at many home-good stores, and even some sporting goods stores, for very decent prices. And if you need another reason to get one, consider homemade jerky—just a thought. Because slicers can be cumbersome to get out, set up, and wash, it’s not a bad idea to do up a roast or two, slice it all, and vac-pack some for the freezer.
But even without a mechanical slicer, a sharp slicing knife and a deft hand can still get you respectable sliced beef for your sandwiches. Just take the time to focus and do a good job. Your mouth will still thank you.
Roasting your own beef is incredible, not just because it’s cheaper than deli-bought, not just because it’s delicious, but because it’s your delicious. Make it to your doneness spec, season it how you like, and get it sliced the way you want it. Make up a whole roast, slice it all, and have Italian beef sandwiches for the family for dinner. Make sandwiches from cities you haven’t yet visited. Just load up a hoagie bun for lunch! No matter what, you’ll know it’s made just how you like it, because you used RFX and Thermapen ONE to make sure the temps were spot on. And when the meat is perfect, the sandwich life really is the life you want to live.
Notes:
If you want to make a sandwich with beef and, say, a cheddar sauce, look at the cheese sauce in our post on melting cheese for nachos for a good starting point that you can modify to your liking.
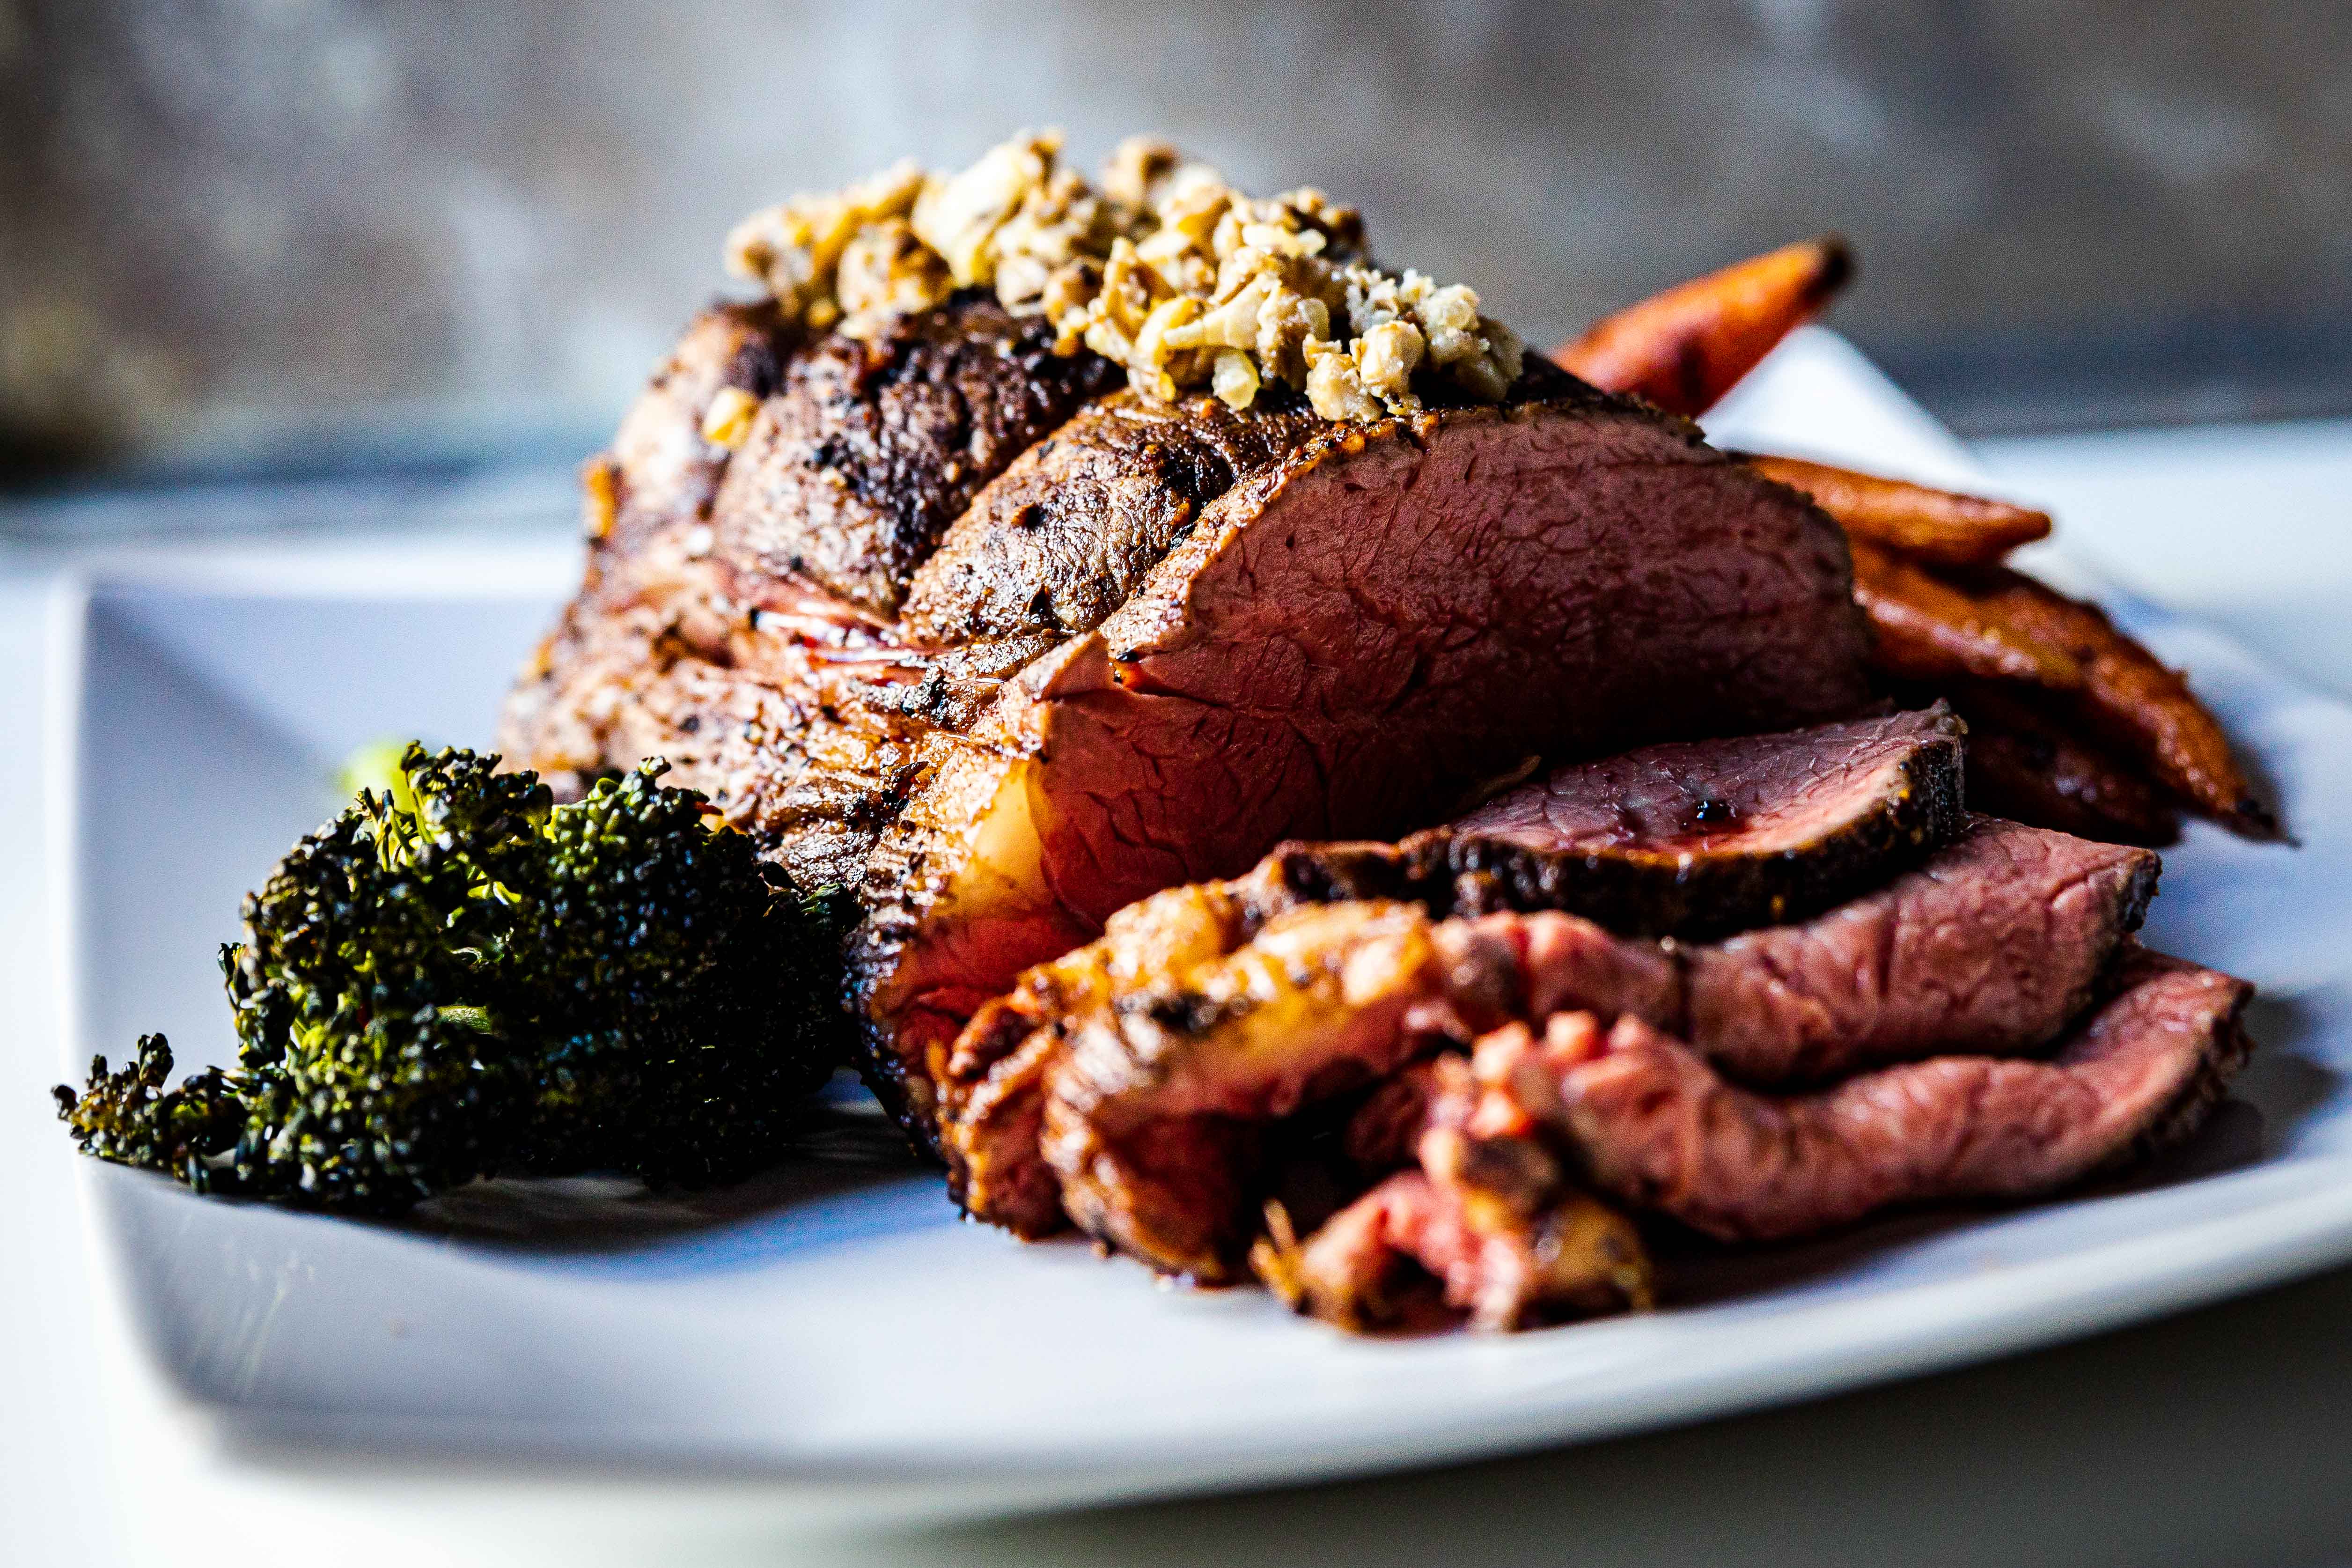
We made our roast garlicky by inserting most of a head of garlic into it after searing but before roasting. We peeled and slivered all the cloves, then shoved them into slits cut in the beef with a pointy knife. Optional, but very tasty.


Homemade Deli-style Roast Beef Recipe

Ingredients
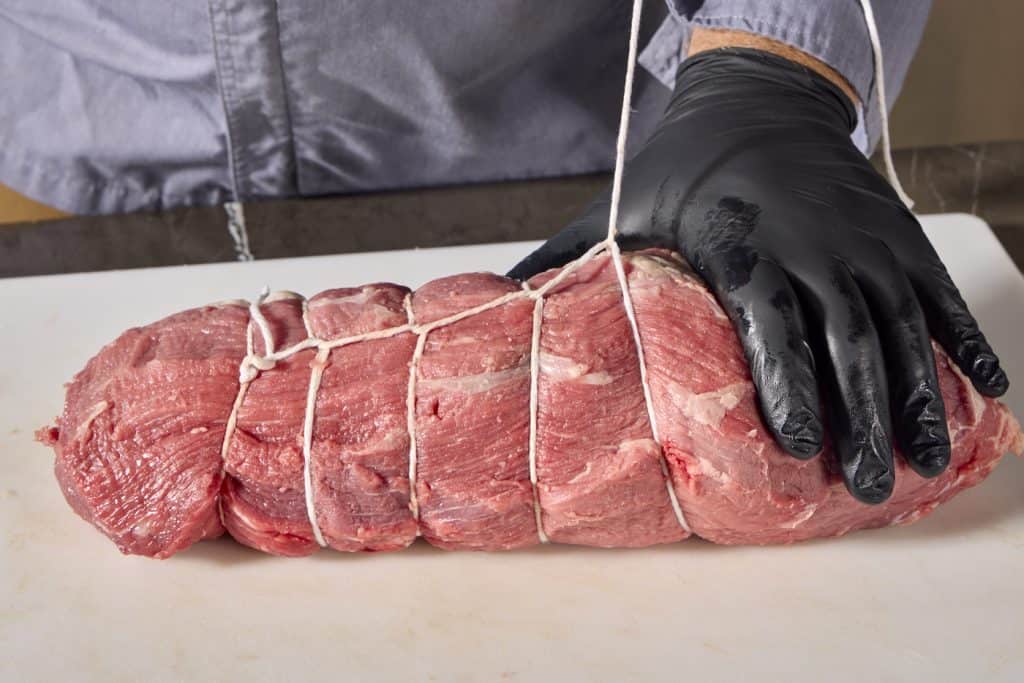
- 2-3 lb eye of round roast tied
- Kosher salt
- Pepper
- Other seasonings as desired see note below
- 5-10 cloves fresh garlic
Instructions
- For best results, salt the roast liberally the night before cooking and leave it, loosely covered, in the refrigerator. This step is technically optional, but it is also strongly recommended.
- Preheat your oven to 200°F (93°C).
- If you salted the roast the previous night, apply pepper as well. If not, apply salt and pepper
- Heat a cast-iron skillet or a griddle on the stove over high heat. When the pan is quite hot—400–475°F (204–246°C) (use an Infrared Thermometer)—add a little high smoke point oil to the pan and sear the roast all over until beautifully browned.
- Remove the roast from the pan and place it on a rack set into a cookie sheet.
- Insert an RFX MEAT into the center of the roast and place the roast in the oven to cook. Set the high-temp alarm on the ThermoWorks app for 130°F (54°C).

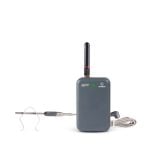
- When the alarm sounds (it will probably be 90 minutes or more), test the doneness of the roast with your Thermapen ONE. If that test verifies doneness, remove the roast from the oven and let it cool.
- Once the roast is nearly room temperature, put it in the fridge overnight. Make sure it cools quickly enough.
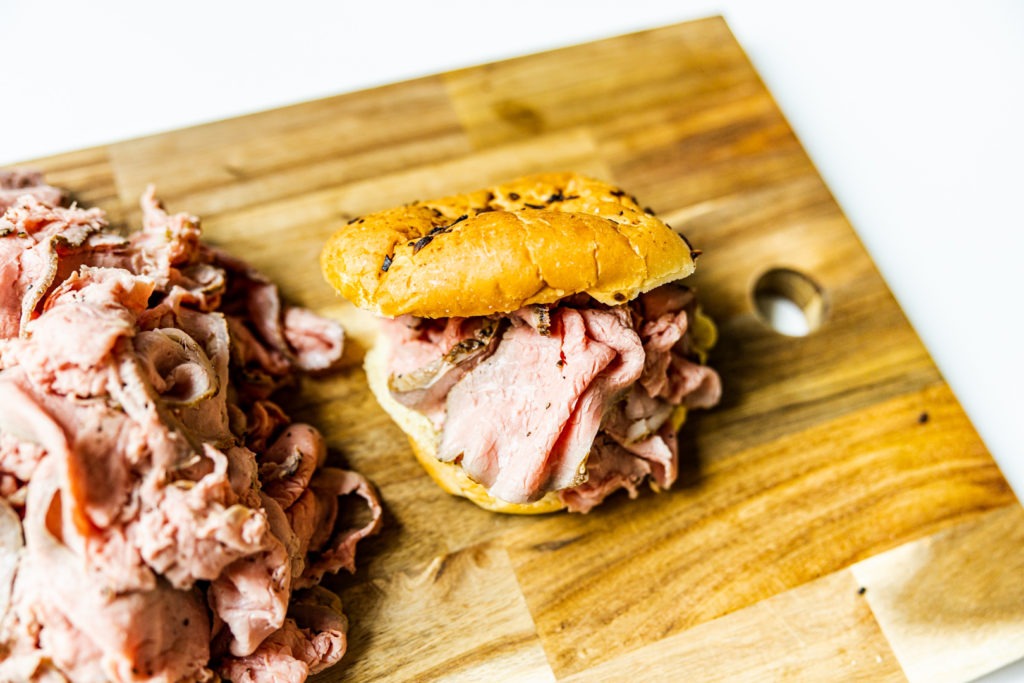
- Slice it to whatever thickness you like for your sandwich, pile it on the bread, and go to town. Enjoy!
Notes
Making your own deli meats should save you quite a bit per pound, by the way. Maybe you can use that fact to justify a slicer!↩
cast iron is best if you have it↩
Speaking of low/slow, if you wanted to smoke the beef for your roast beef, that’d be delicious. Follow the same temperature protocols, just change the cooking location from oven to smoker.↩
I have sliced a lot of different meats manually with very high grade steel for years. I started in a restaurant in high school 60 years ago and learned how kitchens (at least those that are old school) should function.
Using a good steel blade that is honed correctly will produce a very good slice, but it takes practice and the correct knife for the job. Oddly enough, I have always had much success with a 12″ non-serrated bread knife razor sharpened. However one needs different knives for the same job, some smaller such as an 8″ paring knife for tricky areas and removing bones in poultry.
That said, at my advancing age, it has become more difficult to manually fine slice cold meats due to arthritis. I am speaking of cold pastrami, corned beef, and turnkey all of which I make always using the slow cooking method (my taste is that it is done in a smoker or a coal-fired (indirect heat of course) grill). They are all properly brined, and in the case of pastrami, a procedure that occupies about 14 days and a lot of refrigerator room—but worth the wait!
For slicing cold meats down to extremely thin, and up to 1/4 inch I have used a Chef’s Choice Model 615 which I bought a few years back perhaps for $300 more or less. It works perfectly, although I suggest doing a lot of slicing in a single job since the clean up is somewhat time-consuming (removing the circular blade, etc).
For hot meats, I will always slice by hand with a proper honed blade.
I use a Thermopop as well as “Smoke” with alarm and was directed to your company several years ago by Amazing Ribs, of which I am one of the founding members “KINGBBQ.” The blogs there are tremendously helpful especially for anyone passionate about grilling.
Your products are most professional and I highly recommend them.
I have two questions. I am a knife enthusiast, and I own many, many knives. However, I have never seen an 8″ paring knife, nor have I ever seen a 12″ non-serrated bread knife. Furthermore, I have never seen any non-serrated bread knife of any size. Where can I find these knives of which you speak?
I was thinking EXACTLY the same things as I was reading!
Maybe he sharpened those knives to the point where they became what he’s describing. 60 years of (improper?) sharpening could do that!
130 is way to high of temperature nothing will be pink at that temperature
Pull out at 115-118 sit for 20mins it will be perfect
Thank you for your comment! We pulled ours at 130°f and were delighted with the final color and tenderness of the product.
Was too dry at that temp. Maybe your thermometer is overstated?
I’m sorry to hear it was too dry for you! If you knock 4 or 5 degrees off your finish temp, it will be more moist. We were going for a middle medium rare, it sounds like you like your roast beef more on the rare side, which is great!
I turn The oven off at a little before 120 and by time oven cools its done at 130 or there abouts
I pulled it at 54C and it was perfect. Also, another alternative (better one) is to sous vide at 54C for 15 hours (set it and forget it)
Can I cook it the whole time at 200 degrees in my smoker? Do you recommend a minimum time in the smoker and then save pellets by using the oven to finish it off? Can I skip the searing if I just salt it and smoke it?
Marilyn,
Yes, you can cook it in the smoker the whole time, but if you want to save pellets by moving it to the oven, I’d give it a good 45 minutes in the smoke first. As for skipping the sear…I’m torn. I don’t think you’ll be in the smoker long enough to form up a good bark, so the sear would still be necessary. That being said, if you were in the smoker the whole cook, you might get enough bark to form that you won’t miss the browning as much.
“When the pan is quite hot (use an infrared thermometer to take its temperature if you have one) “.
This seems like a strange statement coming from a thermometer company. Do you sell an infrared thermometer the reads “quite hot”? Come on man, give us a TEMPERATURE!
Alan,
Right you are! You need a temperature of 425°F or higher for a good sear. The hotter the pan, the faster and deeper the sear, but nothing below 425°F is even worth your time.
If possible, recipe should suggest internal meat temps for medium, medium rare and rare as well as estimated cooking times for a typical size top sirloin or Eye of round roast The only internal temp given for the meat is 130, without description of done-ness.or length of roasting time
Ruth,
Fair point! For medium, shoot for a final temp of 135°F. The total cooking time for one of these roasts should be about 2 hours, give or take.
Eye of round is one cut of beef that I have found to be beyond redemption: tough but flavourless. Hence it is not even worth the effort of doing a 72 hour sous vide on it at, say, 136F.
I am surprised that you have mischaracterized this cut.
I understand your feelings on this. But I have found it to make good roast beef for this purpose—we even used eye for our cold-cuts at the b utcher shop I used to work at. You can certainly apply the principles from this recipe to any cut that you like.
I have not experienced the same problems with eye of round that you mention. It is my go-to cut of beef for making roast beef. I source my beef from a small family farm. If you are buying your beef at a supermarket or other large store, you might want to deal with a smaller producer who can sell you a really great eye of round that you would be proud to serve to royalty. If you are already dealing with a small family farm, you might want to adjust your cooking technique, because your experience isn’t normal for that cut of meat.
Look into a jaccard tenderizer — made a huge difference for my eye of round process. Then you can add some marinade after slicing if desired.
Ok now that we have the meat recipe. I need a good au jus recipe for French Dip sandwiches
Sauté an onion in some butter. Sprinkle in a little fresh or dried parsley and a decent amount of black pepper. Deglaze the pan with some red wine or beef stock. Add more beef stock, then cook it to reduce by about half. Add salt to taste. I also like to sauté a pepper with the onion, sometimes I’ll throw in a little fennel seed (for Italian flair). This will, of course, be best with homemade beef stock, but if you don’t have any, use the best beef broth or stock you can find.
Highly recommend that this be prepared in the pan after searing the roast.
Thanks for the article! Do you recommend bringing the beef to room temp first before searing it?
No, not really. With the low oven temp, the gradients will have time to smooth themselves out just fine. In fact, going with a cold roast might be even better. We learned about that while writing our How to Cook Perfect Prime Rib post.
If I do this per your recipe, how can I heat the meat up after slicing without drying it out.
Thanks
I follow Kenji’s advice from SeriousEats: heat it gently in warm broth or jus. YOu can heat a pot of beef broth or beef jus to 120–140°F (check it with your Thermapen!) and drop the meat it, giving it a stir. You get a good interchange of flavors, and hot, juicy beef for your sandwich.
I turn The oven off at a little before 120 and by time oven cools its done at 130 or there abouts
The only way to achieve the desired result is to use a “professional” quality electric slicing machine with a super-sharp blade. Eye round has been my cut of choice for many years.
Be sure to refrigerate the cooked meat thoroughly for at least 24 hours before cutting into it. Do not attempt to slice hot or warm meat. The difference in the amount of juice lost on the slicing machine will be astounding. Nothing will ruin a good piece of meat faster than trying to slice it while it’s hot or warm. It must be COLD!
True!
Cold meat is important as you mention. However, it seems you might need to either get some new knives, or have the knives that you already own professionally sharpened. I can easily cut beef that is paper thin. I can cut onions that are so translucent that you can read through them. This is definitely within you abilities if you practice you knife skills with a quality knife that has been appropriately sharpened.
Hi, just wondering if you have a salt to meat weight ratio, or at least an average quantity of salt used for the dry brining? Thanks!
Good question! I’d shoot for a 2–5% salt ratio.
Great article. For slicing, I put it in the freezer until it gets firm but isn’t rock solid, then I slice it on a mandolin. You get very thin slices and it cuts fast. I suggest the Benriner jumbo. Way better than an electric slicer.
I have a mandolin, and will have to try this out! Great advice.
Thank you for the comment about using a mandoline. I have an OXO V-blade one and although it does a great job on veges, I wondered whether beef would be too much for it. Short term freezing seems to be the key! Now with the tragic listeria deaths from Boars Head liverwurst (late summer 2024) I am more and more interested in making our own deli-style sandwich meats.
You don’t need to spend thousands on a hand cranked slicer. There are quite a few commercial grade 10-inch blade deli slicers for around $400-600. KWS and Beswood are highly recommended by users, and there are others as well.
You can get a decent European slicer knife for about $150 (and up). Or even better, a Japanese knife for $300-$500. You will have to practice you knife skills, but either of these options will be a better investment than the commercial deli slicers because they can be used everyday, instead of just when you want to slice some roast beef. You can do this! Just get a good knife and practice.
I HOPE to cook one of these tomorrow. Do I put it in a covered baking pan. Something like a dutch oven?????
I an not very successful with roast and really need this to be right.
I hope I’ll get a reply
I’m sorry I didn’t see this comment sooner. No, you don’t put it in a covered pan, just a baking sheet does fine.
Just a comment on slicers. I fully understand, especially as an engineer, the desire to own and use the best designed and made tools or equipment. This should not override using a more basic tool that gets the job done. Many people really question how often they would use a slicer, where they would store another piece of equipment, or are on a tight budget.
One option is to look for hidden treasure in a (gasp) thrift store. It seems seldom-used electric slicers are somewhat-regularly donated. This requires patience; first to spot one, then to make sure it’s a decent slicer. No, it won’t be the best, but it will work and curl off clean, thin slices.
0nce you have it, you start to realize where it can save you money. A chub of hard salami is more than a $1/# less the the exact same salami pre-sliced. At my local discount grocer, I can buy whole, vacuum-packed deli counter meats (okay, so i dont always smoke my own) for half-price compared to the deli, then slice it at home. With experience and low investment, it is easier to decide if you want to step up to a better slicer.
Just food (meat?) for thought.
Fantastic!
For a household of two, this is a lot of meat. Could it be frozen after cooling, or would that damage the texture?
Yes, you could freeze it! I’d freeze it in chunks, though, not slices.
This was a great recipe. I tried it and the meat came out perfectly and very flavorful. I’ve also used a sous vide recipe that has worked well. Both using Eye of Round. Eye of Round sliced thin is perfect for sandwiches. Thank you for your au jus recipe and will give that a try for french dips. Thanks!
I buy a boneless half rib eye roast (the half with the bigger cap), have the butcher take off the cap (for a separate meal), trim the eye, dry brine the eye for two days, sous vide at 131 with some garlic cloves, more salt and pepper, then sear in a 525 oven for ten minutes. Delicious hot for dinner (with some red wine demi-glace and maybe some cream horseradish), then great the next day for sandwiches. More expensive, but doesn’t get better than that.
What temp to roast at? 200F as in this recipe or 250F in the email that links to this recipe?
Oops! Honestly, either is fine, but for optimal tenderness, 200°F is best. The slower the meat comes to temp, the more enzymatic tenderization happens in the meat. Cooking at 2000*F will give it a little more time in that melt zone, making for less chewy meat. BUT! Cooking at 250°F is still plenty low and slow and will shave a little time off the cook, still with excellent results.
I cheat and sous vide rump roast at 128F for 18-24 h. Dry age in refrigerator for 3-4 days minimum beforehand.
I do a reverse sear for pink to pink edges. 200 degrees in the smoker until the internal temp hits 110. Pull it and let it rest a minimum of 30 minutes. Meanwhile bring your oven up to as hot as it will go. At least 500 and put it back in until the internals hit 125, Pull and let rest.
If you do reverse searing you can season with herbs and such from the get go. Both methods work.
As a chef, I disagree with almost everything. Tri-tip, seasoned heavily, sous-vided at 124 degrees overnight, rested for an at least an hour (saving the juices out of the bag to add to the jus), then seared in a 550 degree oven for 15 minutes. Slice very thinly across the grain.
We didn’t say this was the ONLY way to do it, and not everyone has a sous vide circulator, which, yes, is a TERRIFIC way to make deli roast beef.
Sous vides are for people who don’t really know how to cook. “As a chef…” PFF!
Everybody is a critic! Tsk, Tsk.
I admire your cool regarding all the dissenting comments.
This is a great recipe and I thank you for it.
Thank you!