BBQ 101: An Introduction to Smoked Meat, part 2
As we continue a look at the basics of barbecue, we come to the important choices of what kind of smoker to use and what kind of meat to cook. With the profusion of smokers on the market today, the choice can be daunting, so we’ll talk you through the major types, as well as the major BBQ meats so that you can either get going on your first BBQ cook or plan your next block-buster smoke-out.
Contents:
Guide to Smoker Types
Once you’ve decided what fuel you want your smoker to run on, you still need to choose the kind of smoker you want to get. Smokers come in many strange and interesting shapes, from home-built rigs to highly automated fireboxes, and the many geometries and materials affect the way you use them. They each do different things well, so take a look and decide what you want in your smoker.
Kettle grill smoker
The kettle grill/smoker is the cheapest options for a smoker. Run on wood (sometimes) or charcoal (usually), a classic kettle grill can be used as a smoker by careful arrangement of the fuel into a ring or by setting it up for indirect cooking.
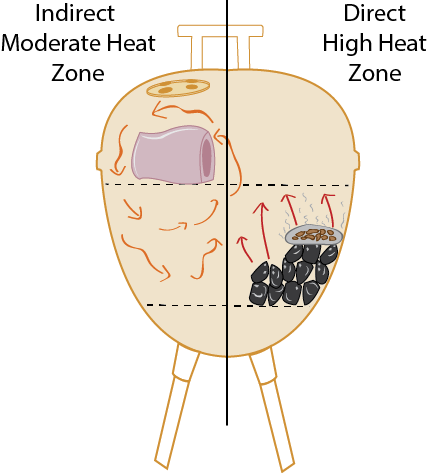
A kettle grill is a great way to smoke smaller cuts like tri-tip or a single pork butt, but most kettle grills don’t really have the size to accommodate a larger cut like a whole brisket or even two pork butts. The fire in a kettle grill may need to be tended much more frequently than in some of the designs we’ll discuss below, making it difficult for much longer cooks. If you aren’t going anywhere for a while and can tend your fire that’s ok, but it may make for a long and sleepless night. On the positive side, you probably already have a kettle grill! A kettle grill is a great way to try the waters of smoking meats at home to see if you want to take the plunge and dive into something more expensive. (As a note on human nature and BBQ culture, I have observed that once a person gets into barbecuing, it isn’t long before they have two, three, or even four smokers! There is a high probability that if you like this game, you’re going to end up with another smoker eventually, so don’t worry about getting the “best” one right up front.) Plus, as an added advantage, it’s also a grill so, you know, two-for-one.
While it is true for all smokers, it is especially true for the kettle grill that you must practice proper cable management to avoid burning out your cables.
Bullet smoker
Bullet smokers are, in many ways, glorified kettles, and I mean that in a good way. If you were to take a kettle grill and stretch it vertically, you’d get the shape of a bullet smoker. By adding more space between the fuel in the bottom of the smoker and the food, you take away some of the pressure of proper fire control. A slightly hotter fire is just fine, as the heat can dissipate a little before it gets to the food. The added height also allows for the inclusion of a substantial water pan inside the smoker. Whether or not you put water in it (thus creating a more humid environment, preventing your meat from drying out and helping to speed the stall) or not, the presence of the dish acts as a buffer against radiant heat that can scorch the bottom of your precious brisket.
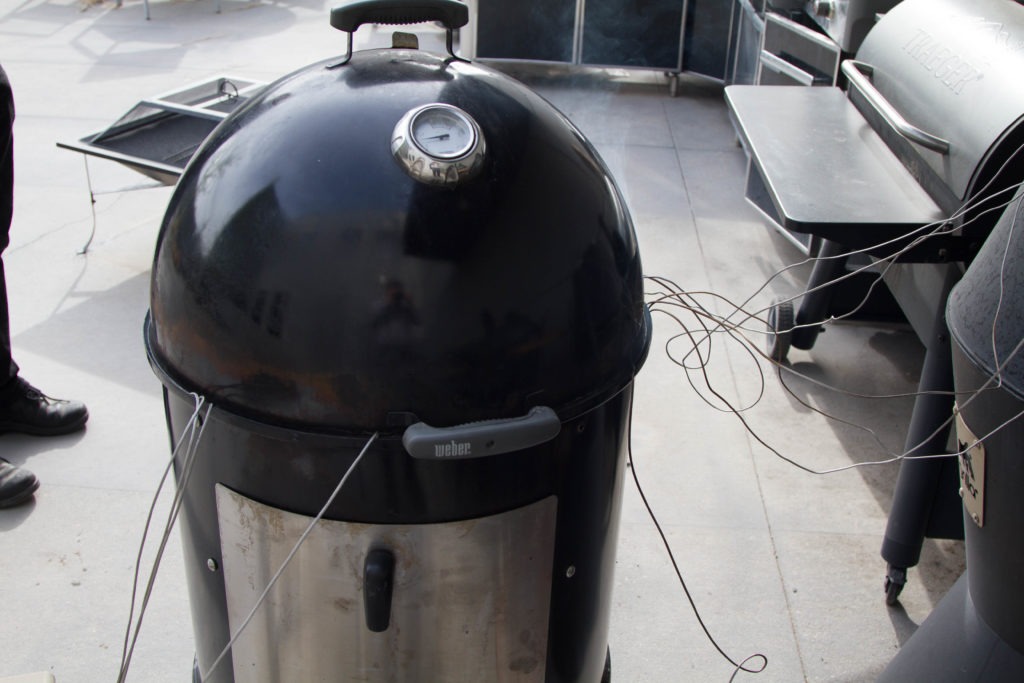
Bullet smokers are charcoal burners, and thus not as easy to use as a pellet smoker, but they are great for people transitioning from dabbler to fanatic and offer excellent results with a relatively small outlay. I have cooked my most delicious briskets in a bullet smoker.
Barrel smoker
Barrel cookers were originally made of cleaned out oil barrels. Now they are mostly made to look like they used to be oil barrels, even though they are made-a-purpose from the beginning. They stand vertically, with a fire basket in the bottom and a grate up top with variously placed holes for utility and ventilation. One of the most popular brands has holes for rods and hooks for hanging meats vertically in the barrel, which is perfect for things like char siu pork or picanha steaks.
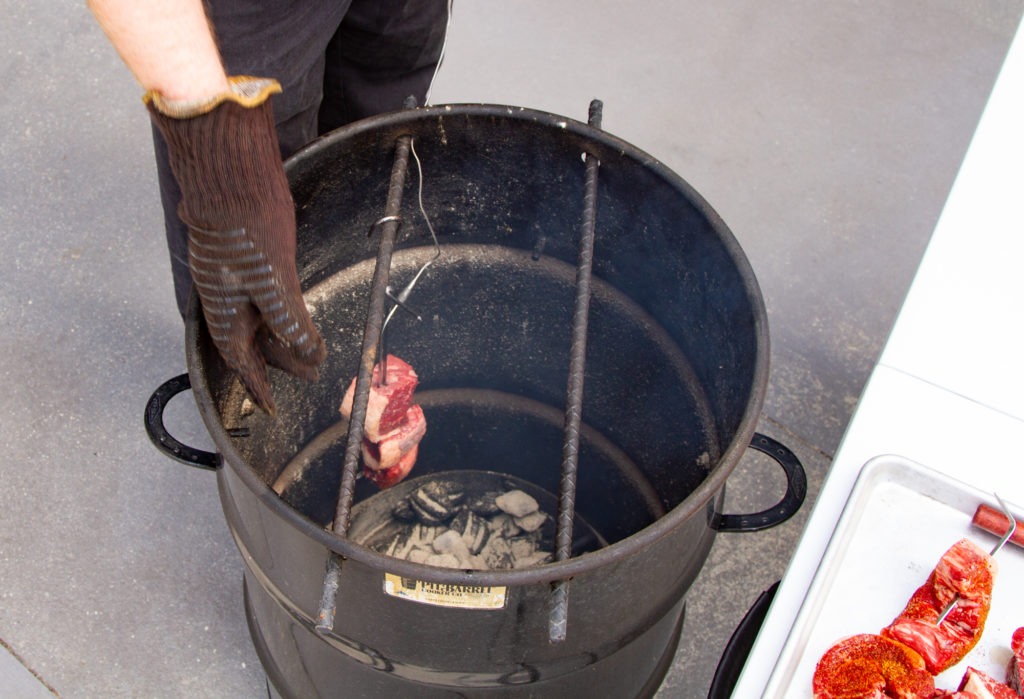
When it comes to cost, a barrel cooker is not super expensive. Plus, they are easy to make on your own, so if you have an enterprising spirit and some good tools, try your hand at it and see how it goes—just be sure to burn out any residues from a barrel that you bring home!
These charcoal burners can be pushed to very high temperatures you need them to be, even acting as a grill. However, because of the fire basket’s location at the bottom of a hot well, it can be very hard to refuel. These are good for everyone from the well-versed adventurous beginner up through the expert.
If you use a barrel cooker, be sure to run the probes for your thermometer through the holes in the side near the top to prevent kinking or overheating the cables.
Kamado-style/ceramic egg cookers
Also called kamado grills, egg-shaped ceramic smoker/grills are descendants of the Southern Japanese mushikamado, a clay-walled, dome-lidded cooker that made its way to America after WWII. These grills are heavy, and the solid ceramic construction yields excellent heat retention. A preheated kamado/egg cooker will stay hot for a long time and will therefore need less fuel to keep the cooking temperature up.
Kamado-style cookers have a nearly cult-like following, with devotees cooking everything imaginable on them and rabidly evangelizing for their preferred brand. And it’s easy to understand why. The cookers are excellent grills, great smokers, and—if properly fueled, preheated, and ventilated—can even sub in for a tandoor oven. They are not super easy to learn to use, but once mastered are pretty easy to control. Many people use a third-party fan blower with an attached thermometer to control the internal temperature of the cooker, rendering the kamado nearly as easy to use as a pellet smoker.
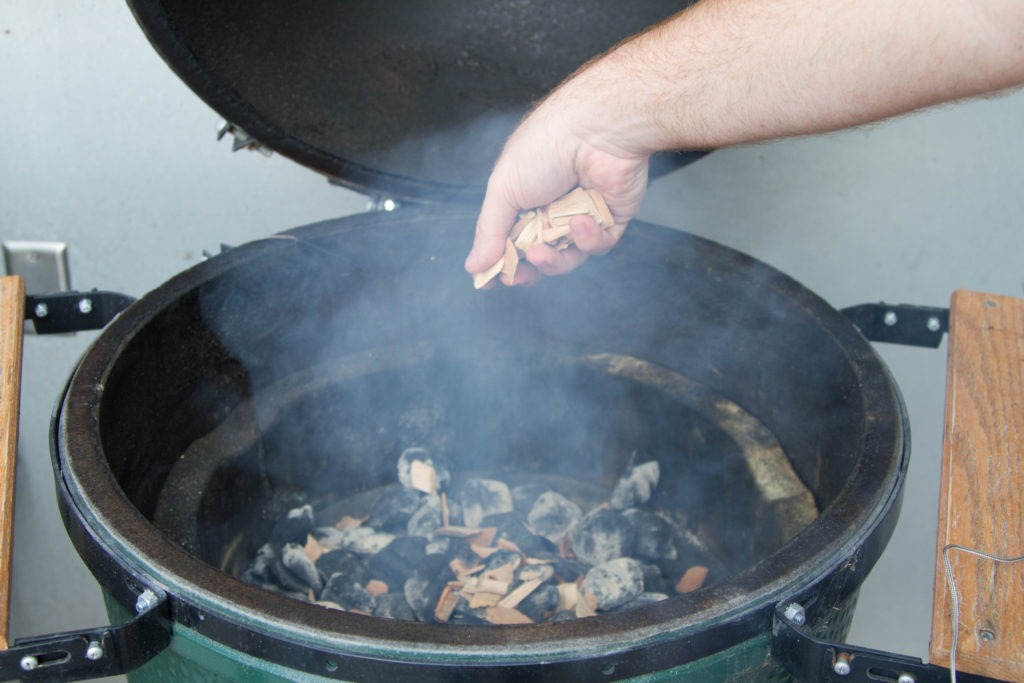
Note that the included dial thermometer on kamado smokers is about as functional as a hood ornament on a car: it looks nice, but it isn’t doing anything useful for you. Monitoring the temperature with another thermometer is necessary for best results. But remember that the charcoal heat of the kamado can be intense, so make sure you run any cables into the smoker and over the legs of the diffuser plate to avoid damage.
Kamado cookers are not exactly cheap. Depending on the size (anywhere from “small cookout with a few burgers” to “feeding piles of pork butt to a party”), this is one you might get but then also have to promise your significant other a fancy vacation somewhere warm and sunny.
Offset smokers
Offset smokers are the big leagues, and they don’t mess around. Offset smokers are almost always stick burners, with a firebox welded to the end of the smoker. You stoke the firebox with logs and the smoke is drawn through the cooking chamber and up through a chimney on the opposite end.
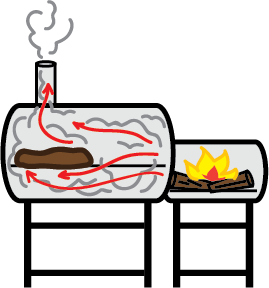
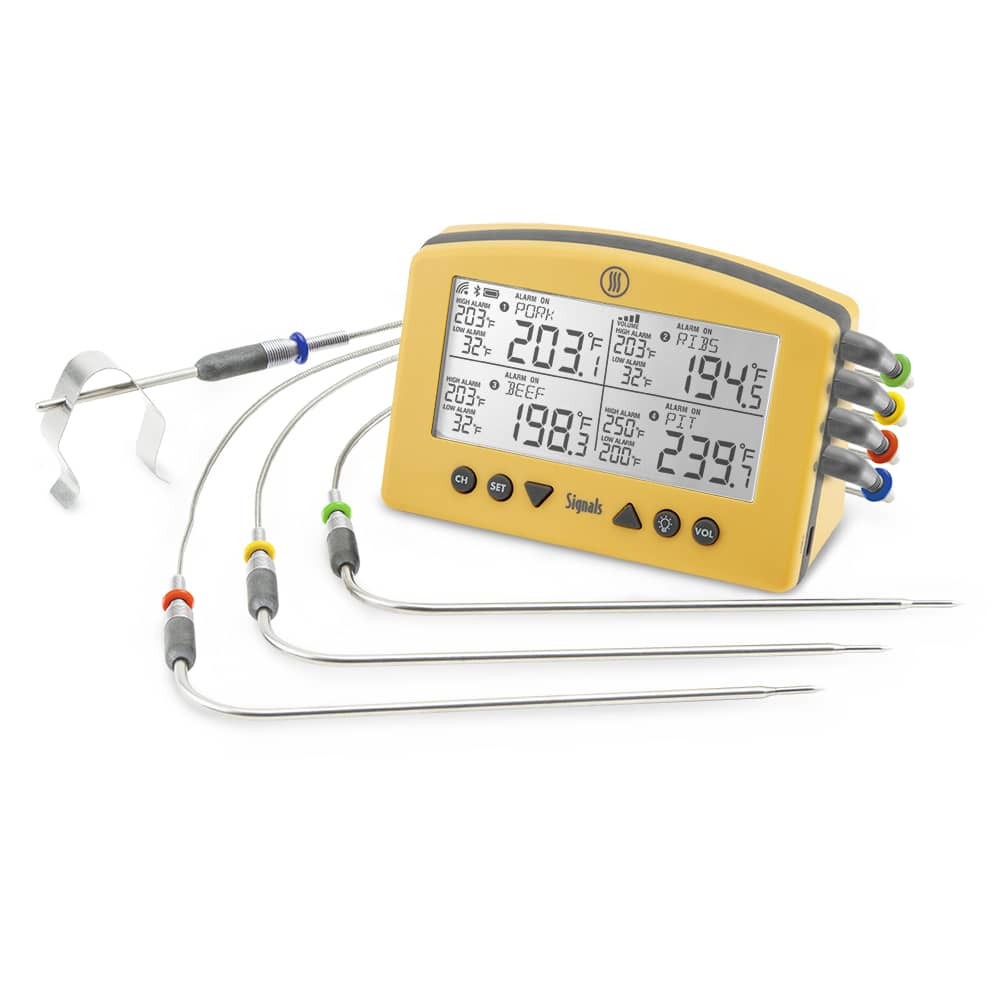
Offset smokers can be, well, cantankerous. The vents on most of them are less than precision built, and there is a lot of internal temperature management to be done. Spots near the firebox will be much hotter than those by the chimney, so the pitmaster must navigate what goes where and when to get the best results. They are also often large enough to fit multiple briskets, and between the room for many meats and temperature gradients across the cooker, a heavy-duty multi-channel thermometer like the Signals™ is highly recommended.
Cabinet smokers
Another popular smoker form is the cabinet smoker. These are usually upright rectangular cabinets with a smoking plate at the bottom and a chimney up at the top. Meats are stacked on shelves in the smoker and the smoke filters through them on the way up through the chimney.
These seem to be gaining popularity and are often available at places like Costco or Sam’s Club. Most of them are heated by an electric heating element at the bottom of the smoker that has a thermostat attached to it, cycling on and off much like a pellet smoker. Wood chips are placed on a plate over the heating element, smoldering to produce smoke. Those that don’t run on a hot-plate concept but are not offset use an electronic fan control to manage the fire. Again, that is pellet-smoker ease.
Some cabinet smokers are offset smokers, with their attending difficulties, but most have built-in temperature control, making them nearly as easy to use as pellet smokers. (Again, make sure that the temperature is accurate by testing it like an oven.) They range in price and quality, so do your research to find one with solid build quality and thick heavy walls for best results.
Drum smokers
Drum smokers are horizontal cylinders with a lid that lifts vertically on the front and they come in two basic flavors: pellet smoker and offset smoker. Yes, the two opposite ends of the barbecue spectrum both fall into the same geometry. The oil-barrels-welded-end-to-end utility works so well for the offset smokers that are seen at competitions that the pellet smoker companies adopted the aesthetic. It’s classic and appealing, but there are differences you should consider. For the sake of heat retention and fuel life, drum smokers with thicker walls are better than thinner walls. The added thermal mass of the thicker walled smokers also creates a more even cooking environment.
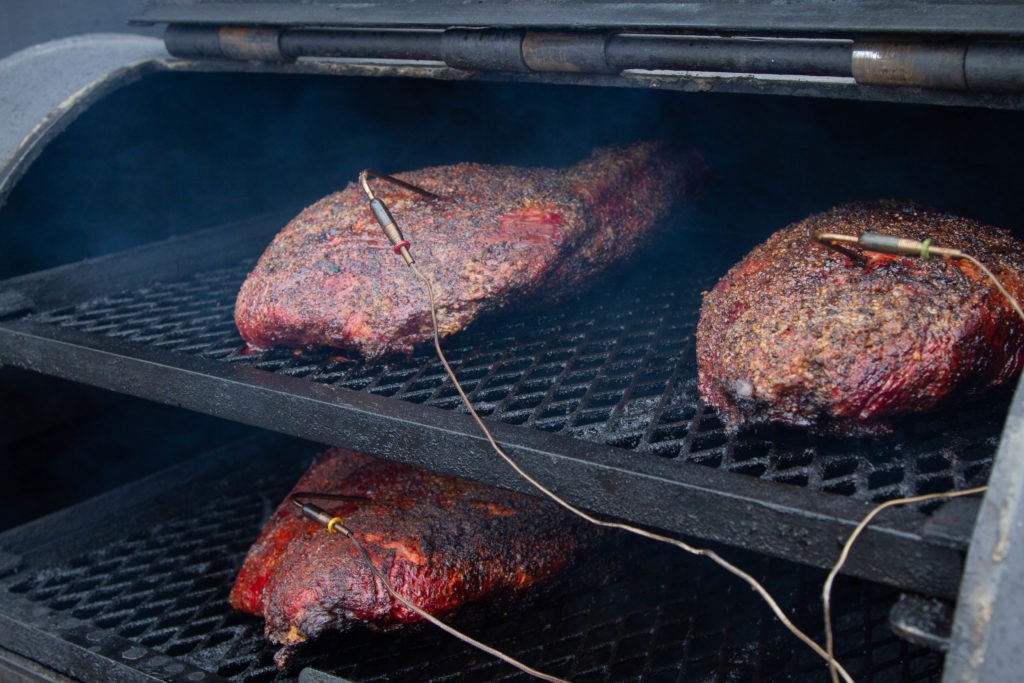
Some drum smokers are not offset and run on chunks of wood burning directly in the bottom half of the cylinder. These are very easy to build but not super easy to control. It is a much more advanced technique.
Because drum smokers range from the cheapest of pellet smokers to large rigs that are towed behind trucks, they also range widely in price. And because they range from offset stick burners to pellet smokers, they also range in difficulty level from super easy to (sometimes frustratingly) hard. You can probably find a drum smoker that fits your budget, and you can certainly find one that fits your skill level. Finding one that fits both may be a good deal harder!
Open pit BBQ
Perhaps
the most traditional BBQ cooker is the open pit. This can be anything from a
hole in the ground to an insulated cart to a cinder block construction and is
fueled differently than all the smokers we’ve talked about. For one, it isn’t
about smoke. To heat a BBQ pit, the
pitmaster will burn chunks of wood in a barrel or fireplace until they become
glowing embers. The hot embers are then shoveled into the pit underneath the
cooking meats, usually without adding any fresh wood for smokiness. This method
is pretty standard for cooking whole hogs. The heat is still low and slow but
the emphasis is not on a smoky flavor. The smokiness/grilled flavor that is
imparted to the meat comes from the juices and fats that drip onto the coals.
When they hit that intense heat, they pyrolyze (burn) and the byproducts of
that burning are carried up in the hot convection currents, only to condense on
the (relatively) cool surface of the meat. In this way (and this goes for all
grilling as well as slow-pit cooking), the meat works with the coals to
continually baste itself with its own modified flavors.
This method is the earliest form of BBQ, and the transformation in the popular
mind from this method of cooking to our modern understanding of BBQ as smoked
meats is one that, again, someone should write a book about.
Open pit BBQ is an expert level method requires attention to fuel piles, heat zones, a barrel of burning wood, and more. There’s no one way to run your probe cables, so be careful not to burn them out. All that being said, the cost can be as little as a hole in the ground or go as high as a smokehouse with brick-walled pits or mechanically raised and lowered heat-catching boxes.
Gas-fueled smokers
One smoker type that still needs to be addressed is the gas-fueled smoker. Maybe this should have gone in the “fuel types” section, but it landed here and it’s important. Many people don’t have a dedicated smoker but do have a gas grill, and they can use that as a smoker, too. To use your gas grill as a smoker, set it up for indirect cooking, turning on the burners on only one half of the grill, cooking the meat on the turned-off half. When the cool-side of the grill reaches your cooking temperature, place your meat (properly probed) in the cooker and place your smoking wood on the flame side of the grill. Wood? On a gas grill? Well, not directly.
To create the smoky-flavor environment you want, there are a few options. Some grills have a flame-heated chamber to put wood chips into. These burn slowly, creating smoke. If your grill doesn’t have that option, you can either use a commercial smoke tube/tray that allows wood chips to slowly smolder, or you can make a packet out of aluminum foil, fill it with wood chips, cut a few slits in it, and place it over the flames. Remember, the smoke doesn’t penetrate the meat for more than a couple hours, so getting that one burst of smoke at the beginning can be very effective.
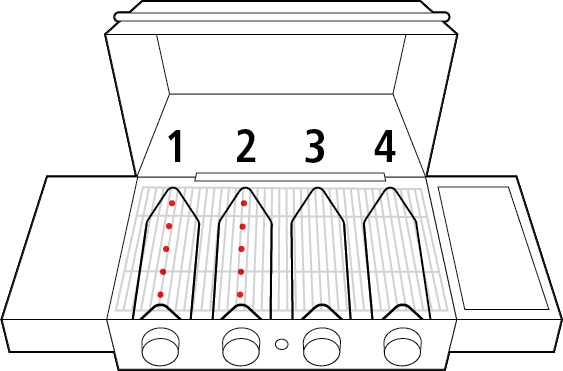
Because flame control is so easy on a gas grill this is a great option for beginners, and if you already have one it’s a great way to try barbecue without jumping headlong into an expensive piece of equipment. Prices vary.
BBQ meats and how to treat them
To be clear, you can smoke any meat you want to. Fresh trout filet? Go for it. Did you get a beef tenderloin and you want to jazz it up a bit? Smoke it to a perfect medium rare! Smoking any meat is a great way to impart flavor and a certain something to your dinner. But BBQ has its own pantheon of traditional meats, and they are the tried-and-true stars of the BBQ world. Here we’ll take a look at the classic meats, what they are, and how they cook.
First, let’s look at what all these cuts have in common: They are (or at least used to be) cheap cuts, and they were cheap because they were tough—remember the collagen! But that collagen-y toughness means that these meats not only can stand but need higher doneness temperatures. For most of the pork and beef cuts that rule the BBQ world, the finished temperature is about 203°F (95°C), though there are exceptions. For all meats, you should be cooking according to temperature, not time. Any instruction you read that says “cook the brisket for X-hours before wrapping” should be done away with. Recipe authors don’t know how big your piece of meat is, how cold your refrigerator is, or how your smoker’s temperature fluctuates. Cooking meat to a certain temperature, however, gives you an actual benchmark that has connections with real physio-chemical processes. Collagen melts starting at about 170°F (77°C), not after 50-75 minutes.
Yes, professional BBQ-ers and grand champions can tell most of what they need to about their meat by feel, and they don’t always temp their meat to see if it’s done. But let’s be honest: they’ve probably cooked a literal ton more meat than you have! Plus, if you go to any BBQ competition or even many BBQ restaurants, you’ll find our DOT® or Signals™ thermometers in heavy rotation, tracking temperatures in every pit. Temperature matters just as much in BBQ as any other cooking field. So with that, let’s take a look at the major meats and the temperatures they require.
BBQ Pork
Pork is the most classic meat to barbecue. If you add up all the regional specialties in the BBQ world, it’s going to be pretty close to the whole hog that gets used. However, there are some pieces that stand out and are widely accepted as cuts to use for barbecue. Here’s a rundown.
Pork butt
Butt (which comes from the front shoulder of the hog, not the butt) is widely used and beloved by pitmasters everywhere. The cut can be bought bone-in or boneless and, if you find the right supplier, can be exceedingly cheap. Pork butt is used for pulled pork (most places), chopped pork (North Carolina and Memphis), and sliced BBQ pork (Kansas city).
The butt is rife with connective tissue and the crisscrossing grains of several muscles. Because of the large, approximately spherical shape, pork butt takes a long time to cook through to the center, the stall takes a long time to get over. Pork butt should be cooked to 203°F (95°C) to ensure that the collagen is properly melted and the meat is tender enough to shred in your hands. (Sliced pork butt is the exception, being cooked to 175°F [79°C].) Serve it usually as a sandwich, often with creamy coleslaw on it, with a vinegar, mustard, or sweet BBQ sauce.
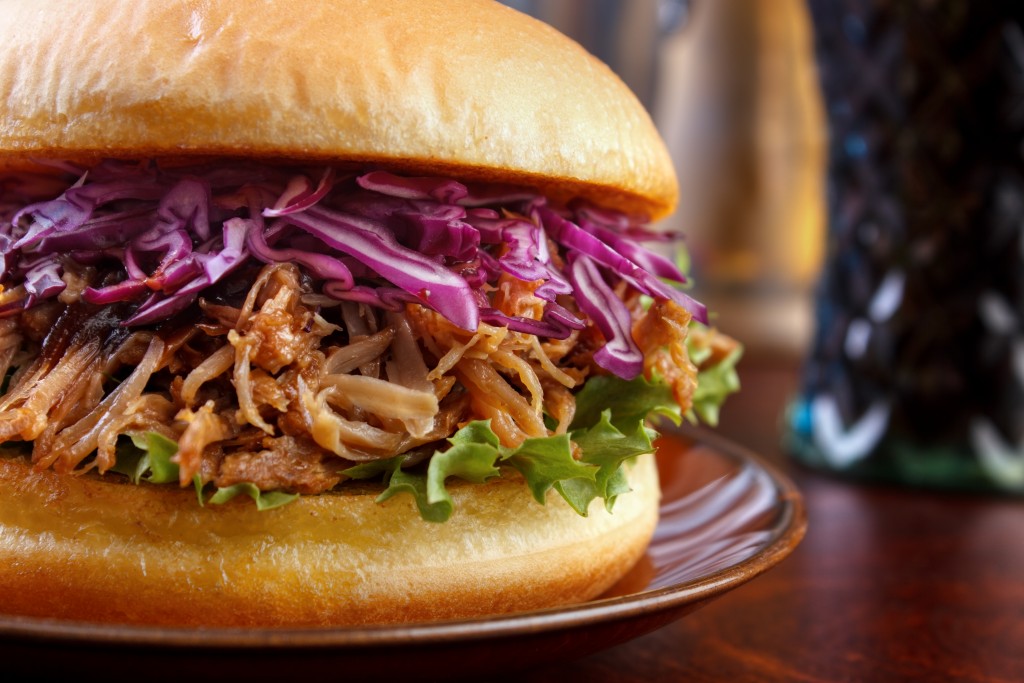
To monitor the temperature, make sure your probe is deep, in the thermal center of the meat. To speed the cooking, wrap it when it reaches 160°F (71°C) or get a boneless butt and lay it out, butterfly fashion, to cook. You’ll get more surface area for an enhanced smoky flavor and faster heat penetration. More bark, faster? Yes, please!
Pork ribs: spareribs and baby back ribs
Pork ribs are amazing. They are easy to cook, they are fun, and everyone loves them. They can be subdivided into two main categories: spareribs and baby back ribs. Baby back ribs come from the top of the ribcage on the hog, right next to the loin, and are shorter, smaller than spareribs—hence the two parts of the name: baby (small) ribs from the back of the hog. Spare ribs are from further down on the belly of the hog. They can be cooked as a whole slab or have the cartilage and rib tips removed, a cut known as “St. Louis style.” No matter the style, be sure to remove the membrane from the back of the ribs to improve the enjoyment of eating and to allow deeper penetration of flavors into the meat.
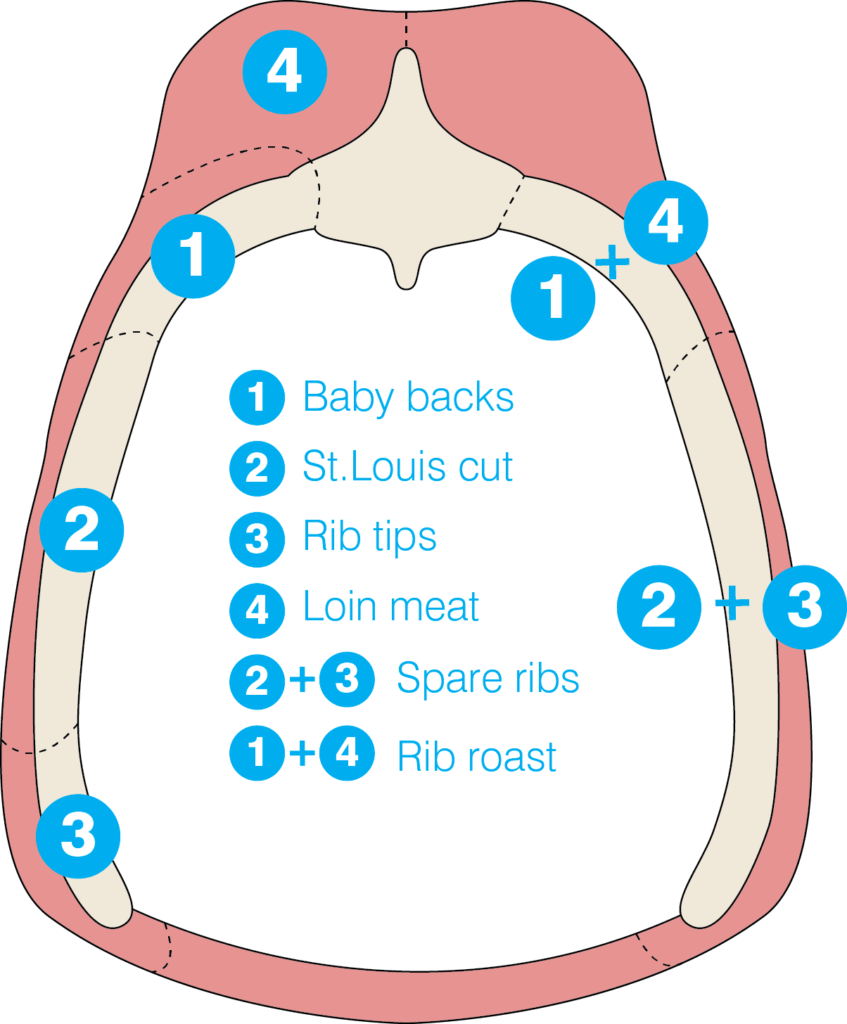
Image courtesy of AmazingRibs.com
Cooking ribs takes far less time than cooking a pork butt. Ribs can easily be cooked without wrapping, as their stall is much shorter, but some people like to wrap them to speed things up just a little bit more. If you choose to wrap them, make sure the bark won’t easily scratch off before wrapping.
Though there is tremendous resistance to the idea of temping BBQ ribs, they should also cook to about 203°F (95°C). Those who scoff at thermometry in BBQ talk about how the ribs bend a certain way when they’re done. That’s fine, but knowing when to check the bend is a pretty darn good idea. To temp your ribs, insert the probe between two bones in the meatiest part of the ribs. Try not to let the probe touch bone, which has different thermal properties than rib-meat.
There is a difference of opinion on the proper doneness of ribs. Most of us normal people that eat them love them to be fall-off-the-bone tender. The BBQ associations that run competitions, however, want a rib that has just a little bit of “bite” to it. To win to marks, you must be able to pick the rib up without the meat falling off, bite it without more coming off than you bit, and leave a clear bite mark. It’s a fine line to walk but really is a fun eating experience when you get it right.
Whole hog
This does not belong in a BBQ 101 post. It is not a 101-level meat, but if you want something to aspire to, whole-hog cookery is it. I aspire to it, but that’s as far as I’ve gotten. In general, hogs are cooked all day over or in open pits with hot coals being added whenever needed and are mopped with seasoned vinegar from time to time. Perhaps someday we’ll write more about that on our blog, but today is not that day.
Beef
While pork rules the pit through Appalachia and the Ozarks, in Texas the king of the smokehouse is beef. Brisket, in particular, is the meat of choice, but short ribs also play. Of course, Texas isnt’ the only place where people barbecue beef, and the cow isn’t limited to two cuts on the smoker, so we’ll take a look at another cut that is making the rounds in America’s smokers.
Brisket
If there is a cut of meat to both loved and feared by the BBQ enthusiast, it is beef brisket. When properly cooked, brisket becomes at once animalistic and transcendent—an etude in fat, gelatin, salt, and pepper. Done wrong, it is chewy, dry, and disappointing. Cooked all over the BBQ landscape, brisket reaches its highest highs in Texas where it is smoked over hickory or pecan wood and made often with a simple rub of equal parts coarse pepper and kosher salt.
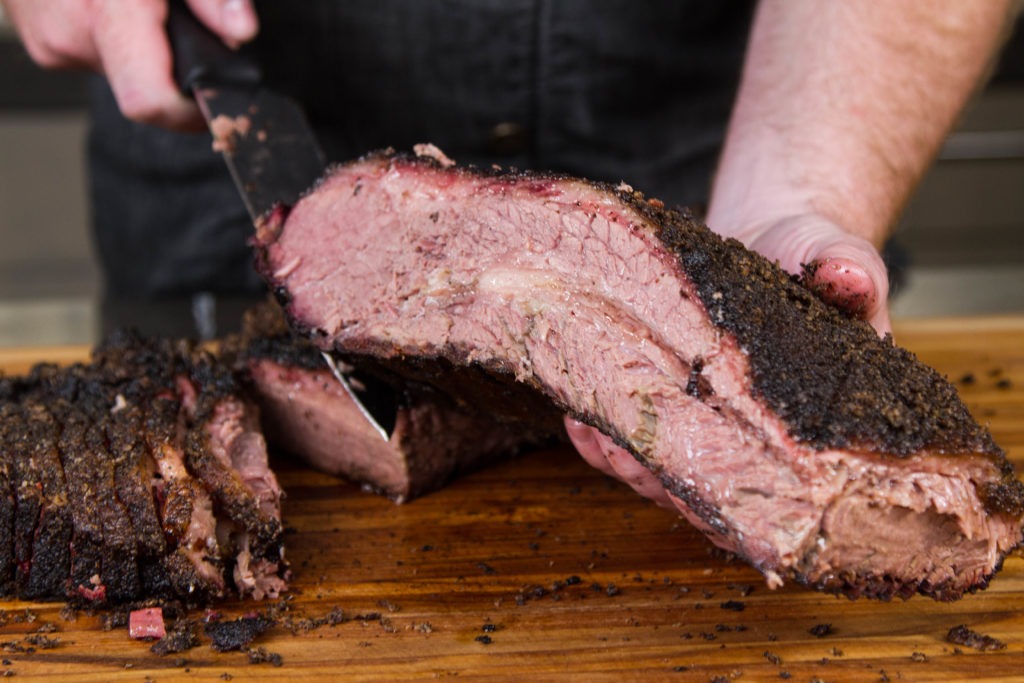
The collagen is strong with this one! The amount of connective tissue that must be rendered to render a brisket edible is astounding, and it takes a long time to do. A naked brisket can take up to 20 hours to smoke, depending on its size and smoking temperature. A brisket that is wrapped—”crutched”—through the stall can take 6-9 hours less. That’s one of the reasons bad brisket is so disappointing: it takes so much time, it’s such a shame when it doesn’t work out.
A full (called packer) brisket is composed of two main parts: the flat and the point. The flat is thin and relatively lean, though still covered with a thick fat cap. The point lies atop the flat, separated by a thick layer of hard fat. The point is thicker and more marbled with fat. The odd geometrical differences make brisket cookery difficult in that the flat can cook faster than the point, even overcooking before the point is done at 203°F (95°C). Using a multi-channel thermometer like the Smoke X™ or Signals™ to probe the flat separately from the point can let you know when each part is done. If you want perfect flat, you may want to cut it off the whole piece when it reaches the pull temp, keeping it warm and insulated until the point catches up.
That fatcap and fat layer between the muscles both need to be trimmed, which takes a practiced hand. You don’t want to remove the cap or the eye of fat altogether—the fat of the brisket is deliciously, mind-numbingly sweet and tasty. Yet, for the sake of yourself and your guests, you do want to trim some of it off. Leaving about a quarter inch of fatcap is a nice medium. In addition to being delicious, the fatcap also acts as a self-basting mechanism for the brisket.
Once you’ve smoked your brisket at 225–250°F (107–121°C) until it’s reached 203°F (95°C), you’ll need to slice it. Slicing brisket is a two-part affair, cutting the flat first, then dividing and slicing the point.
Brisket sounds easy, on paper. But in fact, it is a constant test of any smoker’s skills. As any pit master will tell you, no two briskets are alike, each presents its own challenges and rewards. Once you have brisket well in hand, you’ve arrived.
Beef ribs, short ribs
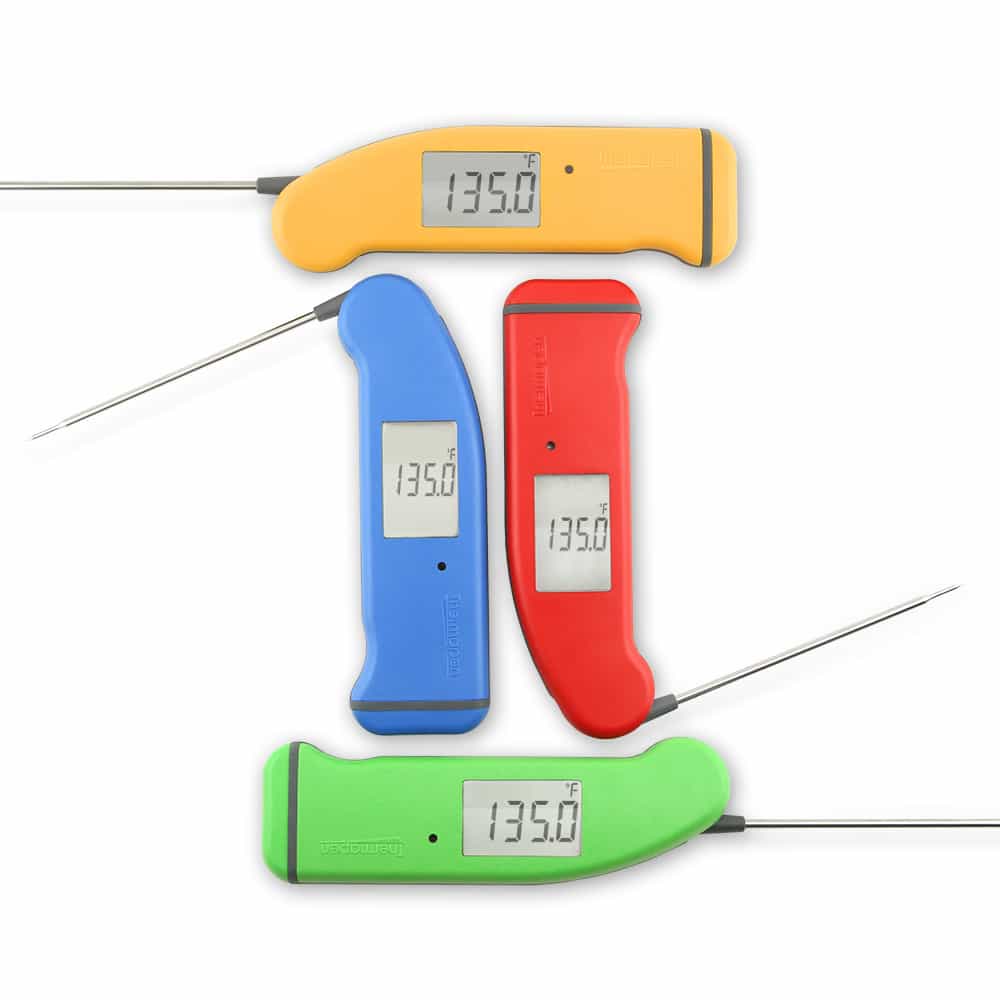
Though cooked less often than pork ribs, beef ribs are an excellent choice for BBQ. You can cook beef ribs on the BBQ individually or as a slab. If cooked as a slab, follow the same guidelines of probing between the bones in the thickest part of the meat. However, there is no bend test for these ribs. Temperature is really your only guide for perfect results. Ribs cooked individually are easily checked with an instant-read thermometer, like the Thermapen®.
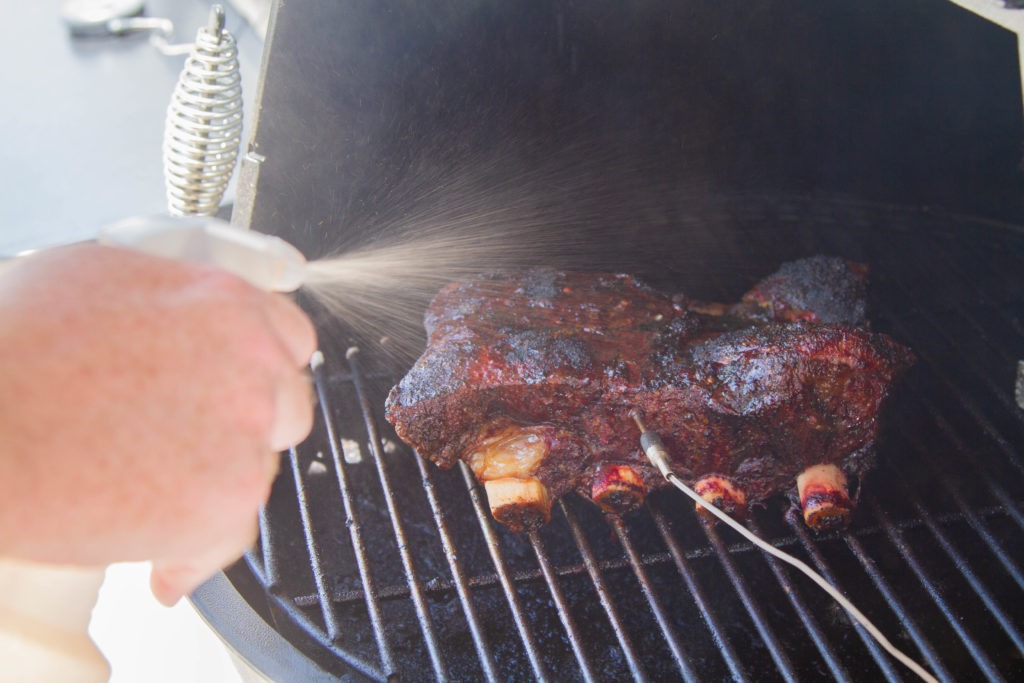
Cook your beef ribs in a slightly hotter smoker, 285°F (141°C), and cook them to the expected 203°F (95C°). These do wonderfully with an Asian-influenced rub/sauce combo, but any favorite rub will do. Smoked short ribs are a great cook for someone looking to build confidence and turn out a great piece of meat.
Tri-tip, etc.
Not a classic BBQ cut, tri-tip is more steak-like. But it is increasingly seen in many smokers because it is delicious when smoked. Usually, it’s cooked in a two-stage process when smoked: it’s first smoked to a temperature that is about 15°F (8°C) lower than the desired finish temperature, then cooked on a hot grill to sear it and finish it. As with most steaky cuts, this is best cooked to medium-rare or medium (130–135°F or 135–145°F [54–57°C or 57–63°C]) and sliced thinly. It’s great on a sandwich, as a meaty topping on a salad, or eaten out of hand standing by the grill.
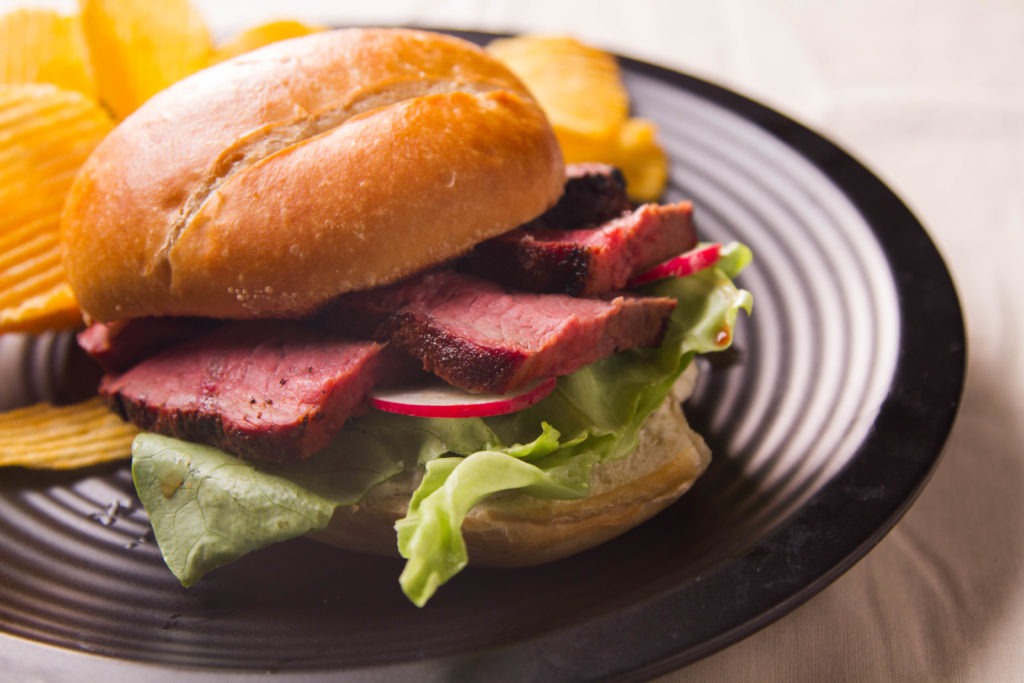
Other cuts that don’t need the full collagen breakdown but are fun to cook on a smoker include beef tenderloin and the increasingly popular picanha steak. Just like the tri-tip, these cuts are cooked in the smoker for flavor, not for low and slow tenderization. Still, they are delicious and worth trying out. Just be sure to watch the temperature closely, as there is smaller moment of perfection that can easily slip by if you aren’t paying attention.
Chicken
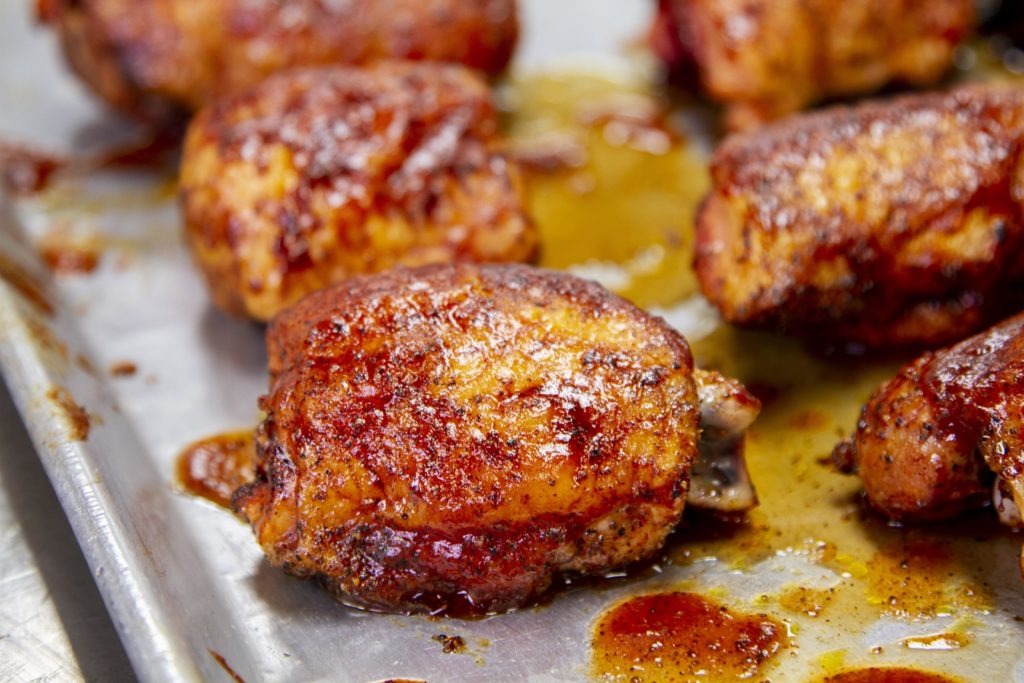
Let’s be clear about one thing here: Americans love chicken. And while they’ll gladly gobble up even the most insipidly-sweet yet overcooked and dry “barbecue” chicken (read: grilled chicken breasts with BBQ sauce brushed on) at neighborhood cookouts, there’s just no replacing real, properly cooked barbecued chicken thighs. And yes, it should almost always be thigh.
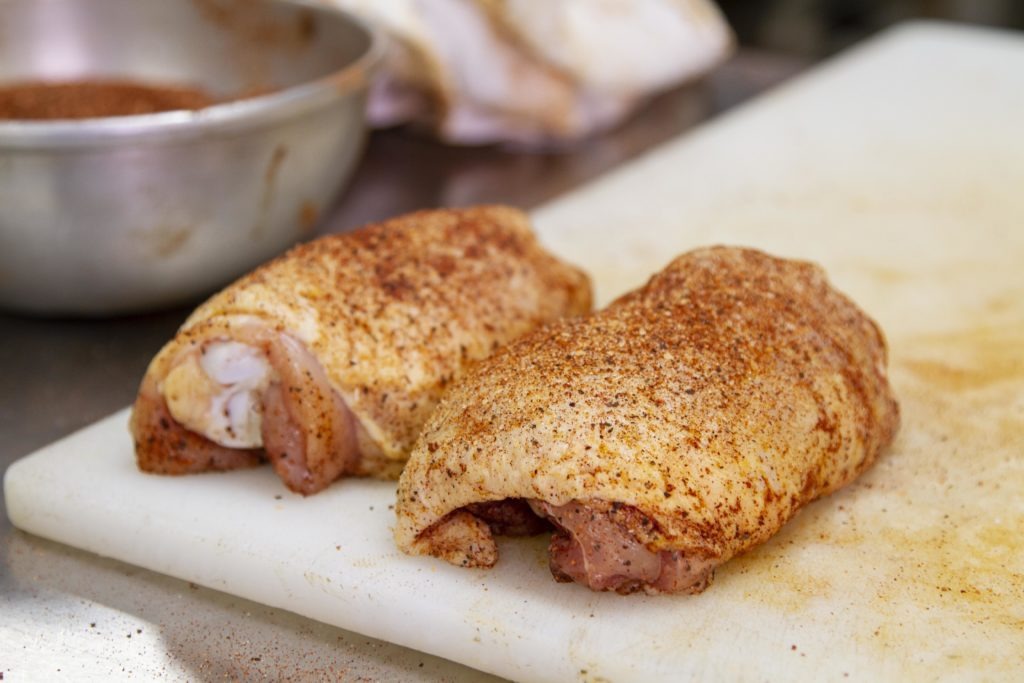
Chicken thighs are higher in connective tissue and fat than chicken breasts are, meaning they stay more moist when cooking and can stand higher cook temperatures. And that’s good because it means you don’t have to hit a very exact temperature window to win. Breasts will dry out if cooked past about 157°F (69°C), just hot enough to kill the bacteria in the chicken. Breasts present a delicate balancing act, while chicken thighs aren’t even very palatable until about 175°F (79°C). Cooked to that temperature, they become tender and yielding, with a texture almost like pulled pork. No food safety problems here!
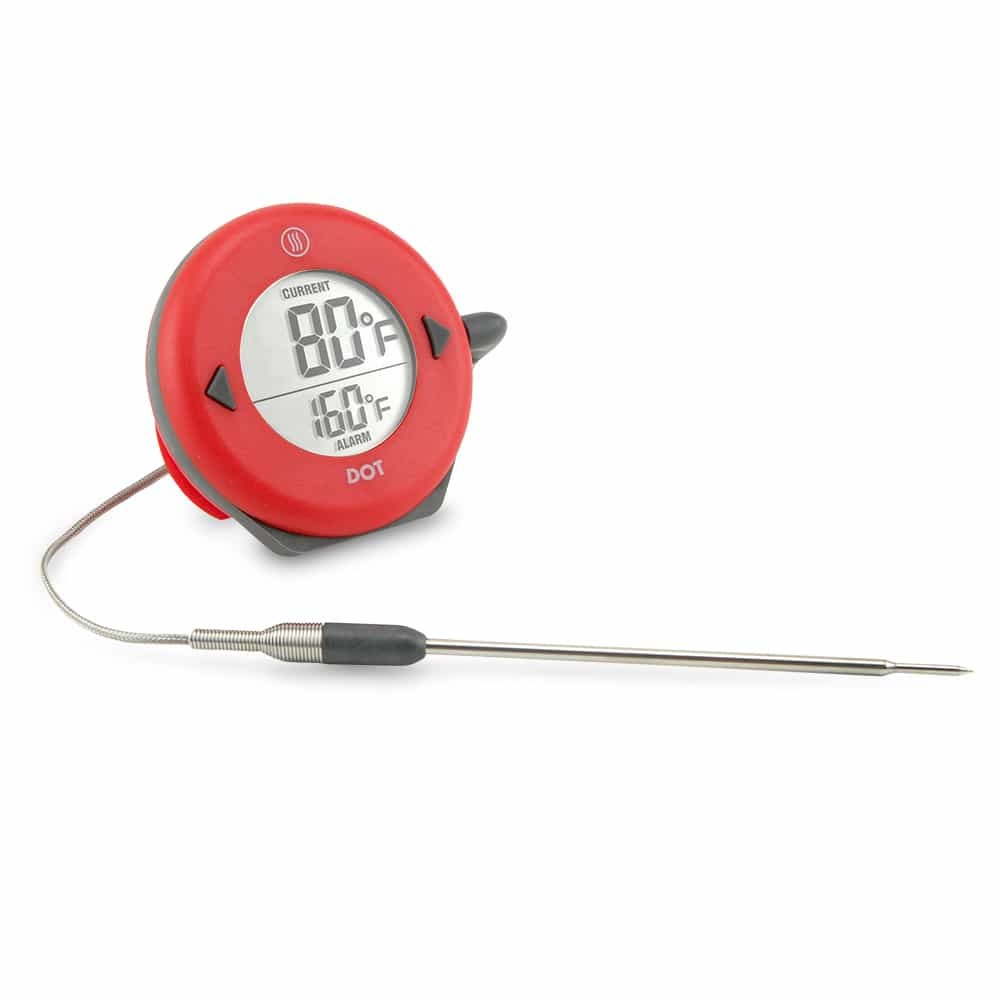
Chicken thighs are better, cheaper, and easier to cook properly than chicken breasts. Give them a rub and put them on to smoke between 275 and 300°F (135 and 149°C). Then monitor their temperature with a probe placed alongside and next to the bone (not touching it) and your DOT or other leave in thermometer. Set the high temp for 175°F (79°C) and let them cook. Pull them, sauce them, and cook them for another 10 minutes to let the sauce set up and watch as every last thigh is slurped down by an adoring crowd. This is a great entry-level cook that will boost your confidence and get you going on the BBQ road. Next stop: obsession!
Summary
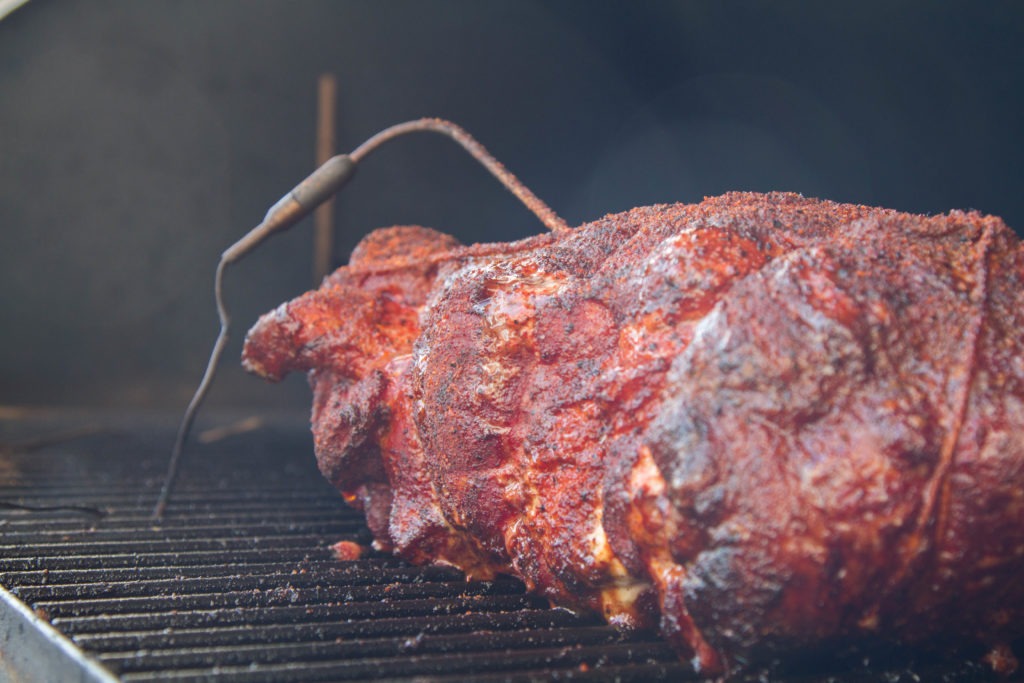
Not every smoker is right for every BBQ enthusiast. Not only are there vast discrepancies in cost, but also in the skill level needed to wield the cookers themselves. The same thing goes for the meats that you cook on your BBQ: some are cheap, some are easy. Some are expensive and some are very difficult to perfect. But whatever smoker you decide on and whatever cut of meat you choose to cook, temperature matters. Good BBQ thermometers like Smoke X and DOT help people win competitions all summer long. They use them for every cook. And just see how it goes for you if you try to take the Thermapen® from a pitmaster that is 5 minutes from turn-in time! BBQ champions rely on thermometers to get winning scores. You can use them to win every cookout this year.
For more on BBQ basics, check out part 1 and Part 3 of our BBQ 101 lineup.
Shop now for products used in this post:



I take my V-rack from my oven turn it upside down and stand my chicken legs in the rack while smoking the legs. Rib side sticking out and legs facing to the center of the rack. Makes turning/rotating the legs easy. A rib rack works just as well for this set up. I can cook 10 chicken legs at once this way.
you left out electric smokers, i’m not even going to ask you if you are nuts i’m going to tell you that you are nuts
Mark,
Fair! Though a lot of cabinet smokers are electric smokers, I may not have been specific about that.
Excellent review. I have used a bullet for years. Just added a pellet machine. Seems to be convenient. Almost set & forget.
Enjoyed reading this. I have smoked all the meats mentioned but the time spans between them can be large and it’s easy to forget details. I smoke my fish, burgers and steaks in masterBuilt electric smokers but my “main event” smoker is the always amazing KBQ built by Bill Karu.
Where are the pellet smokers?
They are so popular now.
Bill,
We talked about them in Part 1.
Again, I think you seem to be overlooking the .Masterbuilt thermotemp XL thermostat controlled, and other gas thermostat controlled, smokers. Gas is as close to wood as you can get, it does not have the off flavors what pellets have, it is VERY much less work, and far less pollution. In my humble opinion, the best option for the average smoke addict.
SECOND. I wish you would cover lamb and goat. My favorite red meat.
John,
We’ll talk briefly about lamb, etc. in part 3!
one correction: I don’t think I have ever seen a brisket cooked in Texas over hickory…
Most central Texas BBQ joints use oak, while it is not uncommon to see pecan or mesquite used, depending upon the region.
Kevin,
I stand corrected!
I’m not bragging here but I find brisket an easy cut to BBQ. The key? I try not to over-think it. I’m not criticizing anyone here, I’m just relating my experiences.
I’ve done brisket in a pizza oven, a Yoder off-set smoker, and an off-set vertical smoker (one that I built and is a thing of beauty) using either oak, olive or almond wood.
I usually cook at a higher temp, using my Smoke unit I shoot for 280, so my brisket is usually done in 10-11 hours. I’ve never used a foil crutch and I never worry about a stall. I figure if I going to cook the brisket for 11 hours why should I care about what’s happening at hour 5 or 6? As Aaron Franklin says, “if you’e looking, you’re not cooking,” so I put the brisket in (with a water pan), monitor the temp and the type of smoke, then let it ride for at least 8 hours. After 8 hours I look at and if it has enough color and feels good I will wrap it in unwaxed butcher paper and return it to the cooker. At about 10 hours I’ll probe it with my Thermapen, checking for temp but mostly for texture. If it’s where I want it I’ll place the wrapped brisket in a pre-warmed Yeti until it’s ready to serve.
Bottom line, if you buy quality brisket (Costco sells Prime packer briskets at a great price), maintain your cook chamber temp, monitor your smoke level and don’t go too long (just because you think you have to) it should turn out fantastic.
Bates BBQ – Real Smoke, Real Slow, Real Good!
When you talk about doneness temps, we know that the internal temp can rise 10 degrees after coming off the pit…if you’re saying to cook a brisket for example to 203, does that mean I should take it off at 193, wrap and rest?
Jay,
Good question! Actually, when we say 203°F, that’s our recommended pull temp. That being said, you can figure out just what pull temp you like for your brisket and cook it exactly that way every time.
When cooking at lower temps you don’t get as much carry over temp.