New England-Style Split-Top Buns: Temps for Fluffy Results
When we made our lobster rolls a while back, we had to search high and low for the right bun. The New England-style split-top bun is the preferred vessel for all that buttery lobster meat, but it may also be the best way to house a hotdog. In this post, we’ll go over the thermal processes and tools you need to make these delicious buns so you can elevate your next cookout without having to scour the stores for an industrial bun. Homemade is better, and we’ll help you get there. Read on!

Get the tools you need here:
What’s the difference between a New England bun and a “regular” hotdog bun?
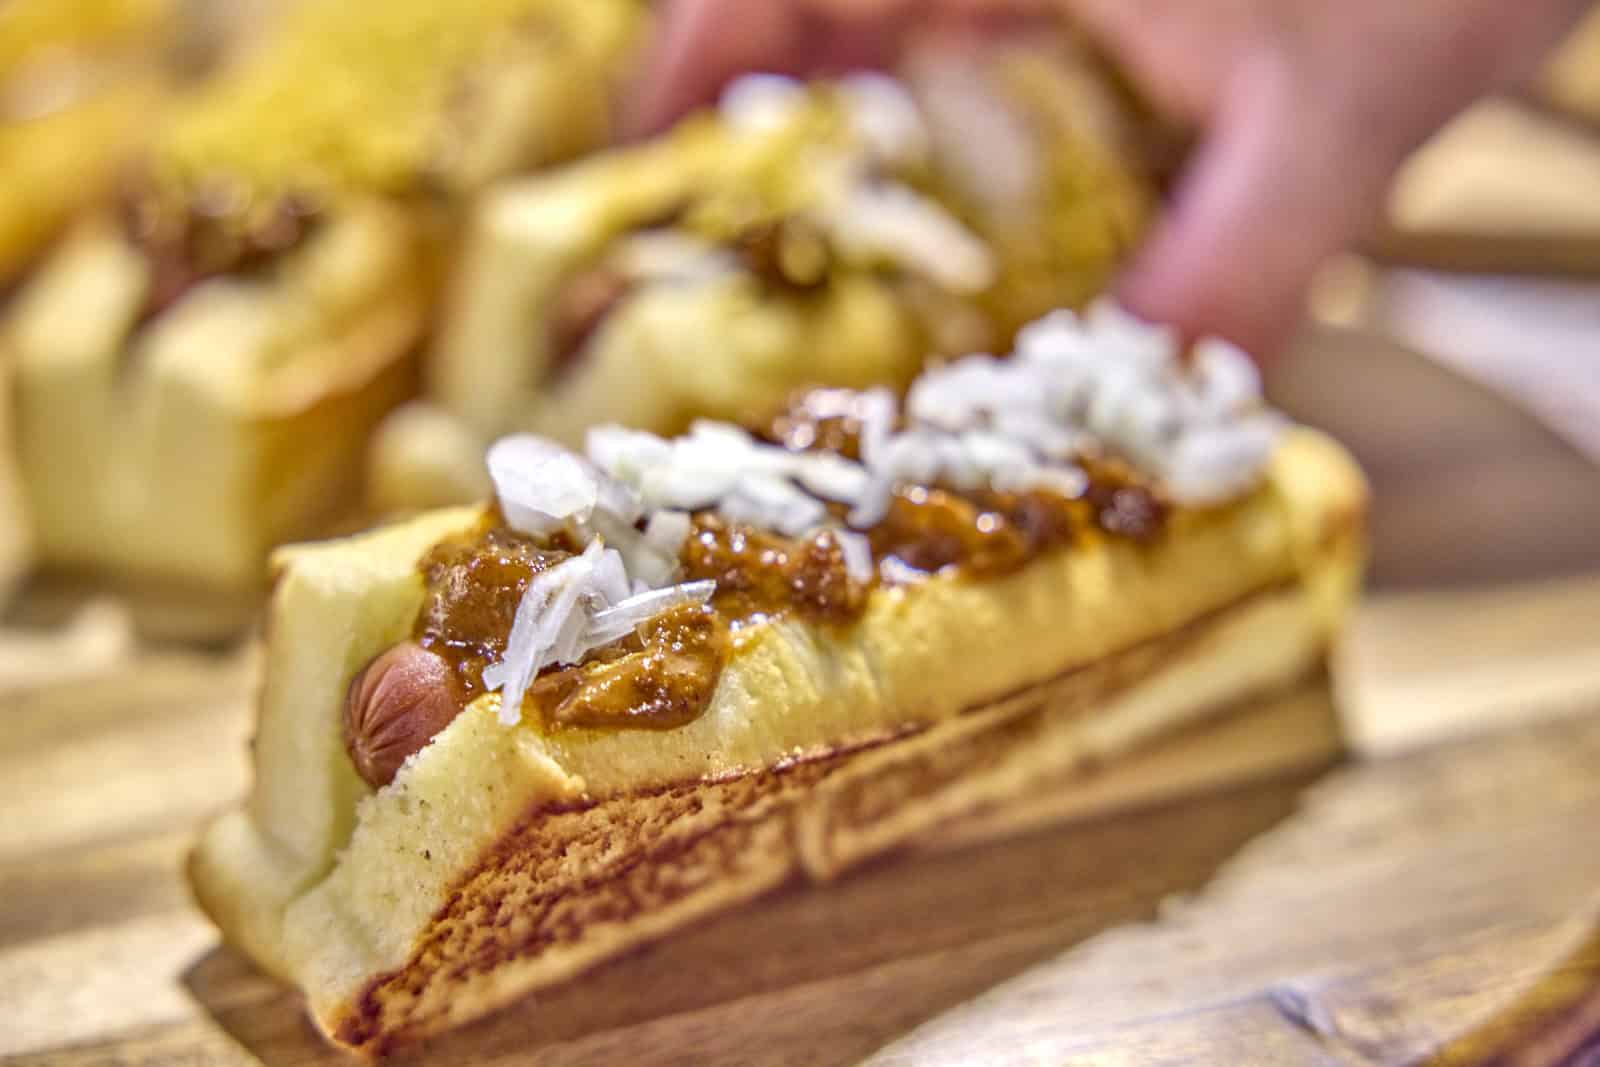
The New England bun was first created by Howard Johnson’s as a bun that could be placed upright on a plate without falling over or rolling around. It has a flat bottom and a split on the top, so that ingredients—Lobster or a frankfurter—are “top loaded” into the bread. “Standard” hotdog buns want to sit on one side, tipped-over, and are side-loading. Interestingly, it seems that the top-loading bun came before the standard bun, even though it was created by the hospitality chain in the ’40s. Before that, people ate hotdogs in bakery rolls sliced all the way through.
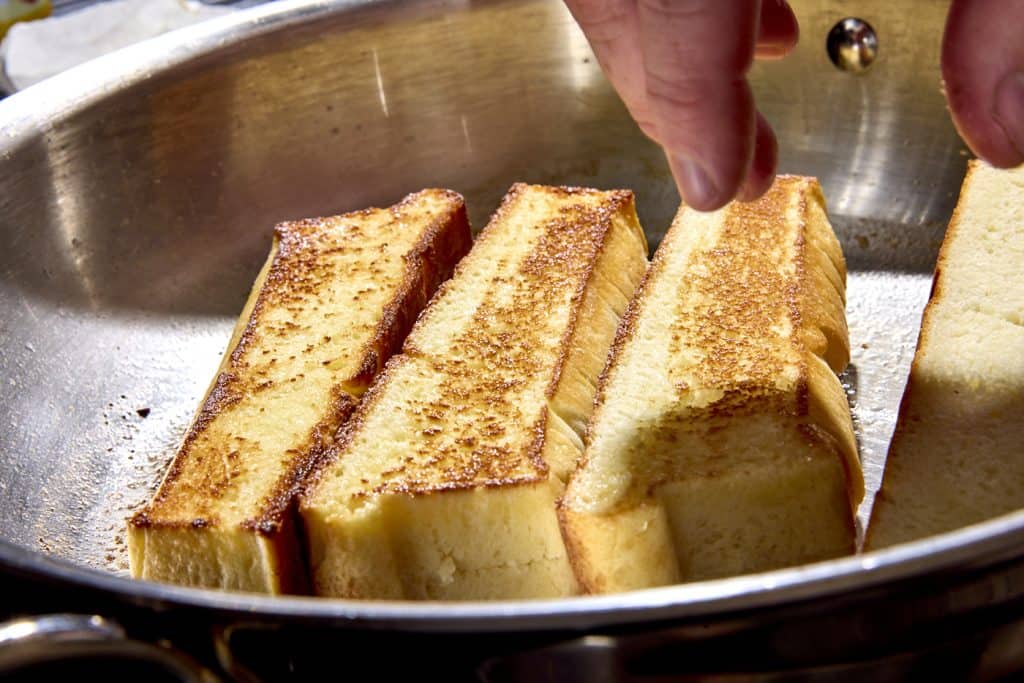
Bread quality and uprightness aside, the form factor of the split-top bun allows for better flavor. A standard move with a top-load bun is to toast the cut sides of the bun in a pan with a little butter. You get a little bit of toasty crispness and the delicious flavor of bread fried in butter. It takes a little more effort to do it, but man is it worth it!
How are split-top buns made?
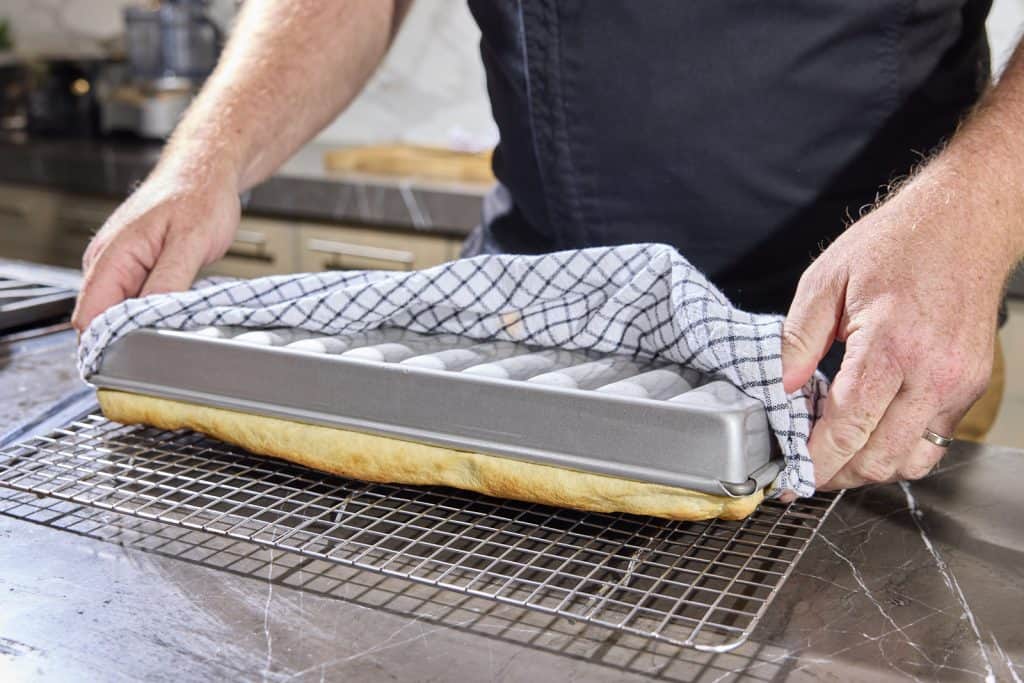
This bun shape doesn’t happen on its own. In fact, it is the result of a very specialized piece of equipment: a split-top bun pan. Looking into the pan form below, there are troughs divided by ridges. The bun dough is proofed in the pan and baked with those troughs on the bottom. You then invert the pan to remove the buns and the troughs become raised bun tops—you cook the buns upside down. The tops of the buns are then sliced, and the individual buns are cut apart and prepared for serving.
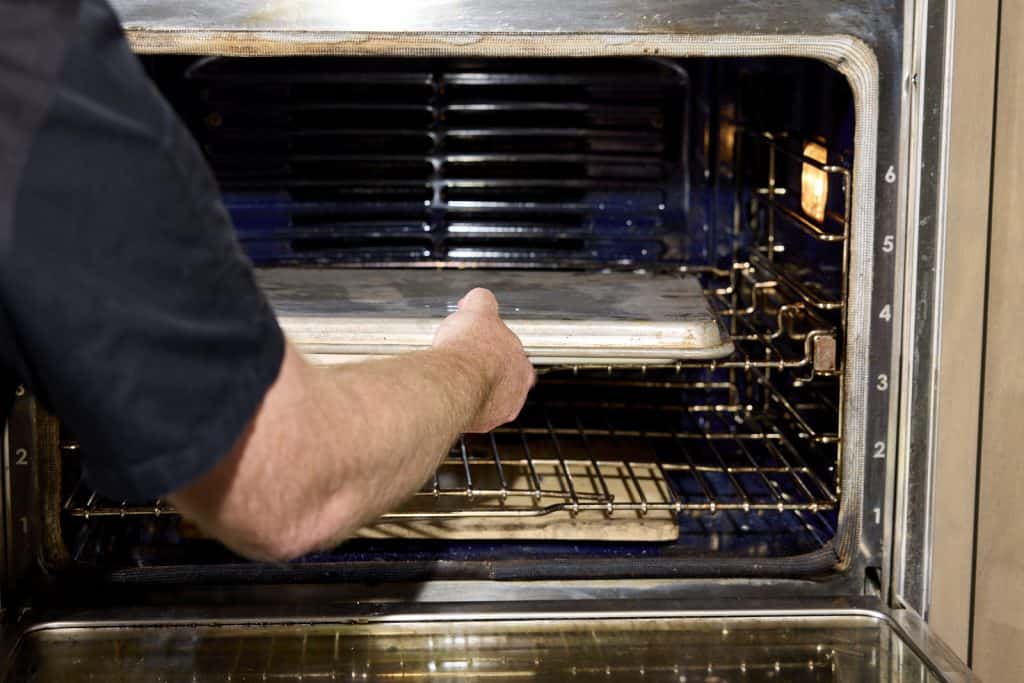
We recommend cooking these in the lower third of your oven, as the tops (on the bottom of the pan) will brown better that way.
Keeping the bottoms flat
Because the bottoms of the buns cook at the top of the pan, we need to prevent the top of the bread from mounding as it bakes. This recipe takes a page from the famous Pullman bread pan. After the initial ferment, the dough is transferred to the special pan, where it is allowed to proof in place. When baking time arrives, we place a (greased) sheet tray on top of the hotdog pan and weigh it down with something ovenproof. Now, the dough can only oven-spring as high as the baking sheet, keeping the top (the bottom of the bun) flat and even.
Why you need a thermometer to make split-top hotdog buns
When thinking of making hotdog buns, a thermometer may not be the first piece of equipment you naturally reach for, but it should be right up at the top of your list. For perfect buns the first time, and consistent buns every time, a thermometer is essential.
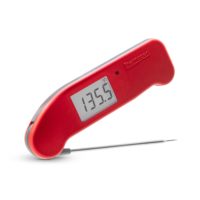
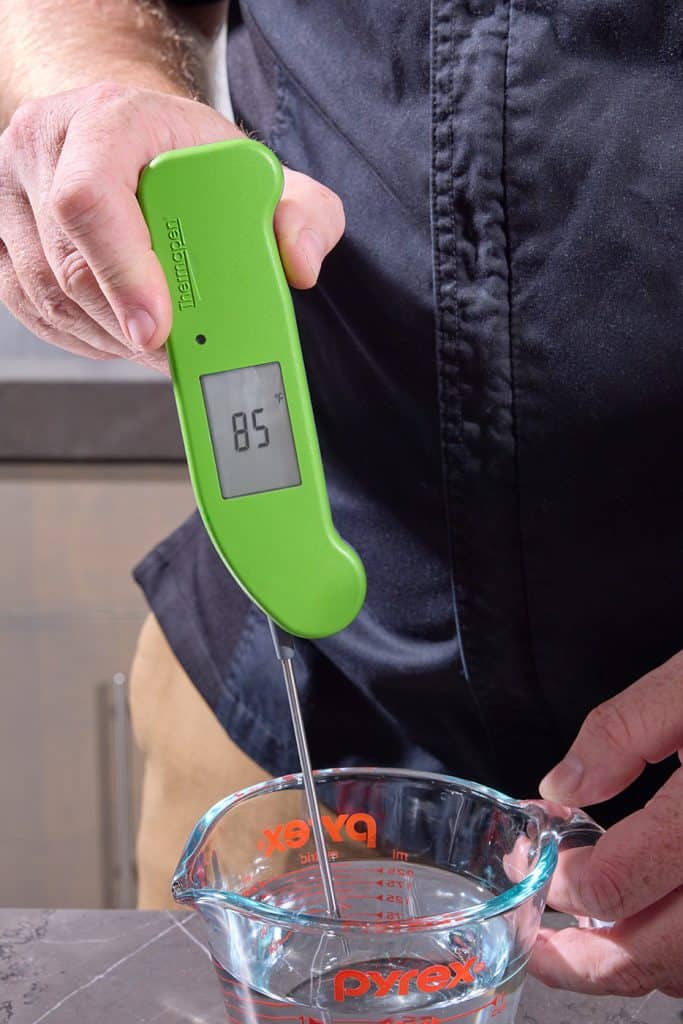
As with all leavened breads, the yeast in the dough for these buns needs to be properly activated to do its work. Using instant yeast and water that is 85–95°F (29–35°C) will help your dough rise at the right rate, balancing flavor and speed. Use water that is too cold, and the bulk ferment will take a long time. Make it too hot and you’ll either end up with rocket-speed dough that is more likely to overproof, or you’ll kill the yeast altogether, so there is no rise at all. Temp that water with your Thermapen ONE before the mix and get Goldilocks-level fermentation in your dough.
Hotdog bun doneness temperature
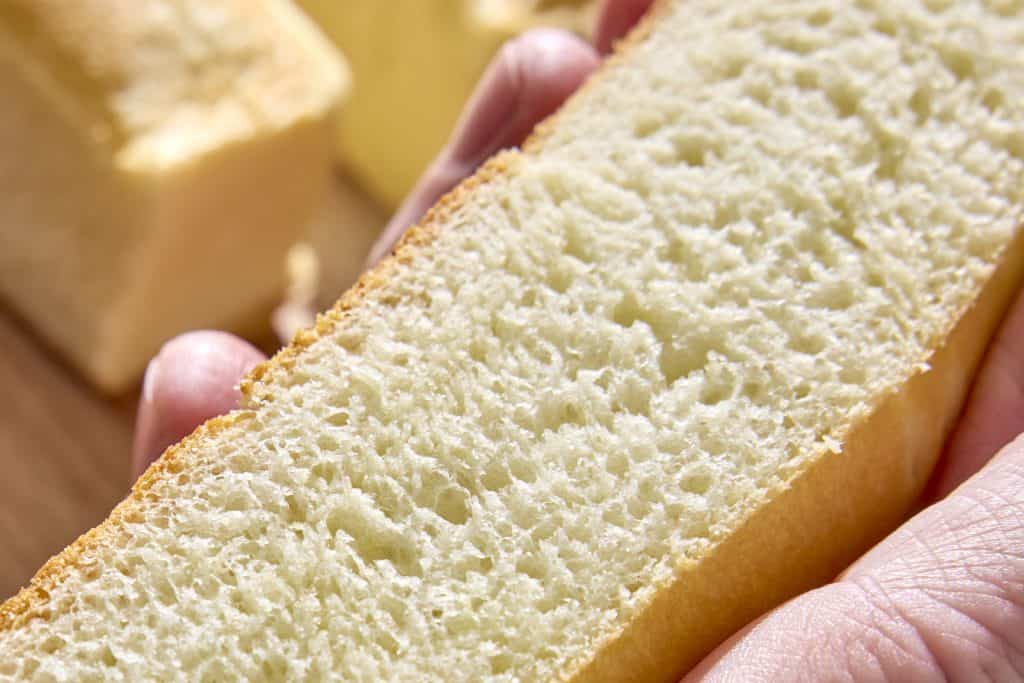
But water is not the only place where your thermometer matters—doneness temps matter, too. Yes, you’re going to set a timer for the bake, but the timer knows nothing about your oven, the dough temperature, or any number of other thermal factors. When the timer sounds—perhaps loudly—check the internal temperature of the buns with your Thermapen ONE. These buns have sugar, butter, egg, and even dried potato flakes, so they sit decidedly in the enriched-dough bread camp. And as with all breads in the same taxon, they have a doneness temperature of 180–190°F (82–88°C). Make sure you find no internal dough temps lower than that when baking.
(If you have an RH SPOT, you can also use it during your proofing to keep an eye on the temperature and the relative humidity. We aim for 85°F (29°C) and 75% or higher relative humidity. Those are ideal conditions, but if you can get them, do!)
We had a lot of fun making these. Yes, you need a special pan to make them, but once you get one, the world is your lobster roll. Use your Thermapen ONE to check your water temps and doneness temps, give yourself the time you need to proof properly, and you’ll love the results.
Years back we published a post on homemade hamburger buns. Some comments asked why on earth we’d bother with it, but of those who actually tried the recipe, many said that it changed their hamburger game forever. I predict you’ll think something similar if you try these buns. They’re not hard to make, and the jump in quality your hotdogs will take is well worth the effort. Give it a shot. Happy cooking!

New England-Style Split-Top Buns Recipe
Description
Adapted from the recipe found at King Arthur Baking.
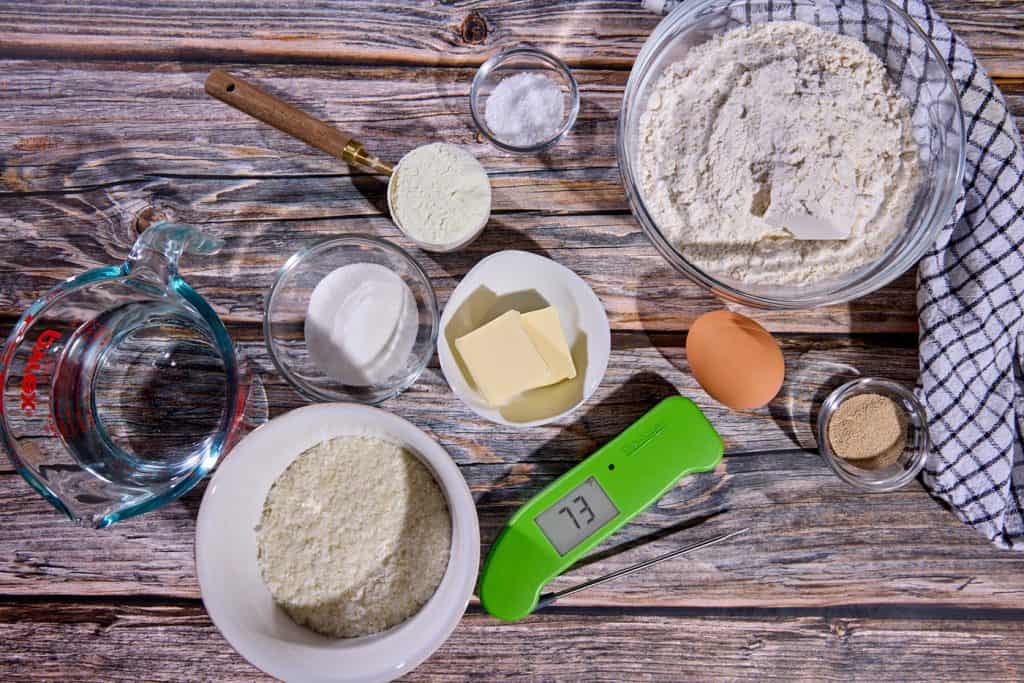
Ingredients
- 3 C (360g) Unbleached All-Purpose Flour
- 2 tsp instant yeast
- 2 Tbsp (25g) granulated sugar
- 1/4 C (28g) nonfat dry milk
- 2/3 C (43g) dried potato flakes (instant mashed potatoes)
- 1 1/2 tsp (9g) table salt
- 2 Tbsp (28g) butter, softened
- 1 large egg
- 7/8 to 1 1/8 C (198g to 255g) water, 85–95°F (29–35°C)—the quarter-cup variance will depend on your flour hydration, local humidity, etc. Start on the lower end, then add more if the dough is too stiff.
Instructions
- Use your Thermapen ONE to measure the temperature of the water and make sure it is in the correct range.
- Mix all the dough ingredients together in the bowl of a stand mixer and mix with a dough hook. Knead them with the mixer for about 5 minutes (10-ish by hand) until the dough is supple, smooth, and somewhat shiny.
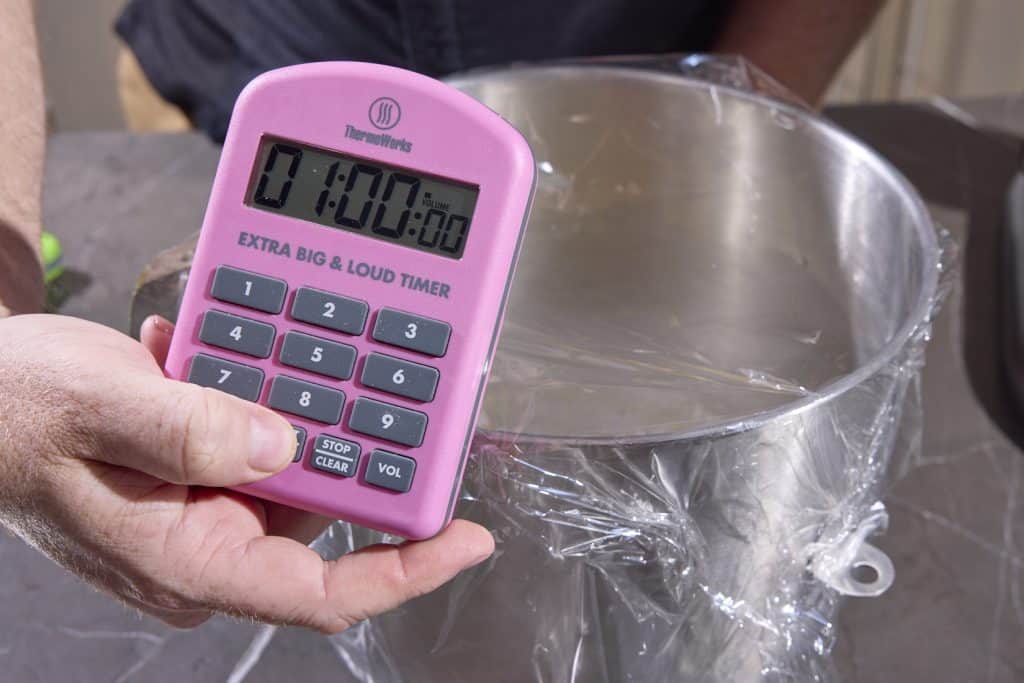
- Put the dough in a greased bowl, cover with plastic wrap, and let rise until puffy, 1–2 hours. (Use your Extra Big & Loud timer to keep you aware of the time.) The optimal temperature for your proofing zone is 85°F (29°C)
- Prepare your New England hotdog pan by greasing it with oil, butter, or cooking spray.
- When the dough has risen, deflate it and turn it out onto your counter. Try to shape into into a rectangle that is roughly 6″ x 15″, to match your pan.
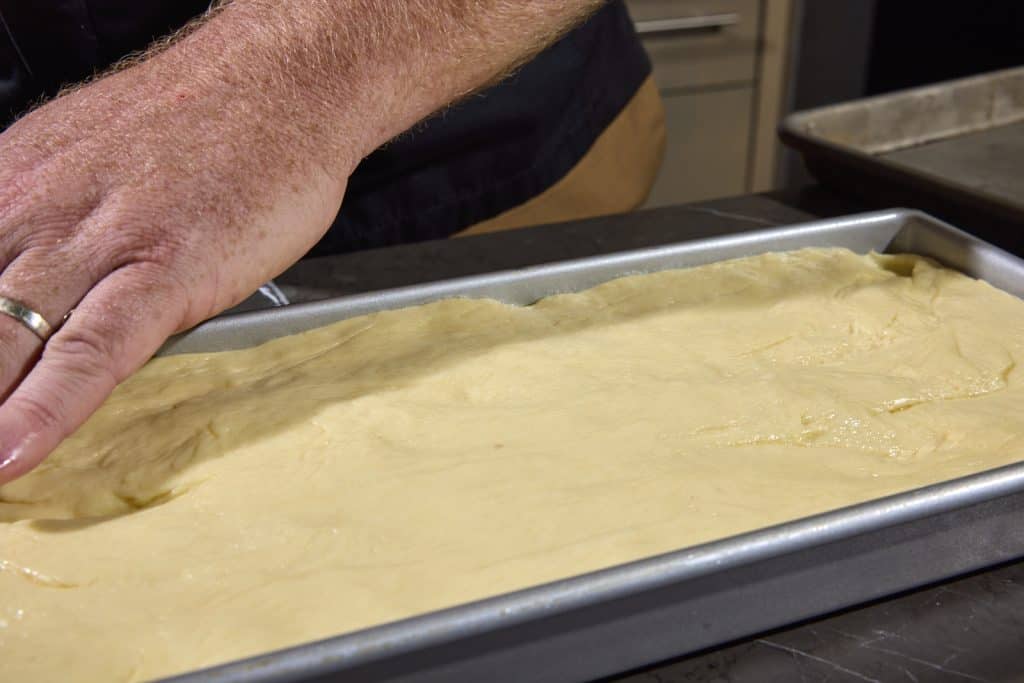
- Place the dough in the pan, pressing it towards the edges and corners. It may not go exactly, don’t worry.
- Cover with an oiled piece of plastic wrap and let the dough rest in the pan for about 15 minutes, then press it into the corners of the pan again. Re-cover with the plastic.
- Proof the dough in the pan for 40–60 minutes, until it comes up to about 1/2″ from the top of the pan. Meanwhile, preheat the oven to 375°F (191°C).
- Remove the plastic wrap and place a greased sheet pan on top of the hotdog pan. Weigh that pan down with something that can go in the oven (cast iron pan, brick, etc.).
- Place in the lower third of your oven and cook for about 18 minutes. Remove the sheet pan and weight and check the temperature with your Thermapen ONE, looking for internal temperatures no lower than 180°F (82°C), but also not much higher than 190°F (88°C).
- If needed, cook longer without the cover so that the top (bottom of the buns) can brown more.
- Remove from the oven, let rest in the pan for 5 minutes. Turn the buns out of the pan, rounded side-up. Allow to cool completely.
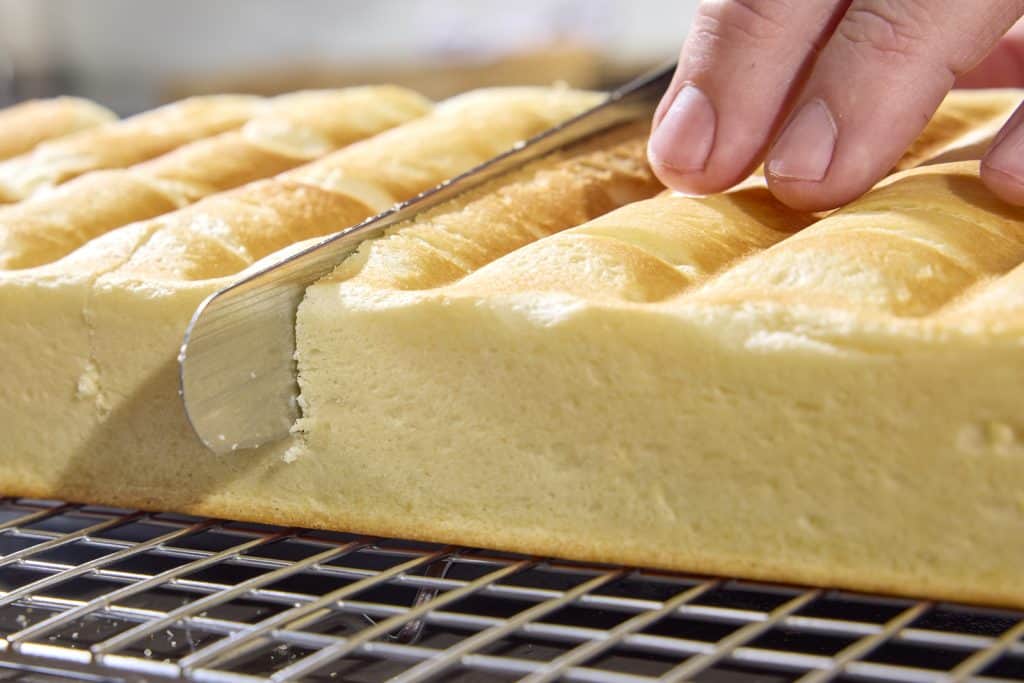
- Use a sharp serrated knife to slice into the top of each bun, not cutting all the way through.
- Slice between each bun, cutting them apart.
- Serve, filled with whatever you like!


