

How To Smoke the Best Dino Ribs
We can take it as a truth fairly well established that brisket is “the king” of barbecue. But if you want brisket-like meat, rich with all that fatty goodness, without all the brisket cooking time, you should consider cooking Dino ribs. In this post, we will walk you through what Dino ribs are, how to cook them, and, most importantly, their critical doneness temperatures. Are you hungry? I am. Let’s get cooking!
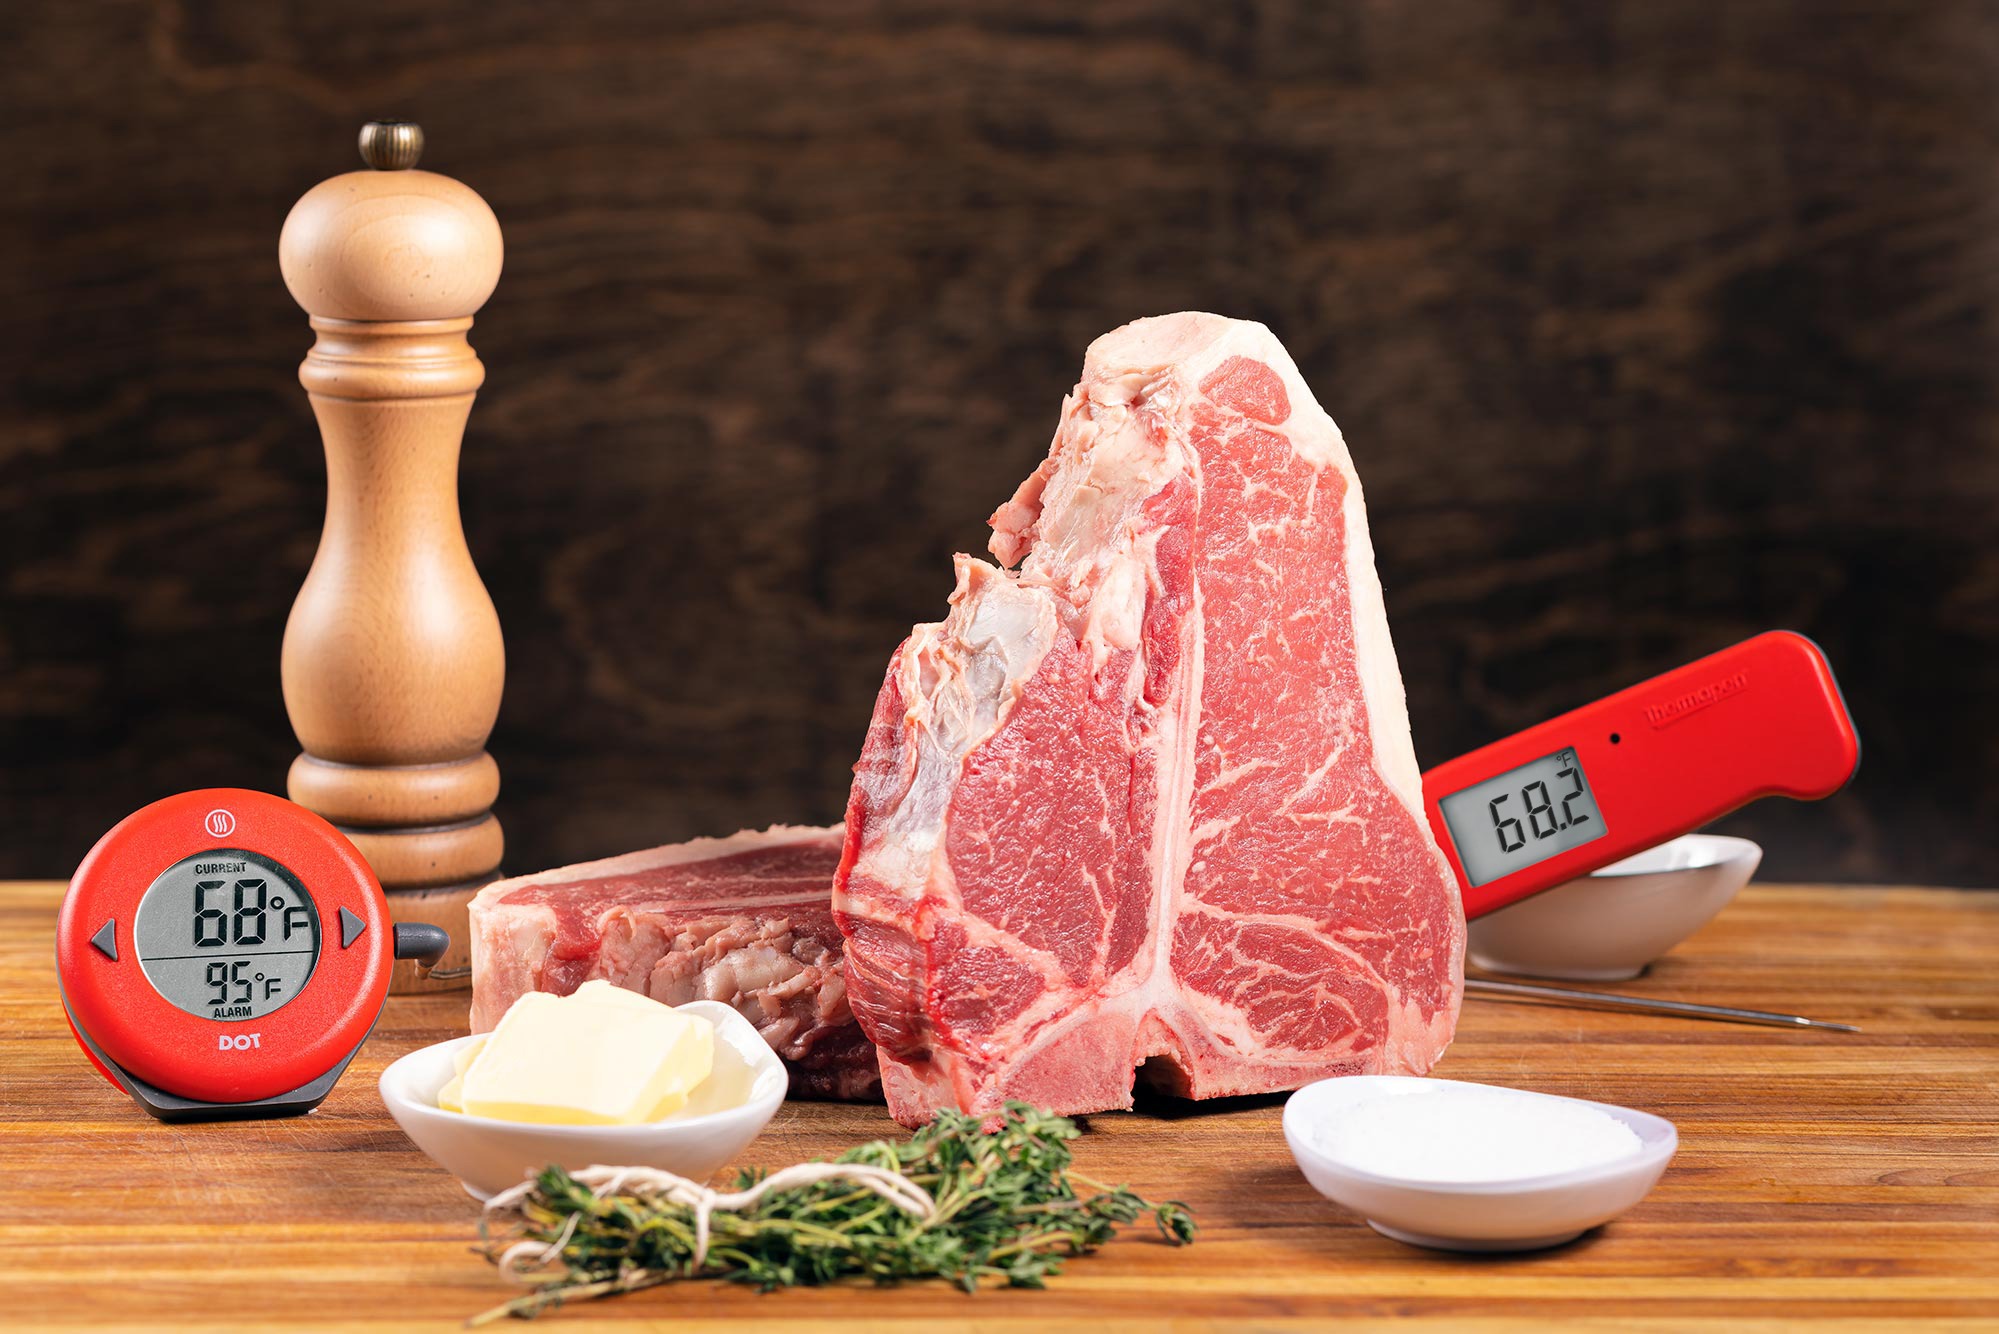
Gett the tools for this cook here:


What are Dino Ribs?
“Dino ribs” is a fun term to describe whole barbecue short ribs. Obviously they don’t come from dinosaurs, but compared to baby back or St Louis-style ribs they are massive.
Short ribs come from the serratus ventralis muscle of the beef, found in the chuck primal. The portion with the meatiest ribs comes from the region between the second and fifth ribs. Though you can get short ribs from other parts of the cow, the ones from the chuck are best for this dish, as they have the thickest meat. Short ribs with a thinner meat-layer are better for dishes such as Korean kalbi.
Because short ribs come from a relatively well-used part of the steer, they can be tough. Lucky for us, that toughness makes these ribs perfect for barbecue (as well as braising).
Making Texas-style Dino ribs—
Dino ribs are cooked as a whole rack. To prepare Dino ribs, we score the membrane on the bottom of the bones, then season the meat on all sides liberally with barbecue rub. Then it’s just a matter of smoking. There are a multitude of methods for preparing these, but we found this one to be delicious. This method entails smoking the ribs nice and low, then wrapping them in tallow-soaked paper, and finishing them in the smoker until they are jiggly, tender, and juicy.
Let’s take a closer look at the method.
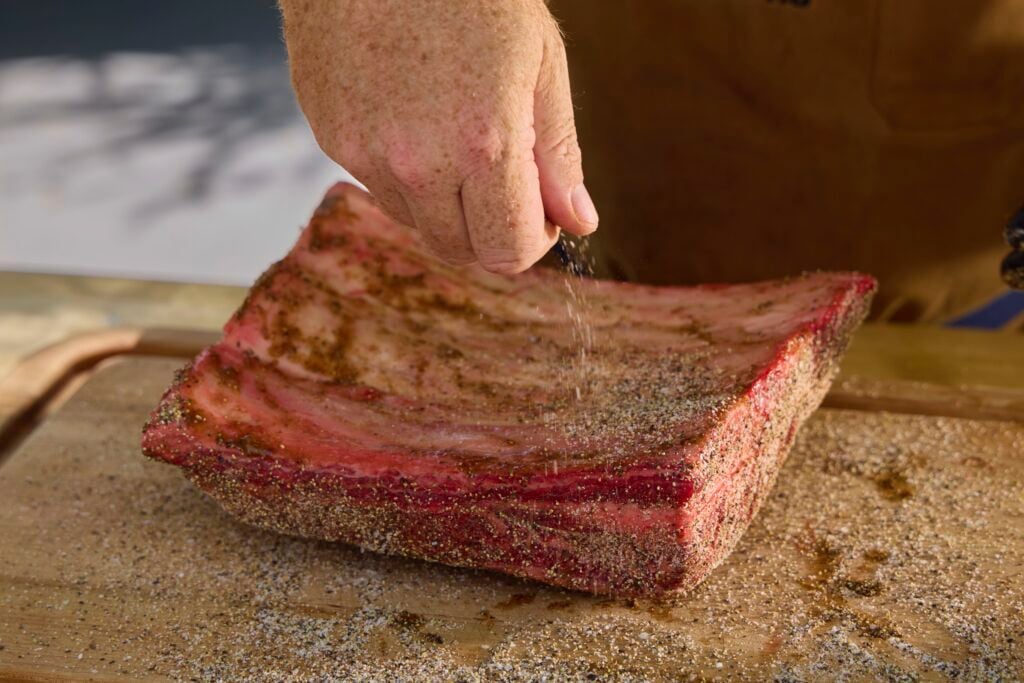
How to Season Dino Ribs
We already pointed out the similarity between Dino ribs and brisket. And just like brisket, they are best—in our opinion—when seasoned just with salt and pepper,though a little garlic wouldn’t hurt anyone. We used W Sauce for the binder, which is a domestically-produced Worcestershire sauce analogue, but with a thicker BBQ-saucey consistency. You can use whatever binder you like, or leave it out altogether, but we liked this one for this cook.
And then there is the wood. We were smoking these on a Kamado-style smoker, so we seasoned our charcoal with a lump of smoke wood. Post oak would make perfect sense here, as it is the classic for brisket. But we opted for cherry because we like the slightly redder color it imparts.
This is a matter of taste and personal aesthetics, in the end. But how you choose to treat decisions like this will define your own personal BBQ style. Play around and find what you like!
Setting Up Your Smoker for Dino Ribs
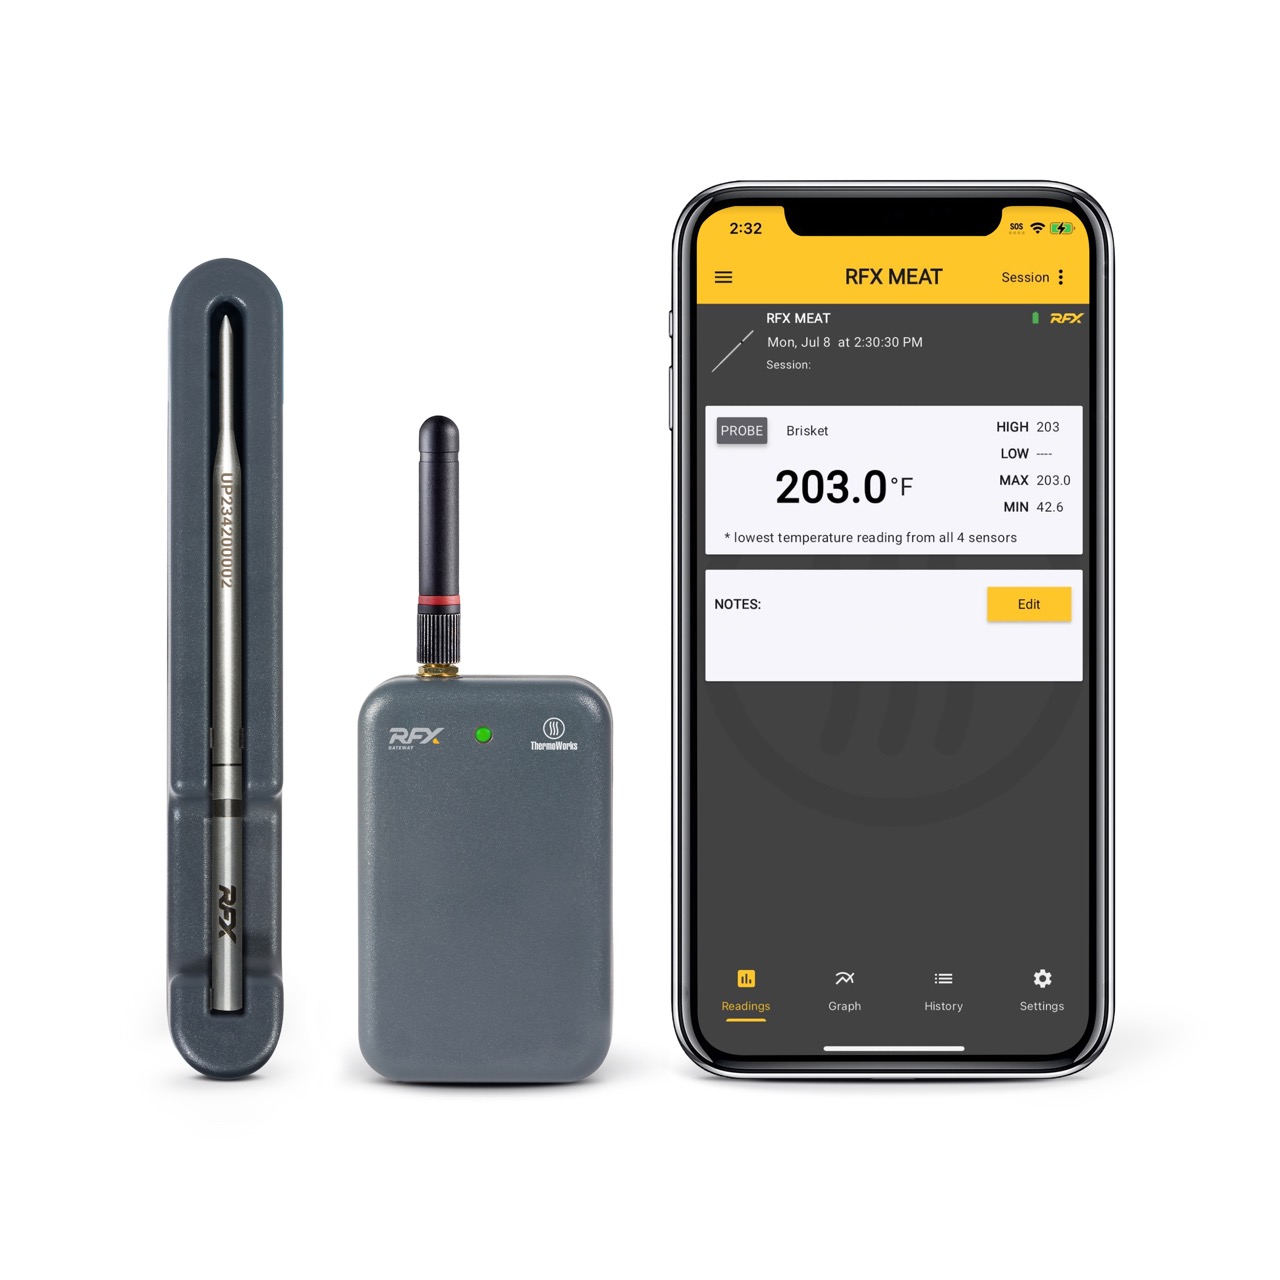
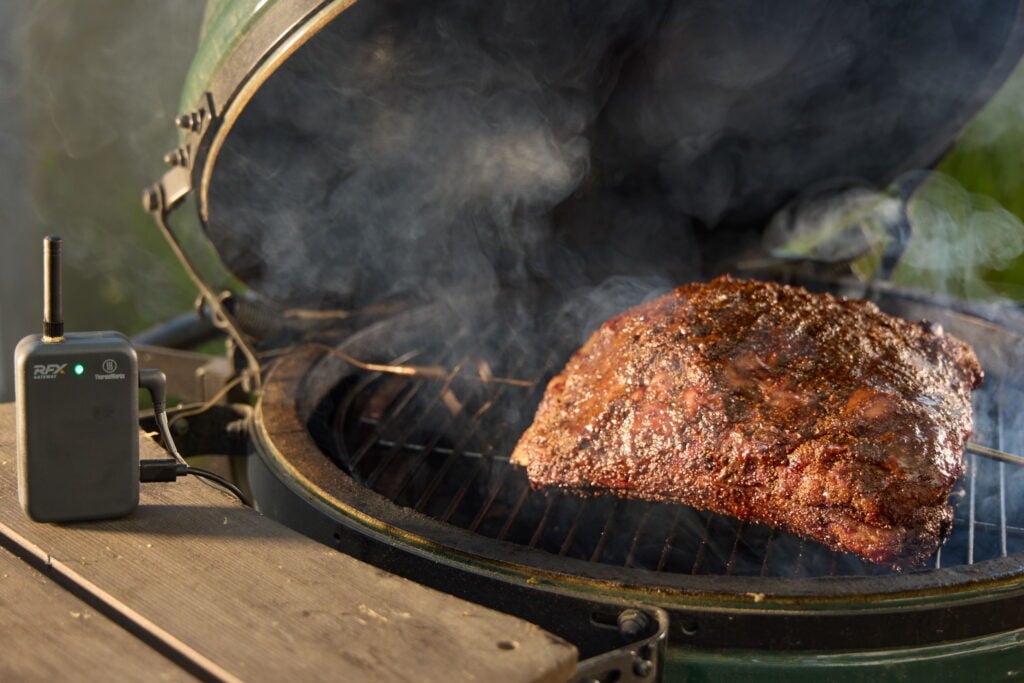
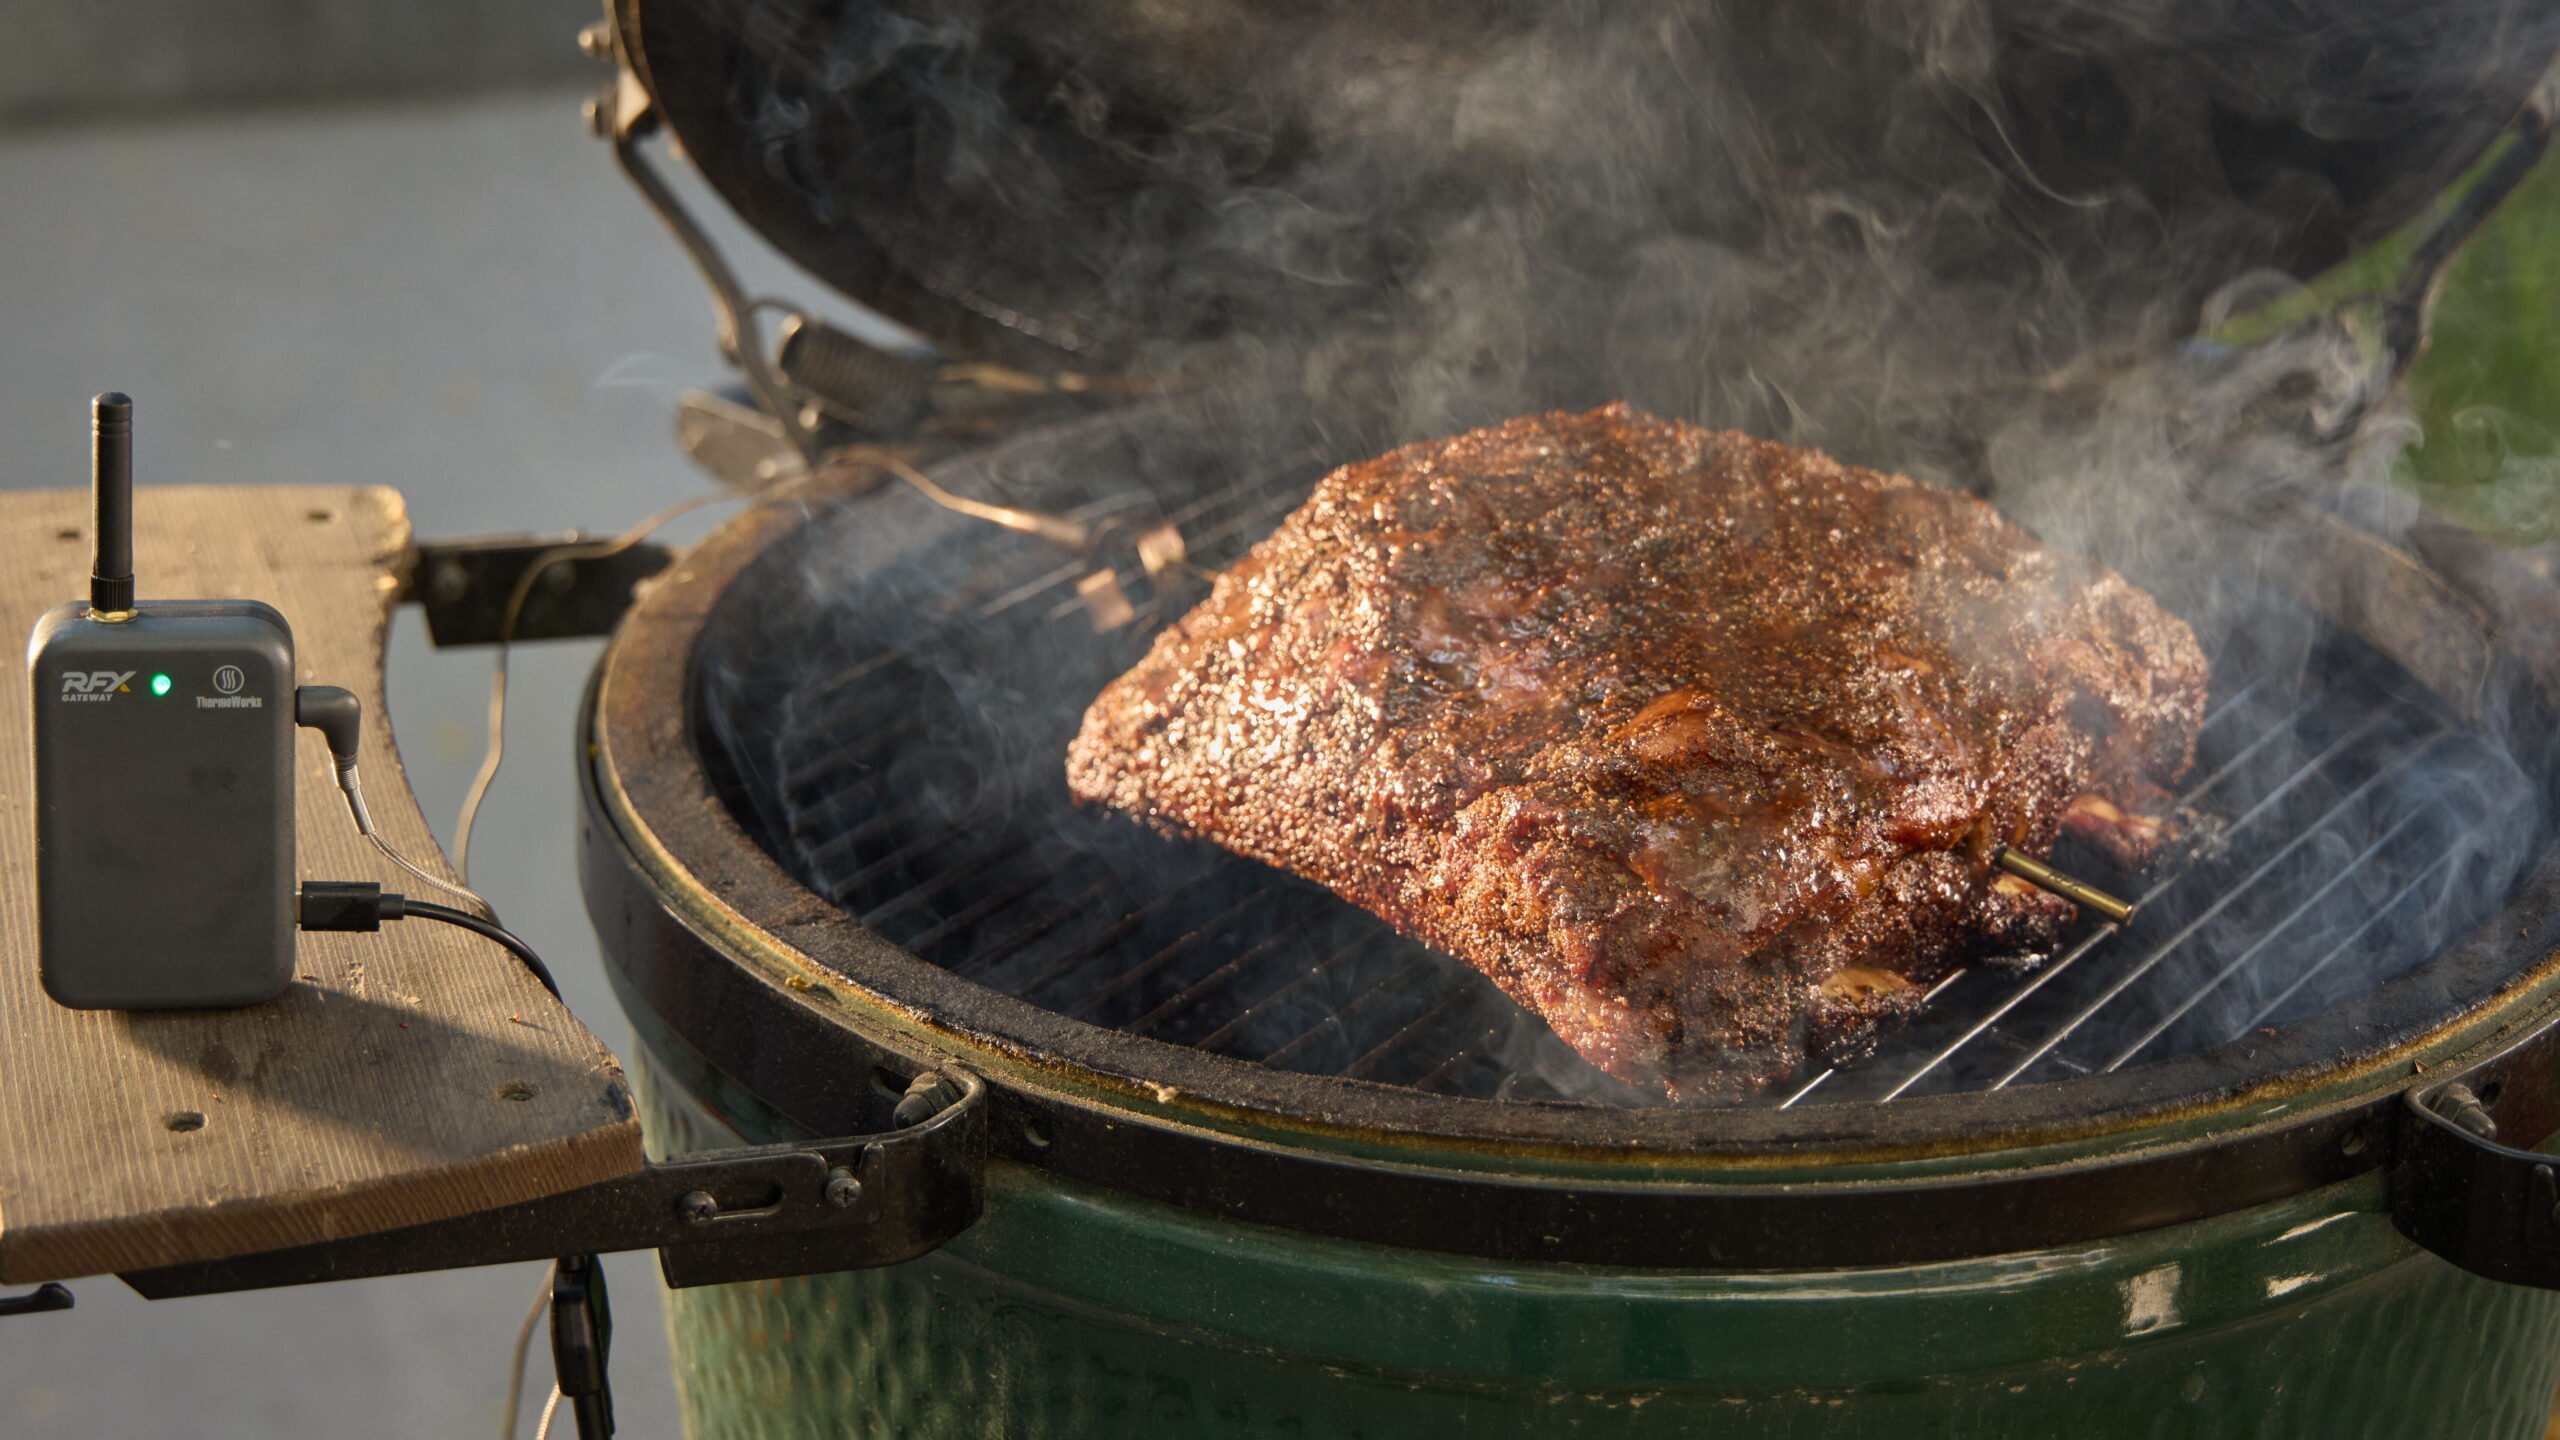
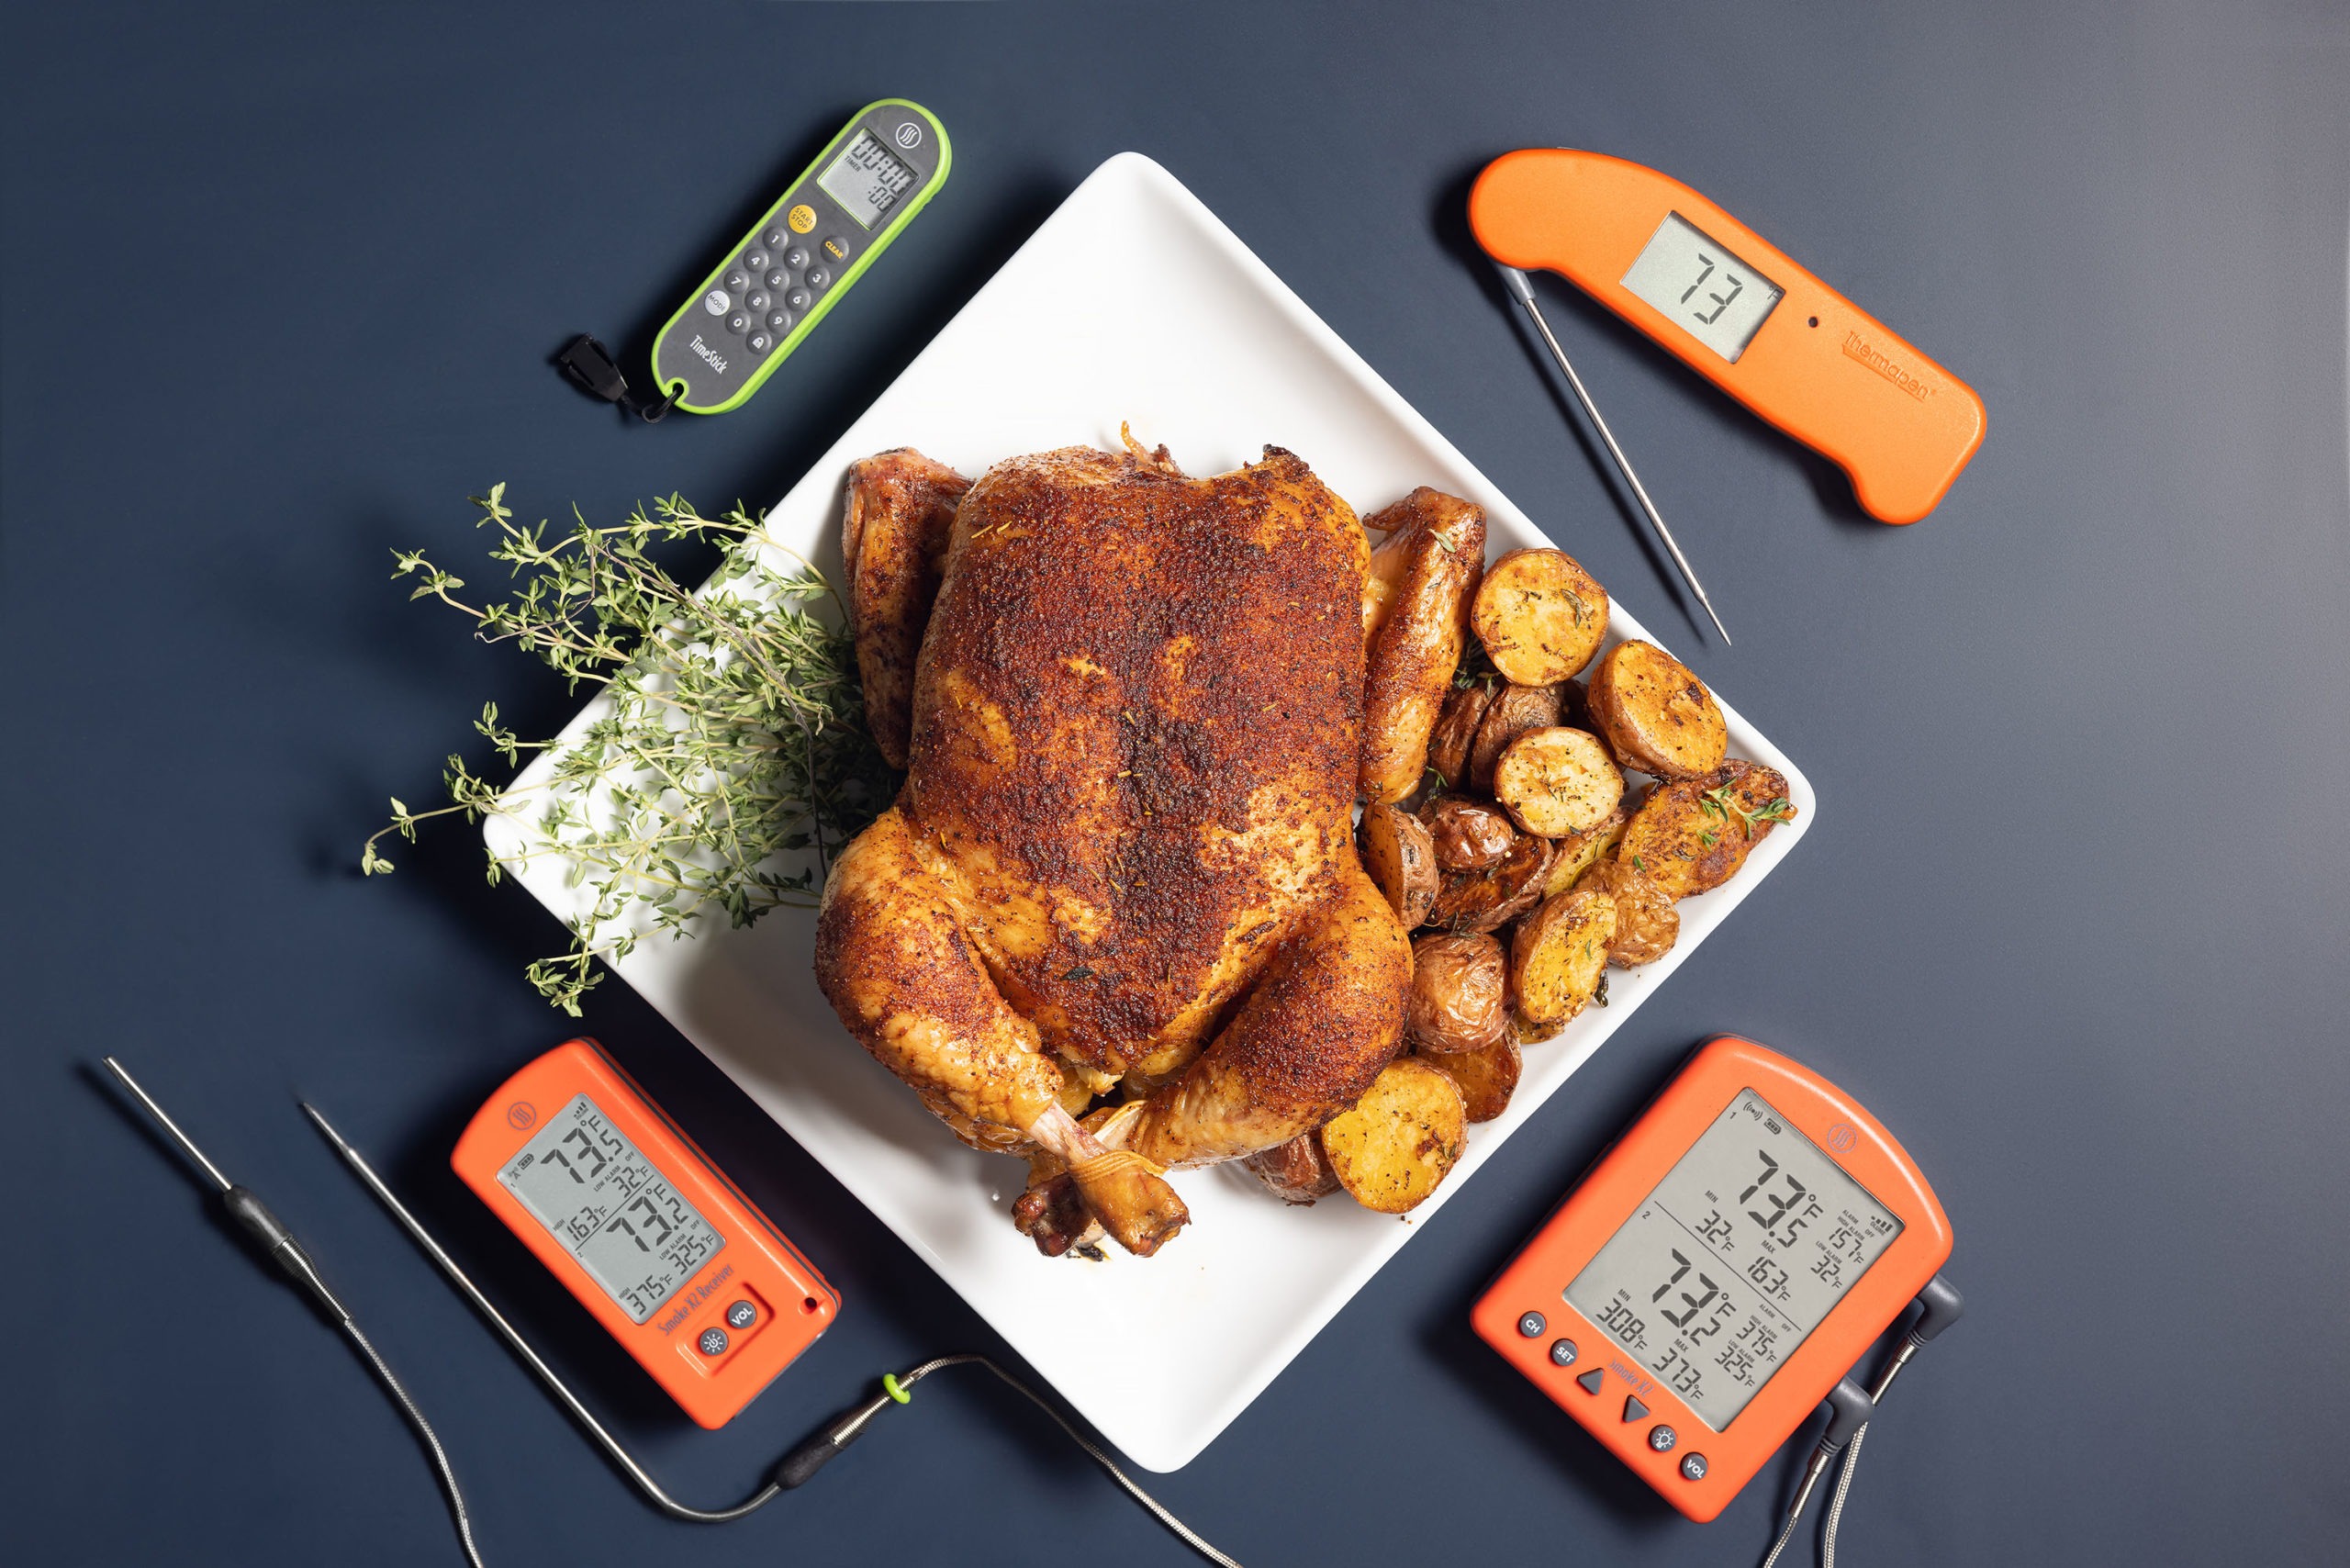
We chose to use a kamado-style smoker for this cook. But no matter what smoker you use, make sure it’s heated to 225°F (107°C). We set ours up using our Billows® barbecue control fan, and monitored the air temp using the air probe from our RFX GATEWAY™. We also threw a chunk of cherry wood on the coals a few minutes before we put our meat in, to smoke—for extra flavor and color. We continued to use Billows throughout the cook to maintain our pit temp.
Like we said above, we ran our entire cook at 225°F (107°C). At this low temperature, there is plenty of time for smoke flavor to penetrate the meat. And we didn’t have to worry about high heat drying it out.
Dino Beef Ribs Doneness Temps
First, a note on bark
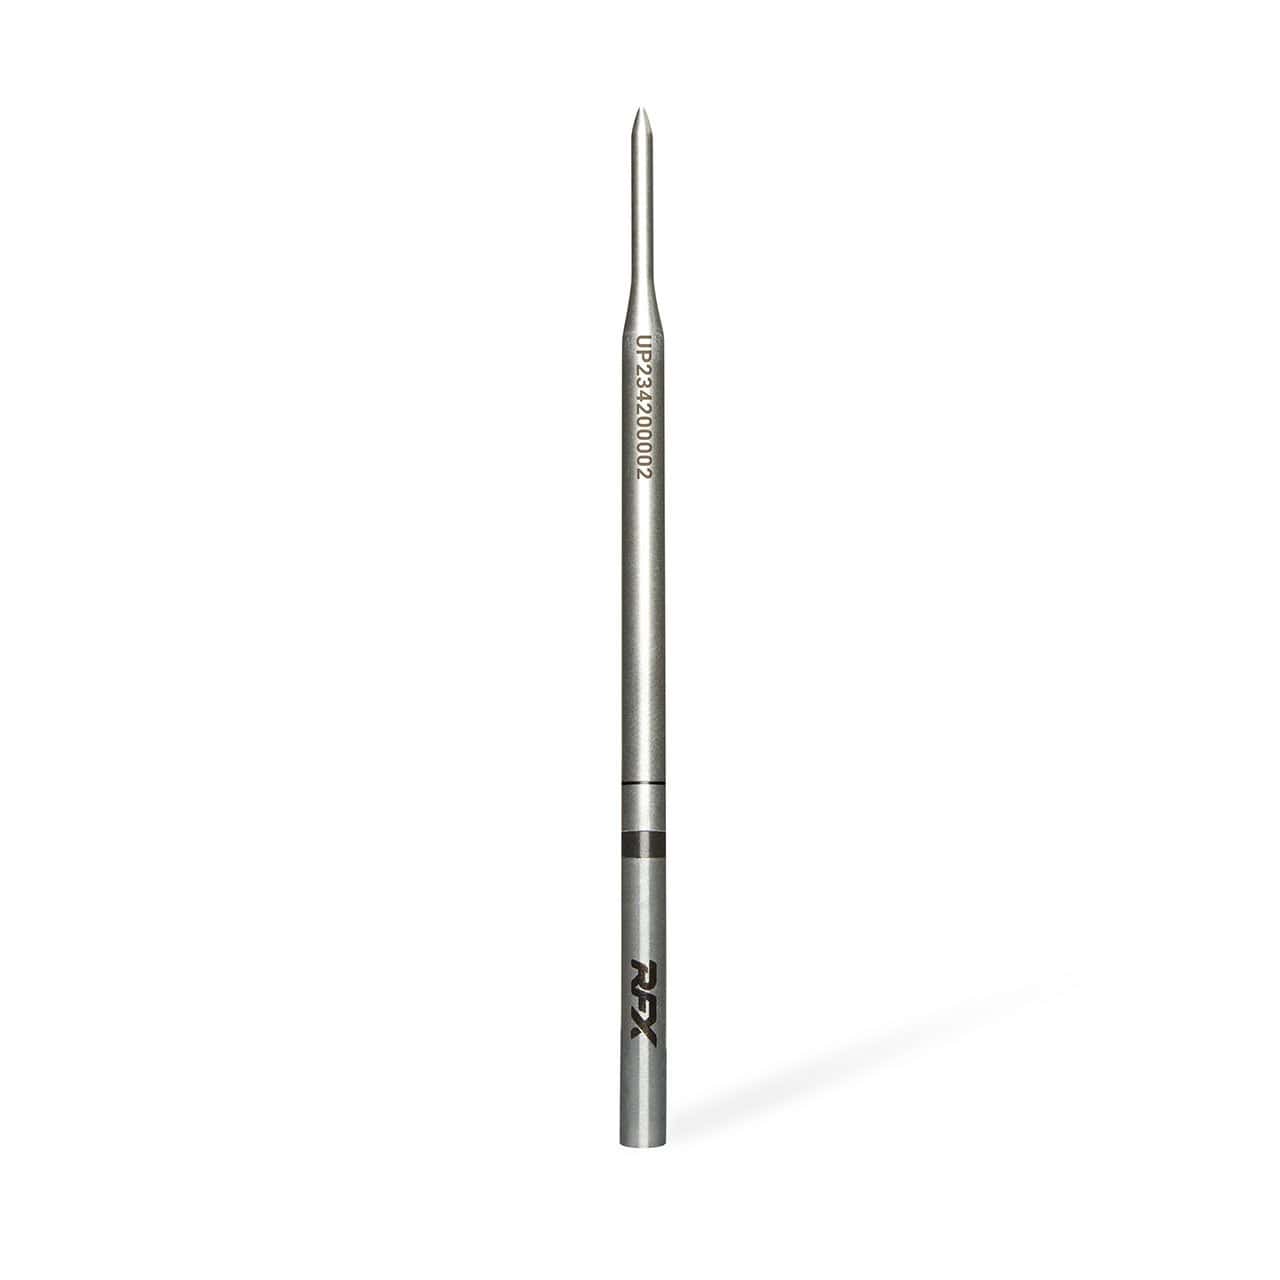
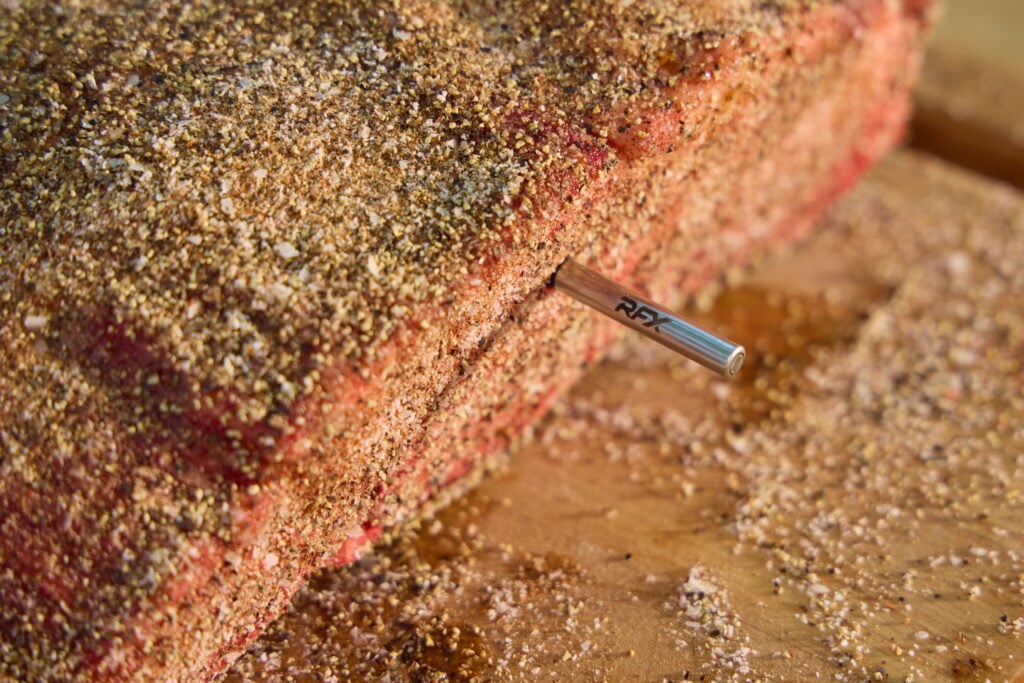
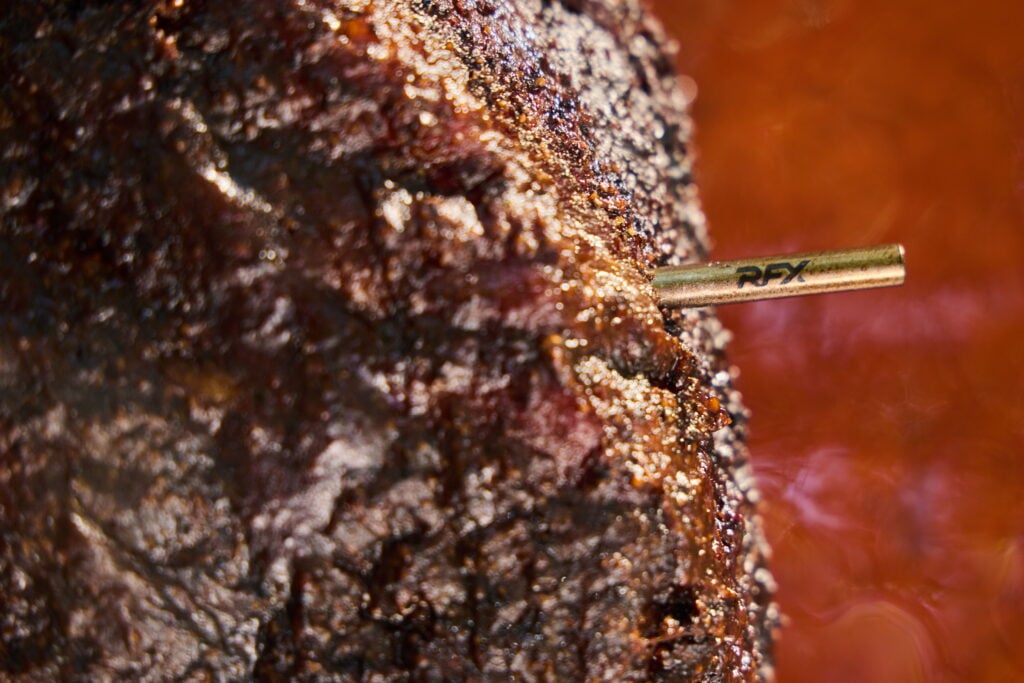
To get a smoky, flavorful bark, we needed to make sure that our seasoning was well-set before wrapping. So we gave our ribs about four hours in the smoker before we wrapped them. We used our RFX MEAT probe to monitor their temperature while we cooked, and set an alarm in our app for our wrapping temp. We wanted a temperature in the vicinity of 180°F (82°C).
Set your alarm, but when it sounds, do a scratch test on the bark to make sure it is well-set. If it easily comes off on your fingernail, it will get soggy and slough off when you wrap. One other sensory cue you can look for is the meat starting to pull back along the bones. If you’re not passing the scratch test and your bones aren’t showing, don’t wrap!
Smoked beef short rib wrapping and pull temps
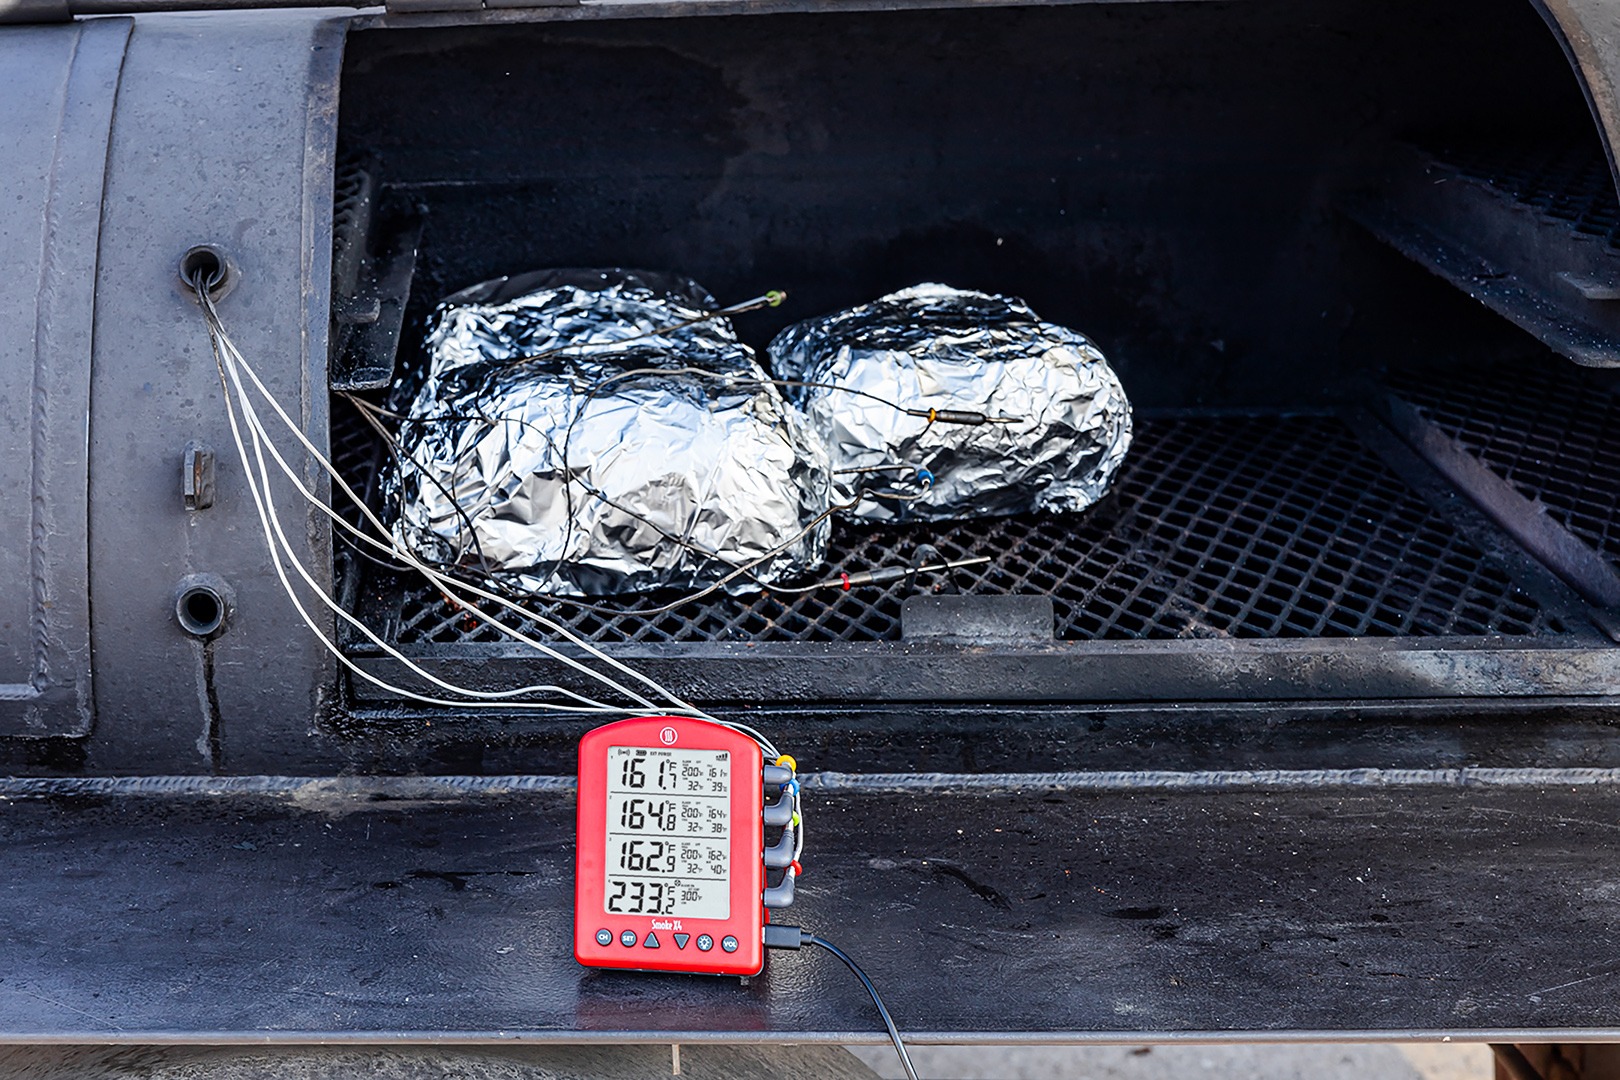
Okay, let’s talk about critical temperatures. When we’re cooking a piece of tough barbecue beef, we know that we have to dissolve the collagen into gelatin to make the beef tender and tasty. We also know that as the meat cooks, the proteins in the muscles tighten up and expel water. When we approach 150 or 160°F (66 or 71°C), that change results in lots of surface moisture on the meat. That moisture evaporates in the heat of the smoker, cooling the meat and stalling the temperature.
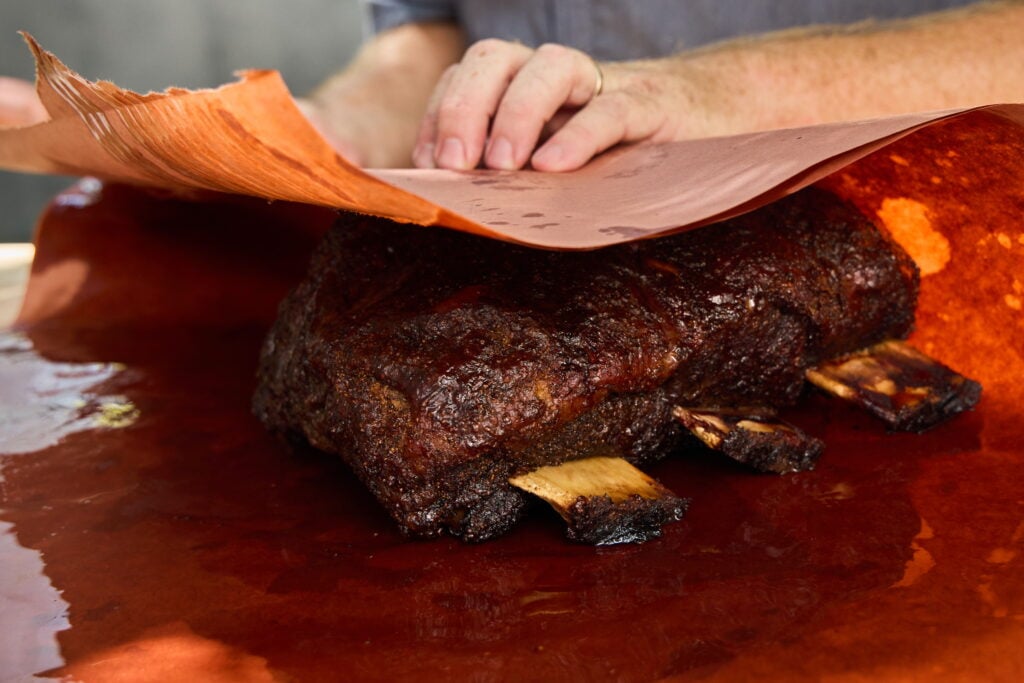
This is no surprise to anyone who has smoked a large piece of meat. And anyone who’s familiar with low and slow barbecue knows that you wrap your meat to move through the stall more quickly. We wrapped our Dino ribs in butcher paper, smeared with melted beef tallow. Butcher paper doesn’t form as tight of a steam seal as foil, but still creates a high enough humidity environment for the meat to move through the stall. Plus, we find that it preserves the bark better. Because it doesn’t keep all the steam in. Some of it vents slowly through the paper, so the bark is less likely to get soggy.
Now for doneness. Obviously, by the time we wrap our ribs they are “cooked,” but that doesn’t mean they’re ready to eat.
We need most of the meat’s collagen to break down before we tear into it. And that breakdown depends on time and temperature. By the time you get your ribs up to 200°F (93°C), they should be soft enough to enjoy.
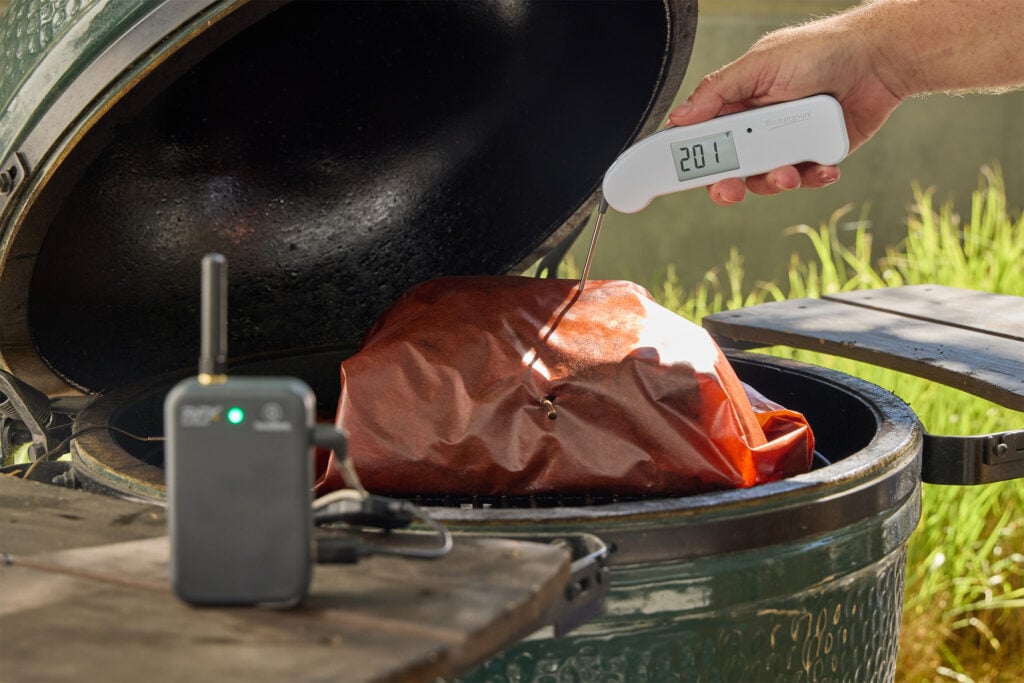
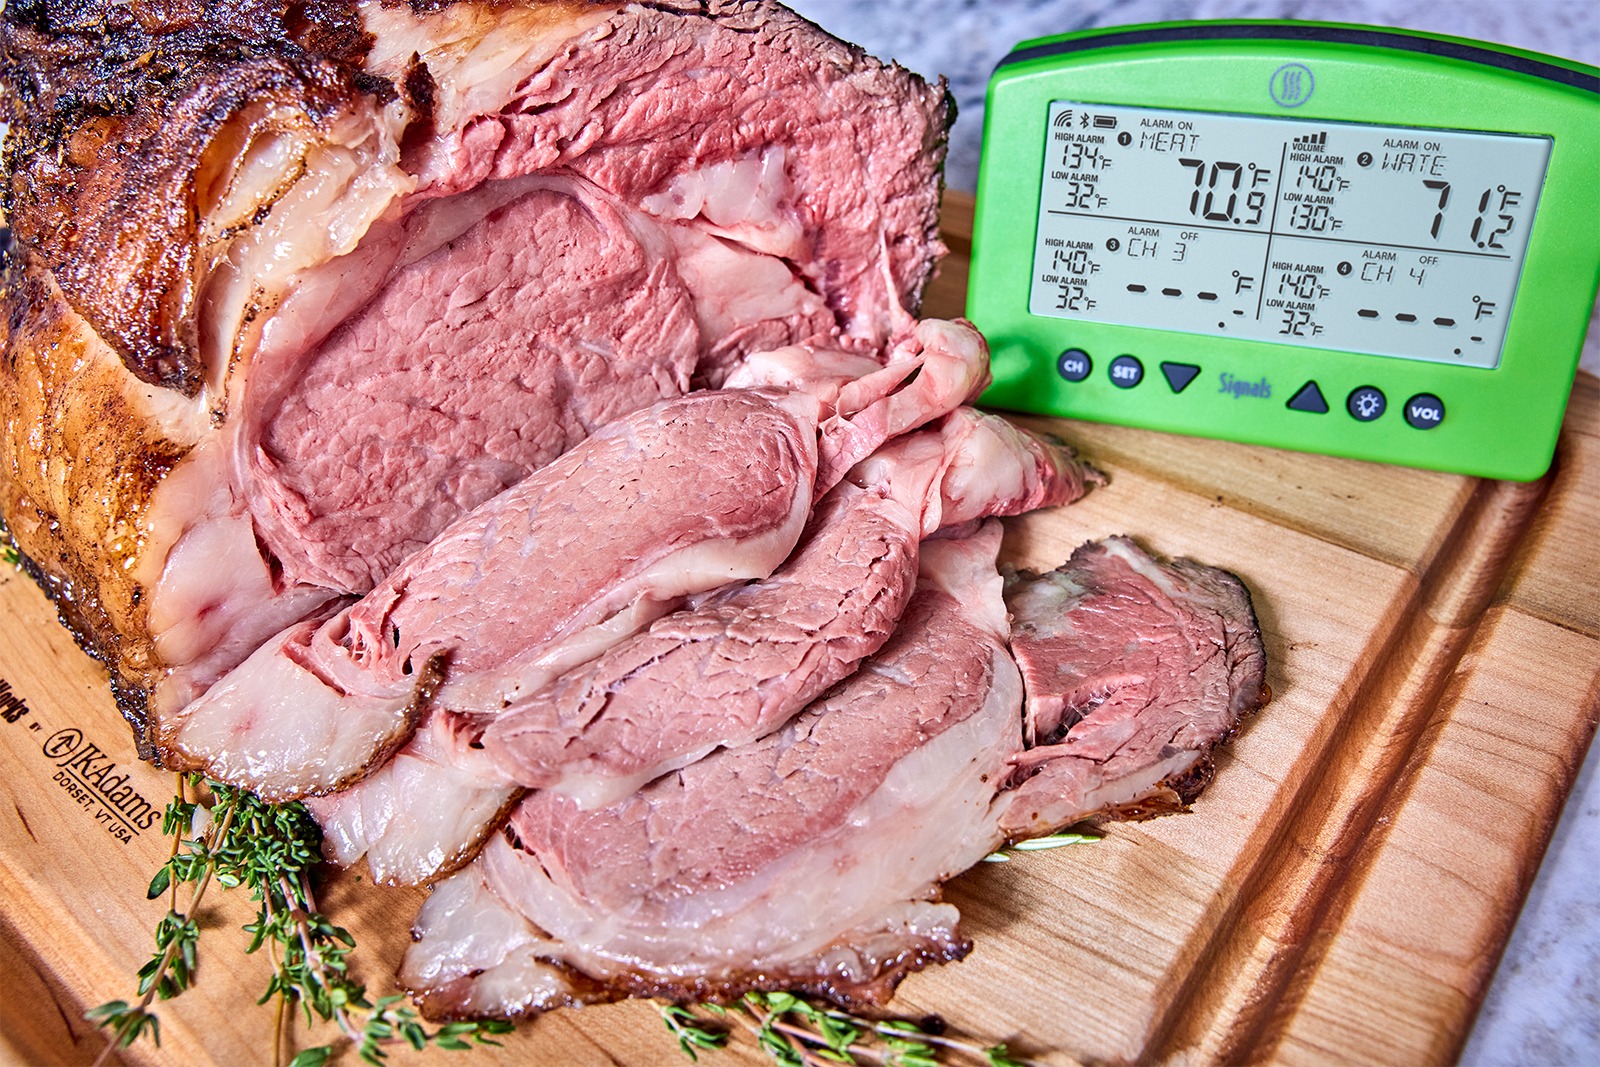
We reset our RFX MEAT probe’s alarm for that temp and kept smoking. When it sounded, we verified the meat’s temperature and tenderness using our Thermapen® ONE. They don’t have to feel completely tender, but they should be close. In fact, they should feel kind of pillowy/jiggle on top of the bones.
Move your ribs from the smoker and place them in an insulated cooler for an hour or two. During this rest time, the collagen will continue to break down without adding more actual heat to the ribs. Don’t skip this step. It seems trivial, but is one of the secrets to great BBQ—and great Dino ribs in particular!
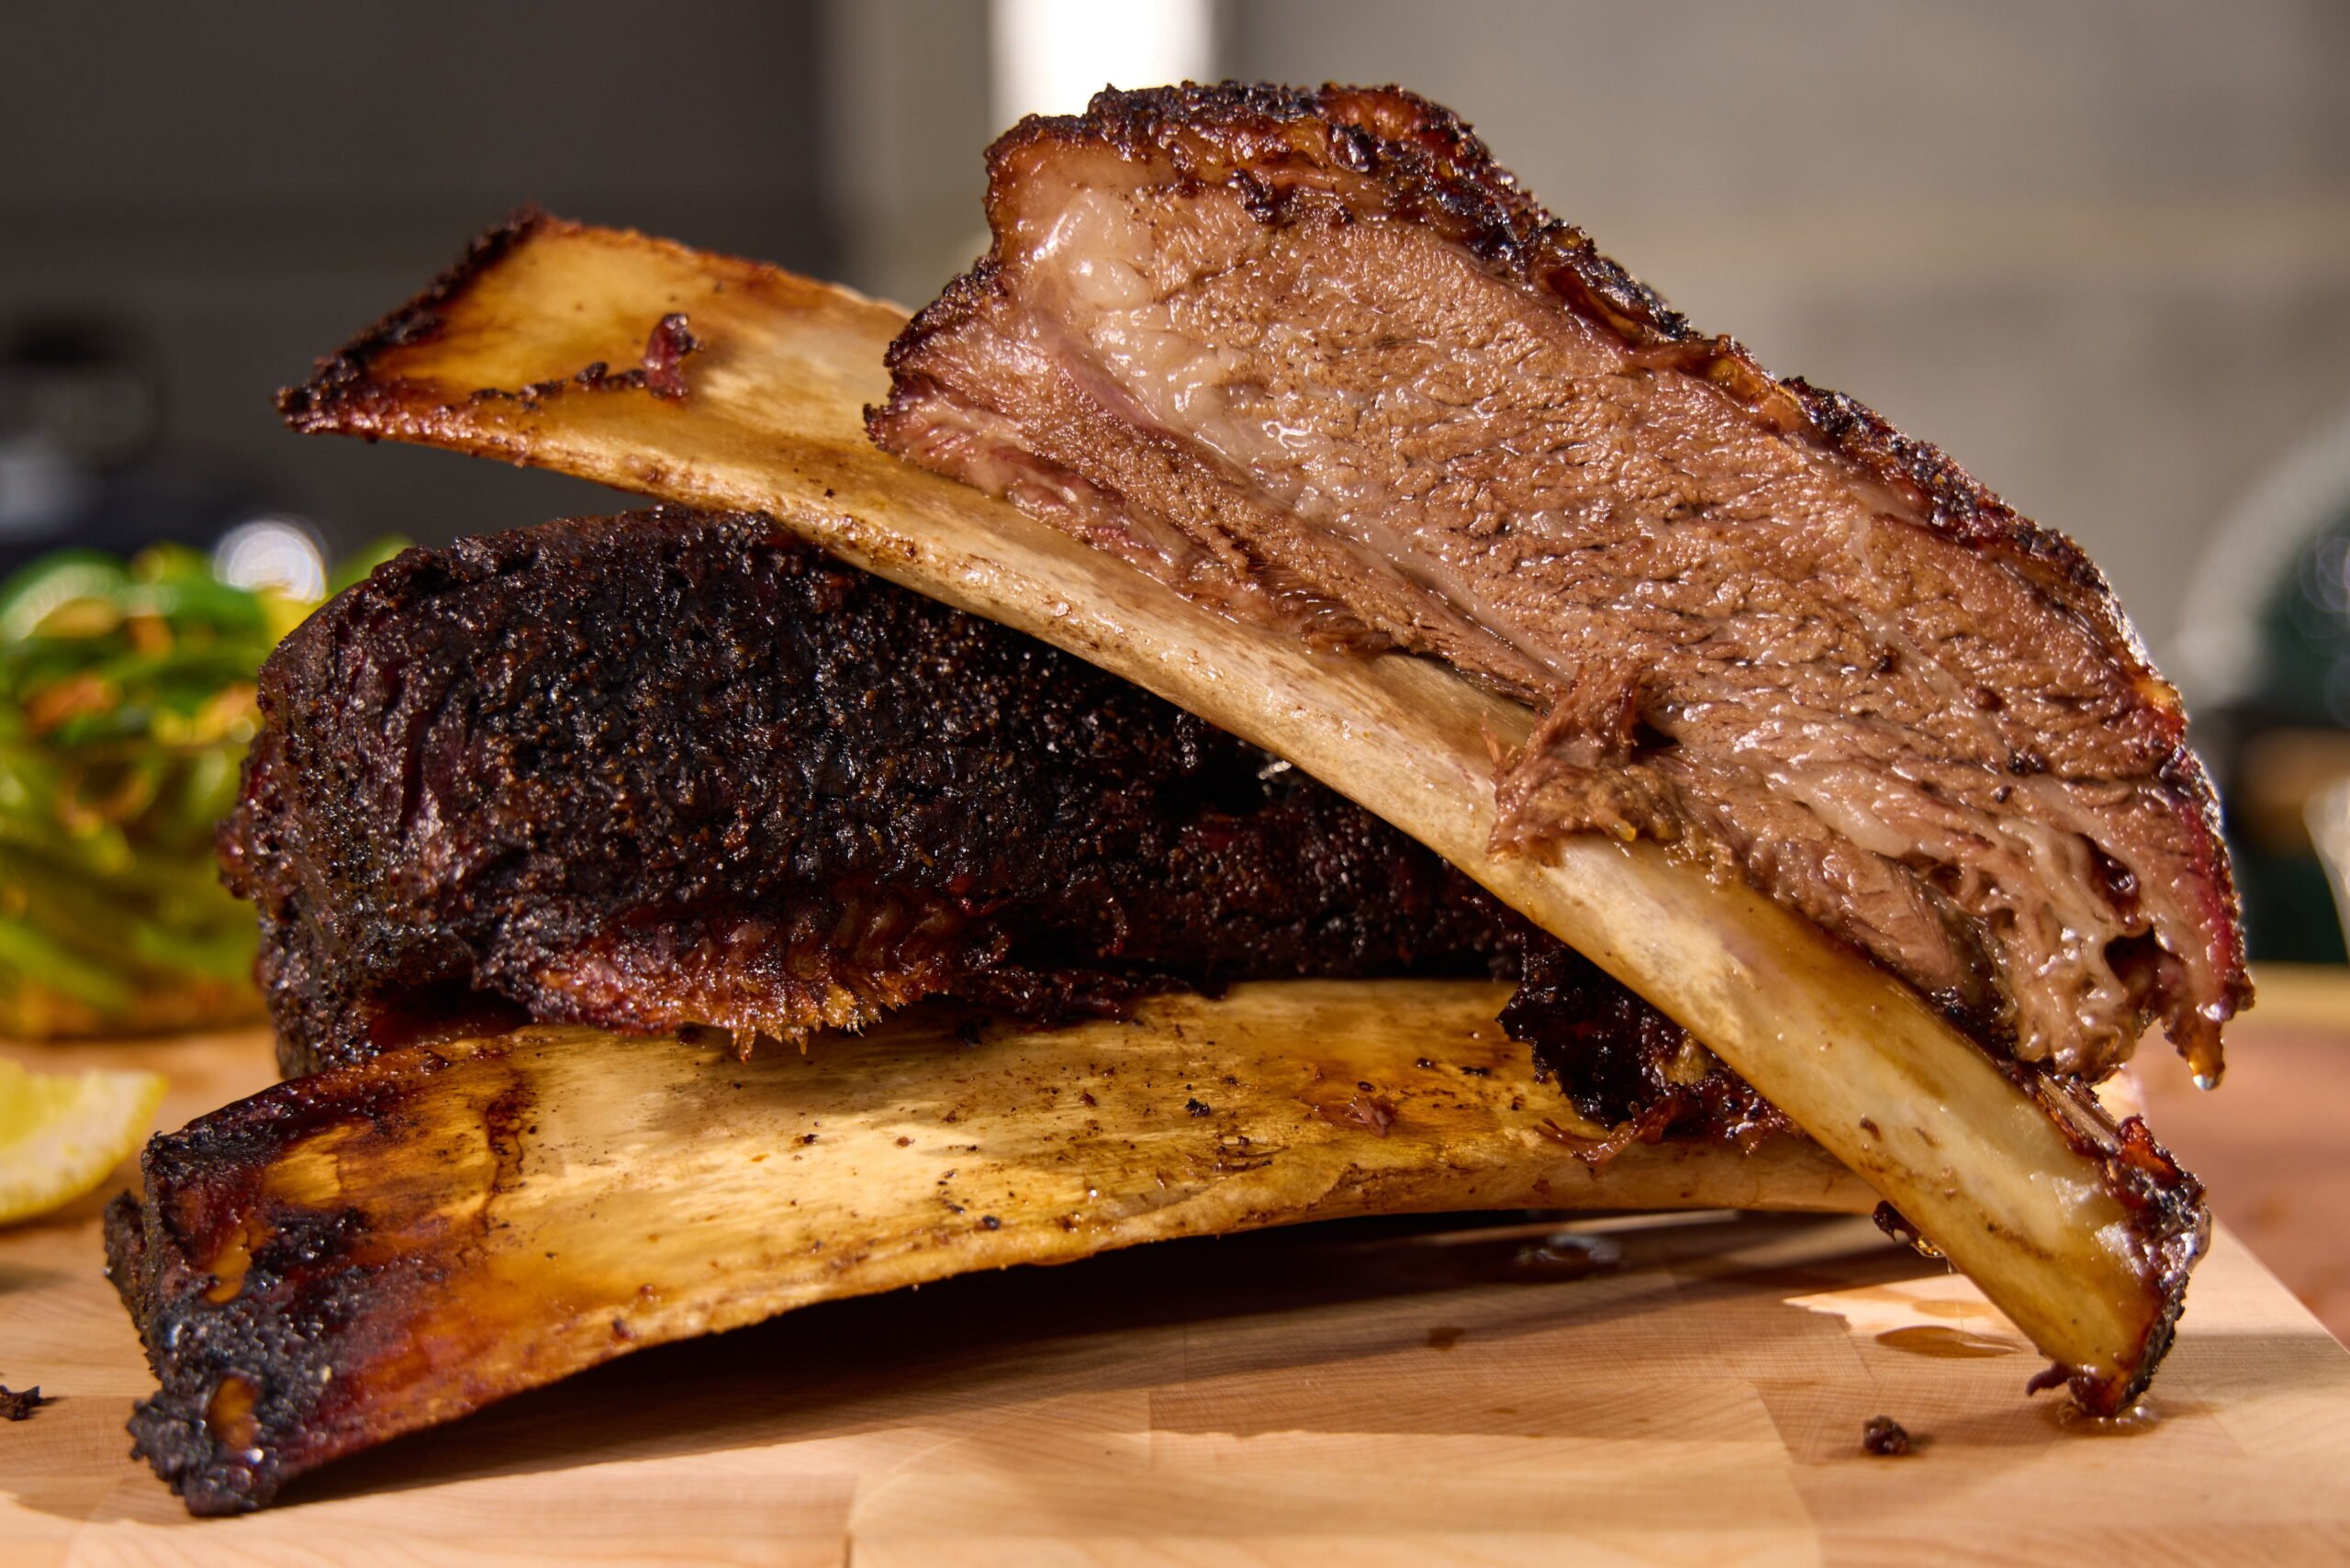
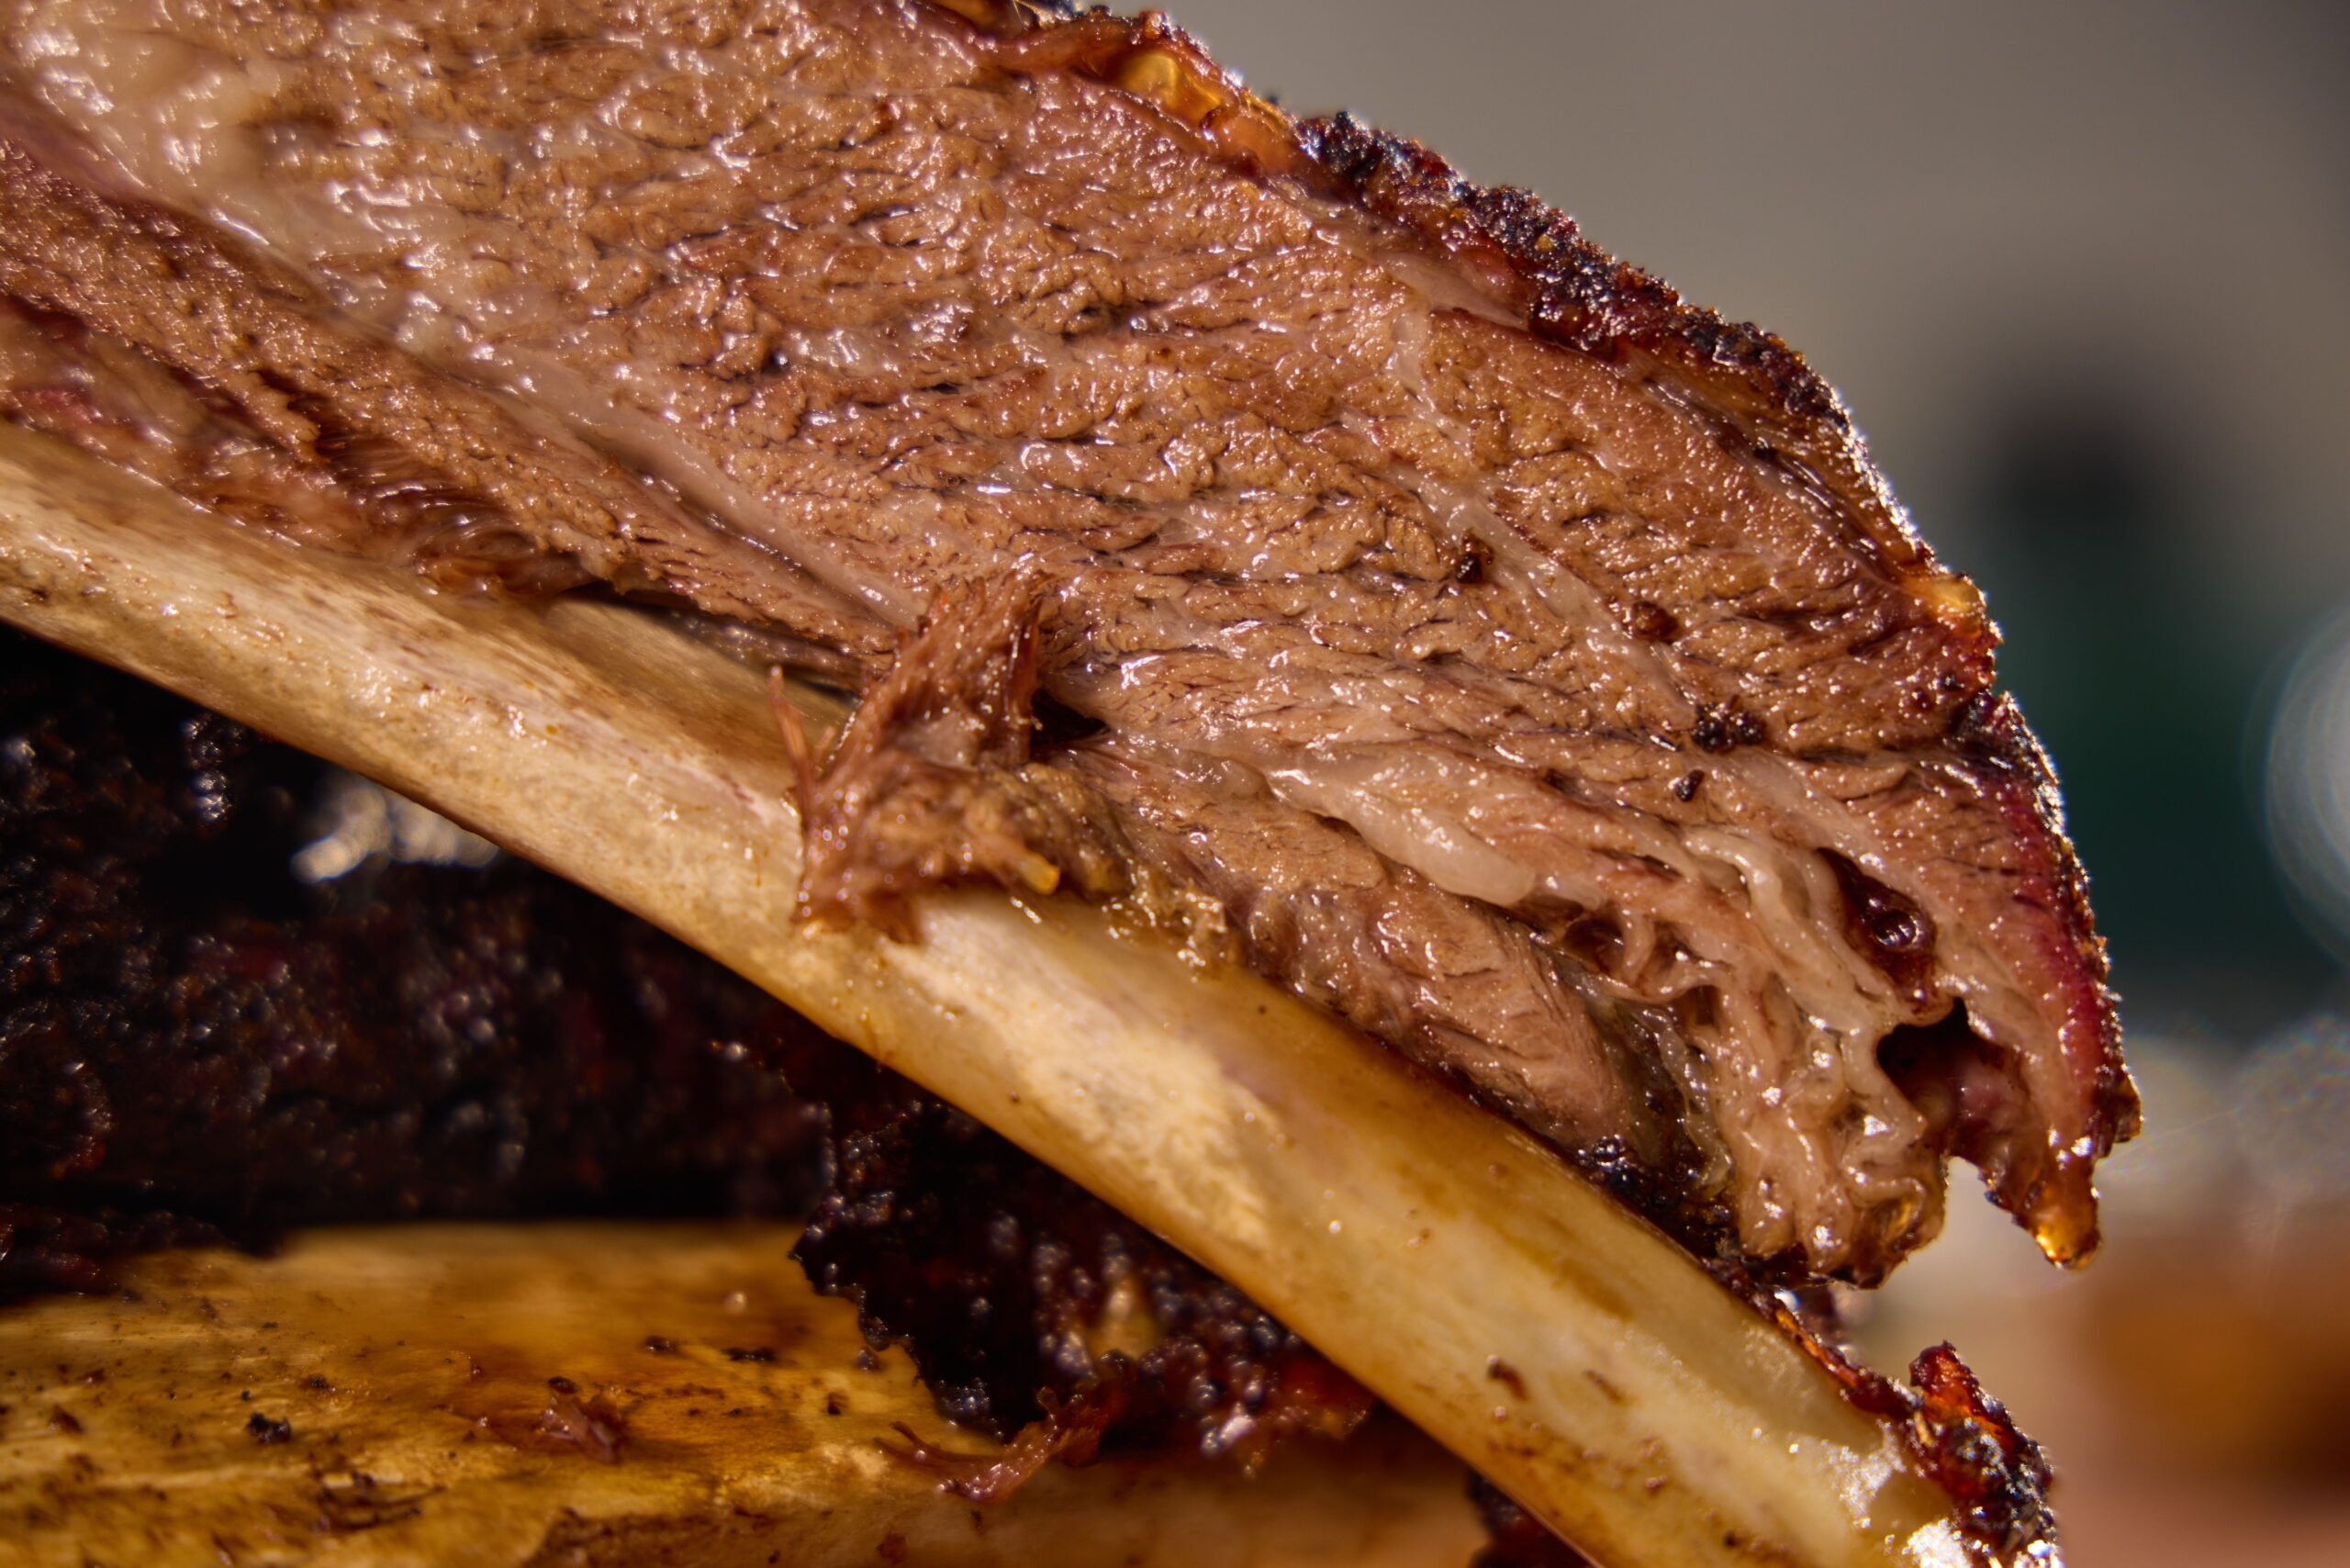
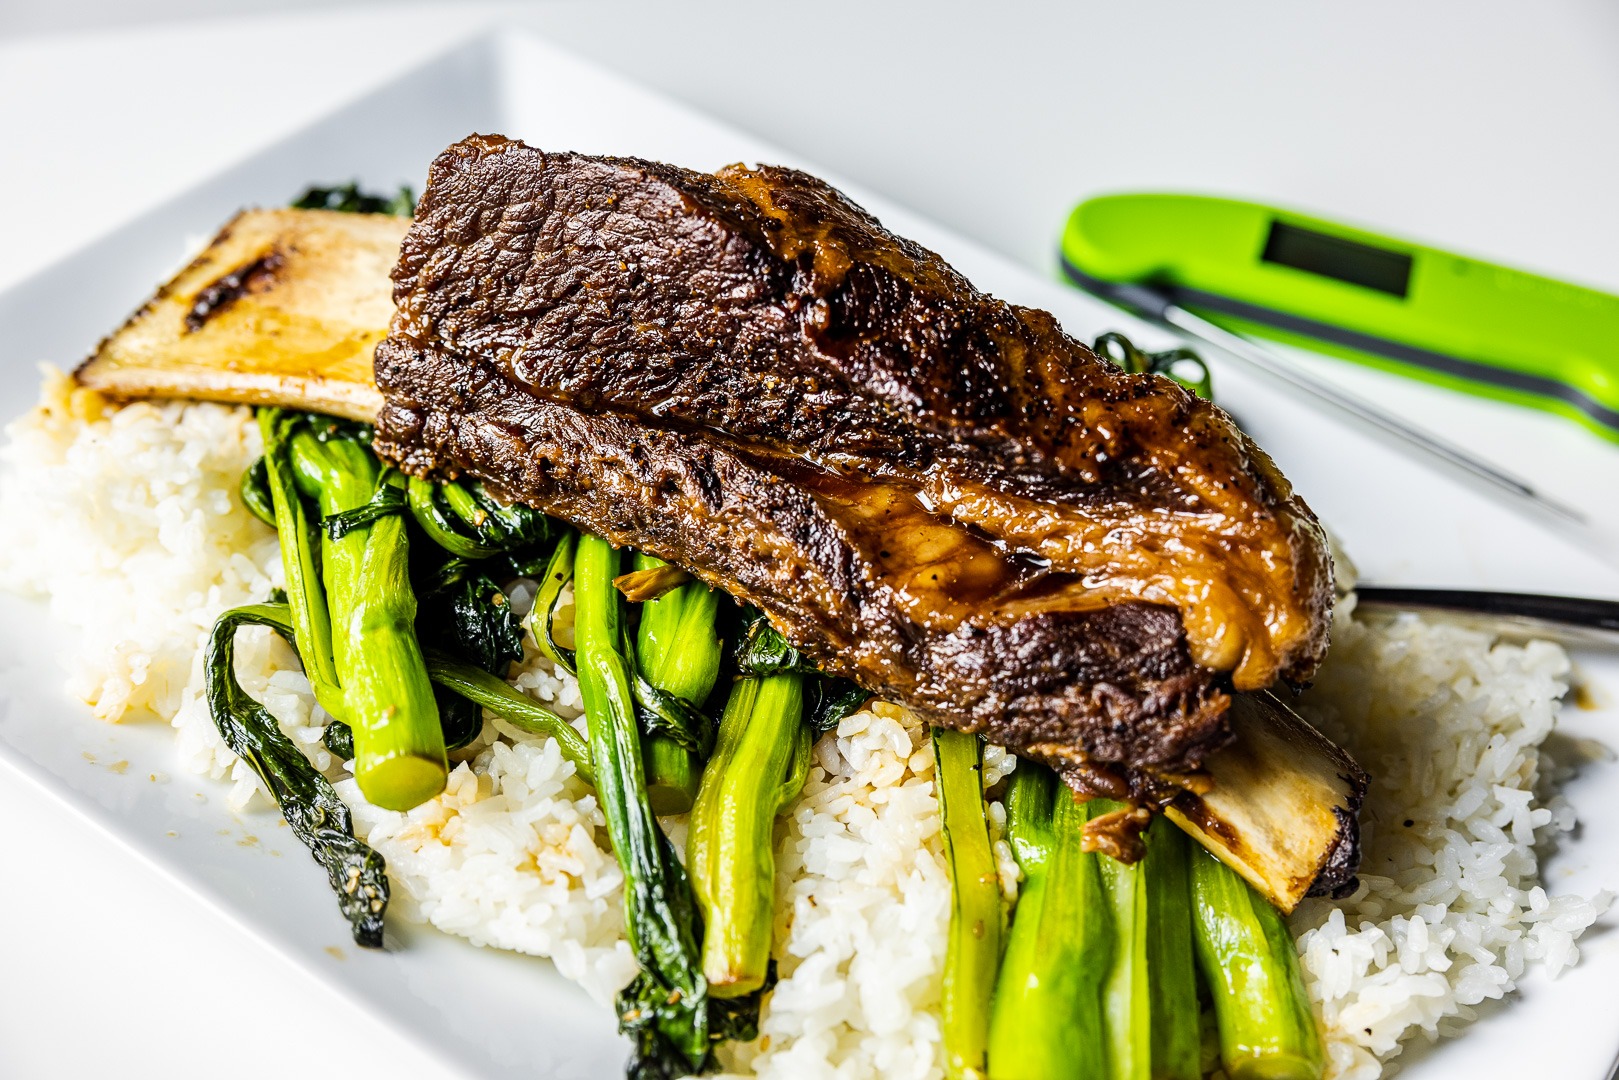
This method made some of the best barbecue short ribs that we have ever tasted—intensely rich, smoky, flavorful, and juicy. It was incredibly difficult to wait for the photos to be taken before we could eat them. Do yourself a favor and try this method. Get a rack—or, even better, two—of Dino ribs.
Be sure to ask the butcher for extra-thick ones. Slather them with a binder, season them up, and toss them in the smoker. Use your RFX and your Billows to make sure that the cook runs exactly like you want it to, and we are sure that you will love the results. Happy cooking!
Smoked Beef Dino Ribs Recipe


Ingredients
- 2 Flats of THICK beef shortribs
- W-sauce
- Texas style salt and pepper rub
Instructions
- Preheat smoker to 225°F with RFX GATEWAY and Billows BBQ Control Fan
- Trim meat of excess fat and silver skin. Score the membrane on the bottom of the ribs.
- Rub the meat with the W-sauce sauce as a binder and apply rub.
- Insert RFX MEAT into the ribs. and set the alarm for 180°F (82°C).
- Smoke the meat for 4–6 hours, or until the high-temp alarm sounds.
- Lay out a double-layer of butcher paper, and rub the top layer with melted beef tallow.
- Remove the ribs from the smoker and wrap them in the paper, pouring a little more tallow on the meat.
- Re-insert your RFX MEAT and set the new high-temp alarm to 200°F (93°C).
- Increase smoker heat to 250°F
- Smoke until the alarm sounds. Verify the temperature and check tenderness with your Thermapen ONE.
- Remove and rest in a cooler or warmer for 1–2 hours.
- Slice the ribs apart and serve!
“though a little garlic wouldn’t hurt anyone.” Ummm….
While I like learning from this blog, and there are a lot of good ideas, I have to speak back against this reason why I can’t use more of them. My daughter is Epi-pen level allergic to both onion and garlic – were I to serve this to her, she would find it ‘spicy’ as her mouth and throat would prickle and start swelling to the point that she would not be able to breathe, and the Epi-pen’s adrenaline would leave her sleep off for several days while she recovered.
I would like to find another barbecue rub other than salt-and-pepper or Penzey’s _Barbecue of the Americas_ that is onion and garlic free. This doesn’t help.
Oh my! Of course when we say things like ” a little extra butter won’t hurt,” we don’t mean that everyone can have it…those with heart conditions or milk allergies of course Shouldn’t follow a comment like that. BUT. An Allium allergy like that is a tough thing to deal with in BBQ, as almost all BBQ rub shave some garlic or onion. It is well within Texas-style parameters to use a BBQ rub composed ONLY of salt and pepper. Combine 1 Cup 40-mesh black pepper and 1 Cup kosher salt, and use that as a rub. I LOVE BBQ prepared this way, and I hope you (and your daughter) will too! If you follow any recipe from a respectable BBQ cook, just omitting the alliums, you should end up with something pretty tasty.
I’ve tried this several times with chuck roast but the meat, while tasty, seemed to be too dry, probably because it was heated too long trying to reach 200F. I wrapped the meat at 150F after it became stalled. I also removed the wrap before resting but did not rest for hours.
Q1 … When should the wrap be applied? It would seem that the slope of the temperature-time curve (drops to < 10F/hr ? ) might be a good parameter to monitor ,,,
Q2 … Reaching 200F even when wrapped seemed to take too long. Is there an alternate measure of doneness, again looking for a temperature-time slope change?
Q3 … When should the wrap be removed? At the beginning or completion of the rest period?
Before we get to the questions, I think removing the wrap before resting is a mistake. The wrap prevents evaporative cooling, allowing the meat to continue the collagen melt. By removing the wrap, you let the meat cool precipitously, spoiling part of what the wrap is supposed to accomplish. Though some pitmasters do “burb” the meat, opening the wrap to let out an initial burst of steam and heat, then immediately closing the wrap again. Just something to chew on, as it were. OK, on to the questions.
1— A change like that in the slope curve is a great time to wrap, provided your bark has set. You might wait ’til it has dropped as lo as 3–5°F if the bark isn’t scratch-proof yet. But you’re definitely on the right track there!
2- Depending on how well and with shat material you’ve wrapped, this process still takes a long time. The temp curve will slowly increase slope until it’s running at a rate nearly equal to the initial temperature climb (maybe a little less steep). Bu there are no more slop indicators on the way to doneness.
3-Remove the wrap at the end of the rest period (see what I wrote above before I read your questions through.)
Excellent questions! I hope the answers lead to good success for you.