How to Make the Best Spicy Chicken Sandwich: Temperatures That Matter
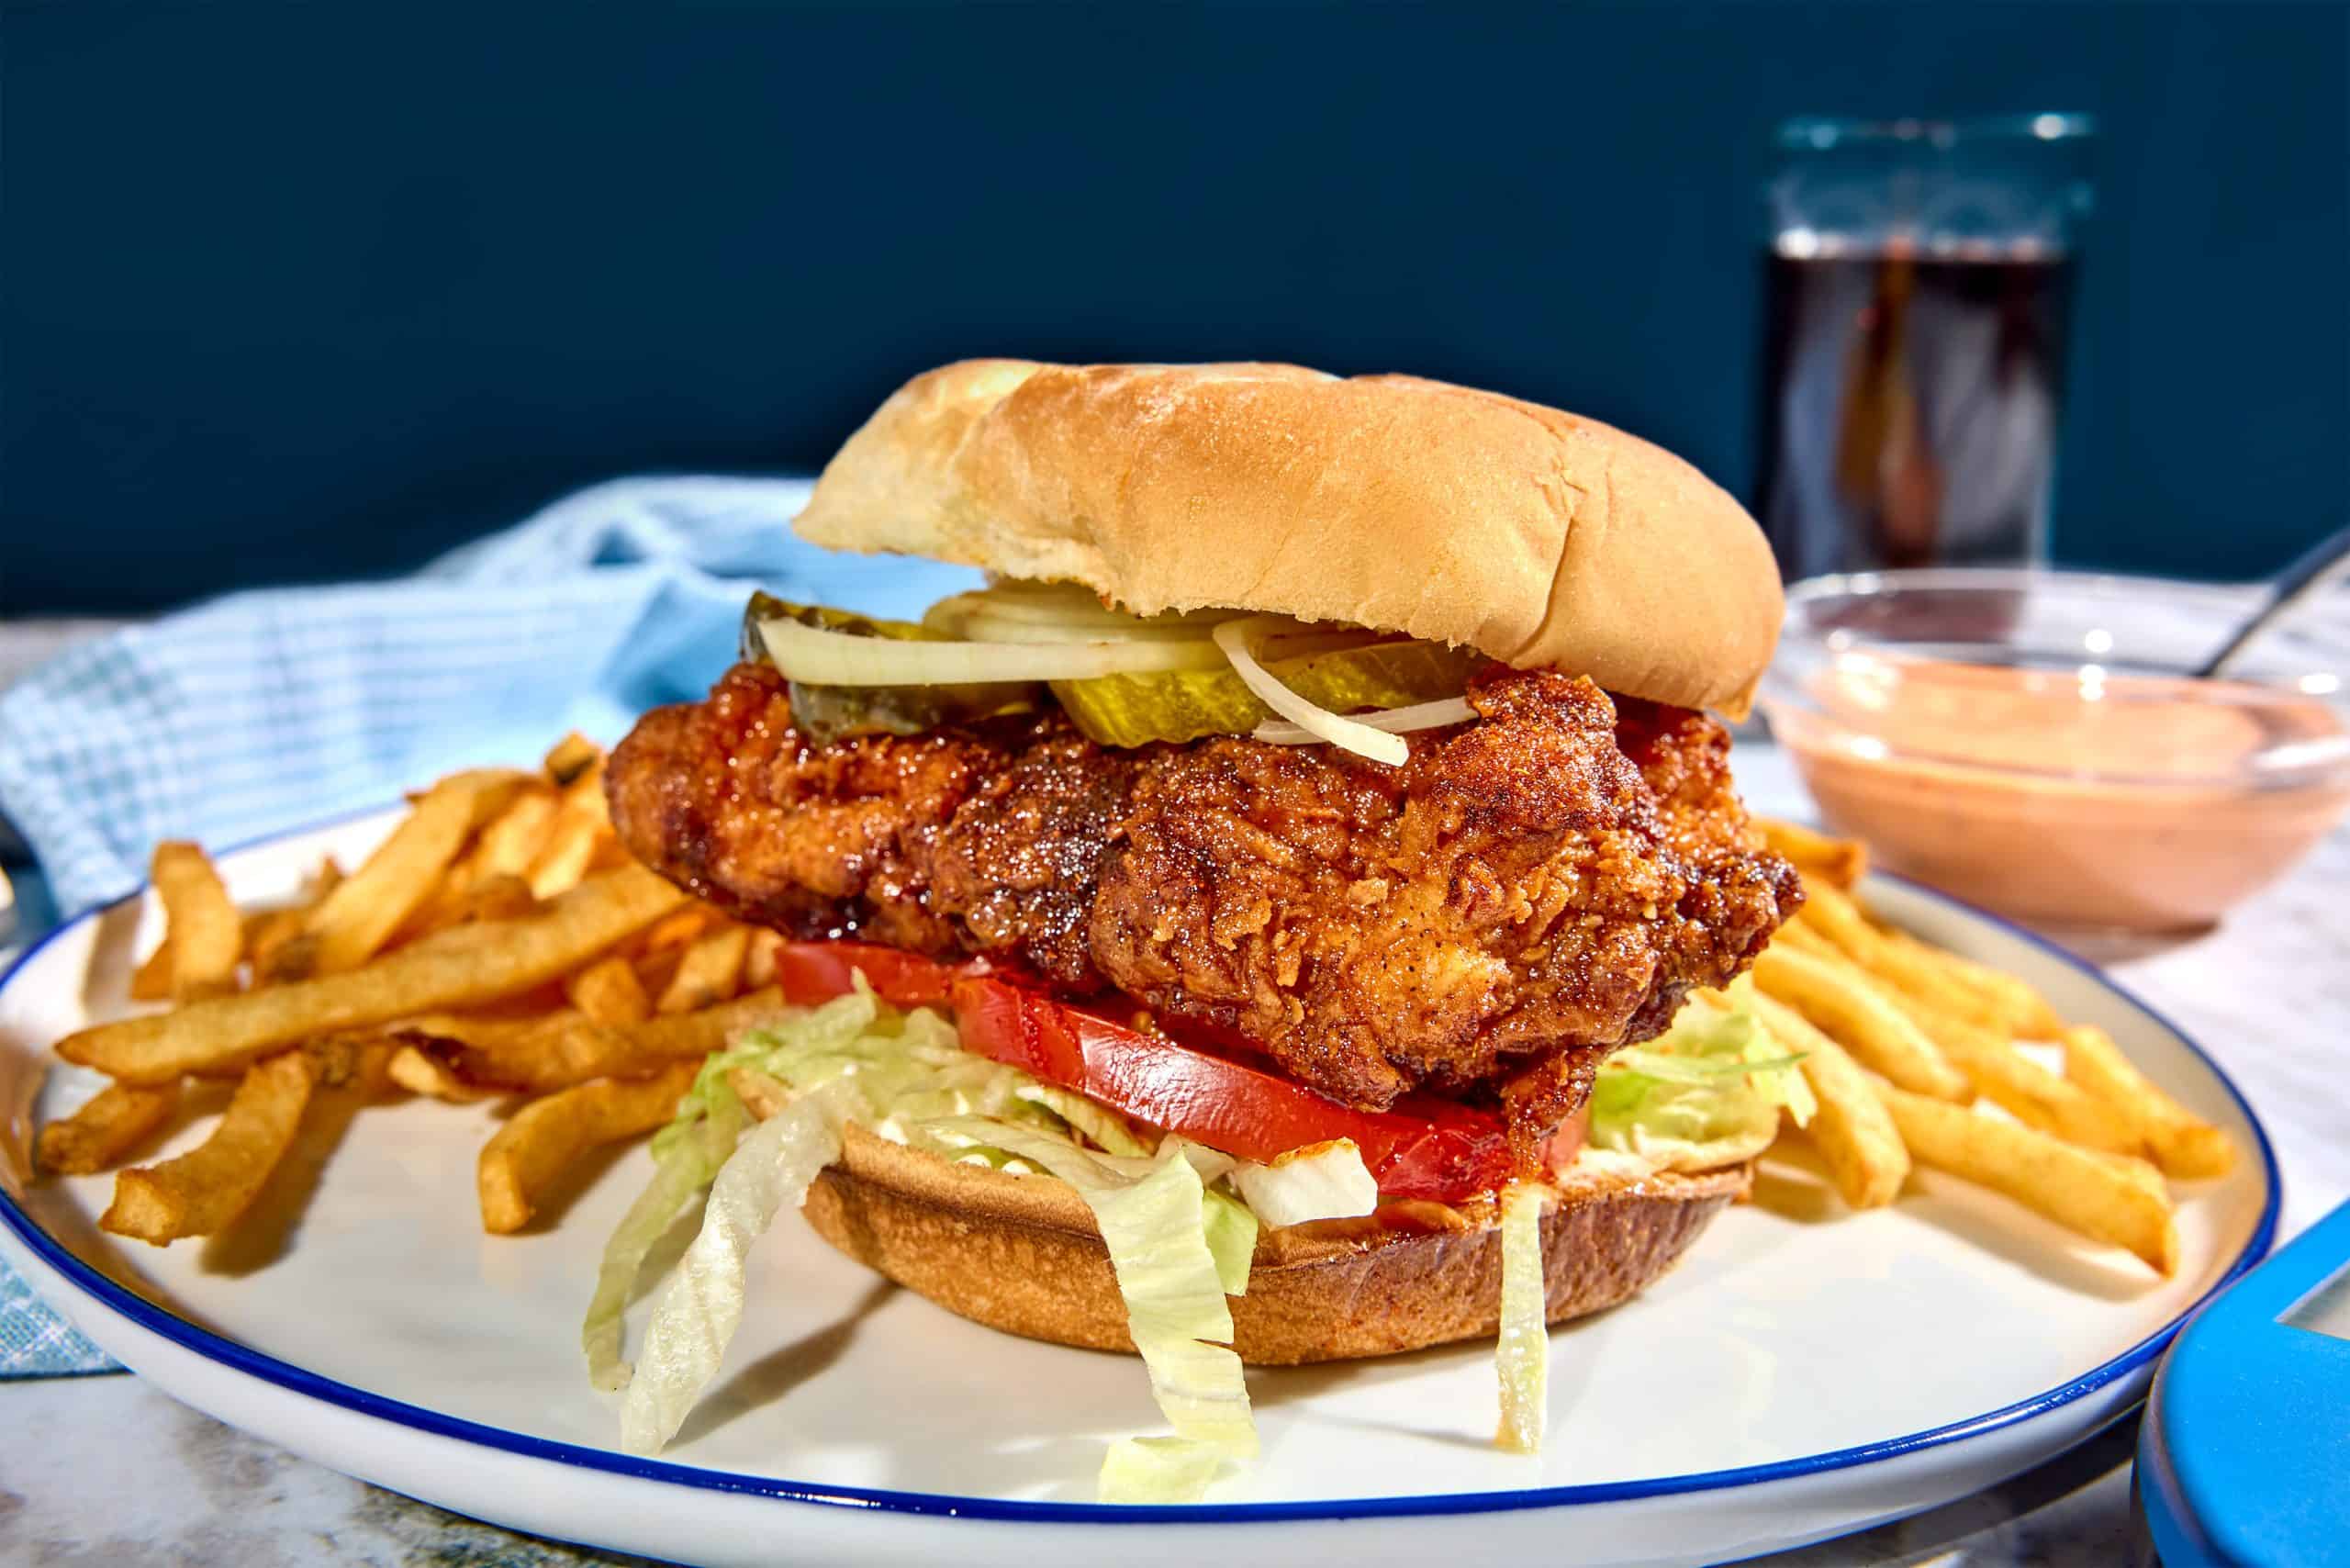
America is in the middle of a chicken sandwich renaissance, and that is both good and bad news. Look, the abundance of new chicken chains opening daily in strip malls across our land is great from one point of view. You’re never far from a crispy chicken sando if you want one. But those chicken sandwiches cost too dang much, and most of them are only of a middling quality. They can be dry, tough, not crisp, or underseasoned. And the quality problem is compounded if you want a spicy chicken sandwich—you never know if it will even be spicy at all! The best solution to these problems is, of course, to make your own spicy chicken sandwiches. They will be of a more consistent, higher quality, and clock in at a fraction of the price. That quality and consistency come from temperature control, and we’ll talk you through it. Let’s get cooking!
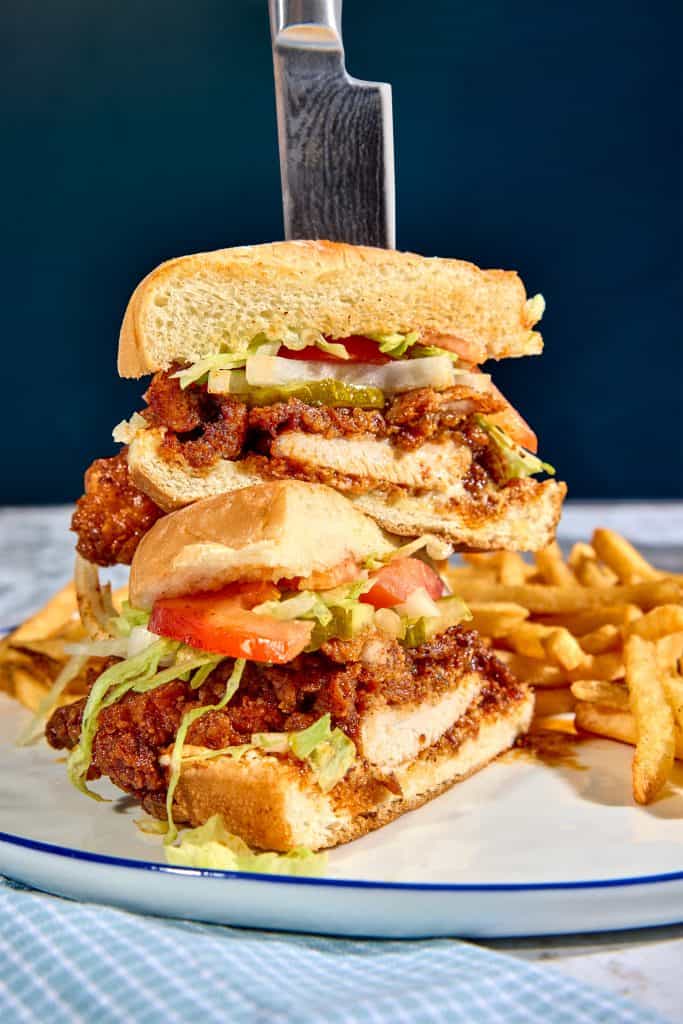
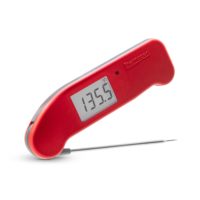
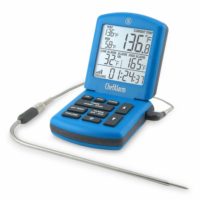
Get the tools you need for this cook here:
The best meat for chicken sandwiches
No one wants a dry or chewy chicken sandwich—they should be juicy and tender every time. Most chicken sandwich failures result from overcooking the meat (or underseasoning it, something we’ll cover a little further down). But overcooking chicken is a functional outcome of chicken choice: people use breast where they ought to use thigh.
We’ve spilled plenty of digital ink talking about this concept, but it is an idea that bears repeating. Chicken breast has a doneness window for safety and juiciness of about 5°F (2.4°C). By the time you hit safety, the chicken is already almost overcooked. Chicken thigh, on the other hand, doesn’t even become appetizing until it gets to temperatures over 175°F (79°C), and stays tender and juicy all the way up to about 200°F (93°C). The difference lies in the connective tissue content of the two meats. Thigh contains much more connective, hard-working tissue than breast does. More-connective meat needs higher temperatures to break down into gelatin, softening its toughness and creating juiciness along the way. Thus, using chicken thigh will ease your timing requirements, provide you with a higher probability of success, and—as thigh is almost always cheaper than breast—save you money.
Chicken doneness temps
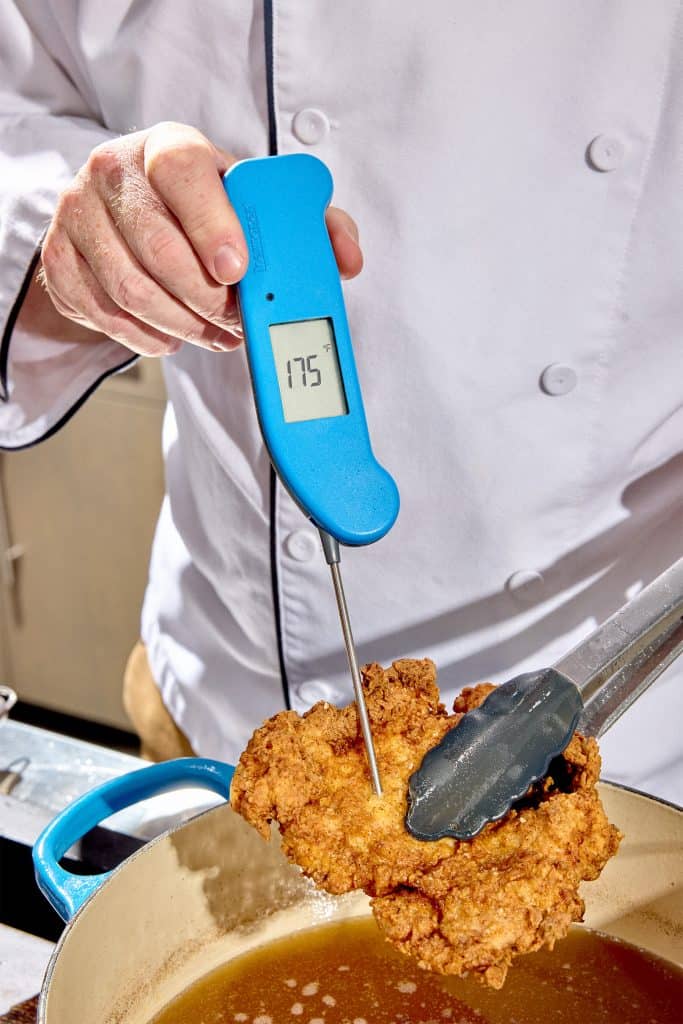
If you do choose the right meat, thigh, your chicken will have a doneness temp of 175°F (79°C) to 200°F (93°C). Use your Thermapen ONE to check the temperatures starting when the chicken is turning golden brown. If you find no temperature lower than 175°F (79°C), you can take it out of the fryer. But you don’t need to worry if part of the meat gets up to a higher temp! The thinner parts, if any, will still be in a juicy temperature range.
Flattening the thighs
And speaking of parts of the meat cooking unevenly, you should definitely flatten your thighs by pounding them thin. There are lots of reasons for this—more even cooking is a prime example. But because you create more surface area when flattening, you also get more crispy seasoning per thigh if you pound it out thin. And your eating experience will be more enjoyable if the meat is even.
We like to use a cut-open zip-top bag and a meat mallet to flatten the meat. Check it for bone fragments first, then get the thickest part to be about as thin as the thinnest part. You don’t have to make the whole thing super thin, just get the fatter parts to match.
Secrets for crispness
You’ll use a standard breading technique for this cook, but we used two tricks to make our chicken extra crisp. The first is to use some alcohol in the egg/milk bath—bourbon, for instance. The alcohol in the liquid cooks off even faster than the water does, creating a rapid burst of alcohol steam in the fryer that leaves the crust extra crisp.
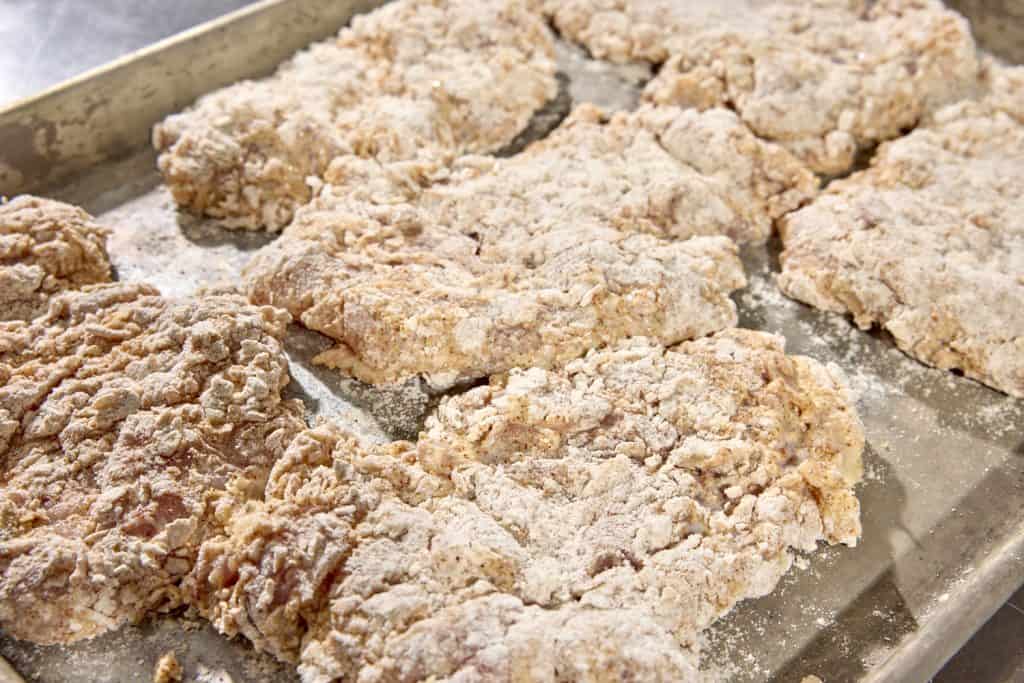
The second trick is to add a little of the liquid to the flour mixture before we start breading. Adding a few tablespoons of it to the flour and mixing it in creates clumps of flour that adhere to the chicken, making big, extra-crisp splotches. Of course, this happens naturally in the breading as we progress, but doing it on purpose means you get that effect on the first piece of chicken you coat, not just the last.
Frying temps and oil selection for chicken sandwiches
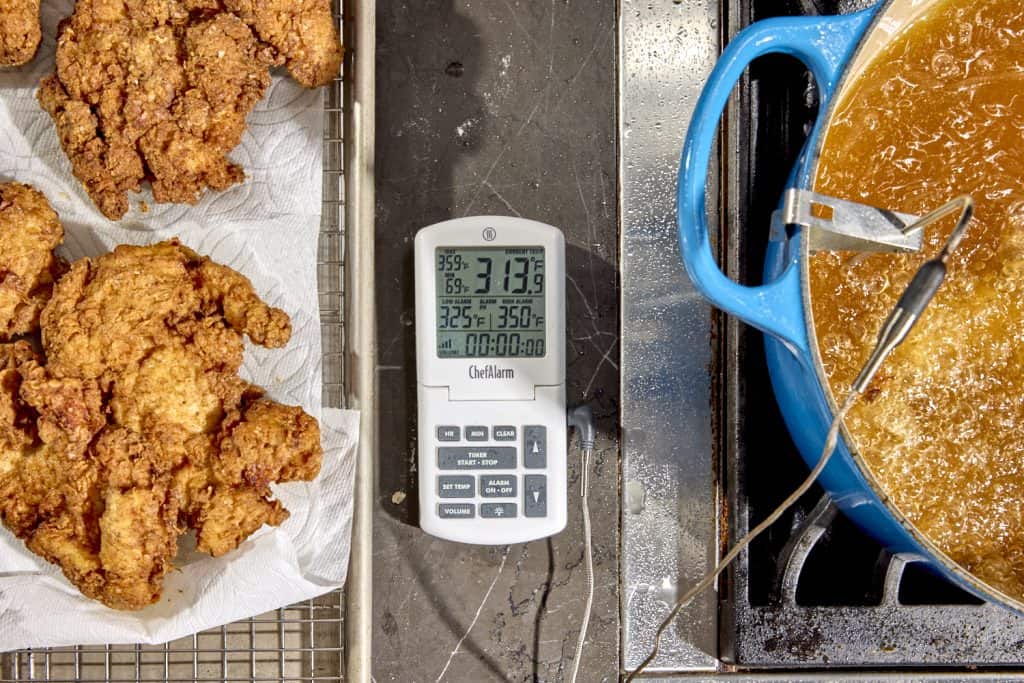
Finally, we have to contend with our cooking oil. We’ve written about oil and smoke points, and recommend you brush up on that, if you need to. (Different oils react to heat differently, breaking down more or less quickly, and changing their flavor and texture accordingly.) For this cook, we want to keep our oil in the 350°F (177°C) range, so you can use any of several oils. But we love the super-neutral flavors of peanut and corn oil. Use about 3–5 inches of oil in your heavy-bottomed pot and set up your ChefAlarm to monitor the temperature. ChefAlarm is perfect for deep frying, because it is simple to use and has both a high- and a low-temp alarm that can help you keep your oil in the range between 325 and 350°F (163 and 177°C).
We give that window of temperatures because adding food to the oil causes the temperature to decrease. In fact, depending on any of several factors, it may plummet. In the image below, you can see that our oil went down to 313°F (156°C) when we added too many chicken thighs at the same time.
Make it spicy
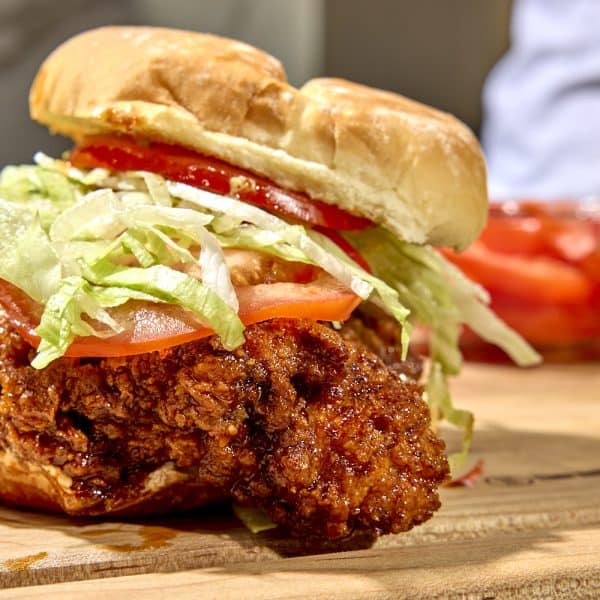
Aside from inconsistent cooking and dry chicken, one of the biggest problems we find with spicy chicken sandwiches is that they’re not spicy. Not to us. If a spicy drive-up sandwich is as hot as you can handle, you can skip this part, because this is the part where the feeling comes in. Real spice on a sandwich takes spice. Lots of it. We found that the best way to spice these was to employ the chili oil we first tried in our Nashville Hot Chicken post a few years back.
To make it, dump a whole bunch of cayenne in a bowl, add some spices, some paprika (for flavor), and some brown sugar. Then whisk in a ladleful of hot oil from the chicken fryer. This toasts the spices, partially caramelizes the sugar, and creates a wicked-tasty chili oil that you can brush liberally all over your chicken pieces. The fact that it’s oil-based instead of water-based means it won’t make your chicken soggy, but will actually help maintain the crispness.
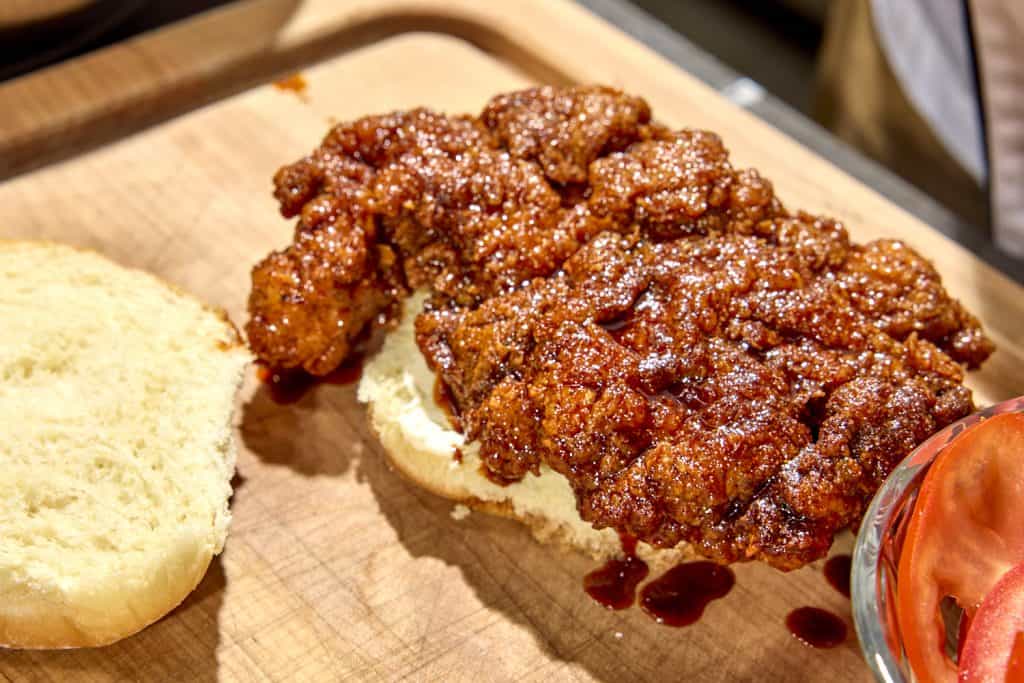
You can adjust the recipe to tame it for softer palates by varying the ratio of paprika to cayenne. Or you can use a more powerful ground chili to really heat it up. (Habanero powder is available, if you feel like punishing yourself.) But no matter how hot you make it, this topping tastes good.
Conclusion
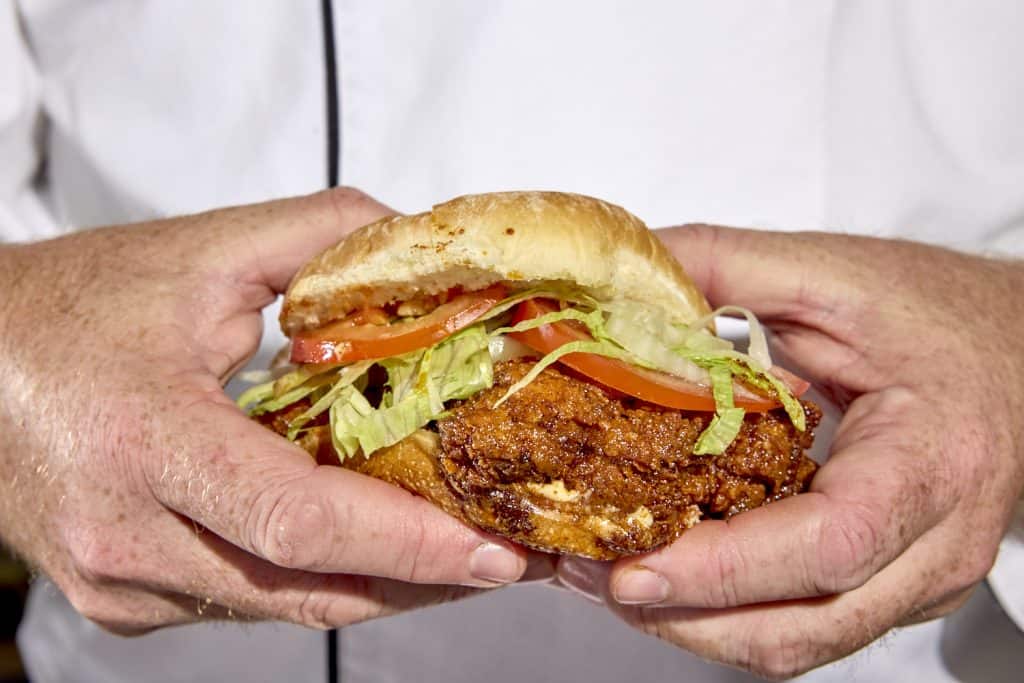
You can make the best spicy chicken sandwiches you’ve probably ever eaten at home, and you can do it for a mere fraction of the cost of what you pay at all the new-fangled chicken restaurants that are hatching all over the place. Get your thermometers out—ChefAlarm for the oil, Thermapen ONE for the chicken—and outclass the restaurants with ease. Your family will love it, your friends will be in awe, and you yourself will finally get the sandwich you’ve been wanting all this time. Give it a go this weekend, and we’re pretty sure you’ll want to next weekend, too. And the one after that. Happy cooking!
The Best Spicy Chicken Sandwich Recipe
Ingredients
For the chicken marinade:
- 8 boneless skinless chicken thighs, checked for bone fragments and pounded to an even thickness
- 1 1/2 C buttermilk
- 1 Tbsp hot sauce of your choice
- 2 Tbsp bourbon or other high-proof liquor
- 1 tsp salt
- 1 tsp fresh ground black pepper
- 1 tsp onion powder
- 1 tsp garlic powder
For the breading:
- 1 1/2 C all purpose flour
- 2 tsp salt
- 1 tsp fresh ground black pepper
- 1 tsp paprika
- 1 tsp onion powder
- 1 tsp garlic powder
- 1/2 tsp cayenne pepper
Instructions
- Make the marinade by whisking all the marinade ingredients together in a large bowl, then add the chicken thighs, turning and moving to coat all sides. Allow the meat to soak in the mixture for an hour or two, or up to overnight.
When it’s time to cook:
- Put 3-5" of oil in a deep, heavy pot like a Dutch oven and begin heating it. Use your ChefAlarm and set your alarms to 325 and 350°F (163 and 177°C).
- Mix the ingredients for the breading together in a medium-large bowl.
- Add a few tablespoons of the chicken marinade to the dry ingredients and rub them into the flour, creating lumpy bits in the breading.
- One at a time, remove the chicken thighs from the marinade, let the excess marinade drop off of them, and dredge then in the flour mixture, coating well, even in the nooks and crannies.
- Lay each cutlet on a sheet until they are all prepared.
- Once the oil has come up to temperature, gently put one or two chicken pieces into the pot.
- Cook, keeping an eye on the ChefAlarm and adjusting the flame to try to stay within the specified temperature window.
- Once they are golden brown, start checking the chicken thighs' internal temperatures with your Thermapen ONE. If you find no temperatures below 175°F (79°C), remove the chicken to a paper towel-lined clean sheet or platter.
- Continue cooking the chicken pieces, letting the oil temperature recover back up to 350°F (177°C) between each batch.
- Once the chicken is cooked, prepare the chili oil by combining the ingredients in a heat-proof bowl. Ladle 1 C of the hot fryer oil into the bowl and whisk to combine.
- Use a brush to mix the solids up into the oil, then baste it onto each chicken thigh, coating both sides.
- Make them into sandwiches and serve!


