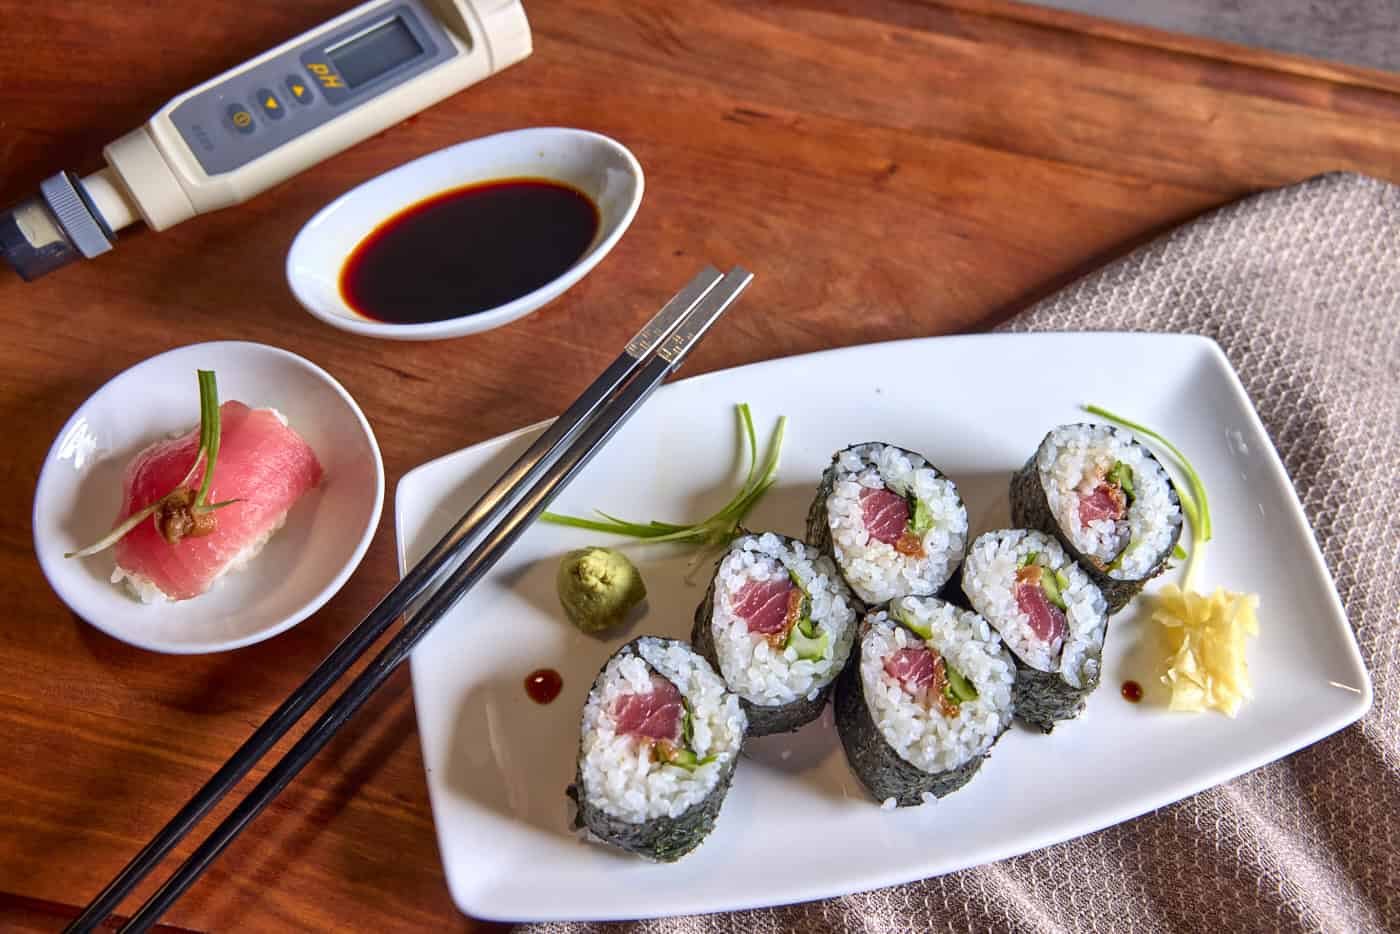
Homemade Sushi: pH Meters and Their Importance for Safety
America truly is a melting pot of cultures and, as concerns us, their cuisines. Pizza is one of our most beloved foods—and an import from Italy. Then there is Mexican food, adaptations of which are omnipresent in our nation’s diet. Among the giants of “foreign” food to have naturalized on our shores, few besides those just mentioned have taken root with as much strength as sushi. Going out for sushi with friends is almost a cliche, it’s so popular. But going out for it is almost all we seem to do. Homemade pizza is having a renaissance, Taco Tuesday is almost de rigueur in suburbs across the country; but despite the availability of kits, molds, mats, and sets, few people have taken to making sushi at home. Why no homemade sushi?
In this post, we hope to change that a little bit, while also helping commercial producers with their health inspectors. We’re moving ever so slightly away from thermometers here, so get your pH meters out and let’s make some sushi!

What is sushi, and why don’t we make it at home
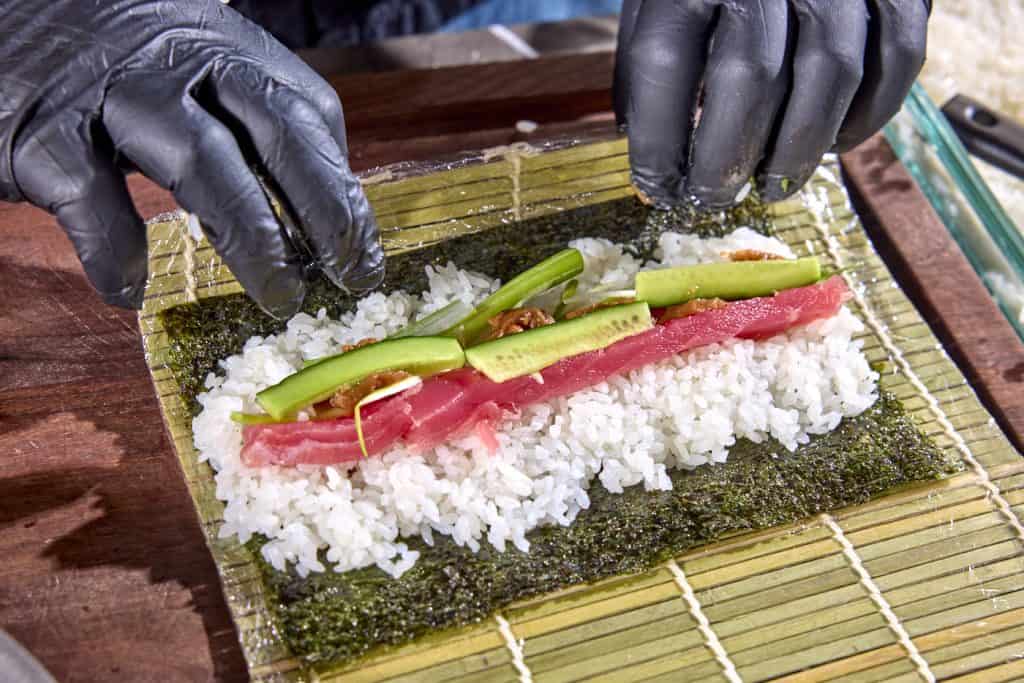
Ok, first let’s quantify our problem set. What exactly is sushi, and why don’t we make it at home on the reg? First, ‘sushi’ does not mean raw fish. The etymology and culinary history of the term is long and has little to do with pH meters, so we’ll leave those explorations to the historical culinary linguists to explain. But suffice it to say that modern sushi is descended from a process of fermenting fish in rice that was later adapted into a dish of pickled rice with fish atop. The zushi refers more appropriately to the soured rice than it does to the fish. What we think of as sushi—often a rolled, sliced, composed dish—is but one style of this pickled rice.
And the rice is what we’re going to focus on here, because there are a million videos showing you how to roll sushi, but not all that many teaching about the pH.
So why don’t people make sushi at home, and are those reasons any good?
There are two reasons, I think, why people aren’t making their own sushi for weeknight dinners. The first is geographical. America is a big country, and most of it isn’t close to the coast. Right-off-the-boat mackerel and eel aren’t exactly flooding the aisles of grocery stores in Iowa. However, the idea that the freshest fish is necessary for sushi overlooks some important legal issues. In the U.S. you can’t serve raw fish unless it has been previously frozen to kill parasites (the exception being tuna). All “sushi-grade” fish in America has met this requirement—in fact, that’s all sushi-grade even means! So don’t let geography come between you and your favorite roll. Buy some frozen or previously frozen fish, thaw it carefully, and make it yourself.
The “mystique” of sushi
The other hurdle for most people is the Orientalist mystique surrounding it. As is true with many of the arts and crafts originating in East Asia, there is a pervasive idea that sushi must be made by a master, one whose connection to rice, to fish, to shoyu is beyond the comprehension of mere mortals. Films such as Jiro Dreams of Sushi have strengthened this idea’s hold on the public.
Yes, there are sushi masters. But while you can spend 7 years learning to rinse rice in the perfect way, there is plenty of great rice—plenty of great sushi—to be had at a much more novice level. Your favorite sushi restaurant probably does not have one person that they pay to only rinse rice. Exceptional sushi may take years of training and practice, but good sushi is well within the range of the dabbler.

Why pH matters in sushi rice, and why it is pickled
If you’ve ever tried to make sushi with plain rice, you may have found something lacking. The pickling is necessary for the flavor. But that’s not why people started doing it. The pickling acts as a preservation technique, keeping the rice safe to eat even when held in the temperature danger zone for hours and hours. This allowed sushi to be served from street carts, at theaters, and sold as a fast food in its early days. 1
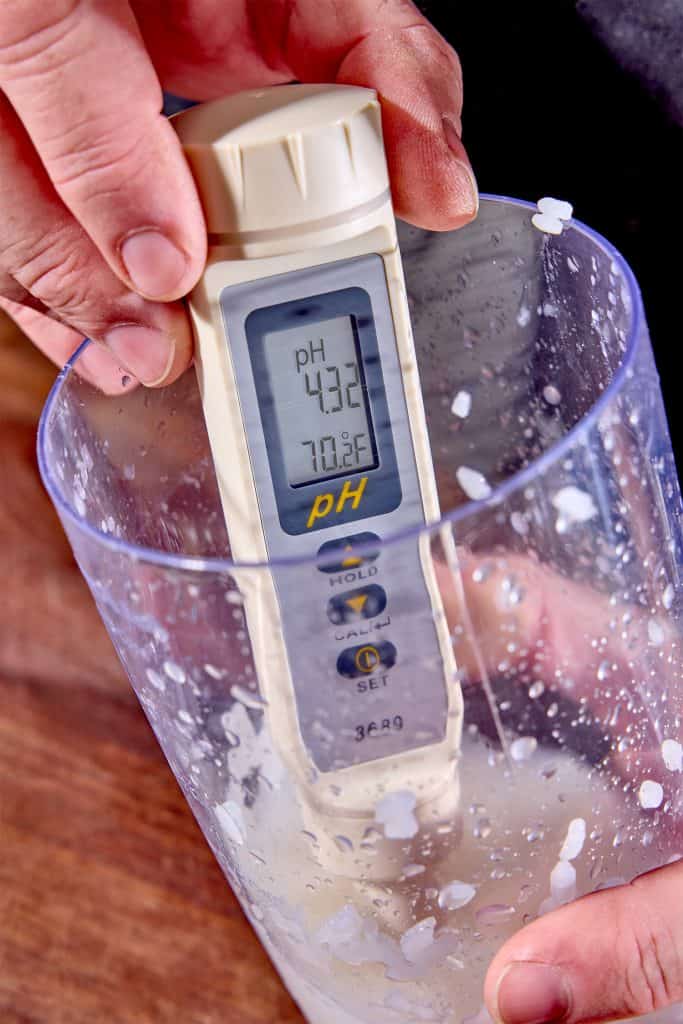
The acidification of the rice prevents bacteria—specifically, a strain of botulism that thrives on cooked grains—from multiplying. Keeping the pH of the rice at or below 4.6 means your rice is safe, even if it’s held at room temperature. And room temperature rice will taste better than cold rice because of the way our tongues work. So we pickle the rice for taste as well as for safety.
How to test the pH of your sushi rice
If you are making sushi rice for immediate consumption, the pH might not matter all that much, except for the fact that the correct pH equates to the correct acidification equates to the correct flavor.
But if you’re making rice for tomorrow’s dinner party or if you plan on selling that rice as part of your business, you pH becomes exceedingly important. (And, really, if you are just interested in learning to do it right, using pH as a guide to check your recipe and technique are working right is a good idea.) ThermoWorks has the pH meters you need to make sure your rice is up to code for safety as well as for flavor.
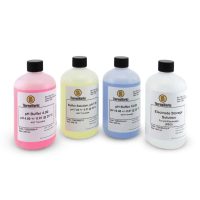
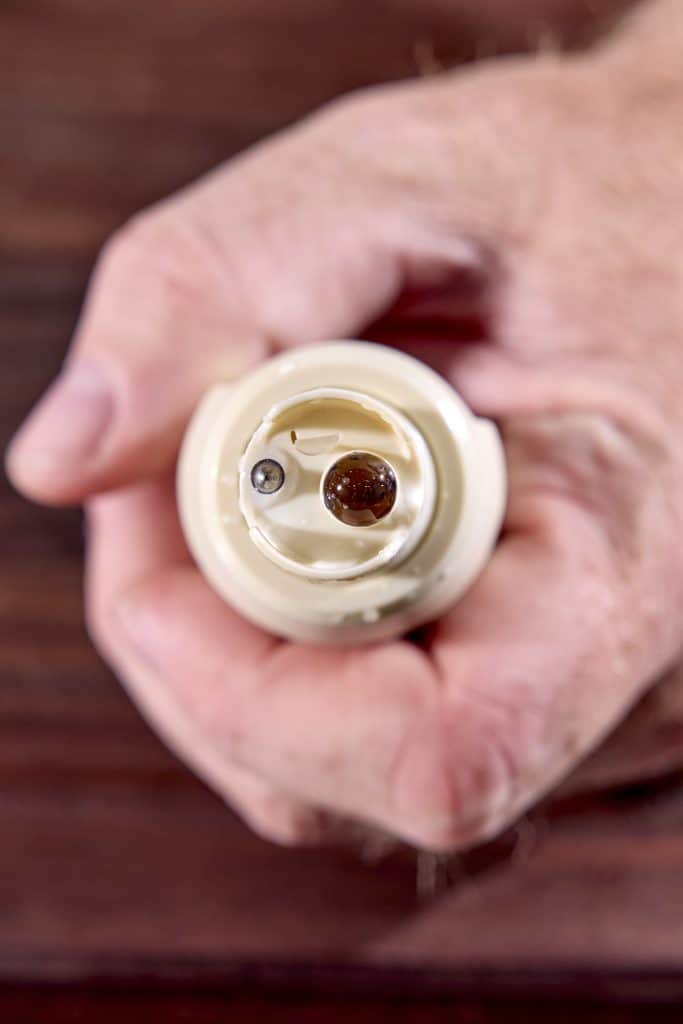
All pH meters are somewhat finicky to use. The electrode bulbs have to be kept hydrated and they must be calibrated before every use, so they require buffer solutions to calibrate them. We’ll go over how to use those below.
No matter which meter you use, you first need to calibrate it and make a paste or a slurry out of your sample. Mash the rice up with some distilled water so that the bulb can be completely submerged in it.
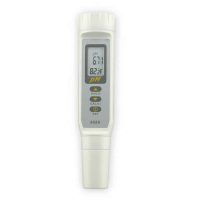
pH meter for the hobbyist
If you’re dabbling in sushi production, the High Accuracy pH Meter with Replaceable Electrode is a solid choice, and relatively simple to use.
Remove the cap from the electrode and set it aside. Rinse the probe in a little distilled water but do not wipe the water off. Power the meter on. Now dip the probe into the 7 pH buffer solution. Press the DOWN arrow button (the “CAL” button) for more than one second. “CAL” and the pH of the buffer solution will flash on the screen. Compare the pH of the solution with the pH in the temperature chart included with the meter—pH is temperature-dependent, so you’ll also read the temperature off the meter and compare the pH to the chart for that temperature.
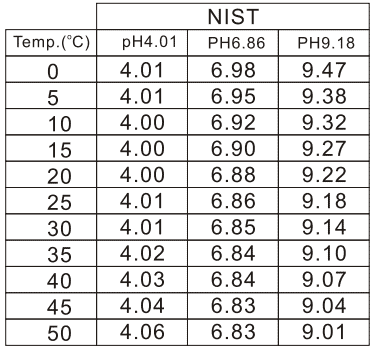
If the probe recognizes the buffer, the pH and CAL will stop flashing. If the probe reads something outside of spec, use the up and down arrows to change the number to the appropriate NIST value for the given temperature. Wait 30 seconds for the reading to stabilize.
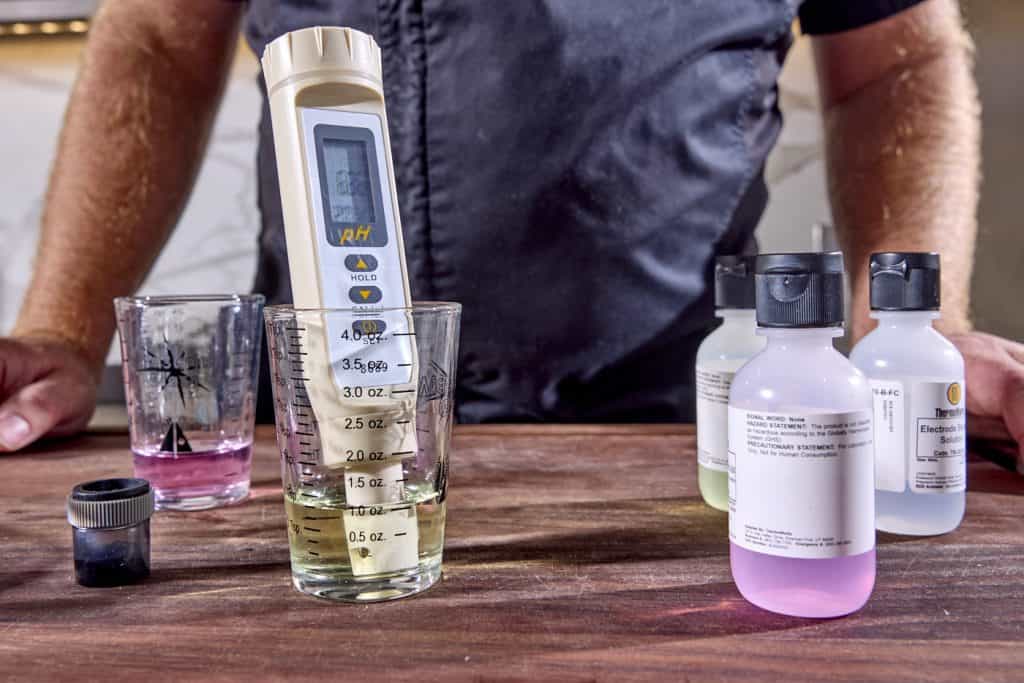
Rinse the probe with distilled water again, then put it in the 4 pH solution (because we’re testing something acidic; otherwise we’d use the 9 pH solution) and repeat the calibration by letting it sit in the solution until stable, then adjusting with the buttons if needed. Once the second calibration point is set. you can exit calibration by turning off the meter.
NOW we test our rice slurry! Place the electrode in the solution, then turn it on. Stir the slurry while the reading stabilizes. “pH” will flash while the probe is adjusting the reading and will turn solid when the reading is stable. You can press the up arrow to freeze that reading on the screen. Rinse the electrode and re-cap it, making sure there is adequate storage solution in the cap.
Now you know the pH of your sushi rice! If it’s too high—higher than 4.6—adjust it lower by adding more vinegar to the rice.
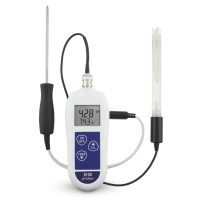
pH meter for the professional
If you are doing a lot of rice or are doing it professionally, you may consider upping your pH meter game to the Precision pH Meter and Probe Kit. It’s even more accurate and has more electrode options that can be used for testing other things.
Again, prepare the rice slurry and remove the electrode cap. Turn the meter on and place the electrode and thermometer/probe into the 7.00 pH buffer solution. Allow the reading to stabilize (which may take a minute or so), then press and hold down the ‘CAL’ button for 3 seconds. ‘CAL’ will show in the display and the pH reading will flash.
Now place the probe and thermometer in the 4.01 pH solution and allow the reading to stabilize once again. If there are air bubbles on the electrode, stir it to dislodge them. To finish, press the ‘CAL’ button and the display will show the solution value that it is currently in.
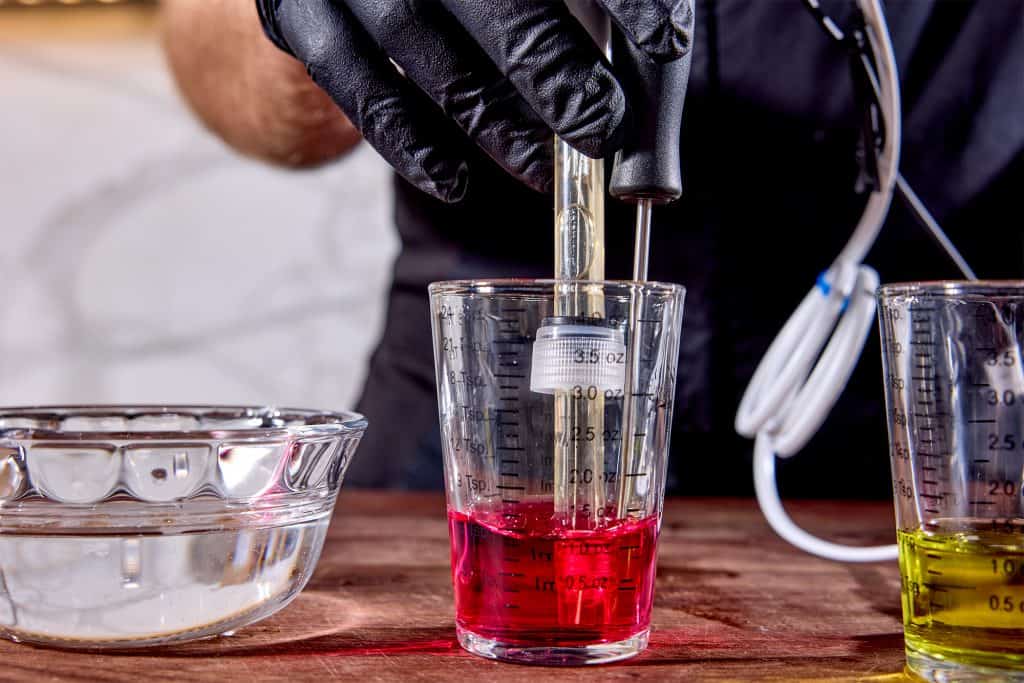
Now we measure. if the pH meter has turned off due to the battery-saving auto-off function, turn it back on. Insert the thermometer tip and the electrode probe into the rice slurry, and allow the pH reading to stabilize. If this is for your HACCP plan, record that number in your log. Rinse the electrode and re-cap it with the appropriate storage solution.
A note on authenticity and technology
If you’re cracking your knuckles preparing to write a comment about how “no one in Japan uses pH meters to make sushi”, or that “people made sushi long before there were pH meters” I encourage you to reconsider. Yes, sushi predated pH meters, but we have pH meters now, and we need them. Tradition and authenticity are amazing things, but they are the province of those who are blessed to be born into them. The rest of us, unlike Jiro’s son, have to learn to do things another way—we don’t have a master here to teach us the perfect taste of perfect pH rice from birth on up.
And those that sell sushi are responsible for the health and safety of their patrons. You may think of your local sushi joint as being super traditional, but chances are very good that they have a HACCP plan that includes tracking and recording the pH of every single batch of their rice. Many health departments check the sushi rice to make sure it’s at the correct pH, and this guide is intended for those being tested as much as it is for anyone else.
With all that said, it can be fun to remember that “sushi” is a term that in many ways is like “sandwich”. It doesn’t just mean one thing, but is a starch that is layered together with various proteins and seasonings to create something delicious. If you want to make über-traditional sushi, feel free to dive into the boards about what that means, what is allowed, what is shunned. But if you want a tasty “sandwich,” let your imagination run wild! How do you think we got the Vegas roll or the Philly roll? This delicious rice is a palate upon which you can paint your dearest culinary dreams. Give it a shot.
Conclusion
The bacteria that can live on cooked rice, especially rice stored at room temperature are … nasty. Luckily, they are easily held in check by the acidification process that is endemic to sushi making. The delicious pickled flavor provides us with a level of assurance when we eat out or even when we eat at home that the food we’re partaking of is safe. And it’s straight-up tasty! If you want to learn to make this favorite food, a pH meter is a ticket to results you can trust both culinarily and clinically. Try the recipe below and see how good it can be, even without a lifetime of training. Then use the pH information to adjust the recipe to your liking. It’s fun and delicious, and we hope you love it. Happy cooking!

Sushi rice (Sumeshi) recipe


Ingredients
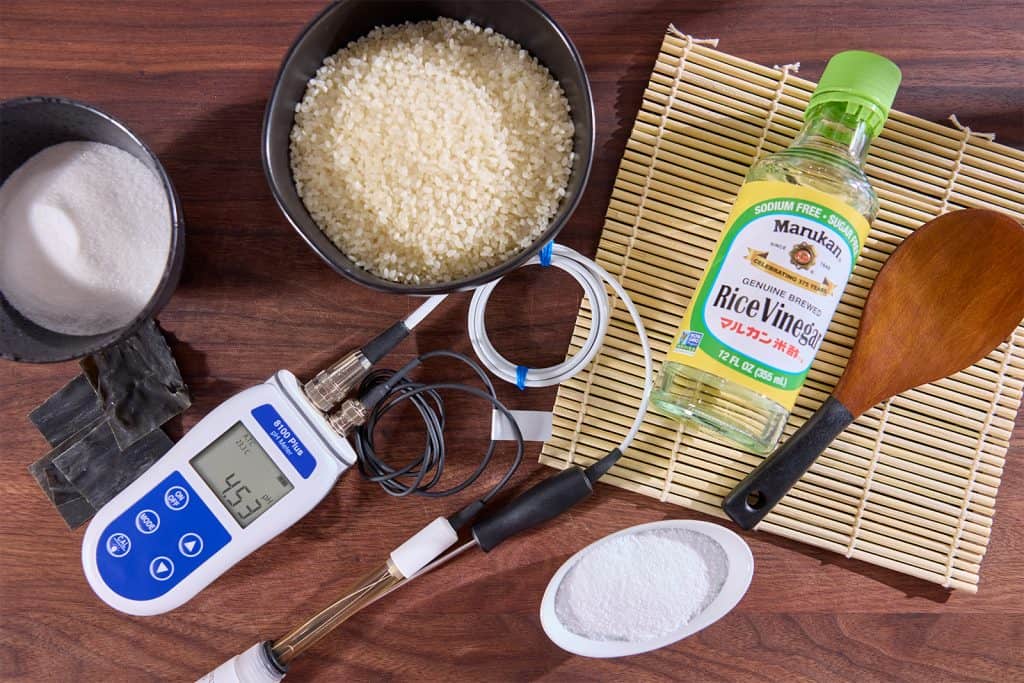
- ½ C unseasoned rice vinegar
- ¼ C + 1½ Tbsp C granulated sugar
- 2 Tbsp /18g Diamond Crystal kosher salt; if using another salt, use half as much by volume or the same weight
- 1 2-inch-square pieces of kombu
- 2 C 195g short-grain sushi rice (Tamaki Gold Koshihikari is a good brand)
- 2 C water, preferably filtered
Instructions
Make the vinegar for the rice
- Whisk together the vinegar, sugar, and salt in a non-reactive bowl. Add the kombu squares, cover, and allow to soak for 24 hours or at least overnight for the kombu flavor to infuse into the vinegar.
Make the rice
- Place the rice in a large bowl and cover with cold water. Agitate and rub the rice between your fingers until the water is very cloudy. Drain the rice, refill with water and repeat until the water runs clear.
- Move the rice to a fine-mesh strainer and suspend the strainer in a bowl. Run cold water over the rice for 2-3 minutes, allowing it to fill the bowl and spill over the edges into the sink.
- Pour out the water in the bowl and let the rice drain into the bowl for 10 minutes.
- If you're using a rice cooker, follow the manufacturer's instructions for making sushi rice in the cooker.
- If cooking on the stove, put the rice in a 2–3 qt. pot with the filtered water. Bring to a boil over medium-high heat, then reduce heat to a low simmer and cover the pot.
- Cook until the water is absorbed, about 10–12 minutes. Remove from heat and allow to steam in the pot for another 10 minutes. Try not to cook past the point where the water is all cooked out or you will get toasted rice on the bottom of the pot—tasty, but not great for sushi.
- Measure out 6 Tbsp plus 2 tsp of the seasoned vinegar.
- Move the rice to a large, nonreactive pan, like a 9 x 13" glass cake pan. If there is any crusty toasted rice, keep it out of the final product.
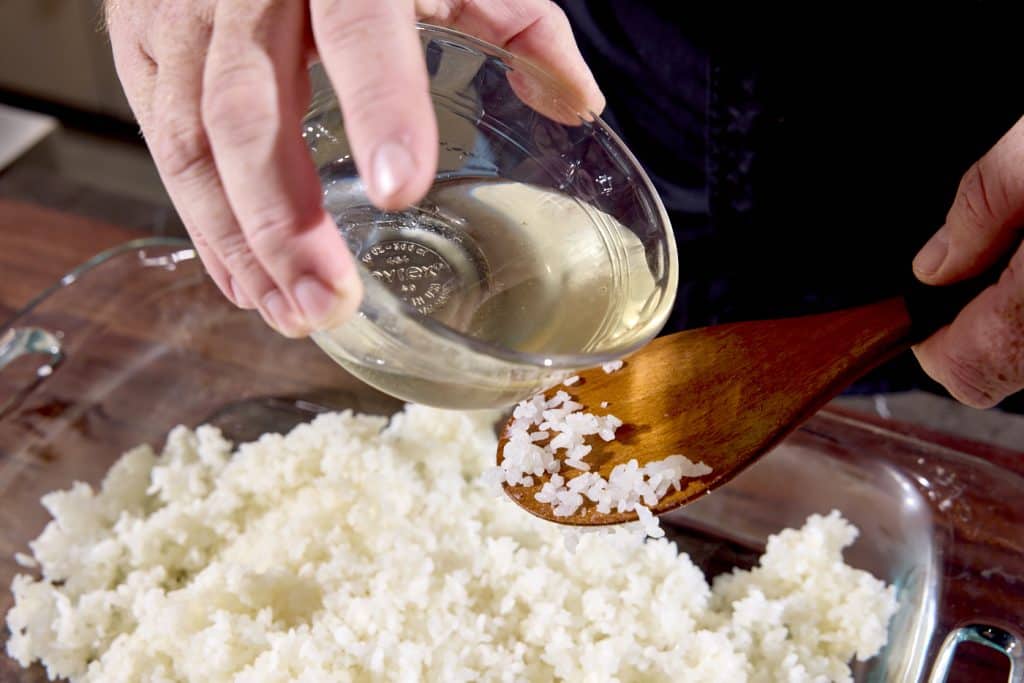
- Pour the seasoned vinegar over the back of a rice paddle as you wave the rice paddle back and forth over the rice—this helps distribute the vinegar evenly over the rice.
- Use the paddle to flatten the rice gently into one even layer, breaking up clumps as you go.

- Scoot all of the rice to one side of the pan, then cut out and flick paddle-sized chunks of rice from the main body to the other side of the pan, cutting up and small clumps you find. the point here is to make sure every grain of rice has the chance to be individually seasoned on all sides, that no clumps are blocking the absorption of the vinegar. Keep it up until all the rice is separated and in an even layer again.
- Let the rice rest for a few minutes, turn use the paddle to turn the bottom to the top all over the pan.
- Now test the pH of your rice using your pH meter. Remember to calibrate before testing using the appropriate buffering solutions and to make a slurry of the rice with some distilled water (a small mortar and pestle is great for making the mush).
- If the measured pH is above 4.6, add more of the seasoned vinegar to it and test again.
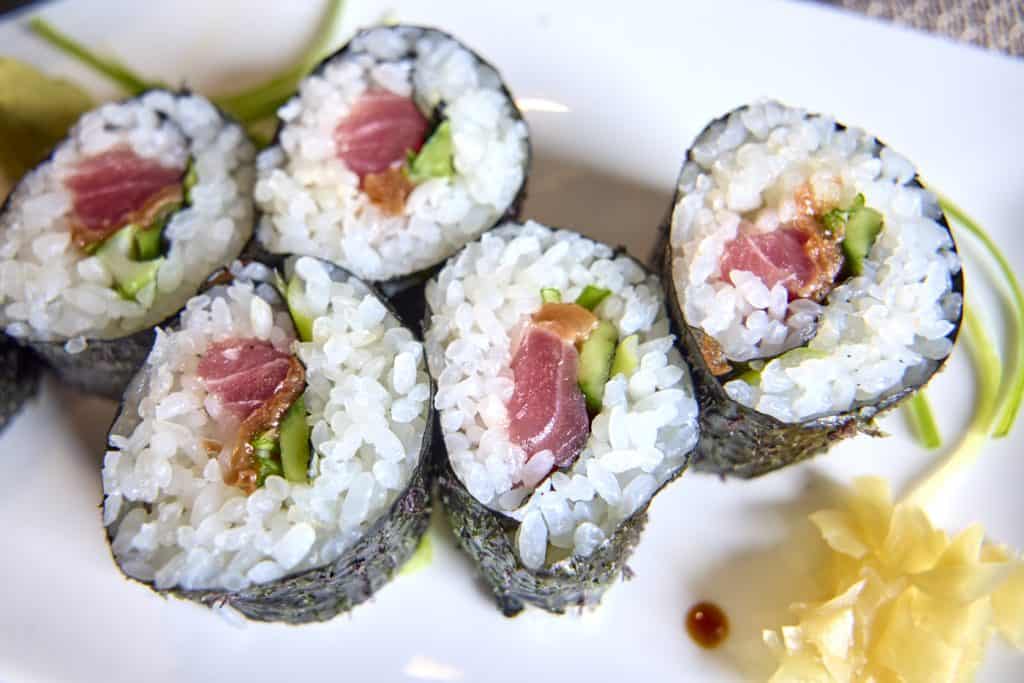
- Your rice is now ready to serve or save for later! If you keep it in the fridge overnight, let it sit at room temperature for a few hours before you make your nigiri, rolls, or anything else.


No, they didn’t know about the TDX back then, I know. But they did know that rice spoiled and that this preservation technique slowed or stopped that spoilage.↩