How to Make Cheesecake—Thermal Care Makes Better Cakes
ByKimReading Time: 11 minutes
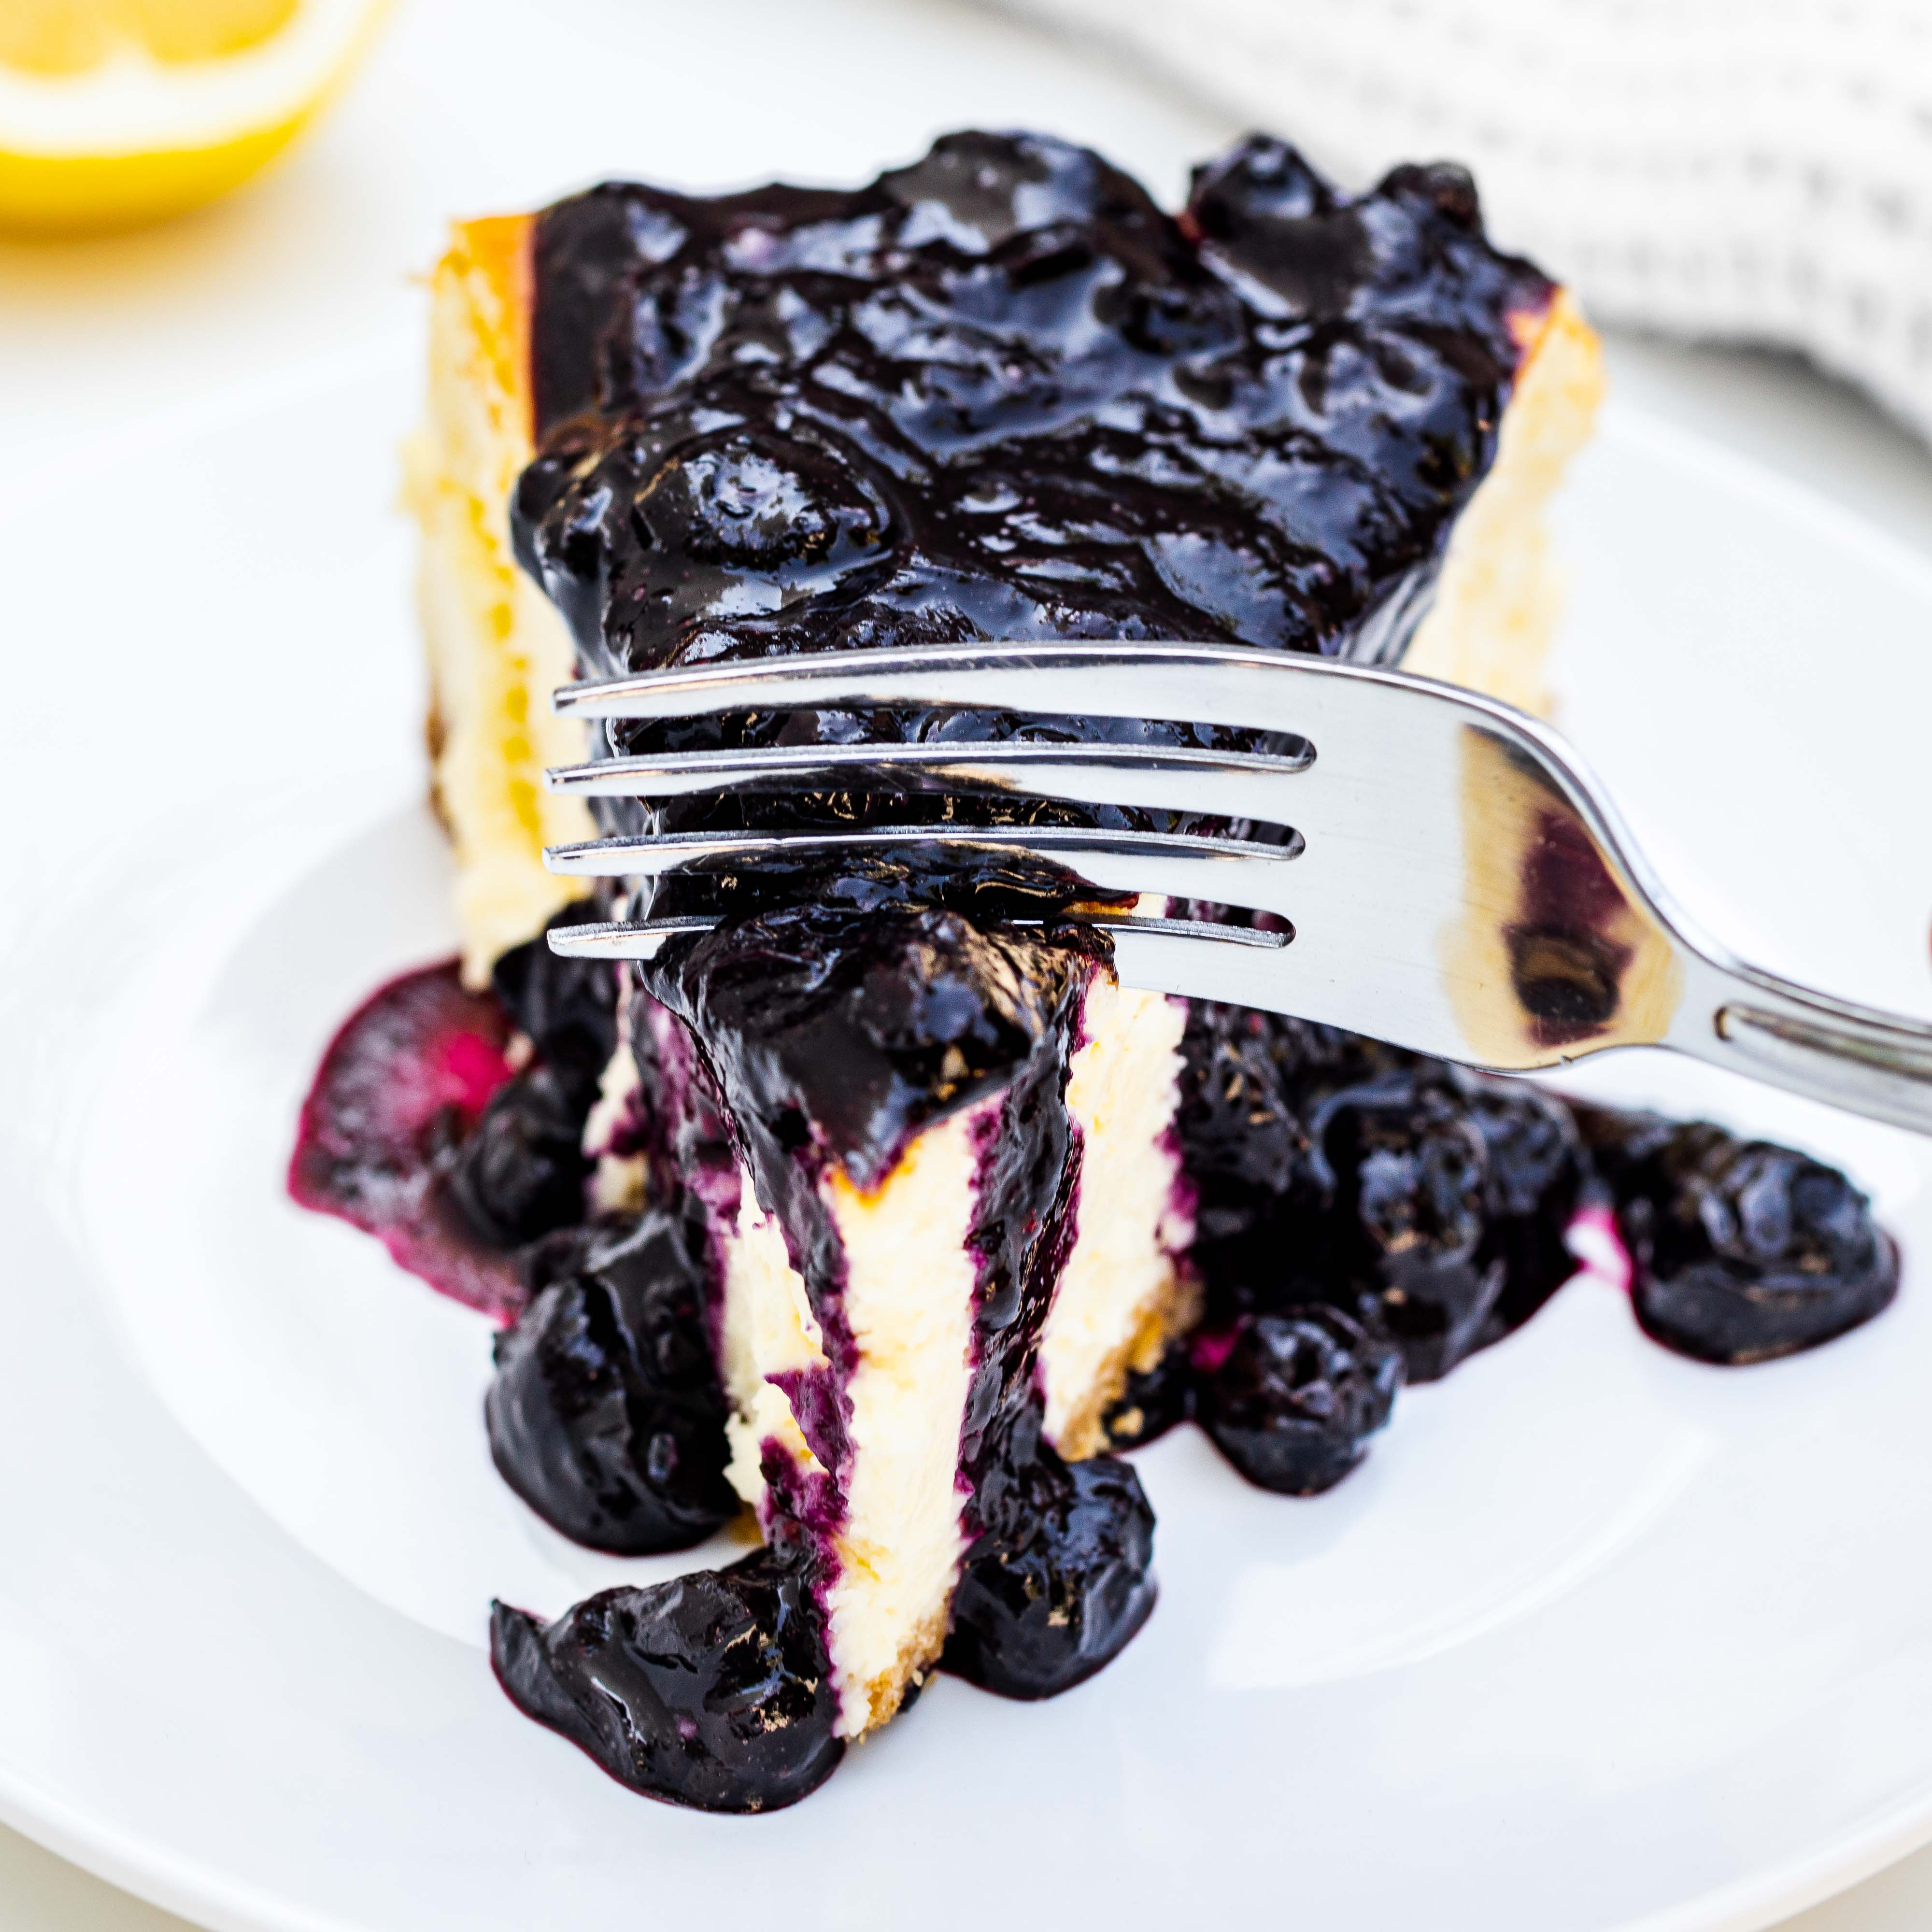
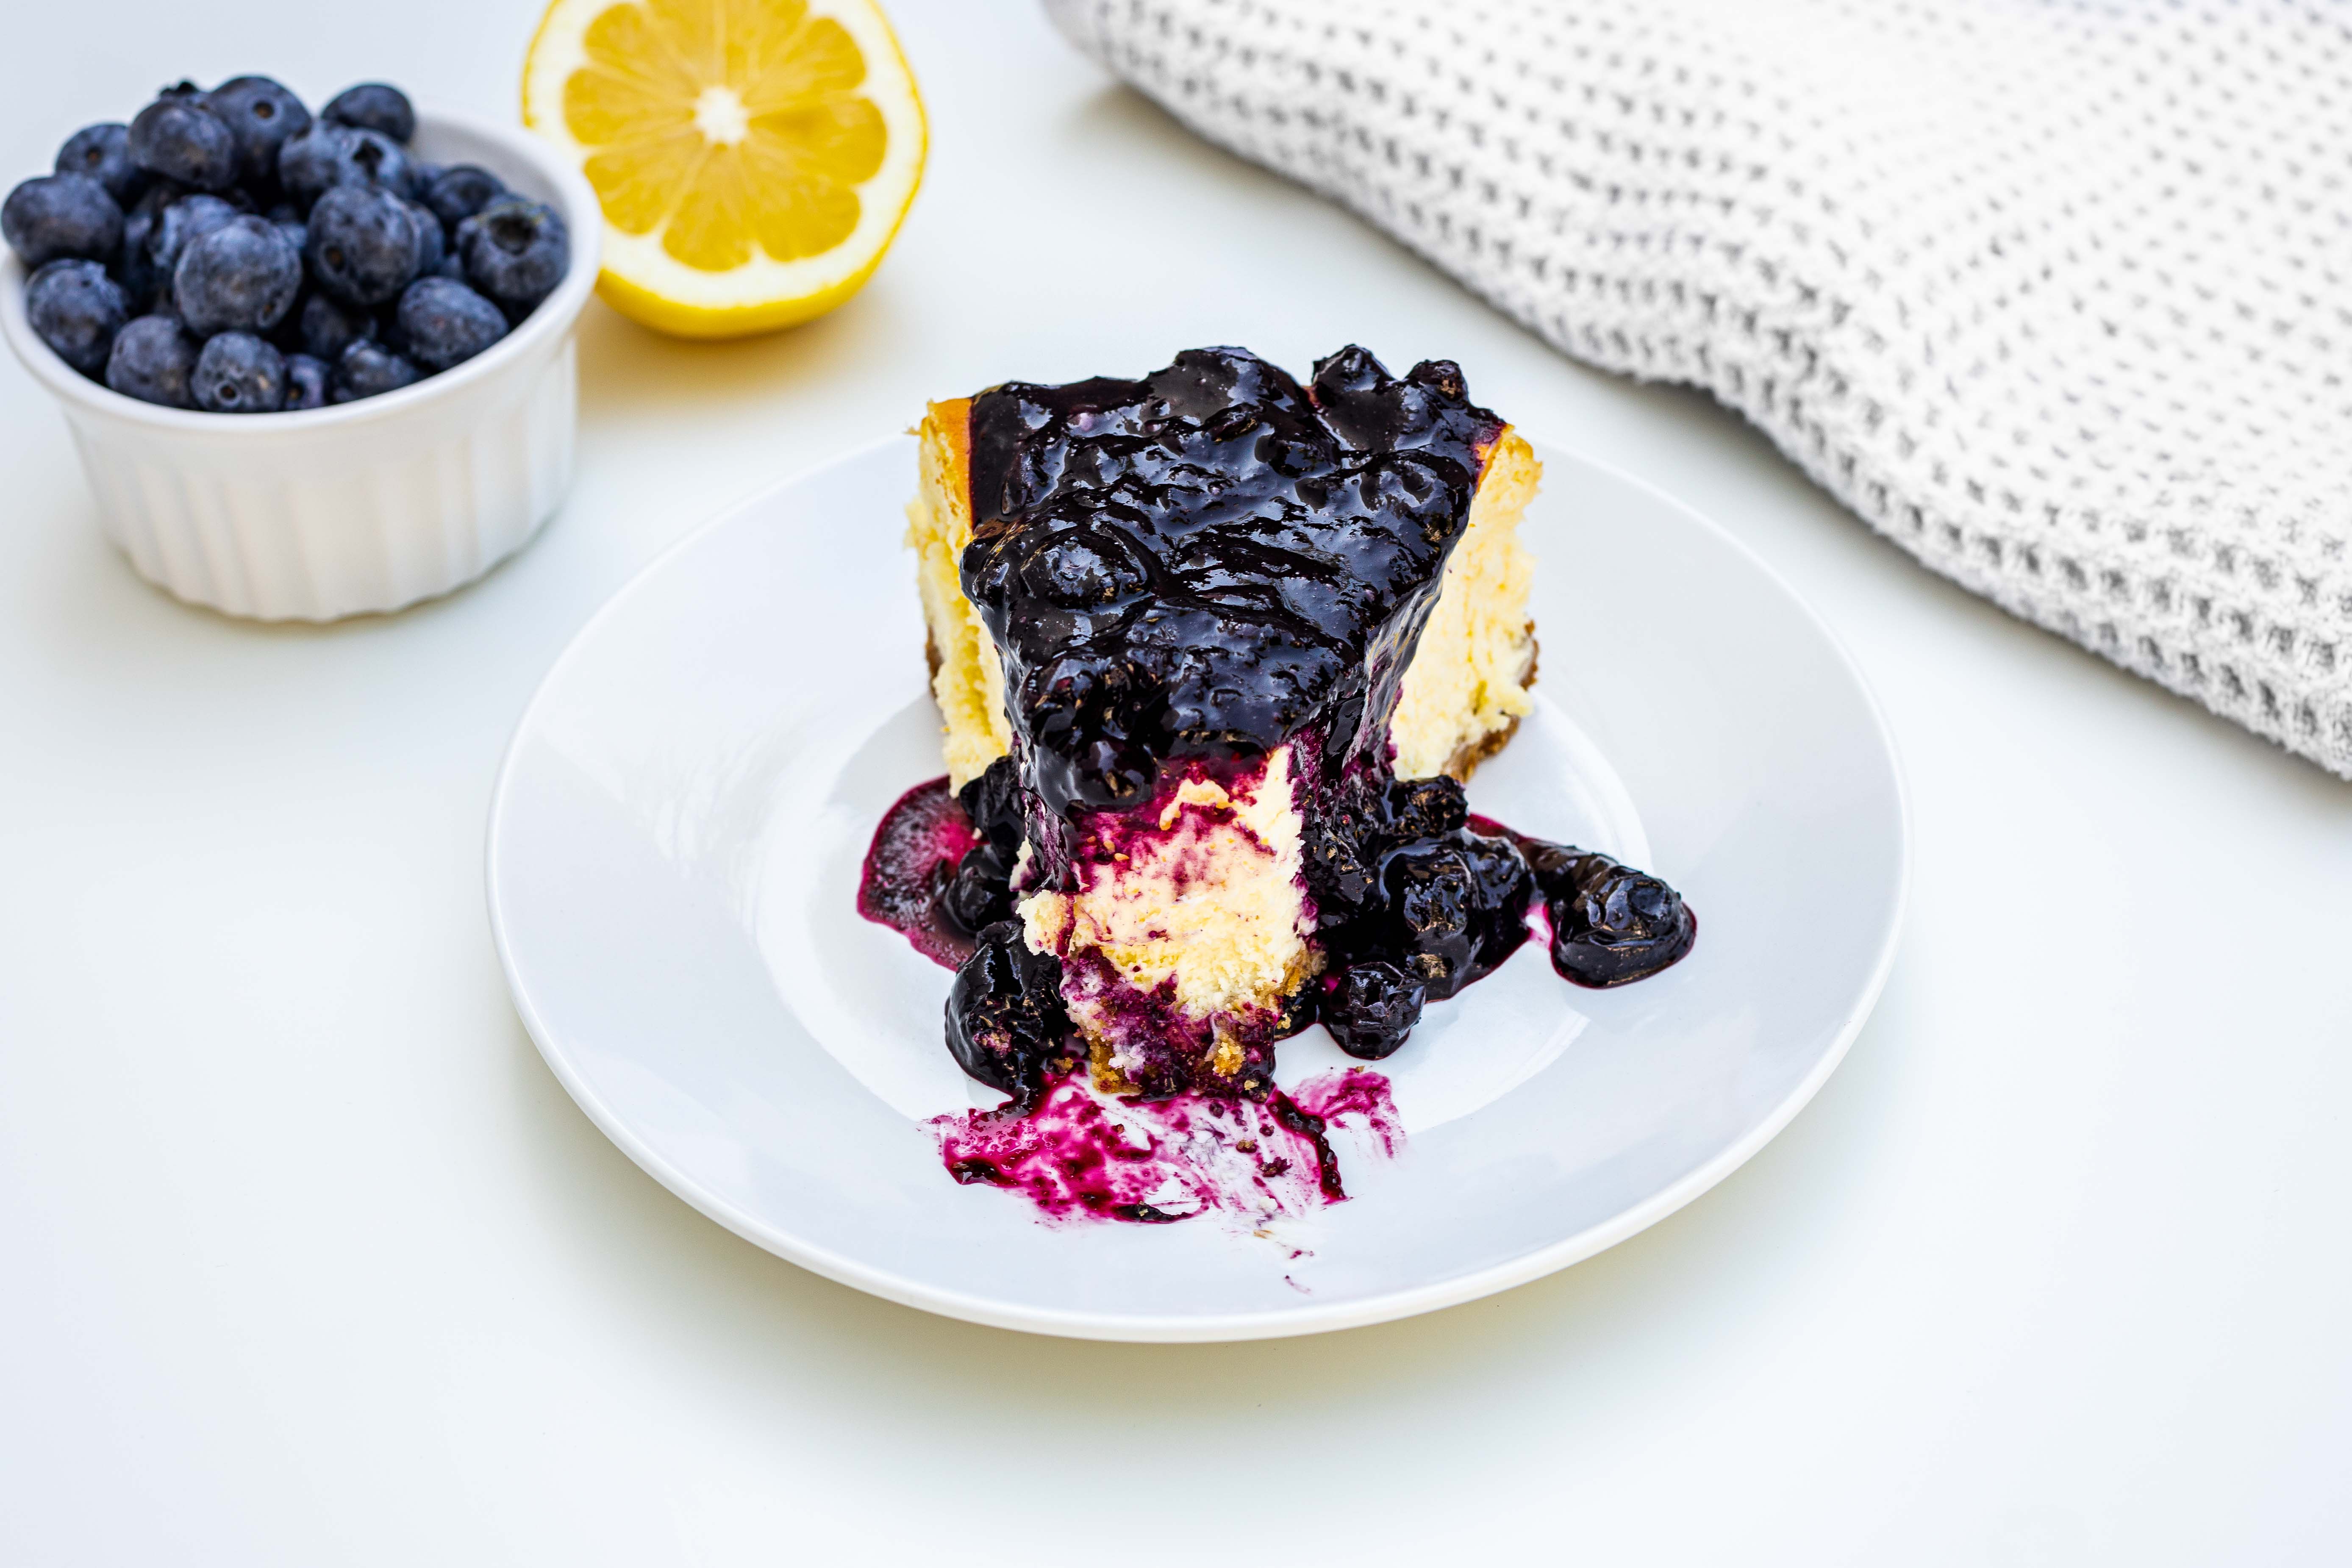
It’s always nice to have a crowd-pleasing, simple, versatile dessert recipe at the ready. Cheesecake is ideal for keeping on hand because it freezes well and pairs beautifully with many different sauces. And what’s even better, you can bake your cheesecakes perfectly every time with proper temperature control. We have the thermal tips you need for the best homemade cheesecake.
There are two different baking methods that yield very different textures. Which method should you choose? It depends on whether you want a traditional cheesecake that’s creamy and silky-smooth or a contemporary one with a more substantial texture. Or make one of each! Keep reading to find out which best suits your preferences.
4 Thermal Tips for Cheesecake From Start to Finish:
There are four critical thermal points to be mindful of as we bake a cheesecake.
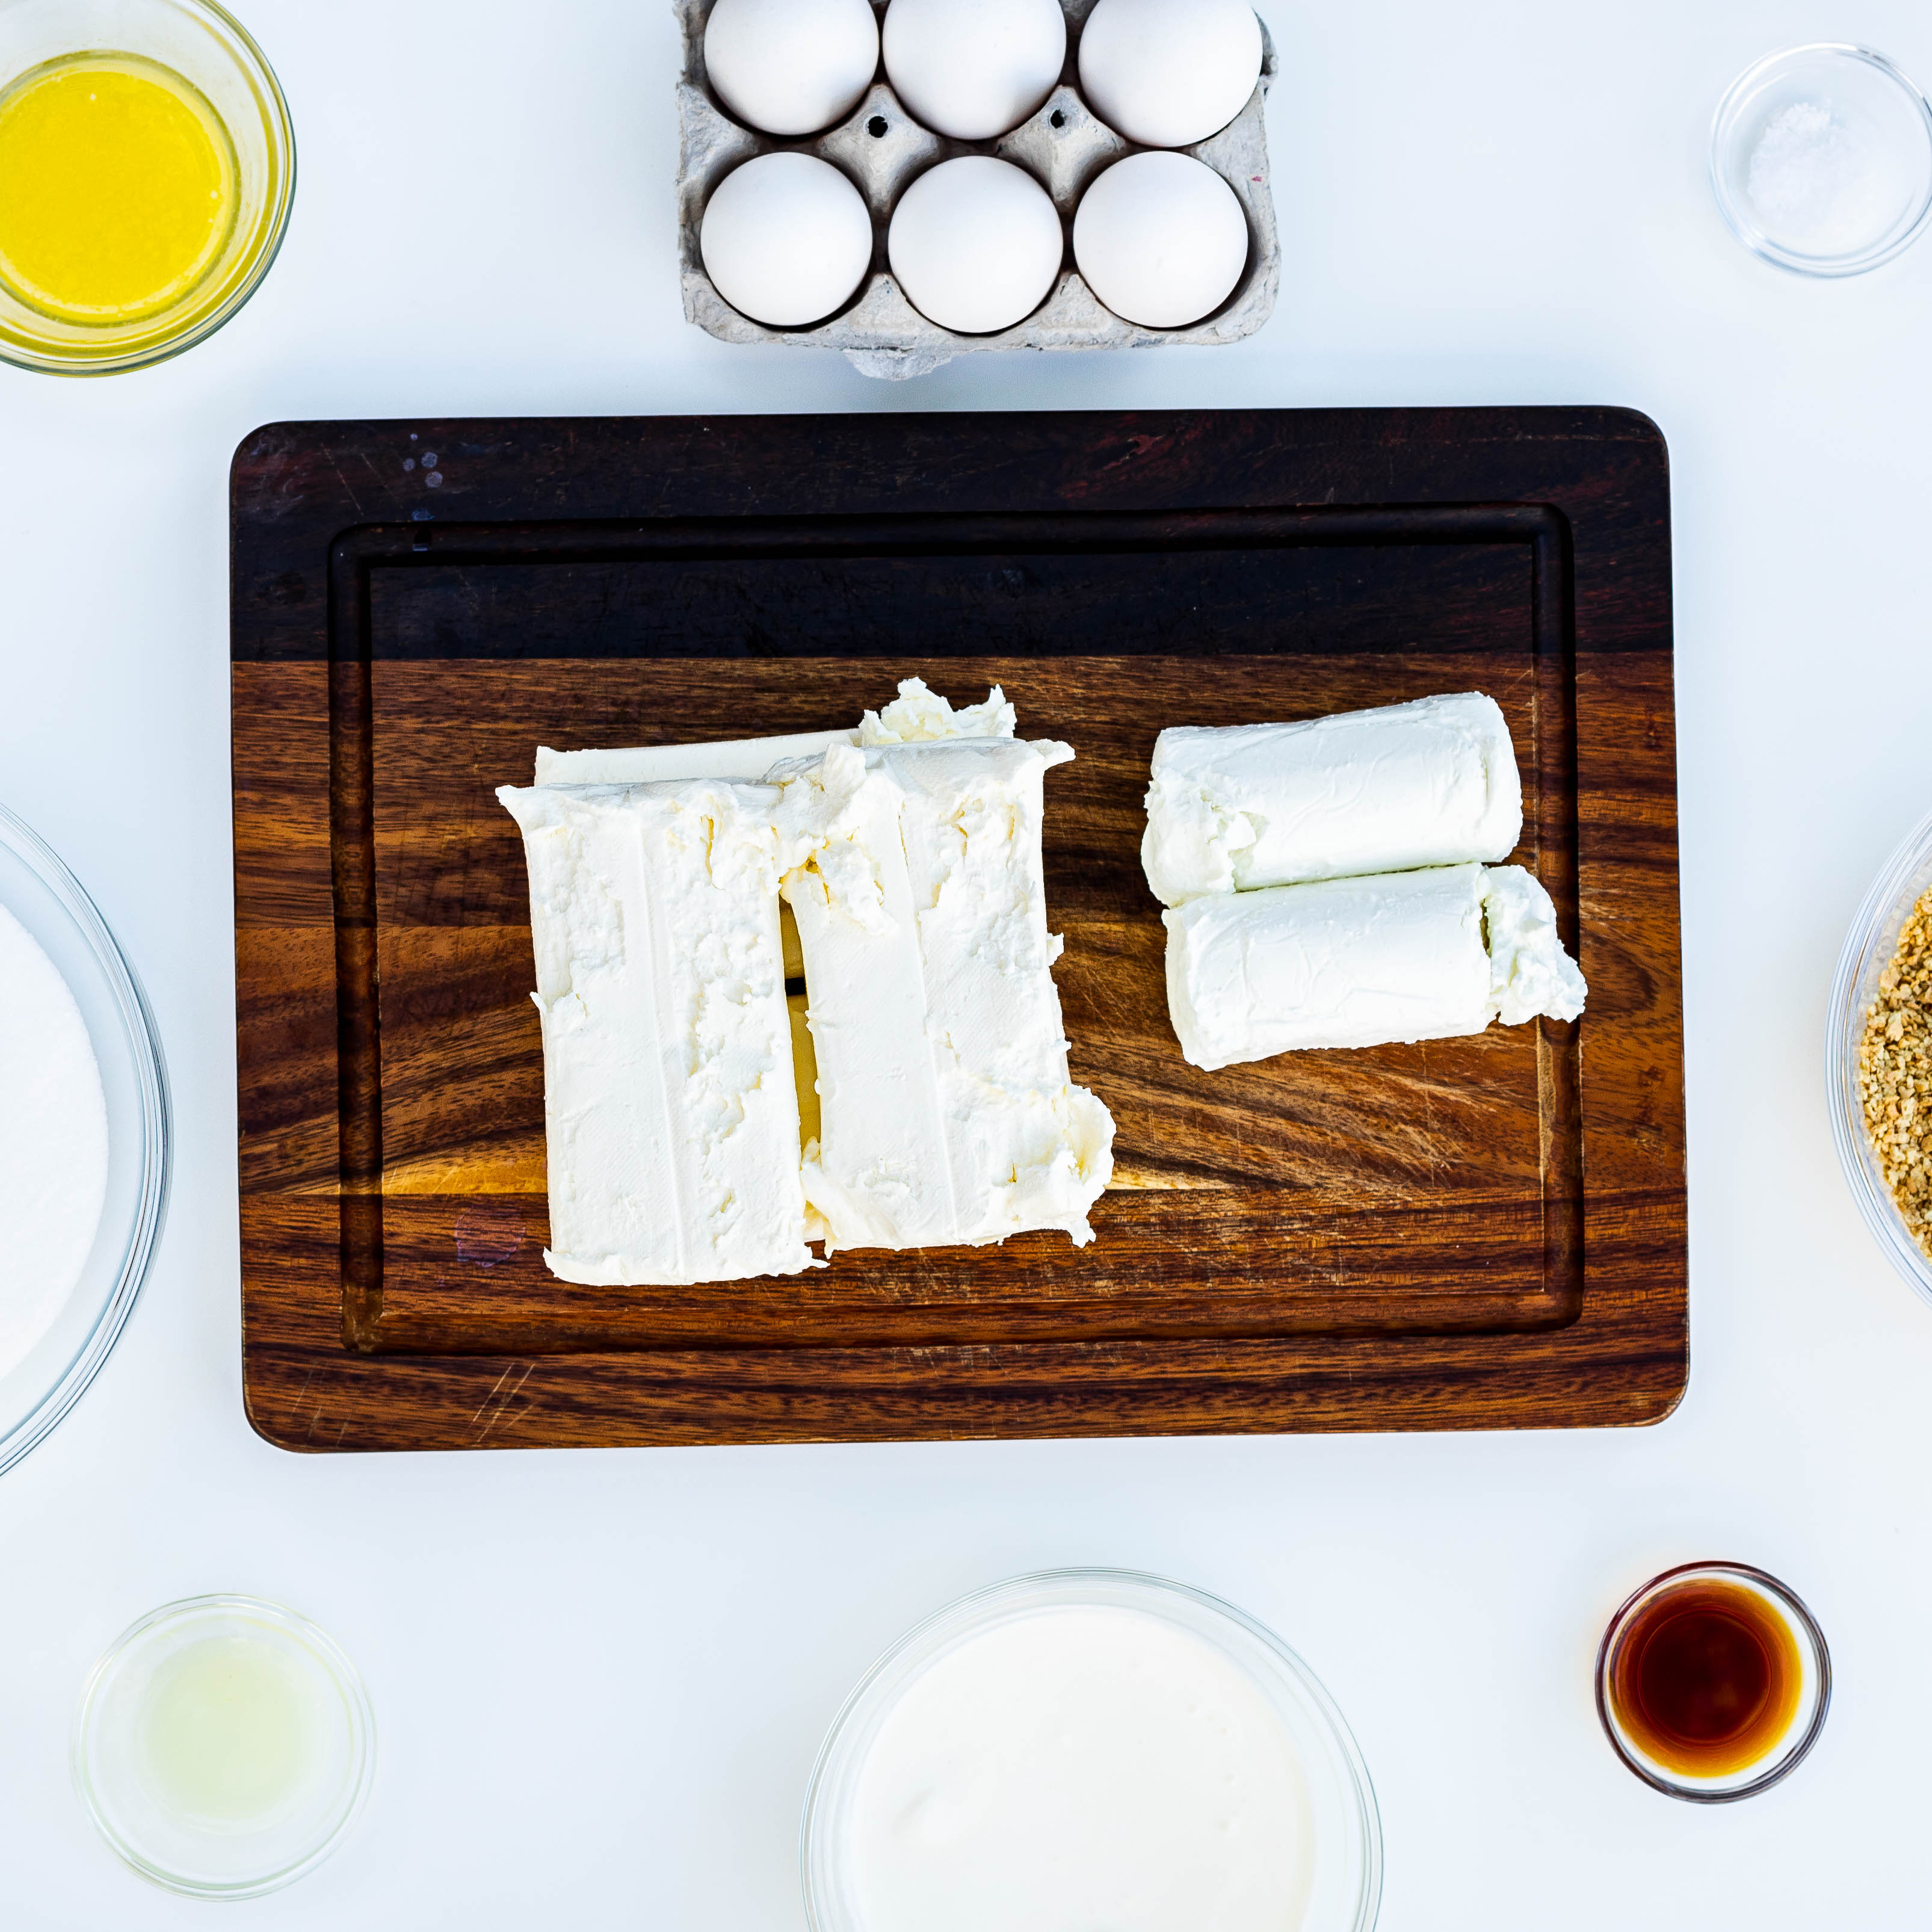
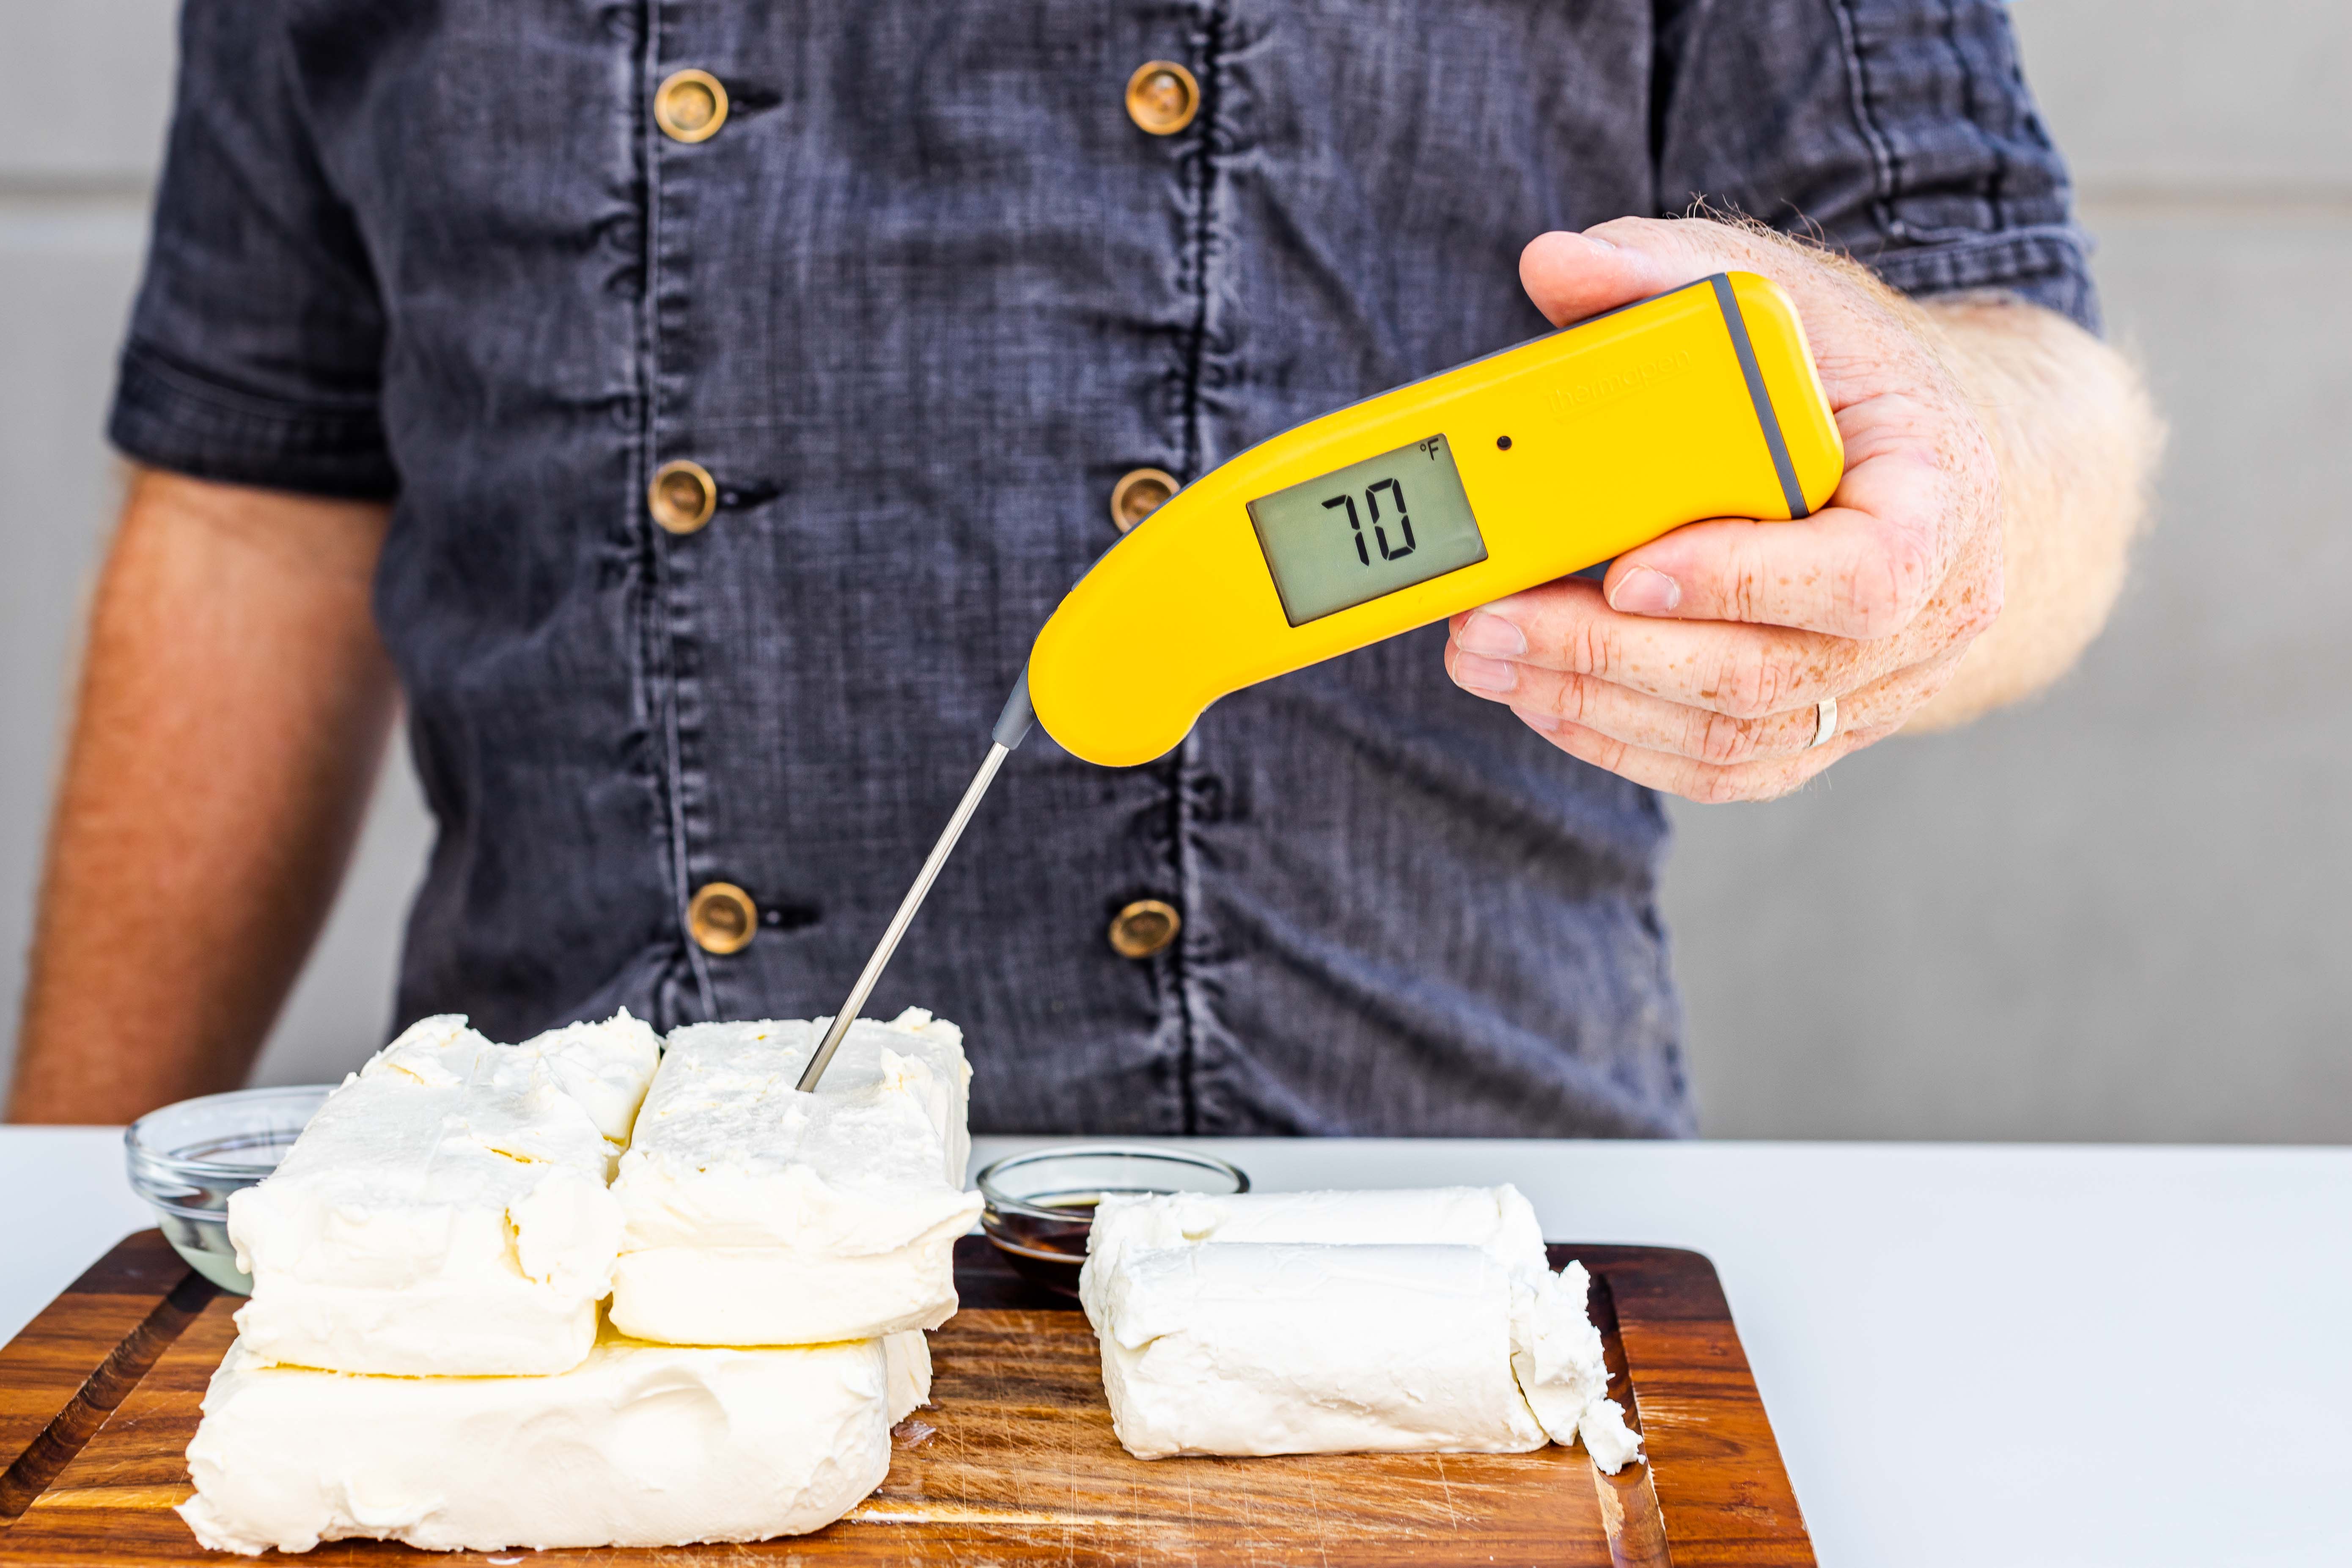
1. All the ingredients need to be at room temperature—70–75°F (21–24°C)
For a smooth batter—and therefore a smoother-textured cheesecake— the initial temperature of the ingredients is important.
Cold cream cheese is firm and will create a lumpy batter. If the batter is lumpy, the finished cheesecake will not be smooth, but gritty. Softened, room temperature cream cheese mixes easily with the other ingredients.
The eggs and other ingredients must also be room temperature. If they’re added to the batter cold they will chill the cream cheese, causing it to solidify and make the batter lumpy even if it started out completely smooth.
2. Baking temperature determines the texture
Cheesecake is a custard, and custards can overcook easily. Overbaked cheesecake will crack and the texture will be dry and gritty. Egg proteins become quite firm and tightly coiled when cooked quickly at a high temperature, but can be silky-smooth and creamy when cooked gently at a low temperature. There are two different baking methods that each yield very different results. Both are very good, and which to use depends on your personal preference.
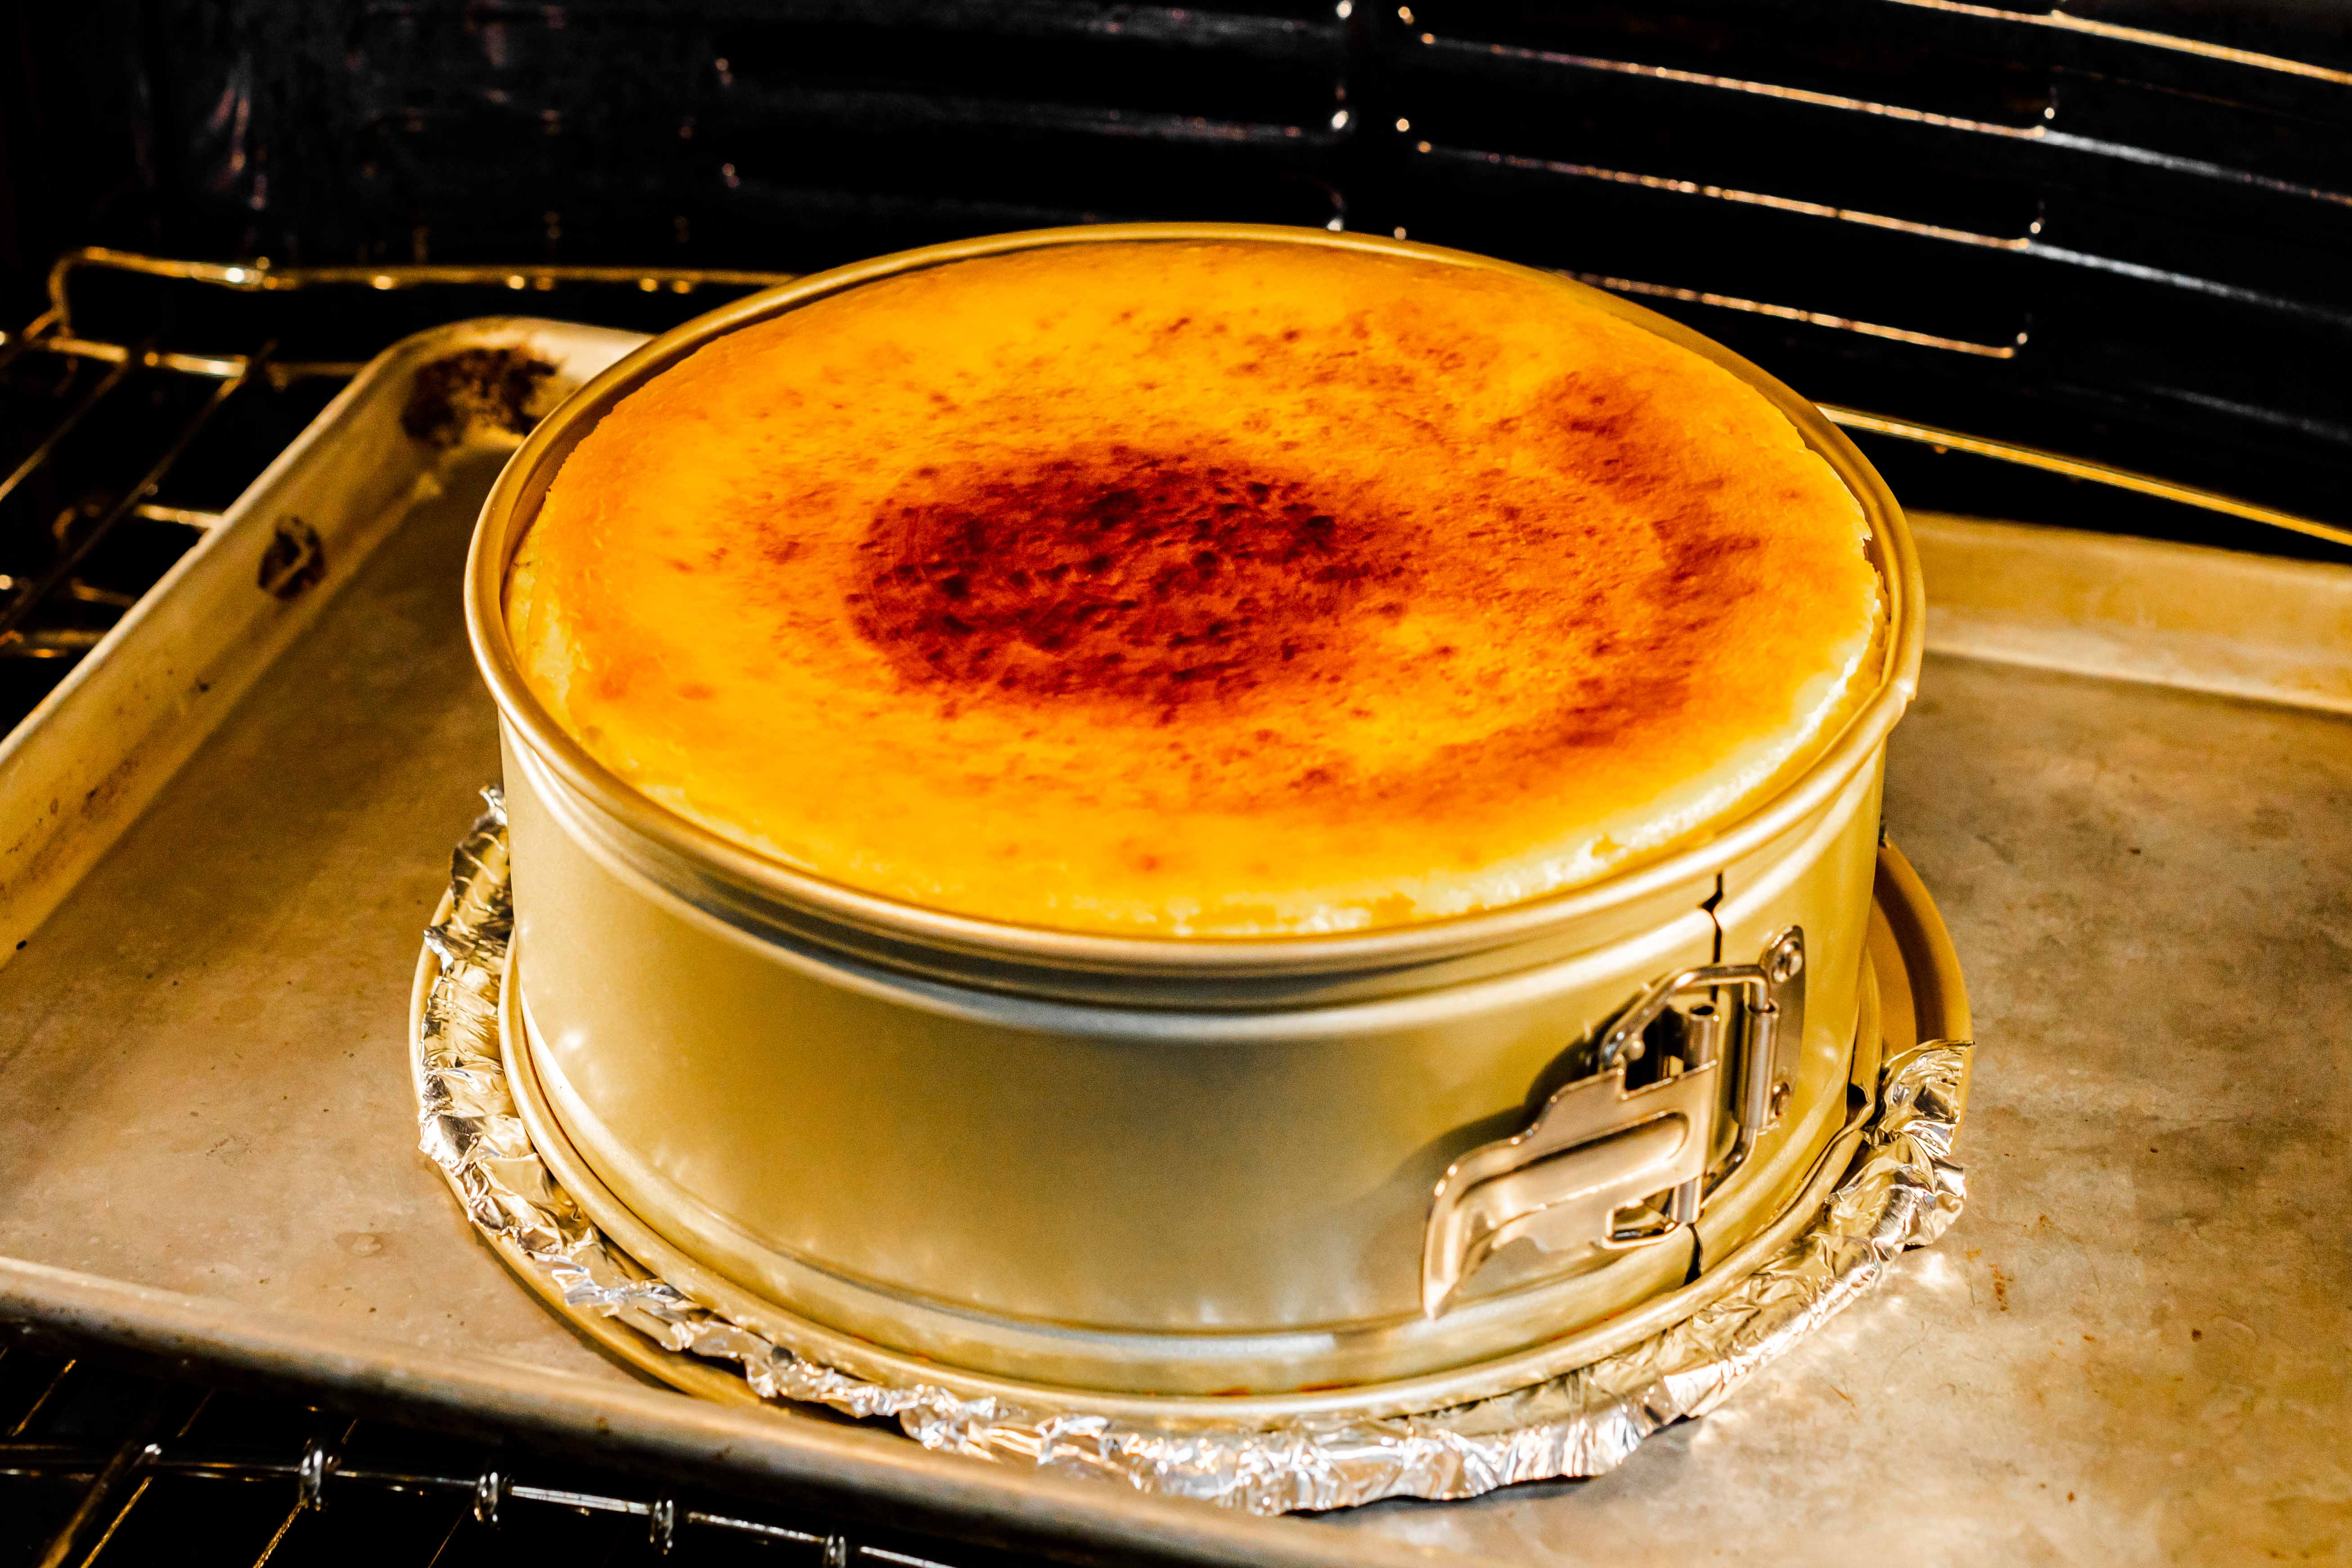
For a lighter cheesecake with a toasty browned top, bake it in a three-step process.
First, bake it at 450°F (232°C) for about 20 minutes.
Then turn the oven off and prop the door of the oven door open (a wooden spoon is good for this) for 10 minutes, allowing it to vent some of its heat.
Then turn the oven back on, set the baking temperature to 250°F (121°C), close the door, and finish baking.
For a dense, pale cheesecake, simply bake it in a 250°F (121°C) oven the entire time. The slower, gentler heat will not cause the steam-induced oven spring that occurs in the high-off-low method above and the cheesecake will remain quite dense.
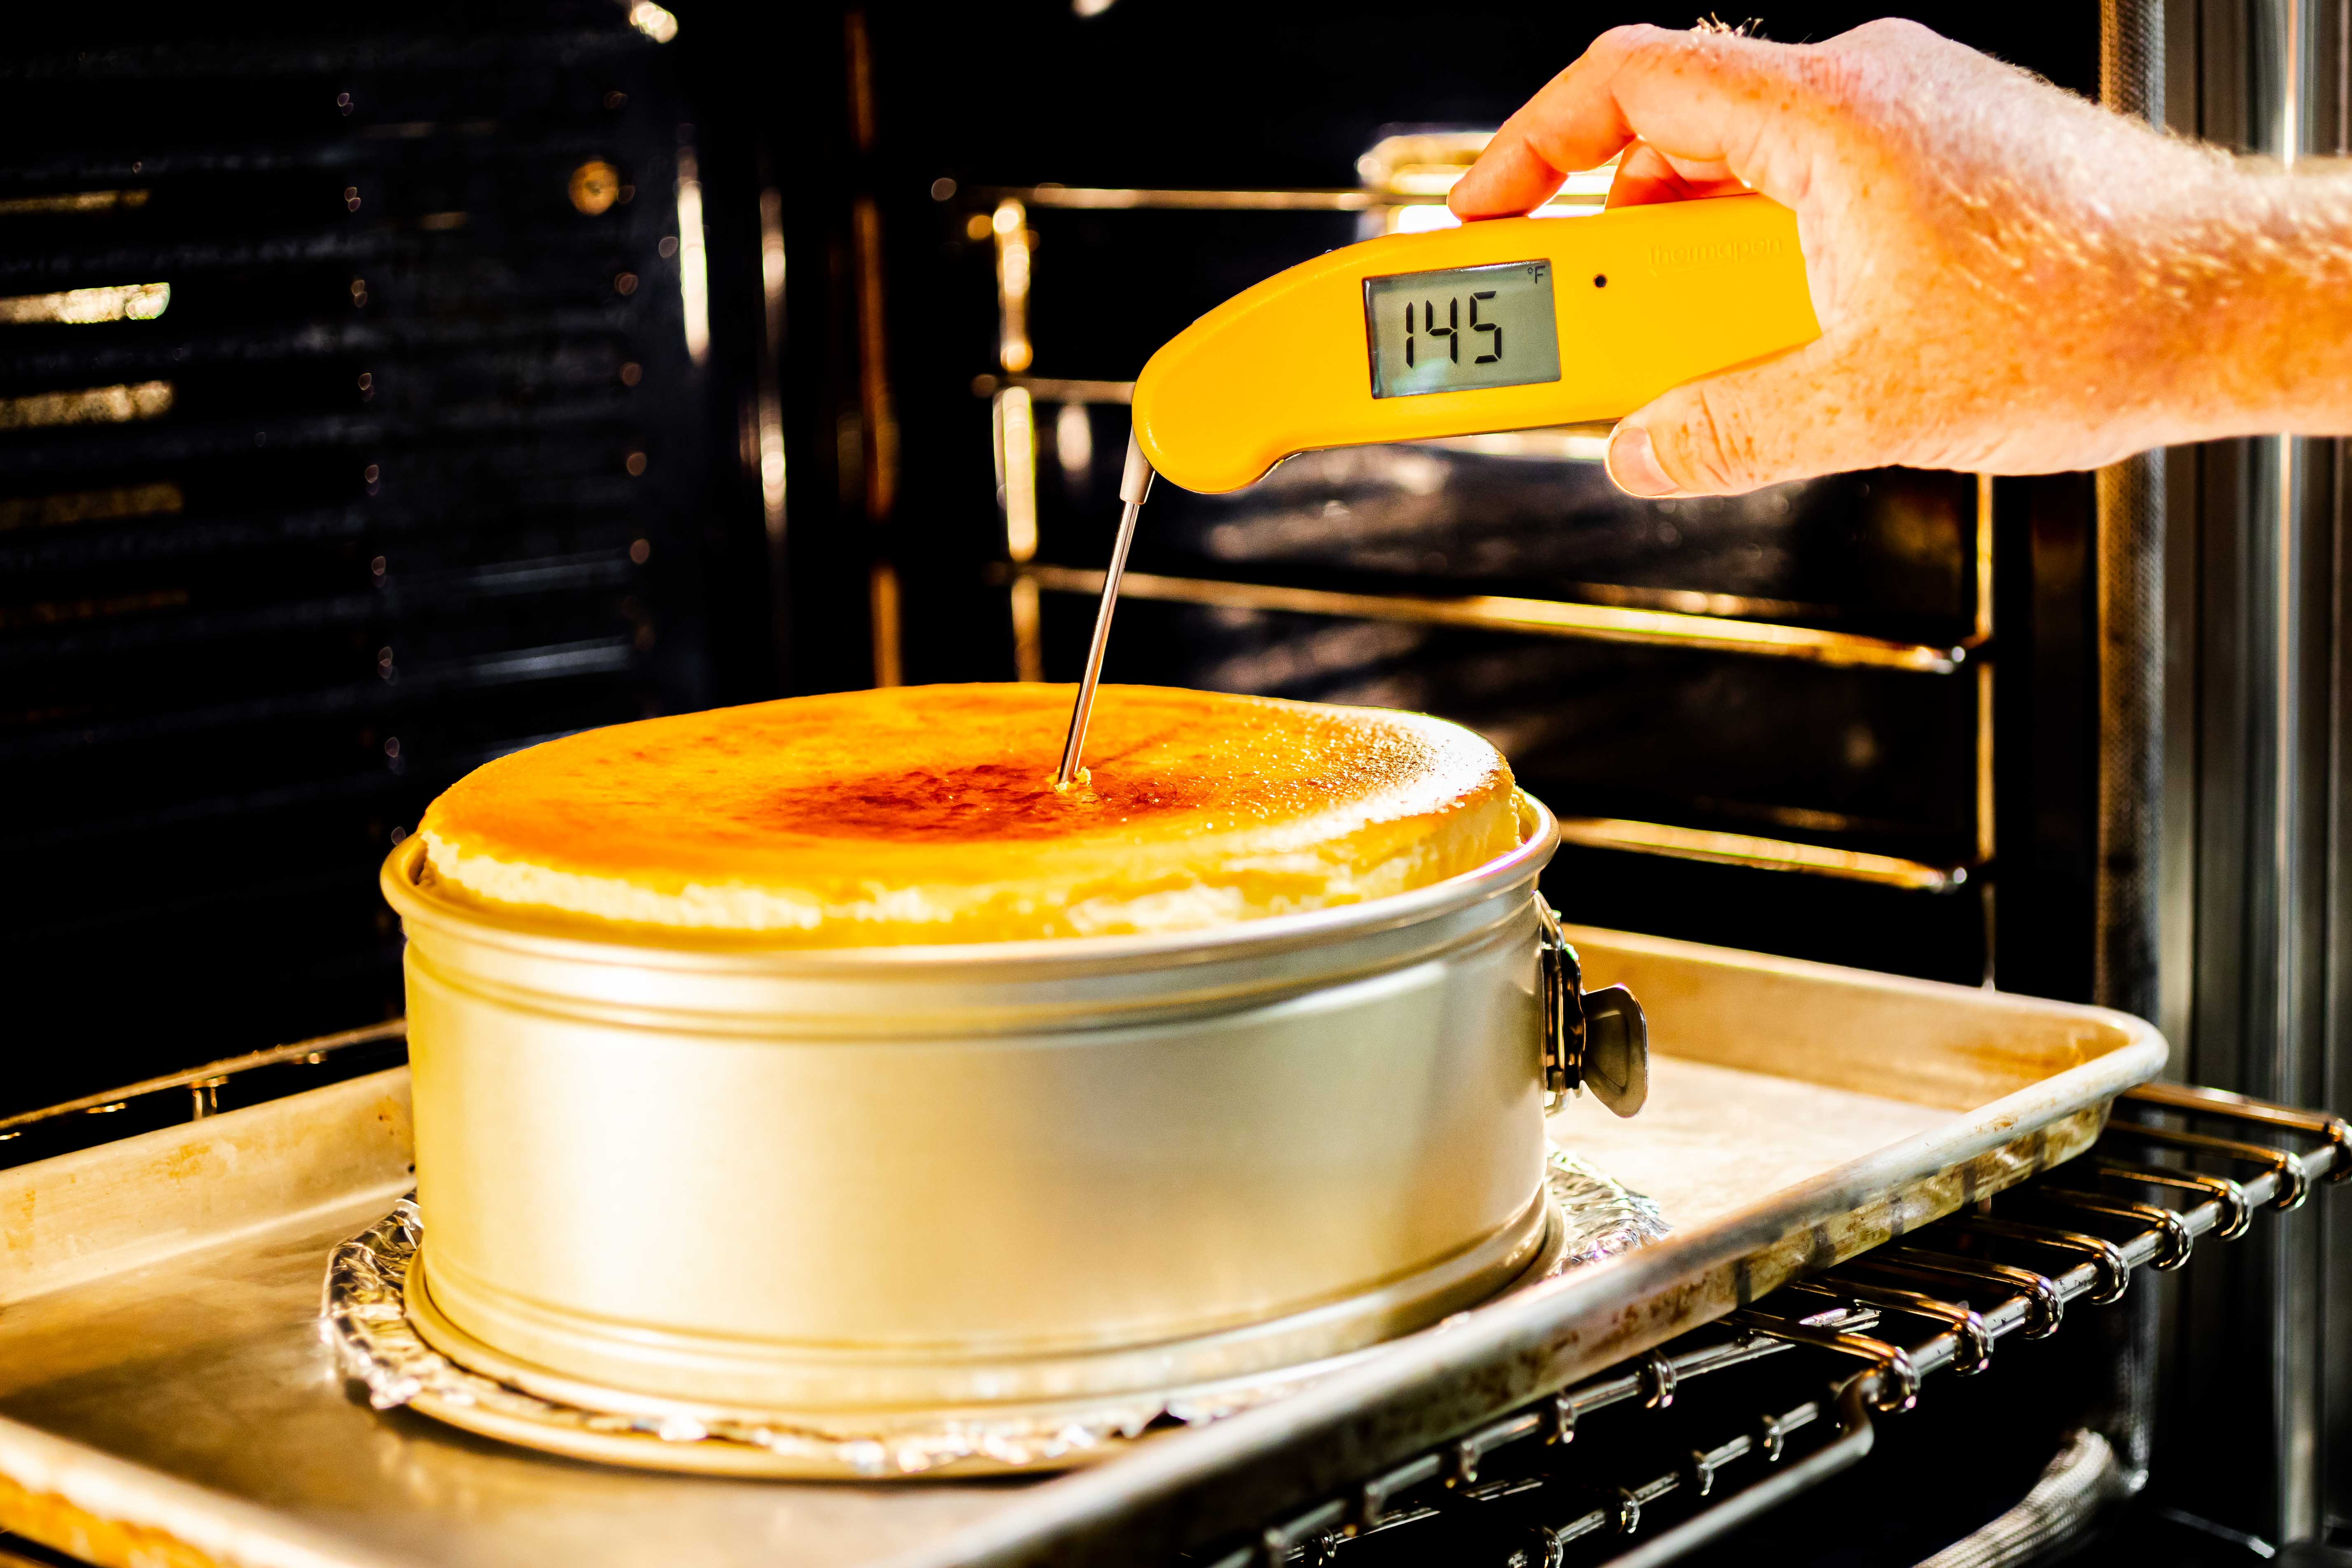
3. Be careful not to overbake
Regardless of the desired density of your cheesecake, bake it until the egg protein is perfectly set, and not a degree longer. The longer the cheesecake remains in the oven after it has reached its pull temperature, the tighter the egg proteins will become, and the greater the likelihood of your cake cracking.
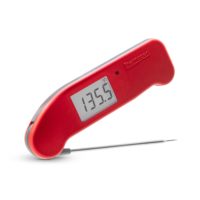
Pull the cheesecake from the oven when the internal temperature of the center reaches 145°F(63°C) as verified with an instant-read thermometer like the Thermapen ONE. Start checking the internal temperature about 10 minutes before the suggested baking time is up to be sure you don’t overbake.
A super-fast instant-read thermometer like Thermapen ONE makes it easy to perform multiple quick checks without leaving the oven door open too long.
➤ Ways to not test the doneness of a cheesecake:
Jiggle test
This inaccurate method of tapping the side of the pan to see if the side of the custard is set while the center is still slightly jiggly does not test against a reliable standard—it’s far too subjective and will vary from person to person.
Crack test
Some people wait until the top of the cheesecake cracks as a cue to its doneness. But by the time the cheesecake cracks, it’s already overdone, and it will crack more when it cools! Testing the internal temperature is the best method to know exactly when to pull the cheesecake from the oven so as not to overcook the delicate egg protein.
4. Chill well before slicing and serving
When the cheesecake is removed from the oven at an internal temperature of 145°F (63°C), it’s still a bit jiggly, but it will experience some carryover cooking as it rests. As soon as the cheesecake cools to room temperature, it should be covered and refrigerated for at least 8 hours—overnight is even better. If you plan ahead, freezing the cheesecake is even better. The firmer the cheesecake is, the cleaner the slices will be when served.
➤ Thermal Tip: Cheesecake can be stored in the freezer for 2–3 months. Keep a few of these handy in the freezer for a quick dessert anytime!
Tips for a better cheesecake
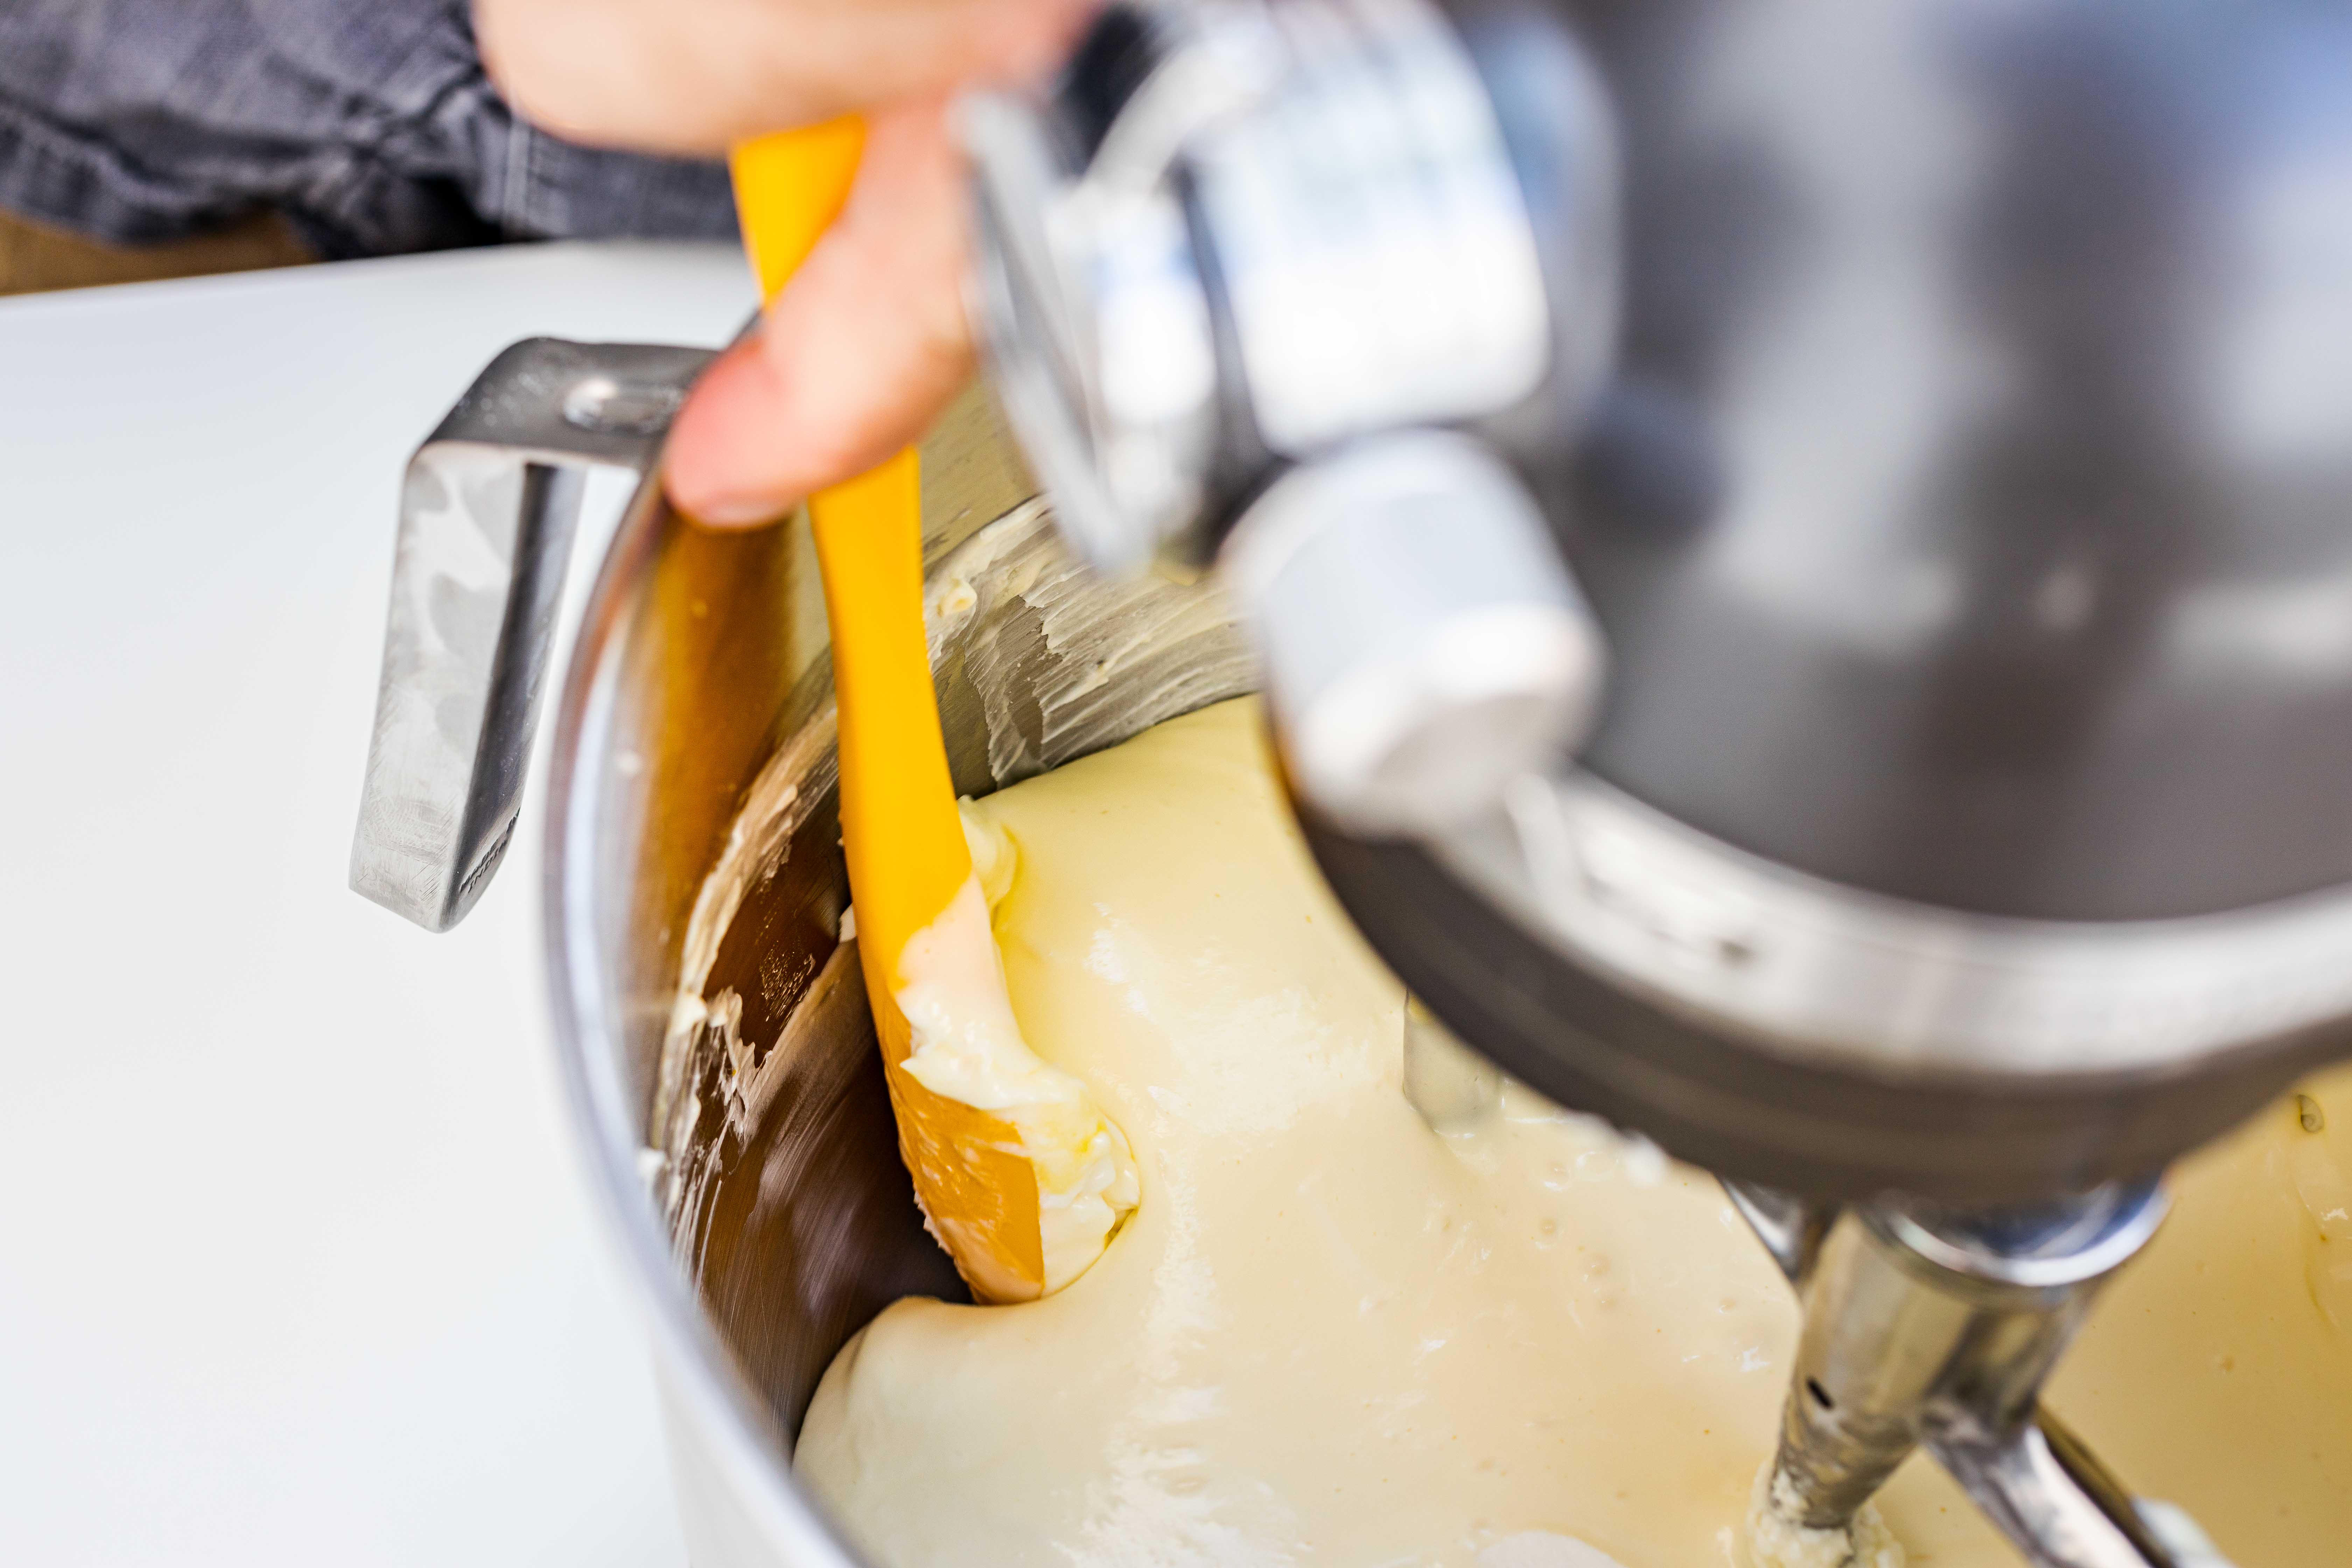
Mix gently. Don’t be tempted to mix ingredients at a high speed or to use a whisk attachment instead of a paddle attachment in an effort to get rid of lumps. This aerates the batter and can ruin that cake’s final texture. Starting with softened cream cheese and being patient while mixing on low speed is the best way to ensure a smooth filling.
Scrape down the bowl after mixing in each ingredient. When mixing the ingredients together the consistency starts off quite thick with the cream cheese and thins out with the addition of each ingredient. The batter that sticks to the sides of the bowl—and hides in the bottom of the bowl—needs to be scraped down completely so it combines evenly. If the bowl isn’t scraped consistently, the batter will be lumpy.
A note on the graham cracker crust
How you prepare your graham cracker crust is a matter of taste. For a firm, crunchier crust, pre-bake the crust before you pour the cake batter onto it. If you want a crust that is more yielding, don’t pre-bake it. A baked crust will have more of a toasty flavor, but an unbaked one won’t act as a barrier to your fork when you’re trying to eat it. It’s up to you.
Wait! What about the water bath?!?
Some recipes for cheesecake call for placing the pan in a hot water bath when cooking. The idea behind having a water bath is that you’re protecting the cheesecake form overcooking by providing gentler heat. But if your water get’s up to 212°F (100°C), you can still overcook your cheesecake! In the end, the only way to get a perfectly cooked cheesecake is to cook it to temperature, water bath or no. And since they are an incredible hassle, we don’t use a water bath below.
New York-Style Cheesecake recipe
This cheesecake is based on the one from SeriousEats.com, Epic New York Cheesecake. It incorporates a little bit of fresh goat’s cheese along with the standard cream cheese, and it is a worthy addition. You won’t notice it, but you’ll have a lighter textured, fresher flavored cake at the end. If you can’t abide the idea, just sub more cream cheese in for it.
Yield: 12 to 16 servings
For the Graham Crust:
7 oz graham cracker crumbs (about 1 3/4 C)
2 oz unsalted butter, melted (4 tablespoons)
Pinch of salt
Filling(all ingredients must be room temperature, 70°F [21°C])
32 oz full-fat cream cheese, such as Philadelphia,
8 oz fresh goat cheese (in log form)
1 Tbsp lemon juice, freshly squeezed
1 Tbsp vanilla extract
1 large pinch kosher salt
14 oz sugar (about 2 cups)
6 large eggs
6 oz heavy cream
For serving
16 oz fresh blueberries or other fruit
1 Tbsp fresh lemon juice
Sugar to taste
Instructions
*Crust and filling instructions are the same regardless of the final baking method used.
Prepare the Crust
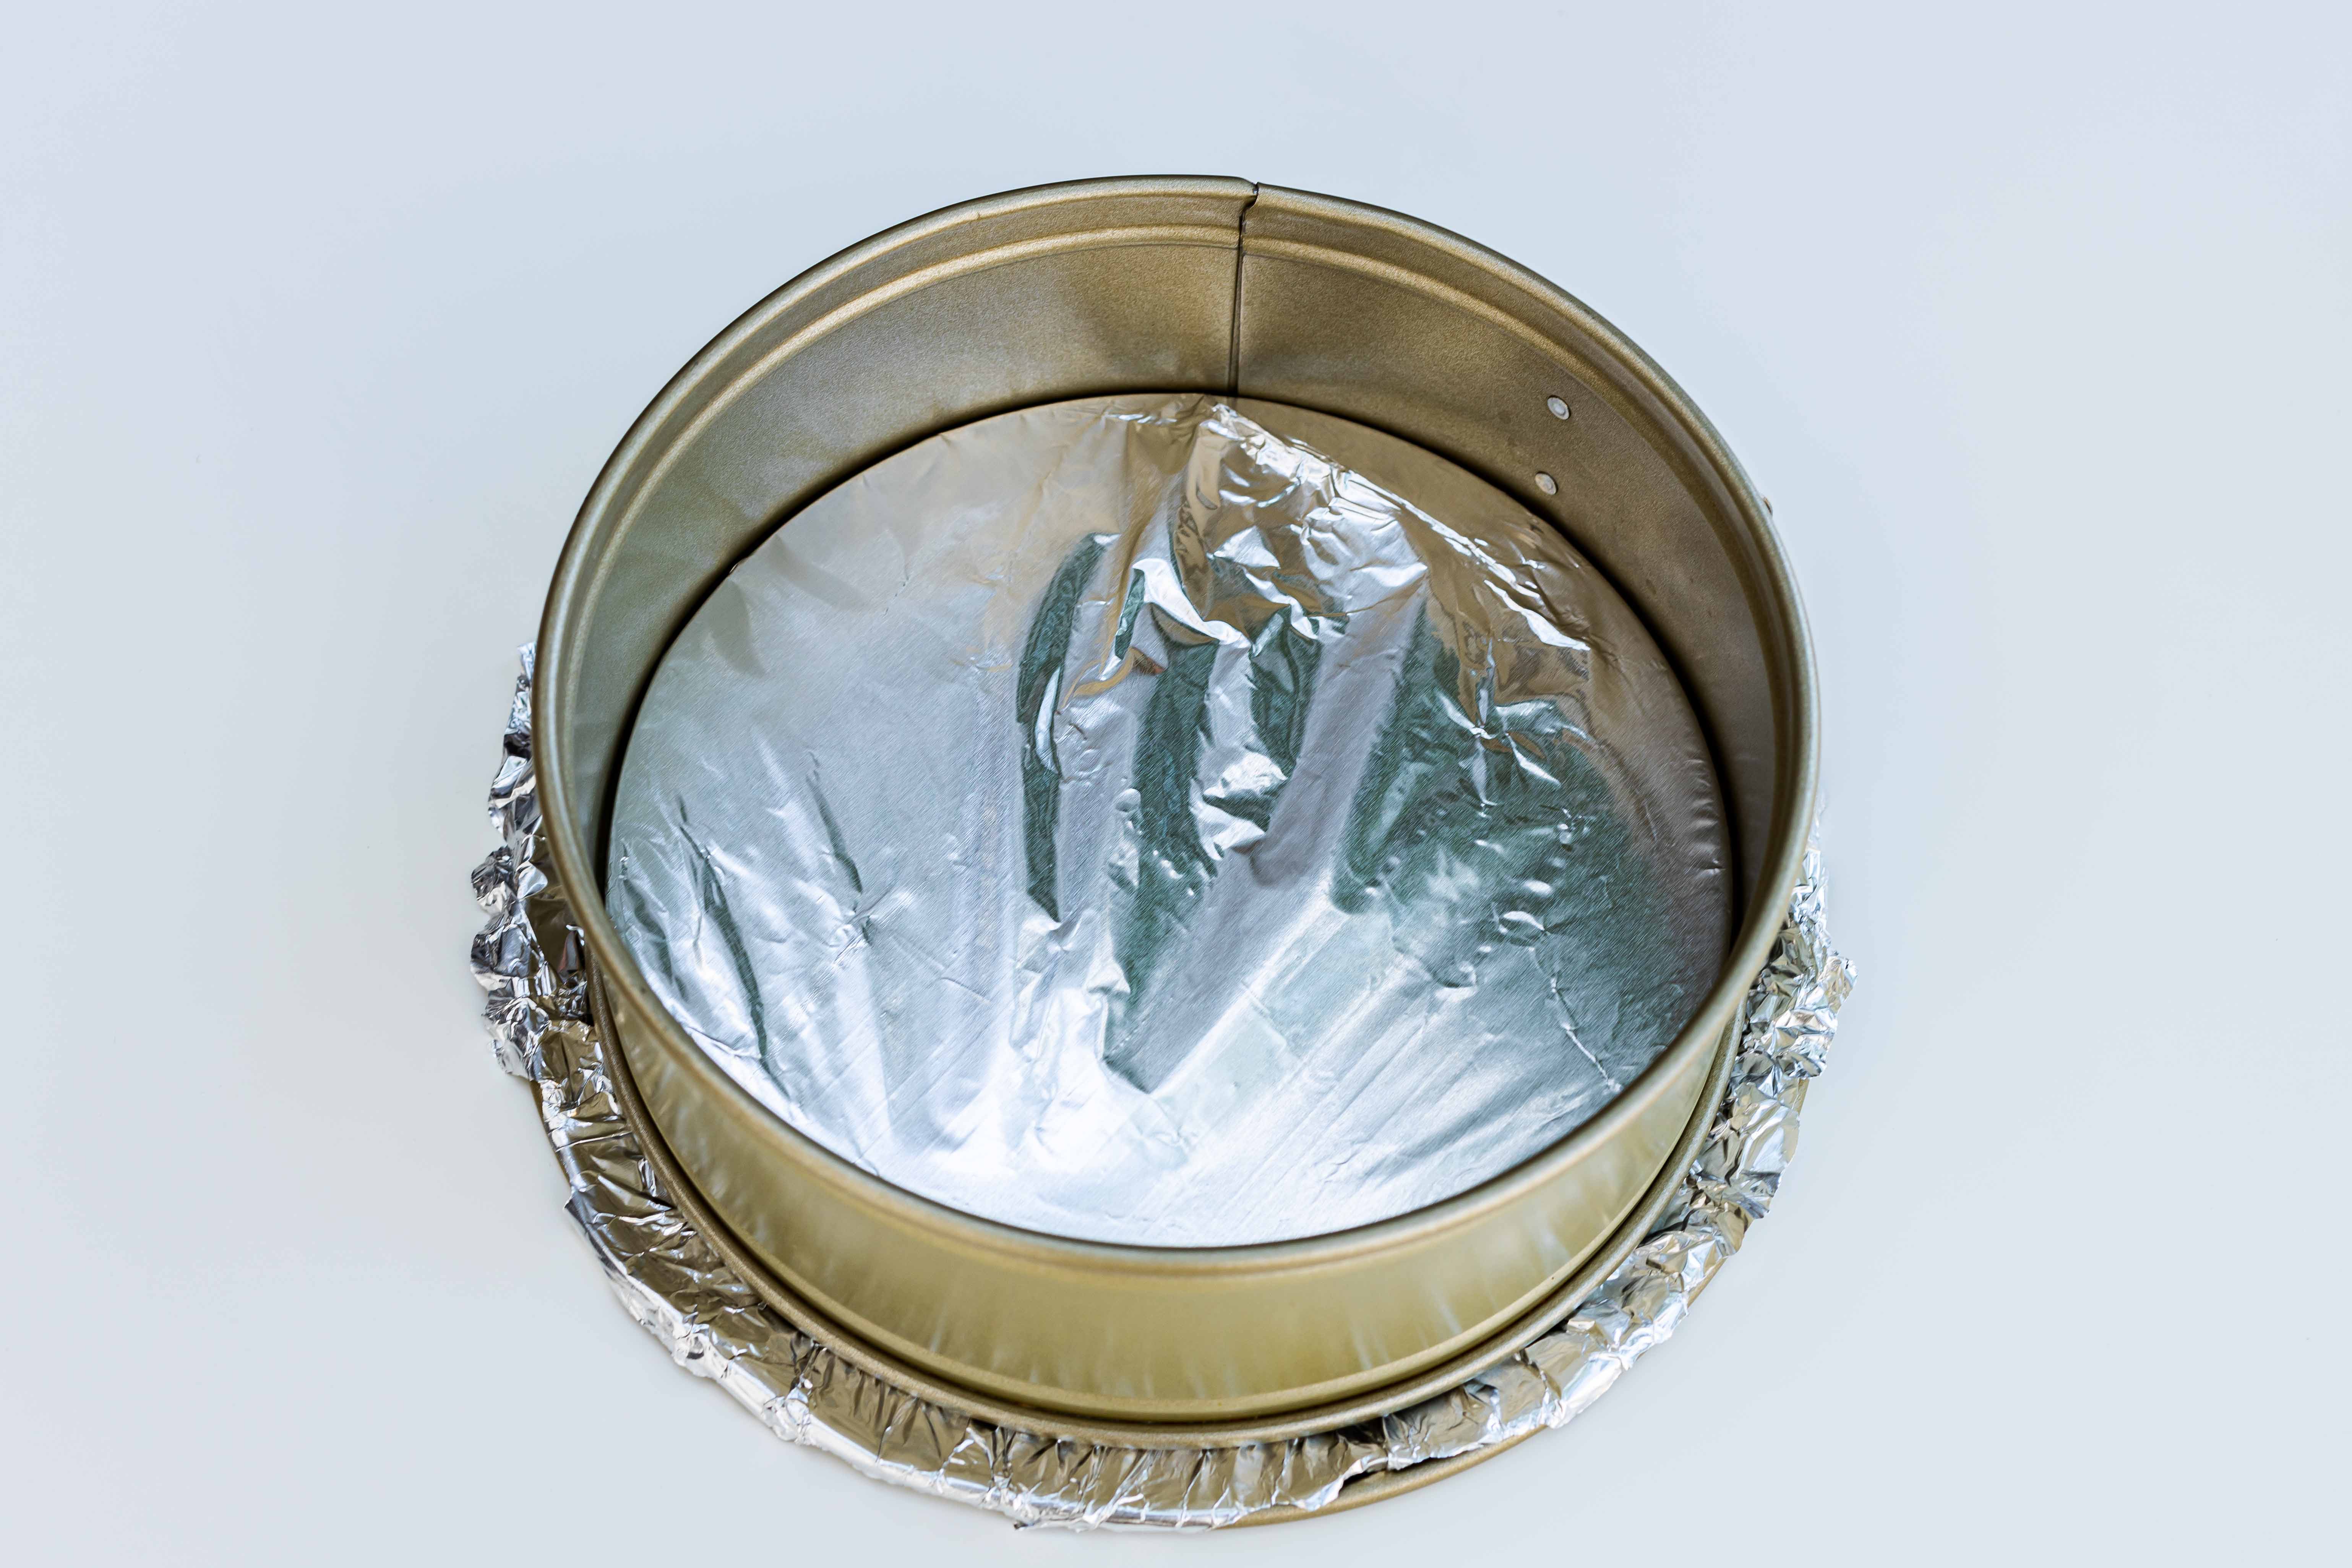
Prapare your 9″ springform pan by first coating the bottom plate in aluminum foil. this will make the cheesecake easier to remove later on.
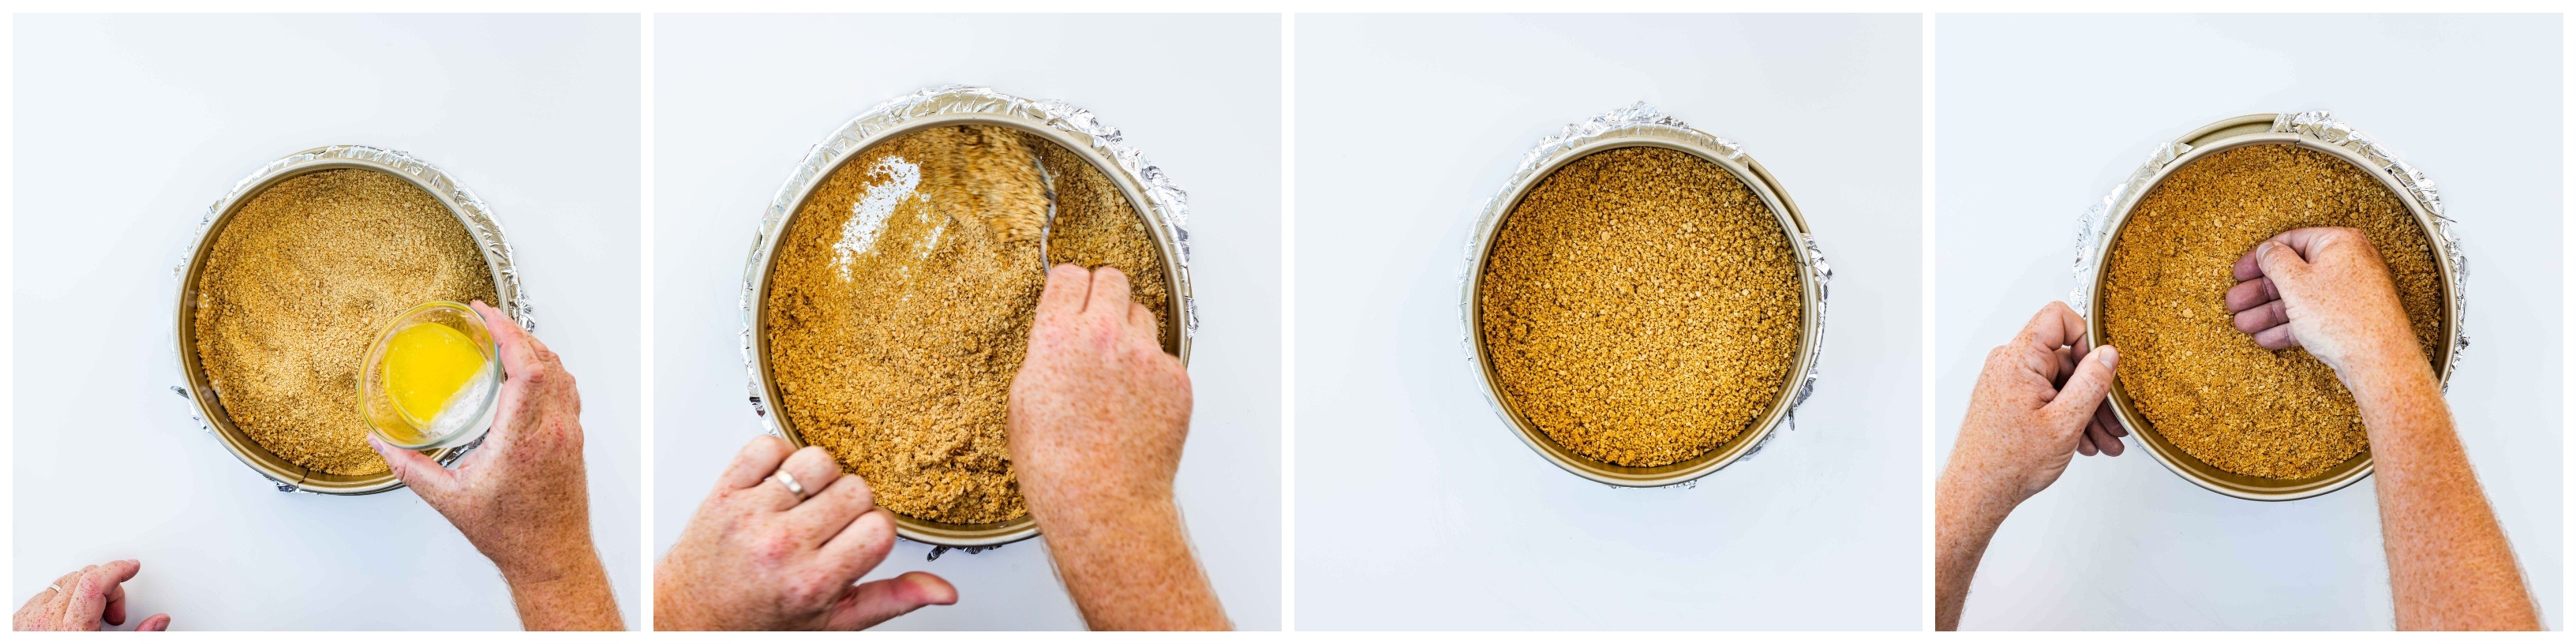
Process graham crackers in food processor to fine crumbs. Transfer them directly to the springform. Add the melted butter and toss with a fork until the mixture is evenly moistened.
Press the crumbs into the bottom of the pan. Use a ramekin or measuring cup to press the crumbs firmly. If pre-baking, bake the crust until it begins to smell nutty and toasty, about 10–13 minutes.
☼ Did You Know? You can use a 9-inch cake pan with 3-inch high sides (non-springform pan) to bake a cheesecake if it is going to be frozen after baking and cooling. A frozen-solid cheesecake will easily release from a cake pan. If you don’t have a springform pan don’t let that stop you from making cheesecake! See unmolding instructions below.
Prepare the Filling
Preheat your oven to 450°F (232°C), or, for a denser, lighter-colored cheesecake, 250°F (121°C).
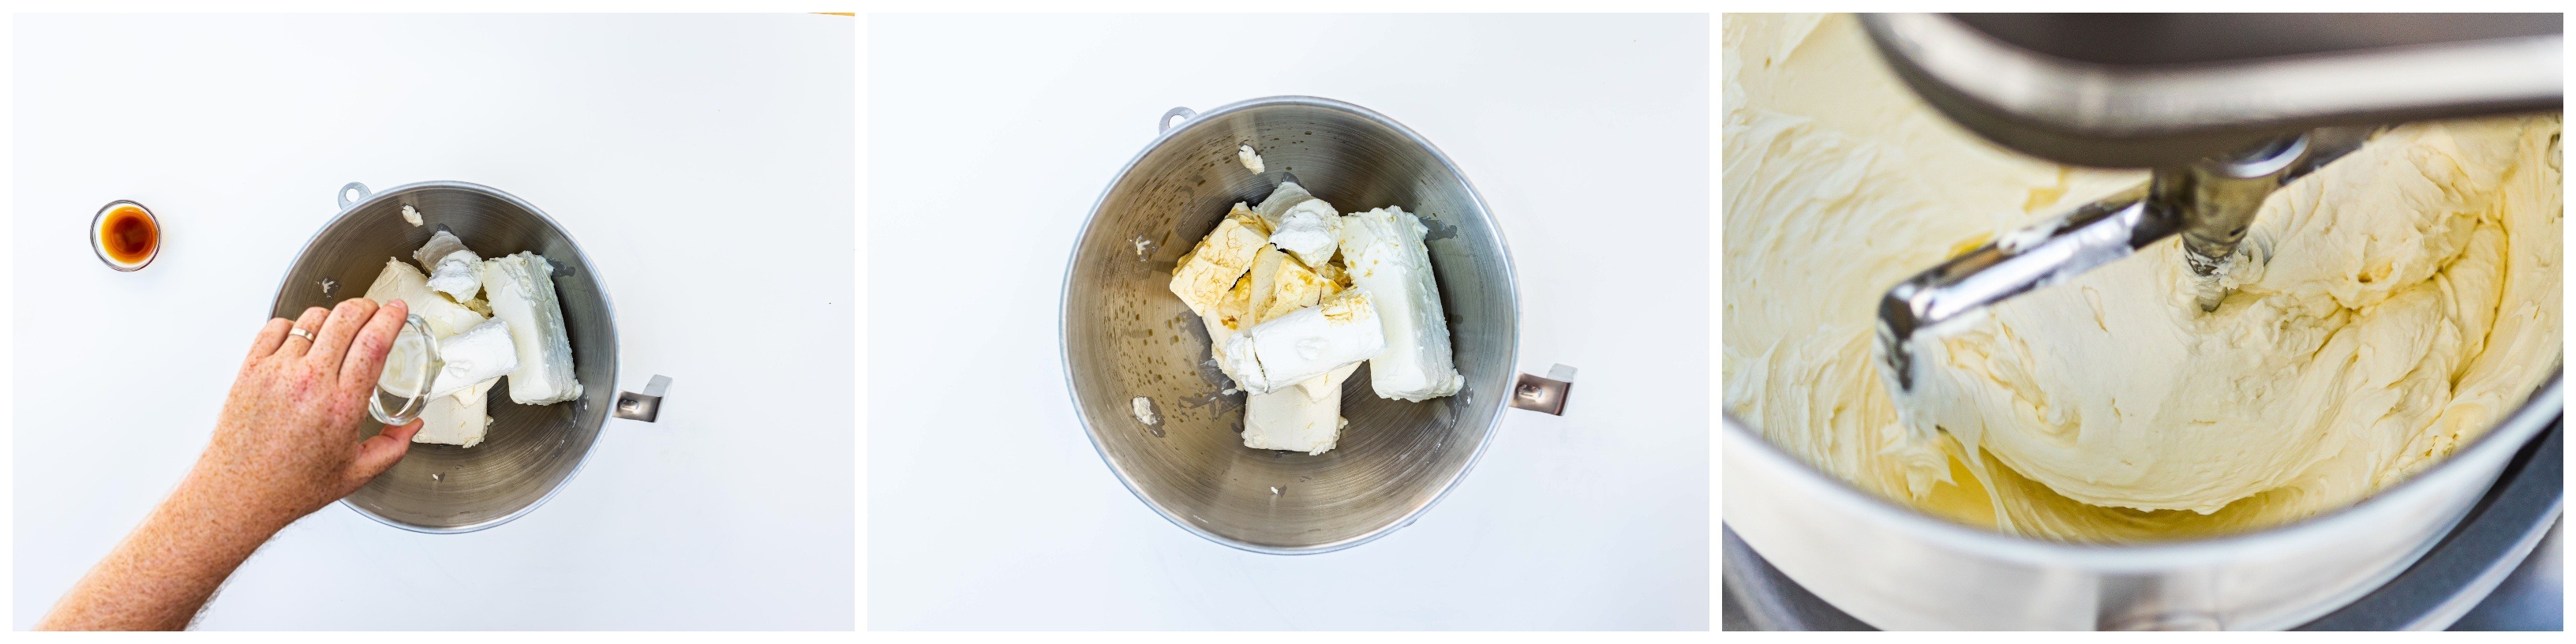
In a stand mixer fitted with the paddle attachment, mix the cream cheese, goats cheese, vanilla, salt, and lemon juice. Start on low speed for a minute, then increase speed to medium and mix until perfectly smooth. Scrape down the walls and bottom of the bowl halfway through mixing.
Reduce the speed to medium-low and add all the sugar. Mix on medium-low speed until just well combined.
Add the eggs and mix on low speed until everything is incorporated. Scrape down the bowl again.
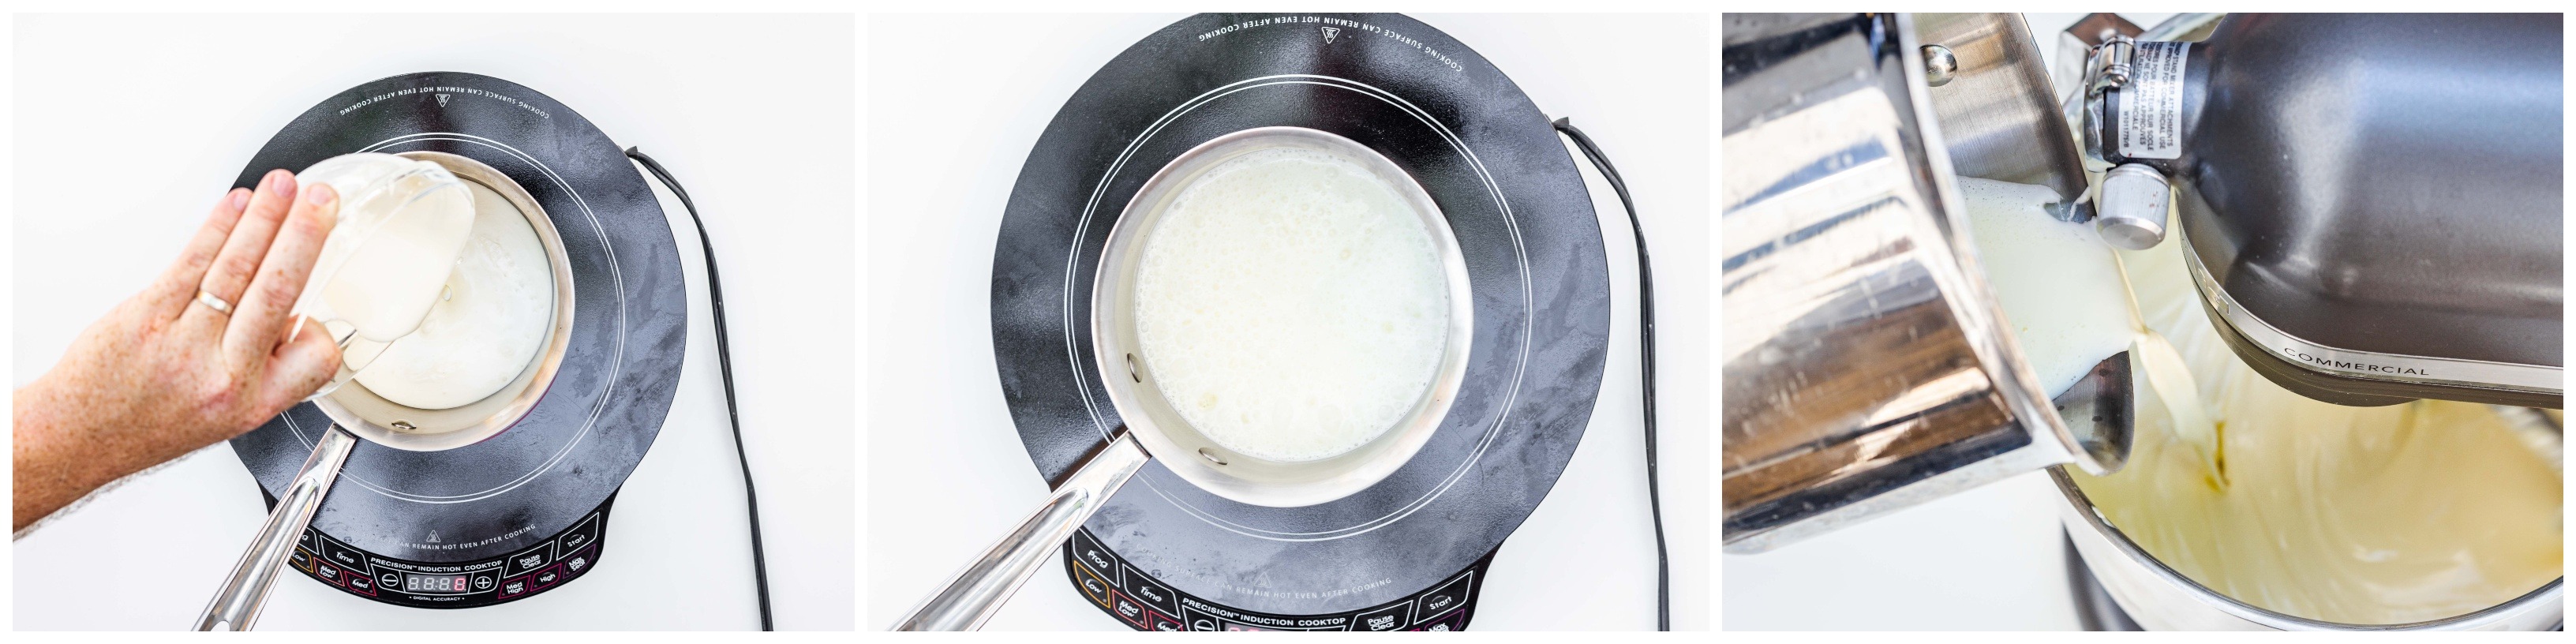
In a small saucepan, bring the cream to a full boil.
With the mixer running on low, slowly pour the cream into the mixture. This will warm the batter so that it cooks more quickly and it will also help trapped air bubbles to escape, improving the texture.
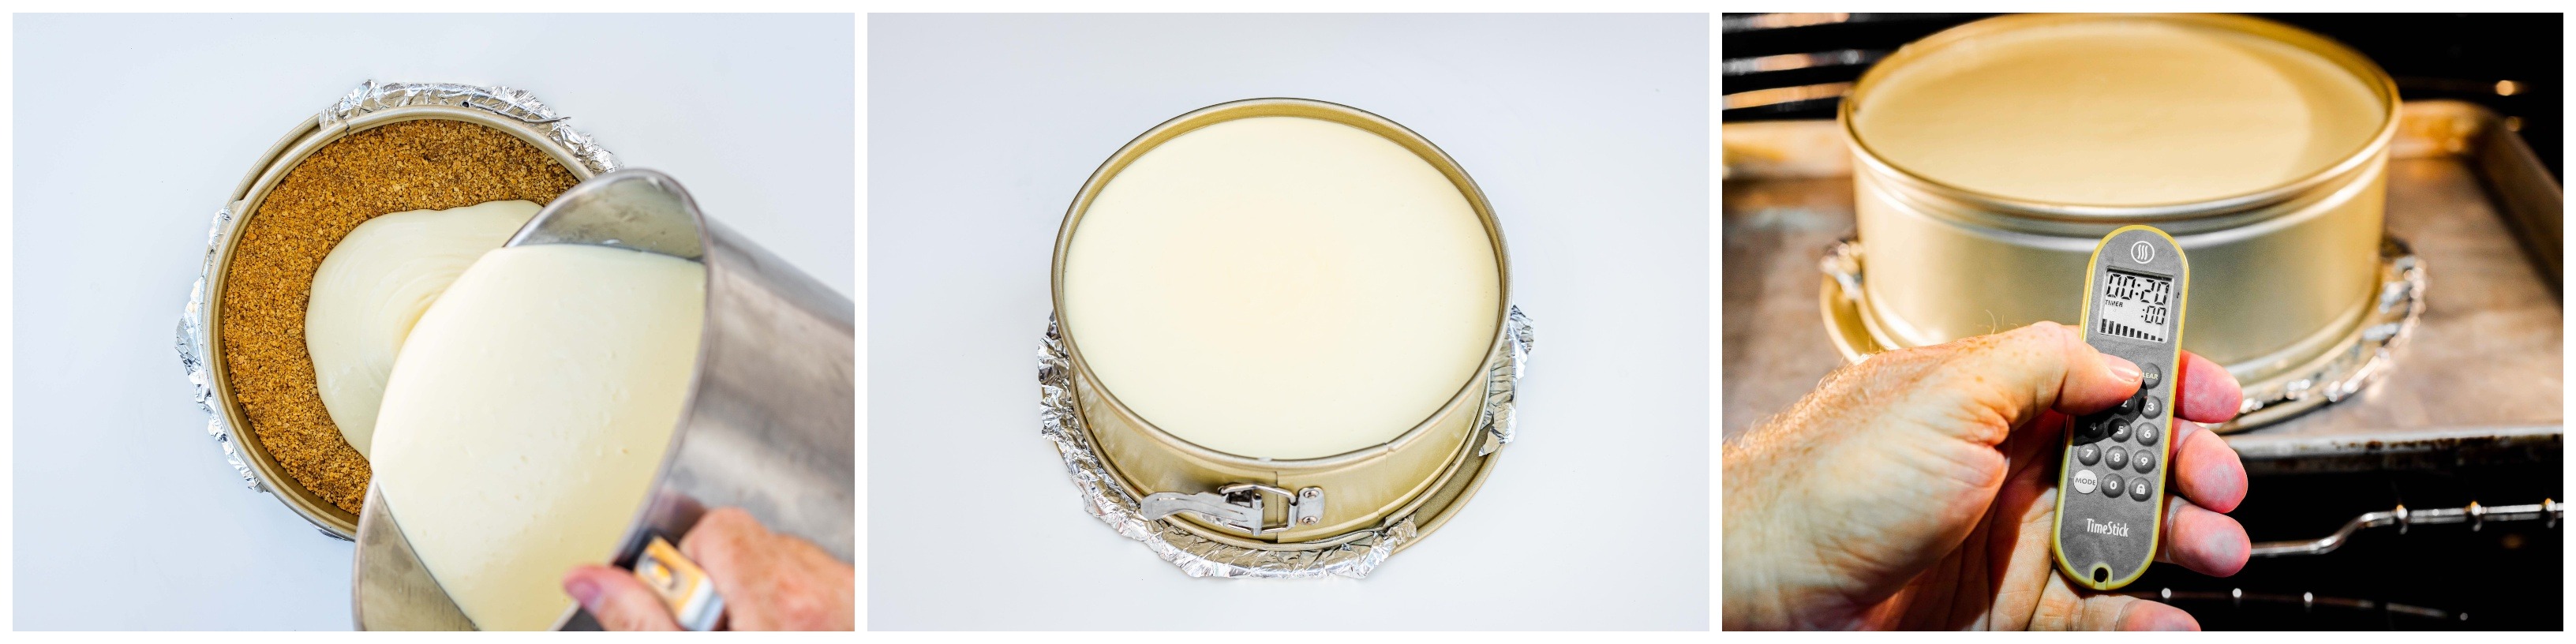
Pour the batter into the springform pan and place in the oven.
For the denser cheesecake, bake at 250°F (121°C) for about 65 minutes.
For the lighter, darker-colored cheesecake, cook the cheesecake for 20 minutes at high heat, then turn off the oven and prop the door open with a wooden spoon for 10 minutes.
Turn the oven to 250°F (121°C), close the door, and bake about 35 more minutes.
Whichever method you choose, start checking the internal temperature well before the time has fully elapsed. Bake the cheesecake until an instant-read thermometer reads 145°F(63°C). Note that a few inches in the center will still be rather wobbly, that’s ok—carryover cooking will take care of it.
Cool and chill
Cool the cheesecake on the countertop for 15 minutes, then run a thin-bladed knife around the edges of the pan. Let it sit on the counter for at least another hour.
Refrigerate the cheesecake, covered, for at least 8 hours, but preferably overnight.
Make topping
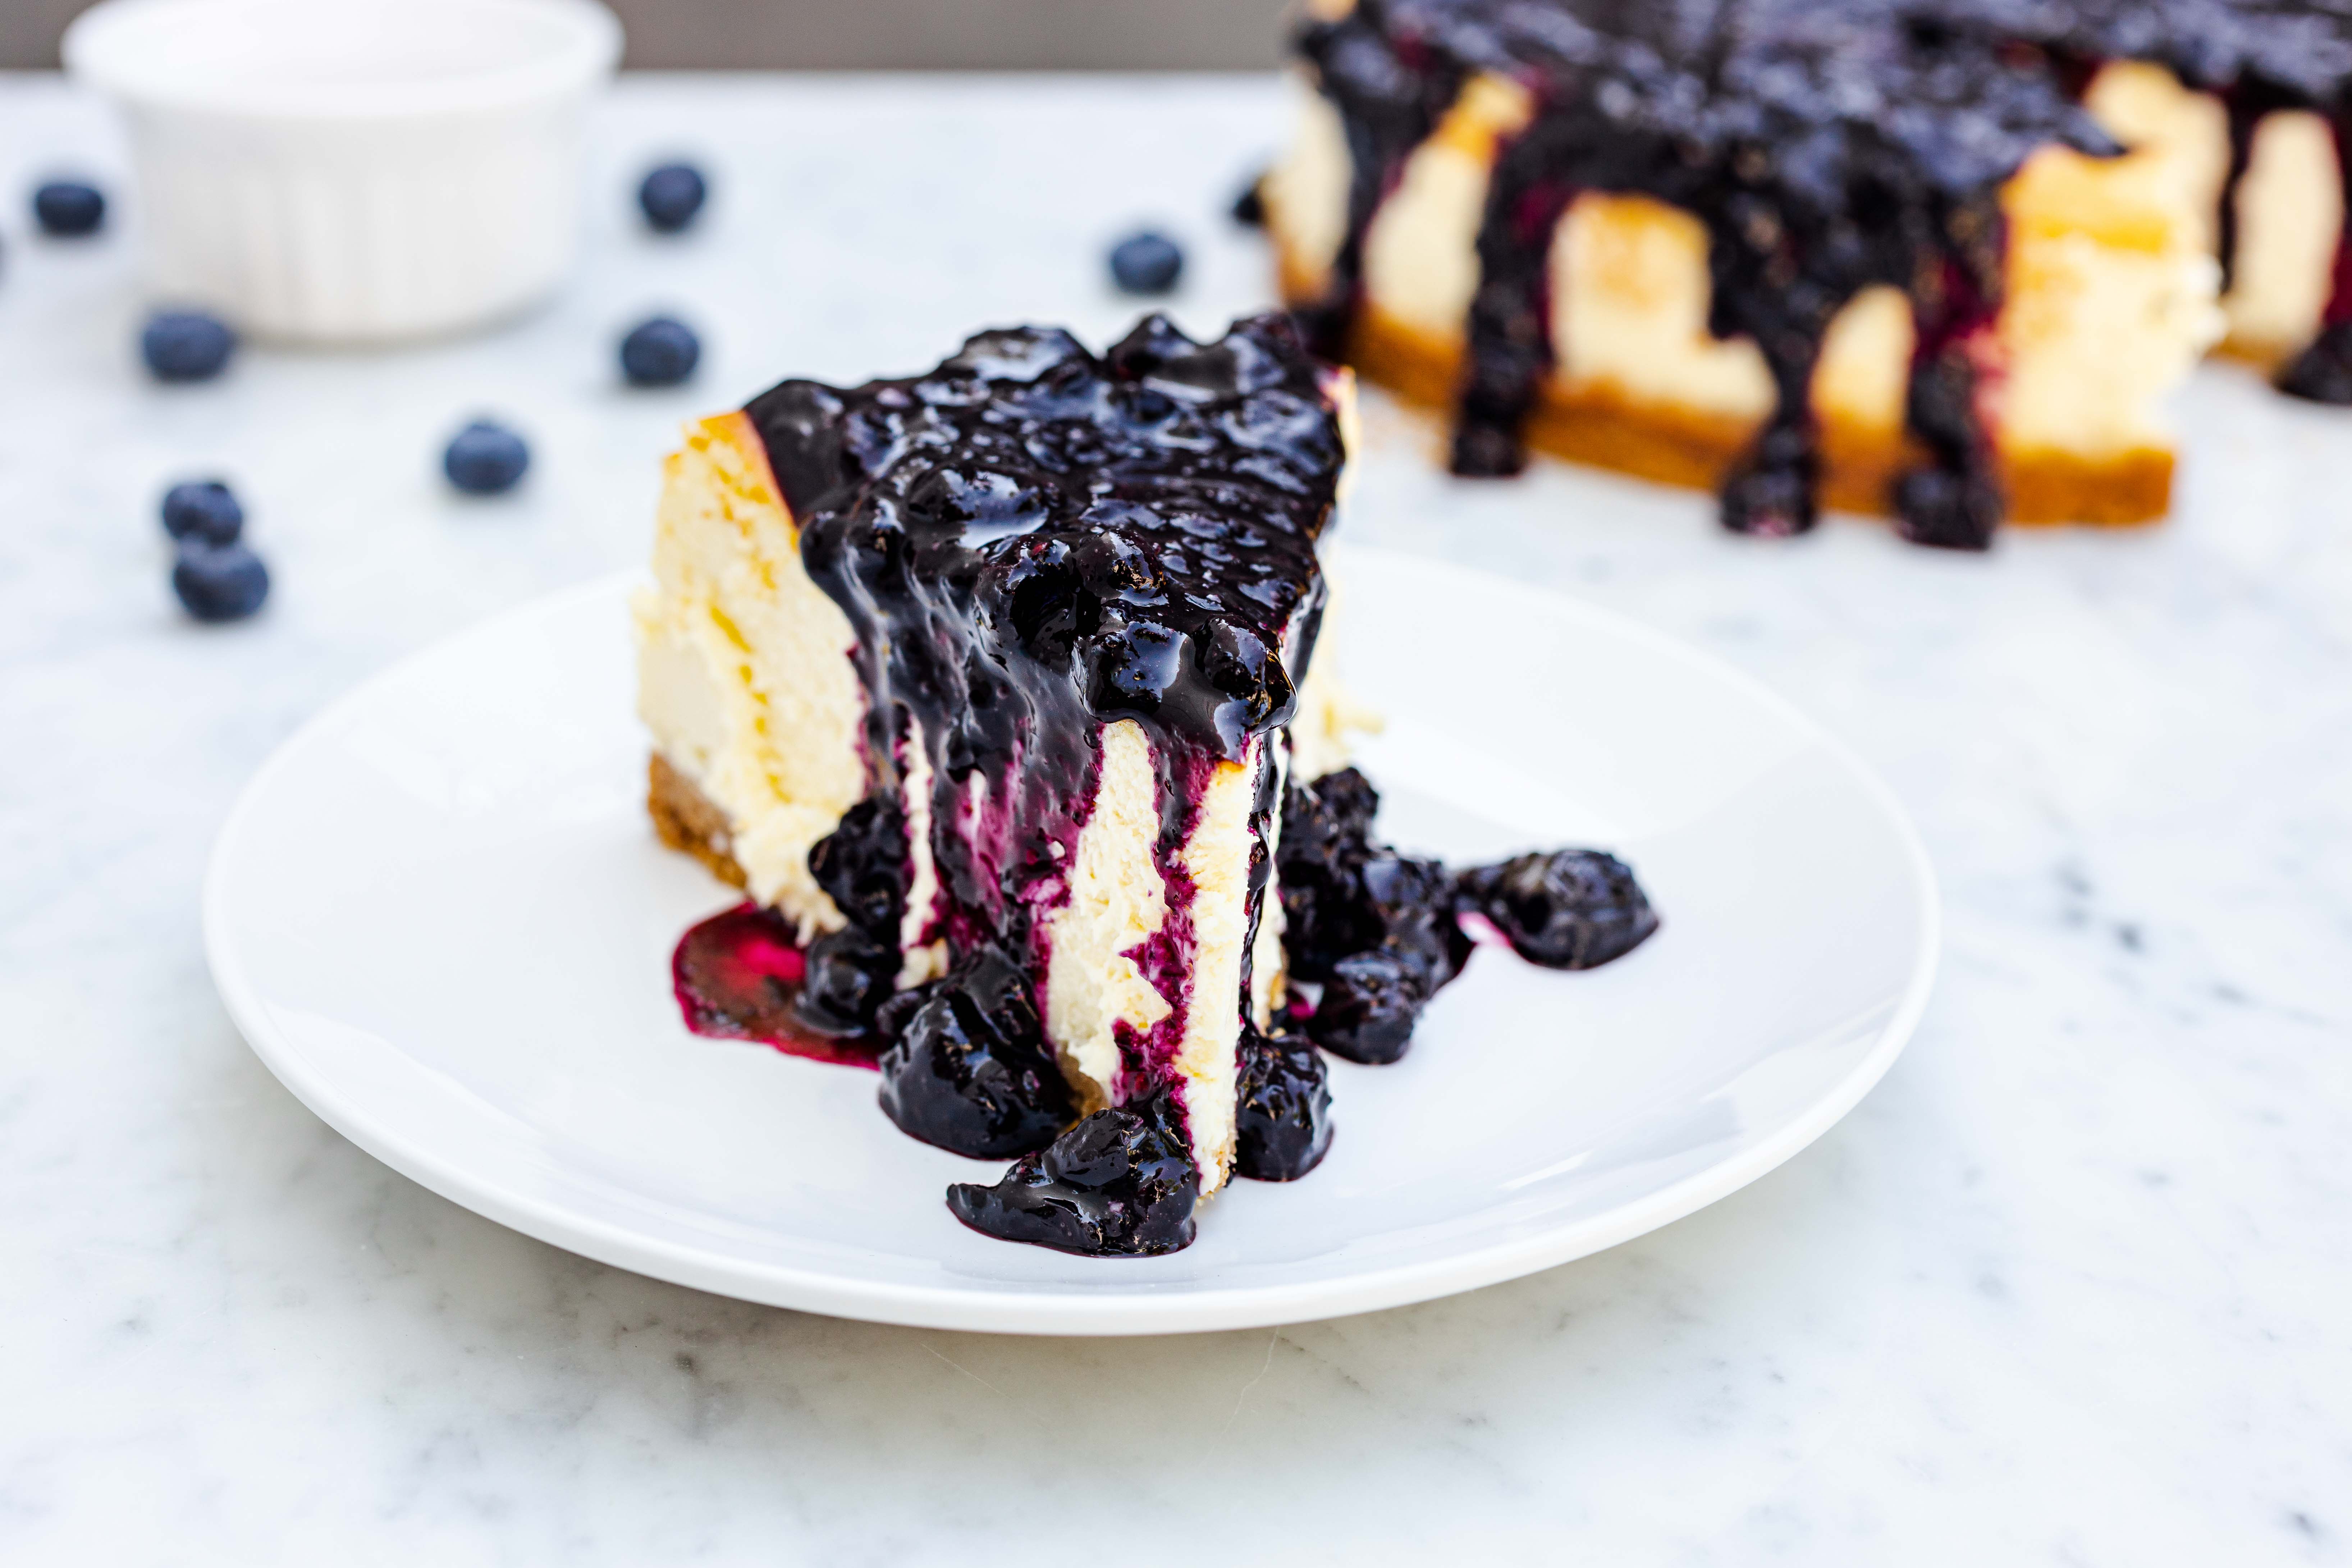
Place the fresh berries in a small saucepan with a few tablespoons of water and the lemon juice.
Cook over medium-high heat until the fruit breaks down.
Cook until the fruit is almost completely broken down and the sauce thickens. Taste for sugar and adjust sweetness as needed.
Refrigerate until ready to use.
Unmold
To unmold a refrigerated cheesecake, run a thin knife along the outside edge of the springform pan again. Release and remove the sides of the springform pan. Give the aluminum foil a bit of a tug and the cake will become easier to lift with a flat spatula. Place onto a cutting board.
To unmold a frozen cheesecake, lightly torch the outside of the metal sides to release the cake and remove the sides. Torch the bottom of the pan and remove the bottom of the pan from the cheesecake.
If you don’t have a torch, dip the bottom and sides of the cheesecake into simmering water and hold for about 5 seconds. Dry off the outside of the pan and release the sides of the springform pan.
Slice and Serve
Have you ever wondered how slices of cheesecake at restaurants are always so perfectly and cleanly sliced? The secret is to slice cheesecake frozen.
Start with an unmolded, still-frozen cheesecake on a cutting board.
To slice, dip a long carving or chef’s knife into hot water, dry slightly and cut the cheesecake in half.
Clean the knife after each slice by dipping into hot water, then wipe clean with a towel.
Cut each half into 6-8 slices each (for a total of 12–16 slices per cheesecake) and reshape into a circle on a cake stand or platter.
If perfect slices aren’t as important, go ahead and slice it cold, but still wipe the blade between cuts. Top with the fruit compote and any other toppings you like!
You can make the perfect cheesecake to your own preference by mixing your room-temp ingredients well, choosing your baking temperature, and using Thermapen ONE to know exactly when it’s ready to pull your cheesecake from the oven.
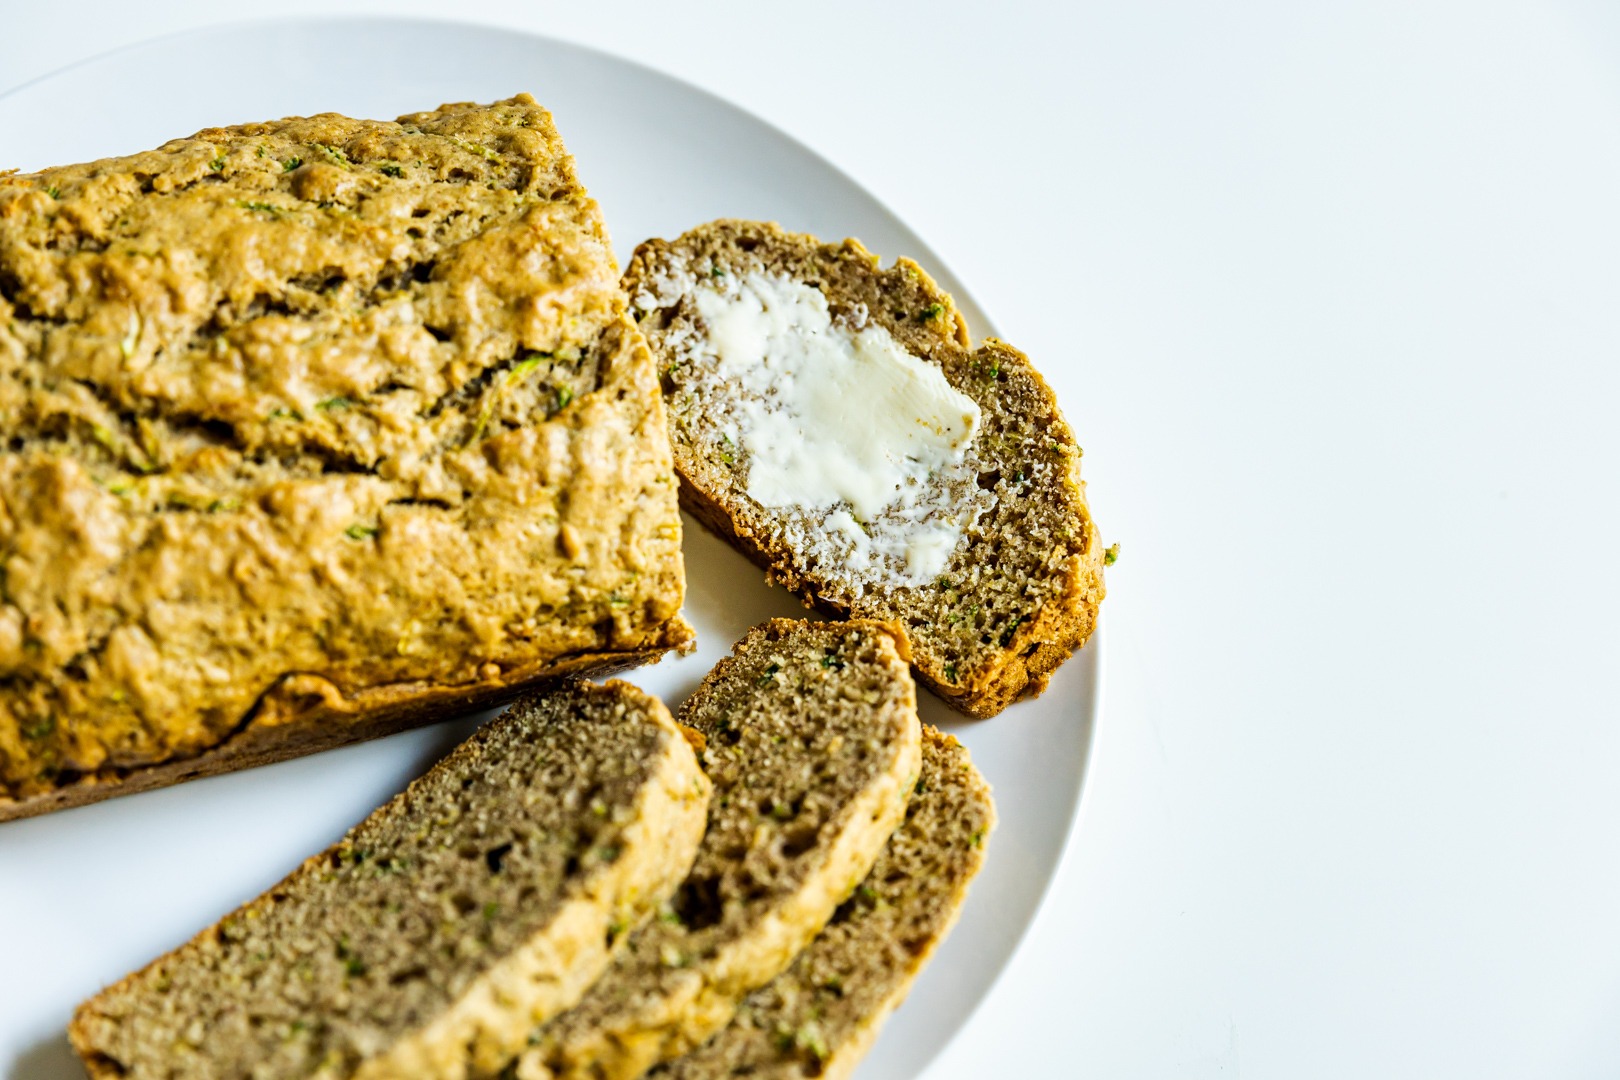
Every summer, gardeners across the world, and those (un?)fortunate enough to be their neighbors, face the annual zucchini glut. Zucchini don’t care about you or how much you want to eat, they just want to make more and more squash. What is one to do with all this produce? Quick bread doneness temp: 200°F (93°C)…
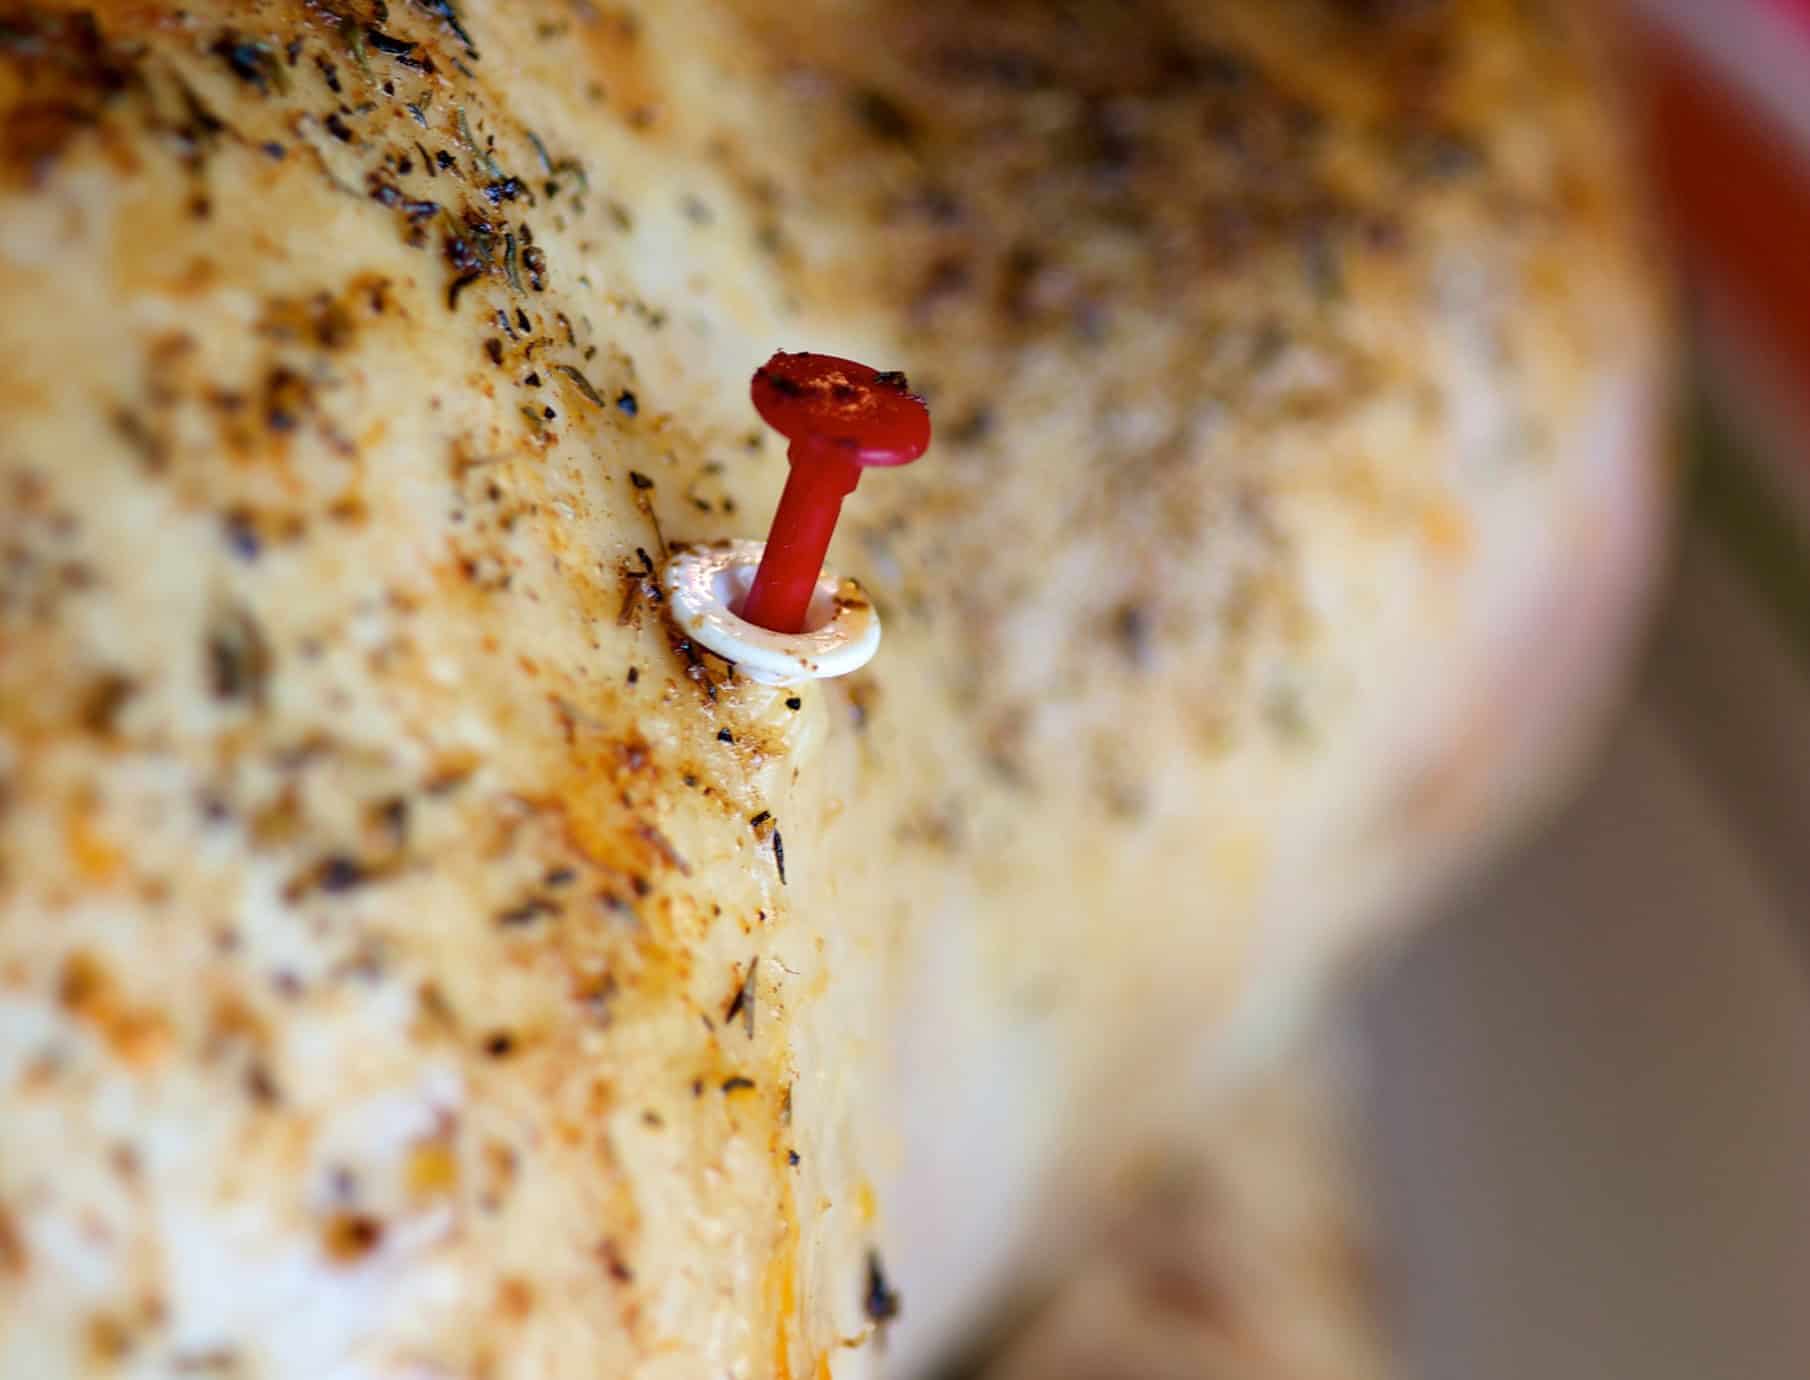
If we told you there was one culprit responsible for all the dried turkey you ever ate, would you want to find out what it was? And how would you feel, knowing that the culprit was operating under the guise of being a helpful friend? Well, folks, we have news for you. The culprit is…
As the cold weather months are upon us, we thought it best to compile a list of our favorite winter foods to help you get through the cold. Whether you want to brave the cold to cook outside or stay in your nice, warm kitchen, we have some great recipes for you. And of course,…
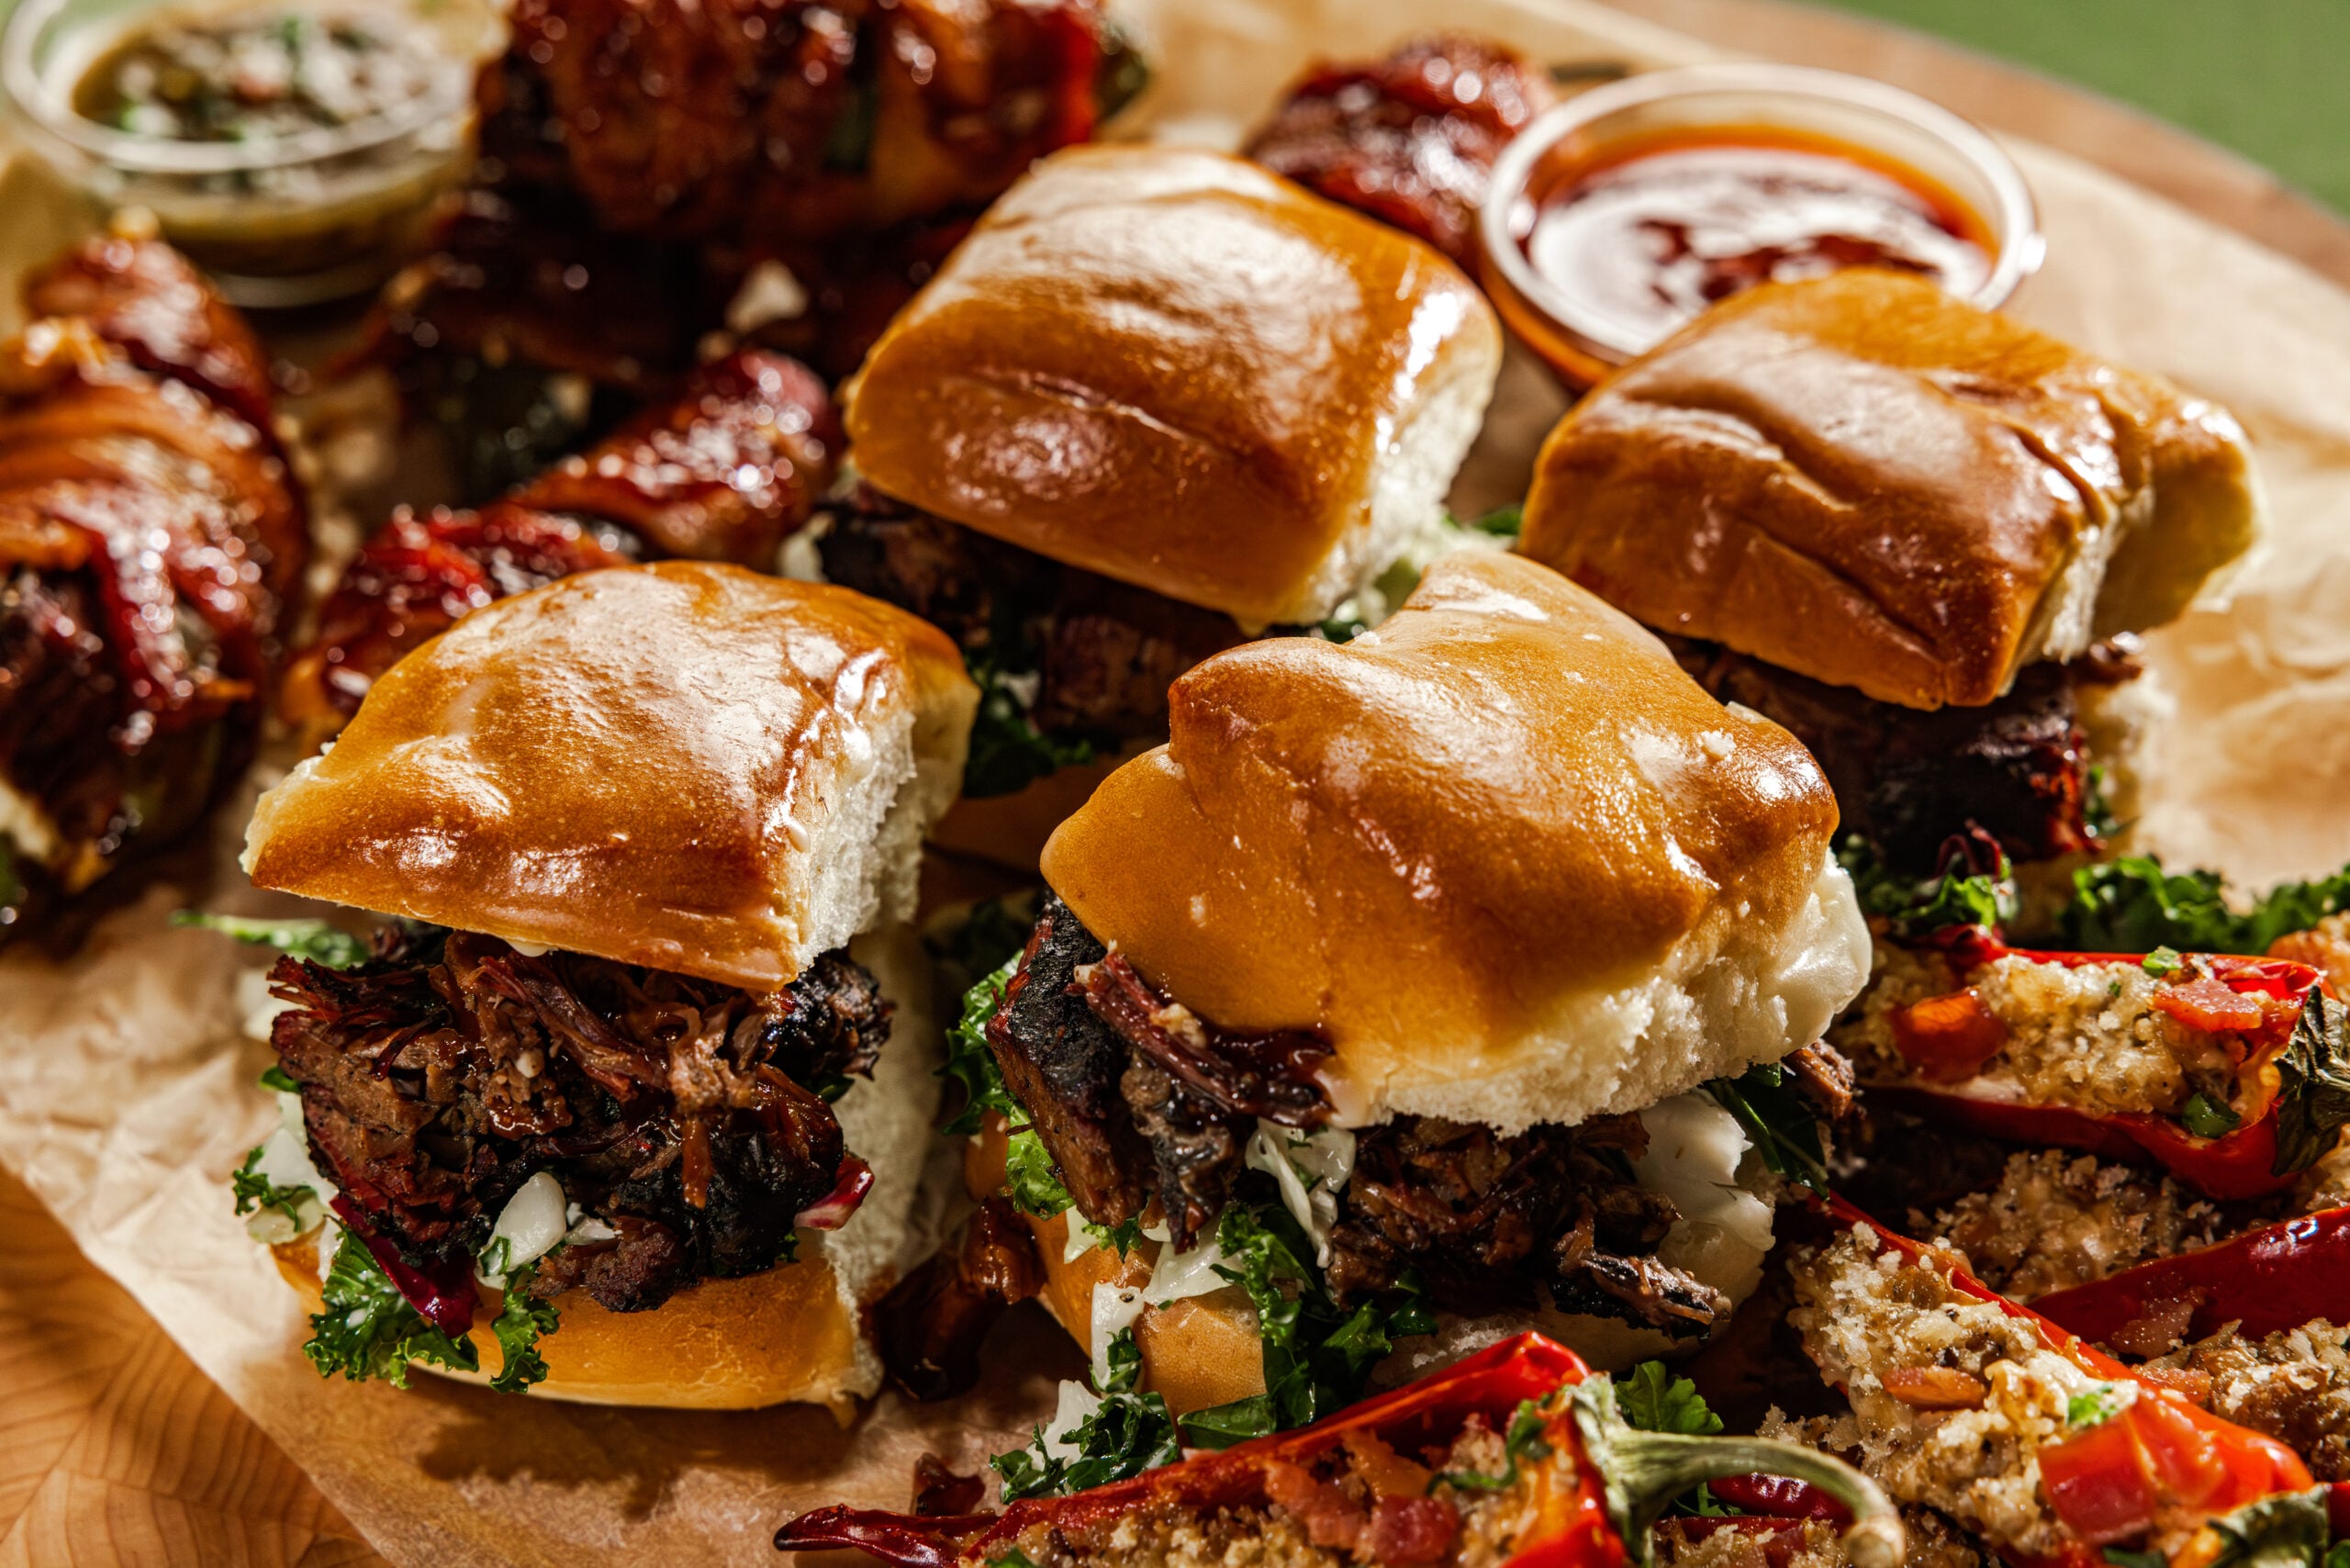
What Are Beef Cheeks and Why They’re Perfect for Ultra-Tender Sliders Move over brisket — beef cheek sliders are here, and they’re taking over. If you love brisket sliders but don’t love the price, the long cook time, or the babysitting, beef cheeks might just change your BBQ life. I’ll admit it, I was skeptical…
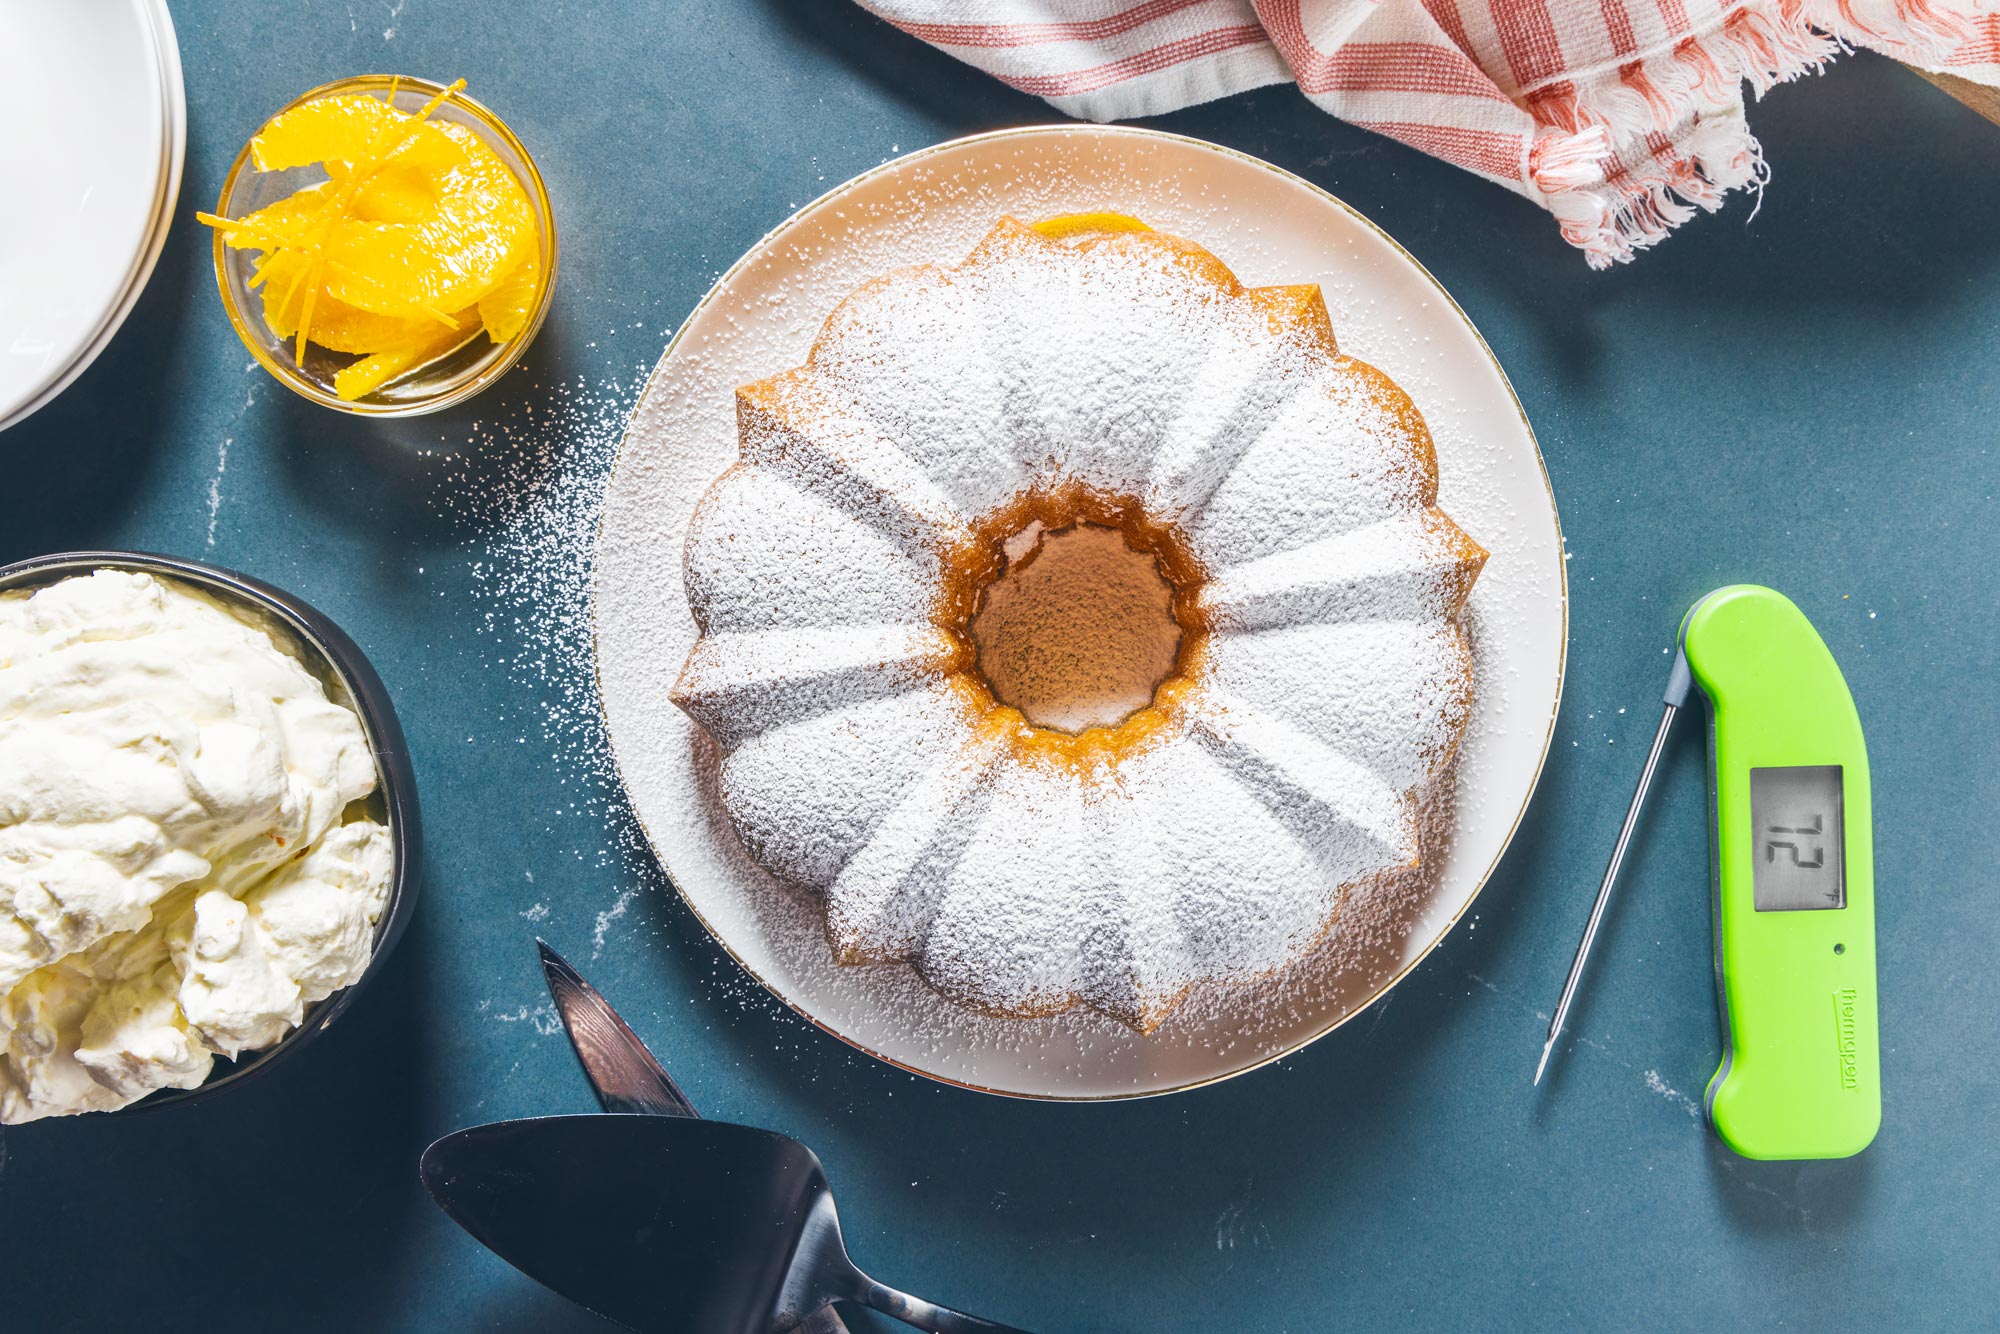
There’s one problem with cakes: the time it takes to prepare them. Well, two problems, the time, and the unfortunate chance of failure. Well, if you’re just a little bit careful, this cake solves the first and pretty much the second. Whipped Cream cake, a recipe we’ll be adapting from the incomparable Rose Levy Beranbaum,…
You no longer have to deal with overcooked dry pork tenderloins. The USDA has a new recommended temperature for whole cuts of pork! Temperature Tip: The USDA recommended temperature for whole cuts of pork is 145°F * Core temp for pork safety While other cuts of pork, like ribs, BBQ pork shoulders, and pork sausage require…
26 Comments
Any advice about what to do with a ricotta cheesecake?
Great question! Ricotta cheesecake needs a slightly higher pull temperature. Bake your ricotta cheesecake until its internal temperature reaches 160°F. Let us know how it goes!
Can you just substitute some ricotta cheese for the cream cheese? Would it be equal weight that you replace? I.e. 1 1/4lb cream cheese and 1 1/4lb of ricotta? Mix the same and everything else?
Exactly! Your springform pan’s diameter is wider than the one used in our recipe, so the cheesecake will be thinner. It will likely bake faster than ours did. Start checking it about 10–15 minutes sooner.
I enjoyed reading your articles. This is truly a great read for me
I have bookmarked it and I am looking forward to reading new articles. Keep up the good work!
could you use a Thermoworks needle probe in the center of the cheesecake to determine when it is at 145 F instead of checking it with an instant read thermometer?
Once it has set up some, yes, you could. Butyou should still verify the temp with an instant read, as probre placement in a custard like that may be…sketchy.
Not sure what happened but I baked the cheesecake at 250f for well over 65min. I’d say 105min just trying to get it to reach 145f in the middle. I chilled it overnight and had it the next evening. It was VERY soft in the middle it didn’t firm up at all. I’m pretty meticulous when it comes to measuring. Are you sure you’ve got the recipe written correctly?? I don’t have trouble with other baking so it’s not a problem with oven calibration.
This SOUNDS like an oven calibration issue, but it IS odd. I’m quite certain the recipe is written correctly, though I have only made the recipe for the “lighter, poofier” version, starting at 450°F. The instruction comes from a very reliable source, though.
If cheesecake should only be baked until 145*, what is your take on “Basque Cheesecakes”, which are said to be done at about 185*? I made one and it was fairly lite and creamy, and yet structured enough to slice nicely after refrigeration over night (about 12 hours).
I am not sure, but I imagine the Basque version has a slightly different makeup/moisture content that helps account for that, but I should do a practice or two to figure it out.
I came to the website to see what the proper internal temperature for cheesecake needs to be and ran across this recipe. I am looking to make frozen chocolate cheesecake push ups, baking them in the mold. With the exception of starting with ingredients at room temperature, I can’t disagree with techniques in this recipe more. Cheesecake, like creme brulee, is a custard and should be baked in a water bath. The end product should be perfectly flat all the way across the cake–not high and dry along the edges. The oven temperature should be turned down half way through baking. I prefer the baked, shortbread like crust from Nick Malgieri’s “How to Bake” cookbook. Lastly, I have found making the batter in a food processor works better than a mixer–it doesn’t whip air into the batter. About 20 years ago I won the People’s Choice Award two (2) years in a row at the Michigan State University’s Chocolate Party handing out 1,000 samples of chocolate cheesecake with whipped cream and a shot of raspberry sauce each year.
So, once the internal temperature hits 145F, for the cheesecake baked at 250F for its full cooking time, do I then remove the cheesecake immediately and allow it to cool on a counter-top, or do I leave it in the oven for a period of time, with the oven door closed, or slightly ajar so that it cools down more slowly?


Any advice about what to do with a ricotta cheesecake?
Carol,
Great question! Ricotta cheesecake needs a slightly higher pull temperature. Bake your ricotta cheesecake until its internal temperature reaches 160°F. Let us know how it goes!
Thanks,
-Kim
Can you just substitute some ricotta cheese for the cream cheese? Would it be equal weight that you replace? I.e. 1 1/4lb cream cheese and 1 1/4lb of ricotta? Mix the same and everything else?
Alan,
No, you cannot substitute the cream cheese with ricotta.
-Kim
So I apparently bought a 10.25nch springform pan. Would you just adjust the cooking time for the cheesecake?
Alan,
Exactly! Your springform pan’s diameter is wider than the one used in our recipe, so the cheesecake will be thinner. It will likely bake faster than ours did. Start checking it about 10–15 minutes sooner.
Thanks,
-Kim
I enjoyed reading your articles. This is truly a great read for me
I have bookmarked it and I am looking forward to reading new articles. Keep up the good work!
This is the first recipe that incorporates goats cheese. Is it absolutely necessary? In my family it’s a turn off
Sub in more cream cheese if you don’t like the flavor, that’s fine.
How do I make this cheesecake into a pumpkin cheesecake? Thank you
I’m not sure, exactly. I have never made one, to be honest. I would trust this recipe form SeriousEats, though: https://www.seriouseats.com/its-the-great-pumpkin-cheesecake-recipe-halloween . Just follow the same thermal principles outlined in this post.
Great recipe and tutorial, going to give this a try . Do I use top and bottom heating elements when baking the cheesecake or just bottom . Thanks
Just the bottom
could you use a Thermoworks needle probe in the center of the cheesecake to determine when it is at 145 F instead of checking it with an instant read thermometer?
Once it has set up some, yes, you could. Butyou should still verify the temp with an instant read, as probre placement in a custard like that may be…sketchy.
Not sure what happened but I baked the cheesecake at 250f for well over 65min. I’d say 105min just trying to get it to reach 145f in the middle. I chilled it overnight and had it the next evening. It was VERY soft in the middle it didn’t firm up at all. I’m pretty meticulous when it comes to measuring. Are you sure you’ve got the recipe written correctly?? I don’t have trouble with other baking so it’s not a problem with oven calibration.
This SOUNDS like an oven calibration issue, but it IS odd. I’m quite certain the recipe is written correctly, though I have only made the recipe for the “lighter, poofier” version, starting at 450°F. The instruction comes from a very reliable source, though.
Hi,
At what temperature and how long would you bake a cheesecake in a
convection oven? Or you would not and why?
Regards
I wouldn’t. The easier, slower heat helps the cheesecake cook evenly and without curdling the edges.
If cheesecake should only be baked until 145*, what is your take on “Basque Cheesecakes”, which are said to be done at about 185*? I made one and it was fairly lite and creamy, and yet structured enough to slice nicely after refrigeration over night (about 12 hours).
I am not sure, but I imagine the Basque version has a slightly different makeup/moisture content that helps account for that, but I should do a practice or two to figure it out.
I came to the website to see what the proper internal temperature for cheesecake needs to be and ran across this recipe. I am looking to make frozen chocolate cheesecake push ups, baking them in the mold. With the exception of starting with ingredients at room temperature, I can’t disagree with techniques in this recipe more. Cheesecake, like creme brulee, is a custard and should be baked in a water bath. The end product should be perfectly flat all the way across the cake–not high and dry along the edges. The oven temperature should be turned down half way through baking. I prefer the baked, shortbread like crust from Nick Malgieri’s “How to Bake” cookbook. Lastly, I have found making the batter in a food processor works better than a mixer–it doesn’t whip air into the batter. About 20 years ago I won the People’s Choice Award two (2) years in a row at the Michigan State University’s Chocolate Party handing out 1,000 samples of chocolate cheesecake with whipped cream and a shot of raspberry sauce each year.
Your method sounds great, too, but I have no complaints about the one we made here!
So, once the internal temperature hits 145F, for the cheesecake baked at 250F for its full cooking time, do I then remove the cheesecake immediately and allow it to cool on a counter-top, or do I leave it in the oven for a period of time, with the oven door closed, or slightly ajar so that it cools down more slowly?
Remove it from the oven right away at that point.