Thermal Tips: Salt-Crusted Cornish Game Hen
If you’re reading this blog, there’s a good chance that you’re not afraid of a little effort in your cooking—if it means you’ll be getting something special out of it. Often, amazing food takes a little more effort, and that’s ok.
But today, I want to talk about a dish that doesn’t take very much effort at all but still delivers something beyond your typical easy meal. I want to talk about salt-crusted Cornish hen.
Salt-crusted Cornish hen seems like the kind of dish you’d only be able to get in a fancy “Continental Cuisine” restaurant of the 60’s or 70’s, but this ancient technique for cooking fowl is actually incredibly accessible. Whether you’re having a quiet weekend dinner for two, serving your usual gaggle of family, or putting on a showy, impressive dinner for more guests, this dish is sure to impress. And of course, we’ve got your back, thermally speaking. Read on for the method, tools, and critical temps you’ll need to perfect your salt-crusted Cornish hens.
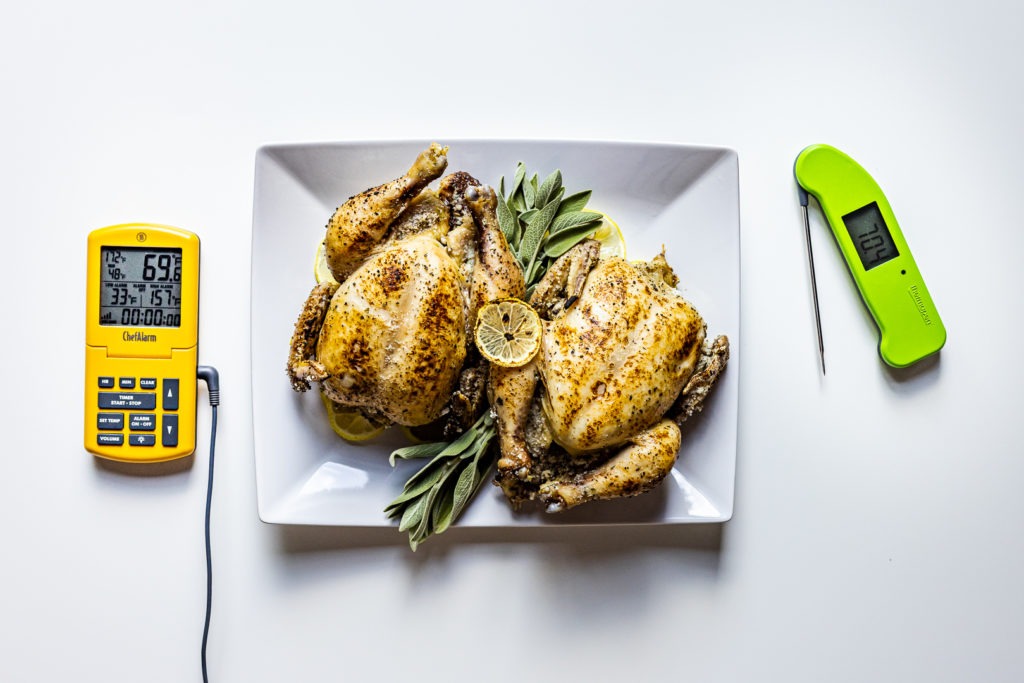
What is Cornish hen? What about a Cornish game hen?
First, let’s get one thing straight: Cornish hens, sometimes called Cornish game hens, are not game at all—they are a kind of chicken. They got their name in a rather roundabout fashion. In Cornwall, England, the breed was created to fit local tastes, and it was originally called the Indian Game Fowl. Perhaps a clever bit of exoticism-fueled marketing? Perhaps just a harkening back to the Indian origins of all chickens? Either way, that breed made its way to North America where it was further developed. It kept the “game” of its earlier name, but took a cue from its English origin. Hence, Cornish Game Hen—Cornwall is in southwest England, where you might get on a ship to come to the New World!
In truth, though, no one has ever hunted one of these birds. Originally bred in 1949, these little birds gained popularity in the 1950s and were considered exotic in the 1970s.
Cornish hens were bred to develop meat quickly, especially in the breasts. They are young, 5–6 weeks old, and weigh two pounds or less. Being young, they are also very tender.
Rock Cornish game hen or Cornish game hen: an immature chicken younger than five weeks old (previously five to six weeks), of either sex, with a ready-to-cook carcass weight of two pounds or less. —Poultry Classifications, USDA
Why salt-roast?
Why is meat cooked in a salt crust so darn tasty? We’ve tried this cooking method with different cuts of beef, pork, and poultry and every time the meat has been incredibly flavorful and moist (check out our post, Grilled Tenderloin in a Salt Crust). The secret is in the salt’s thermal properties.
Heat conduction, retention, and insulation
The salt crust creates a mini kiln around the meat—an oven within an oven.
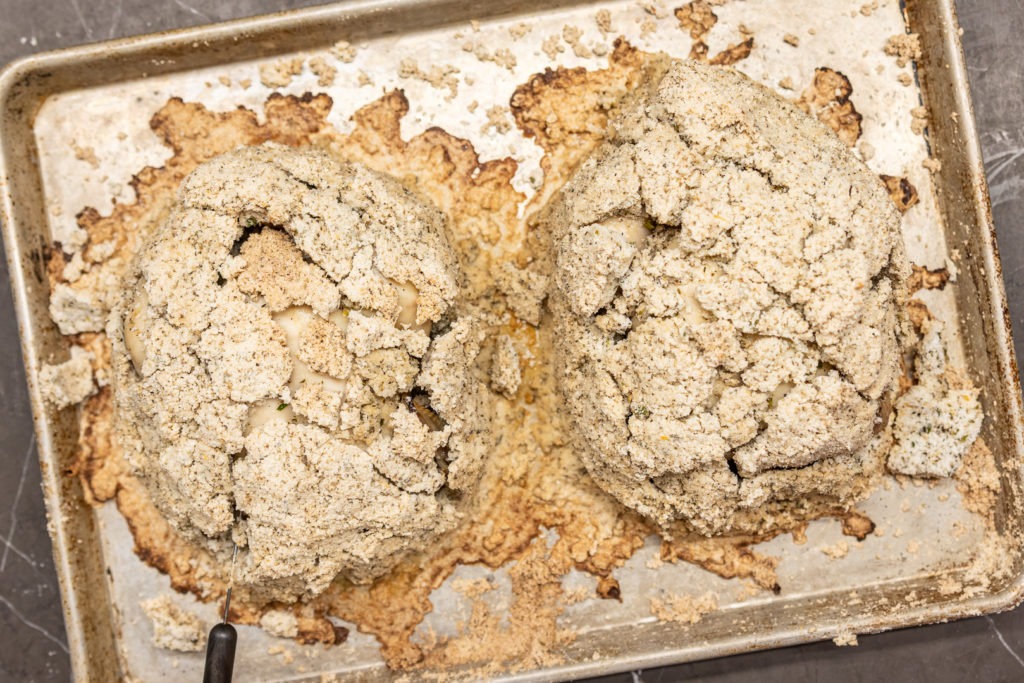
Salt is a very good conductor of thermal energy and heats up quickly. Not only does salt transfer heat well, but the heat is also retained well. It acts as a layer of heat insulation around the bird as it cooks
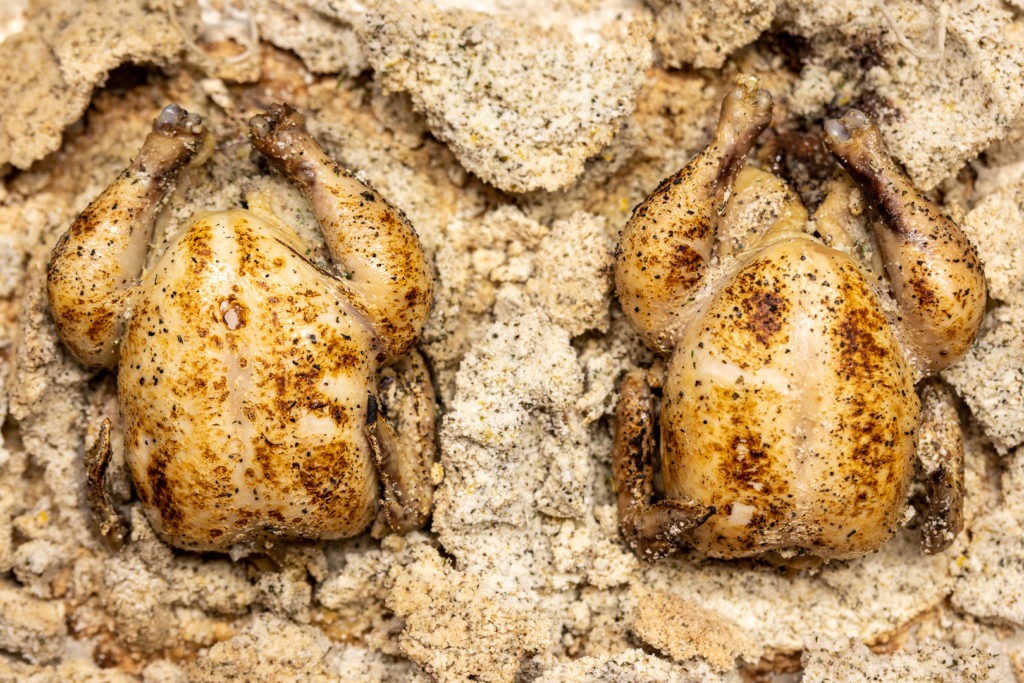
Salt-roasting is part roasting, part steaming. While the meat is roasting in the oven, the salt crust keeps the liquid from evaporating, creating a steaming effect inside. The intense steaming effect infuses the meat with flavor from the herbs in the salt crust. It also cooks the hen very evenly.
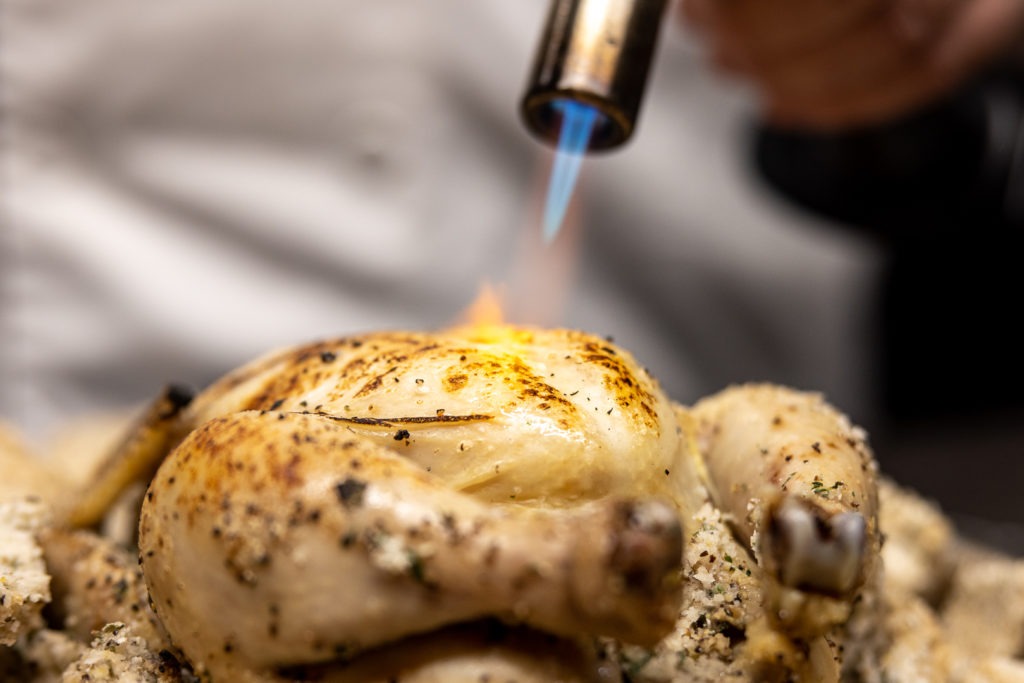
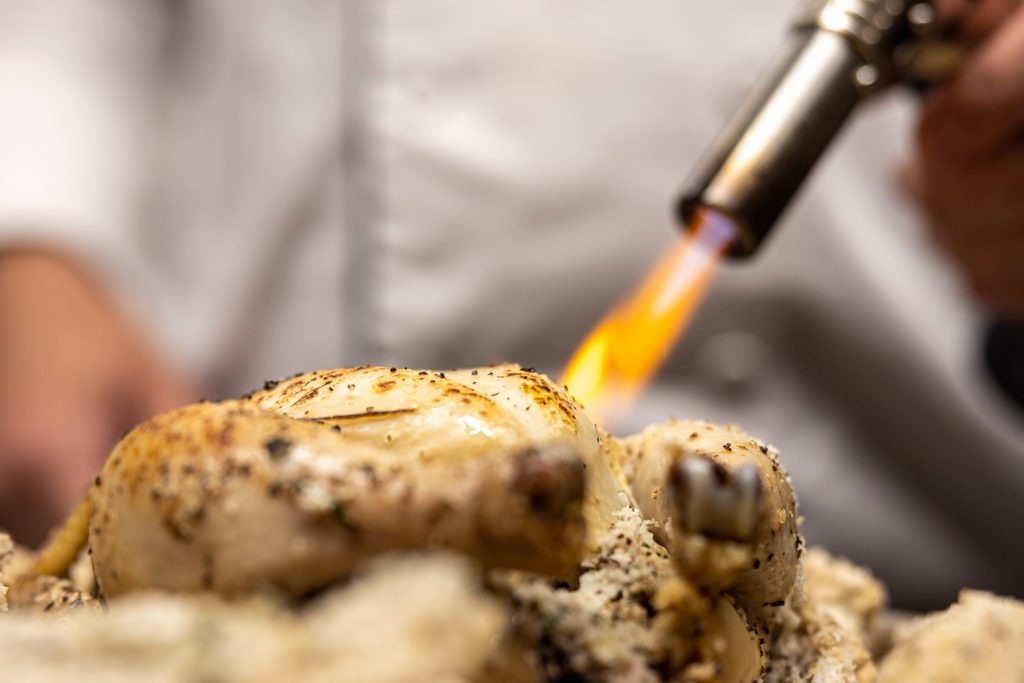
Of course, there is no browning when steaming, so we simply torch the outside of the hens after they come out of the oven to give the skin a little toasty crispness.
Quick cooking method
Food cooked in a salt crust will be finished in about 1/3 the time it normally would. These Cornish game hens only take about 30–45 minutes to cook. With their simple preparation and short cook time, salt-roasted cornish game hens are a low-stress addition to any menu.
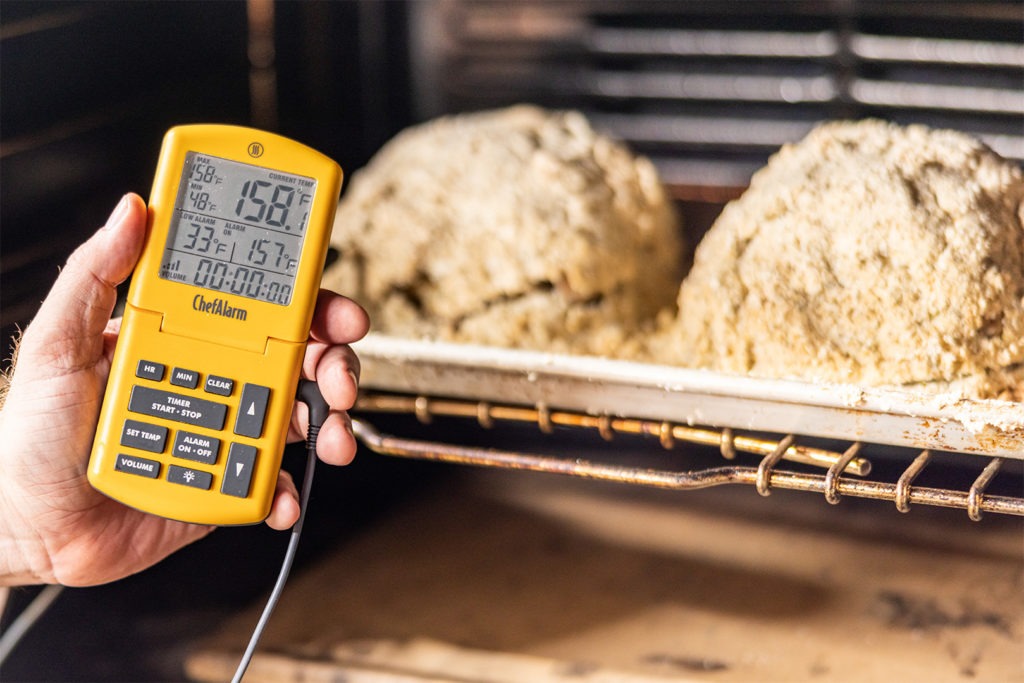
Use that time as a guideline, only, though. Remember to cook the birds to temperature, not to time. The intense but even heat of the salt-roasting will ensure there is some carryover once these hens come out of the oven, so we want to pull them earlier than “done” to make sure we don’t go into “overdone.” 157°F (69°C) should be your pull temp. The birds will rest up to a higher temp after you take them out. (But even if they didn’t, they’d still be safe. See our post on chicken temps to understand how that could be true.)
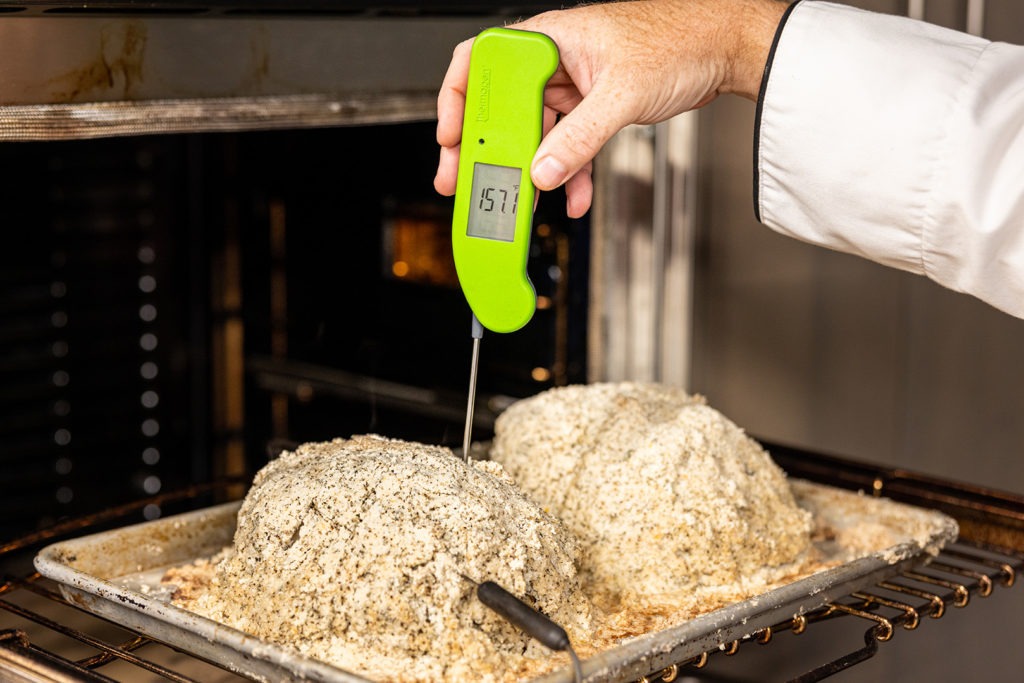
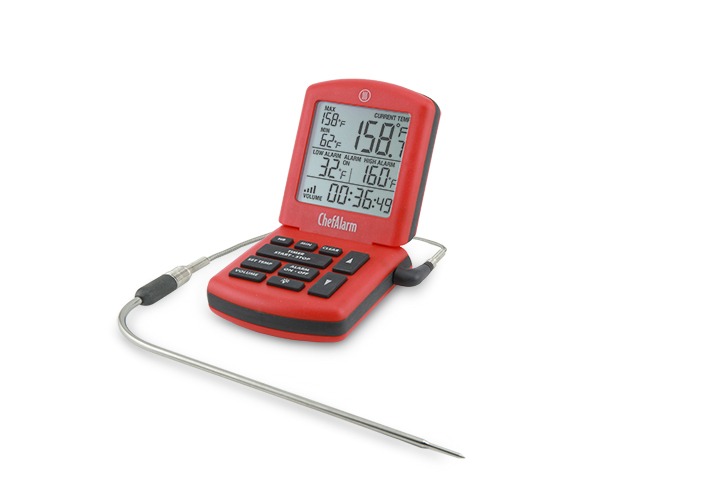
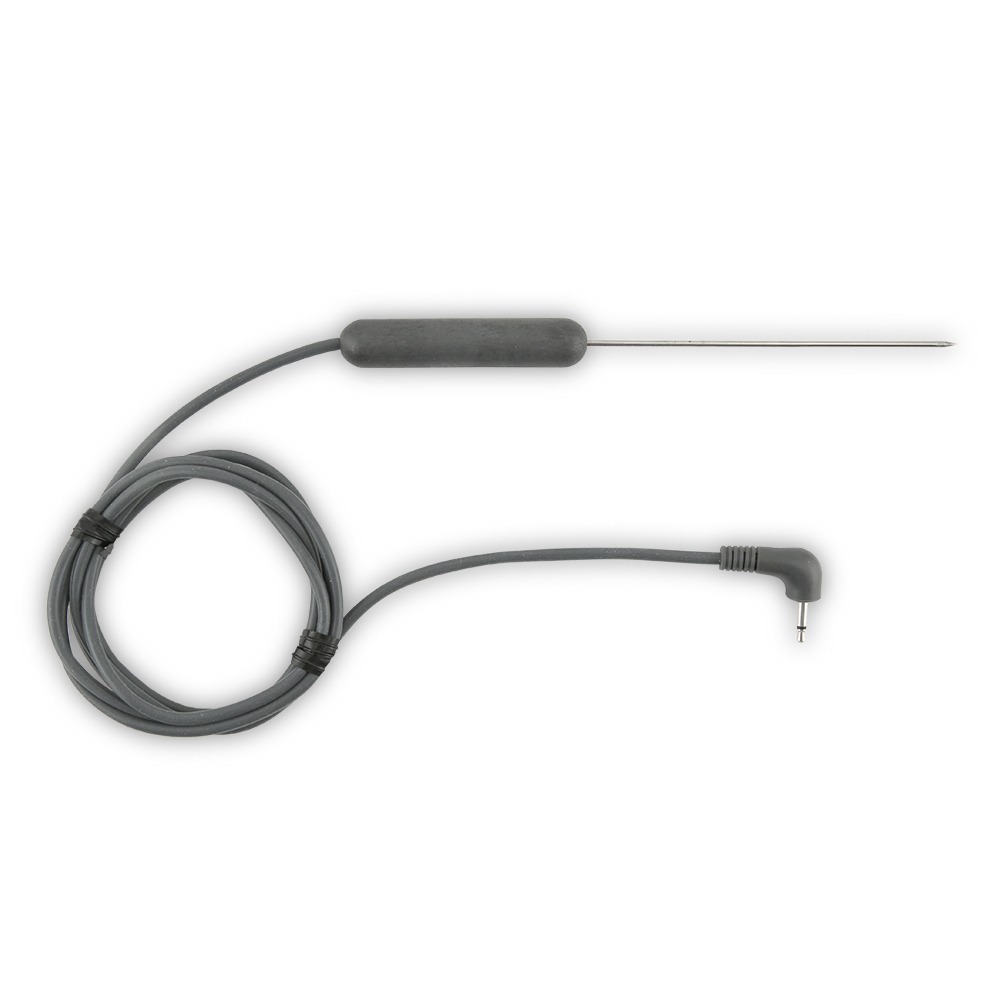
A ChefAlarm® cooking alarm thermometer is perfect for tracking temperature in this cook. Since Cornish game hens are so small, you need a probe small enough for the job. A Pro-Series® Waterproof Needle Probe is ideal. It’s thin and short enough to securely stay in place. A probe, though, is only as correct as your placement of it. To be sure you are reading the temp in the thermal center of the meat, verify it with your Thermapen® ONE when your ChefAlarm sounds.
Won’t salt-roasting make the meat too salty?
The meat surprisingly doesn’t absorb as much salt as you might think. Roasting immediately after enclosing in the salt crust will cause the protein in the meat to cook quickly before it has a chance to absorb an excessive amount of salt.
We found the birds to be well salted, yes, but by no means overly salty.
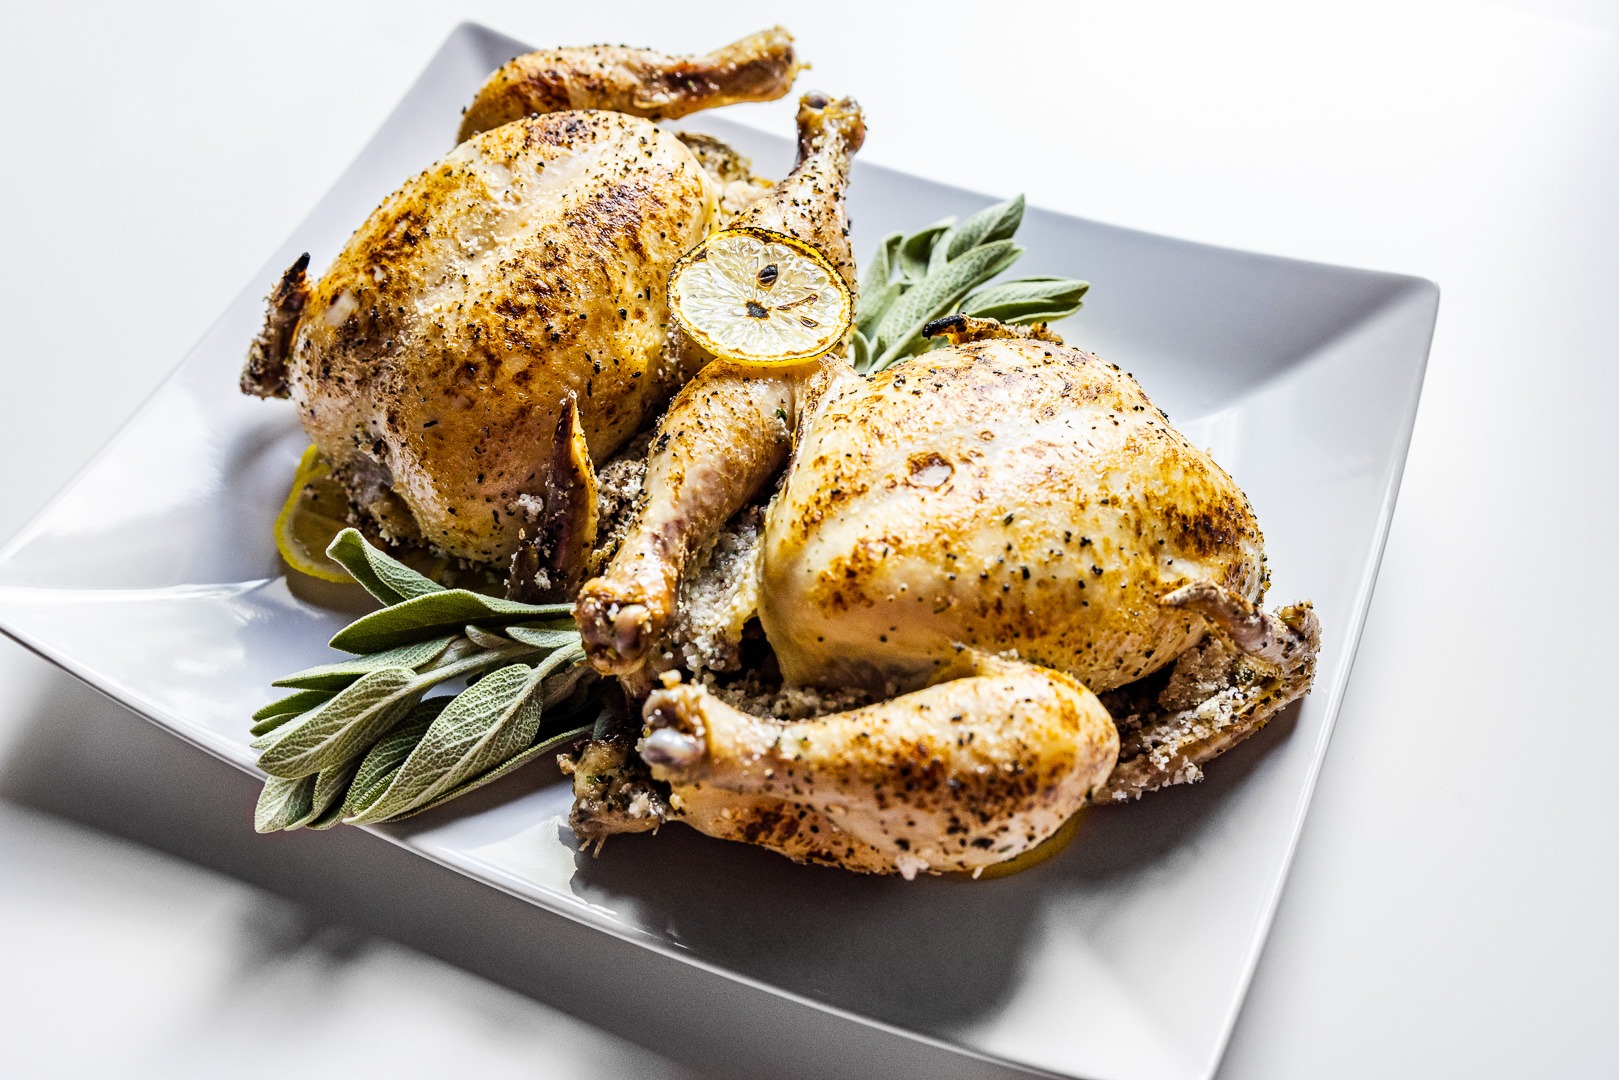
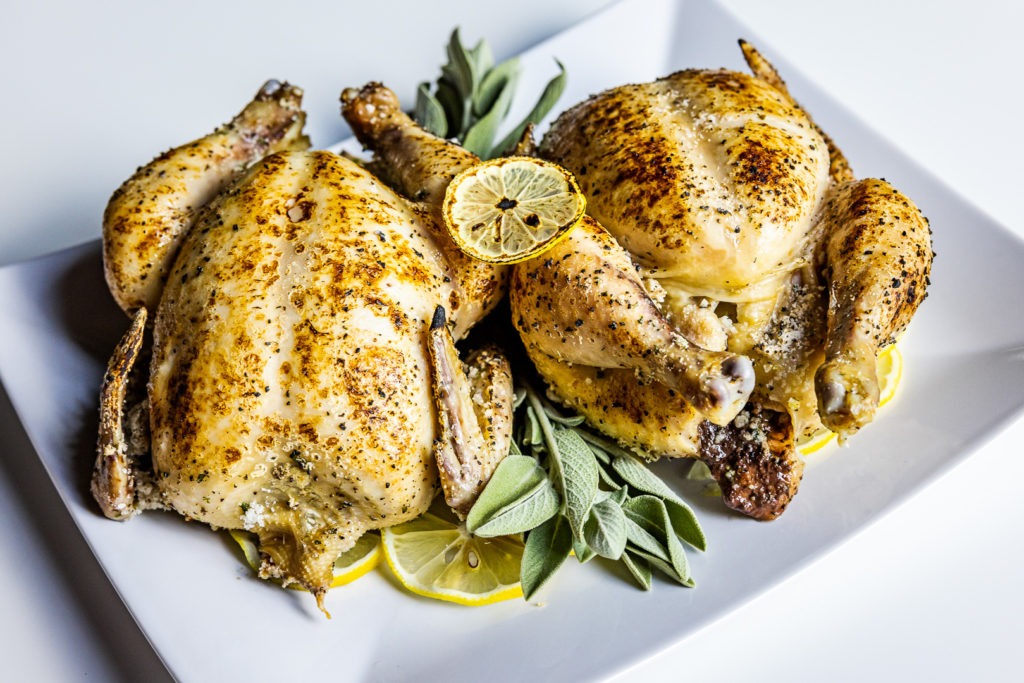
These little birdies are a joy to eat. Not only are they gorgeous as a presentation, but they are succulent, tender—yet firm—and very tasty. The cooking is easy: just hit your critical pull temp with the aid of your ChefAlarm and Thermapen ONE. Pair them with mashed potatoes or a lemony rice pilaf and you’ve got most of an amazing dinner that will dazzle yourself as well as your guests. You’ll find that there is nothing small about the flavor and goodness of these tiney birds.
Print
Salt-Crusted Cornish Hen Recipe
Description
Salt-roasted Cornish game hens
Ingredients
For 2 hens:
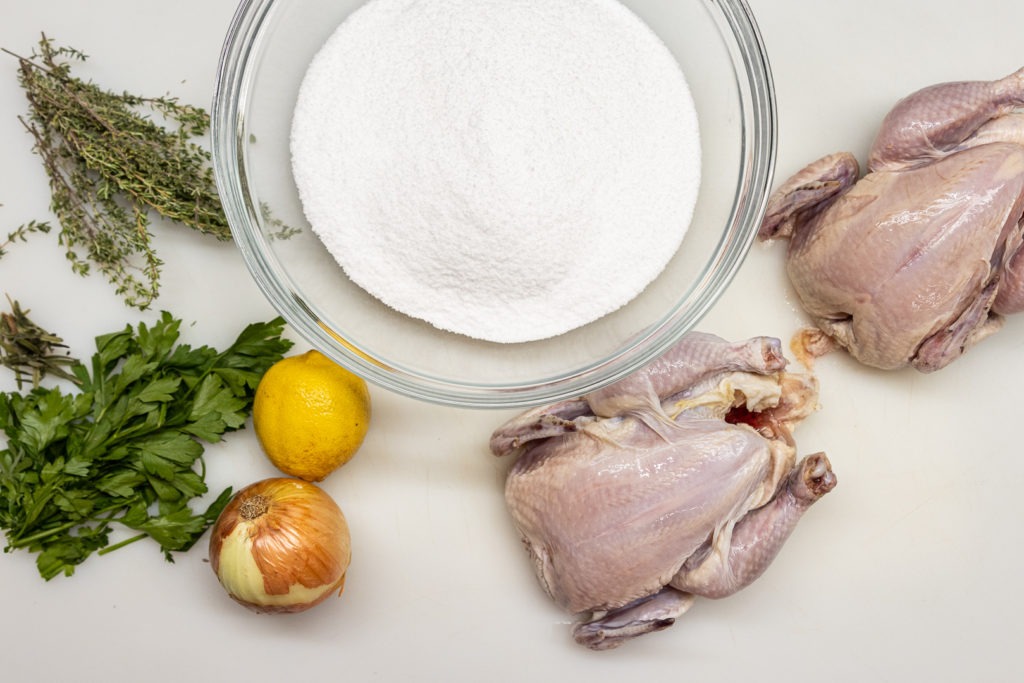
- 2 Cornish hens, thawed
- 3 lb kosher salt
- 1 lemon
- 3 sprigs thyme
- 1 sprig rosemary
- ~1/3 C chopped fresh parsley
- 2 Tbsp black pepper
- 1 medium onion
Instructions
- Preheat your oven to 400°F (204°C).
- Peel the zest from the lemon and chop it finely. Chop the herbs finely, reserving some for the cavity of the birds.
- Stir the lemon zest, herbs, and black pepper into the salt in a large bowl.
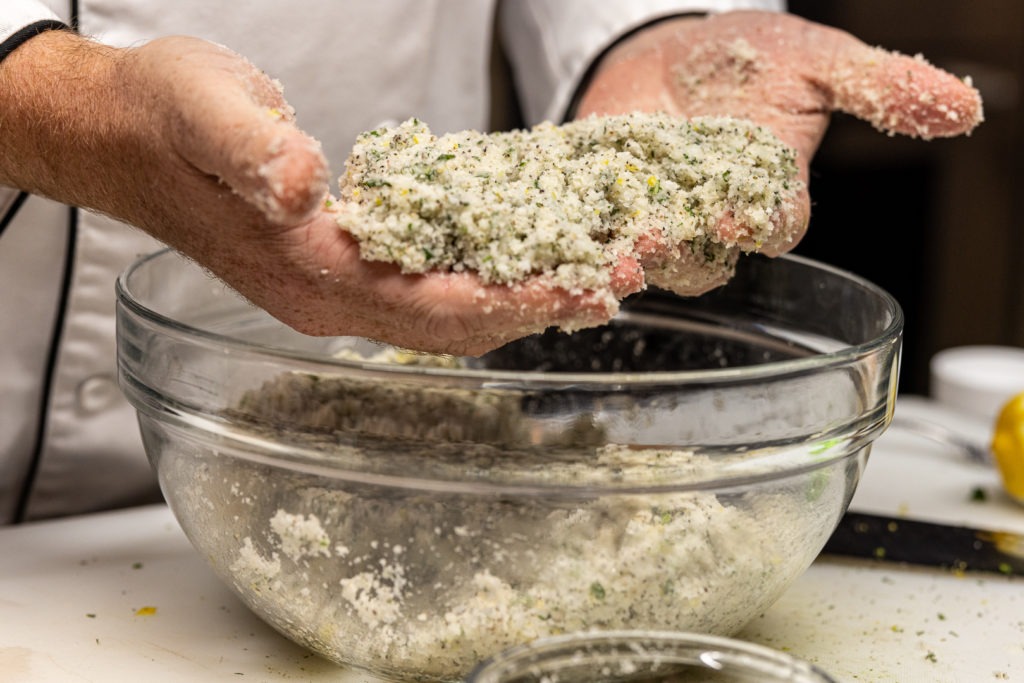
- Add enough water to the salt to give it the consistency of wet sand—it will hold together when compacted in your fist. About 1 cup, but it will vary based on the texture of your kosher salt brand.
- Rub the salt firmly in your hands to expel some of the lemon and herb oils into the mixture, freeing their flavors to infuse.
- Cut two small slices from the lemon. Chop the onion.
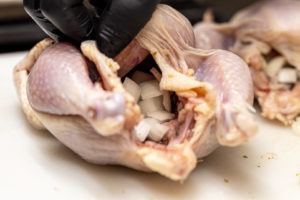
- Suff a tablespoon or so of onion, the reserved herbs, and one slice of lemon inside each bird. Do not cram the cavity!
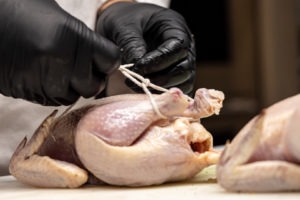
- Truss the legs together with some butcher’s twine.
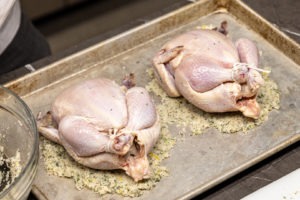
- On a baking sheet (I suggest lining it with parchment, though I neglected to), make two beds of salt, about 1/4″ thick. On each bed, place one bird.
- Apply the salt to the birds, making sure they are all covered with a generous crust. Remember, we’re trying to create a steam chamber. If your salt is too crumbly, add more water and try again.
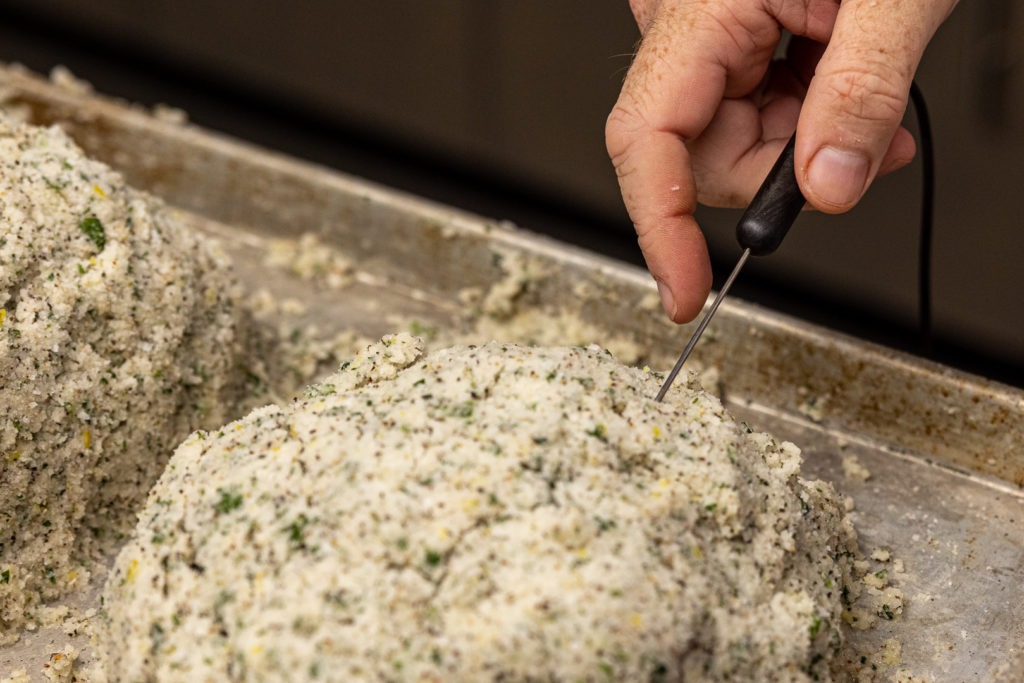
- Once the birds are well ensconced in their salty tombs, insert the probe from a leave-in probe thermometer, like ChefAlarm, through the salt and into the deepest part of the breast of one of the birds.
- Set the high-temp alarm for 157°F (69°C) and place the pan with the birds in the oven. Cook.
- When the high-temp alarm sounds on your ChefAlarm, poke a Thermapen ONE into the crust atop the bird and look for any temperatures that are below the critical finish temp. If you find any, try to relocate your probe in the breast and continue cooking. If you have achieved the proper finish temp, remove the birds from the oven.
- Strike the salt crust with the butt of a knife to crack it open. Allow the birds to vent heat for a couple of minutes before proceeding.
- Brush the salt from the outside of the birds.
- Use a kitchen torch to toast the skin of the Cornish hens, being careful not to burn it.
- Serve the tiny birds!
Note: Thaw your Cornish hens completely
For the best and safest results, be sure your little hens are completely thawed before roasting. Refrigerator thawing is the most highly recommended method. If you don’t have enough time for a refrigerator thaw, you can speed-thaw the little birds in cold water.
Allow 1-2 days for a refrigerator thaw, and about 6 hours for a cold water thaw. See our post How to Properly Thaw Your Turkey for detailed information on how to thaw poultry. Verify that your birds are completely thawed by spot-checking the temperature with an instant-read digital thermometer like Thermapen ONE. Thaw until the lowest temperature found in the meat is above 32°F (0°C).
Shop now for products used in this post:




Hello – I’m a big fan of Thermoworks. I have a question regarding the Pro-Series Waterproof Needle Probe. My understanding is most of the Pro series probes read the temp at the very tiny tip of the end of the probe. This is indicated by the unique narrowing of the probe and then also by the narrowing of the tip of the probe so that it comes to a point My understanding is this design is conventional when it comes to probes that read the temp from the very tip. Other probes such as the air probe don’t have the narrowing and don’t have the pointed tip. My understanding is these air probes read temps along the length of the probe rather than the tip. So my question is, where does this Waterproof needle probe read the temp? My assumption has been that it reads all along the length of the probe, which would be suitable for sous vide or soups, etc., but maybe that’s incorrect? Thank-you.
Mark,
Your understanding is not completely correct, nor is it completely flawed. Many of our probes do narrow towards the tip, but they are designed that way for the sake of speed. If there is less material to heat up before the sensor comes to thermal equilibrium with the surrounding food, you can get a faster reading.
Our air probe, as you said, has no taper, but it still has the sensor in the very tip. An air probe is meant to react slightly slower to even out minor fluctuations in air temperature, so it is encased in a thicker probe.
The Waterproof Needle probe also has its sensor in the very tip. We don’t want it to read along the whole length, because we want the probe to tell us only the temp in the food, not the average temp going from in the food and out into the water bath.
Most sous vide circulators are quite accurate, but if you feel you want to keep an eye on yours then using Smoke or Smoke X2 with two probes—one in your food, one in your water—is a great idea.
I hope that helps, and I thank you for writing in with your question!
Thank-you!