Meat Cooking 101: When to Cook Low and Slow
In this installment of Meat Cooking 101, we’re going in the opposite direction of our previous post on cooking Hot and Fast: we’re going Low and Slow.
We’ve spilled a lot of digital ink on this blog talking about cooking low/slow, but in this piece, we want to talk about the why as well as the what and the how. Low and slow cooking is key to things like BBQ and classic braises, but why is that? We’ll discuss why, as well as the tools you need to perfect your low-and-slow cookery.
Low heat cooking methods
First, we should define what we mean by cooking low and slow. “Low” temperature cooking—if we have to draw a line—is pretty much anything at or below 325°F (163°C). At these temperatures, there is no Maillard browning, so the flavor of the meat is the flavor of the meat … or we have to season it more aggressively. This is one of the reasons why BBQ meats are so heavily seasoned, and why we use smoke as a further seasoning. It’s also why braises are done in such flavorful liquids.
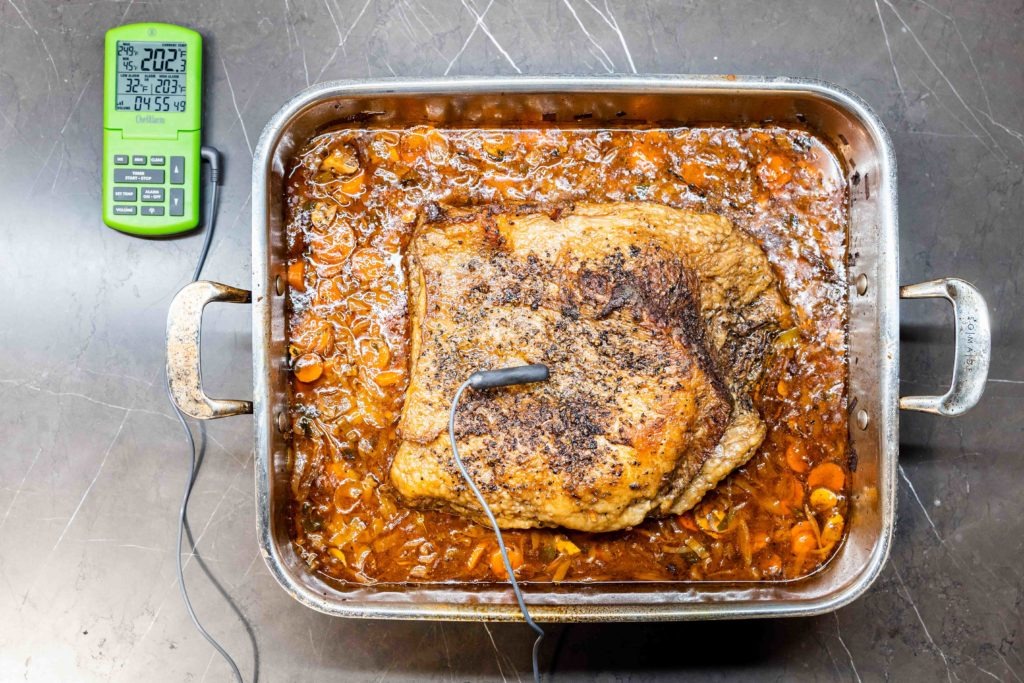
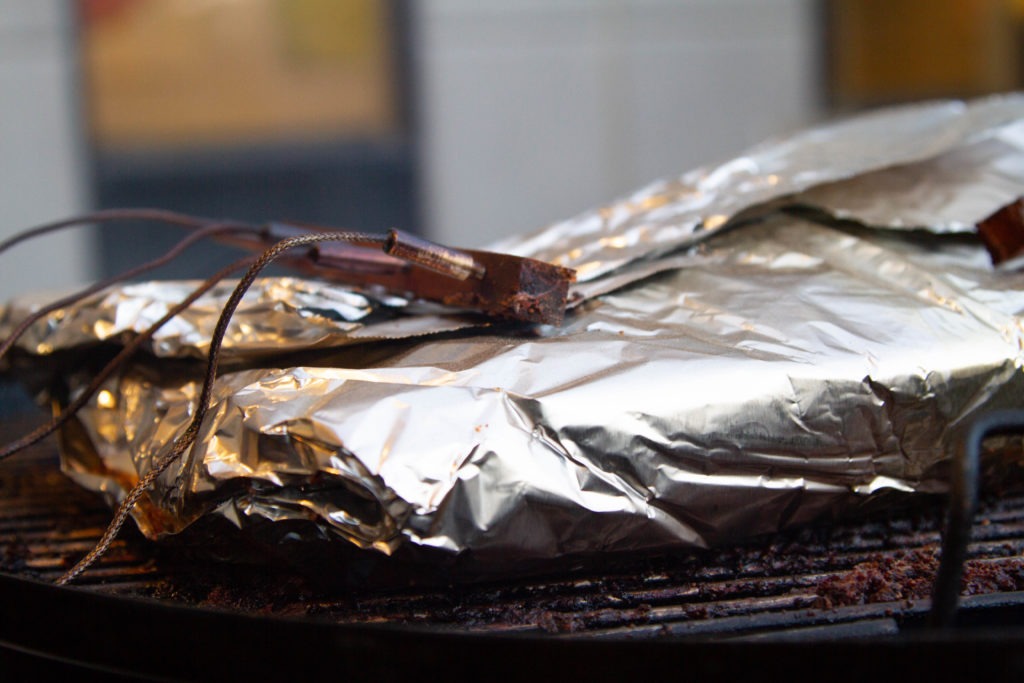
Cooking methods that count as low-heat include smoking, BBQ (a fine difference, but one that some people make), steaming, poaching, sous vide cooking, and braising. You may notice that most of those methods are high-moisture. The moisture helps to carry heat and flavor into the meat, and helps to prevent any stalling that may occur in the cook. In fact, when we wrap BBQ meats in foil, we technically switch from smoking to steaming or braising!
Make-up of slow-cooking cuts
Knowing what qualifies as a “low-heat” method then leaves us wondering what meats we cook this way and why. Why should we surrender our Maillard browning to cook more slowly? The answer to that has to do with the toughness of the cuts of meat we cook this way.
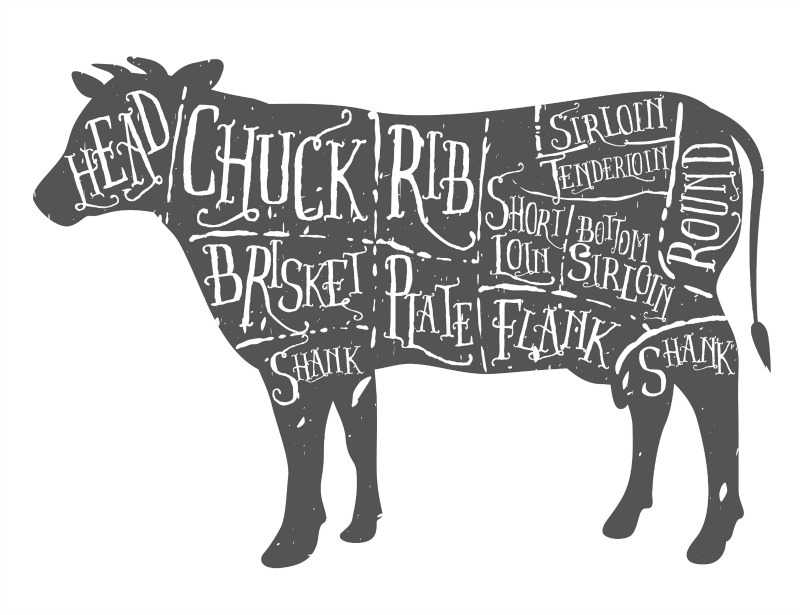
Generally, the toughness of a cut of meat is determined by where it comes from in the animal’s body, and by the animal’s age and activity. Get down on all fours and “graze,” and you’ll notice that the neck, shoulders, chest, and front limbs all work hard, while the back is more relaxed. Shoulders and legs are used continually in walking and standing, and include a number of different muscles and their connective tissue sheaths. They are therefore relatively tough. [….] Bird legs are tougher for the same reasons; the protein in chicken legs is 5–8% collagen compared to 2% in the breast. Younger animals—veal, lamb, pork, and chicken all come from younger animals than beef does—have tenderer muscle fibers because they are smaller and less exercised; and the collagen in their connective tissue is more rapidly and completely converted to gelatin than older, more cross-linked collagen.
—Harold McGee, On Food and Cooking, pp. 130–131
With a few notable exceptions, mentioned below, cuts of meat that we cook low and slow have a much higher percentage of collagen.
What do we achieve by cooking low and slow?
We cook low/slow for two reasons: to achieve evenness of temperatures and to break down those connective tissues like collagen.
Even cooking
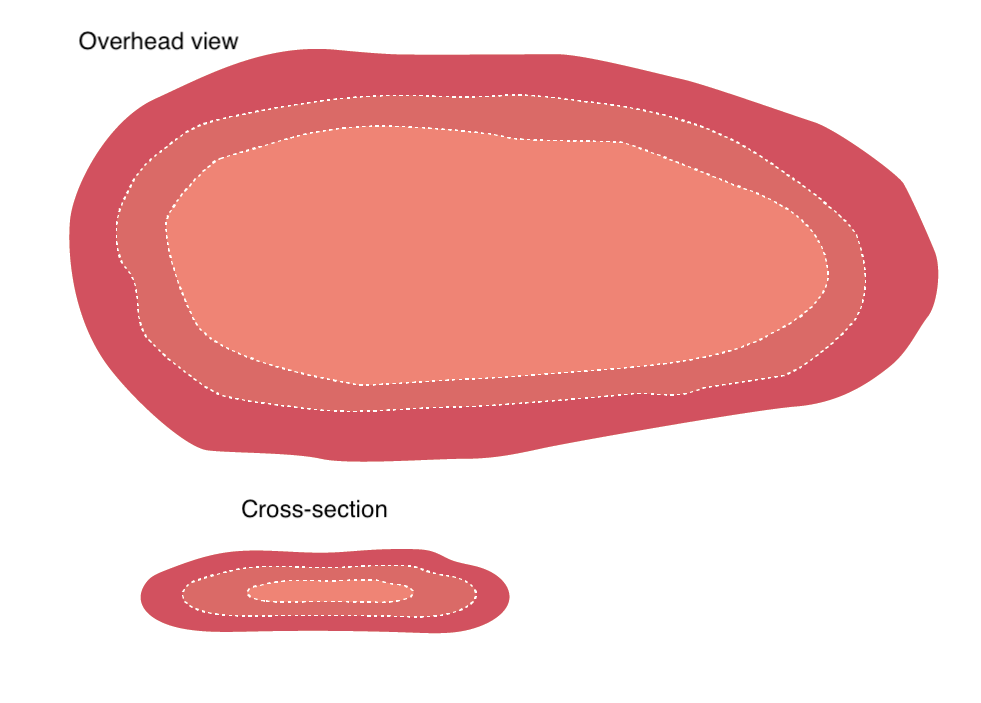
When the cooking temperature is low, the temperature gradients in the meat are much less steep. This makes sense—there is less thermal distance to cover between a 40°F meat-center and an air temp of 250°F than between a 40°F meat-center and a 450°F cast iron pan. Less thermal gradation means more evenly cooked meat. If you want a roast that is perfectly pink, edge-to-edge, you need to cook at a low temperature. Blasting it at high temps may get you a pink center, but it will be surrounded by a band of overcooked meat.
Carryover cooking in low/slow applications: resting, not rising (much)
Because of these shallow gradients, there can be very little carryover cooking with these cooking methods. Sous vide cooking, for instance, has virtually no carryover because the entire piece of meat is at the same temperature. The closer your cooking temperature is to your meat’s doneness temperature, the less carryover there will be.
The shallow gradients—more even cooking—are certainly desirable in this case, but they are by no means the only reason for cooking slowly.
Collagen breakdown
You probably knew this was coming. All that collagen we talked about above? We need a lot of it to go away.
There are a few kinds of collagen, but all collagen is composed of tightly bound triple-helixes of protein. These protein ropes act like steel cables, holding up animals’ muscles as they do their work.
However, though the cables of protein are tightly bound together, they are not strongly bound—the electromagnetic forces within the molecules that hold them together aren’t all that strong. That means that with relatively little thermal energy, we can start to wiggle them apart and cause them to fray.
In fact, with enough thermal energy, we can cause the protein cables to dissociate enough that the individual strands end up floating in the meat’s natural juices (a process called thermal hydrolysis). This free-protein soup is gelatin, and is the goal of much low/slow cooking. In fact, it accounts for the slowness in low/slow cooking:
[The breakdown of collagen] takes time. The structure has to literally untwist and break up, and due to the amount of energy needed to break the bonds and the stochastic processes incolved, this reaction takes longer than simply denaturing protein.
—Jeff Potter, Cooking for Geeks, pg. 188
It’s easy to cook the “meaty” proteins until they’re done, but it’s hard to untwist all that collagen into luscious gelatin. That’s why a BBQ brisket can take up to 16 hours to cook.
But is it really necessary? Is collagen so tough that we have to break it down? Isn’t a little chew in the meat ok? Can’t we sacrifice a little tenderness to speed things up?
Fun fact: pound-for-pound, collagen is tougher than steel.
—Jeff Potter, Cooking for Geeks, pg. 186
So yes, we really do need to denature as much collagen as we can!
Cuts that respond well to low and slow cooking
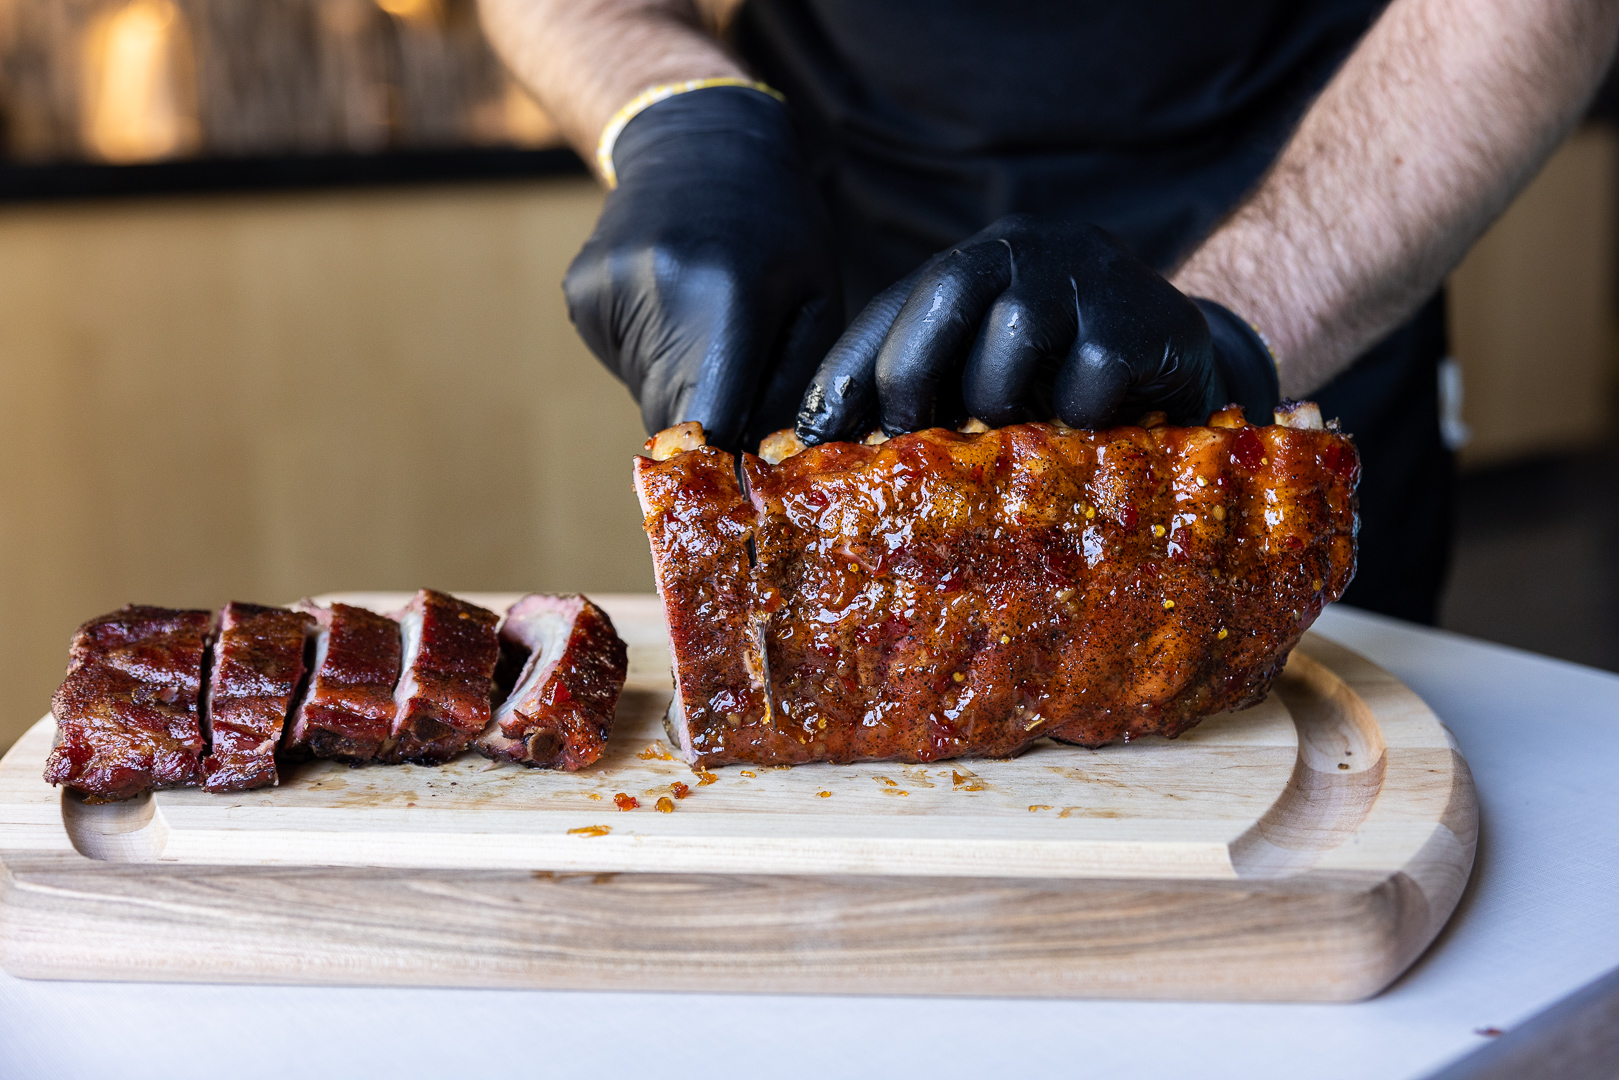
Anyone who reads this blog regularly knows that ribs (beef or pork), brisket, shoulders (pork or lamb), and pork belly are all fantastic candidates for low and slow cooking. But there are more! Chicken thighs, though they also thrive in high-heat applications due to their small size, BBQ wonderfully. Beef and hog jowl or cheek are about as gelatinous as meats get when cooked properly. Octopus desperately needs a long slow cook to become edible. Oxtail is another one. Chuck. Heck, even tri-tip is great when cooked low and slow!
Incidentally, if you’re looking to make any kind of stew, these are the cuts you want. The gelatin released in the cooking will give you a rich, full mouth-feel and the meat itself will feel far juicier than if you use a premium cut like tenderloin, which will simply dry out in the cooking.
Size of slow-cooking cuts
Ok, we get it. Tough cuts are the thing for low and slow cooking (even small ones). But there is another class of meats that we want to cook slowly at lower temps: large tender cuts.
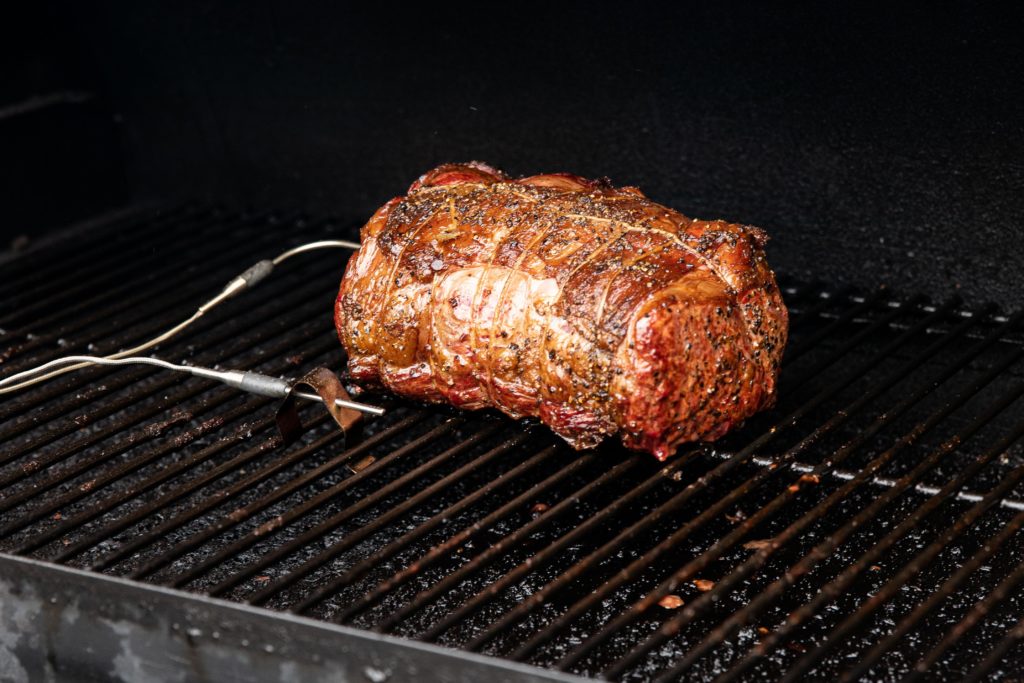
Cooking at high heat, a whole ribeye or even an eye or round just can’t get the heat to the center of the meat to cook it before the exterior dries out completely. And because these steak-like cuts are naturally poor in connective tissue, there will be no collagen/gelatin transformation in those outer areas to mask the dryness. Cook large tender cuts slowly and you’ll be rewarded with juicy, rosy-pink meat.
Thermometers for low/slow cooking
To keep track of a low and slow cook, you really need a thermometer, and you need a thermometer that you can leave in your food. Collagen dissolution really gets going starting at about 170°F (79°C). But as it takes a long time for those helixes of protein to unwind, it’s better to get the temperature a little higher.
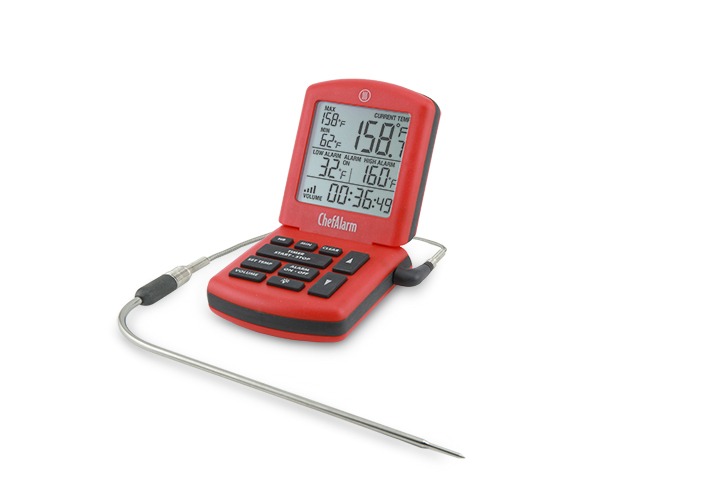
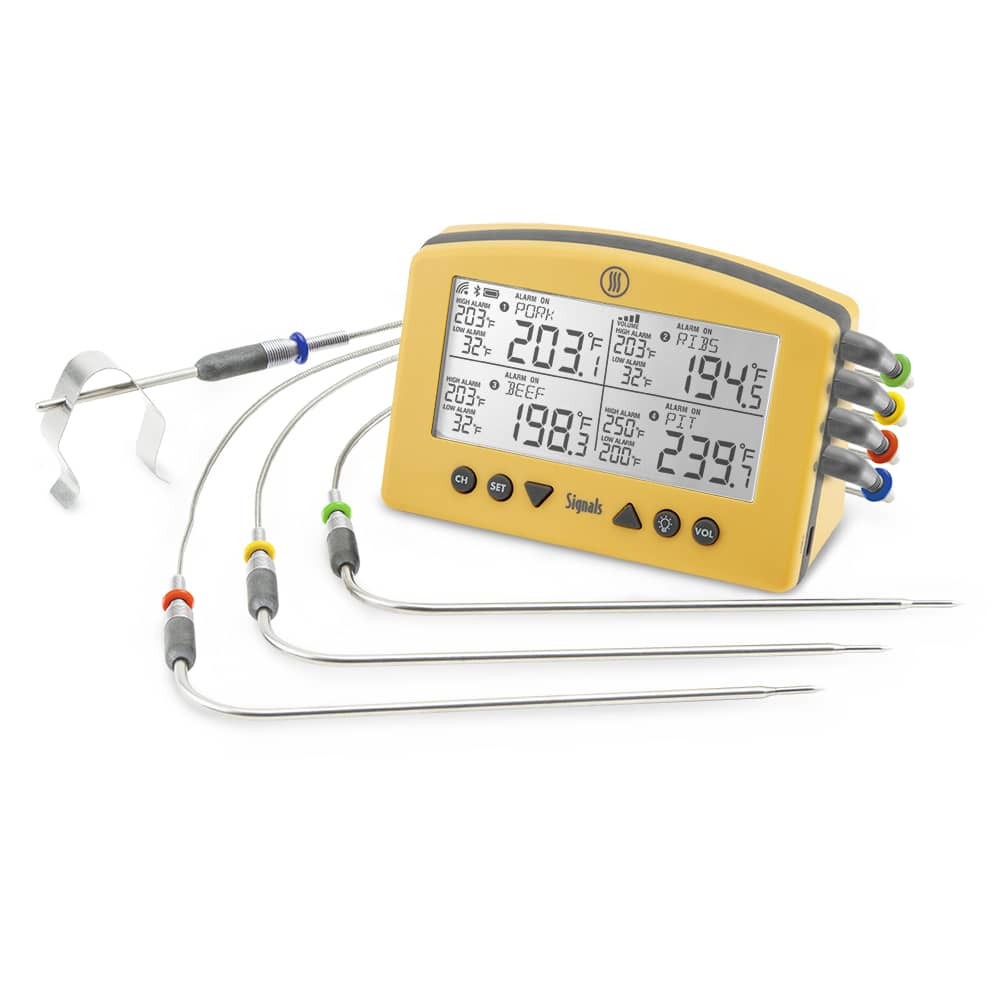
Yes, you can learn to tell how tender your brisket, pork belly, or ribs have gotten by touch, even by sight, but it can take a lot of ruined meat before you get there. Far better is to use a tool that tells you just how much thermal energy you’ve pumped into your cut of meat: a thermometer. Leave-in probe thermometers are ideal for these long, slow cooks because you can read the current temperature without having to open the oven or smoker or steamer to prod the meat with a thermometer. A quick glance at your ChefAlarm®, Smoke X2™, or Signals™ will let you know how far your meat has come on its collagen melting journey. Most mammalian tough cuts of meat finish their tenderization at or around 203°F (95°C). Dark meat fowl is done sooner (it has a different kind of collagen than mammals), starting around 175°F (79°C), but because of their composition, they’re fine pretty much all the way up to 200°F (93°C).
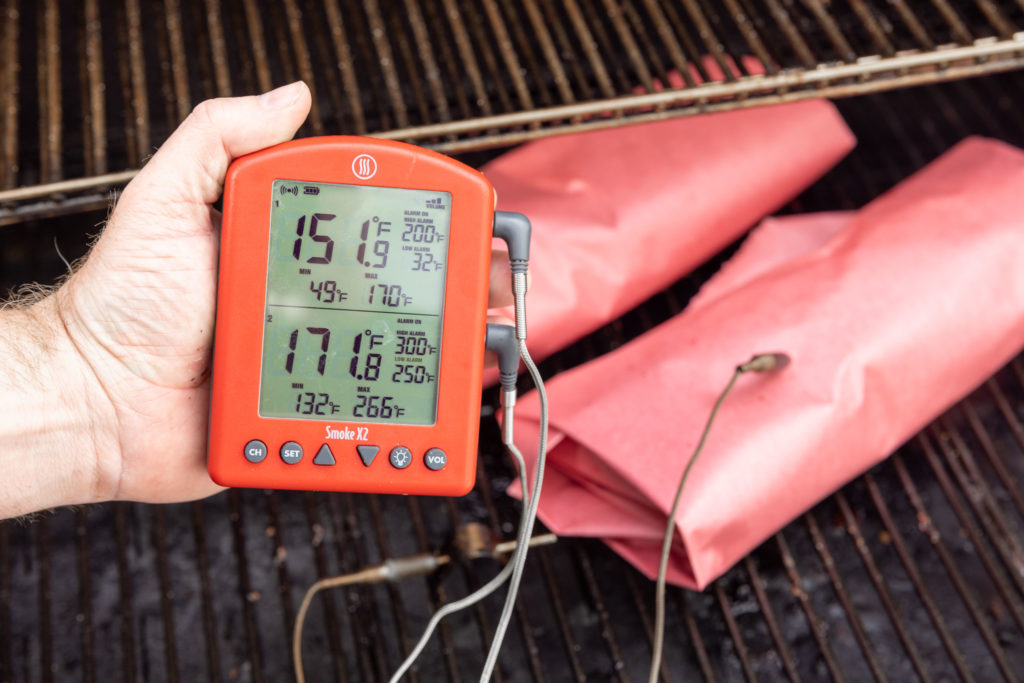
A leave-in probe thermometer gives you the information you need to make sure your meats are coming out tender and juicy, just like you want them to.
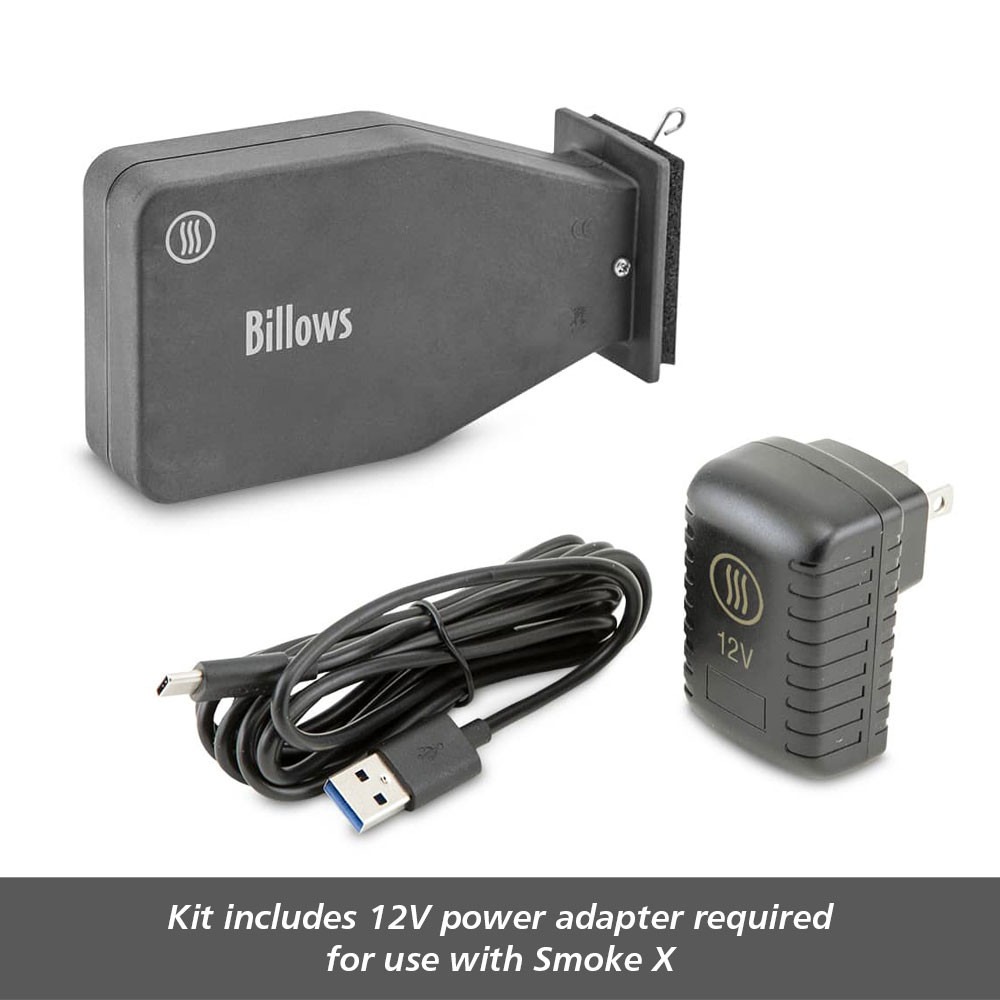
Plus, if you’re smoking meat, using Billows™ BBQ Control Fan in conjunction with your compatible thermometer and your smoker can help you ensure that your cook is staying within the right temperature range to keep things low and slow.
I hope this has been of use to you to help understand the why and what of low and slow cooking. Giving those tough cuts time to hydrolyze their connective proteins is essential for tough cuts, and large tender cuts just can’t be rushed without overcooking. Using the right tools for the job, especially leave-in probe thermometers, will help you take the guesswork out of knowing the state of either your collagen dissolution or your tender cooking.
Hopefully, with this knowledge, you’ll be supremely confident in your skills the next time you cook something low and slow for your family or friends. Try something you might not have tried before and enjoy the self-assuredness that comes with knowledge of the science and knowledge of the actual temperatures in your food. Happy cooking!
A word on Maillard browning and low/slow cooking
There are plenty of instances where we want a combination of the evenness of low and slow cooking but we’d also like the rich Maillard browning of hot and fast cooking. One example would be a sous vide-cooked steak. It will have perfect doneness, but without a sear, it will taste … boring. In cases like that, you should definitely add a searing step to the cook. You can pre-sear or sear after the cook, depending on the effect you want.

Most braises, in fact, call for you to first sear your meat and then add the braising liquid. Do this and you’ll end up with a deeper flavored sauce, not to mention tastier meat.
I’d be interested to see how the addition of a searing step could affect traditional BBQ cuts, but I haven’t done the work on that yet. How would ribs—or even a brisket—be improved by searing the meat hard on the exterior before slowly smoking it up to temperature? It seems that a sear prior to the seasoning would be in order, with heavier use of binders used to help the rubs adhere to the partially-cooked meat exterior. Perhaps some test cooks are in order here!
Shop now for products used in this post:



I have a chef alarm that I used in a very large tri-tip that I put in the oven at 350° With the probe in the thickest part of the tri-tip
I set the alarm for 120° and then when it came to temperature I used my Thermo pen and checked various areas all over the moon what I found was temperatures of 140° in and nowhere did it read 120°
What is wrong with my chef alarm why the large difference I said it to a low temperature on purpose
David,
I also sometimes have a hard time confirming a low temp inside a piece of meat. It can be the case, especially in a cat as strangely shaped as a tri-tip, that the thermal center at 120°F is very small, and highly localized. I’m quite certain that if you managed to find the tip of your ChefAlarm with the tip of your Thermapen, you’d find the same reading.
That being said, though it is highly unlikely it is possible your ChefAlarm is out of calibration. Have you performed an ice-bath test on it? If you follow those instructions and don’t get the right temperature, call our Tech Support to talk to a very knowledgeable person about what can be done to fix it.
Hi Martin, our local store sells pork rib roasts – usually 4-5 ribs per package. Despite lots of experience with monitoring temperatures, I let a previous cook get away on me and pulled them at about 148 F. These rib roasts are very lean – you have written about this elsewhere – and the carryover brought the temp up to over 150. Disappointing and disapproval from my wife. Next Cook: I used the method from J. Kenji Lopez-Alt Sous Vide Double-Cut Pork Chops Recipe and they were great. For my 2 chop and 3 chop bags I cooked them for about 2.25 hours at 138 F and then seared in a cast iron pan in butter and oil. Outside on the grill – no need to turn off the smoke detectors. This is another low and slow way to cook which preserves moisture for very lean cuts. Thanks for all of the good work you do and particularly, the emphasis on food science
thanks a lot of information