

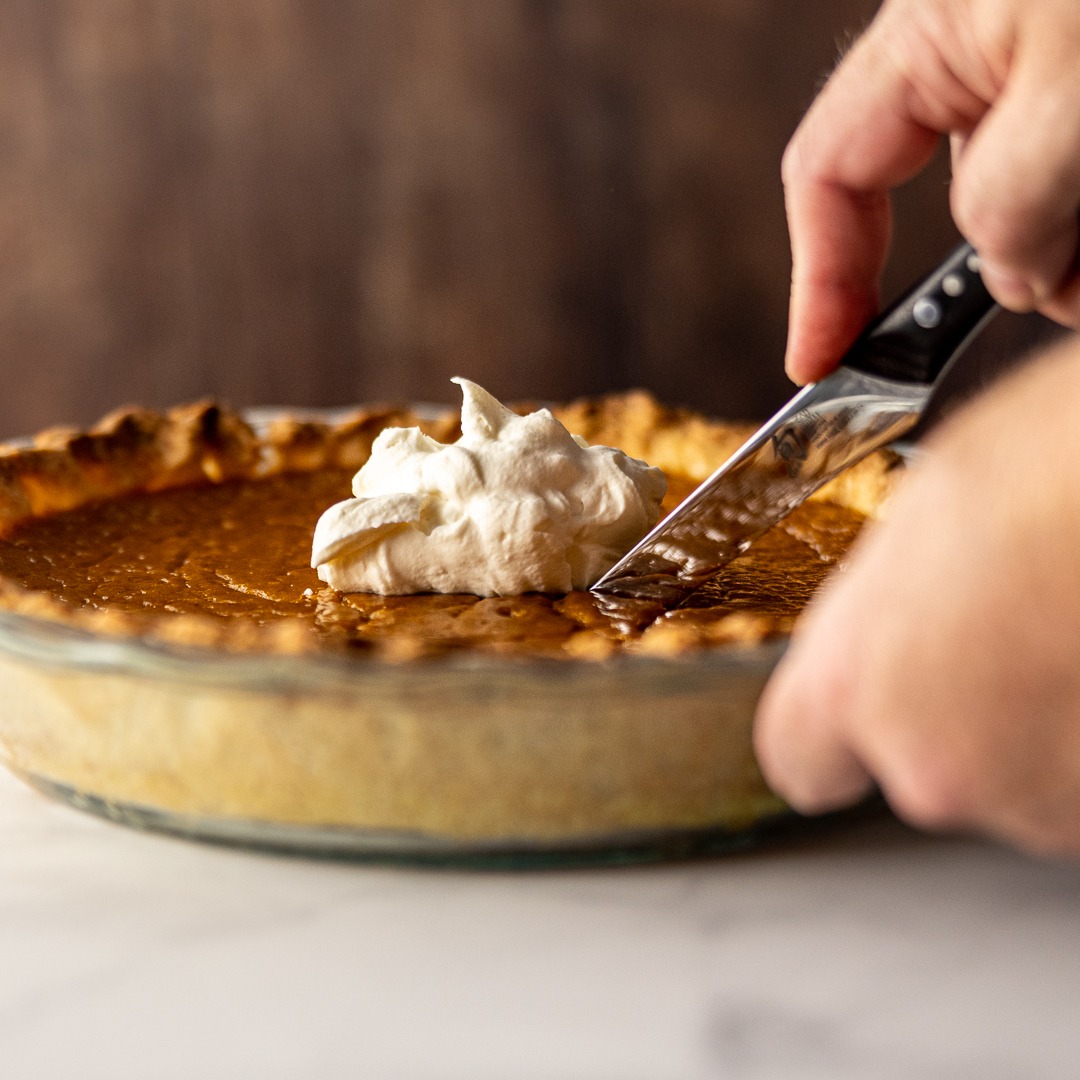
Secrets to Silky Pumpkin Pie
Pumpkin pie is a holiday favorite that will be on everyone’s table this Thanksgiving. Nothing beats homemade pumpkin pie with tender, flaky crust made from scratch. But sometimes the crust is soggy, or the pie filling gets overbaked and cracked because you can’t tell when it’s done. So how do you avoid soggy crust and overcooked pie filling? It’s all about temperature.
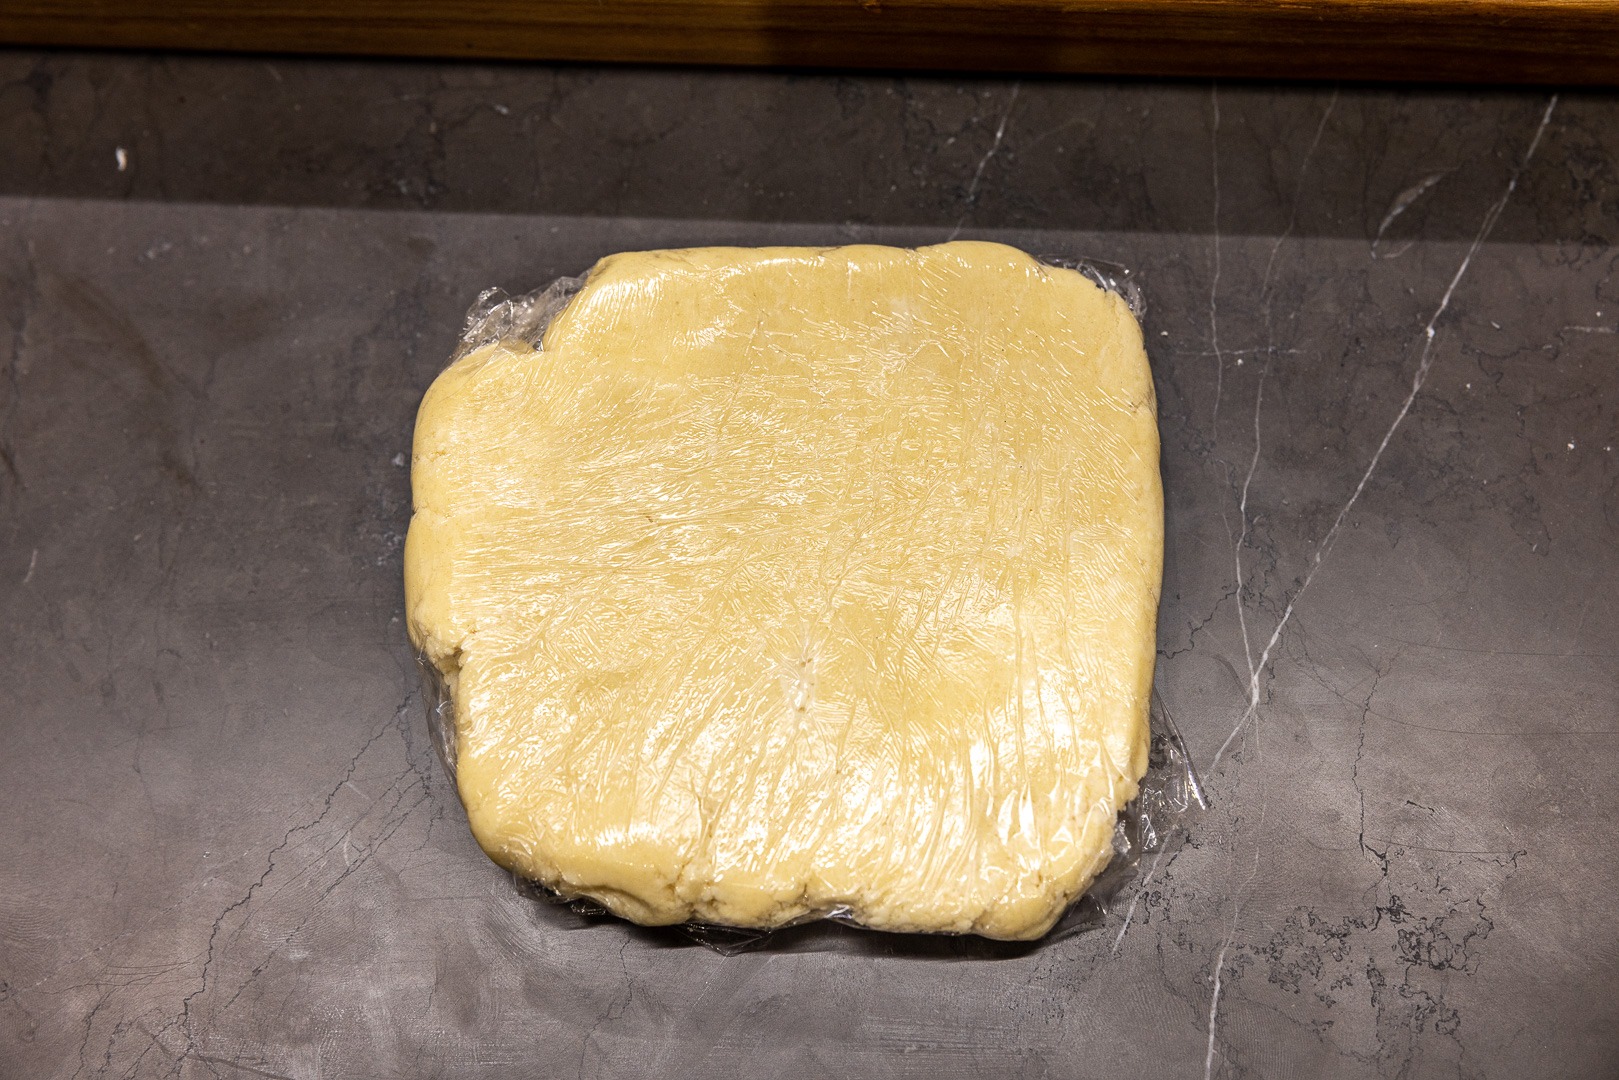
The First Secret to Flaky Crust: Keep the Dough Cold!
The key to a flaky crust is to keep the pie dough cold while you work with it!
Chilling the ingredients and dough helps prevent gluten development. Gluten is formed when two types of proteins (glutenin and gliadin) in wheat flour bond with water, and is what gives doughs their elasticity and extensibility. Dough that has been overworked or has gotten too warm will be tough and chewy like bread, not tender and flaky like pie crust should be. Specifically, the water and butter need to be kept ice cold while you form your pie crust dough.
Cut the butter into small bits first and then put those bits into the freezer for 30 minutes before making the dough. The butter and water should be below 40°F (4°C). This typically means you’ll need to add ice to the water from your faucet to chill it.
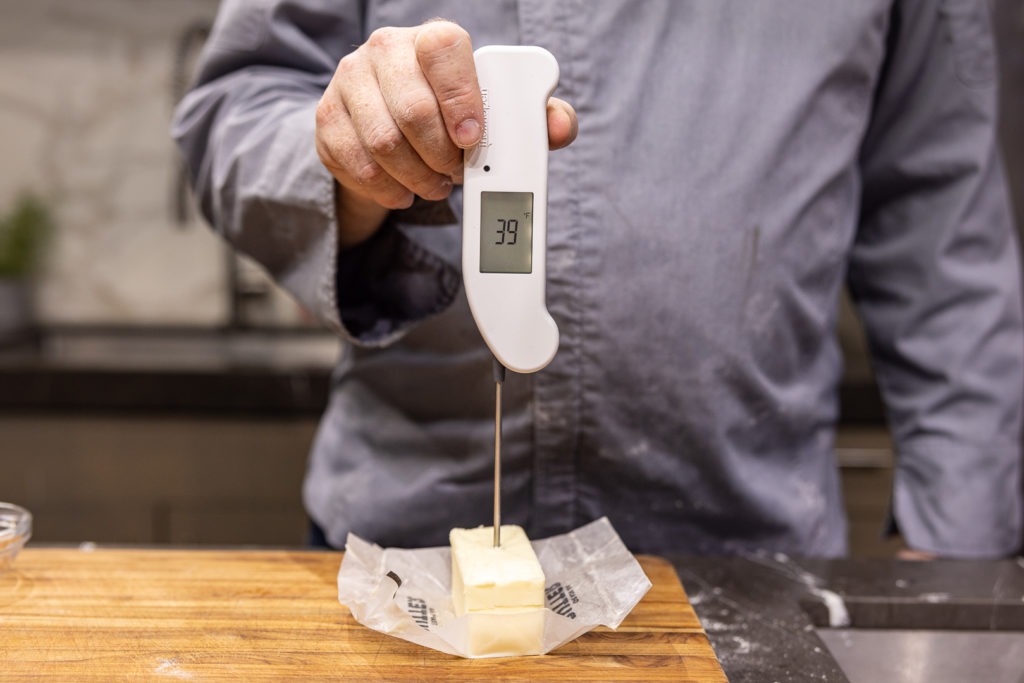
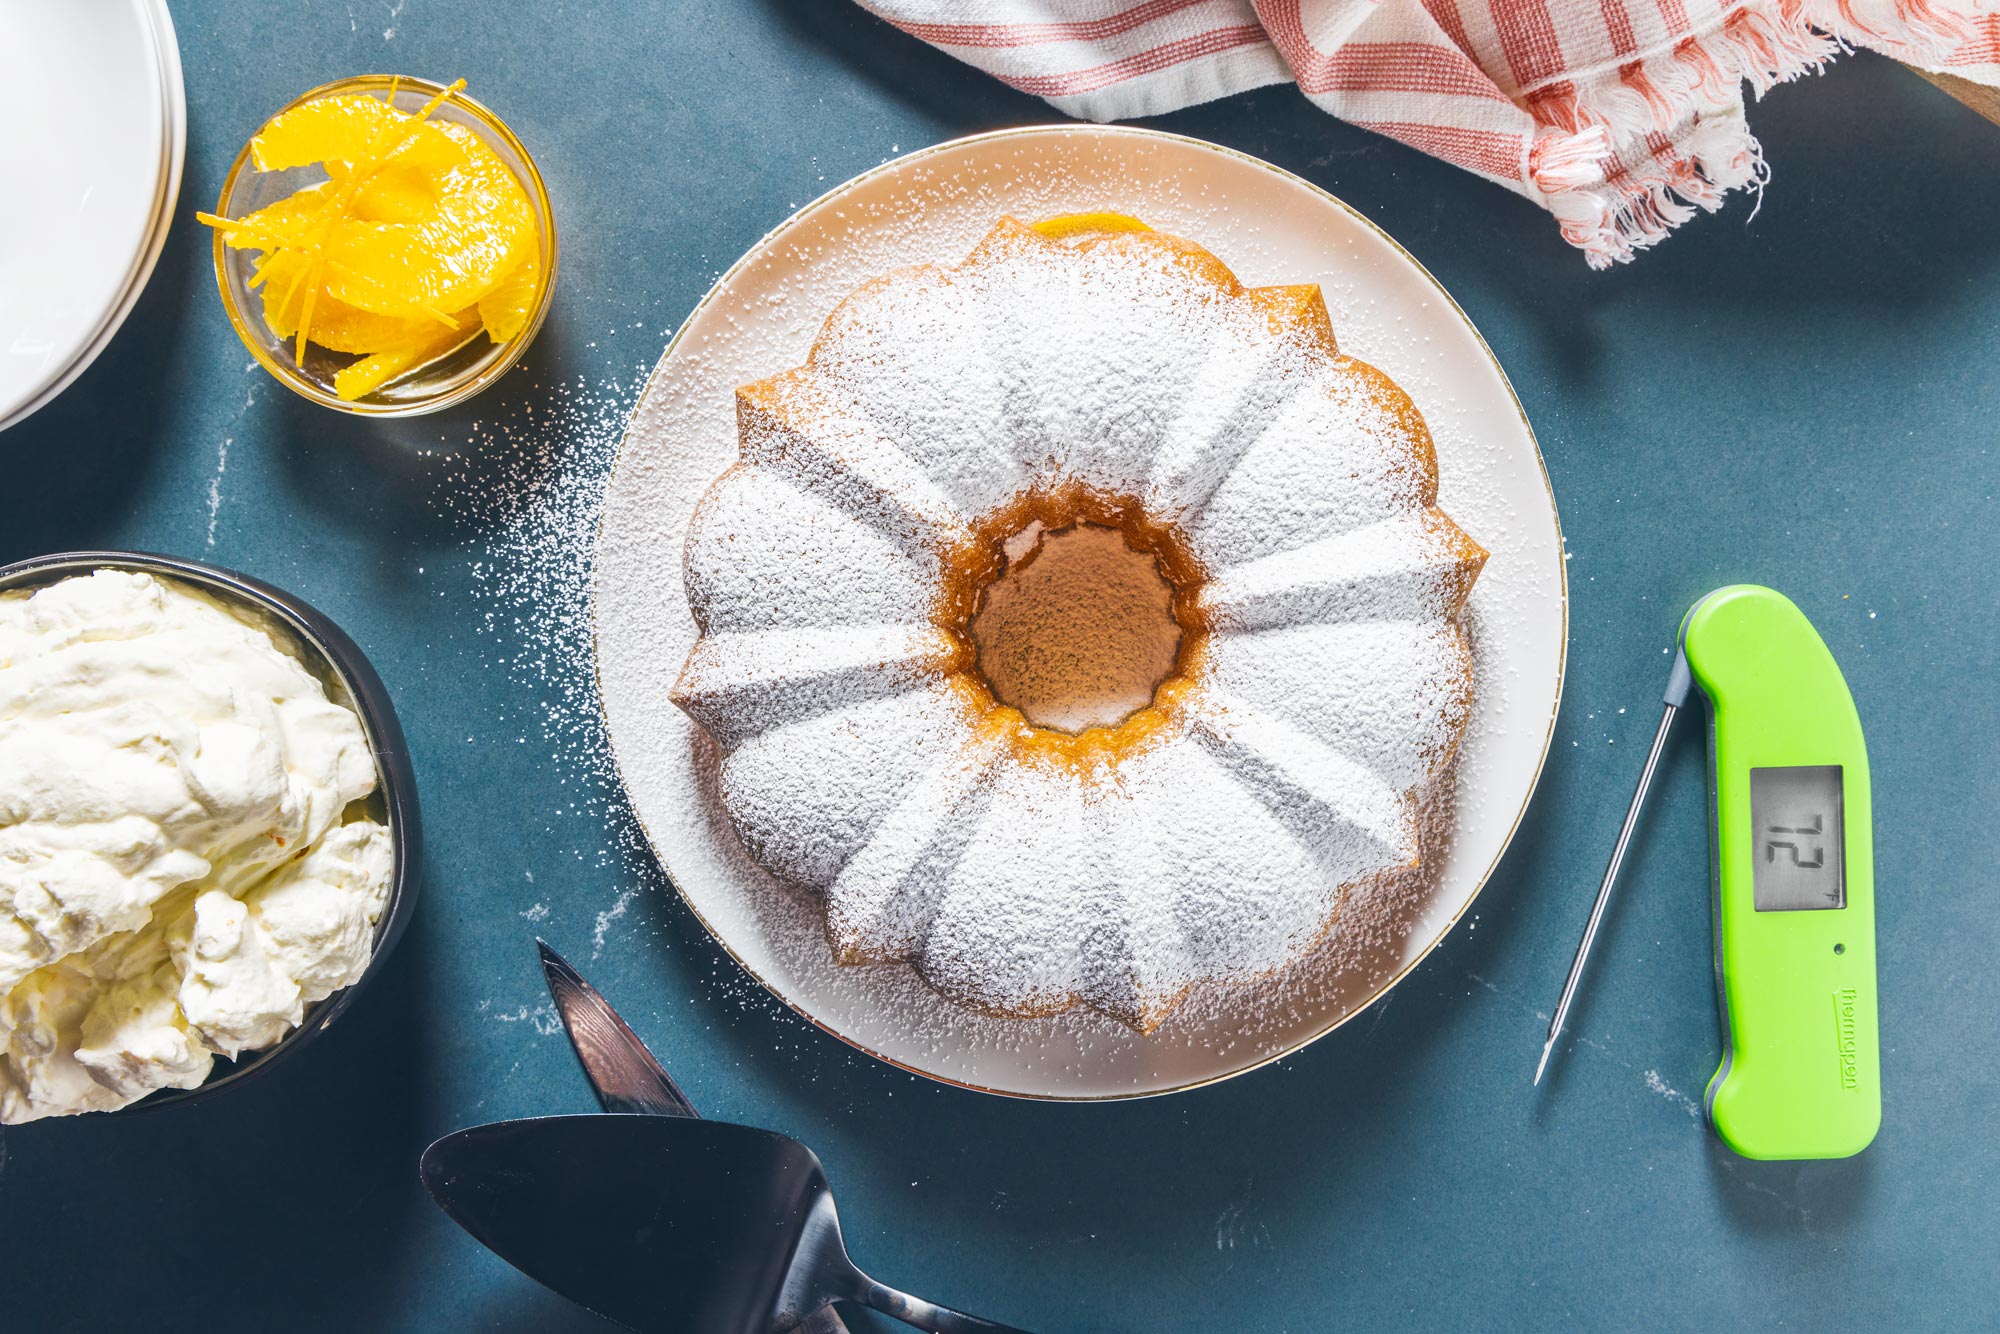
*Test the water and butter’s temperature with an instant-read thermometer like the Thermapen® ONE.
Work Quickly: The longer the ingredients are left at room temperature and more time spent making the dough, the warmer the dough will be. Pull the butter out of the freezer right before putting the ingredients into the food processor and work quickly to get the dough into the refrigerator as soon as possible. The friction from mixing in the food processor will increase the temperature of the dough. Pie dough should be handled with mixing and kneading as little as possible.
☼ Time Saving Tip: Save some time and make your Thanksgiving pie dough now! Store your pie dough discs in the freezer, then thaw them in your refrigerator the day before you’re ready to bake pies. Just be careful not to let the pie dough get too warm before you roll it, place it, and fill it. Begin rolling your pie dough while it is still stiff with cold.
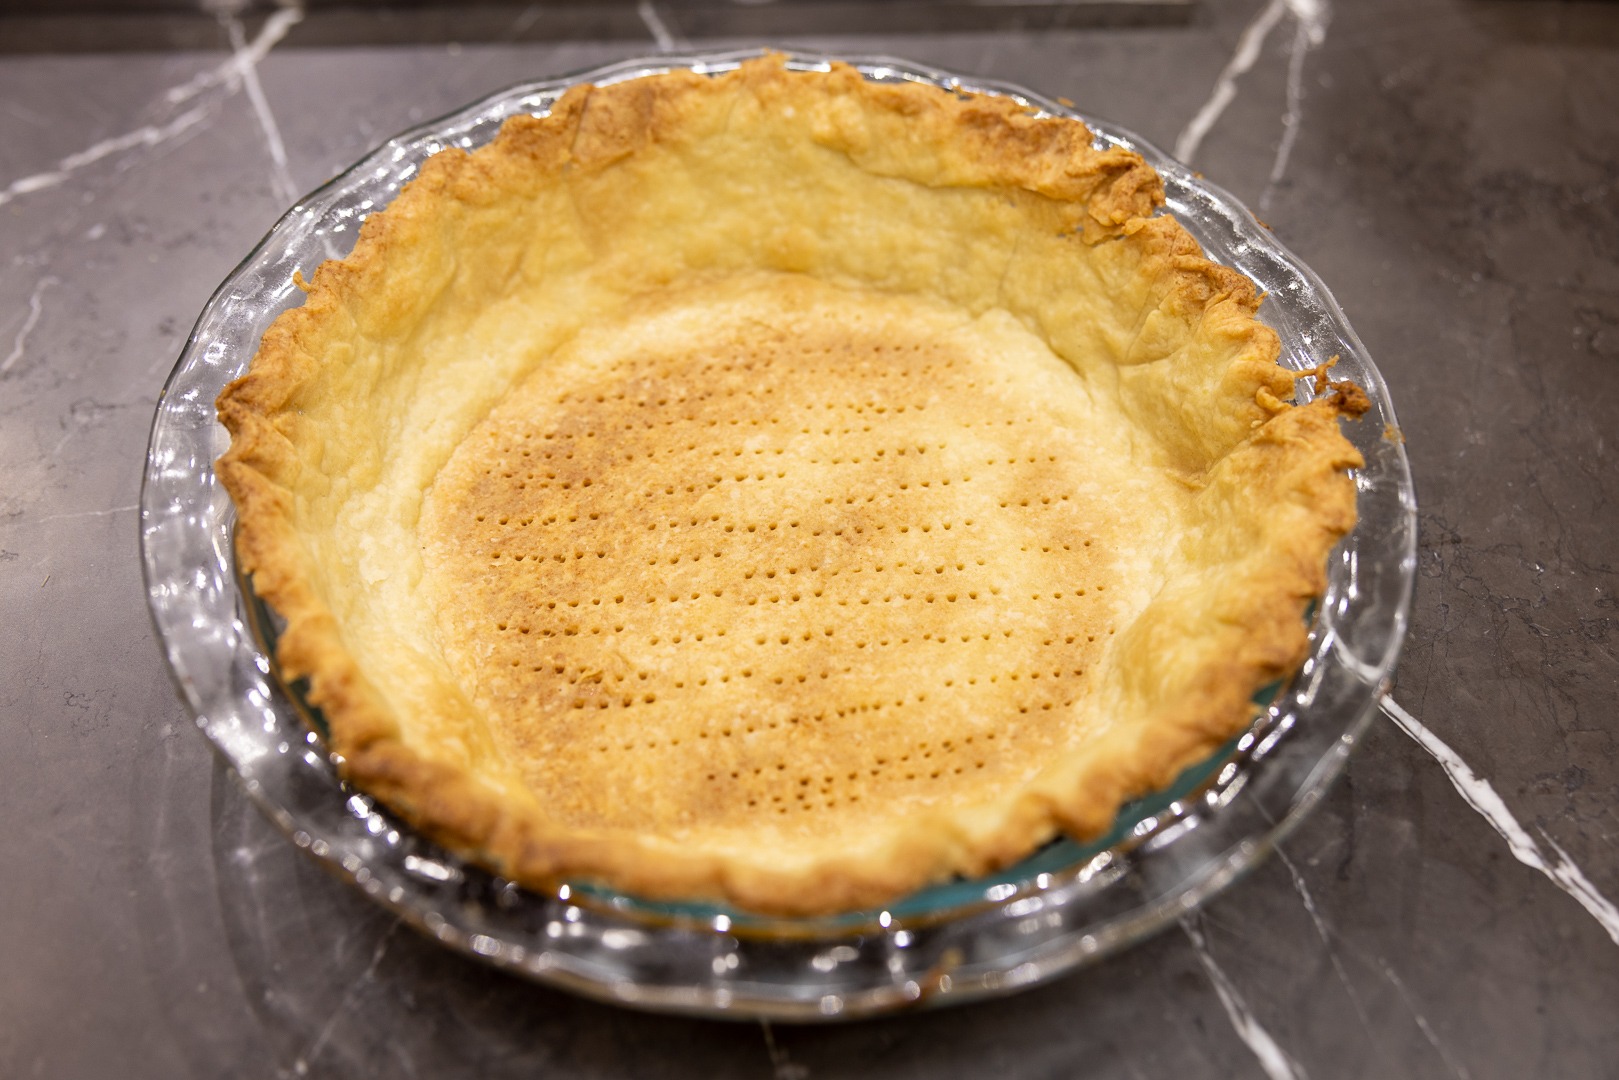
The Second Secret to Perfect Crust: Blind Baking
Here is the secret to pumpkin pie with a never-soggy pie crust: Pre-bake the pie shell on high without the filling!
A for the crust, pre-baking the pie shell (sometimes called “blind baking”) ensures that the crust will be cooked all the way through—crisp and tender from top to bottom—before you fill it. Plus, with the shell already baked, the filling will never have to spend a moment in an oven that’s too hot.


Simple, flaky pie crust recipe
Description
Wonderful, flaky crust for your pies
Ingredients
For two regular 9″ single pie shells
- 2–1/2 C all-purpose flour
- 2 Tbsp sugar
- 1 tsp kosher salt
- 2–1/2 sticks (10 ounces) unsalted butter, cut into small cubes and chilled in the freezer for 20 minutes—to less than 40°F (4°C)
- 6 Tbsp (3 oz) cold water—less than 40°F (4°C)
Instructions
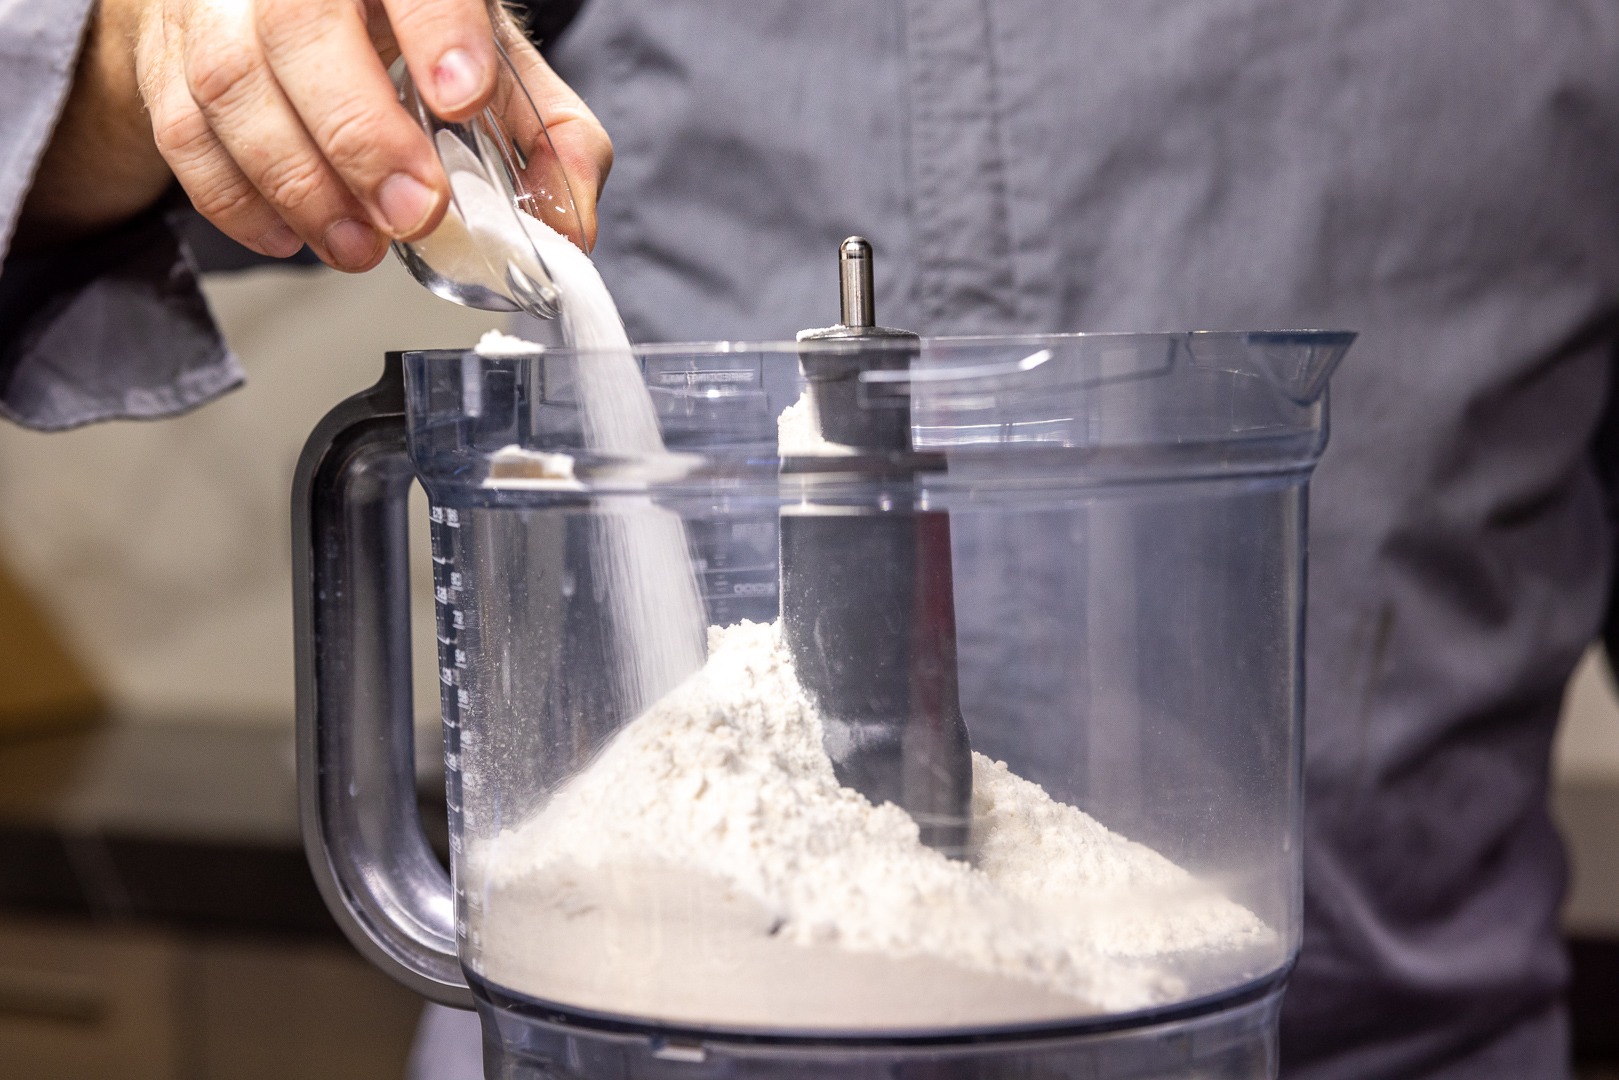
- Place the dry ingredients into the bowl of a food processor and pulse to combine
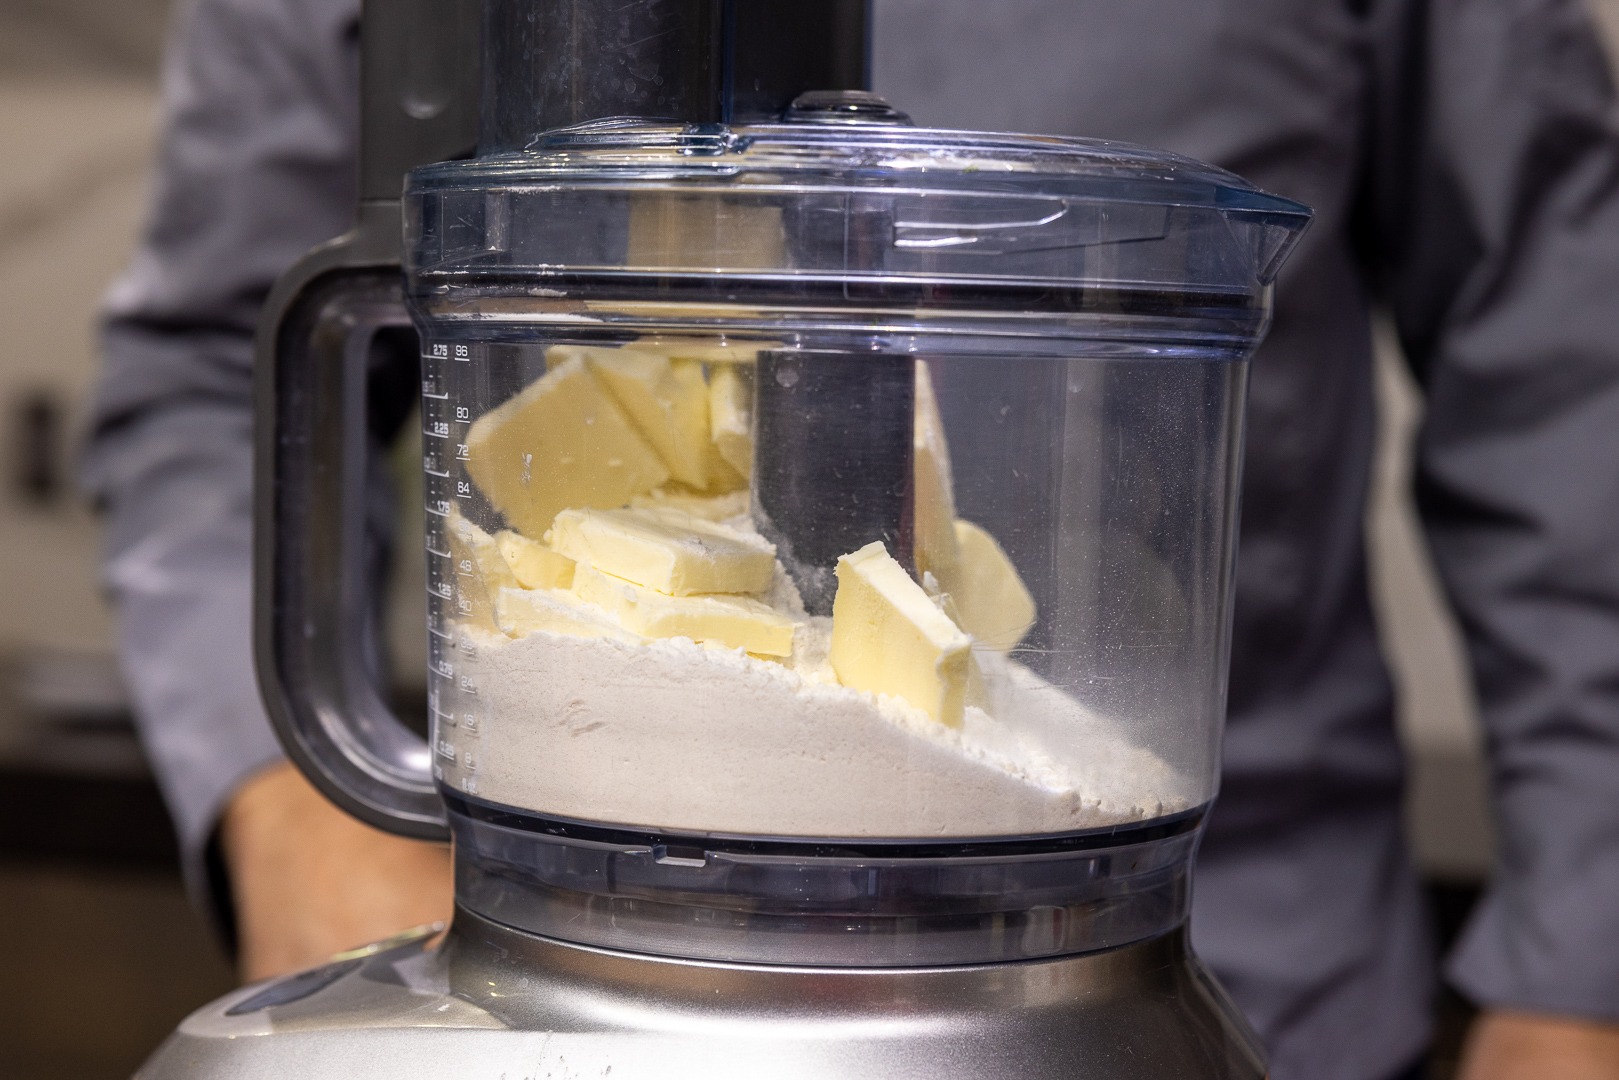
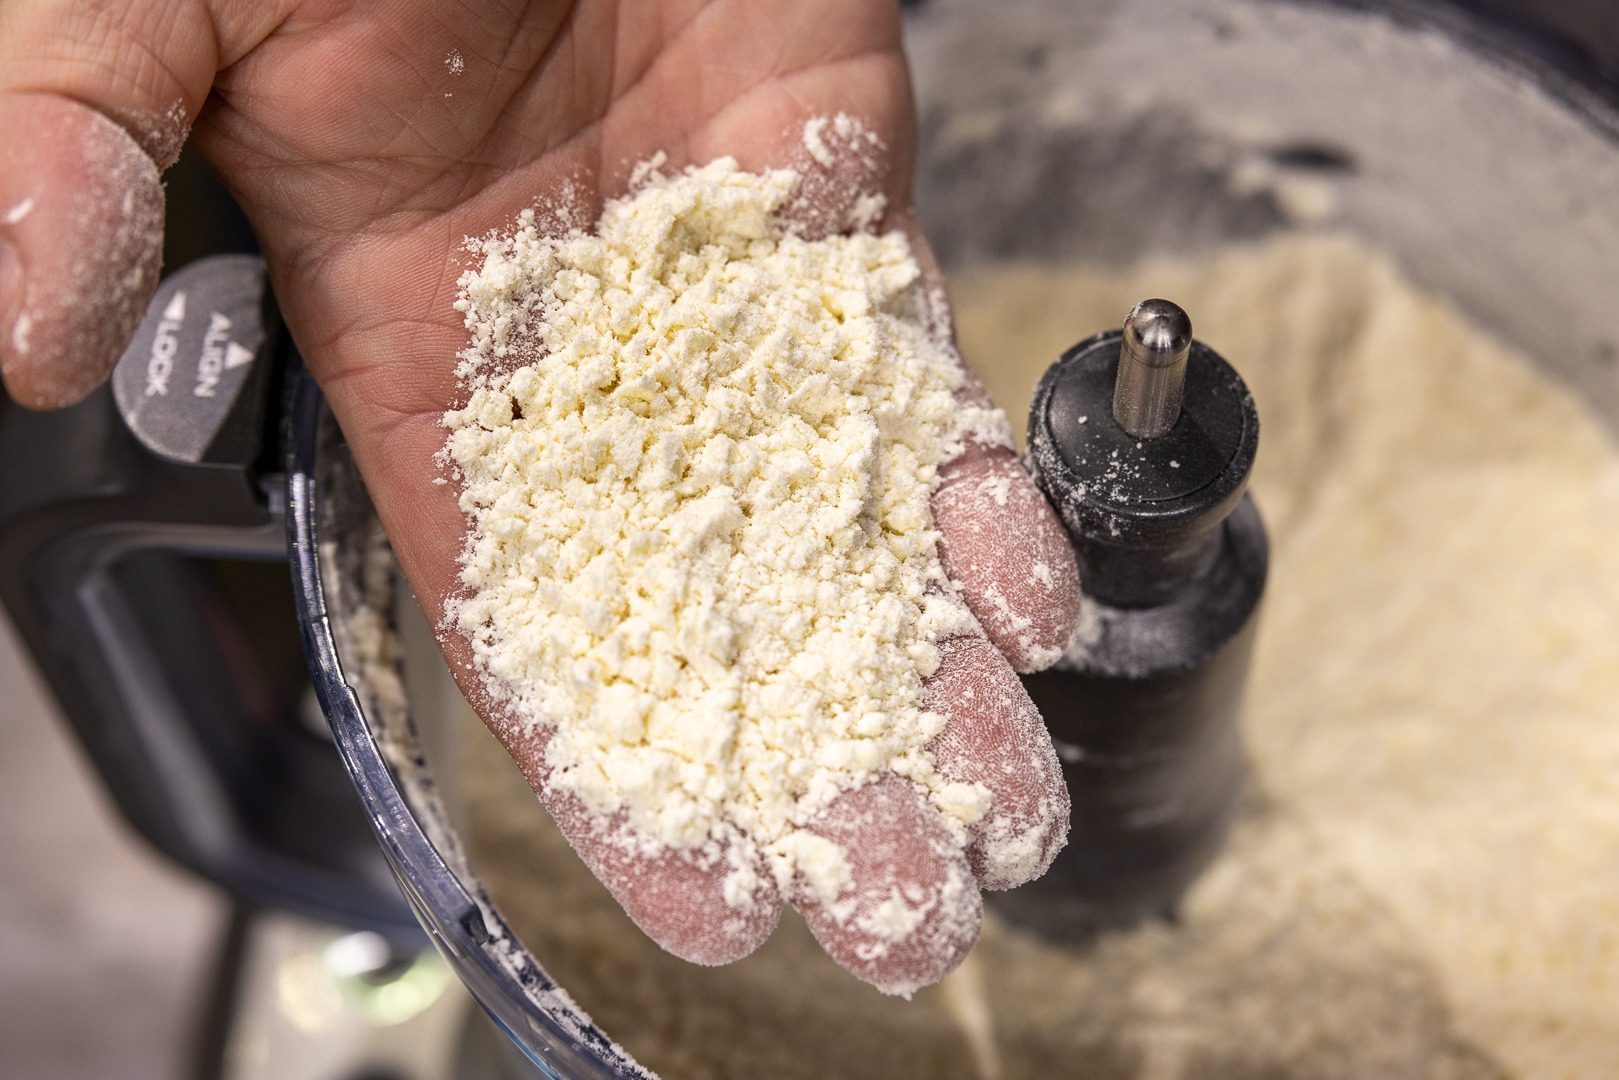
- Add the chilled butter and pulse until the butter is in pea-sized pieces.
- Add enough cold water just until the dough comes together (processing with quick pulses).

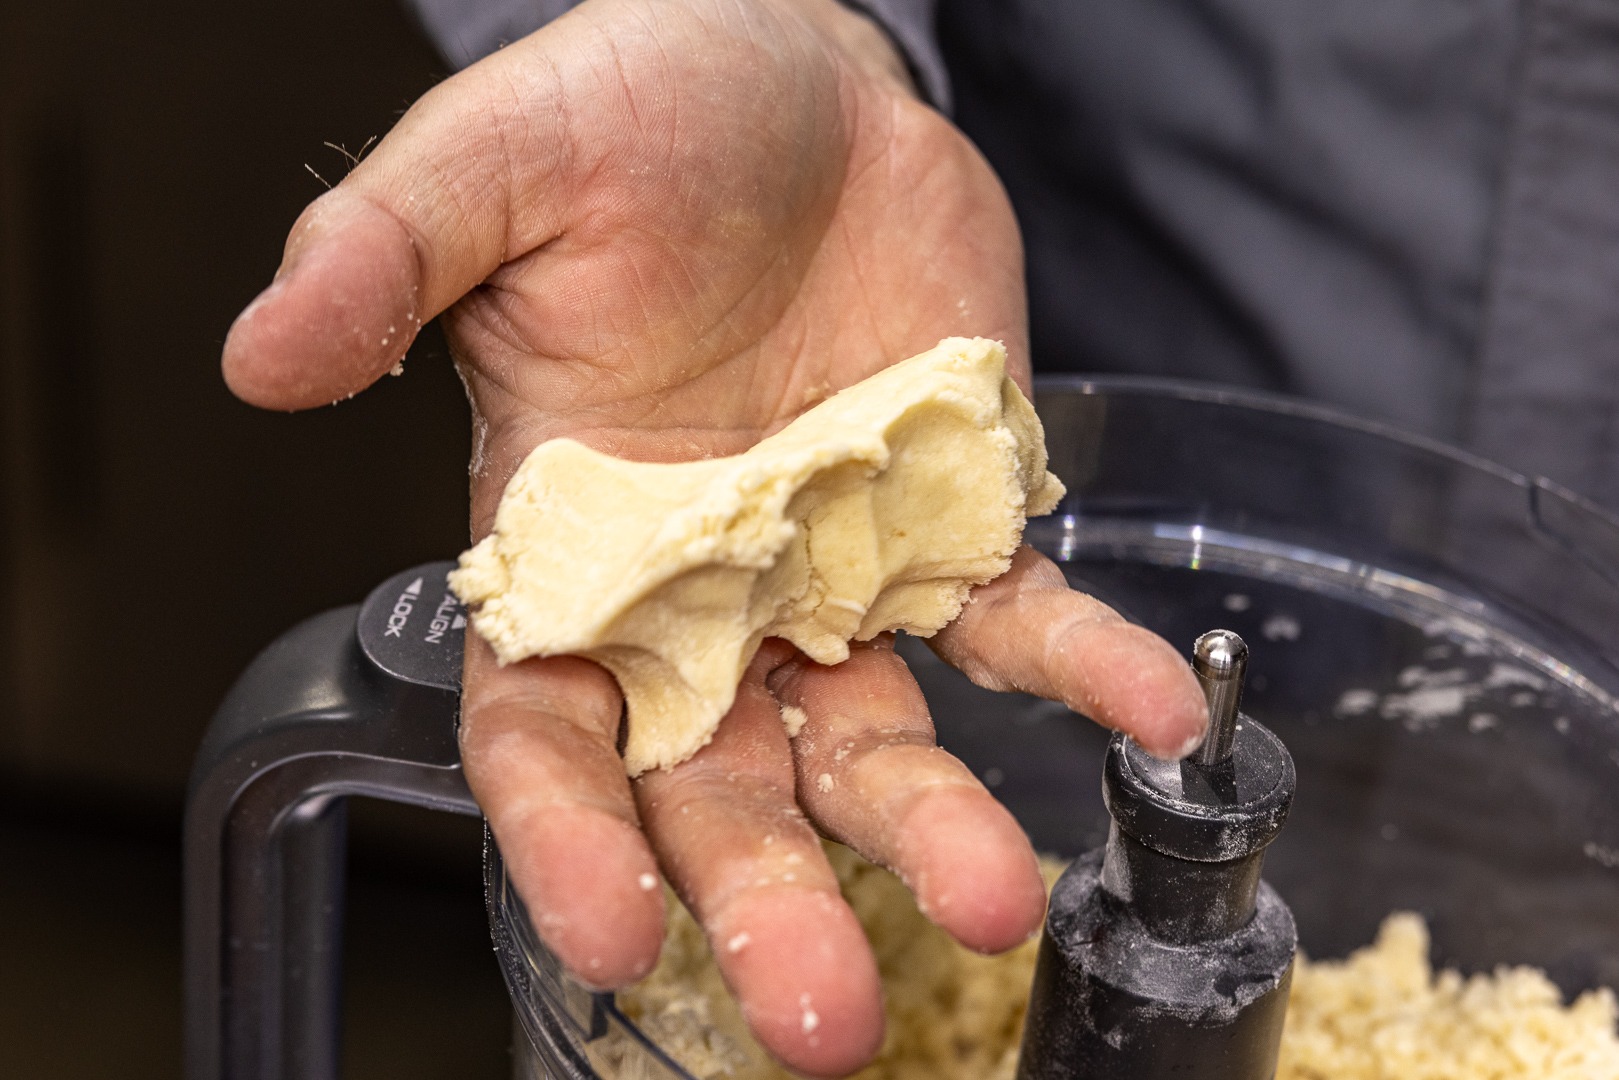
- Pack into two balls, wrap in plastic, flatten into discs, and chill in the refrigerator for at least 4 hours or overnight.
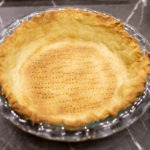
➤ Blind-Bake the Pie Shell
- Roll out the pie dough and place into a 9″ pie pan. Crimp or flute the edges as desired.
- Dock the pie shell (prick holes in the shell with a fork) to prevent bubbling.
- Chill in the freezer for 10 minutes to firm it up.
- Chilling is an important step to relax the gluten after rolling and to firm up the butter so the dough holds its shape when lining with foil in the next step.
- Line the pie shell with aluminum foil and fill with weights (we used dry beans and rice).
- Bake in an oven set to 425°F (218°C) for 15-20 minutes, until the structure of the crust is set and it has started to brown.
- Pull the crust from the oven and remove the pie weights and foil. Return crust to the oven and bake for 10 minutes longer.
- Bake until the crust is cooked through completely and slightly golden brown. Remove from the oven and cool. Set aside until ready to fill.
The Secret to Silky Pumpkin Pie Filling
As with the crust, there are two secrets for silky-smooth pumpkin pie filling. The first is to mix the ingredients so that they are smooth before you even begin baking. That can be accomplished by using a blender or a food processor to mix them. You can use a whisk if you need to, but you’ll get better results with some machine power on your side.


The second secret is that pumpkin pie has a doneness temperature.
Inaccurate Pumpkin Pie Doneness Testing
Most pumpkin pie recipes tell you to test for doneness in one of two ways, both of which are problematic.
- Bake until a knife inserted comes out clean. This will only happen if your pie is well on its way to overcooked.
- Tap the side of the pan and the center should still be slightly jiggly. “Slightly jiggly” is a very subjective way ot judge doneness. You don’t want it to stay jiggly once it has set up!
Using these inaccurate methods of testing for doneness, it’s easy to err on the side of overbaking the pie, just to be safe. But then the filling ends up cracking and can become curdled rather than smooth and silky.
Use an Instant-Read Thermometer to Check Pie Doneness
Egg Doneness Temperatures: Pumpkin pie filling is a mixture of simple ingredients that set up when cooked because the pie mixture contains eggs. The protein in eggs begins to firm up in the temperature range of 140-150°F (60-66°C). But egg mixtures—custards—set around 160-180°F (71-82°C). The more diluted the egg mixture, the higher the doneness temperature will be. The perfect pull temperature for pumpkin pie is 175°F (79°C).

➤ Bake it Gently: For the best texture, custards should be baked at gentle, low oven temperatures, and cooked just until the eggs solidify and no further. Checking the internal temperature is the best way to determine the set point of the custard.
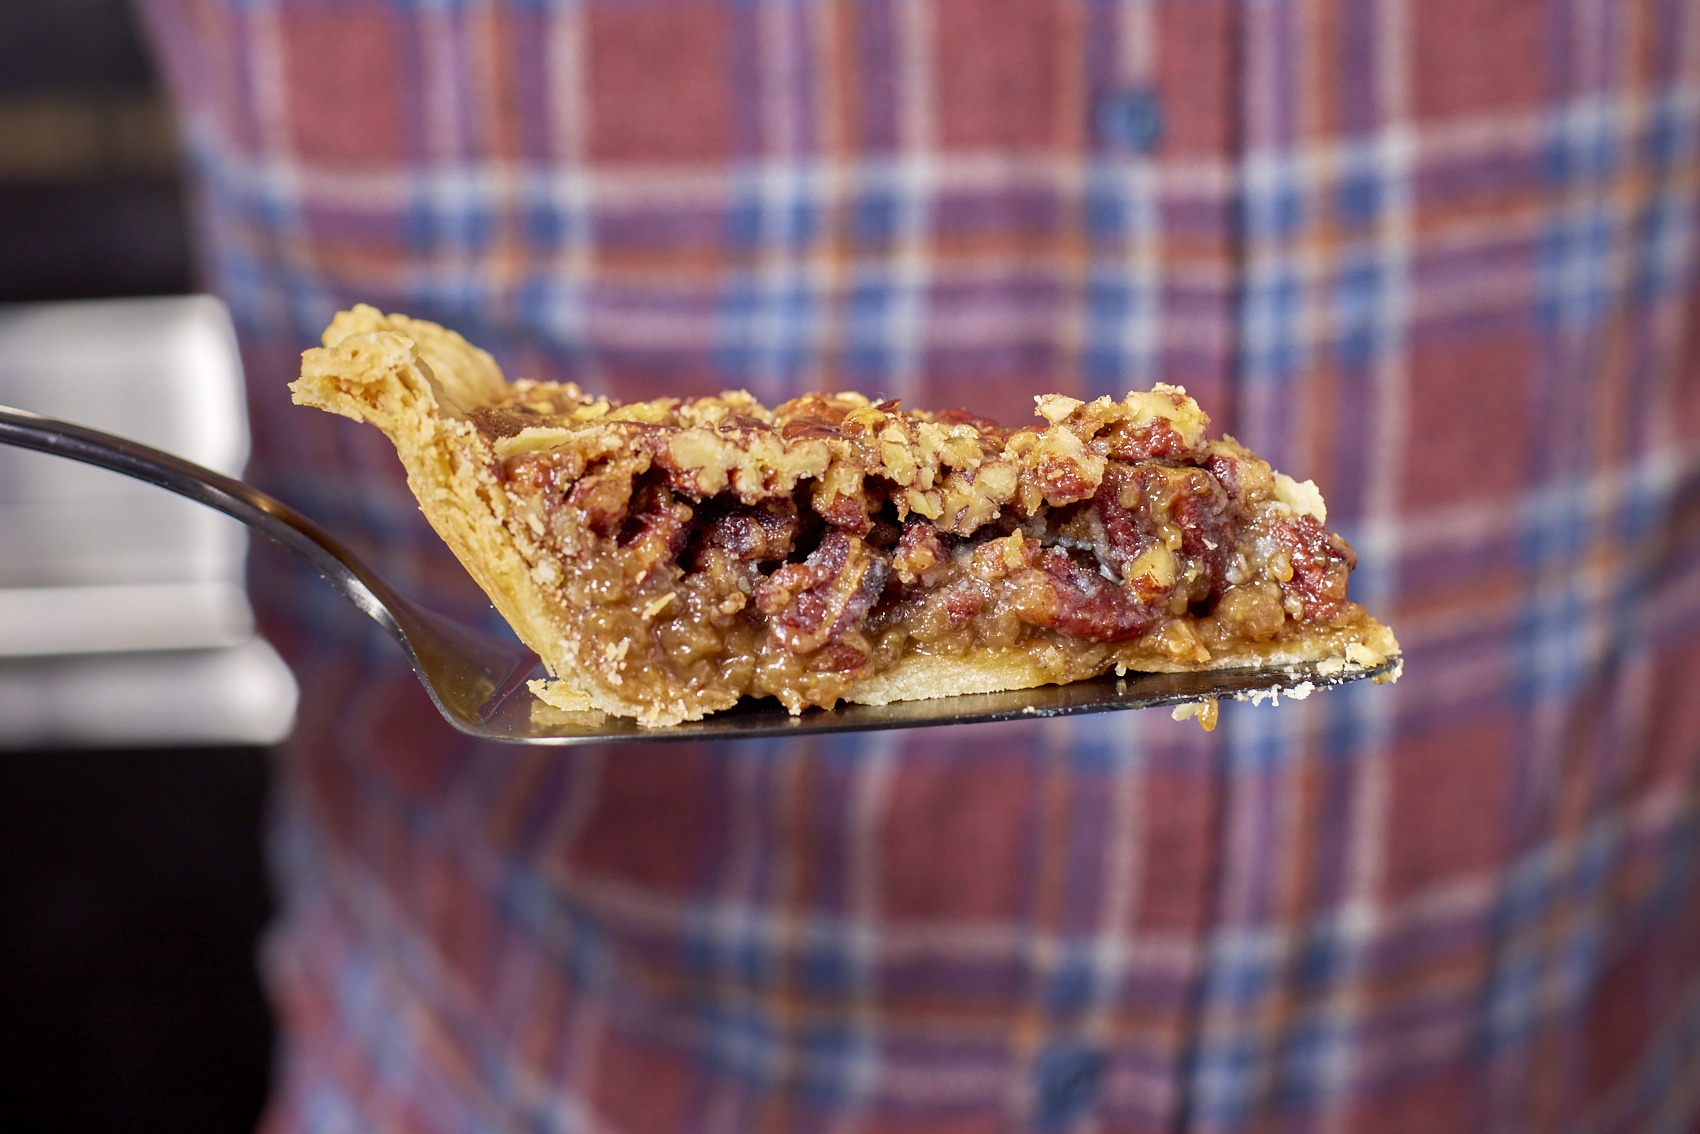
Many pie recipes call for baking the filled pie at a high temperature (425°F [218°C]) to set the structure of the crust before lowering the oven temperature to finish cooking the filling more gently. But pie fillings for pies like pumpkin and pecan are delicate and can be toughened or dried out by initial high temperatures. America’s Test Kitchen recommends cooking the filled pie at an initial 400°F (204°C) for 10 minutes, then lowering the heat to 300°F (149°C) for the remainder of the cook. The results are ultra smooth!
By quickly spot-checking with an instant-read thermometer like a Thermapen, you can see within a matter of seconds if your pie is done, or if it needs a couple more minutes. No jiggling required! Pull the pie out of the oven when your Thermapen probe inserted into the center of the custard reads 175°F (79°C).
Print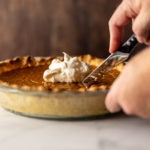
Silky-smooth pumpkin pie recipe
Description
Silky-smooth pumpkin pie
Ingredients
For one 9″pie
- 15 oz pumpkin puree (canned or fresh)
- 12 oz evaporated milk
- 3/4 C sugar
- 2 large eggs
- 1/2 tsp salt
- 1 tsp ground cinnamon
- 1/2 tsp ground ginger
- 1/4 tsp ground cloves
- pinch of ground allspice
- pinch of ground nutmeg
Instructions
- Add all ingredients into the bowl of a food processor or a blender jar. Process until the mixture is perfectly smooth—about 2 minutes.
- Pour into a prepared pie shell.
- Bake at 400°F (204°C) for 10 minutes.
- Open the oven for a few seconds while you reduce the oven temp to 300°F (149°C)
- Continue to bake at that lower temperature until the internal temperature reaches 175°F (79°C), about 45-50 minutes.
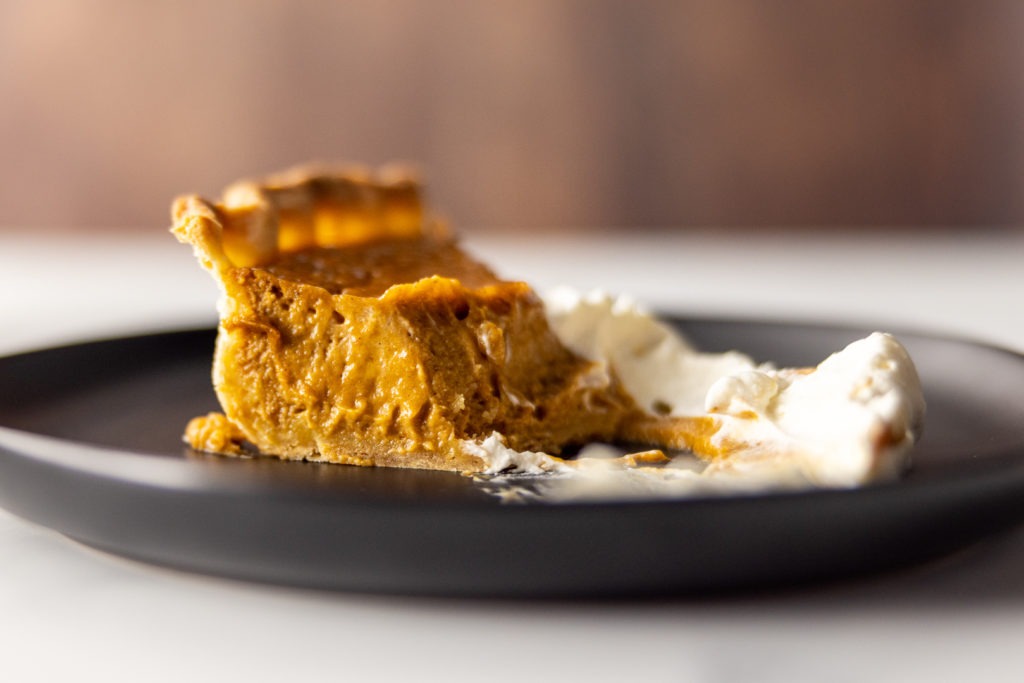
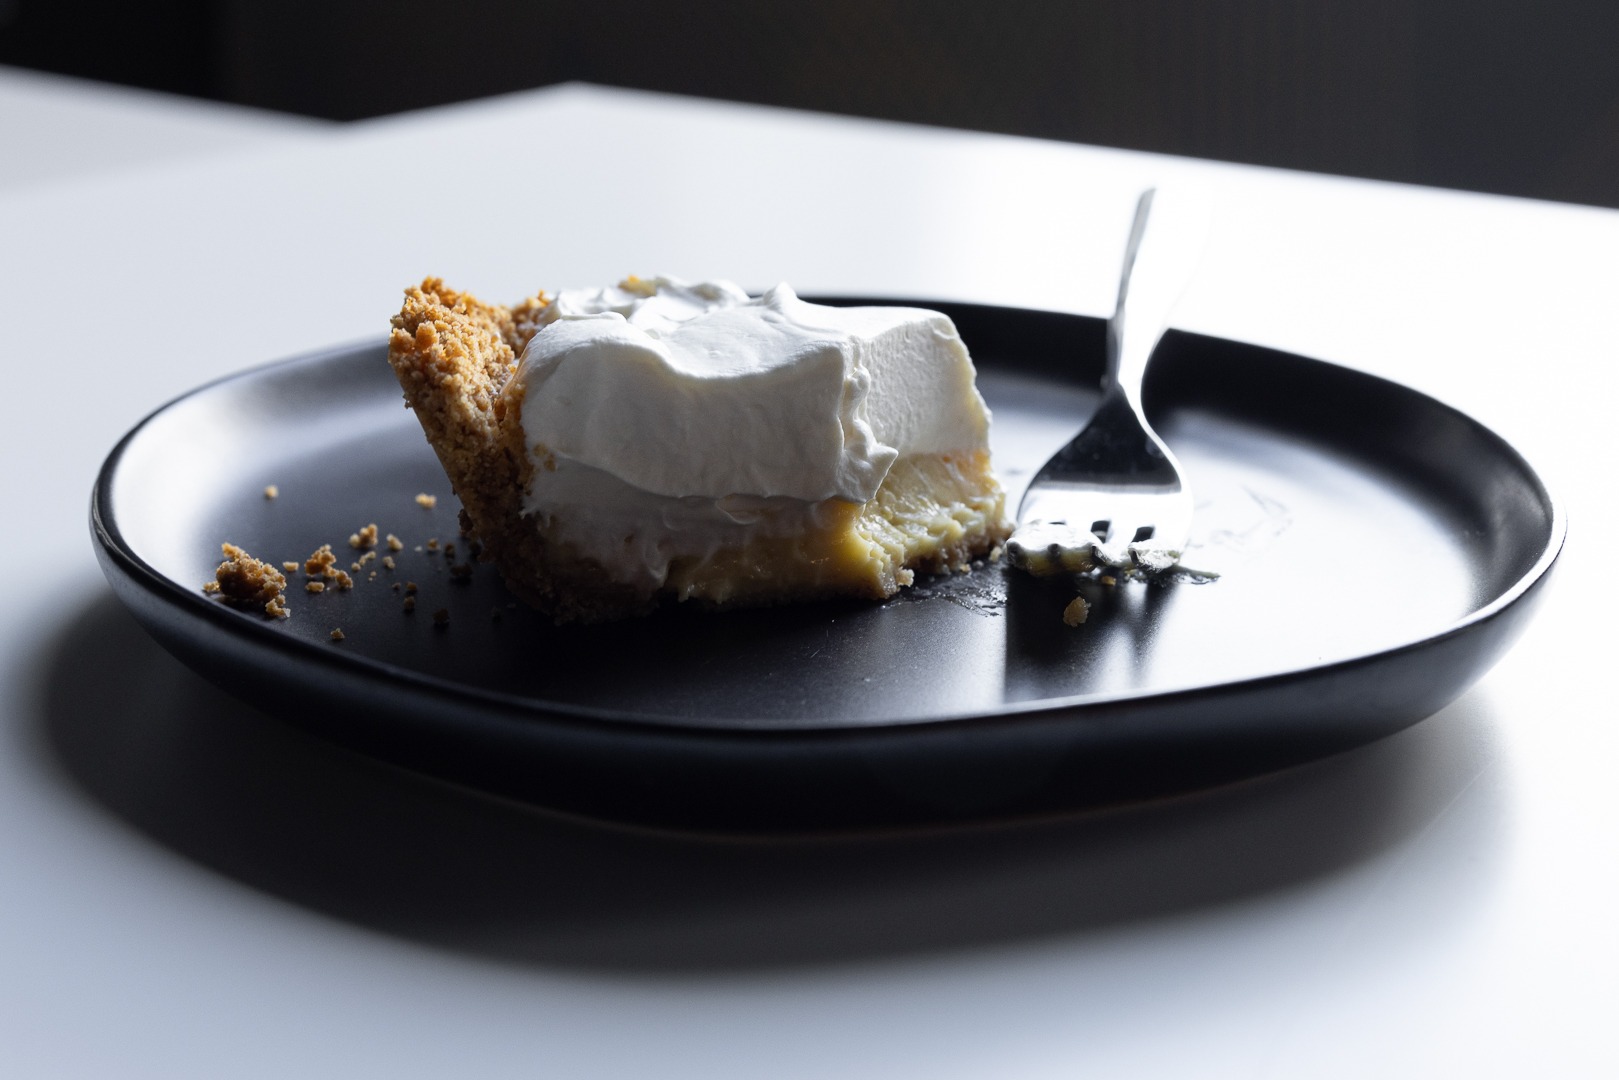
- Cool completely and refrigerate overnight. Slice and serve with fresh whipped cream.
Shop now for products used in this post:


Would it be necessary to put foil around the edges of the pie crust when baking again with filling? It seems like the crust would become too brown.
Marcia,
Absolutely! You can shape aluminum foil around the outside edge of your filled pie shell when it goes in the oven.
Thanks for your question,
-Kim
do you actually pre bake the crust until it is all the way done or just partially bake it?
Jennifer,
The blind-baked crust is fully baked.
Thanks!
-Kim
Please put a “PRINT” selection that is printer friendly on these kinds of articles/recipes. I need something right in front of me!
Kathleen,
Scroll down to the very bottom of the post. To the right of the “Product Used” header and image, you will see a small green image of a printer that says “Print Friendly.” The post will open in a printer-friendly format with options to remove the images or save as a PDF file before printing.
Thanks!
-Kim
Is this for one pie or two pies? The crust seems to be for two, but the filling for one. Also, what size pie pan, 8″, 9″ or 10″, regular or deep dish.
Thank you.
Wendy,
You’re correct, the crust is for two regular 9″ pies.
Thanks,
-Kim
When it says to make into two balls for the pie crust is this recipe for one or two pie crusts.
Alan,
The recipe is for two 9″ pie crusts.
Thanks,
-Kim
What is the doneness temp of cheese cake and what temp should I cook it at
Richarrd,
Great question! We have a blog post coming up that delves into the baking temperature and doneness temperature for cheesecake–so keep your eyes peeled for it! The baking temperature varies depending on your recipe, but the doneness temperature is 150-160°F.
Thanks!
-Kim
The article discusses keeping the crust cold because of how the gluten works – but is it the same concenpt when using gluten-free flour?
Debbie,
Keeping the crust cold is important for keeping the gluten development minimal, and also keeping the butter firm so the dough is workable. Even if you’re using gluten-free flour the dough should stay chilled through every stage of the process until baking for easier workability, and better stability when the crust goes into the oven.
Thanks!
-Kim
One neat trick to have less gluten formation and better workable dough is to replace half of the water with Vodka. Store it in the freezer so it goes in very cold (0 deg f). It will not freeze at this temp. Vodka makes the dough wet but does not form gluten when worked. The alcohol evaporates while baking. – From the book Baking Illustrated by Cooks Illustrated.
John,
Yes! The vodka method was originally introduced by Cook’s Illustrated (developed by Kenji Lopez-Alt when he was with Cook’s Illustrated) as a method for pie dough. Whatever technique is used, manipulating gluten development is an element of any recipe that includes wheat flour.
Thanks for the comment!
-Kim