

Homemade Ice Cream: Temperatures for Smooth and Creamy Results
If there is one dessert that says “summer,” that dessert is (obviously) ice cream. And if you want to up the ante even more on the summertime-y-ness, make that homemade ice cream. Fresh-churned ice cream—strawberry, vanilla, peach, chocolate, or anything else—is a delicious and celebratory treat. Unfortunately, it is a treat that is far too rare. Much like the Thanksgiving turkey, homemade ice cream is often made only once per year by many people, and that on the Fourth of July. I see no reason why this should be the case. Yes, ice cream for the Fourth is amazing and right and proper, but why not for the fifth of July? The 13th? August first? Thanksgiving?
I think part of the reason we don’t make it at home as much is that it’s a little intimidating. It makes sense; we’ve all had homemade ice cream that was subpar—either runny or icy. But maybe if we all practiced more, our ice cream 1 would be better. Of course, along with practice, we could use temperatures to help us make the best possible ice cream. Let’s take a look at how that works! And since we’re after the best ice cream, we’ll use a recipe from Rose Levy Beranbaum’s mouth-watering book Rose’s Ice Cream Bliss.
Contents:
- Ice cream texture: smoothness, please
- Why use eggs in ice cream?
- Ice cream thermodynamics
- Chill before you churn
- Freeze your ice cream
- Homemade chocolate ice cream recipe
- A historical note on ice cream
Ice cream: textures, ingredients, and temperatures
If we want a smooth, creamy ice cream—as opposed to a coarse, icy one—we need to take care with the ingredients and the temperatures.
Smooth, creamy ice cream is the result of having very small ice crystals that are kept apart. We’ll talk later about how to get small crystals, but first, let’s look at how we can keep those crystals from interacting with each other. This is accomplished mostly with our ingredients.
Harold McGee talks about ice cream texture and how it is a combination of ice crystals, concentrated cream, and air:
The ice crystals form from water molecules as the mix freezes, and give ice cream its solidity; they’re its backbone. And their size determines whether it is fine and smooth or coarse and grainy. But they account for only a fraction of its volume.
The concentrated cream is what is left of the mix when the ice crystals form. Thanks to all the dissolved sugar, about a fifth of the water in the mix remains unfrozen even at 0°F/-18°C. The result is a very thick fluid that’s about equal portions of liquid water, milk fat, milk proteins, and sugar. This fluid coats each of the many millions of ice crystals, and sticks them together—but not too strongly.
—Harold McGee, On Food and Cooking, pg. 40
To get rich ice cream, you need enough fat, enough milk protein, and enough sugar to keep the water in the ice cream from freezing solid. The super-premium brands of ice cream that you know and love from the store have about 16–20% milk fat, as opposed to only 12–14% for standard name brands. The standard name brands have a higher percentage of other milk solids than do the premium brands, which means they have more milk than cream.
Another ingredient that will deliver smoother, richer ice cream is egg yolks. Again, McGee:
The proteins and emulsifiers in egg yolk can help keep ice crystals small and the texture smooth even at relatively low milk-fat and high water levels[…] A mix that contains yolks must be cooked to disperse the proteins and emulsifiers (and kill any bacteria in the raw yolks), and the resulting thickened, custard-like mix makes an ice cream with a characteristic cooked, eggy flavor.
McGee, On Food and Cooking
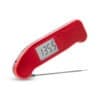
In fact, most of the best ice cream is made with eggs and is, thus, technically frozen custard. 2 But putting egg yolks in a pan and cooking them with milk and/or cream is a recipe for weird chocolate scrambled eggs—not ice cream—if you overcook it. Enter Thermapen® ONE and our first critical temperature!
According to Rose Levy Beranbaum, the egg mixture needs to be cooked to between 170°F and 180°F (77°C and 82°C). Using a fast and accurate instant-read thermometer like Thermapen ONE ensures that you hit the temperature mark right on the head. A few degrees too cool and you won’t get the thickening power you want, a few degrees too hot and it will curdle. Hitting it right down the middle wins the day.


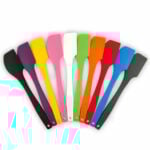
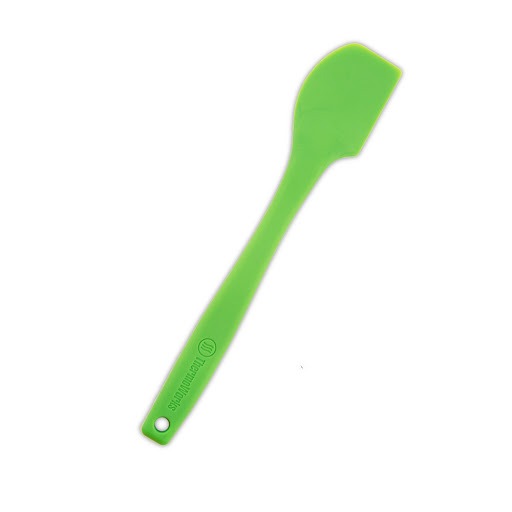
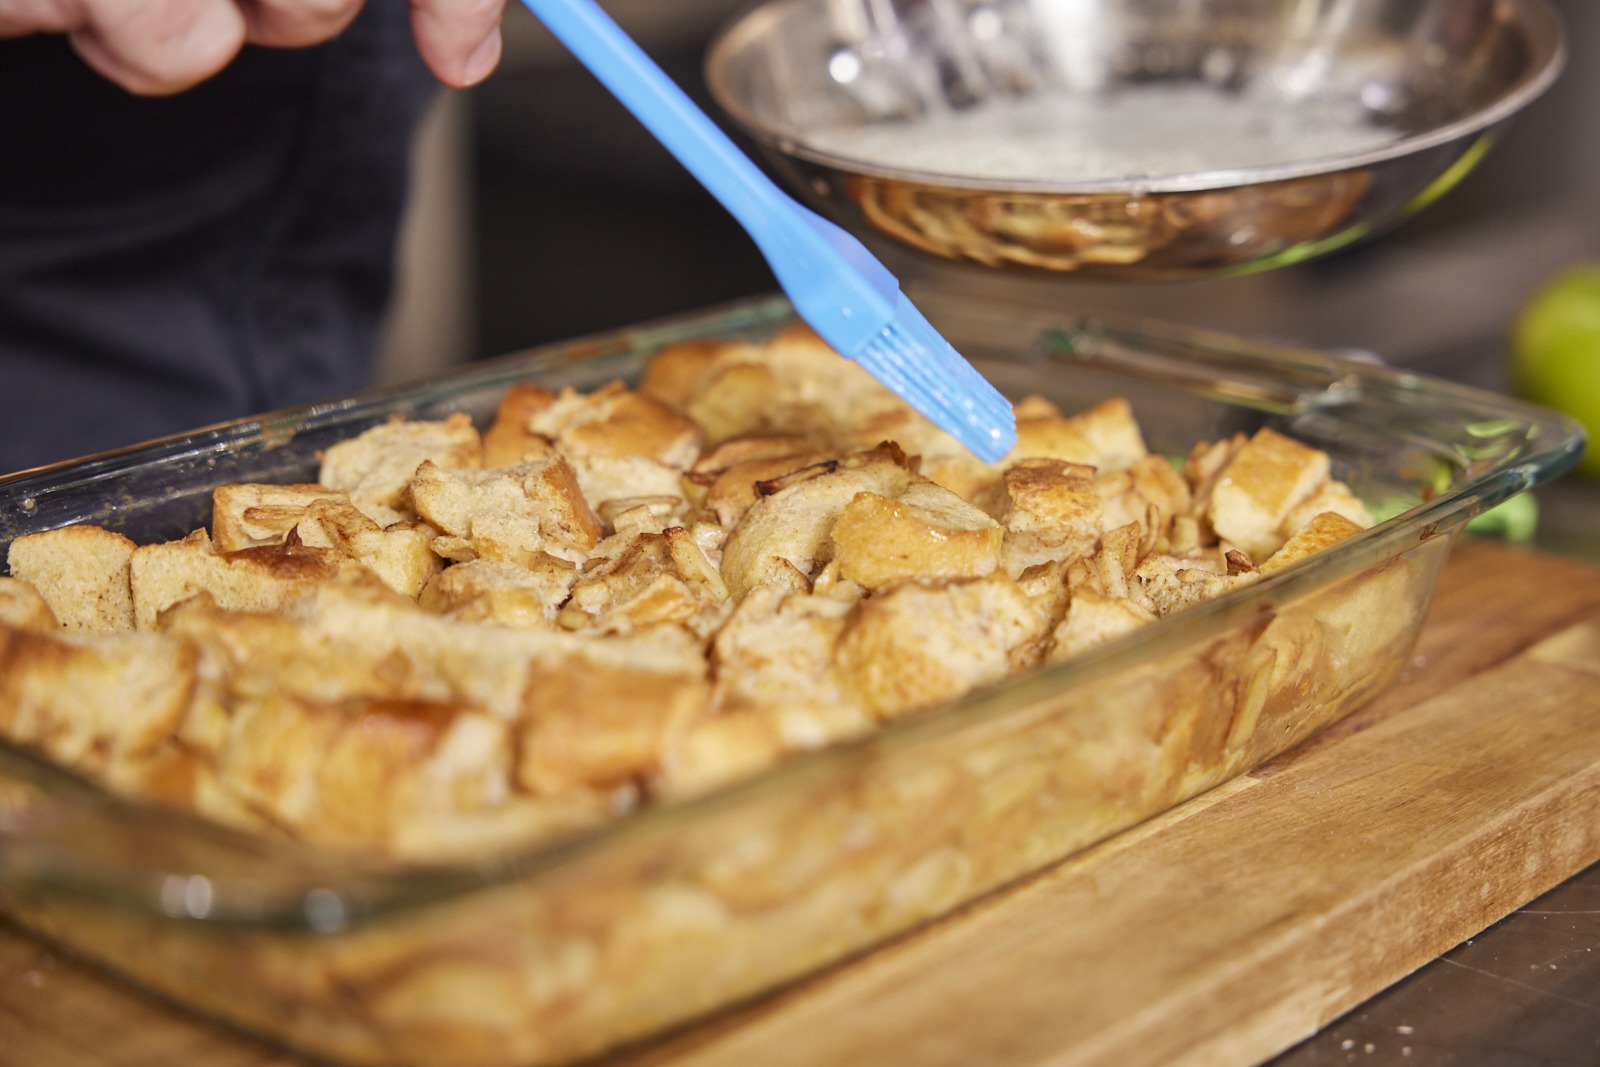
(Note here, that while you’re cooking the custard it’s very important to always be gently stirring the pot, scraping the bottom of the pan so that the eggs don’t cook to the bottom. A silicone spatula with a flexible edge is great for this operation.)
Dealing with “ice” in ice cream
So much for the ingredients, now let’s turn to the “ice” of good ice cream. The smoothness of ice cream is in large part an inverse function of the size of the ice crystals in it. Small crystals are harder to detect with the tongue and therefore give you a smoother feel. We can achieve smaller crystals in two ways: agitation and cooling speed.
By moving the ice cream as it cools, the ice crystals get tumbled against each other like rocks rolling in the surf, polishing their rough edges. All modern ice cream machines incorporate some kind of dasher to move, flip, and shuffle the ice cream as it cools and congeals, thus keeping the crystals from growing into large ice shards.
(Those dashers also incorporate air as the ice cream dances around, making it lighter, fluffier. The amount that ice cream increases in volume as it freezes is called “overrun.” Premium ice creams have less overrun, and gelato is made with machines that produce the least overrun of all, giving it its characteristic dense texture.)
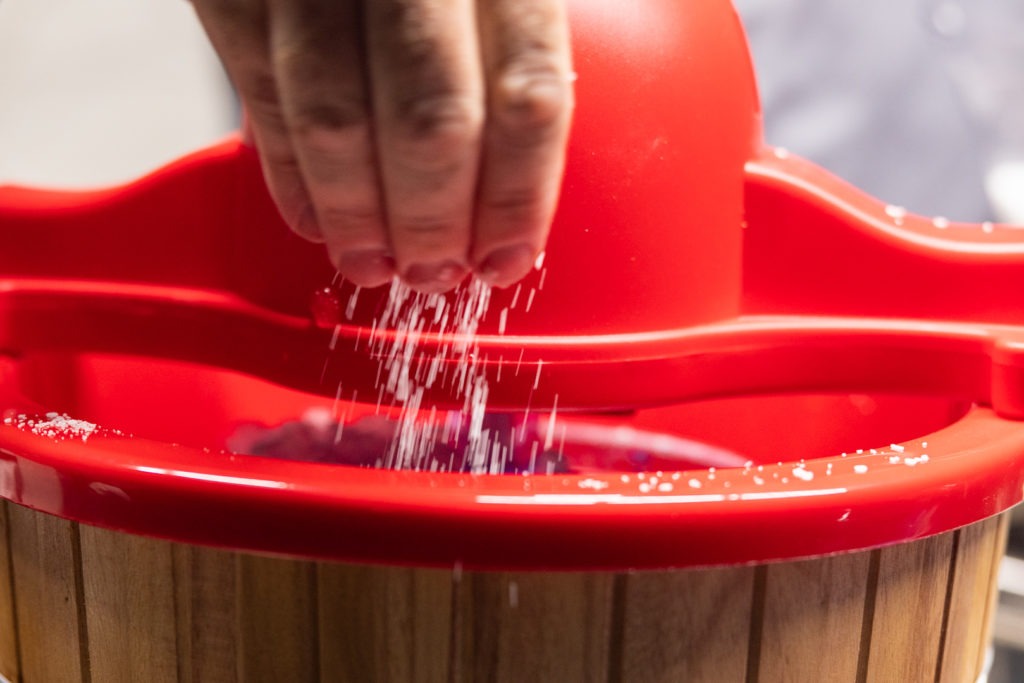
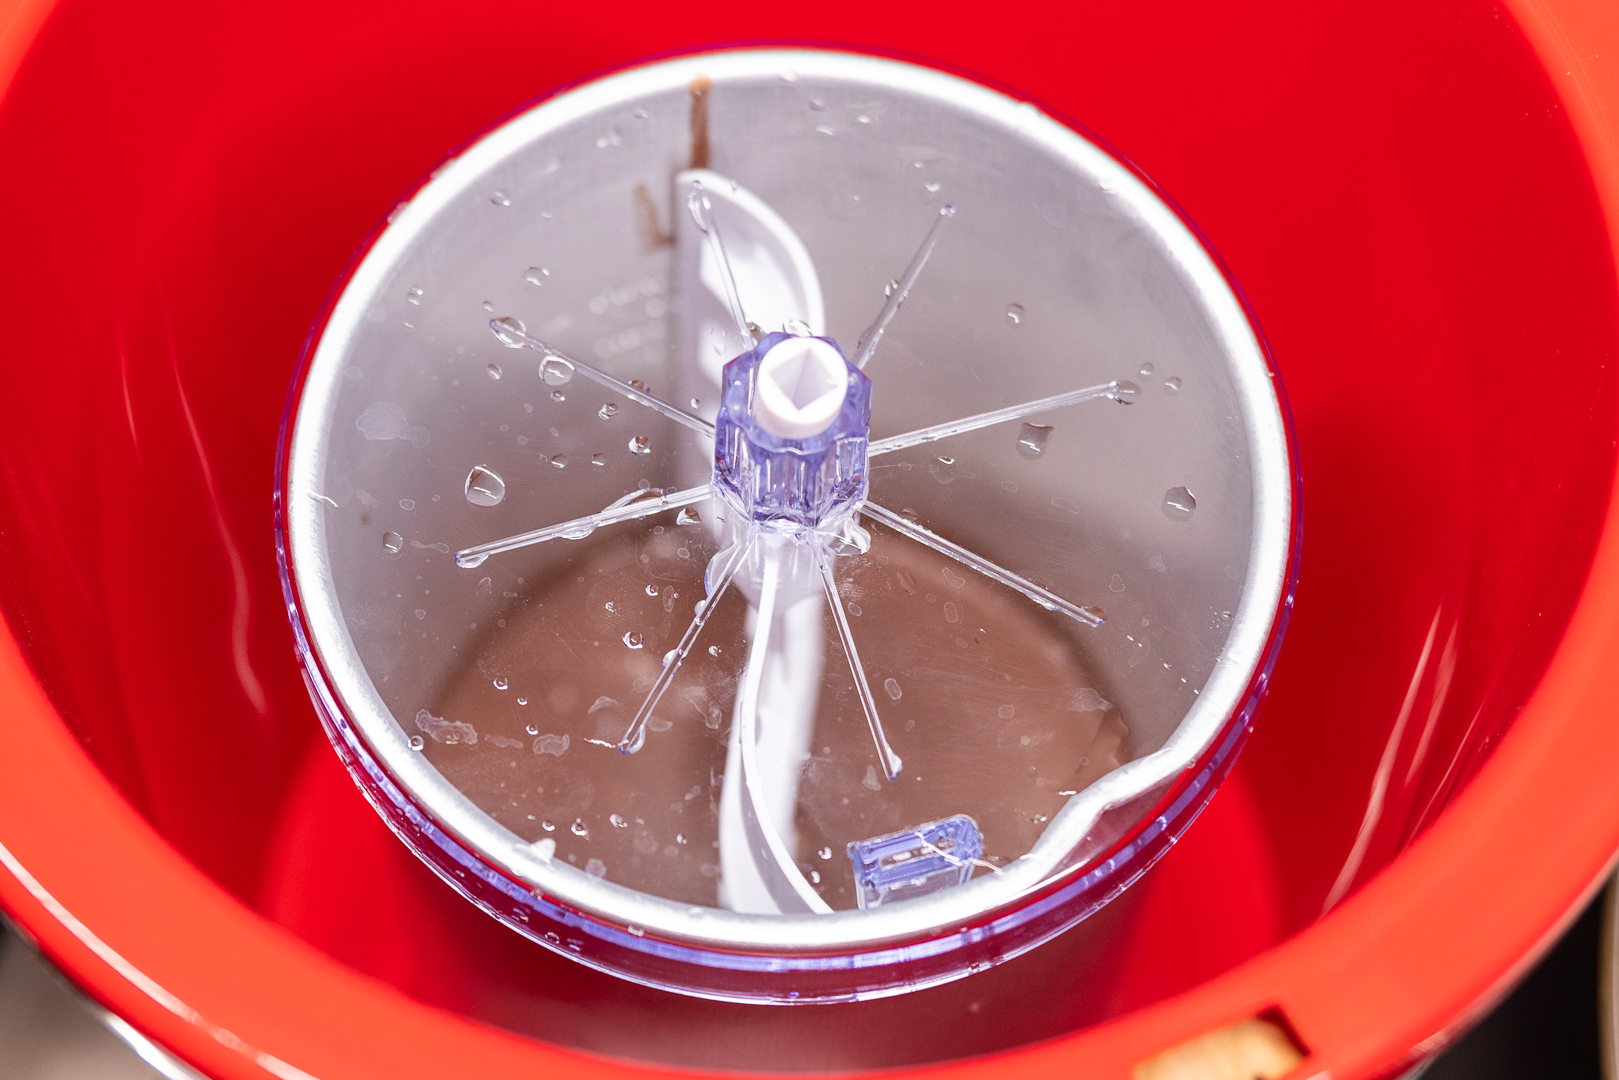
Then, of course, there is cooling speed. The longer it takes the ice cream base to freeze, the larger the crystals will be. We want maximum chill for smoother ice cream. (In fact, using liquid nitrogen to freeze your ice cream produces a finished product of exceptional smoothness!) If you have a frozen-bowl ice cream maker, make sure it is well frozen before you begin churning.
Chill before you churn
That need for a quick phase transition is one reason why it is very important that you chill your ice cream base before you churn it. I know it’s a bother, but getting the base down below 43°F (6°C) or lower—a temperature verified with your Thermapen—is essential, especially if you have a frozen-bowl ice cream machine. Those things can only suck so much heat out of your ice cream before they stop cooling, so you need to start much closer to freezing.
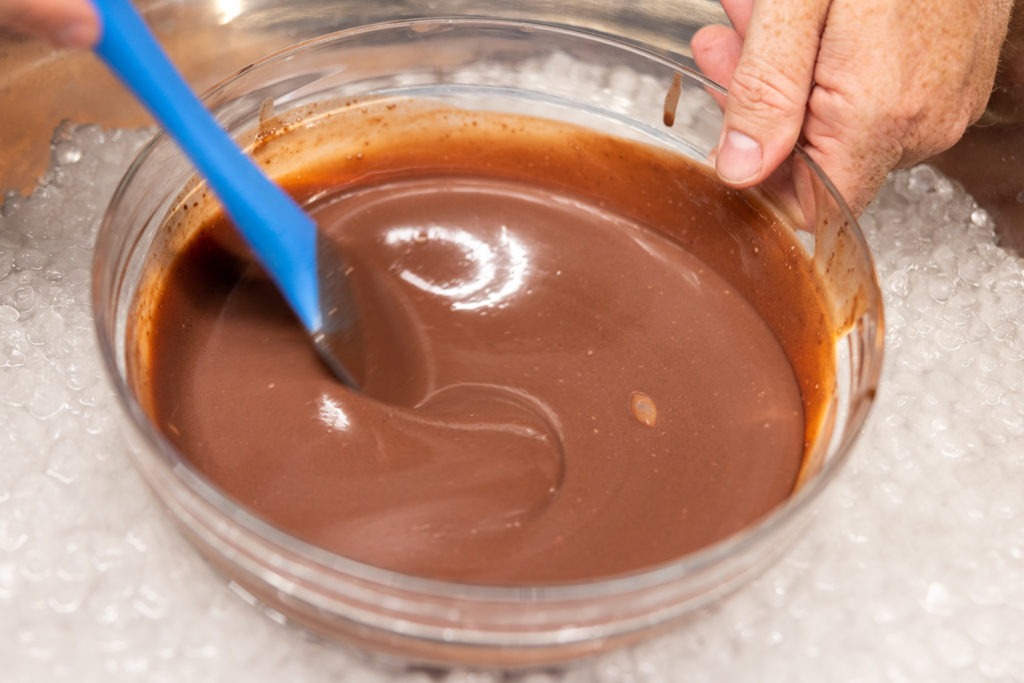
If you want to speed up the chill process, you can certainly use an ice bath. Set your bowl or pot of ice cream base in a much larger bowl of ice and water, and stir it as it cools. You can use your Thermapen to monitor the temp as you go so you know when you get to a low enough temperature. Just make sure that as you stir the ice cream you don’t agitate the water so much that it splashes up into the bowl with your base!
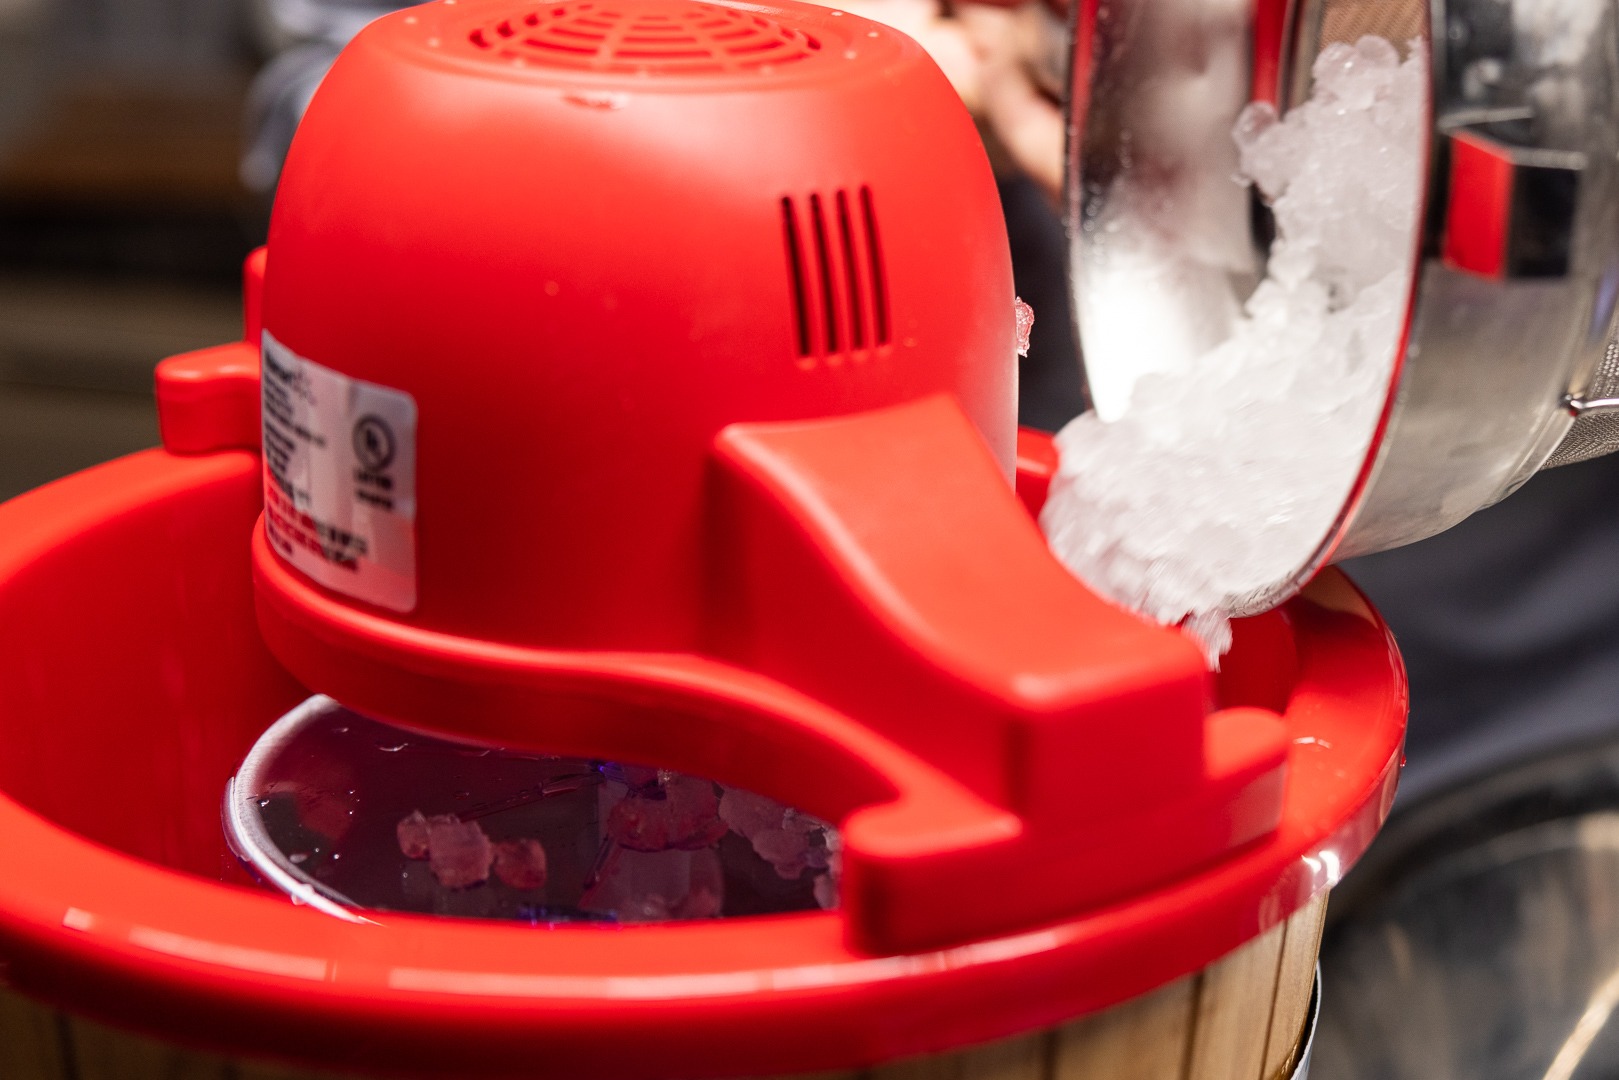
Freezing after churning
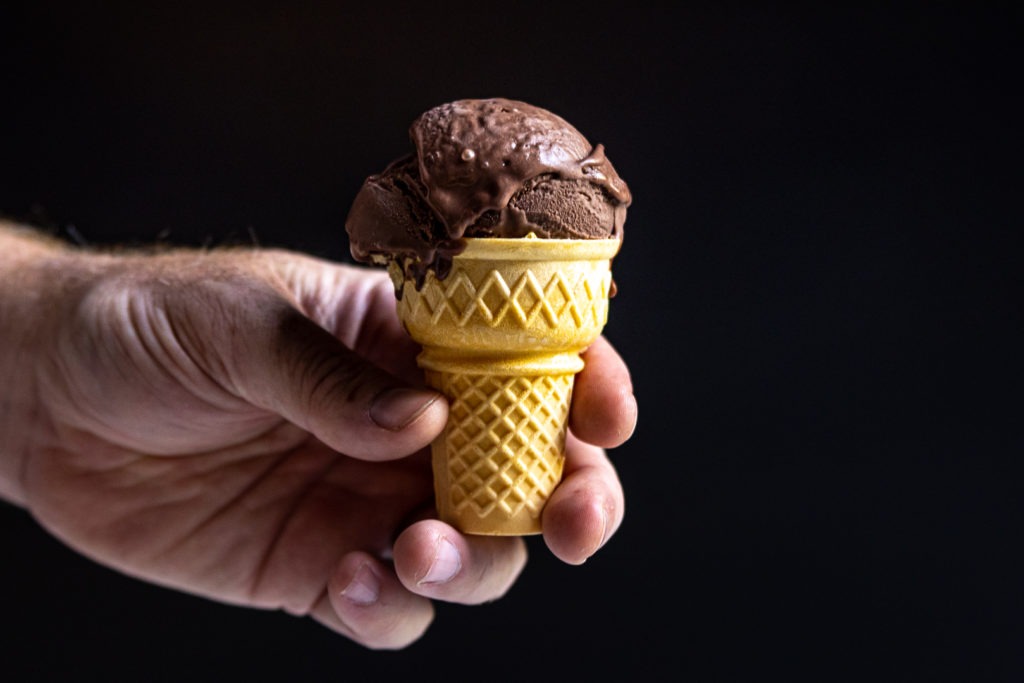
The motor on any given ice cream churn just can’t handle plowing through a finished product that is properly scoopable. Anyone who has worked at a scoop counter will tell you that ice cream doesn’t love moving! In order to get to the sit-on-a-cone consistency, you need to freeze the ice cream further. I know this kills some of the joy of it, but you really should make ice cream yesterday to eat it today, otherwise it will only be as thick as a good milkshake, at best.
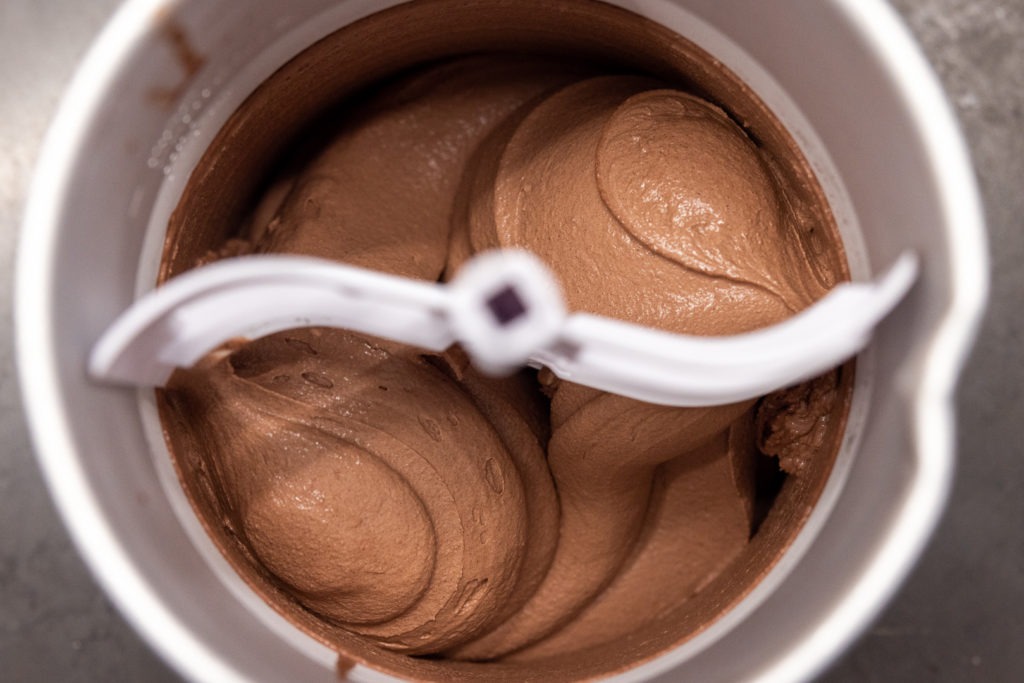
As soon as it is churned to the proper thickness, move it to your freezer, covered with parchment or plastic wrap right on the surface so that it doesn’t develop a skin. Let it sit for several hours (overnight is best) before serving, and you’ll get that real scoop-shop texture that is classic “ice cream.”
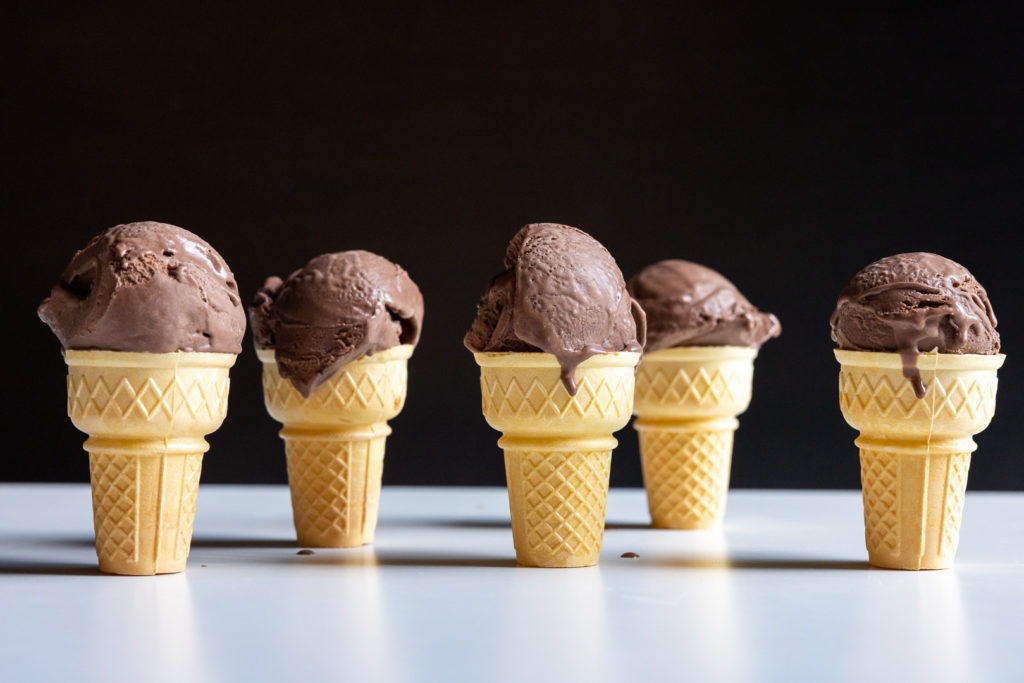
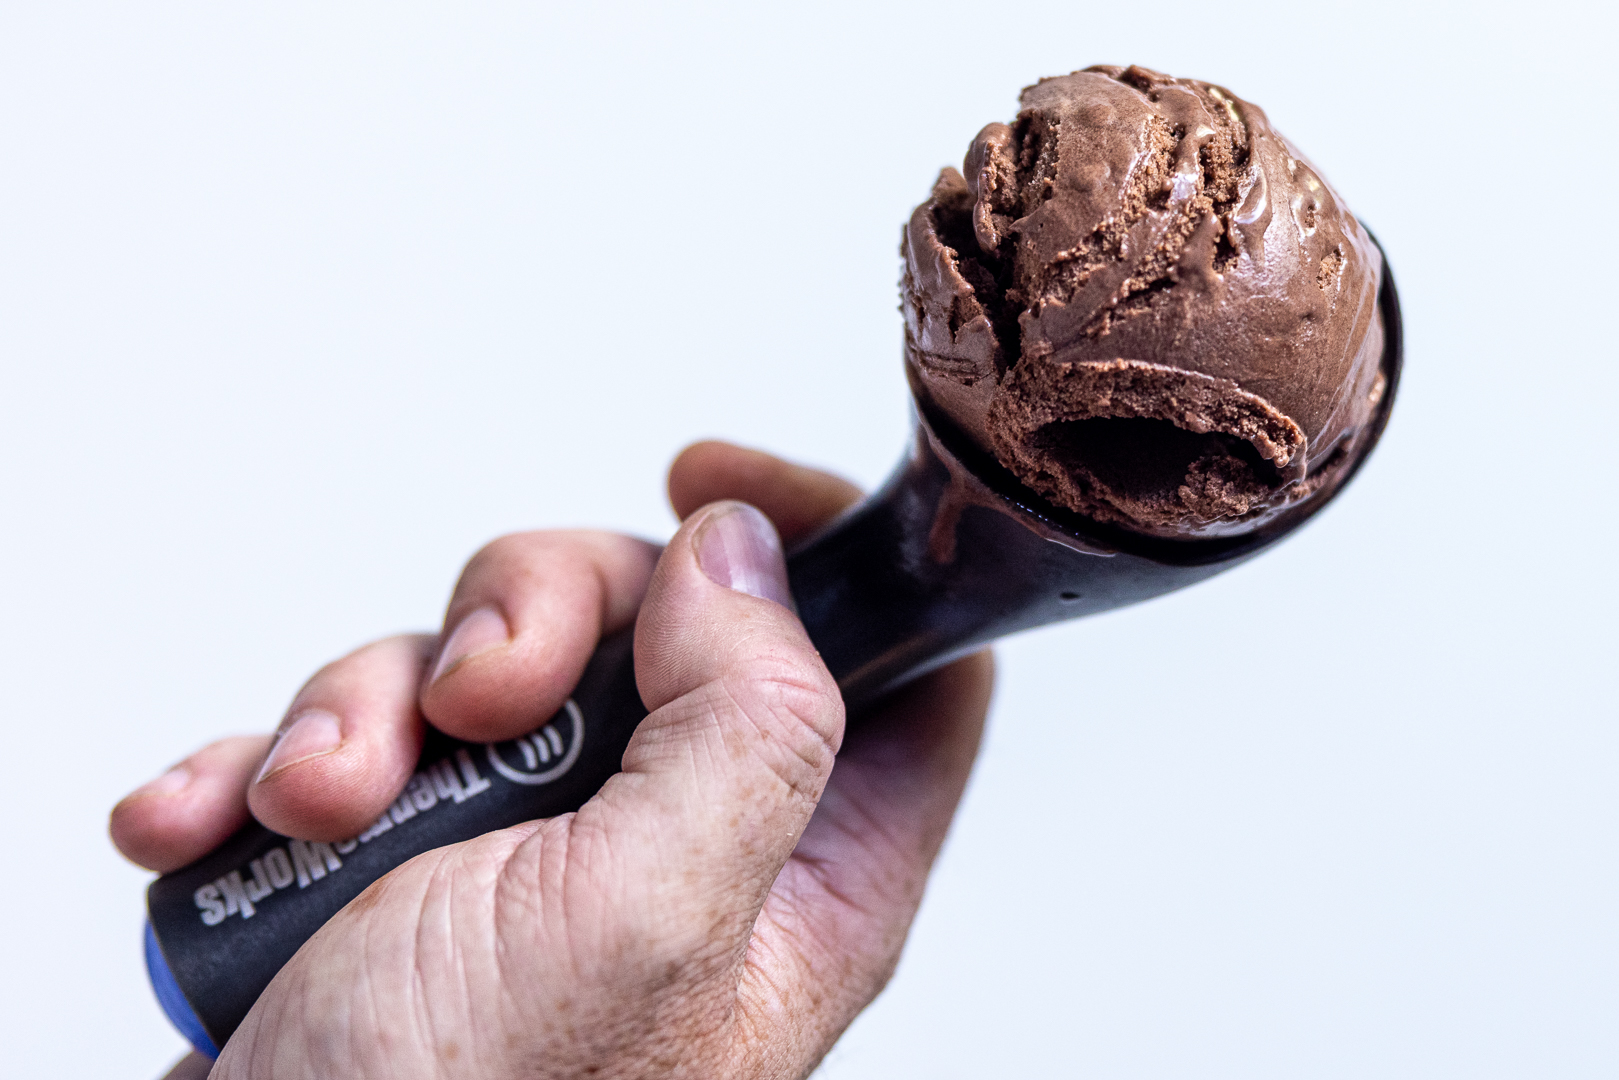
I hope you try this recipe. It’s rich, smooth, exceptionally chocolatey and—with the temperature guidance we’ve been over—easy to get right. Then, once you’ve perfected this flavor, move on to another, then another. Then another. Why not share and spread the joy of summer delight to all the seasons of the year? Get practicing, get tasting. Make some ice cream.

Homemade Chocolate Ice Cream Recipe
Ingredients
- 1½ oz dark chocolate 60–62%, chopped finely
- ½ C minus 1/2 Tbsp granulated sugar
- 2 Tbsp malted milk powder
- ¼ C + 2 Tbsp (28g) unsweetened alkalized (Dutch process) cocoa powder
- heavy pinch kosher salt
- pinch espresso powder
- ½ C milk
- 2½ C heavy cream divided
- 6-9 large egg yolks egg yolks vary in size; you want about 112 grams
- 3 Tbsp corn syrup
- 1 tsp vanilla extract
Instructions
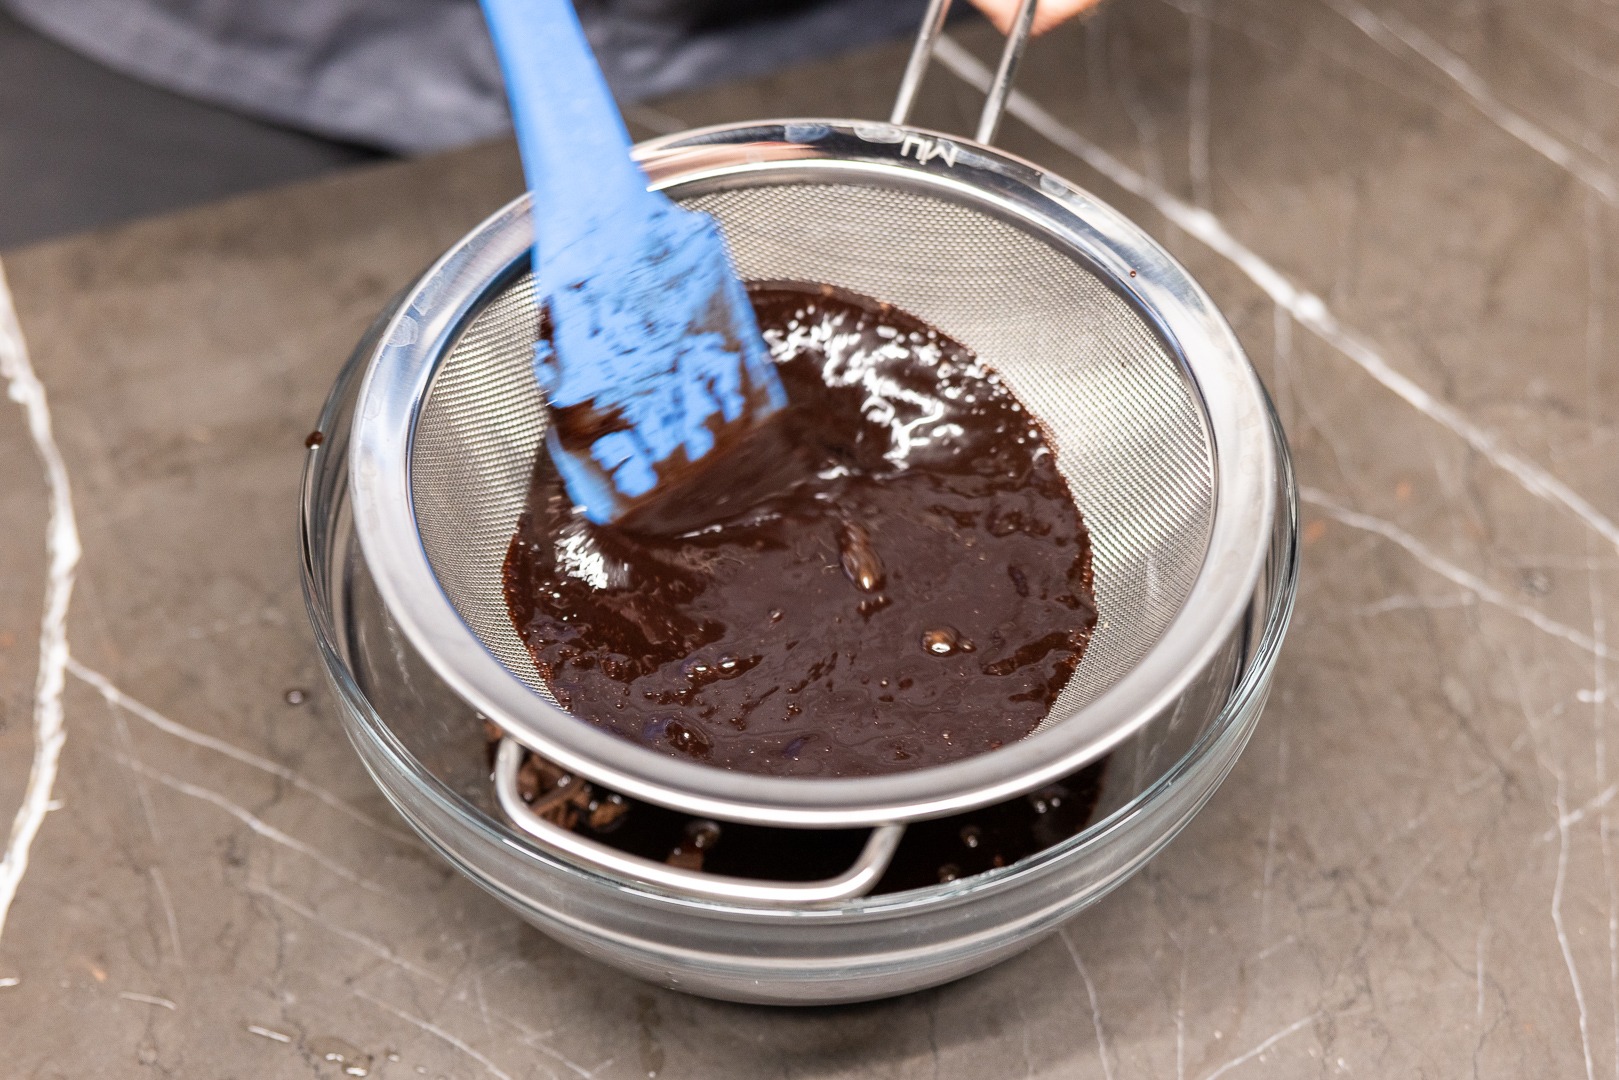
- Place the chopped chocolate in a medium bowl with a fine strainer suspended over it. You will eventually pour the hot liquid into it.
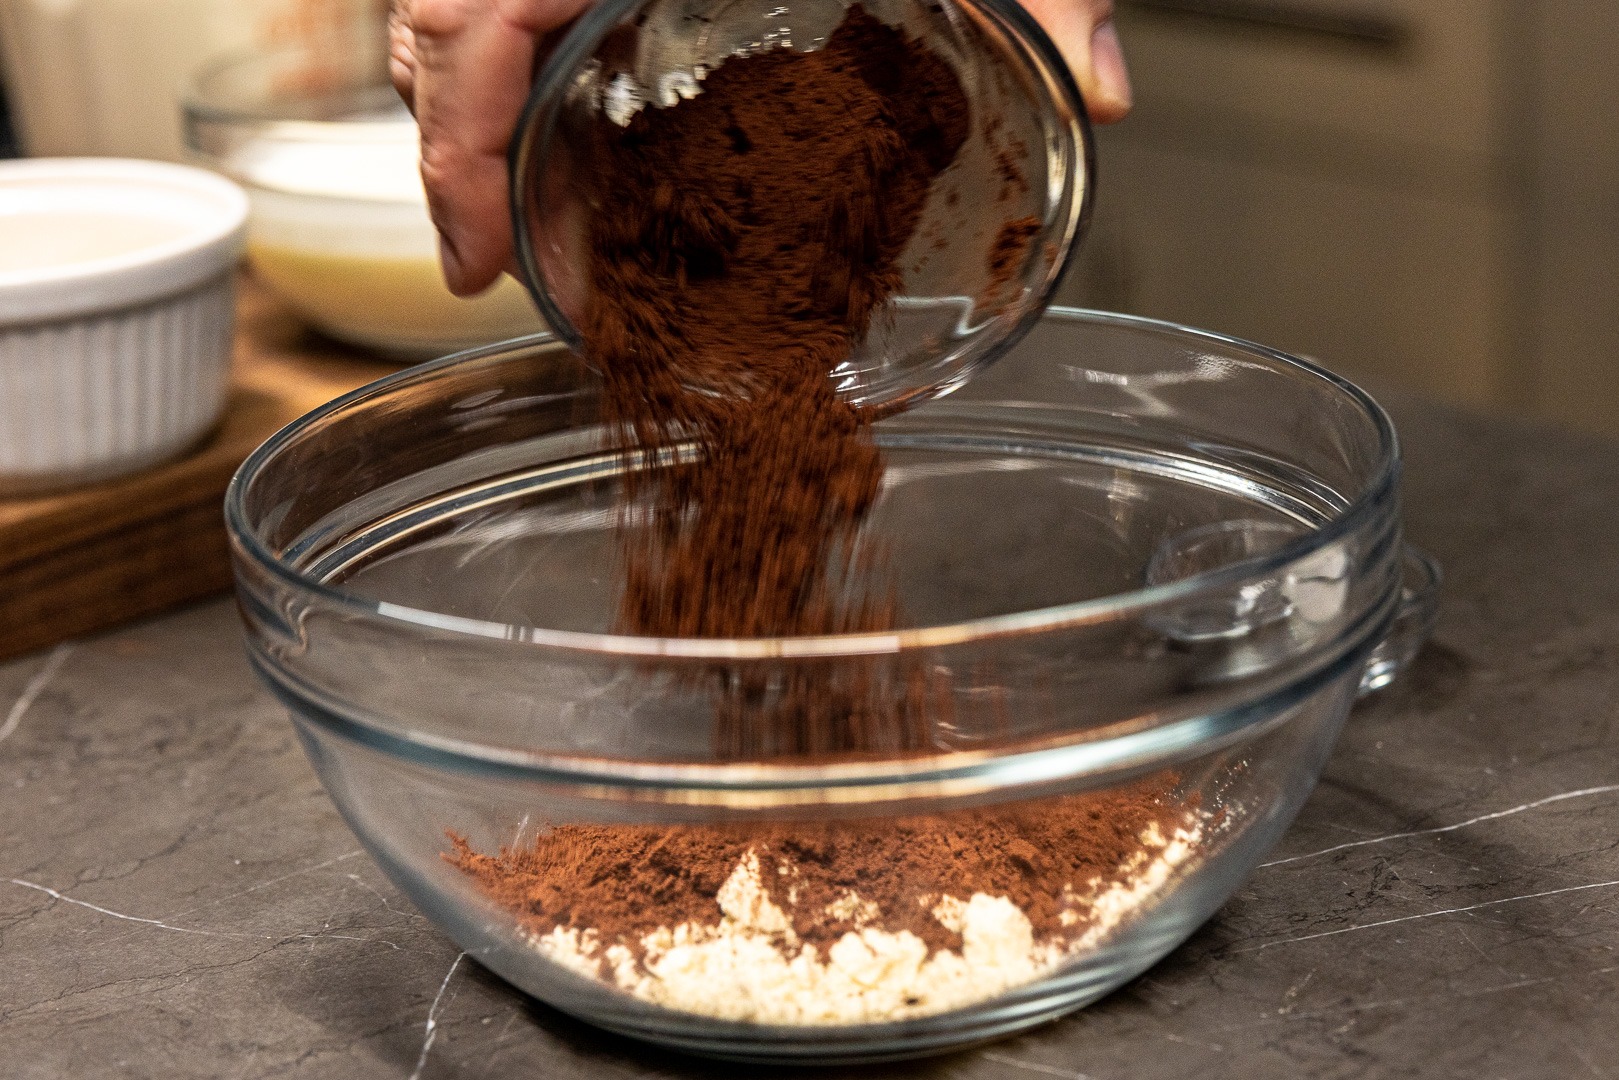
- Mix together the sugar, espresso powder, cocoa powder, malted milk powder, and salt in a bowl.

- In a saucepan, mix together the milk, egg yolks, and 1/2 C of the cream.
- Stir the corn syrup and the cocoa powder mixture in until it is pretty well dissolved.
- Heat the mixture over medium-low heat, stirring constantly with a silicone spatula and scraping the bottom of the pot. Spot check the temperature every couple minutes with your Thermapen ONE, looking for a temperature between 170°F and 180°F (77°C and 82°C).
- When your custard gets up to temp, pour it through the strainer set over the chopped chocolate. Scrape in any thickened base that clings to the bottom of the pan.
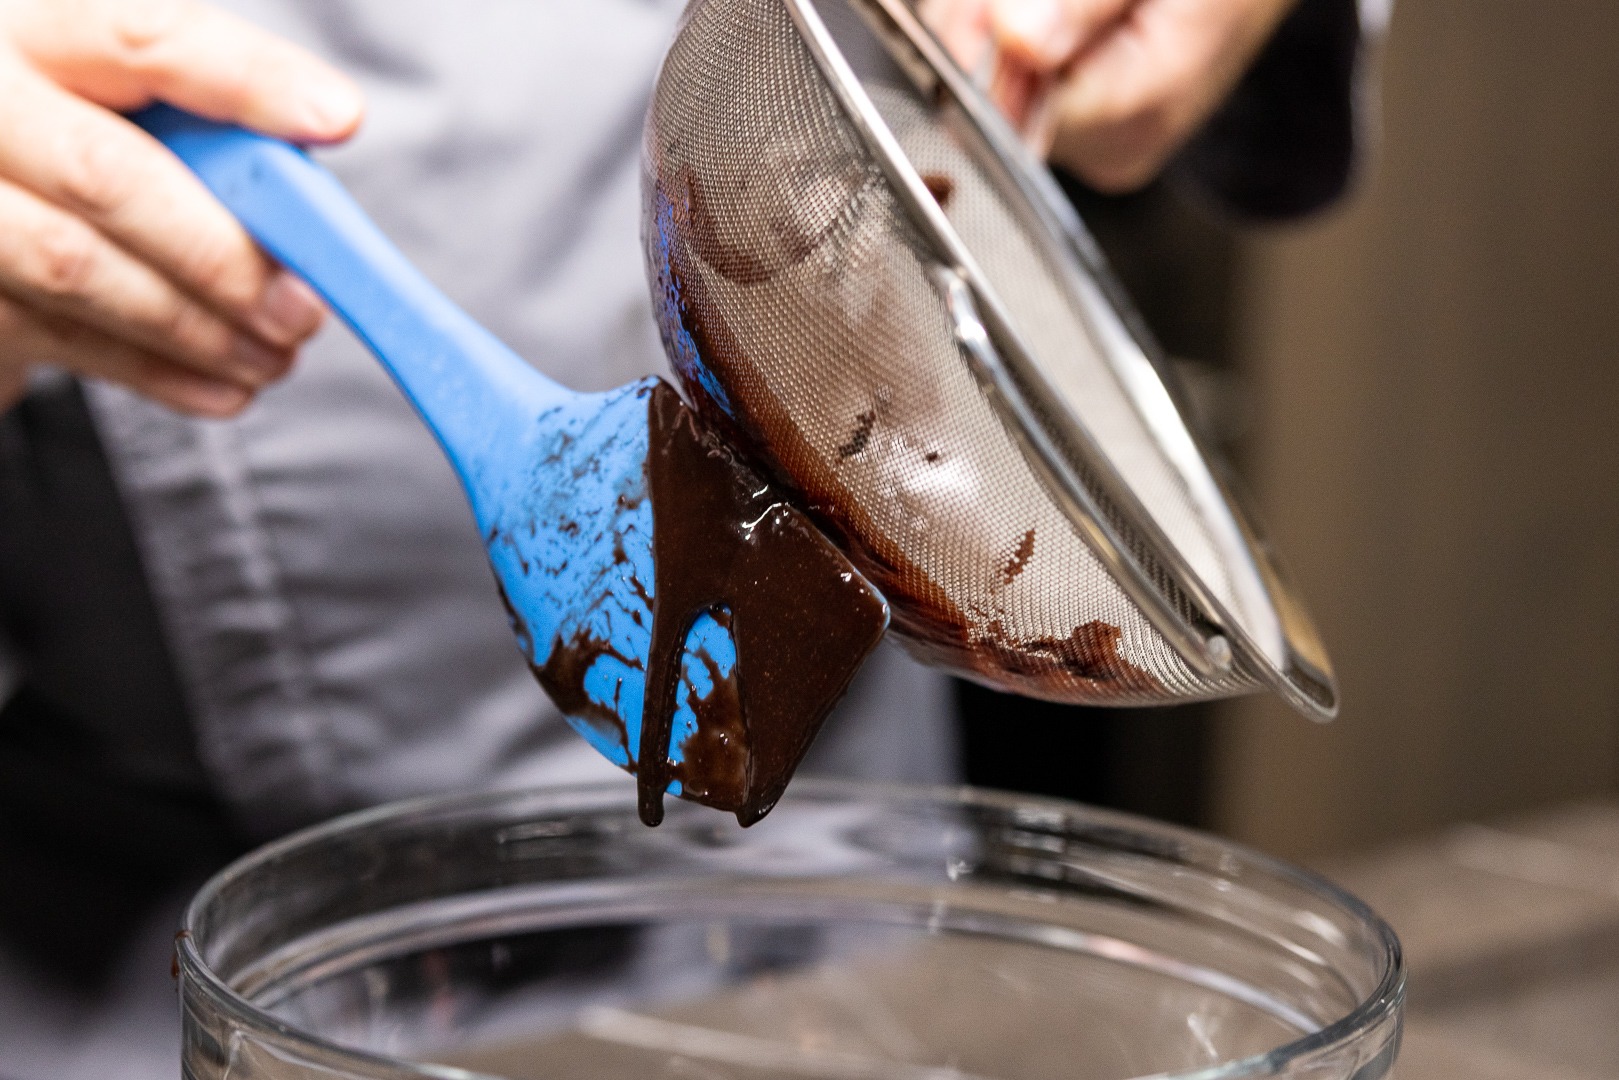
- Use the silicone spatula to press the mixture through the sieve and also to scrape the mixture from the bottom of the sieve into the bowl.
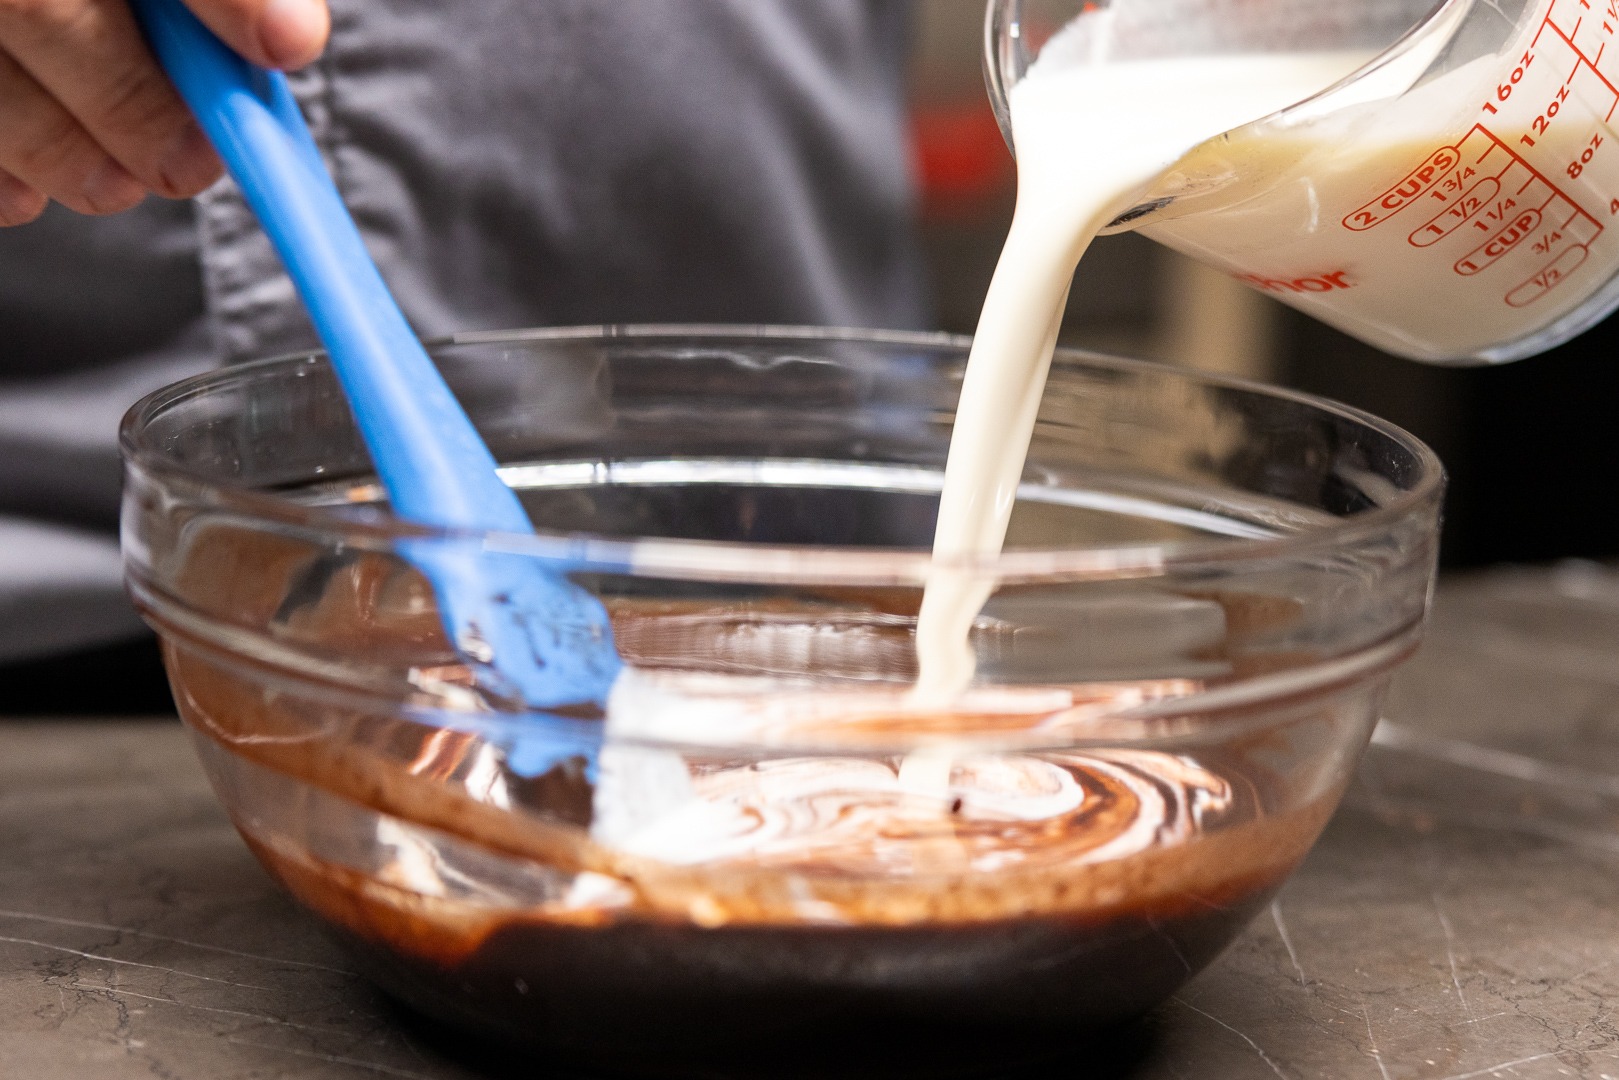
- Stir the hot custard and chocolate together to melt the chocolate. Add the remaining cream and the vanilla and stir to combine.
-
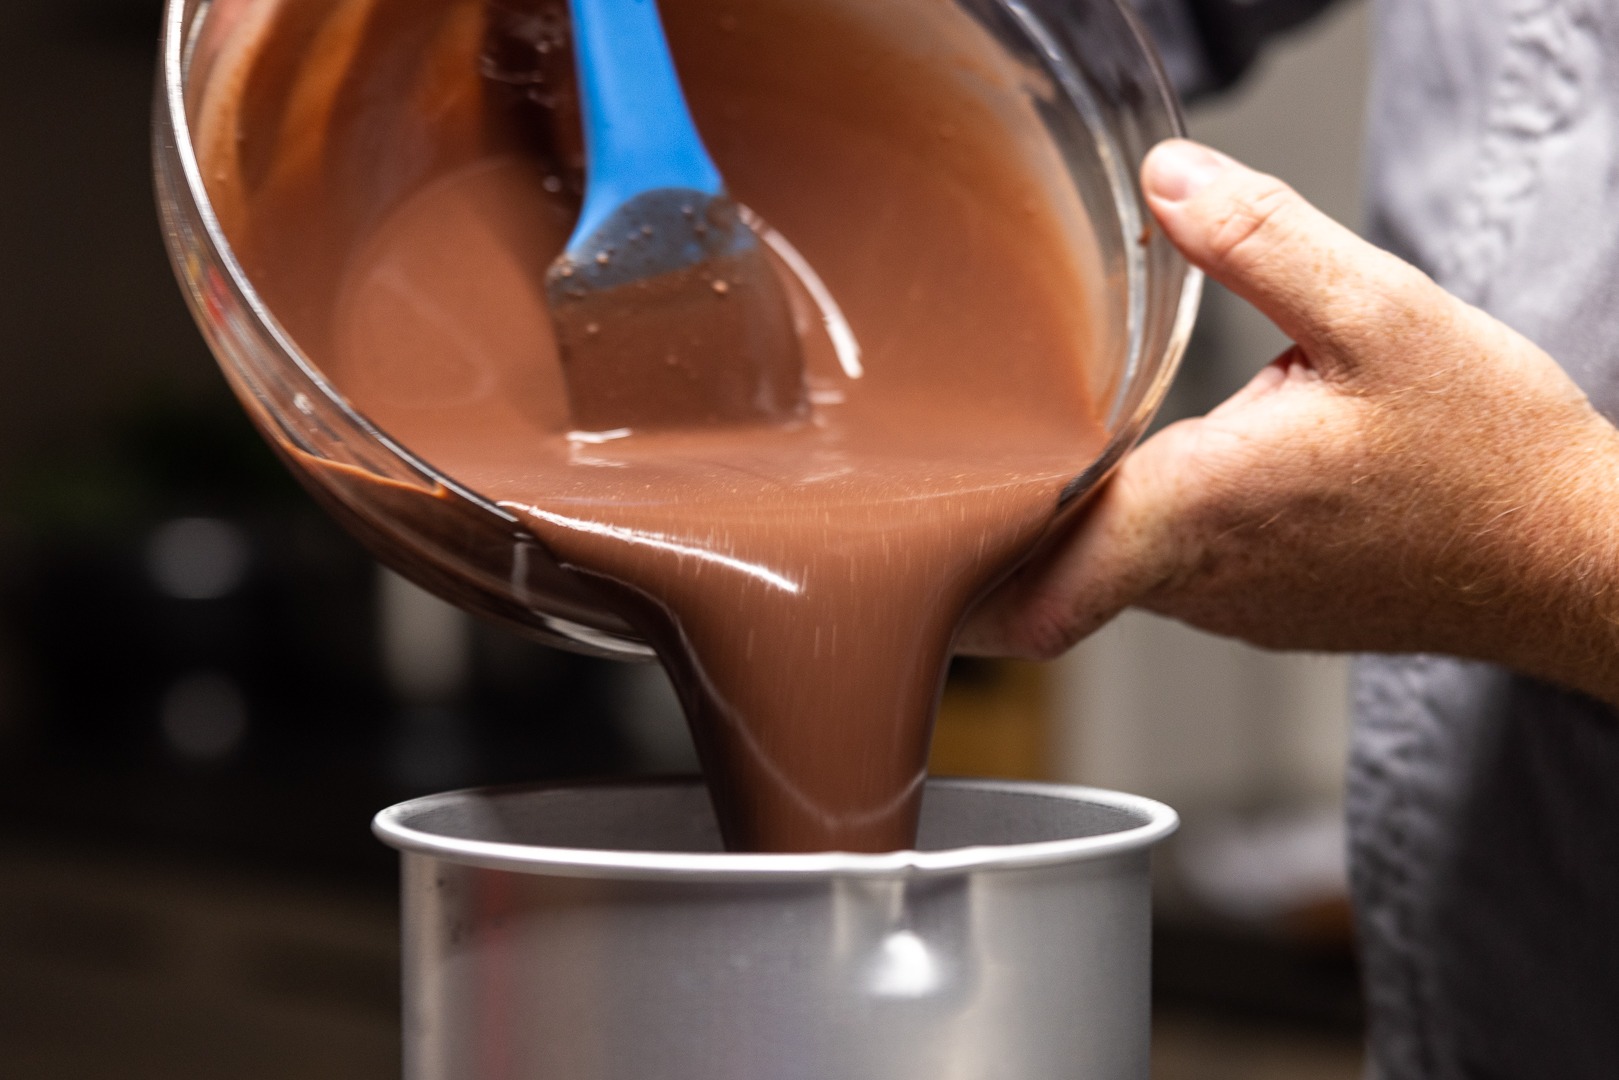
- Chill the ice cream base either by covering it and putting it in the refrigerator for several hours or by creating an ice bath in which to cool it. Either way, cool it to 43°F (6°C) or below as measured with your Thermapen.
- Once the mixture is properly chilled, freeze it in your churn, following the manufacturer’s instructions.
-
- When the ice cream has frozen enough, it needs to be frozen in the freezer. Transfer it to a chilled bowl or container, press plastic wrap onto its surface, and stick it in the freezer for at least 4 hours.
- Scoop and serve it!


A note of interest on the history of ice cream
The first published recipe for ice cream in the English language comes from a cookery book by one Mrs. Mary Eales, published in 1718. (Ice cream existed well before that, but no one published an English recipe for it before then.) Because it lacks a mechanism for incorporating air and agitating the ice cream as it freezes, this recipe will not produce an ice cream anything like what we enjoy today. Still, I think it is interesting to see how similar the process was then to how it is now. She also includes a method for freezing fresh fruits using the same thermal principles. Enjoy! (I have not modernized the spelling or grammar so that you can get the full 1718 experience.)
TAKE Tin Ice-Pots, fill them with any Sort of Cream you like, either plain or sweeten’d, or Fruit in it; shut your Pots very close; to six Pots you must allow eighteen or twenty Pound of Ice, breaking the Ice very small; there will be some great Pieces, which lay at the Bottom and Top: You must have a Pail, and lay some Straw at the Bottom; then lay in your Ice, and put in amongst it a Pound of Bay-Salt; set in your Pots of Cream, and lay Ice and Salt between every Pot, that they may not touch; but the Ice must lie round them on every Side; lay a good deal of Ice on the Top, cover the Pail with Straw, set it in a Cellar where no Sun or Light comes, it will be froze in four Hours, but it may stand longer; than take it out just as you use it; hold it in your Hand and it will slip out. When you wou’d freeze any Sort of Fruit, either Cherries, Rasberries, Currants, or Strawberries, fill your Tin-Pots with the Fruit, but as hollow as you can; put to them Lemmonade, made with Spring-Water and Lemmon-Juice sweeten’d; put enough in the Pots to make the Fruit hang together, and put them in Ice as you do Cream.
—Mrs. Mary Eales, Mrs Mary Eales’s Receipts
Shop now for products used in this post:

Doing a search on “frozen custard requirements”, my first hit was to [[https://www.accessdata.fda.gov/scripts/cdrh/cfdocs/cfcfr/CFRSearch.cfm?fr=135.11]], which defines ice cream and frozen custard.
Summarizing, ice cream is (not counting its flavorings) at least 20% combined milkfat and milkfat solids and less than 1.4% egg solids by weight. If you have more egg, it is named “frozen custard”, “french ice cream”, or “french custard ice cream”.
Erich,
That’s fantastic to know! Thanks for figuring it out for us (me).
Good article! I have no idea why I never thought to use my Thermapen to check ice cream mix temperature, but did learn through testing that a cold mix does best in my frozen bowl ice cream maker. Custard ice creams are unpalatable to me, so this recipe is a no-go, but the temperature and ice crystal information gives me some ideas to improve some of my custom recipes.
Anna,
I think you could figure out how to remove the eggs from this. The level of chocolate in it is amazing, so I’d recommend finding a way! And yes, the thermal principles apply across the board.
Happy cooking!
Remove the eggs add in 40 grams skim milk powder 2 grams ice ice cream stabilizer mix which is a mixture of various gums (guar, xantham, locust bean, carragan as the stabilizers and lethicin as the emulsifier ) You neber actually need egg yokes unless you want the flavor. Simply replace wuth skim milk powder to replace the solids and the stabilizer mix to replace yoke lethicin etc
Is your replacement recipe scalable? I would like to be able to adapt this for recipes that use something other than 110g (4oz) of yolk
Do you sell the ice cream scoop?
We used to, so we had some on hand, but we don’t currently sell it.
It is f*cking delicious
Can this be made with sugar instead of corn syrup without changing any ratios?
Yes, but you’ll get a different mouthfeel—it won’t be al dreamily creamy. If you’re opposed to corn syrup, you can use glucose syrup, which has a similarly neutral flavor. Of course, you can try try agave syrup or, if it works with your ice cream flavors, honey.
It will freeze harder too as its a freeze depressant also more so than sucrose.
Fat % is kind of thru the roof when you account for the butter fat, cocoa butter, and egg yoke fat considering the total mixture is around 1000 grams. Its definately a frozen custard as it has about 5% egg solids as yokes are 45-50% solids and its 10% yokes. The recipe as is around 25%+ fat where most all super premium ice creams are in the 14-18% total fat range. The total solids are a tiny bit high and everything else is good. I would cut yokes to 100g. Increase milk to 250g and correspondingly decrease cream to 460g. That offsets so there is no change in total weight or volume. This brings fat down in the 20% and keeps all the others in proper ranges for good very high end ice cream.
So many recipes on the net use way to much cream/butter or total fat. Saw one 1 quart recipe that had 18 yokes!?! Just a complete waste as its around 230-250 g of yoke or 25 %. Another recipe was 1 quart heavy whipping cream to 1 cup half-n-half!! Just silly with no idea about proper ice cream formulation or the supporting food science.
Only other thing that could be added to this recipe is a gram or 2 of guar gum as a stabilizer to prevent ice growth and melt depressant being its chocolate. Most people forget the amount of cocoa butter fat high quality cocoa powder and dark cholocalte has. Valrhona cocoa powder for example is 21% with good bars & nibbs double that easy. Add that to your total fats along with the yokes its easy to get way to much fat. When adding bar dark chocolate its best to use the bar as most of the flavoring and use the dutched cocoa for the nice rich dark color. This recipe has good chocolate balance.
IME always leave the mixture to develop its flavors overnight to 24hrs in the frig. It really adds depth and complex flavors regardless of flavoring but espevialky true if good chocolates or vannila beans are used.