Homemade Danish Pastry: Temps for Flaky Layers
Danishes are some of the tastiest pastries that you can eat. When they are made right, they are flaky, light, nuanced, delightful treats that would be worth standing in line for. But most of the Danishes we eat a pale shadow of the real thing: cloying, waxy, wan staples of hotel “continental breakfasts” and grocery store “bakery” departments where they are, at best, thawed out and warmed. This dilution is unjust! The Danish deserves to be known for what it can actually be, and that means you need to make them at home! Making homemade Danish pastry isn’t hard—it just takes time and some temperature awareness and a properly calibrated oven. Here, we’ll walk you through how it’s done so you can have the best pastries for breakfast you can imagine.
Get the tools used in this cook here:
What is Danish pastry?
Danish pastry is an extra-rich, yeasted, laminated dough. Laminated because it has thin layers of butter sandwiched between thin sheets of dough, extra rich because it has not only butter and sugar, but eggs as well. (The egg is what separates Danish pastry dough from croissant dough.)
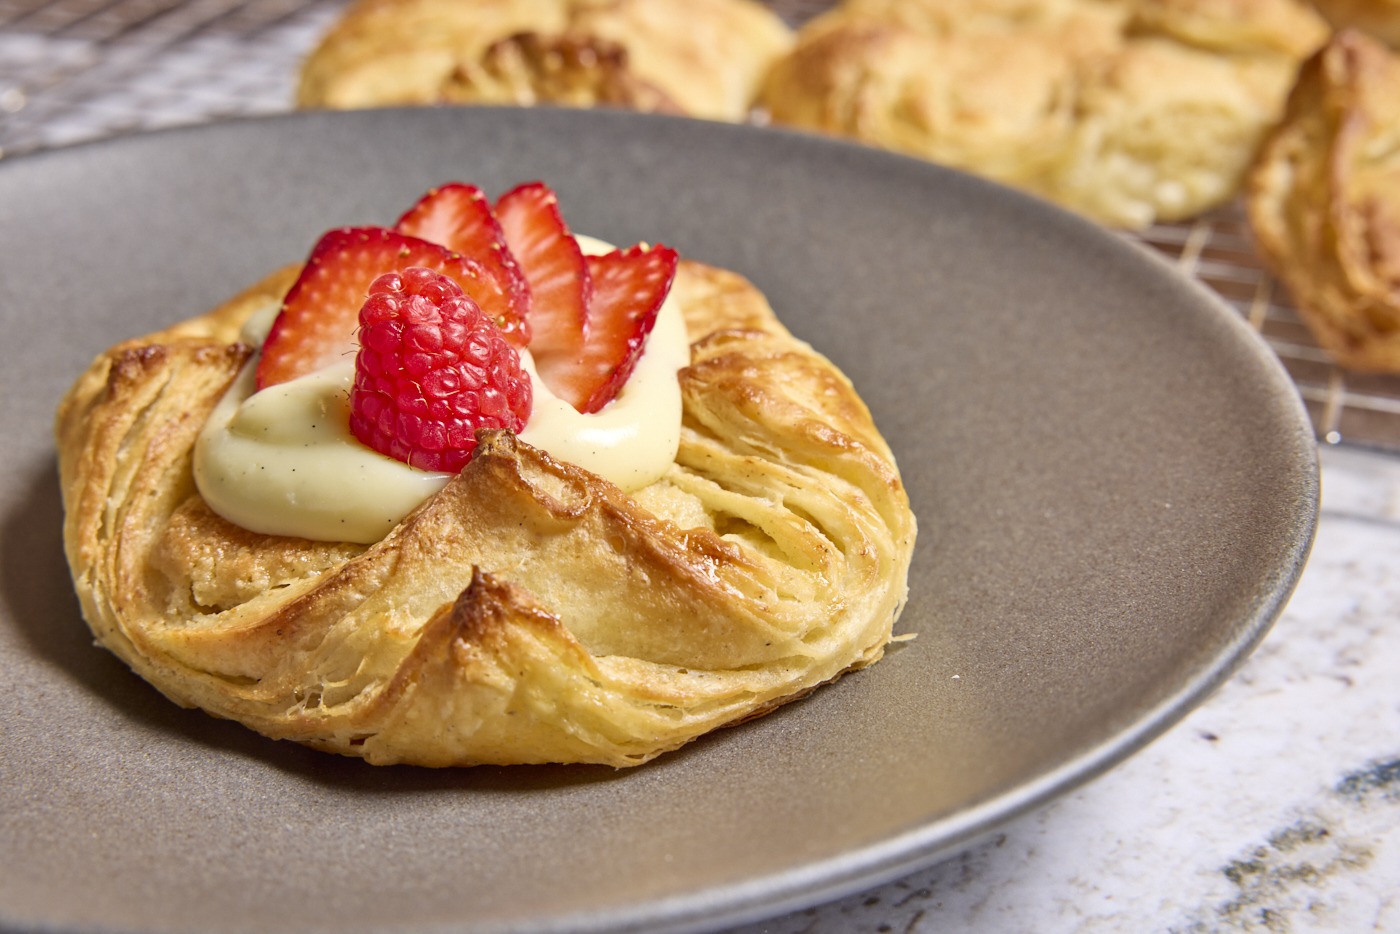
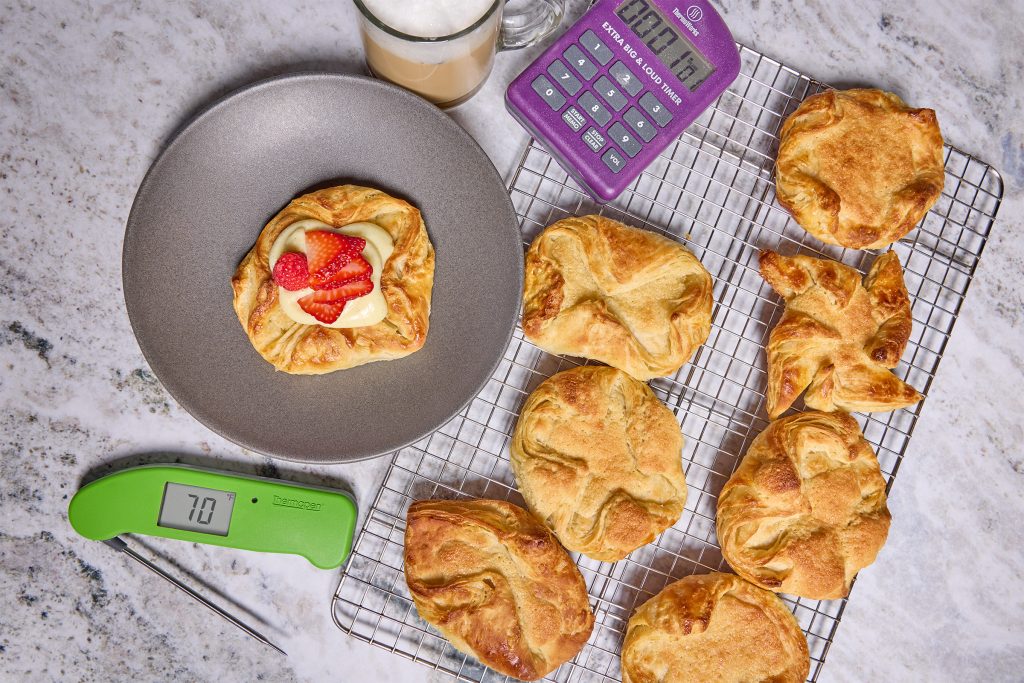
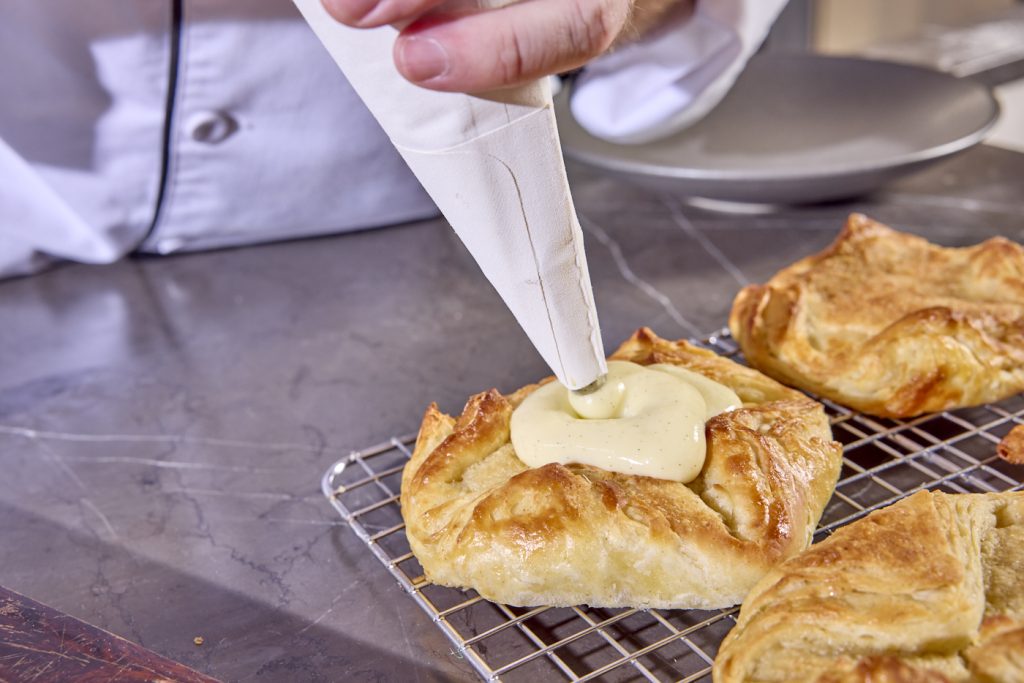
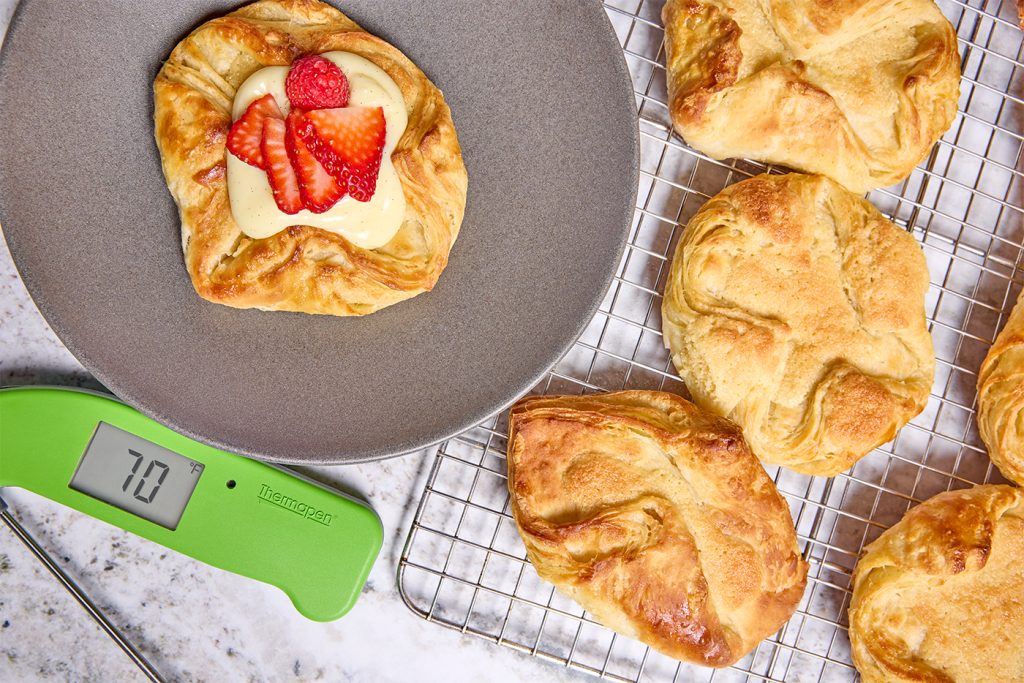
Danishes are often filled. In America, they are most often with a sweet cream cheese filling, with or without a jammy fruit filling. But they can also be filled with frangipane (a sweet and delicate almond paste) or topped with pastry cream and fresh fruit. They can be cut into myriad shapes, from pinwheels to bear claws to simple squares, but those are purely aesthetic choices. We opted for frangipane inside our pastries and some pastry cream and fresh fruit on top—a combination we highly recommend!
Important temperatures for laminated doughs, including Danish pastry
Though we’re not chasing one particular doneness temperature in this cook, there are critical temperatures to be aware of along the way. One is water temp for the dough. We don’t want our yeast rising too quickly in this dough, as we’ll need to be working it several times over the course of a few hours. So we use cooler water and milk than we might in, say, sandwich bread. Keep your liquids around room temperature for this dough—68–72°F (20–22°C).
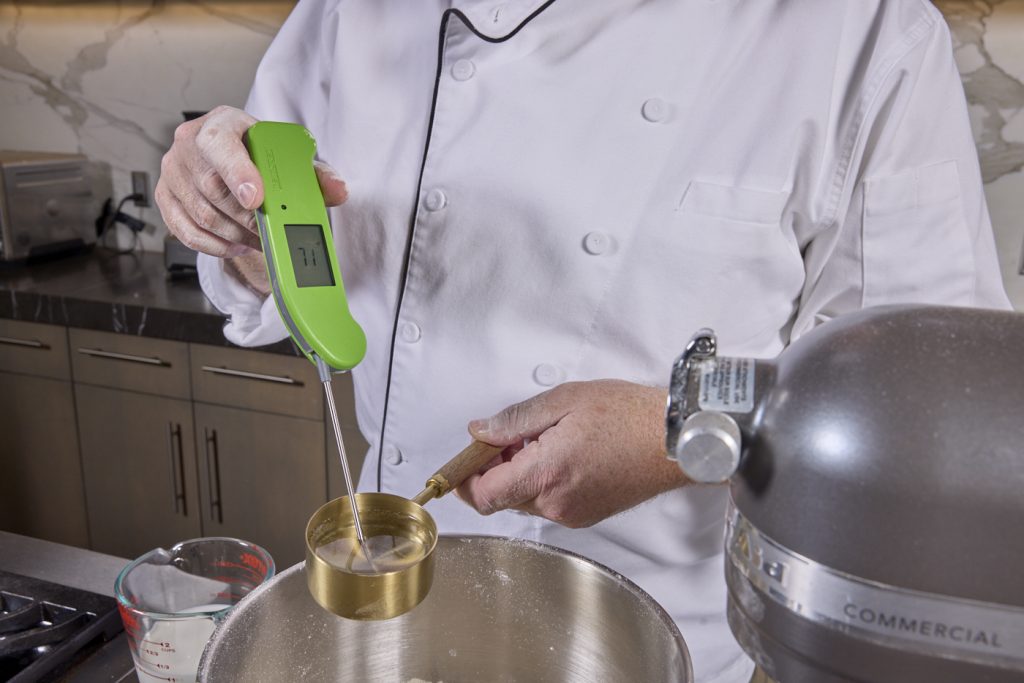
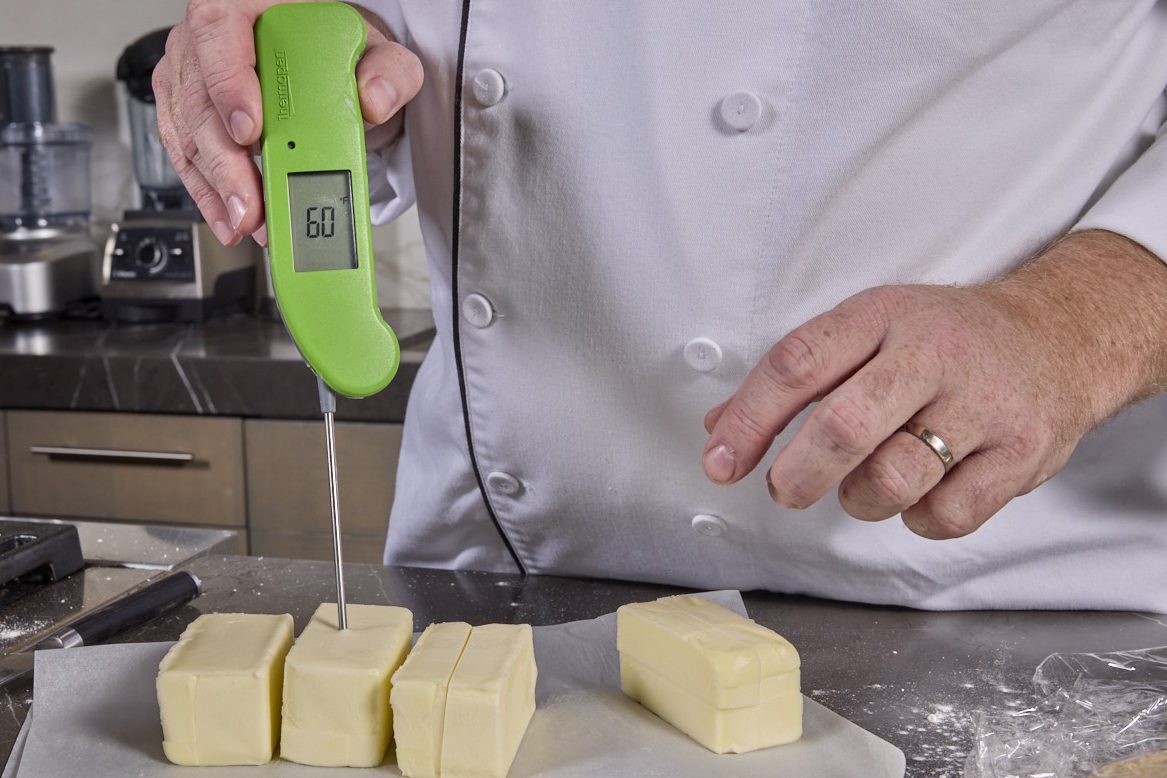
Then, of course, there is the butter. Butter that is very cold will be impossible to roll out. It will shatter rather than sheet smoothly. If it is too warm, it will squish out from between the layers of dough. To keep either of these things from happening, use your Thermapen ONE to make sure the butter is at the right temperature. This goes for the butter book that you make to put between the layers and the dough itself between turns and folds (more on both of those later). The optimal butter-working temperature is between 55 and 63°F (13 and 17°C).
Finally, and importantly, there is your oven temp. Danish pastry is a form of puff pastry and depends on very high heat to create the steam between its layers that allows them to separate and flake. We’ll be cooking these beauties at 400°F (204°C), and we know our oven will do what it says because we’ve checked it with our Square DOT. (To make sure your oven isn’t lying to you about its temperatures, follow the instructions in this post on using Square DOT to verify oven temps.)
Laminating dough: turns and folds and cooling times
This brings us to the “hard” part of making homemade Danishes from scratch: the lamination. Don’t worry, though, it’s really not that hard.
The dough itself
We want a dough that is extensible yet but can be stretched easily, so we’re using all-purpose flour. Its lower gluten content will make it easier to roll as many times as we need to. to further prevent gluten formation, we rub some butter into the flour, biscuit-style, to coat the flour with fat before we introduce the gluten-forming water. The dough is mixed until shaggy and nowhere near smooth—again, we’re keeping the gluten low.
Making the butter sheet
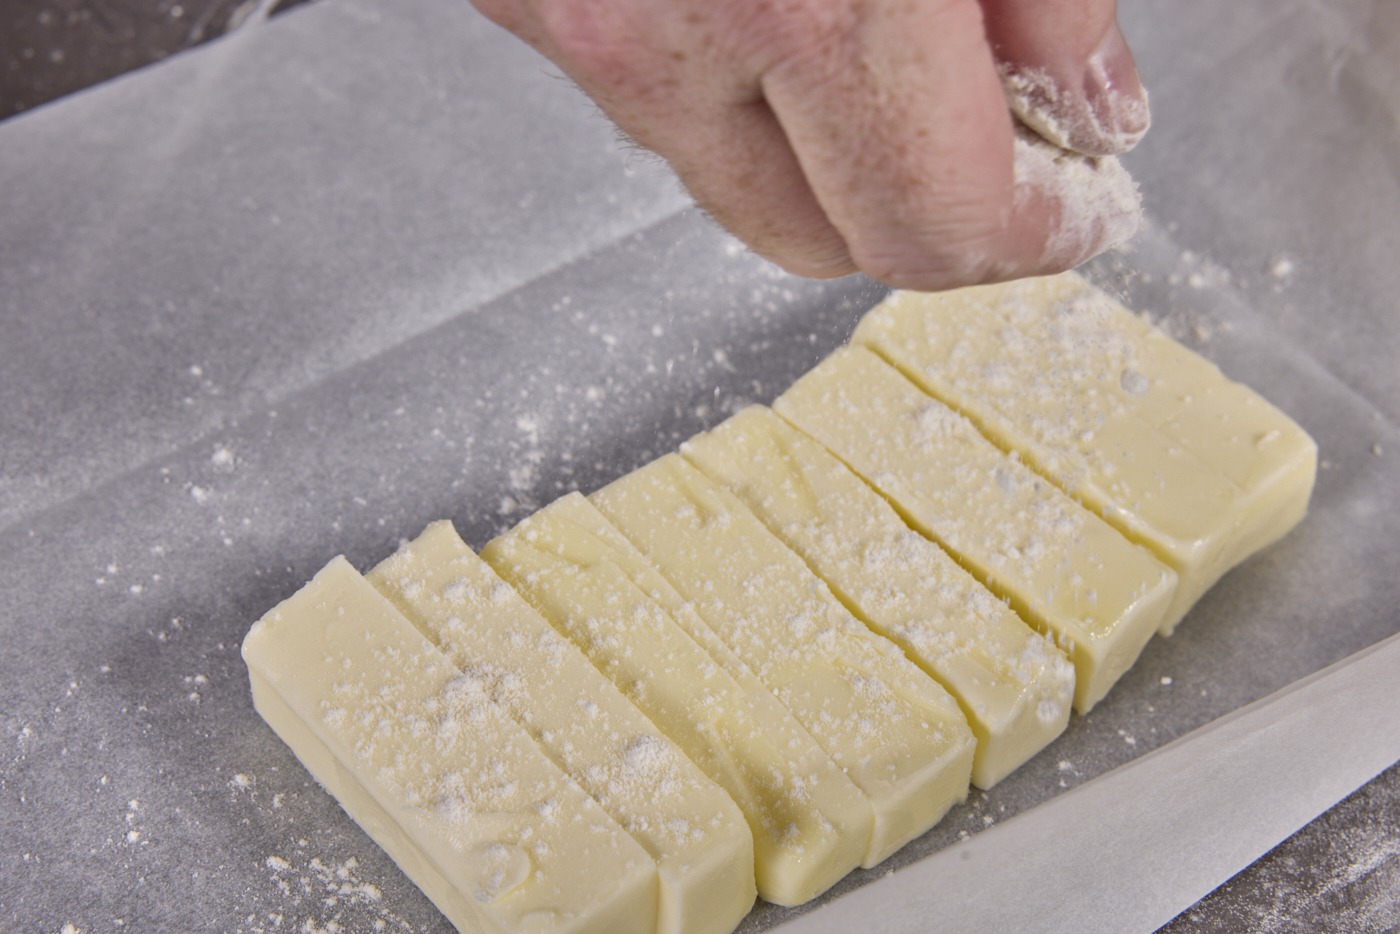
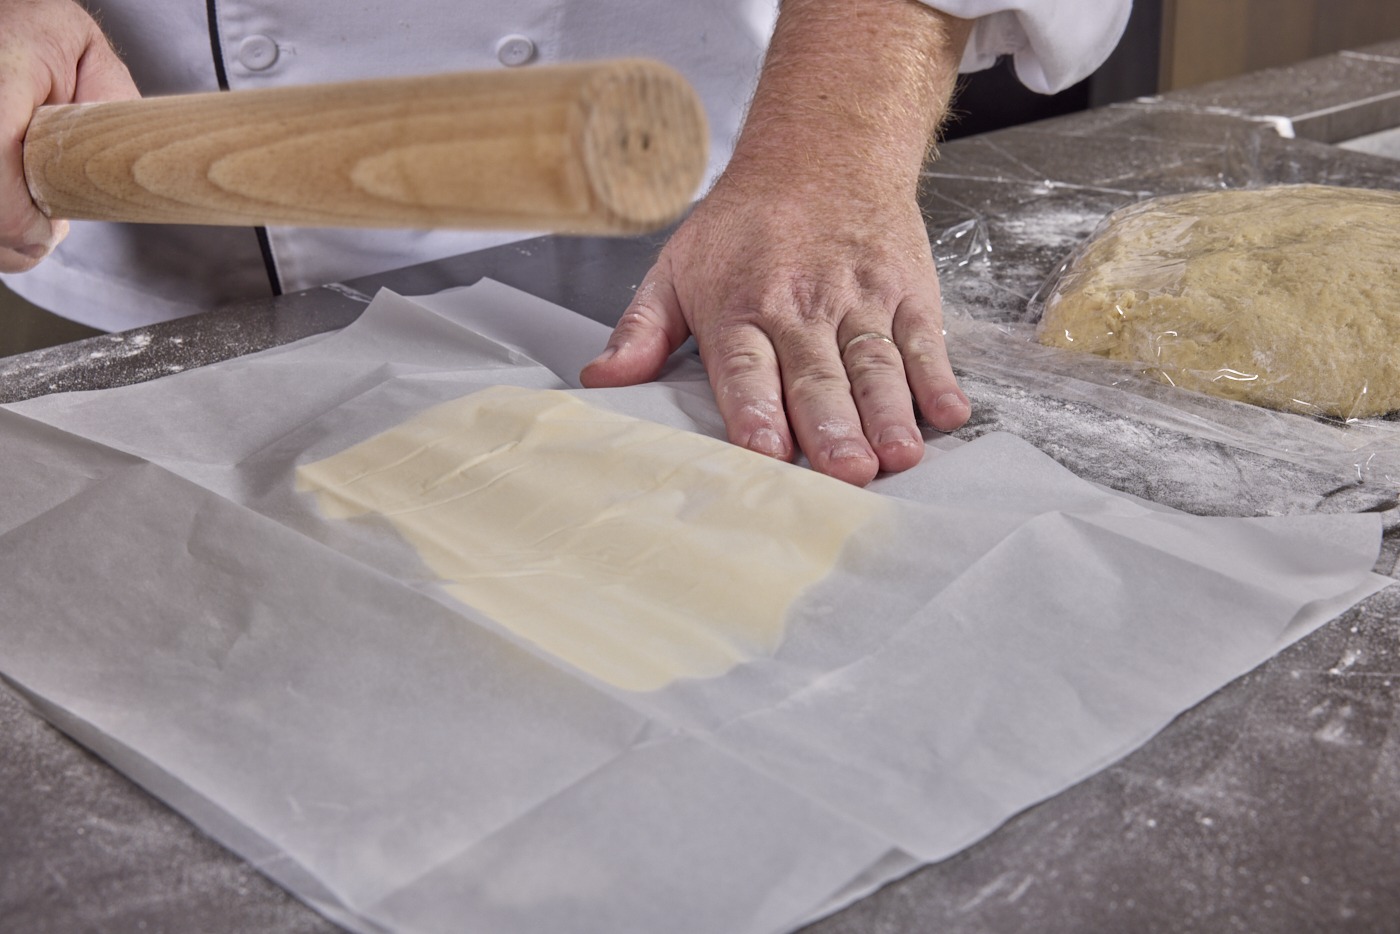
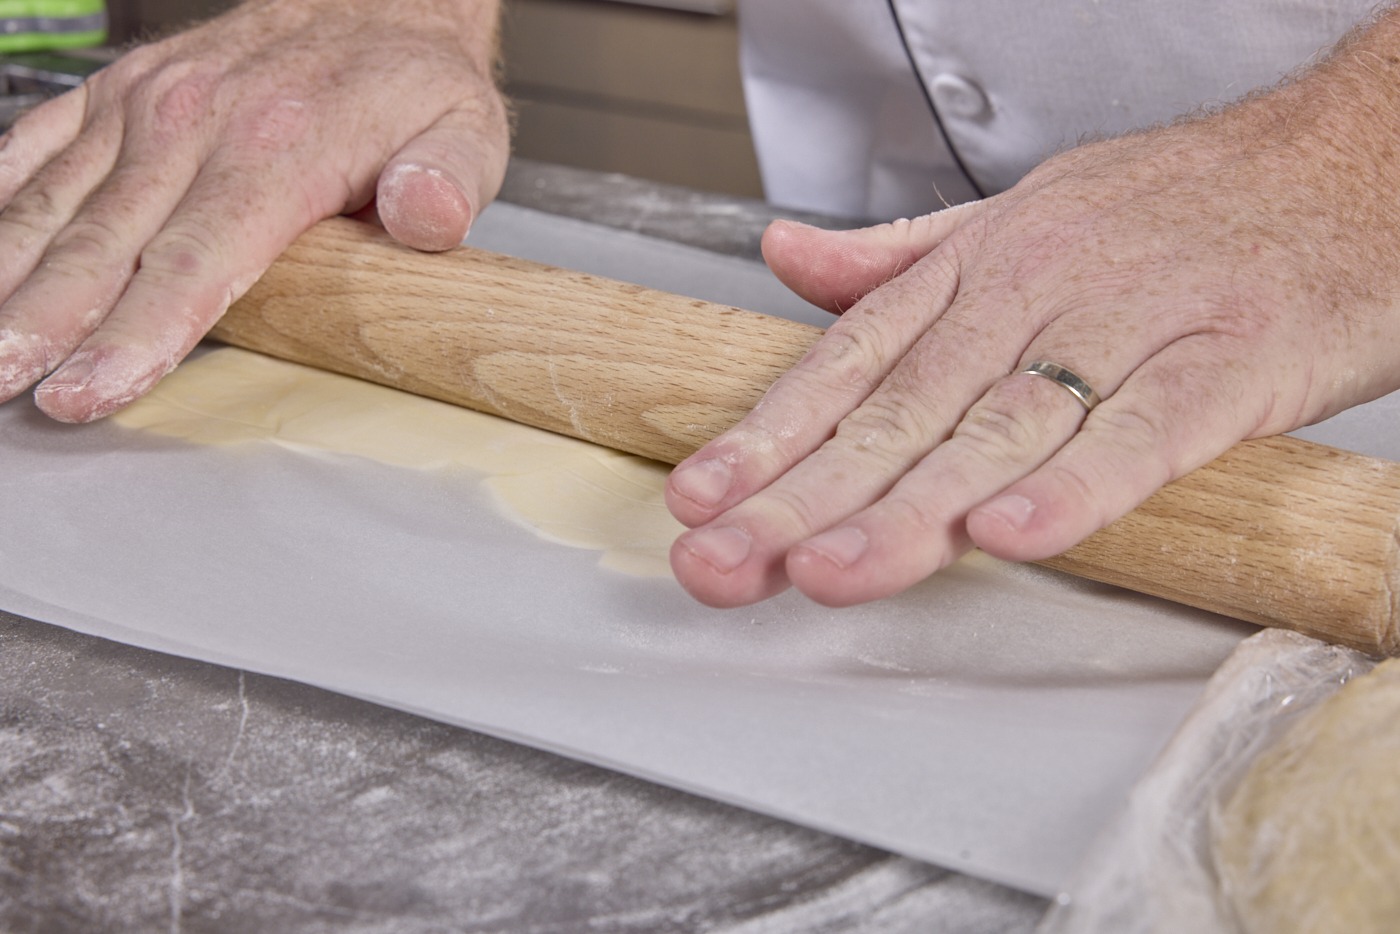
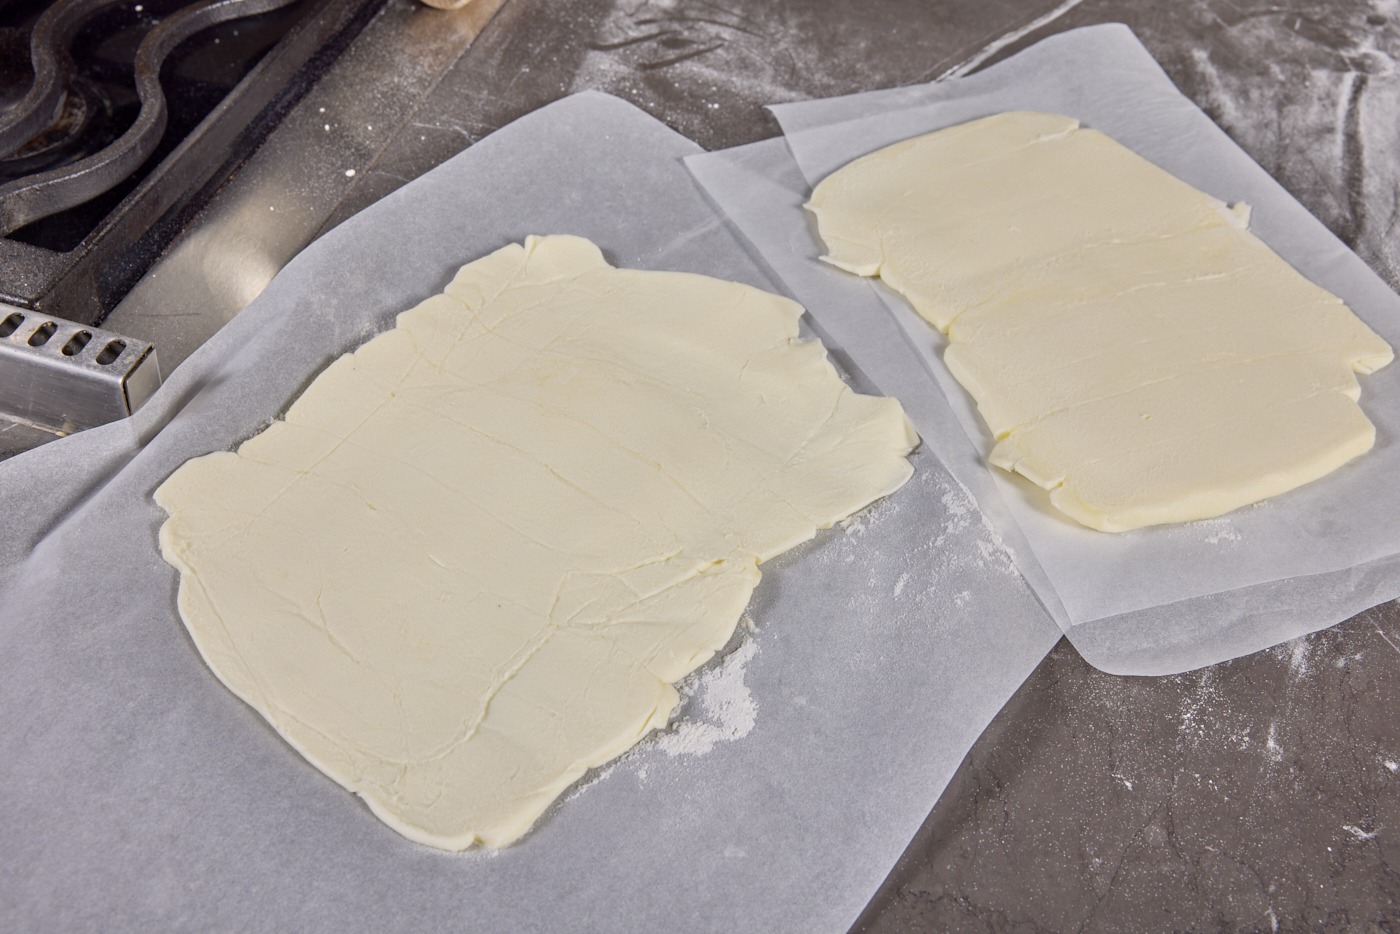
Danish pastry depends on butter laminated with the dough, and this is where that butter comes from. We use 14 ounces of unsalted butter (four sticks, each with a half tablespoon cut off of one end—those two tablespoons of butter are what we rub into the flour). Cut each stick in quarters and line eight of them up side by side on a sheet of parchment paper. Dust them with a little flour and place another sheet on top. Beat, roll, and press the butter out until it forms a rough rectangle about 6″ x 9″.
Repeat the process with the other eight quarter-sticks. You now have two butter sheets for laminating.
Make the dough rectangle
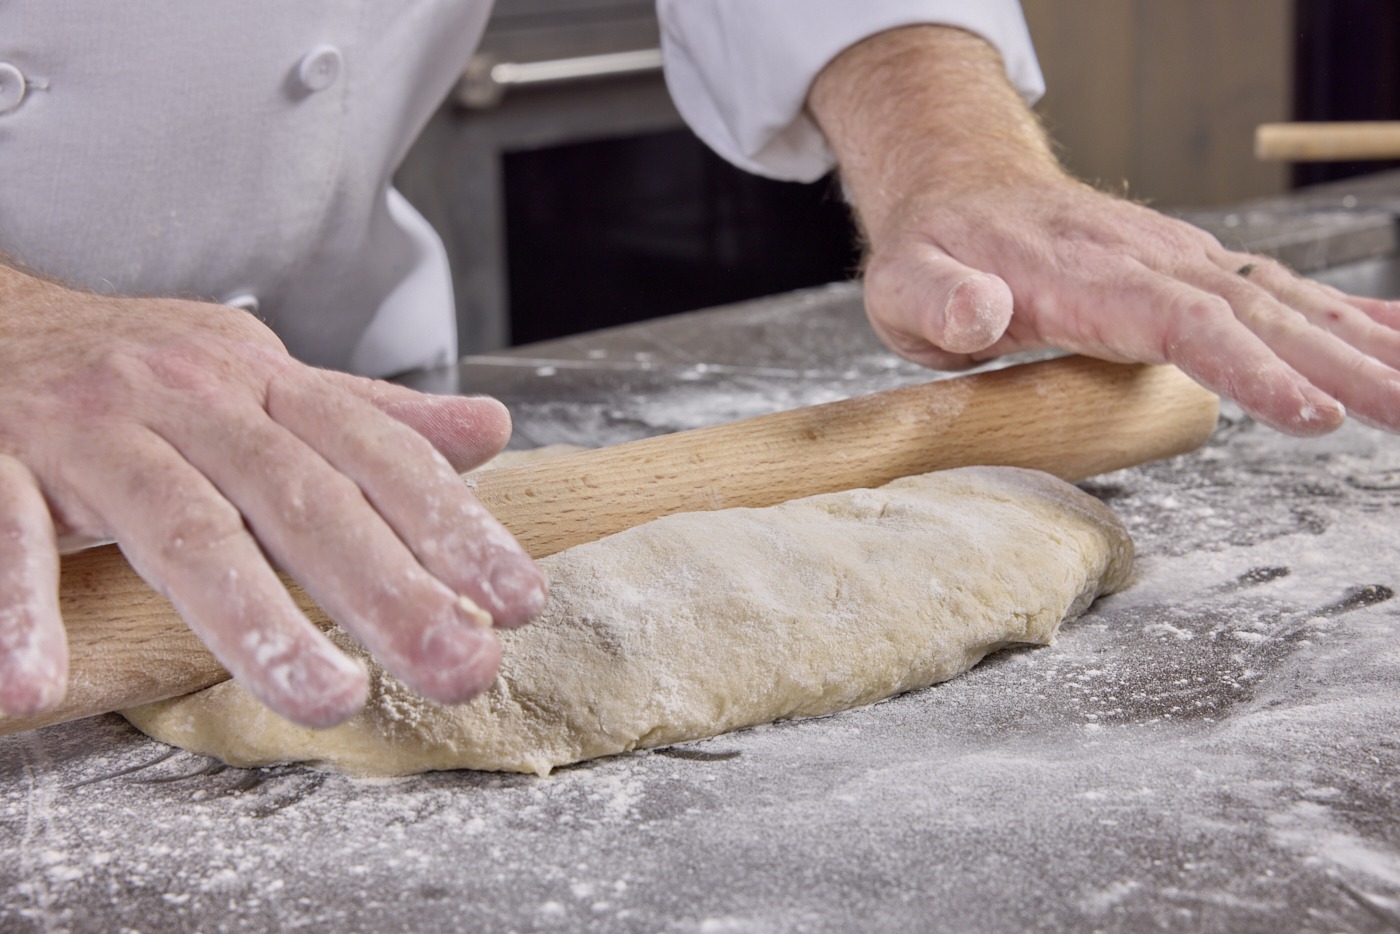
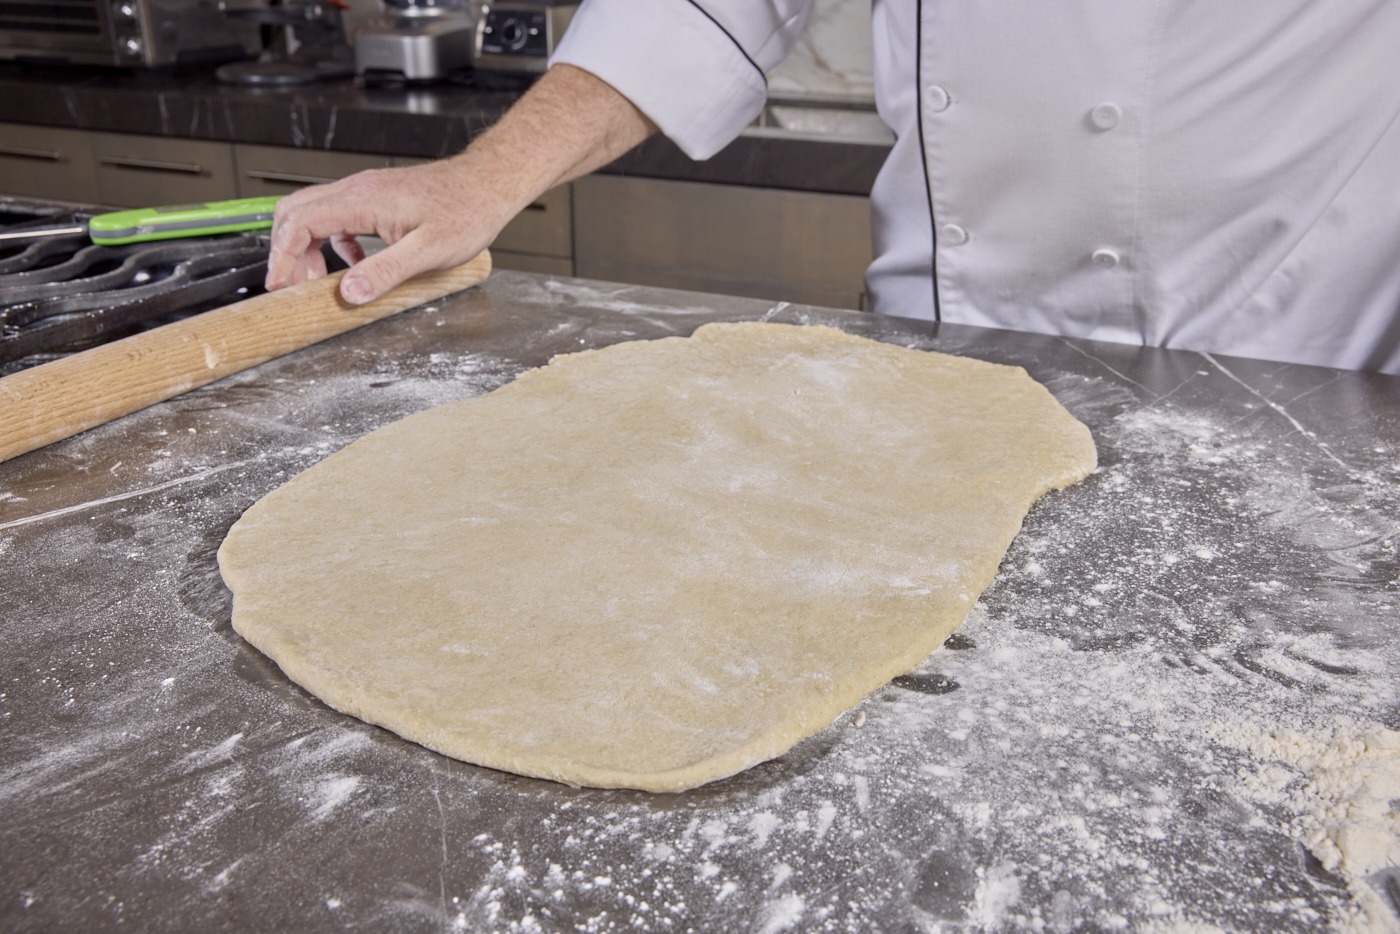
With the butter shaped, it’s time to get the dough ready. On a well-floured surface, roll the dough out into a 12″ x 24″ rectangle. It will be quite sticky at this point, so don’t be afraid to use extra flour on your rolling pin, the counter, or the surface of the dough. We rolled ours out so the long dimension was perpendicular to the edge of our counter, and find the dough easier to work with in this orientation.
Stuff the dough with butter
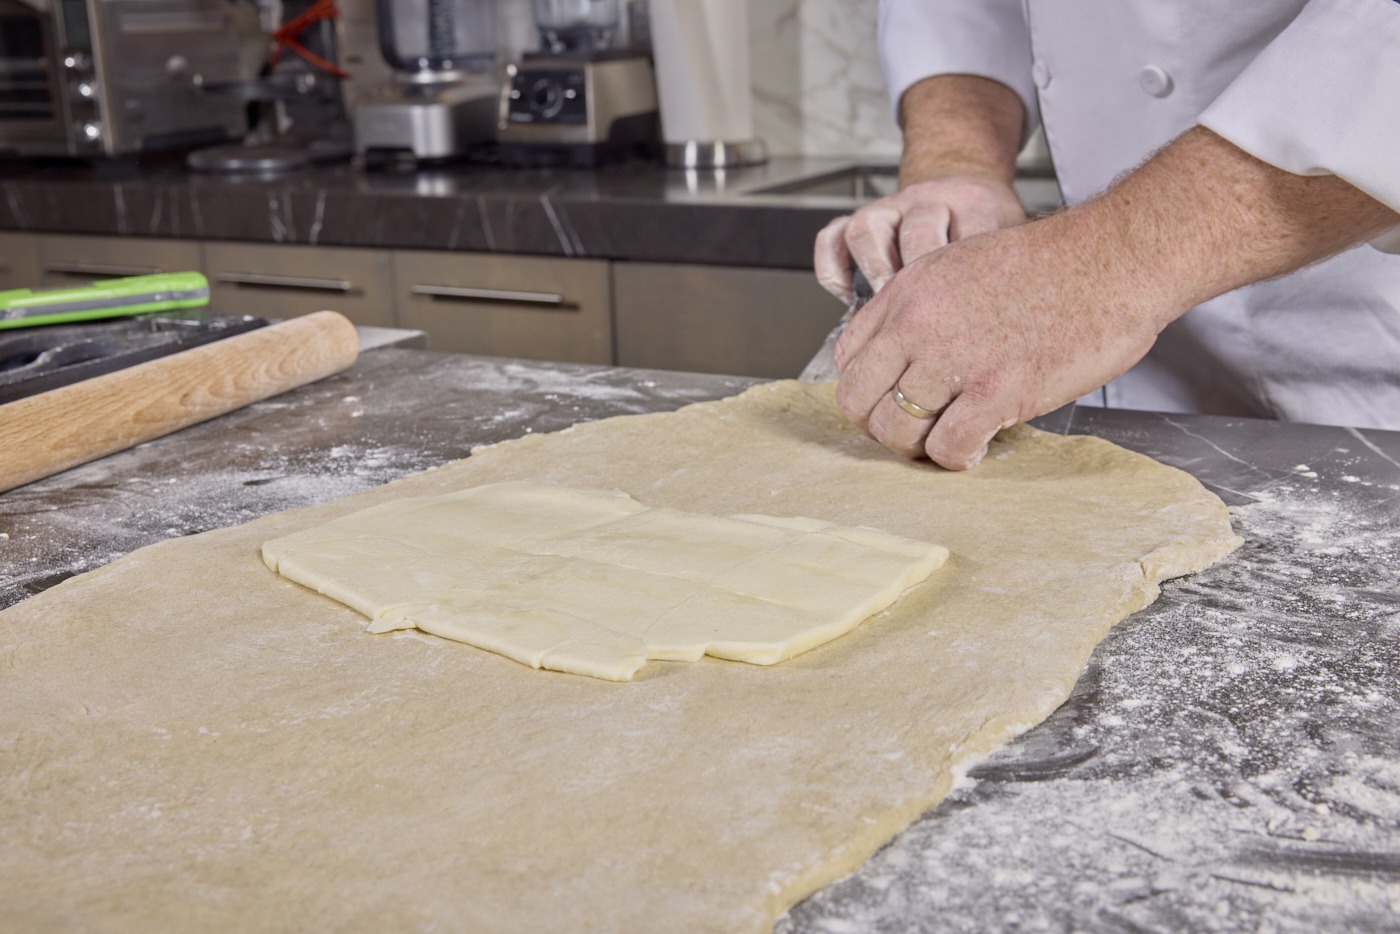
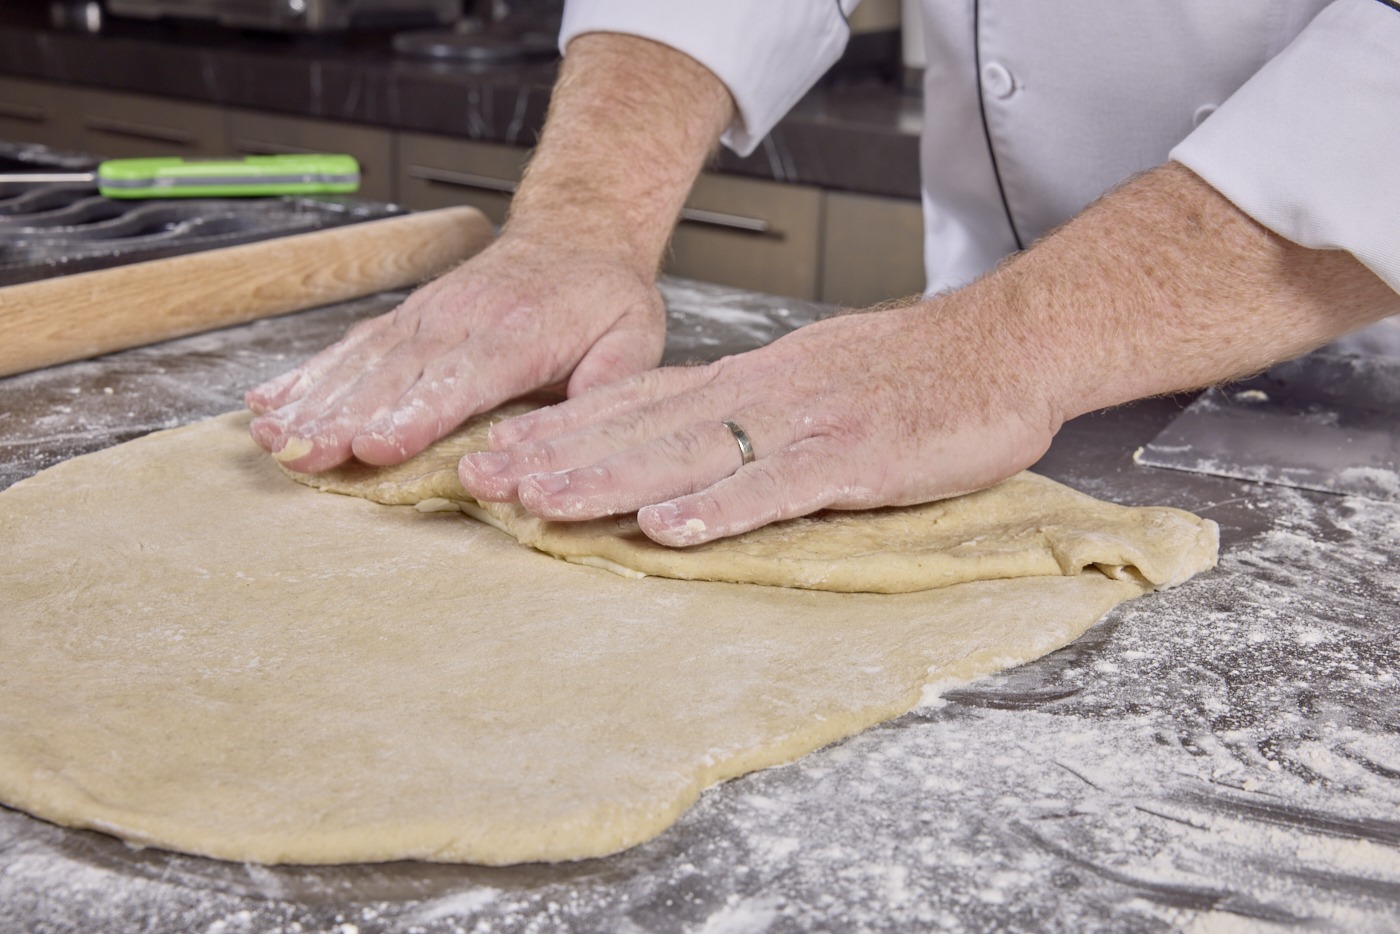
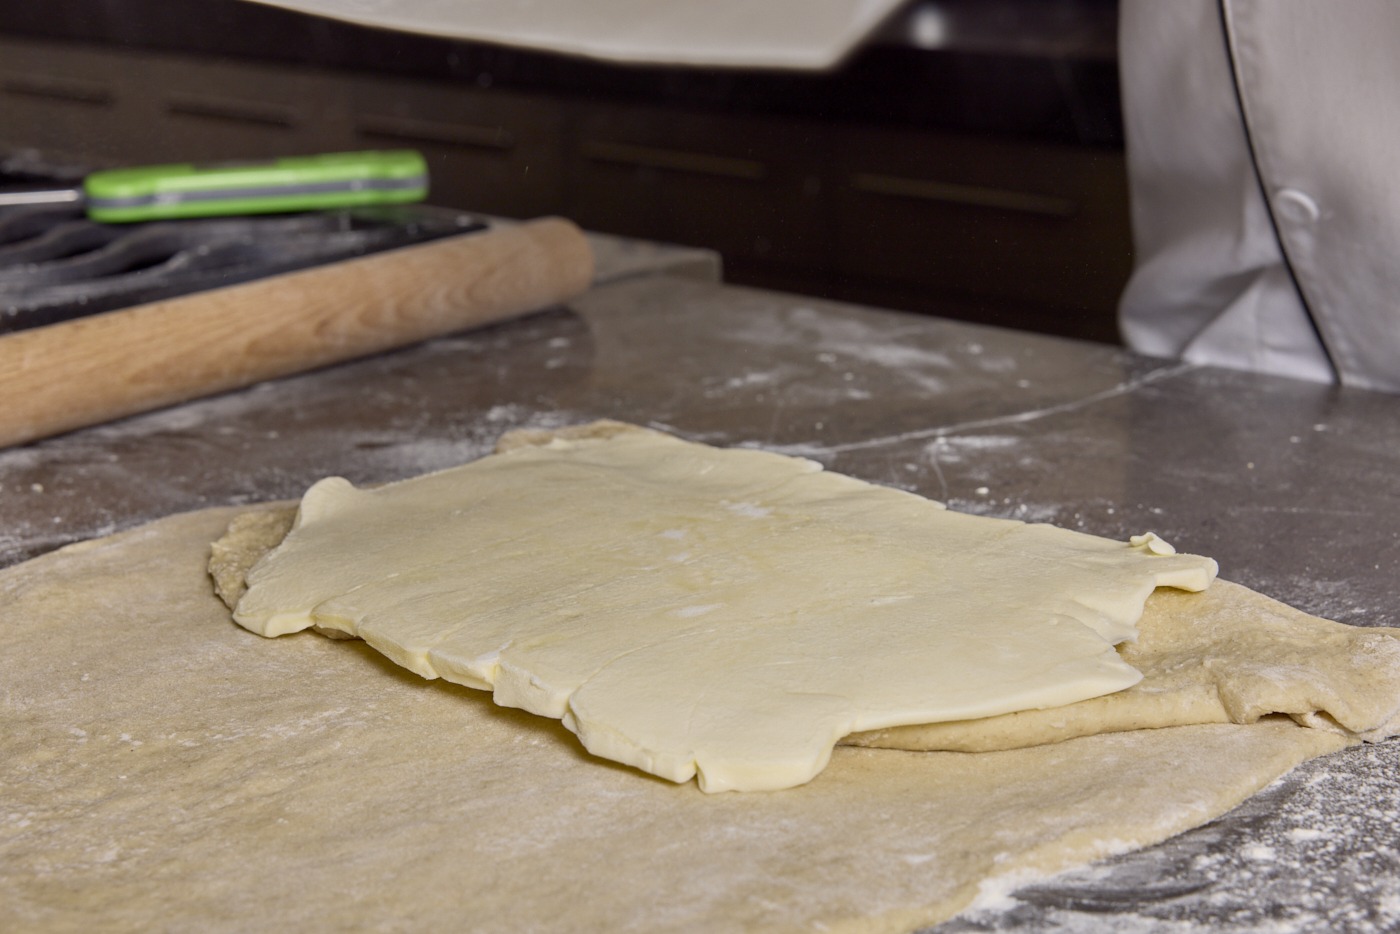
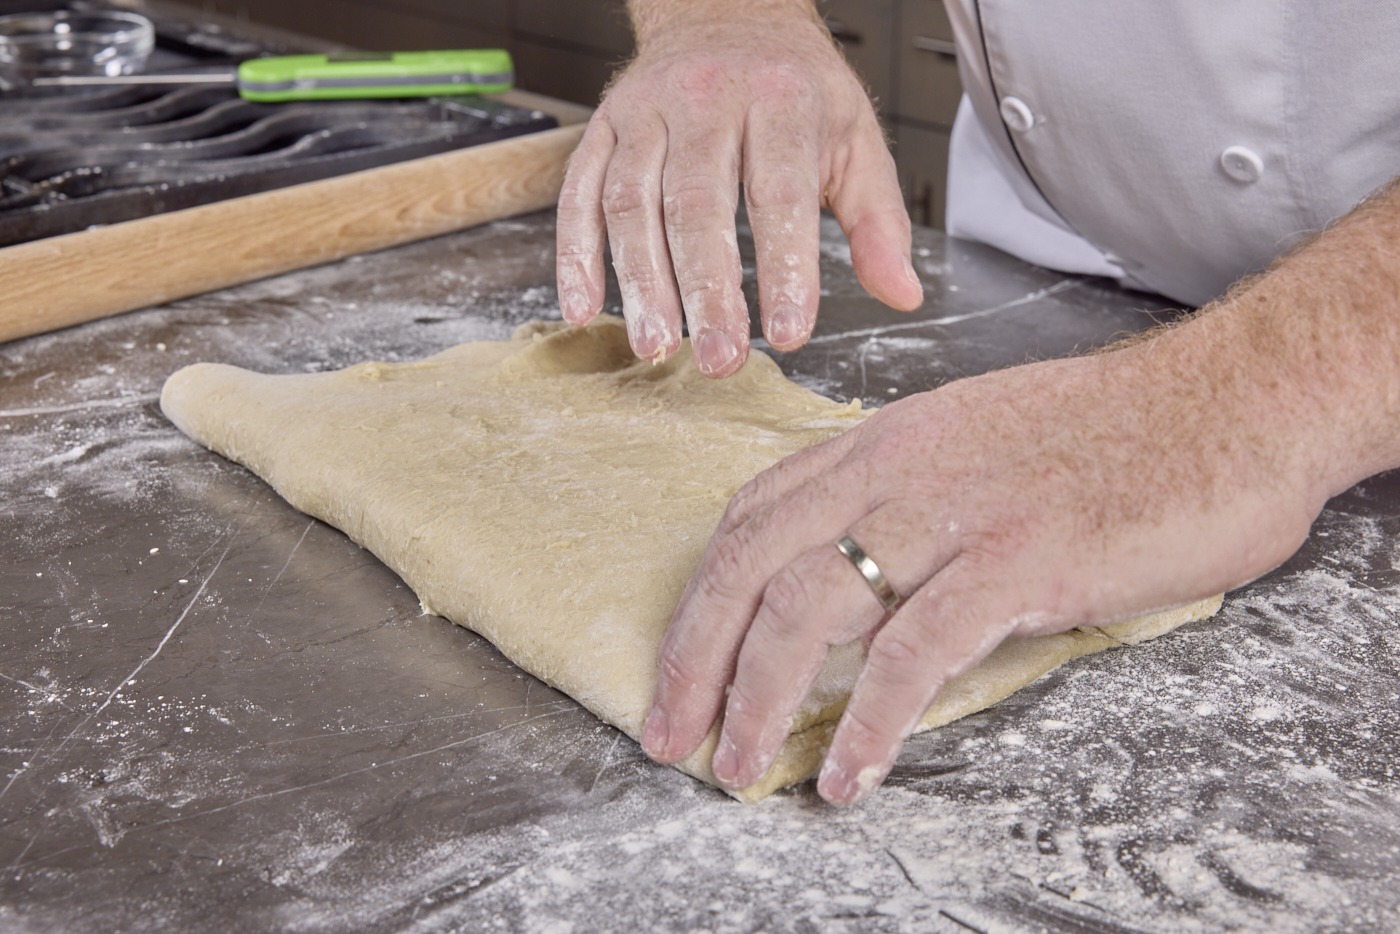
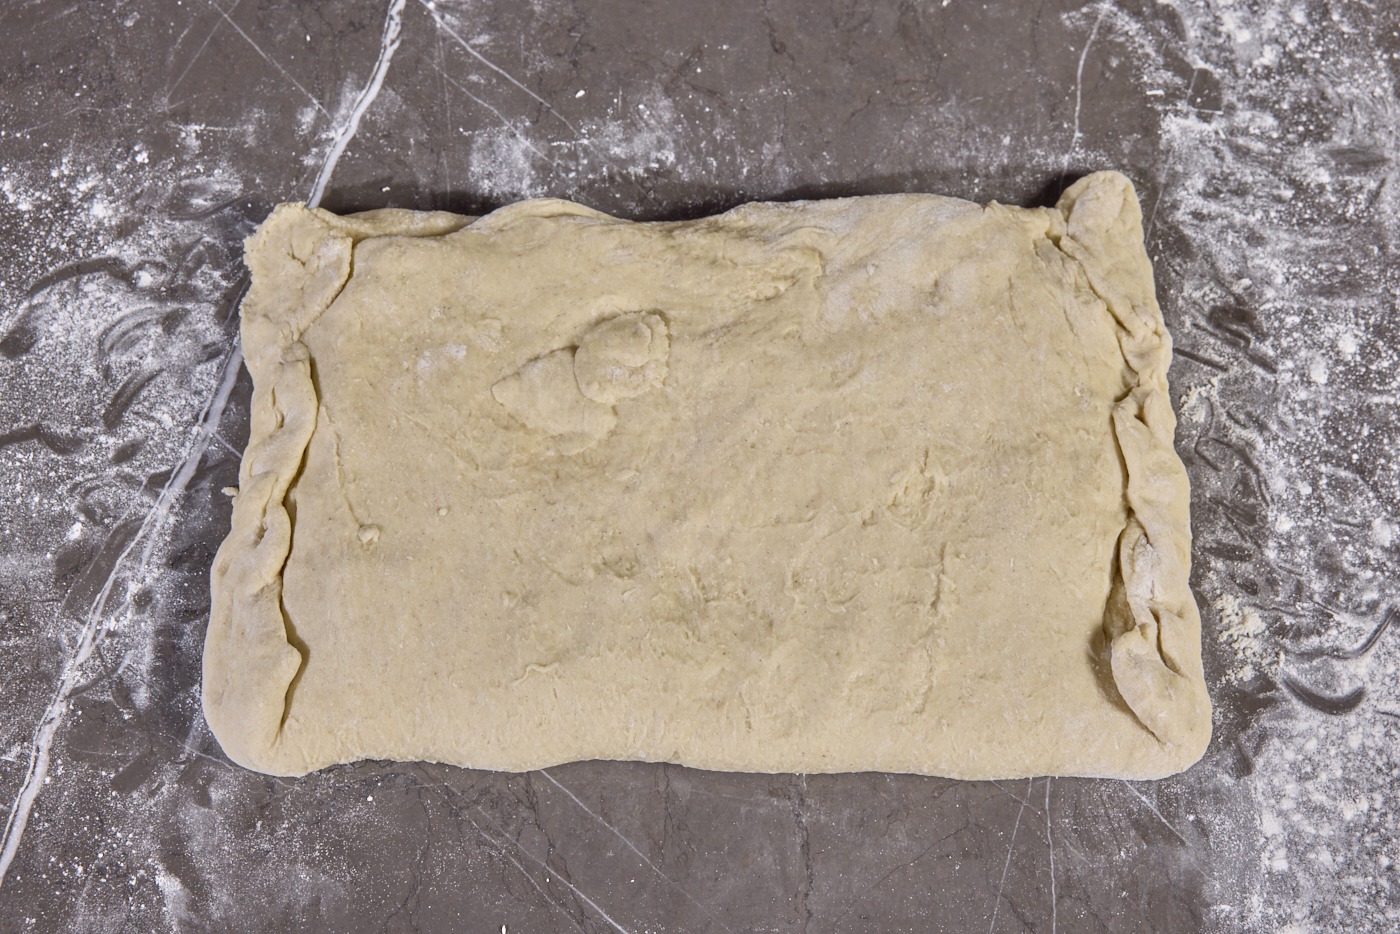
Place one of the butter sheets right on the center of the dough rectangle so that the long edge of the butter crosses the short width of the dough. fold the dough closest to you up over the butter sheet. Place the second butter sheet on top of the dough you just folded and bring the far stretch of dough up and over that. From the counter up, it should look like dough, butter, dough, butter, dough. Crimp the loose edges together to form a sealed packet of butter. Congrats! You’re well on your way to laminated dough perfection.
Folds, turns, and chills
This first fold creates our book, but we have several more to go.
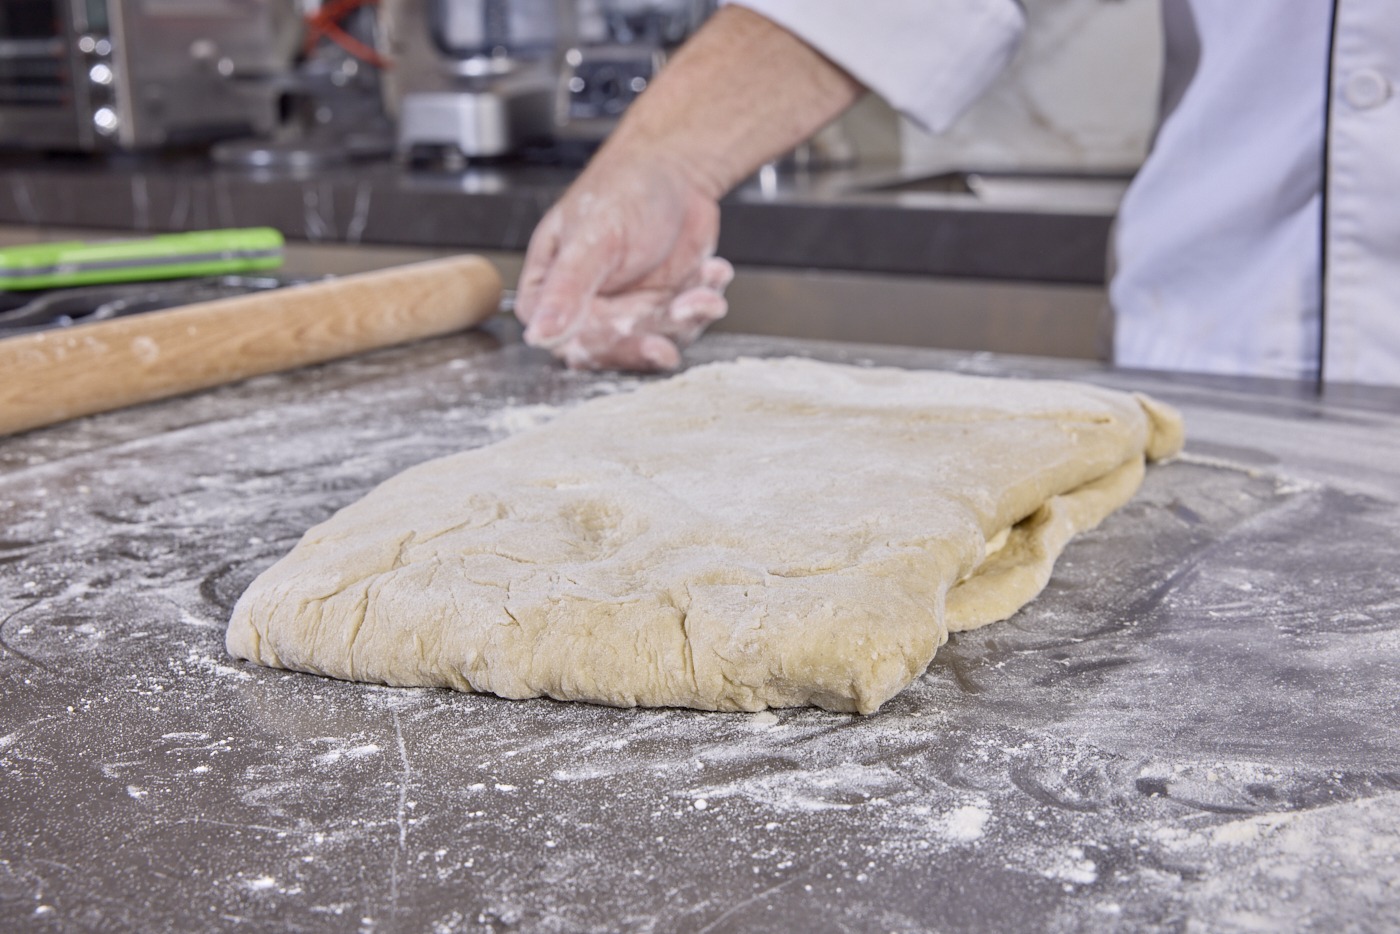
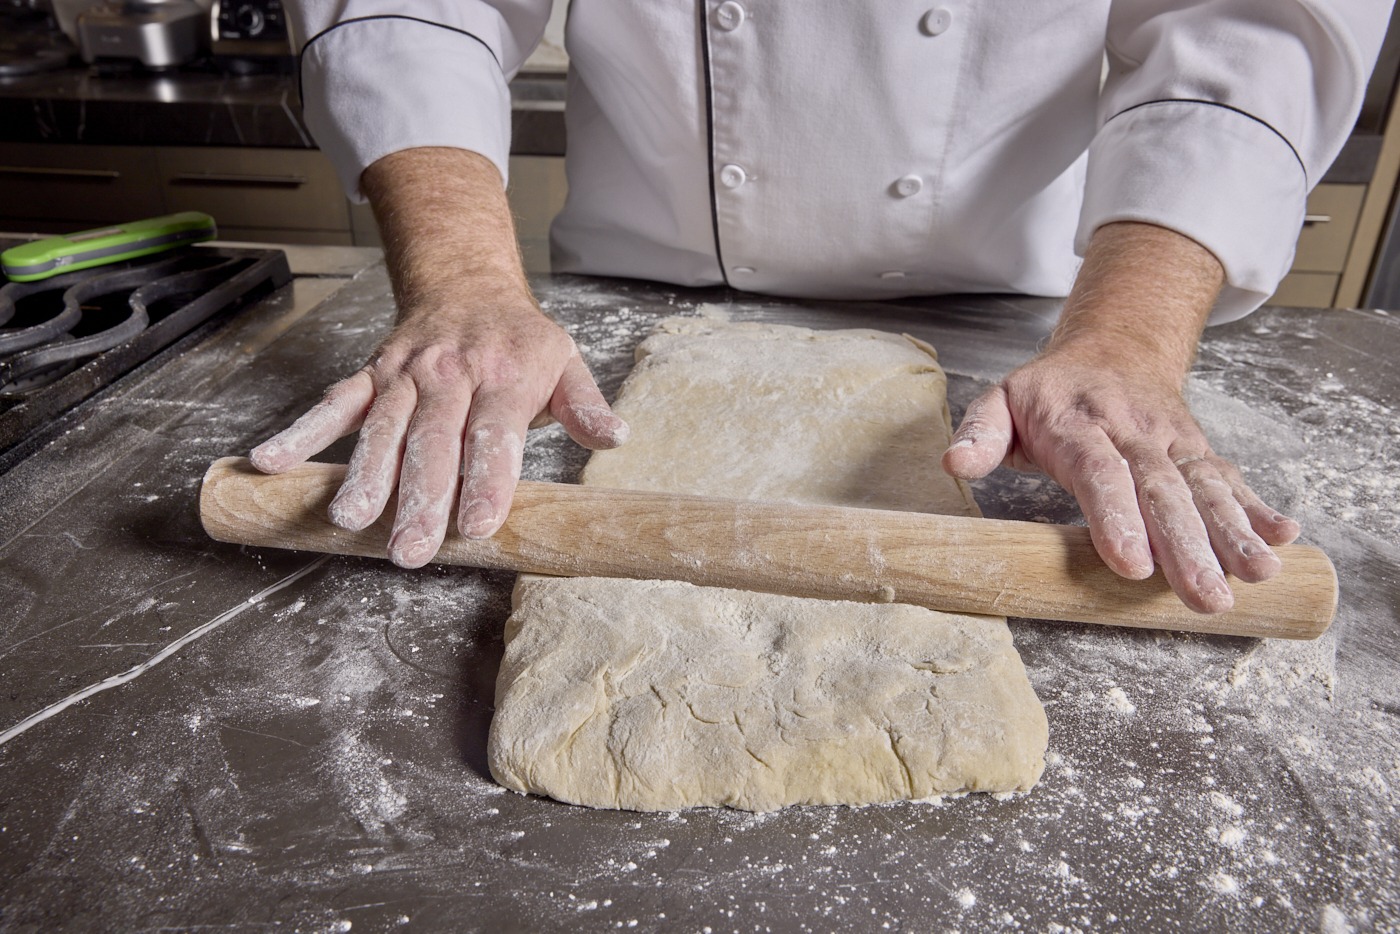
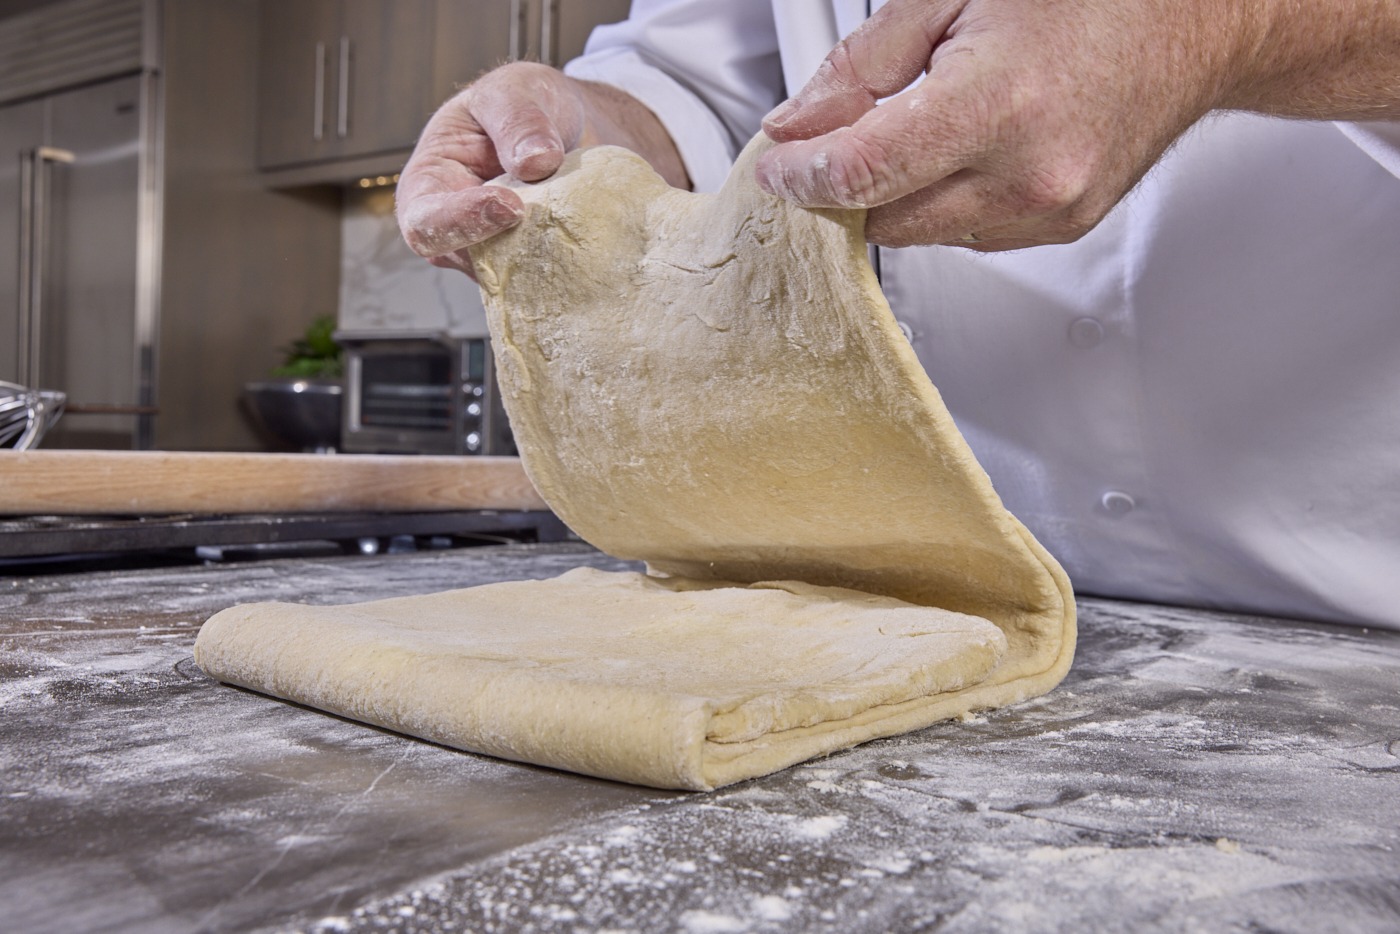
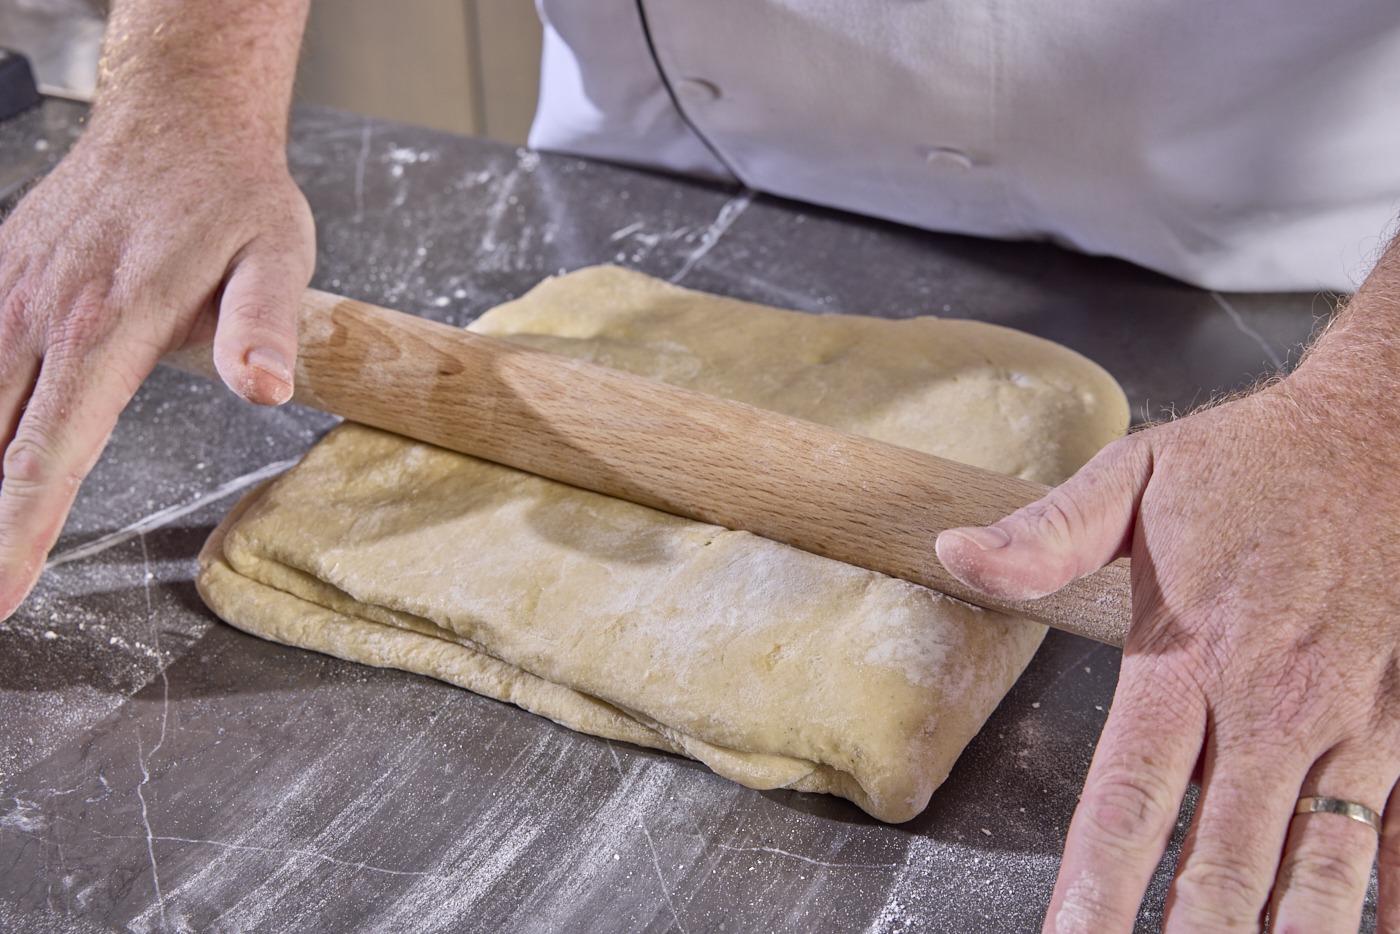
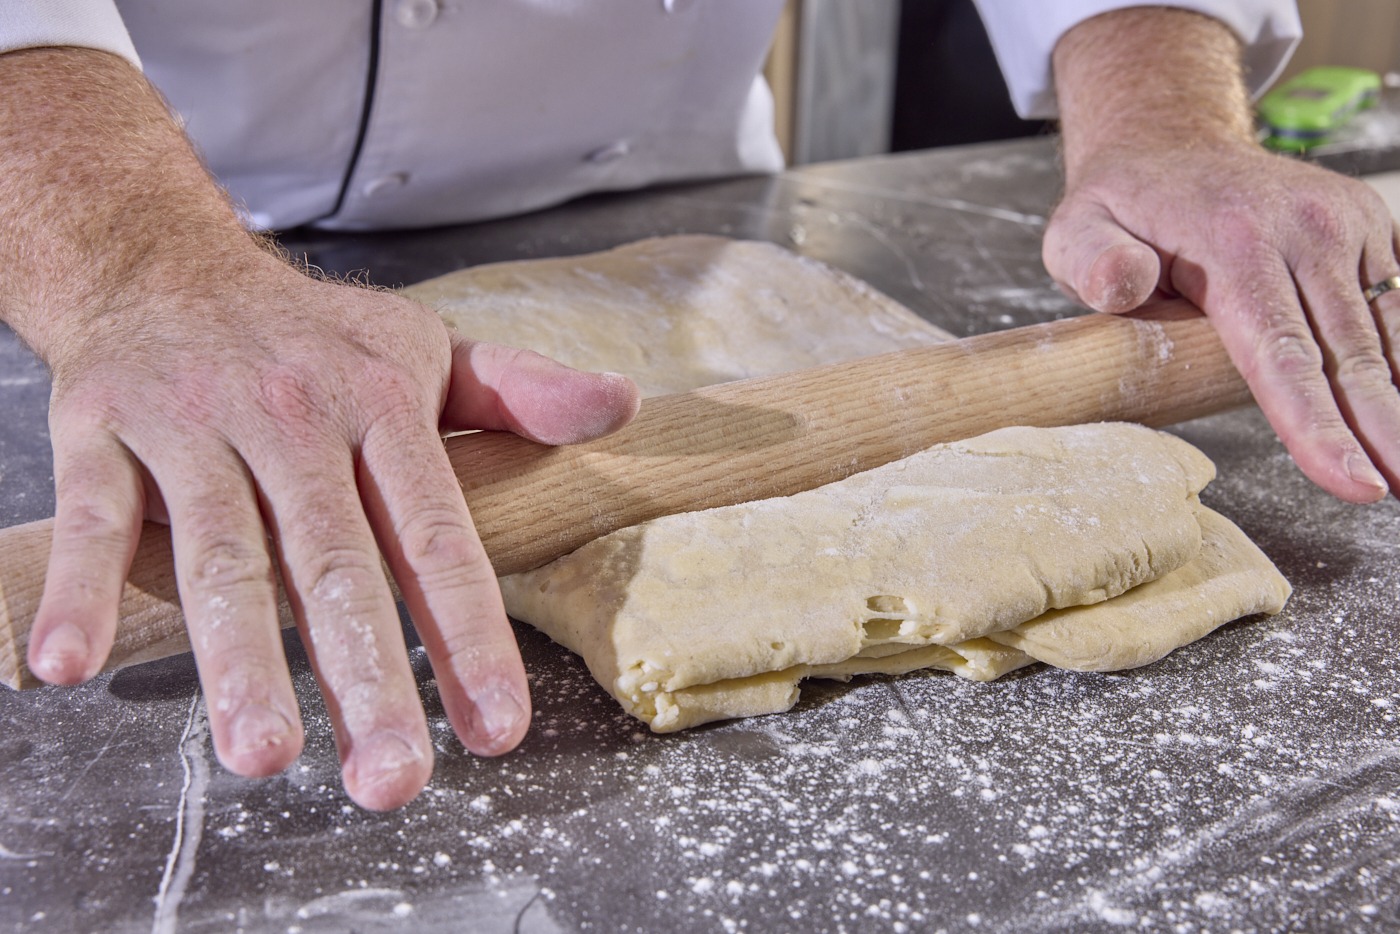
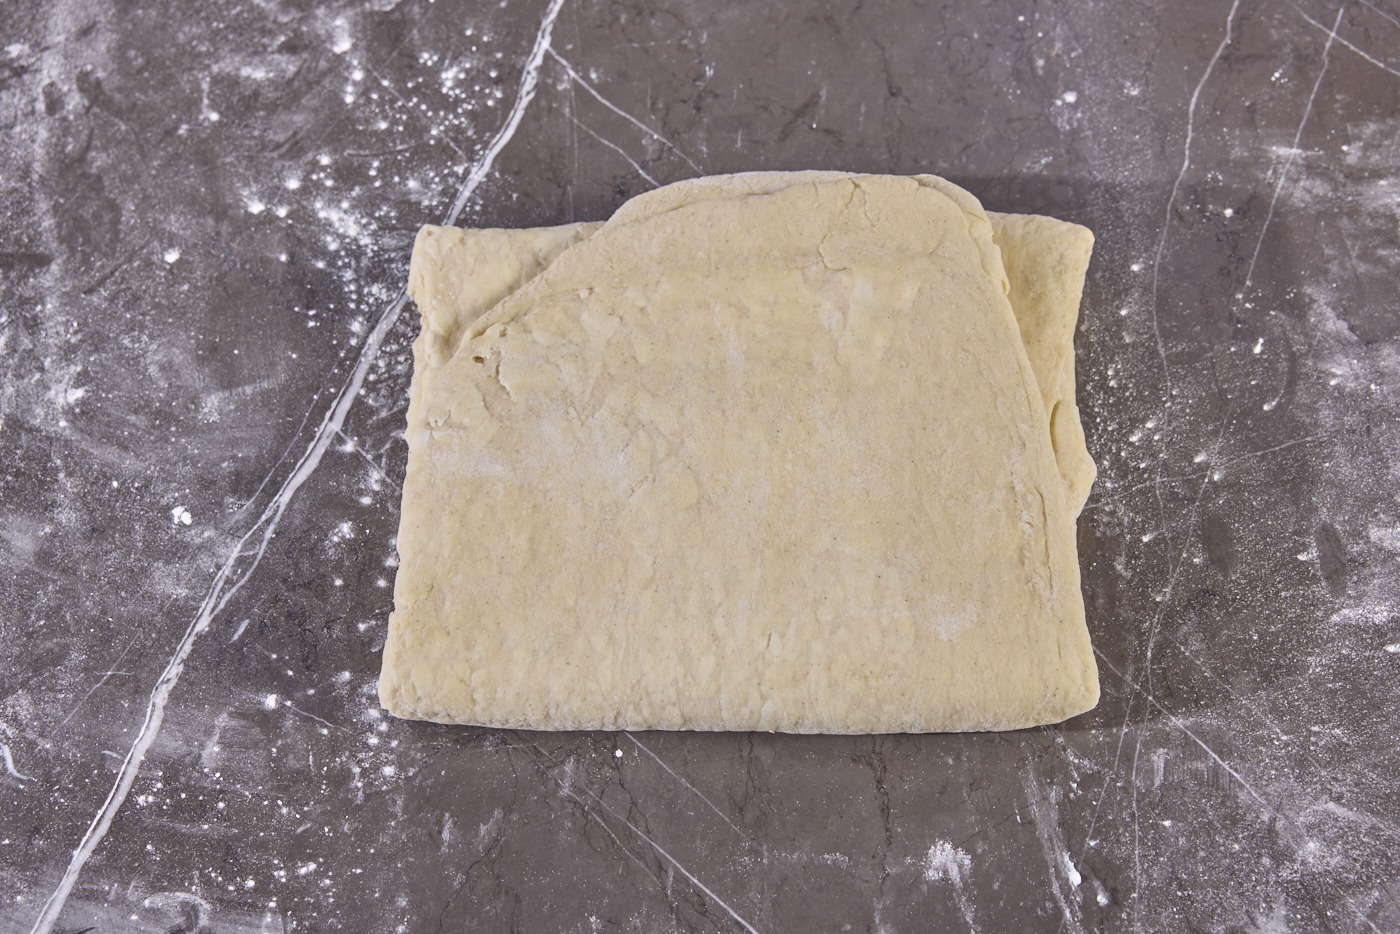
Again making sure that your surface is well floured, turn the crimped edge of your butter/dough packet towards yourself. Roll the packet out into a rectangle about 24″ long and about 10″ wide. Fold the third of the dough closest to you up to cover the middle third, and fold the far third down over that. This is one “turn”, and it’s time to put the dough down for a rest.
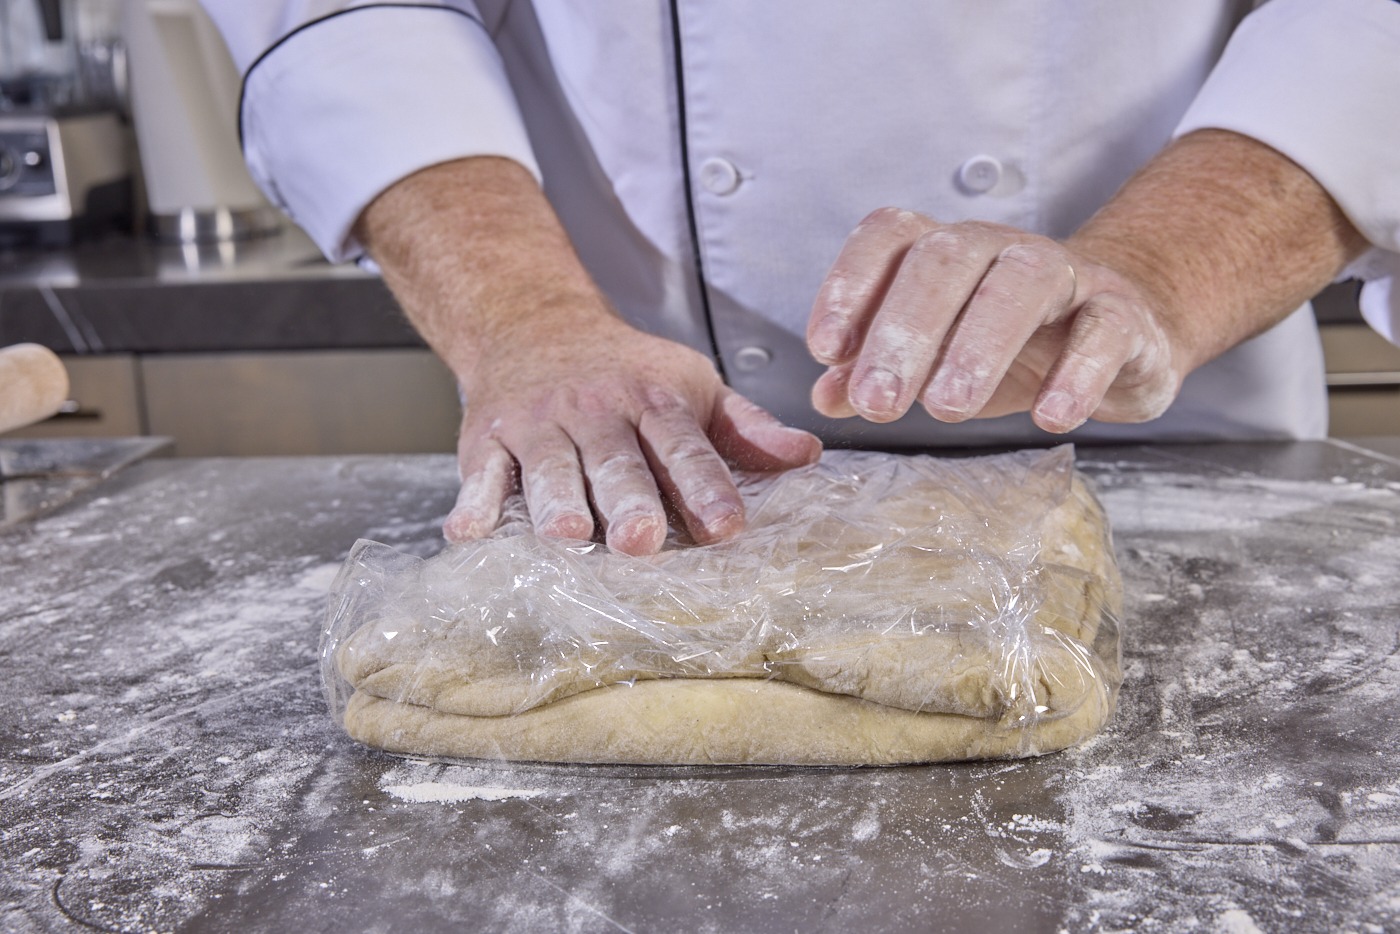
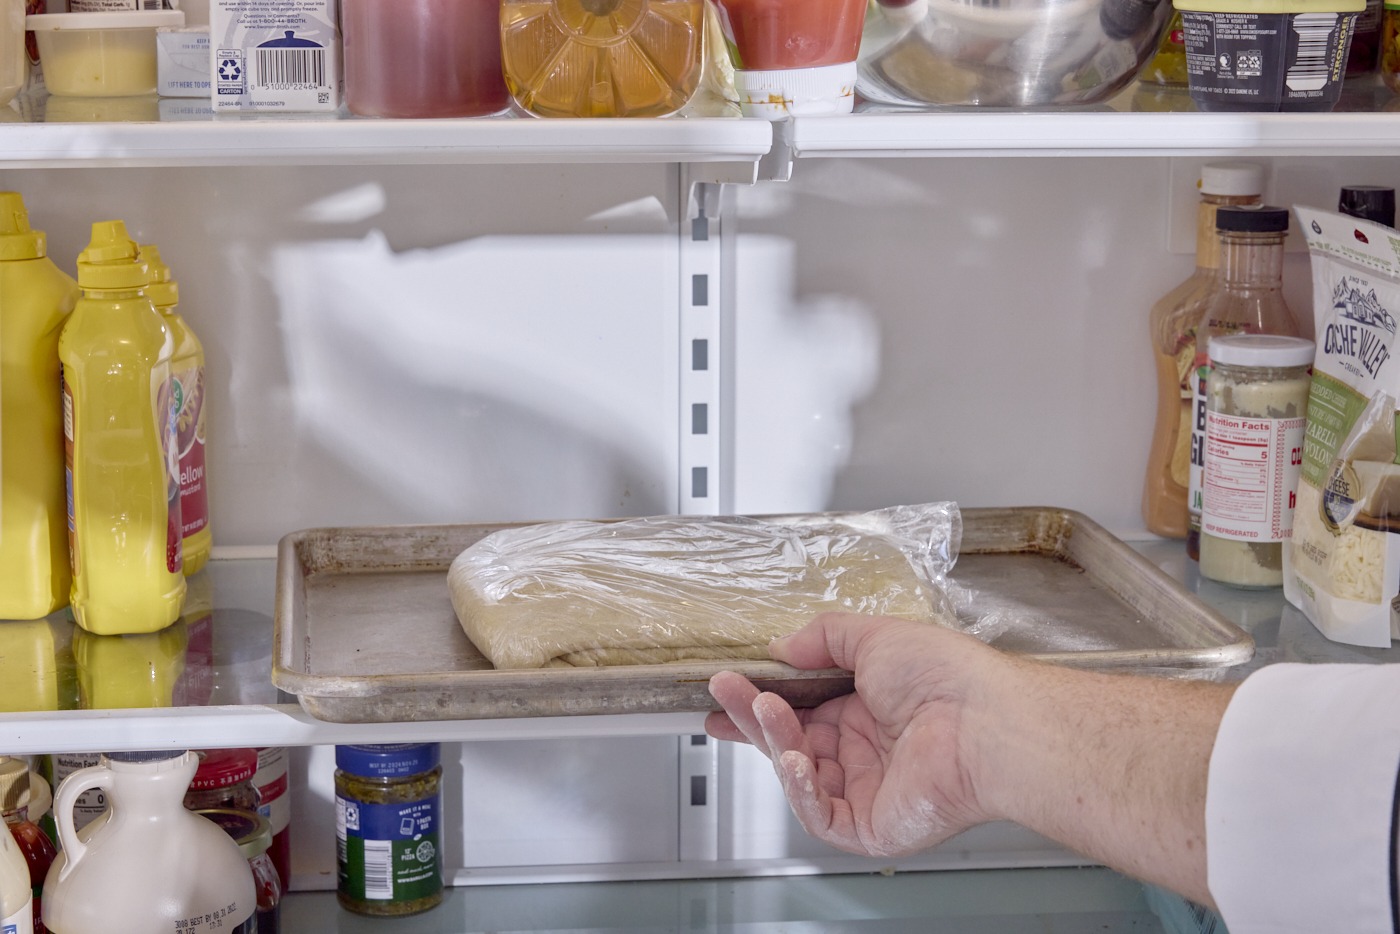
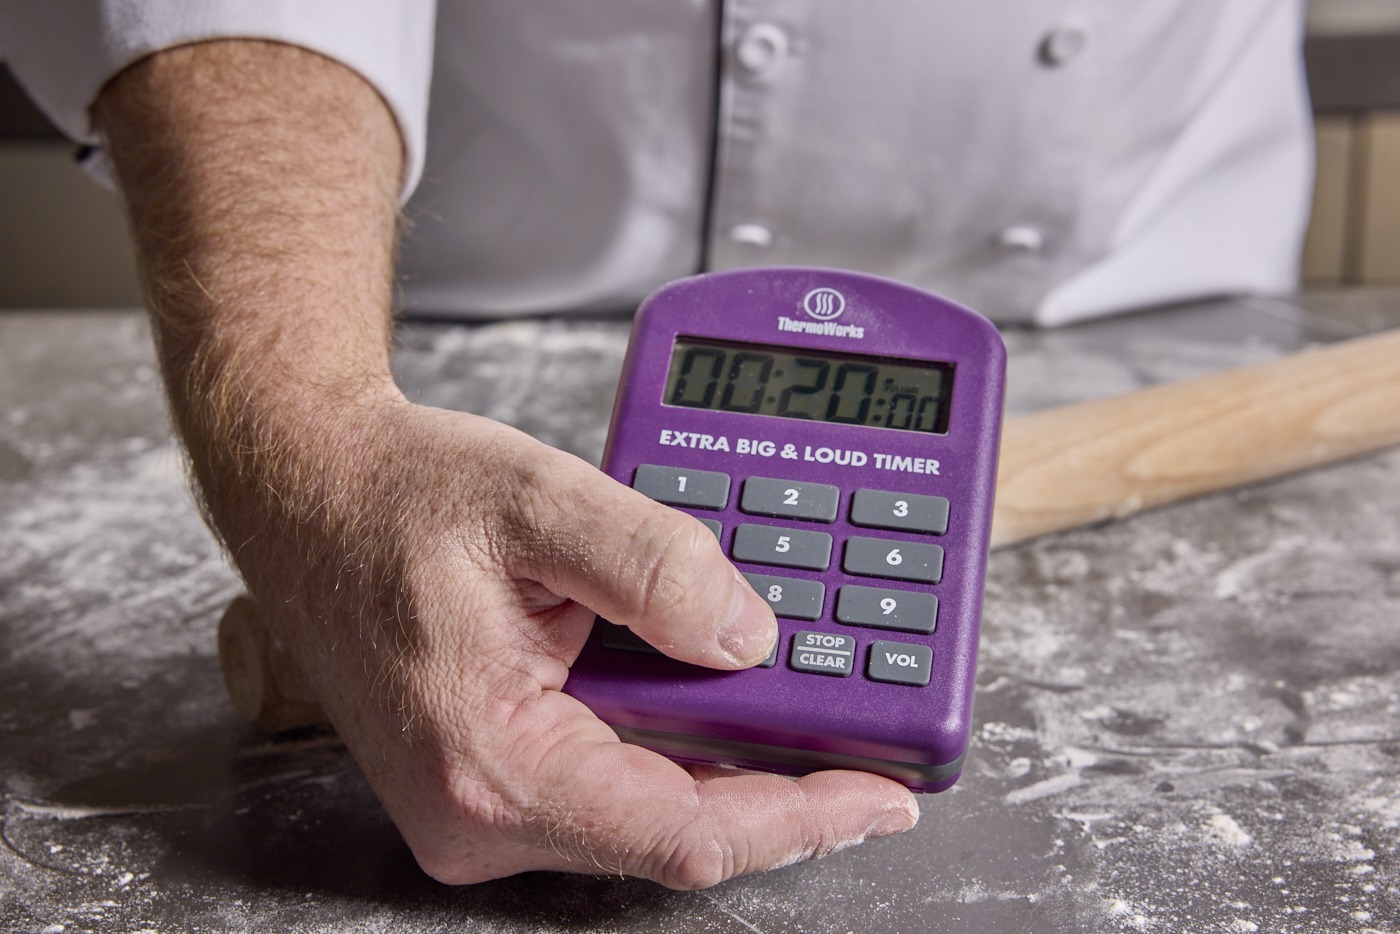
Wrap your precious cargo in plastic wrap and place it in the fridge for 20 minutes. During this time, the gluten in the dough, such as it is, will relax and the butter, which has been well worked by now, will have time to firm up a bit. Set your Extra Big & Loud timer for 20 minutes and relax—like the gluten is doing.
When the timer sounds, you can check the temperature of the dough and the butter in it with your Thermapen ONE. If your fridge was cold enough to make the butte very hard, you’ll need to let it sit on the counter for a few minutes before you continue.
Now, once again, place the short edge (the edge that is sort of open) facing you and roll the dough out into a sheet that is, you guessed it, about 24″ x 10″. Fold it as you did before, in thirds, and put it back in the fridge for another 20-minute rest. This makes two turns.
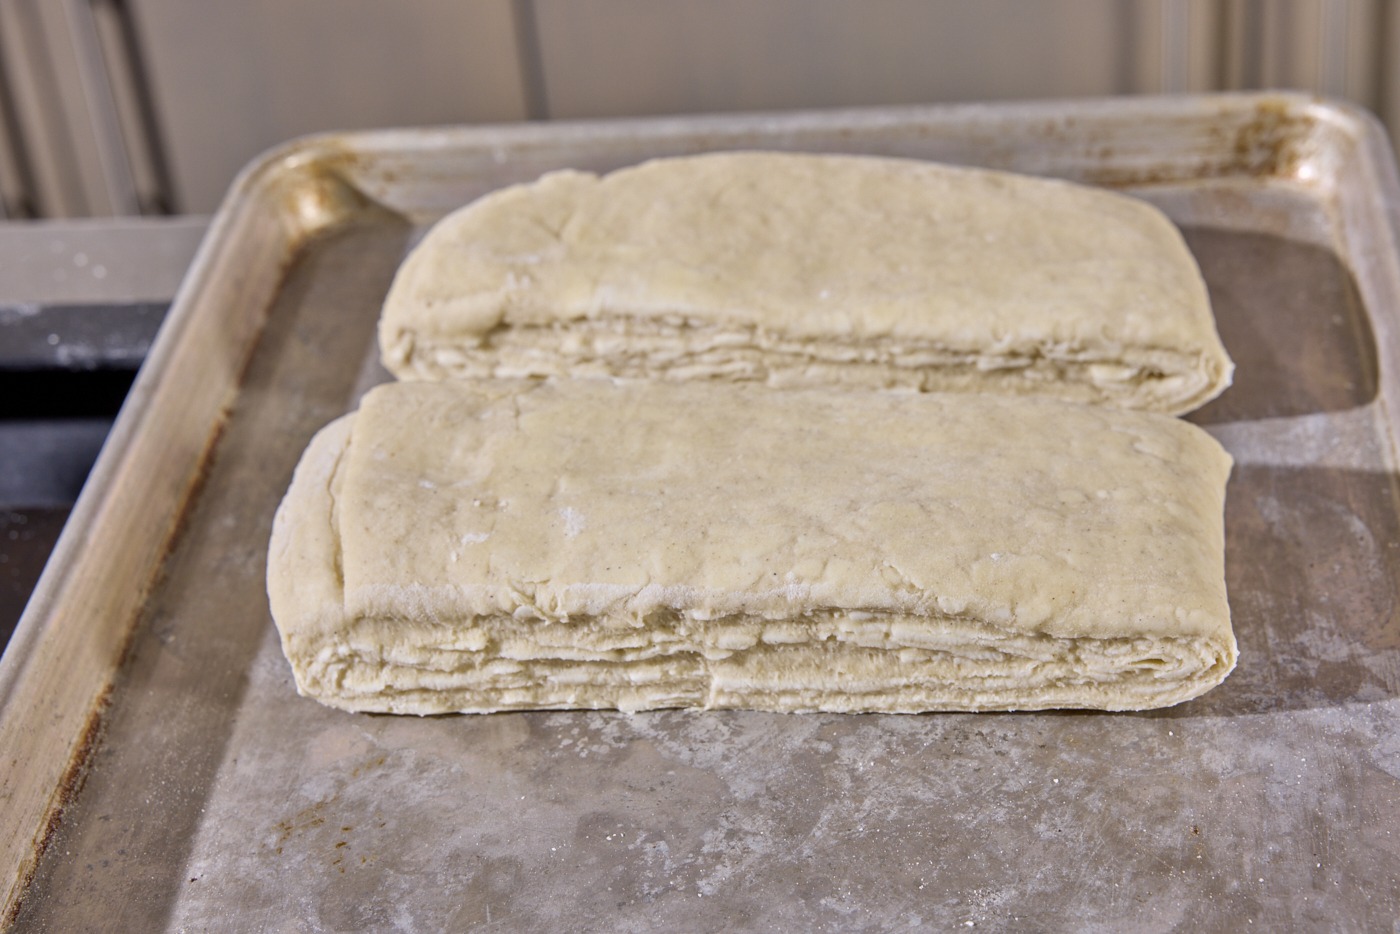
Complete this process two more times for a total of four turns. Upon completing the fourth turn, including its fold, put the dough in the refrigerator to rest one last time. This time, when you take it out, it’s time to shape.
Shaping your Danish pastries
At this point, you’ve put in a fair bit of work, and no one will judge you for wanting to take a break. You can let the dough hang in the refrigerator for 2 to 16 hours at this point. In fact, you can wrap the dough well and freeze it at this point, thawing it well before you shape it later. But when it’s time to get going again, here’s what to do:
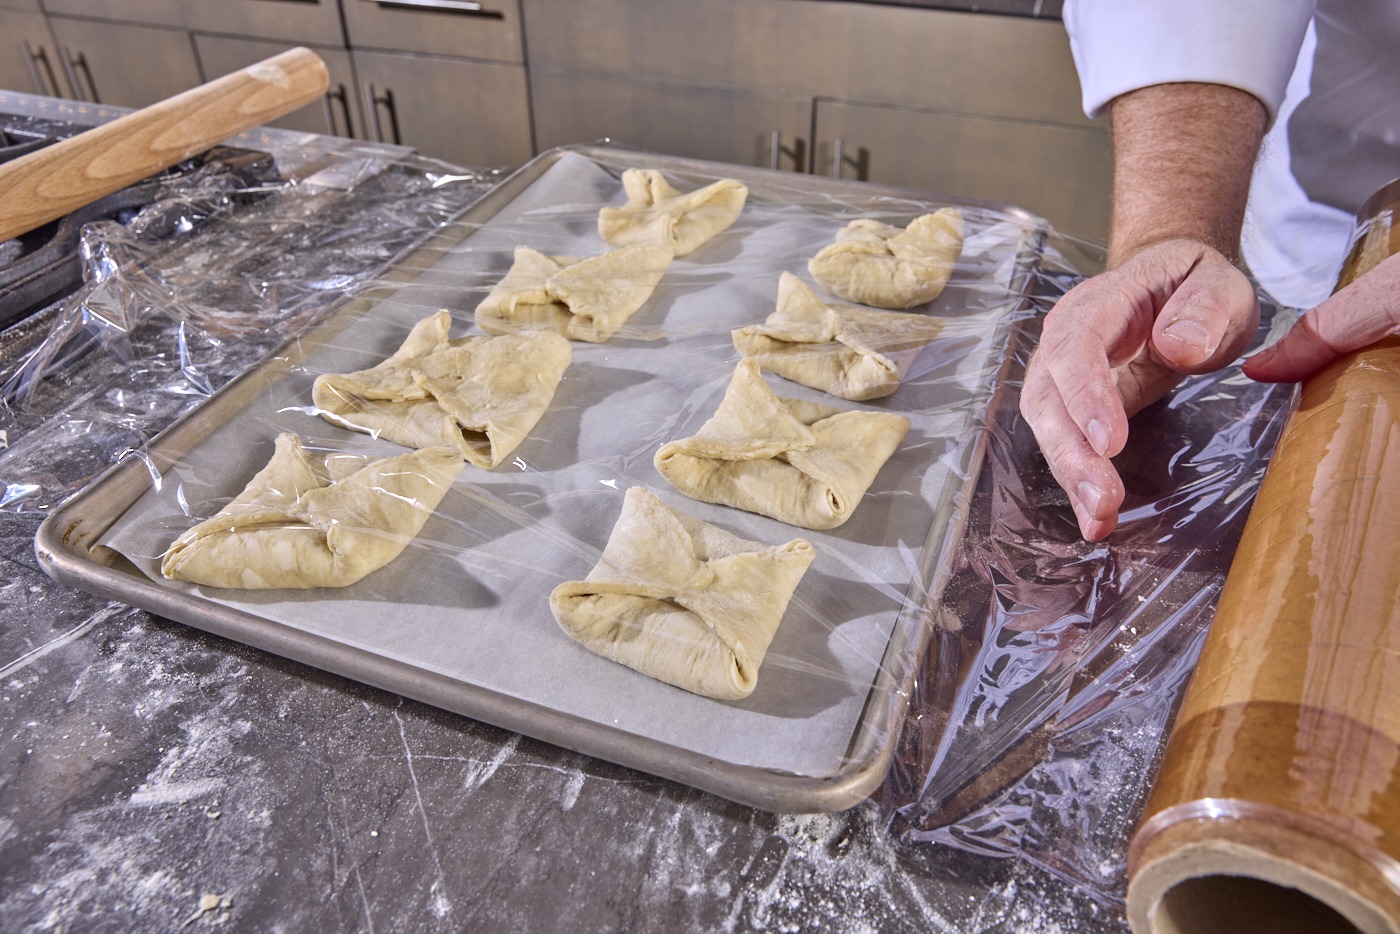
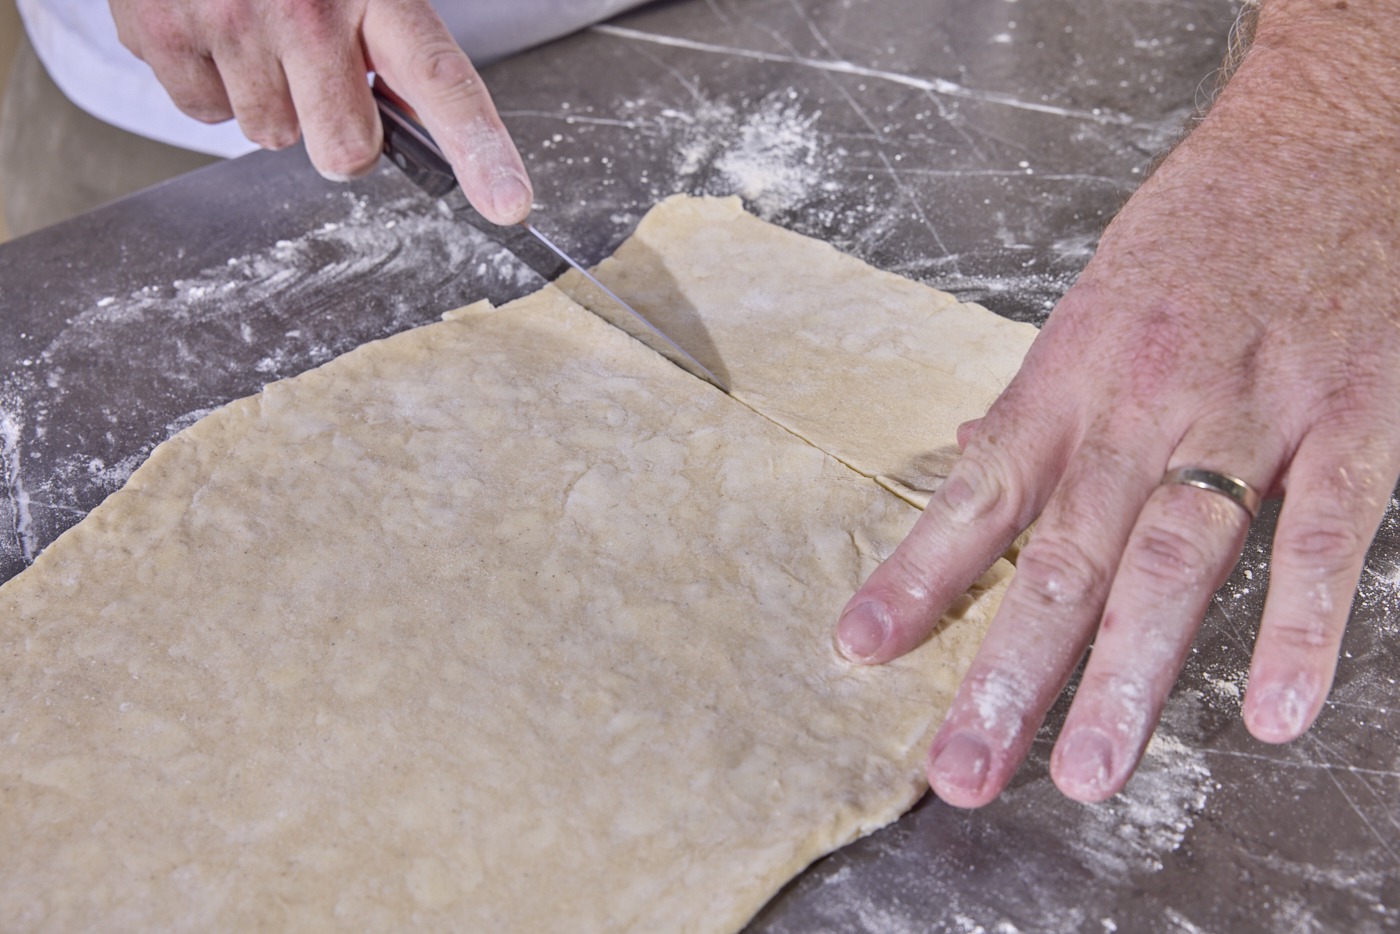
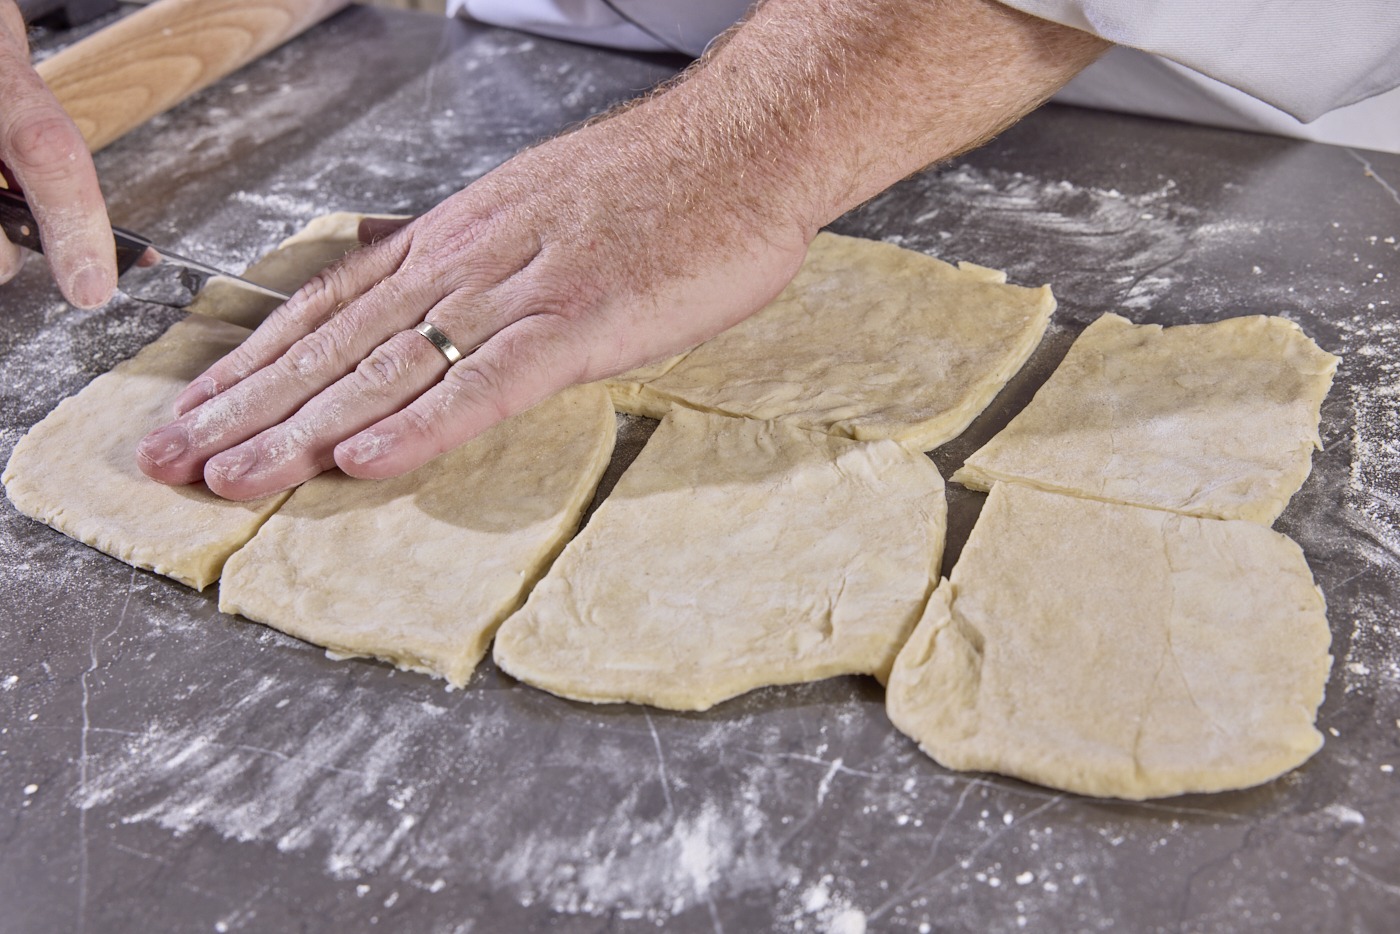
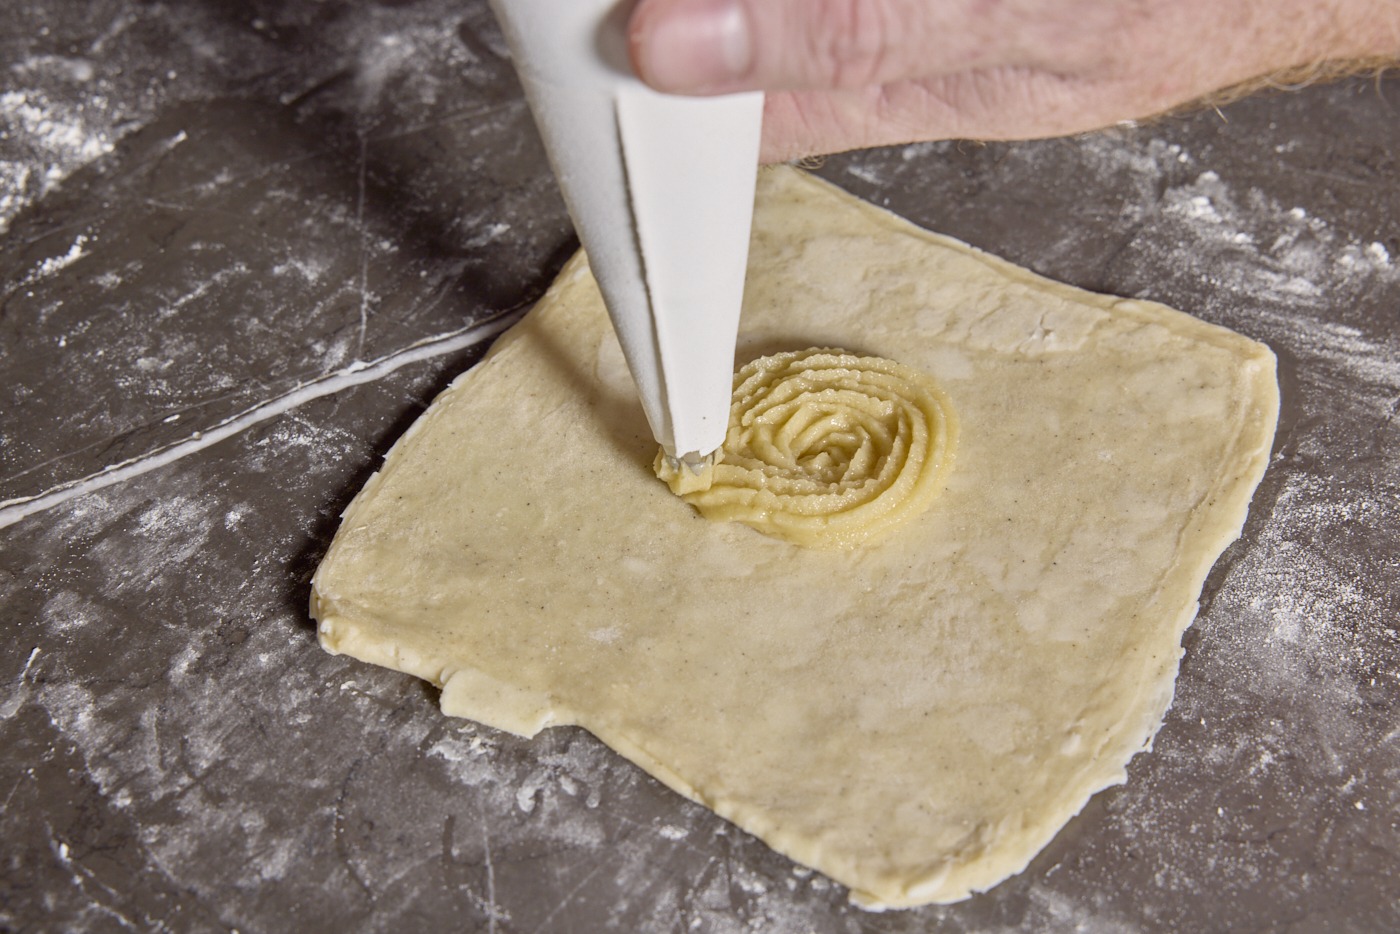
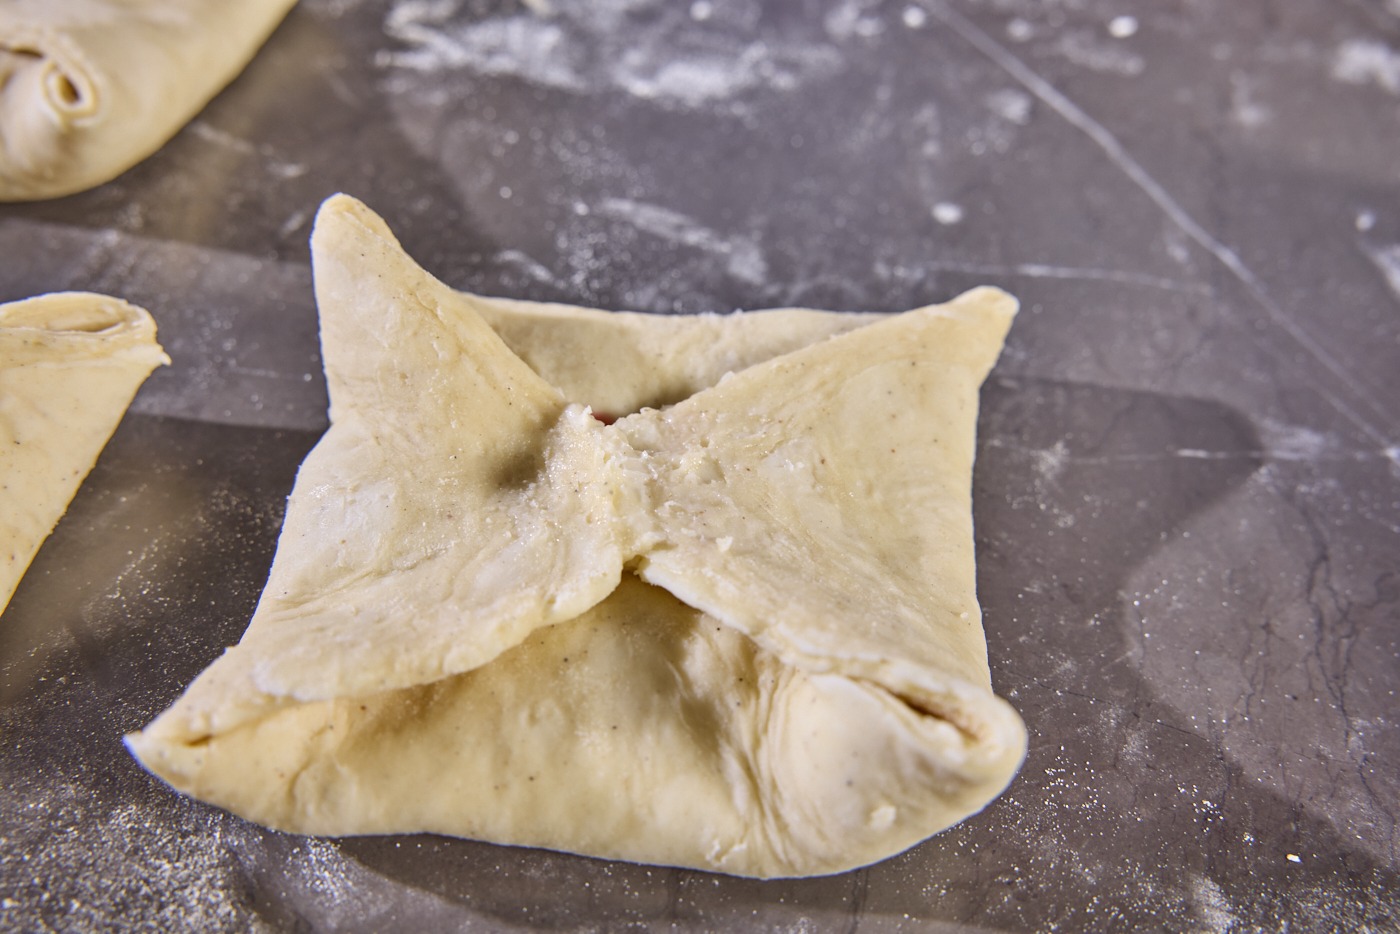
Remove the dough block from the fridge and place it with the open edge facing you. Cut horizontally across the block. Place two of the thirds back in the refrigerator and roll out the third into a rectangle about 8″ x 16″. Cut that rectangle into 8 pieces. Foll each one out a little further so that it is a square about 4″ on a side. If using a filling at this point, you can pipe a 1–1.5″ round of your filling onto the center of the square. Fold two opposing corners towards each other, adding a dab of water as glue, and stick them together over the filling. Do the same with the other two corners, pressing them down a little, almost making a small divot in the center of the pastry. Set it on a sheet pan to rise, and fill and shape the rest of this batch.
Preheat your (calibrated) oven to 400°F (204°C).
Start those pastries to rising, covered, while you shape the next batch, etc, and let those start to rise while you shape the third batch.
Bake the pastries
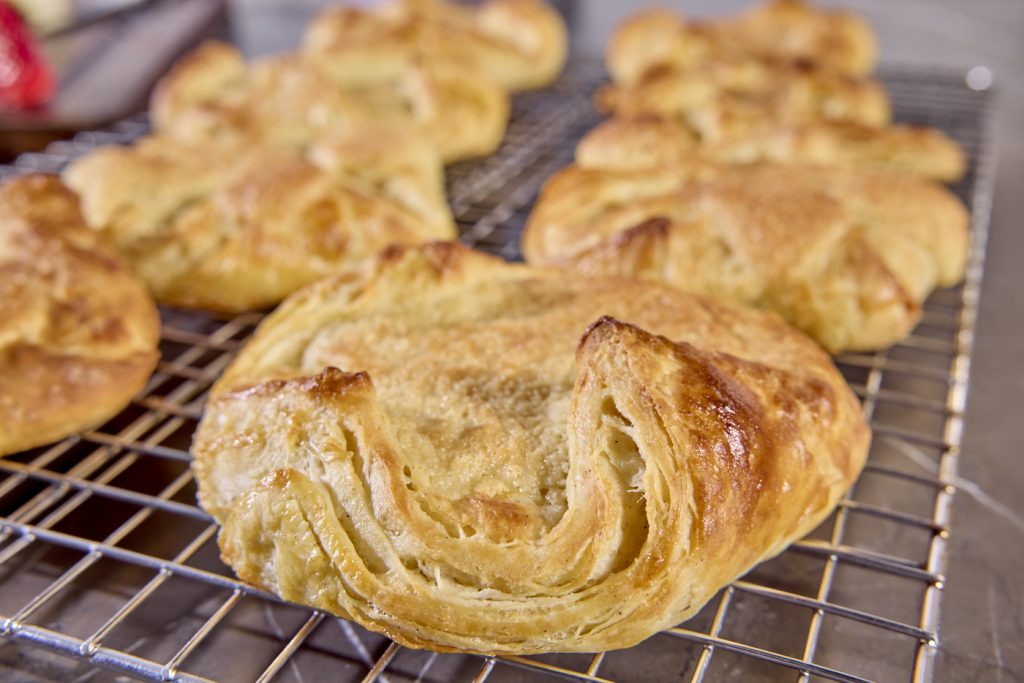
When the pastries have become slightly puffy, after about 45 minutes of rising, depending on conditions, it’s time to bake. Put the first sheet of Danishes in the oven and bake for about 18–22 minutes, until golden-brown and smelling like heaven. Remove from the oven and send the second sheet in, etc. If topping with pastry cream, allow the pastries to cool before piping or spooning it on.
I know that was a lot. Yes, there are a lot of words and a lot of steps, but what they amount to is basically this: make a dough, put some butter on it, and roll it and fold it a bunch of times. If you can roll out a vague rectangle, you can make Danish pastries. Use your Thermapen ONE to make sure your butter is at the right working temp and your Square DOT to make sure your oven is performing as it should, and it’s just a matter of time to make the best Danishes you’ve ever had. Happy cooking!

Homemade Danish Pastry recipe
Description
Adapted from the recipe at KingArthurBaking.com
Ingredients
- 32 Tbsp (1 lb) unsalted butter, at cool room temperature, 55–63°F (13–17°C), 1/2 Tbsp cut off o each stick and reserved
- 5 1/2 C (660g) unbleached all-purpose flour
- 1/3 C granulated sugar
- 4 tsp instant yeast
- 2 1/2 tsp (15g) table salt
- 1 tsp ground cardamom, optional; for traditional flavor
- 1 tsp vanilla extract
- 1 cup whole milk
- 1/3 to 1/2 cup water, 68–72°F (20–22°C)
- 2 large eggs
Optional: one egg and 1 Tbsp water beaten together to make eggwash
Instructions
- Combine flour, salt, sugar, yeast, and cardamom in the bowl of a stand mixer. Add the 2 Tbsp reserved butter and cut/smash it into the flour mixture like when you make biscuits.
- Put the bowl on the mixer and add the water, vanilla, milk, and eggs. use your Thermapen ONE to verify that the water is room temp. Mix using the dough hook until everything just comes together and a sticky, shaggy dough is formed with no dry spots.
- Turn the dough out onto a floured spot don’t encounter to rest.
- Make the butter sheets by cutting the butter sticks—between 55 and 63°F (13 and 17°C)—into quarters and lining half of them up side by side on a sheet of parchment. Flour them a little and top with another sheet. Roll them out to a 6″ x 9″ rectangle. Repeat with the remaining butter to make a second sheet. Set aside.
- Flour your work surface well and roll out the dough into a 12″ x 24″ rectangle with the short edge parallel to the edge of your work surface.
- Lay one butter on the center of the dough and fold the close third over it. Lay the second butter atop that fold and fold the remaining dough up onto it. Crimp the left and right sides closed.
- Turn the dough packet 90° and roll it out to 24″ x “10” and fold the far this to the middle and the near third up onto that. Wrap well in plastic wrap and refrigerate. Set a timer for 20 minutes.
- Remove the dough from the fridge and verify that it is between 55 and 63°F (13 and 17°C). Set the short edge of the packet (the one of the ones that is more “open”) parallel with your work surface and roll out to 24″ x” 20″ again. Fold into thirds again. Refrigerate again.
- Perform this turning, rolling, and folding operation 2 more times, checking your dough/butter temp each time.
- If you like, you can let the dough rest in the refrigerator overnight at this point.
- Cut the dough mass into thirds along the direction of the last fold.
- Roll each third out in turn to an 8″ x 16″ rectangle, cutting it into 8 pieces.
- Roll out each piece to a 4″ x 4″ square, fill, if desired, with frangipane, and bring opposite corners together into the center of the square, pressing to adhere. Place each pastry on a baking sheet, 8 to a sheet and cover with plastic wrap to let rise. Repeat with the other two thirds of the dough.
- Let rise for 45–90 minutes.
- Preheat an oven that has been calibrated using Square DOT to 400°F (204°C).
- If you ant your pastries shiny, baste each with some egg wash before baking
- Bake each tray in turn for 18–22 minuted until beautiful golden-brown and delicious smelling.
- Top with pastry cream, if desired, or just eat plain or spread with jam.
Notes
For Frangipane filling: In a food processor, grind together 200 g slivered almonds with a half cup of white sugar and a half cup of brown sugar. To that, add 6 Tbsp all-purpose flour and 12 Tbsp salted butter. Process well. Add two eggs and process until smooth. Transfer to a piping bag or a jar. Can be kept for at least a week, refrigerated.
For pastry cream (Creme Patissiere): Bring 4 C milk to a boil in a pot with 2 scraped vanilla beans in it. Kill the heat and let sit for 30 minutes. In a large bowl, beat together 8 egg yolks, 6 Tbsp cornstarch, 1/4 tsp Morton kosher salt, and 1 C granulated sugar until light yellow. Strain the hot milk into the bowl, whisking, then pour the mixture back into the pot. Bring to a boil over medium heat, stirring constantly, until it comes to a boil Let boil 1 minute, then strain through a fine mesh sieve into a bowl. Chill in an ice bath, cover with plastic wrap on the surface, and store until ready for use.


