Homemade Hamburger Bun Recipe, Because the Best Burgers Deserve the Best Buns
I am, either by nature or by nurture, prone to hyperbole—especially when it comes to food. If I don’t pay attention to what I’m saying (or typing) I tend toward the grandiose. You may have noticed this in some of my blog articles. So, fully cognizant of that fact, I want to be very clear that when I write this next sentence, it is not, I think, hyperbole.
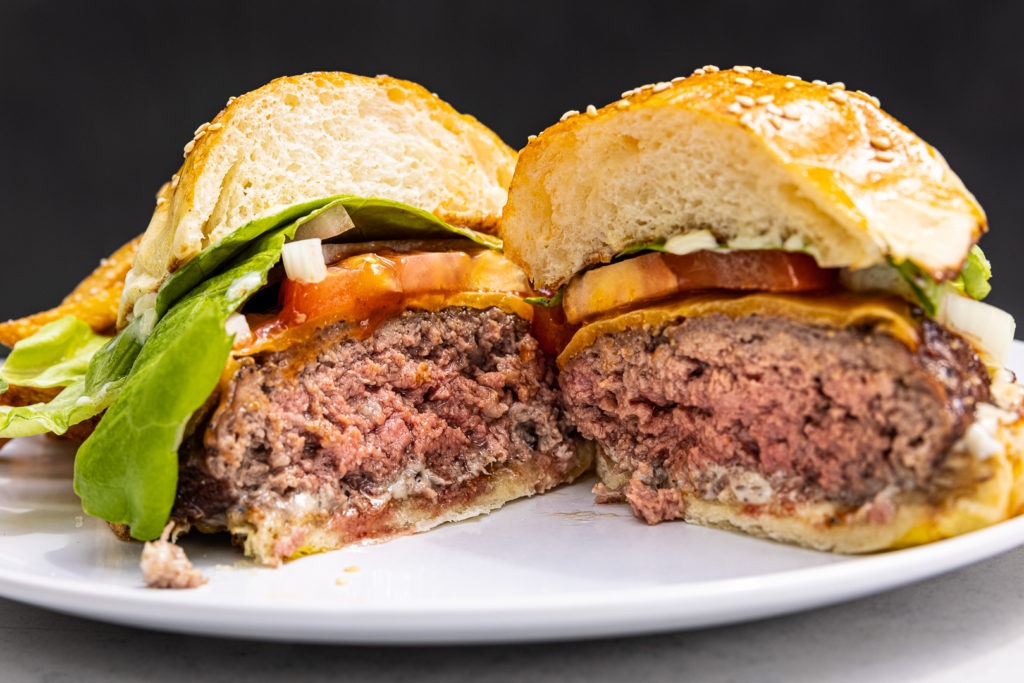
A good burger is a glorious thing.
Burgers are our national food, 2 and because of their importance to our cultural cuisine, we’ve written rather extensively on the subject. From smash burgers to grilling temps, and from grinding your own meat to stuffed burgers, we’ve covered a wide swath of burger territory. But until now, we’ve been silent on one very important part of any burger: the bun.
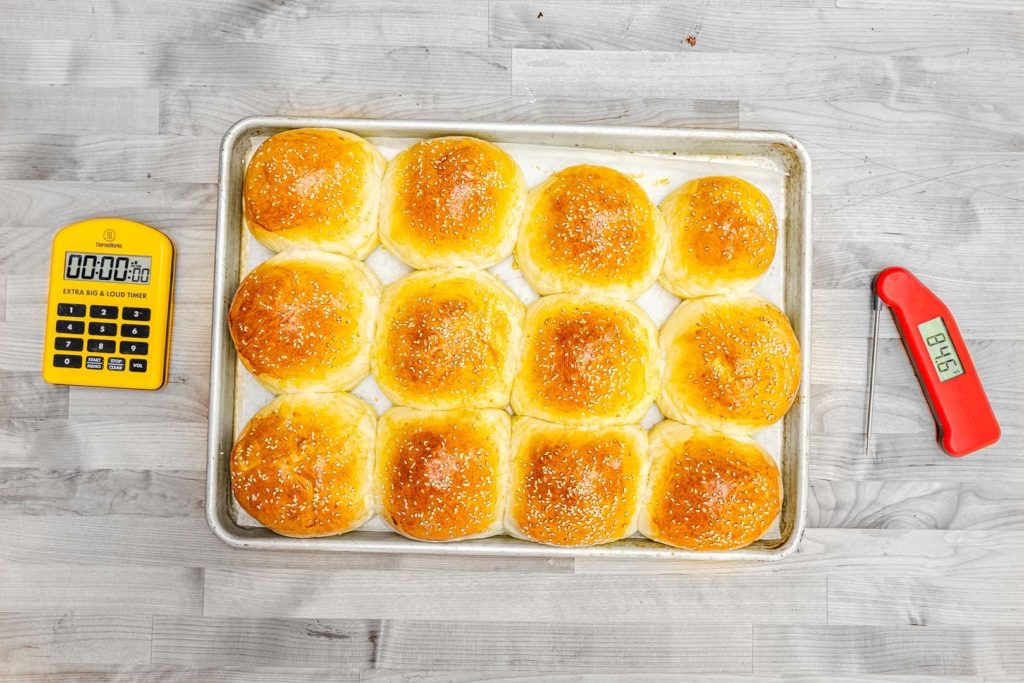
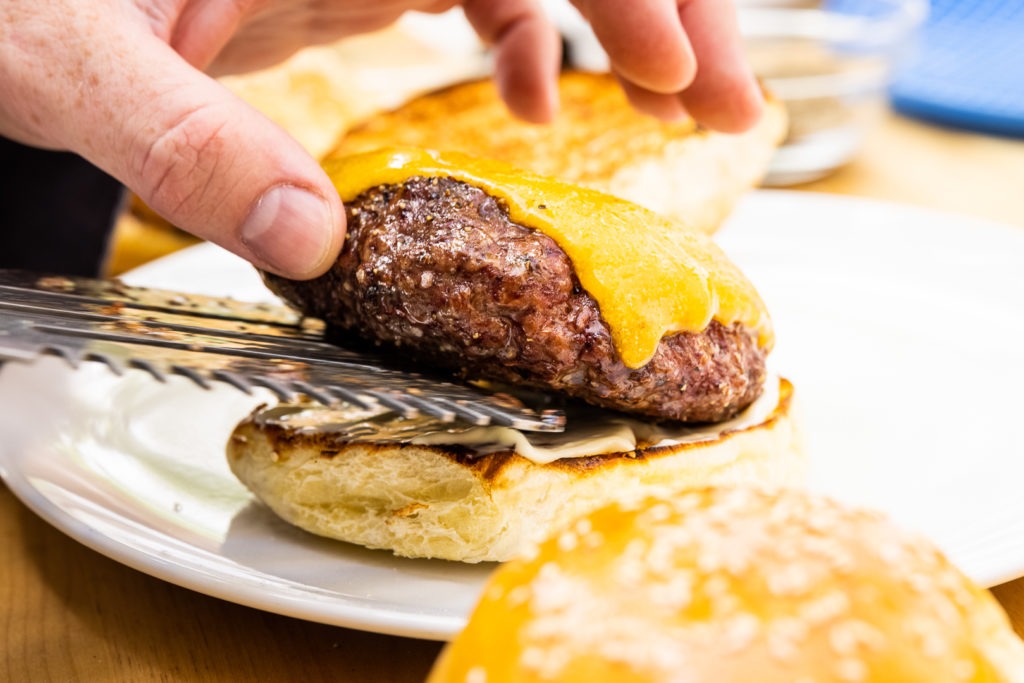
A burger that is only so-so can be greatly improved with a good bun, and, conversely, a burger with exceptional beef and toppings can only go so far with a bad bun. And knowing how our readers aren’t ones to shrink from a challenge, we knew that bringing you a killer recipe for an amazing hamburger bun would be a good idea.
And this one is a doozy. Created by the literal bread-and-pastry geniuses at The Butter Book, this recipe is amazingly easy to make and gives you results that you will love. Of course, we’ll guide you through the thermal steps you’ll need to make sure everything ends up properly pillowy and chewy.
What makes a good burger bun?
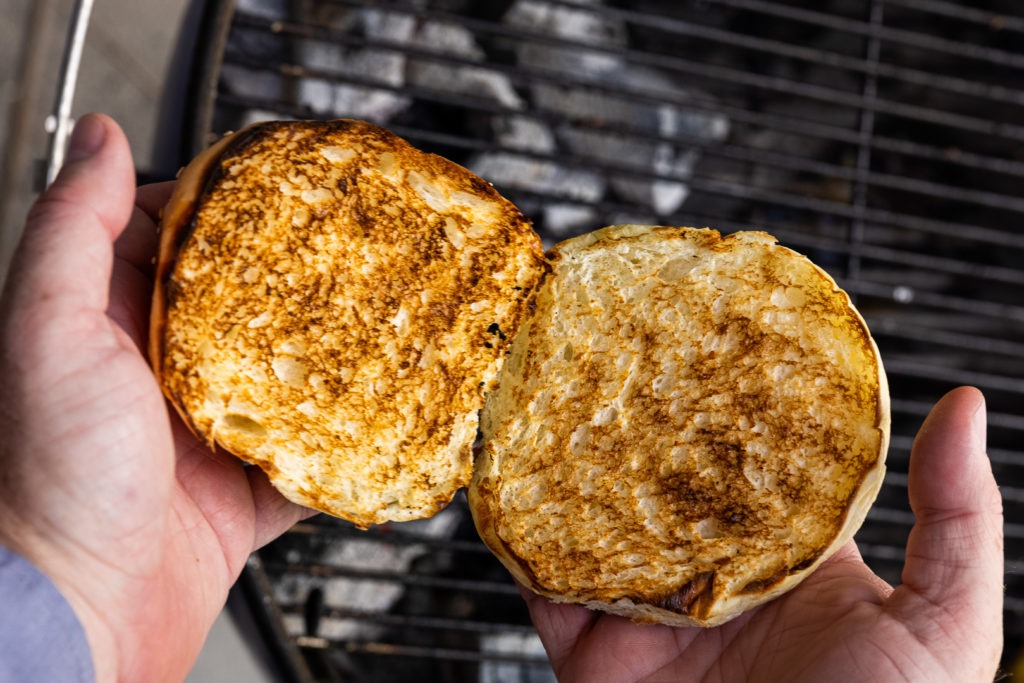
A good burger bun needs to be able to handle a good burger, i.e. one that is juicy. It should also be able to handle any toppings, from mayo to ketchup to tomatoes and pickles. No one wants a bun that goes all soggy-bottom on you or that disintegrates before you finish eating. A good bun will also be soft enough that you can take big bites comfortably. (Sure, two slabs of crusty artisan sourdough might be interesting, but that is not the burger that any of us are looking for.)
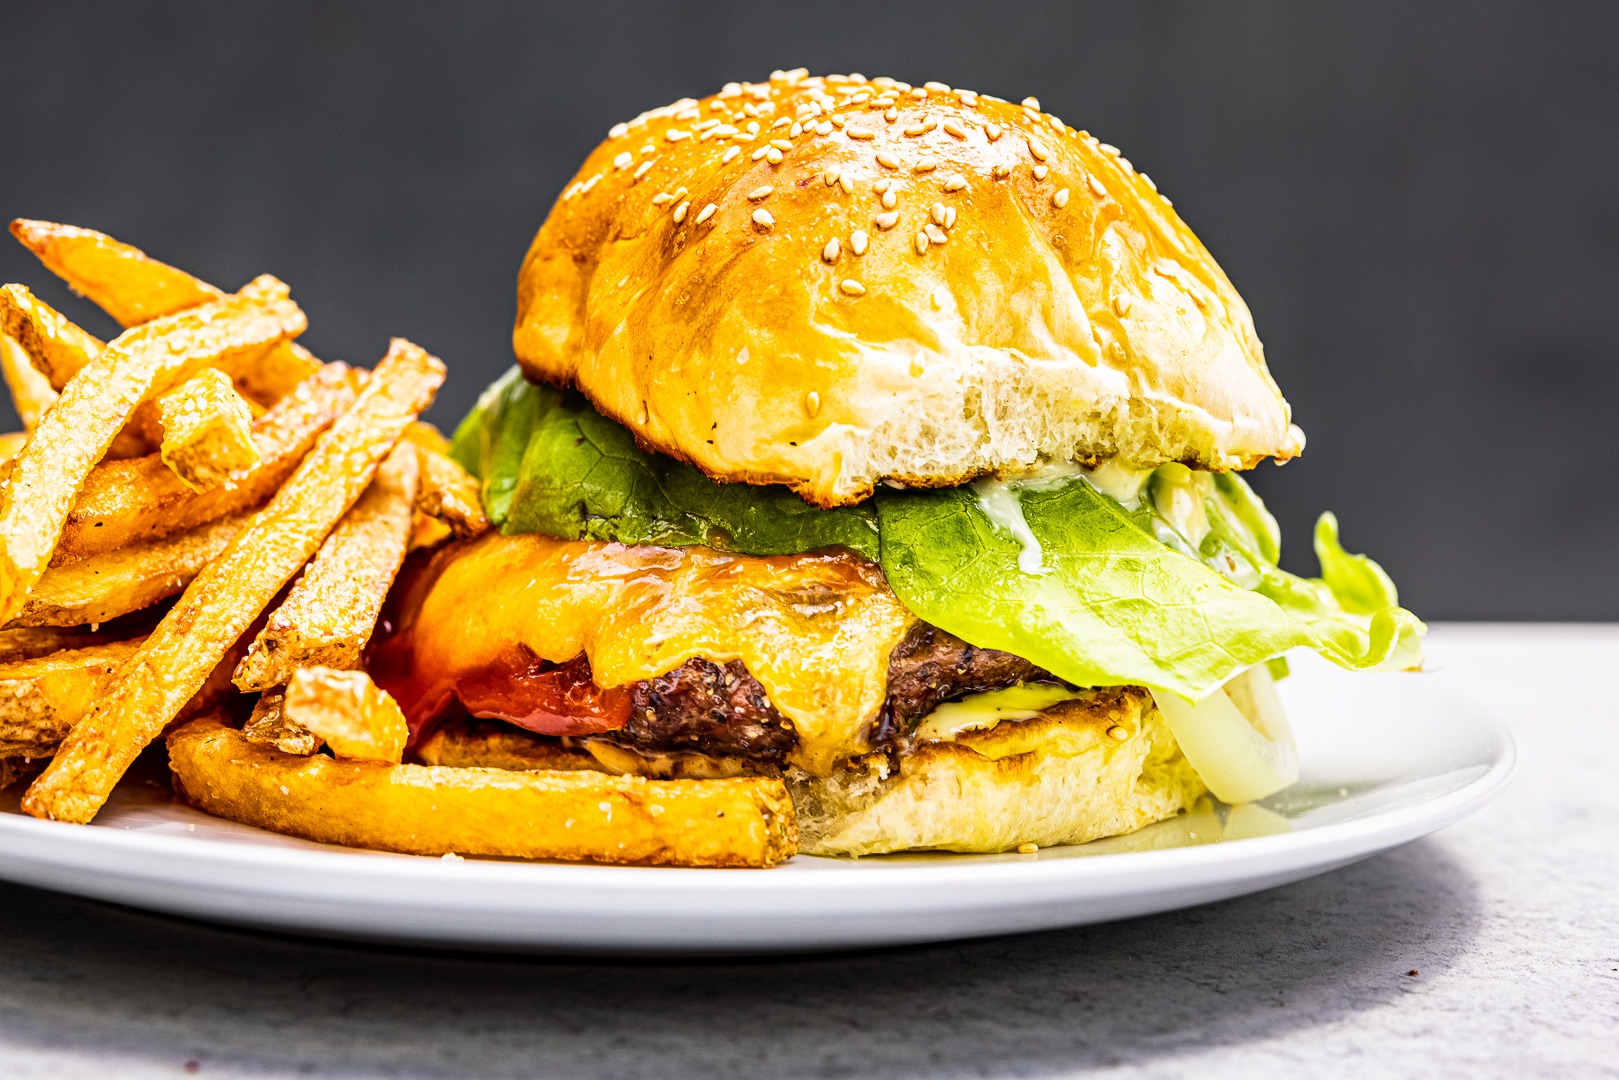
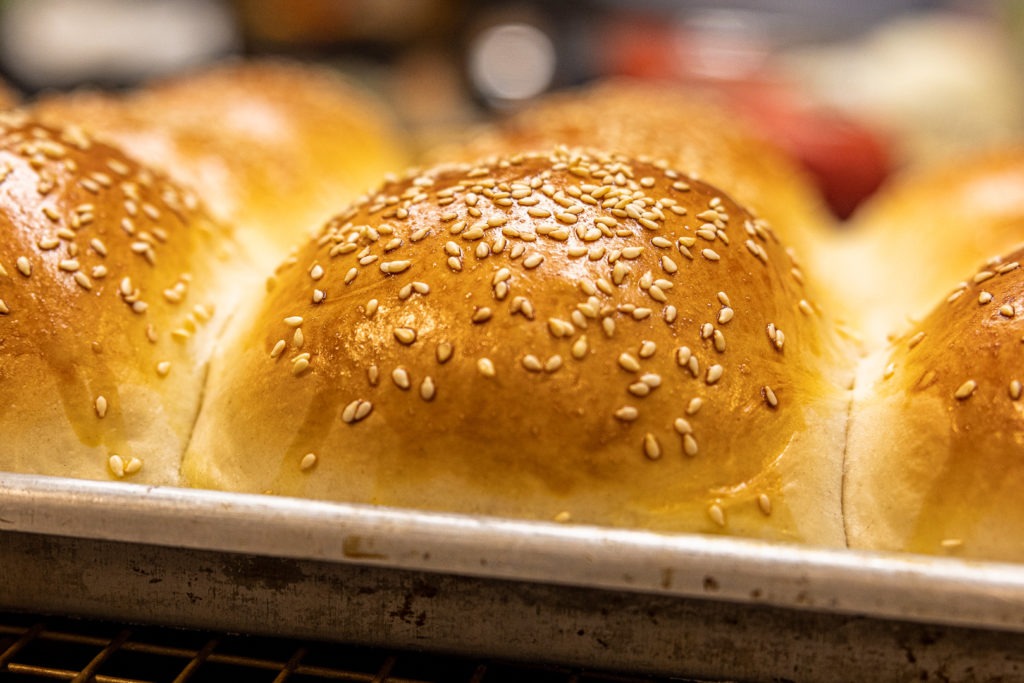
A good bun should be aesthetically pleasing, after all, presentation is a huge factor in culinary enjoyment and a wan, pale bun just won’t get people as excited as one that is burnished golden brown. And it goes almost without saying that a good bun must be delicious in its own right.
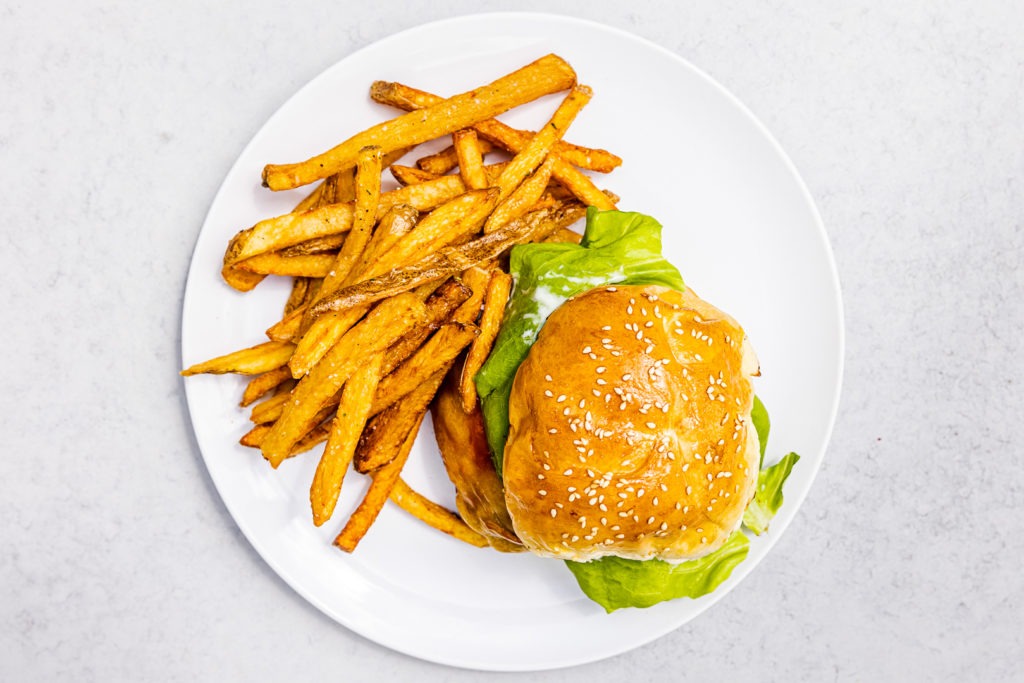
How to make a perfect hamburger bun
That list of characteristics can seem a little daunting. But making a perfect bun that checks all of those boxes isn’t any harder than making any other bread. Let’s take a look at what it takes to get a bun that does what we want it to do.
Sturdiness
First, a bun that is sturdy enough to take the juice of a burger can be made by using high-gluten flour and developing that gluten very well. We get that in this recipe from good quality bread flour that we knead in a stand mixer for a full 12–15 minutes. The resulting gluten network is strong enough to provide the strength and structure (and perfect chew) we need.
Tenderness
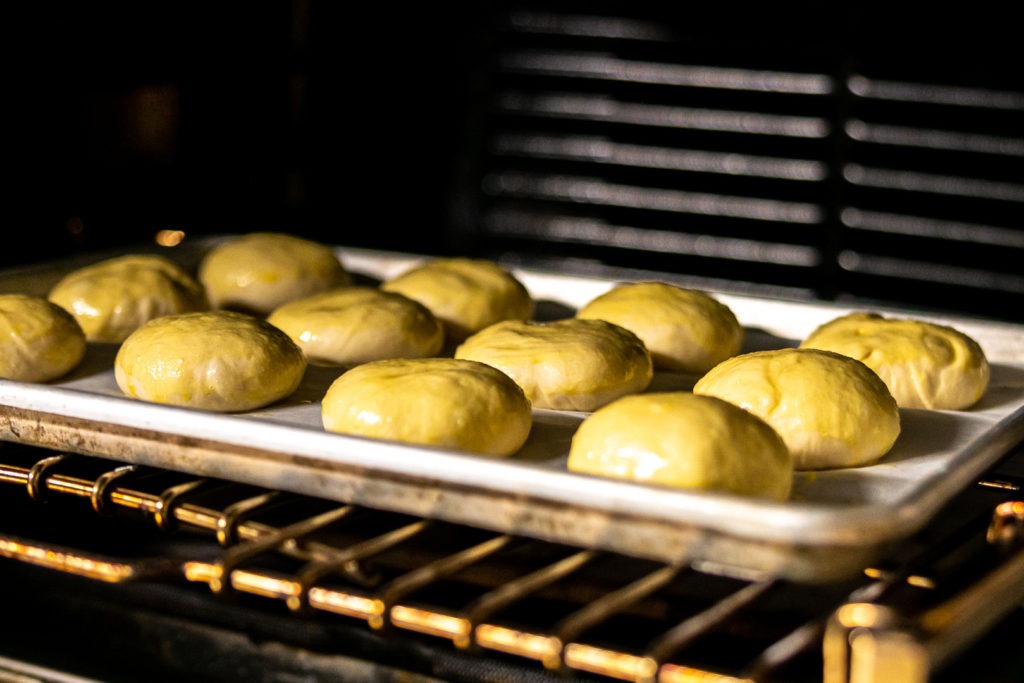
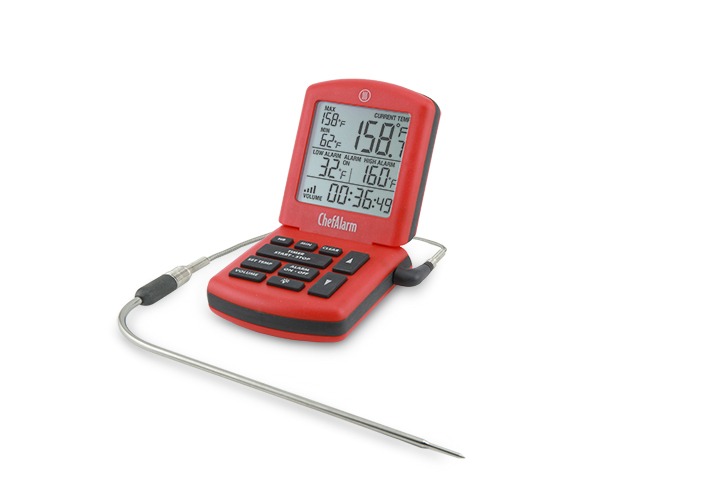
But will such a well-developed high-gluten dough be tender as well as strong? It will if we proof it correctly. The dough undergoes an initial proof on the countertop at room temp for one hour, then is shaped (re-forming some of the gluten) and proofed in a warm oven or cooler for another hour and a half. (More on the shaping below.) You want to be careful here. A proof that is too hot will cause the dough to rise too quickly, ruining some of the gluten structure. Using a ChefAlarm® to track the temperature of whatever proofing box you use will help you get the very best results. Set the high- and low-temp alarms on either side of 80°F (27°C), then regulate the temperature of the box if it goes too high or too low. If you let it rise at the right rate, the gluten will help your bun stay strong.
Golden-brown goodness
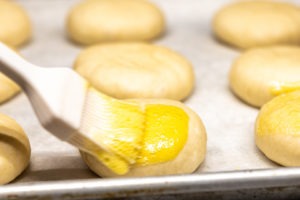
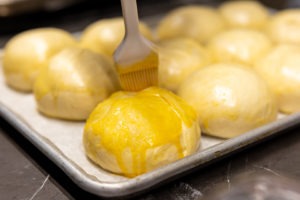
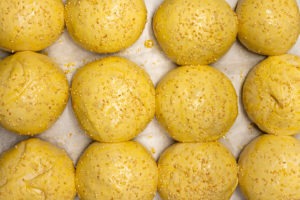
So much for the bun’s structure, what about the aesthetics? To make the buns beautiful, we give them a double coating of egg wash—one coating before the final proof, another right before baking— to give them that beautiful, dark gold sheen. Along with the second coating, we also strew the tops of the buns with sesame seeds, which not only look nice but also give the burger a nutty, complex flavor that varies the flavor. They add topography to the flavor landscape of the bun.
Flavor
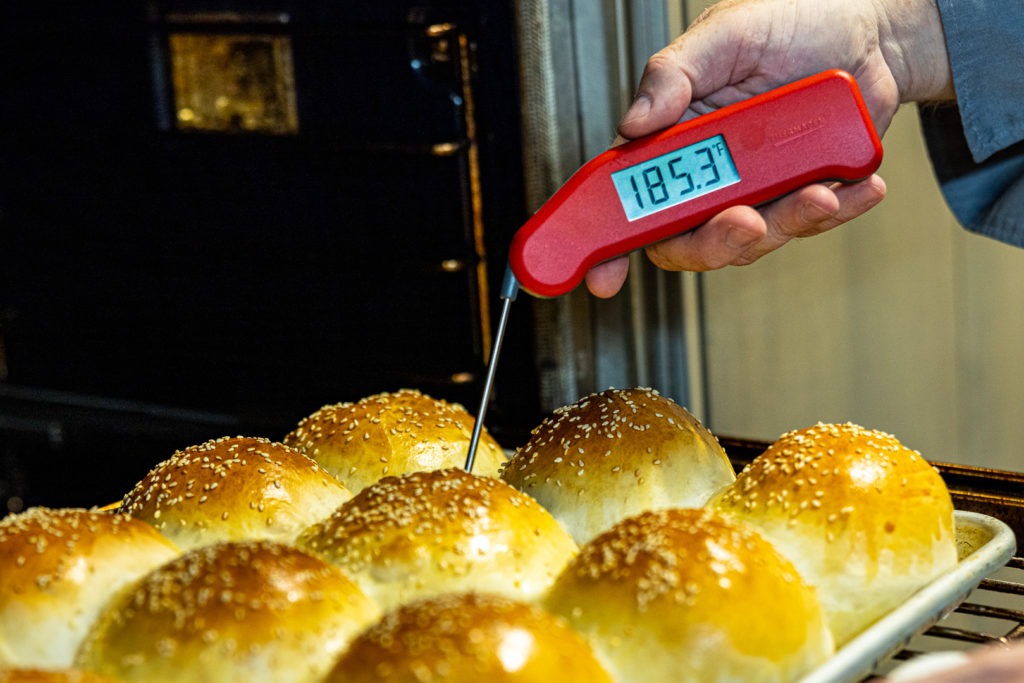
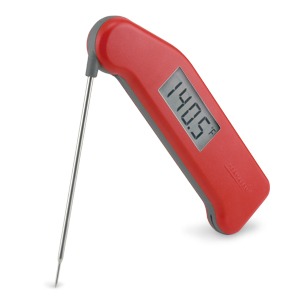
As for flavor, well, we wrap that up pretty soundly by making a rich dough bun with whole milk, egg, butter, and a little sugar. You’ll have to restrain yourself to save these buns for the burgers! But of course, even the best recipe will be bad if you undercook the buns. Rich dough breads have a finish-temp of 180–190°F (82–88°C), which we can check during the cook with a fast and accurate instant-read thermometer like the Thermapen®. Perfectly done bread is tastier bread!
Shaping hamburger buns
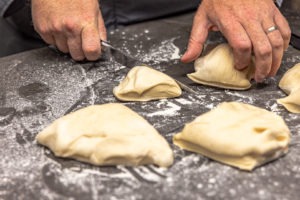
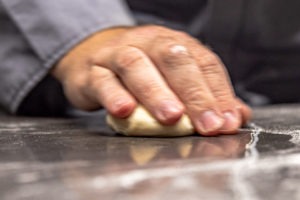
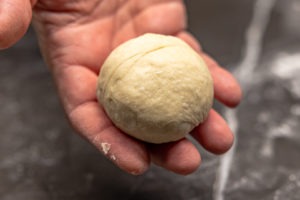
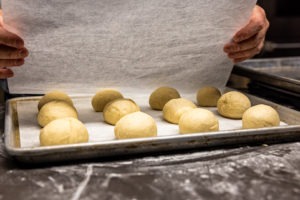
I mentioned in the above section that the buns are shaped, but how is that done? It’s surprisingly easy, once you get the hang of it. First, the big dough ball is cut into smaller dough balls, each about 80 grams. You should get about 12 from this recipe. Place a chunk on an un-floured surface, preferably with the freshly-cut (stickier) side down on the counter. Cup your hand and place it over the ball so that your hand is just touching the top of the dough ball. Then move your hand in a small circle, dragging/rolling the dough ball around inside the “cup.” You’ll feel the ball start to become more spherical, and then it will rather suddenly coalesce into a firm, smooth ball. Place it on a parchment-lined sheet pan.
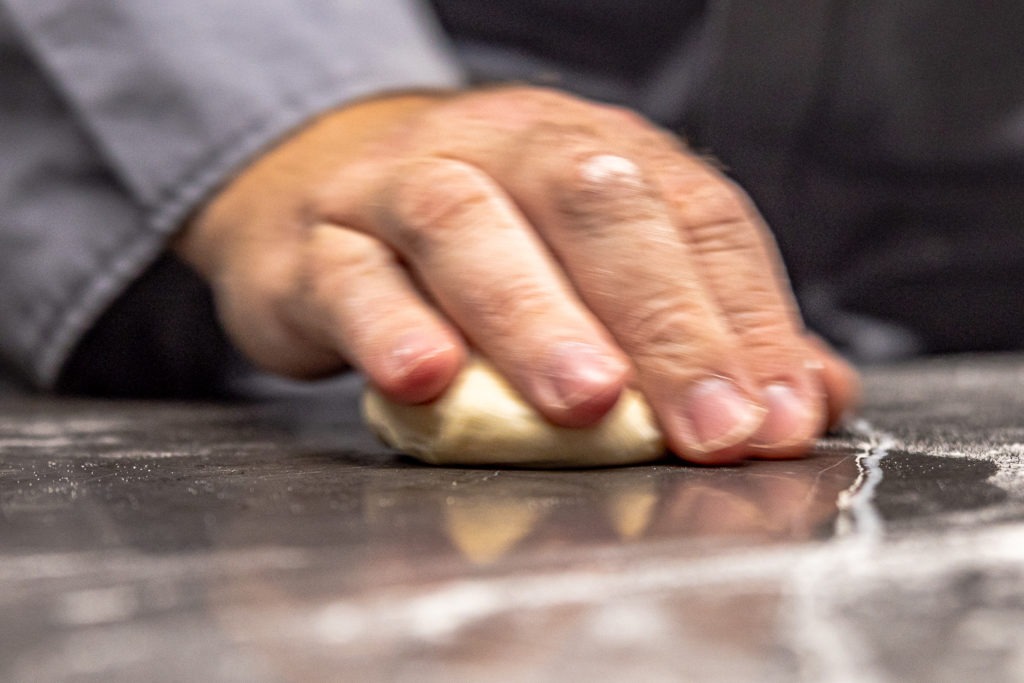
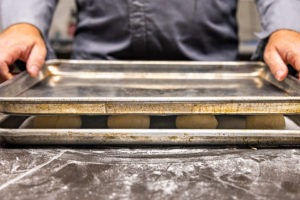
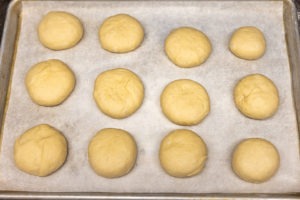
Repeat this rolling process with all of the balls, then top the dough balls with another sheet of parchment and squish them so they are flattened with another sheet pan. The resulting discs will not be very big around and they certainly won’t be very flat (thanks gluten). Don’t worry, they’ll proof up perfectly.
If you’re as serious about burgers as I am, and I assume you are, then you really need to try this recipe out. Once you start making your own buns, you’ll never want the bagged grocery store variety again. If you can get the best buns with just a few hours of work, why would you want the sad, soggy ones? You wouldn’t!
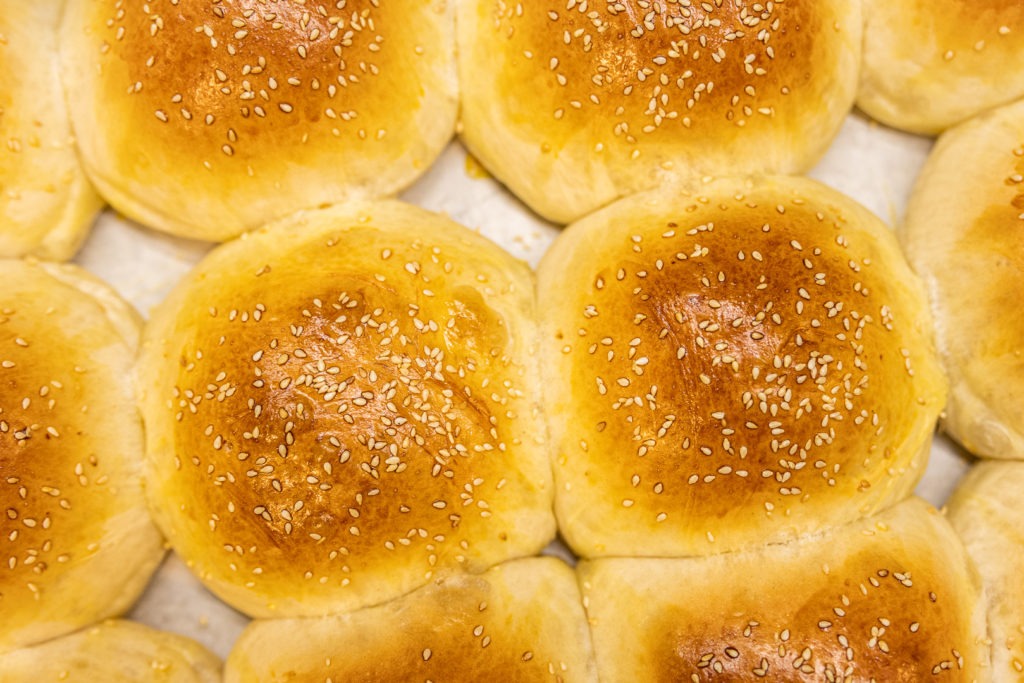
Take up the challenge. Grind your meat, make your buns, fry up some fries, maybe even cure your own bacon. Make your burgers! If you can find a better burger out there in the world, you must absolutely write in and tell me about it. But don’t worry. You won’t. Yes, doing the whole thing from scratch is a lot of work, but if you want a glorious example of what is already a glorious food, then this is the best way to get it. And with the aid of your Thermapen, both your buns and your burgers will truly be their best.

Want to learn to bake like a pro? Our friends at The Butter Book are offering 25% off their annual plan. Founded by world-renowned chefs Sébastien Canonne M.O.F & Jacquy Pfeiffer of The French Pastry School, The Butter Book is an online baking platform with video lessons designed to inspire sweet and delicious creations in the kitchen. With the annual plan, you’ll have access to over 200+ baking videos led by pastry professionals, tried and trusted recipes you can learn at your own pace, and a platform centered around a community of home bakers. This isn’t something we’re getting paid for, the benefit is the knowledge our customers will be gaining at a discount!
Homemade Hamburger Bun Recipe
Description
Delicious, fluffy, sturdy burger buns, based on the recipe developed by The Butter Book, a learning platform created by The French Pastry School.
Ingredients
For the buns
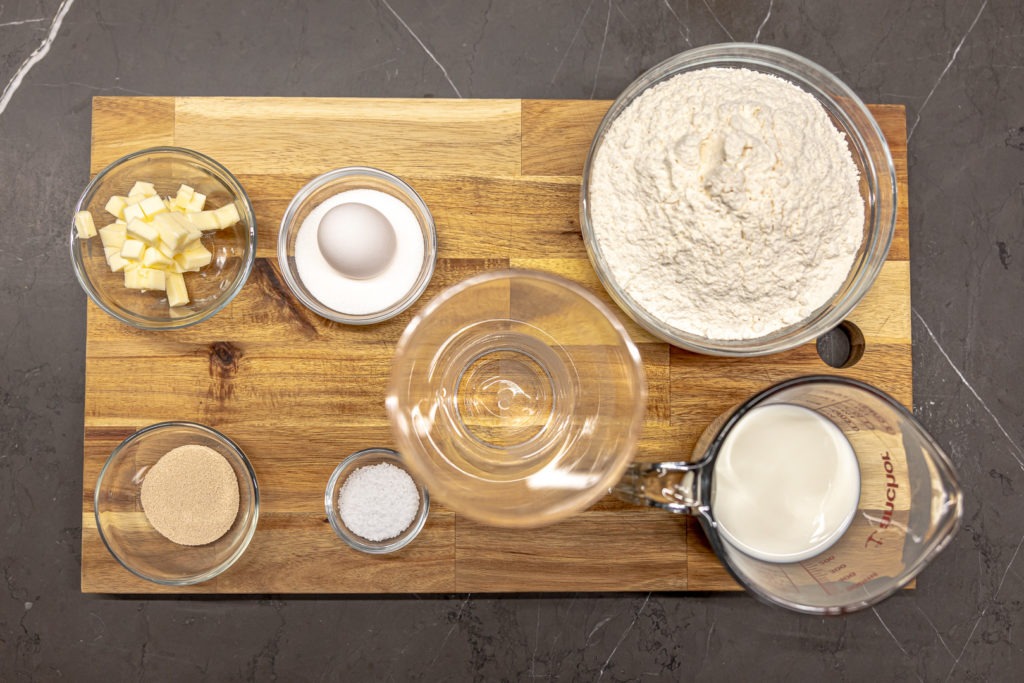
- Whole milk 150 g (⅔ C)
- Water 150 g (⅔ C) at proper temperature (see recipe below for details)
- Bread flour 500 g (3½ C)
- Sea salt 10 g (2 tsp)
- Granulated sugar 40 g (3⅓ Tbsp )
- Dry instant yeast 10 G (1 Tbsp+½ tsp)
- 1 egg
- Unsalted butter, cold, ¼-inch cubes 50 g (3½ Tbsp)
For the egg wash, topping
- two eggs plus 1 egg yolk
- sesame seeds for sprinkling
Instructions
Make the dough
- First, determine the water temperature you need. Subtract the temperature of your milk from 150°F (I’m not going to give Celcius measurements right here because the operations don’t transfer smoothly across units). That is your water temperature. Combine the water and milk. It should be 75°F (24°C).
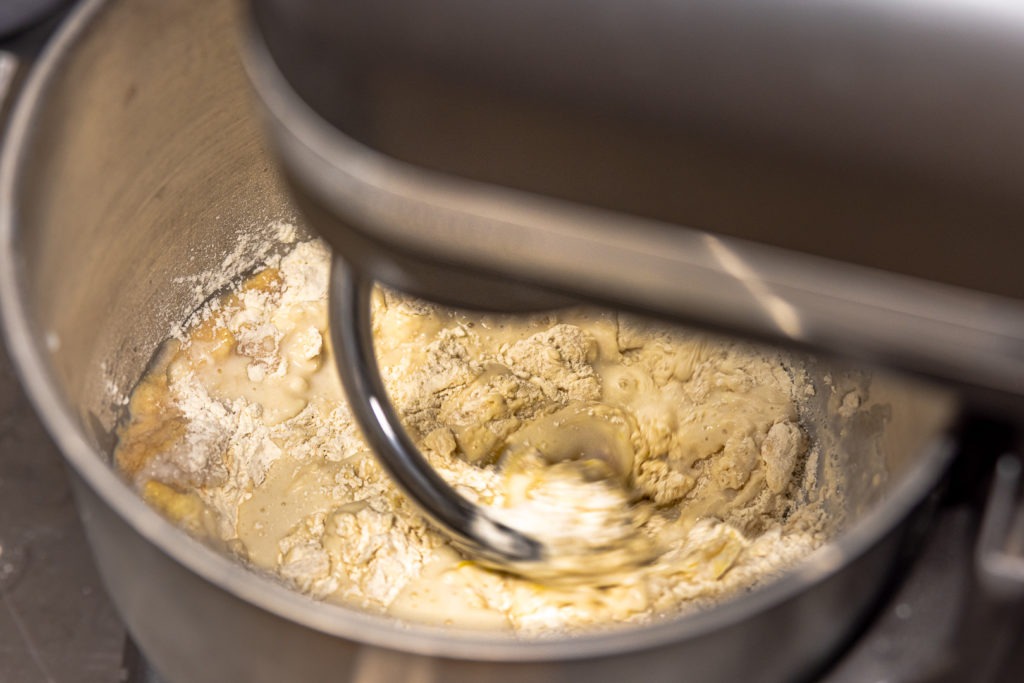
- Combine all bun ingredients in a stand mixer and mix on low-speed for 5 minutes with a dough hook.
- Increase the speed of the mixer to medium and mix for a full 12–15 minutes. Use a timer to make sure you knead it long enough.
- If the dough won’t form a gluten window after 12 minutes, knead another 3 minutes.
- Turn the dough out onto a floured surface and make a smooth ball out of it.
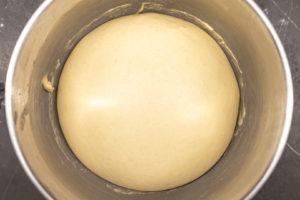
- Put it back into a bowl, flour the surface lightly, cover it and let it ferment on the countertop for 1 hour.
Form the buns
- Turn the dough back out of the bowl onto the floured surface and deflate it gently.
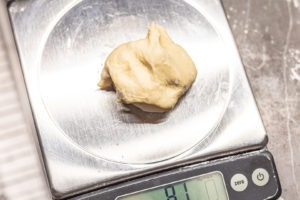
- Using a scale, divide the dough into 12 pieces, 80 grams each. Don’t flour them as you cut them.
- Make balls out of each by rolling each piece of dough on an un-floured section of the counter under a cupped hand until you feel it come together in a tight, sphere-ish shape.
- Place them on a parchment-lined sheet tray.
- Cover the dough balls with another sheet of parchment, and squash them down with another sheet tray until they are somewhat flattened.
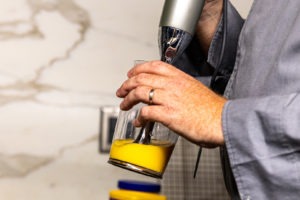
- Make the egg wash by vigorously beating the two whole eggs and the single yolk. An immersion blender works well.
- Baste the buns with the egg wash.
- Put them in an area where they can proof at around 75–80°F (24–27°C). Use a ChefAlarm’s high- and low-temp alarms to make sure your proofing box—whether it be a cooler with some warm water, an oven with the light on, or a cardboard box set in a sort-of sunny place—doesn’t get too hot or too cold.
- Proof for about 90 minutes or until doubled in volume. (If you live in a very dry climate or your proof box is very dry, you may want to very lightly drape some plastic wrap over the buns to prevent them from drying out.)
Bake the buns
- Remove the buns from the proofer and preheat your oven to 350°F (177°C).
- Very gently give the buns another coating of egg wash, then sprinkle them with sesame seeds.
- Bake the buns for 15–20 minutes, or until a Thermapen inserted into a bun gives a reading no lower than 180–190°F (82–88°C).
- Let the buns cool on a rack until ready to slice and use.
- Serve with perfectly cooked burgers!
Shop now for products used in this post:



Who has a proof setting on their oven?
An oven with a pan of hot water in it will also work well.
Every oven with an incandescent light bulb has a “proof setting”. Put the dough in the oven. Shut the door and turn on the oven light. It’ll get warm enough to proof your dough. Just keep it covered with plastic wrap or a damp tea towel to prevent it from drying out.
Cheers!
My Kitchen Aid oven has a proof setting but it proofs at 100° F. Too hot for some doughs. Modern ovens with an LED light don’t get warm enough! The hot water pan is perfect. Provides just the right amount of heat and humidity.
Martin,
I think your recipe is overly complicated. I use with great success the standard no-knead bread recipe and make the dough into buns and then cook on a cookie sheet or baking stone in the oven at 425 degrees. Just before putting them in the oven I brush the top with water and sprinkle with sesame or poppy seeds. One can use either regular yeast or sourdough although generally yeast is more predictable. This approach is easy, simple and make fabulous buns.
Geoff
That also sounds delicious, but I think people should give this a try, too!
Soft bun recipes generally use lower oven settings with great success, another super tip is to take the butter or oil part of the recipe and combine it and the flour first and just mix the heck out of it. This helps moderate gluten formation resulting in a soft, pillowy dough!
Sound good. I am going to try these for beef on a bun. Thanks for the details.
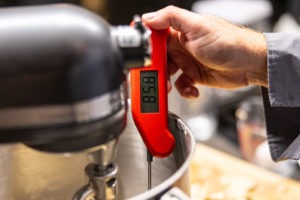
You have a picture of using a Thermapen in the dough mixture while it is in the stand mixer. Where are the instructions for this step?
That was mostly to show that we had ended with a good dough temp for proofing. getting your dough up to 80–85°F will help your proofing steps run better. Good question!
Any recommendations for a meat combo to grind your own burgers?
I really like a good portion of short rib, maybe with a little sirloin in there. These burgers were 100% chuck, which is not at all shabby. Maybe 50/50 short rib/chuck. If you have any brisket trim that you saved, use it!
I grind my own burgers with an old universal crank grinder. I use a mix of flat iron and a chuck eye roast. Two flat irons and the roast is about five pounds. Forget 90/10 or 80/20, Fat is flavor! I shoot for 65 or 60/40. Grind coarse, make the burger very light, meaning do not compress too much. Tasty, tasty, I promise!!
Yes!
This looked great but when I started to print the recipe it was 8 pages. You should have an option to delete the photos for printing for those of us who want to save money and resources, too much use of paper and expensive ink. Won’t be trying this recipe.
On the recipe-card section at the bottom there is a button that says “Print Recipe.” If you push that button, it will open a window with the recipe alone and all the pictures removed. I hope that helps!
Thank you,
Congratulations for a great formula. I’ve been amateur baking for 30 years and find this to be the best hamburger roll recipe I’ve seen. Only thing I did differently was to add an autolyse ( a process of adding just the water, and in this case the milk to the flour and allow to rest for about 15 minutes. This allows the enzymes in the flour to activate, something that is complicated when salt is added).
To Mr. Young I’d point out that what he made was a very different roll and might well be just as delicious. When you bake for a while you learn that some subtle differences in the process that might appear to be complications can push the product to the next level.
I like the idea of adding the autolyze step. Thanks for sharing!
Come out perfect! Sturdy and soft. Best buns I’ve ever made!
Wonderful! Thank you for sharing your results!
Can these be frozen successfully? And if so, before or after baking? They look divine.
Maureen, either before OR after baking will work! Make the dough balls and then freeze them individually, then thaw well, proof and bake. Or make them all the way through and freeze them once completely cooled in a plastic bag.
I’ve made a lot of different hamburger bun recipes over the last 10 years and some pretty good ones too BUT none compare to this recipe! The are some oddities in this recipe I’ve not found in others but well worth them to me.
Fantastic flavor with just the right sturdiness of structure yet still be light & fluffy as want in my buns. Many bun recipes yield a product with too much sturdiness and the meat and condiments push out the back of the bun with a bite. Others have little structure and collapse to yucky gumminess. Not these, perfect! In addition, these buns freeze very well though I haven’t kept them frozen for a long period to evaluate their quality say after 2 months. This being summer, burger buns go fast!
We just made these tonight and they are great. Soft and pillowy with a nice crumb. We did notice when forming the individual buns that there were large gas bubbles in the dough. I think some buns will probably have good sized voids inside. It was not something I had seen in my bread making before – did we make a mistake?
It is possible that those over proofed. In the summer, when it’s hot, it can be easy for bread to run away with its fermentation, and you can end up with gas bubbles. Maybe try putting it in a slightly cooler part of your kitchen next time. I’m glad you like them, otherwise!
I made these today. They are perfect. I’ve tried other recipes but none as good as this one.
Thank you!
Ha! I totally missed that button. Wound up doing the copy/paste thing and printing the resulting document. Might I suggest you also put the print button at the top of the article, and that in any case you make it bolder. Anyhow, I look forward to trying this recipe.
Best damn recipe. Nice and firm on the crust fluffy and delicious on the inside. I totally recommend this recipe!!
You say: “(I’m not going to give Celcius measurements right here because the operations don’t transfer smoothly across units).” This is incorrect.
The formula for resulting temperature when mixing liquids of different temperatures is (V1 x Thot + V2 x Tcold) / (V1 + V2), where V is Volume of liquid and T is temperature. Since the volumes are equal, you can simplify this to (1 x Thot + 1 x Tcold) / (1 + 1) or (Thot + Tcold) / 2. This works in both C and F. If I want a final liquid temperature of 24C, and my milk is 4C, then my water has to be 48C – 4C = 44C, because the final temperature will be (44C + 4C) / 2 = 24C.
In F, if I want a final liquid temperature of 75F, and my milk is at 39F, then my water has to be at 150 – 39 = 111F, because the final temperature will be (150F – 39F) / 2 = 75F
I’m sure it’s delicious, but I’ll focus my time and energy on the payload, and just pick up an 8 pack of potato buns, like I always have. Never receive any complaints.
These turned out very nice! Now all we need is for ThermoWorks to PLEASE, PLEASE, PLEASE come out with a trust worthy oven thermometer.
We have! SquareDOT has an averaging feature that tells the REAL temp of your oven using an air probe.