

Grilling Hamburgers: A Temperature Guide
Ah, summer. The buzz of the bees, the laughter of the children running through the sprinklers, the sizzle of burgers overcooking on the grill…
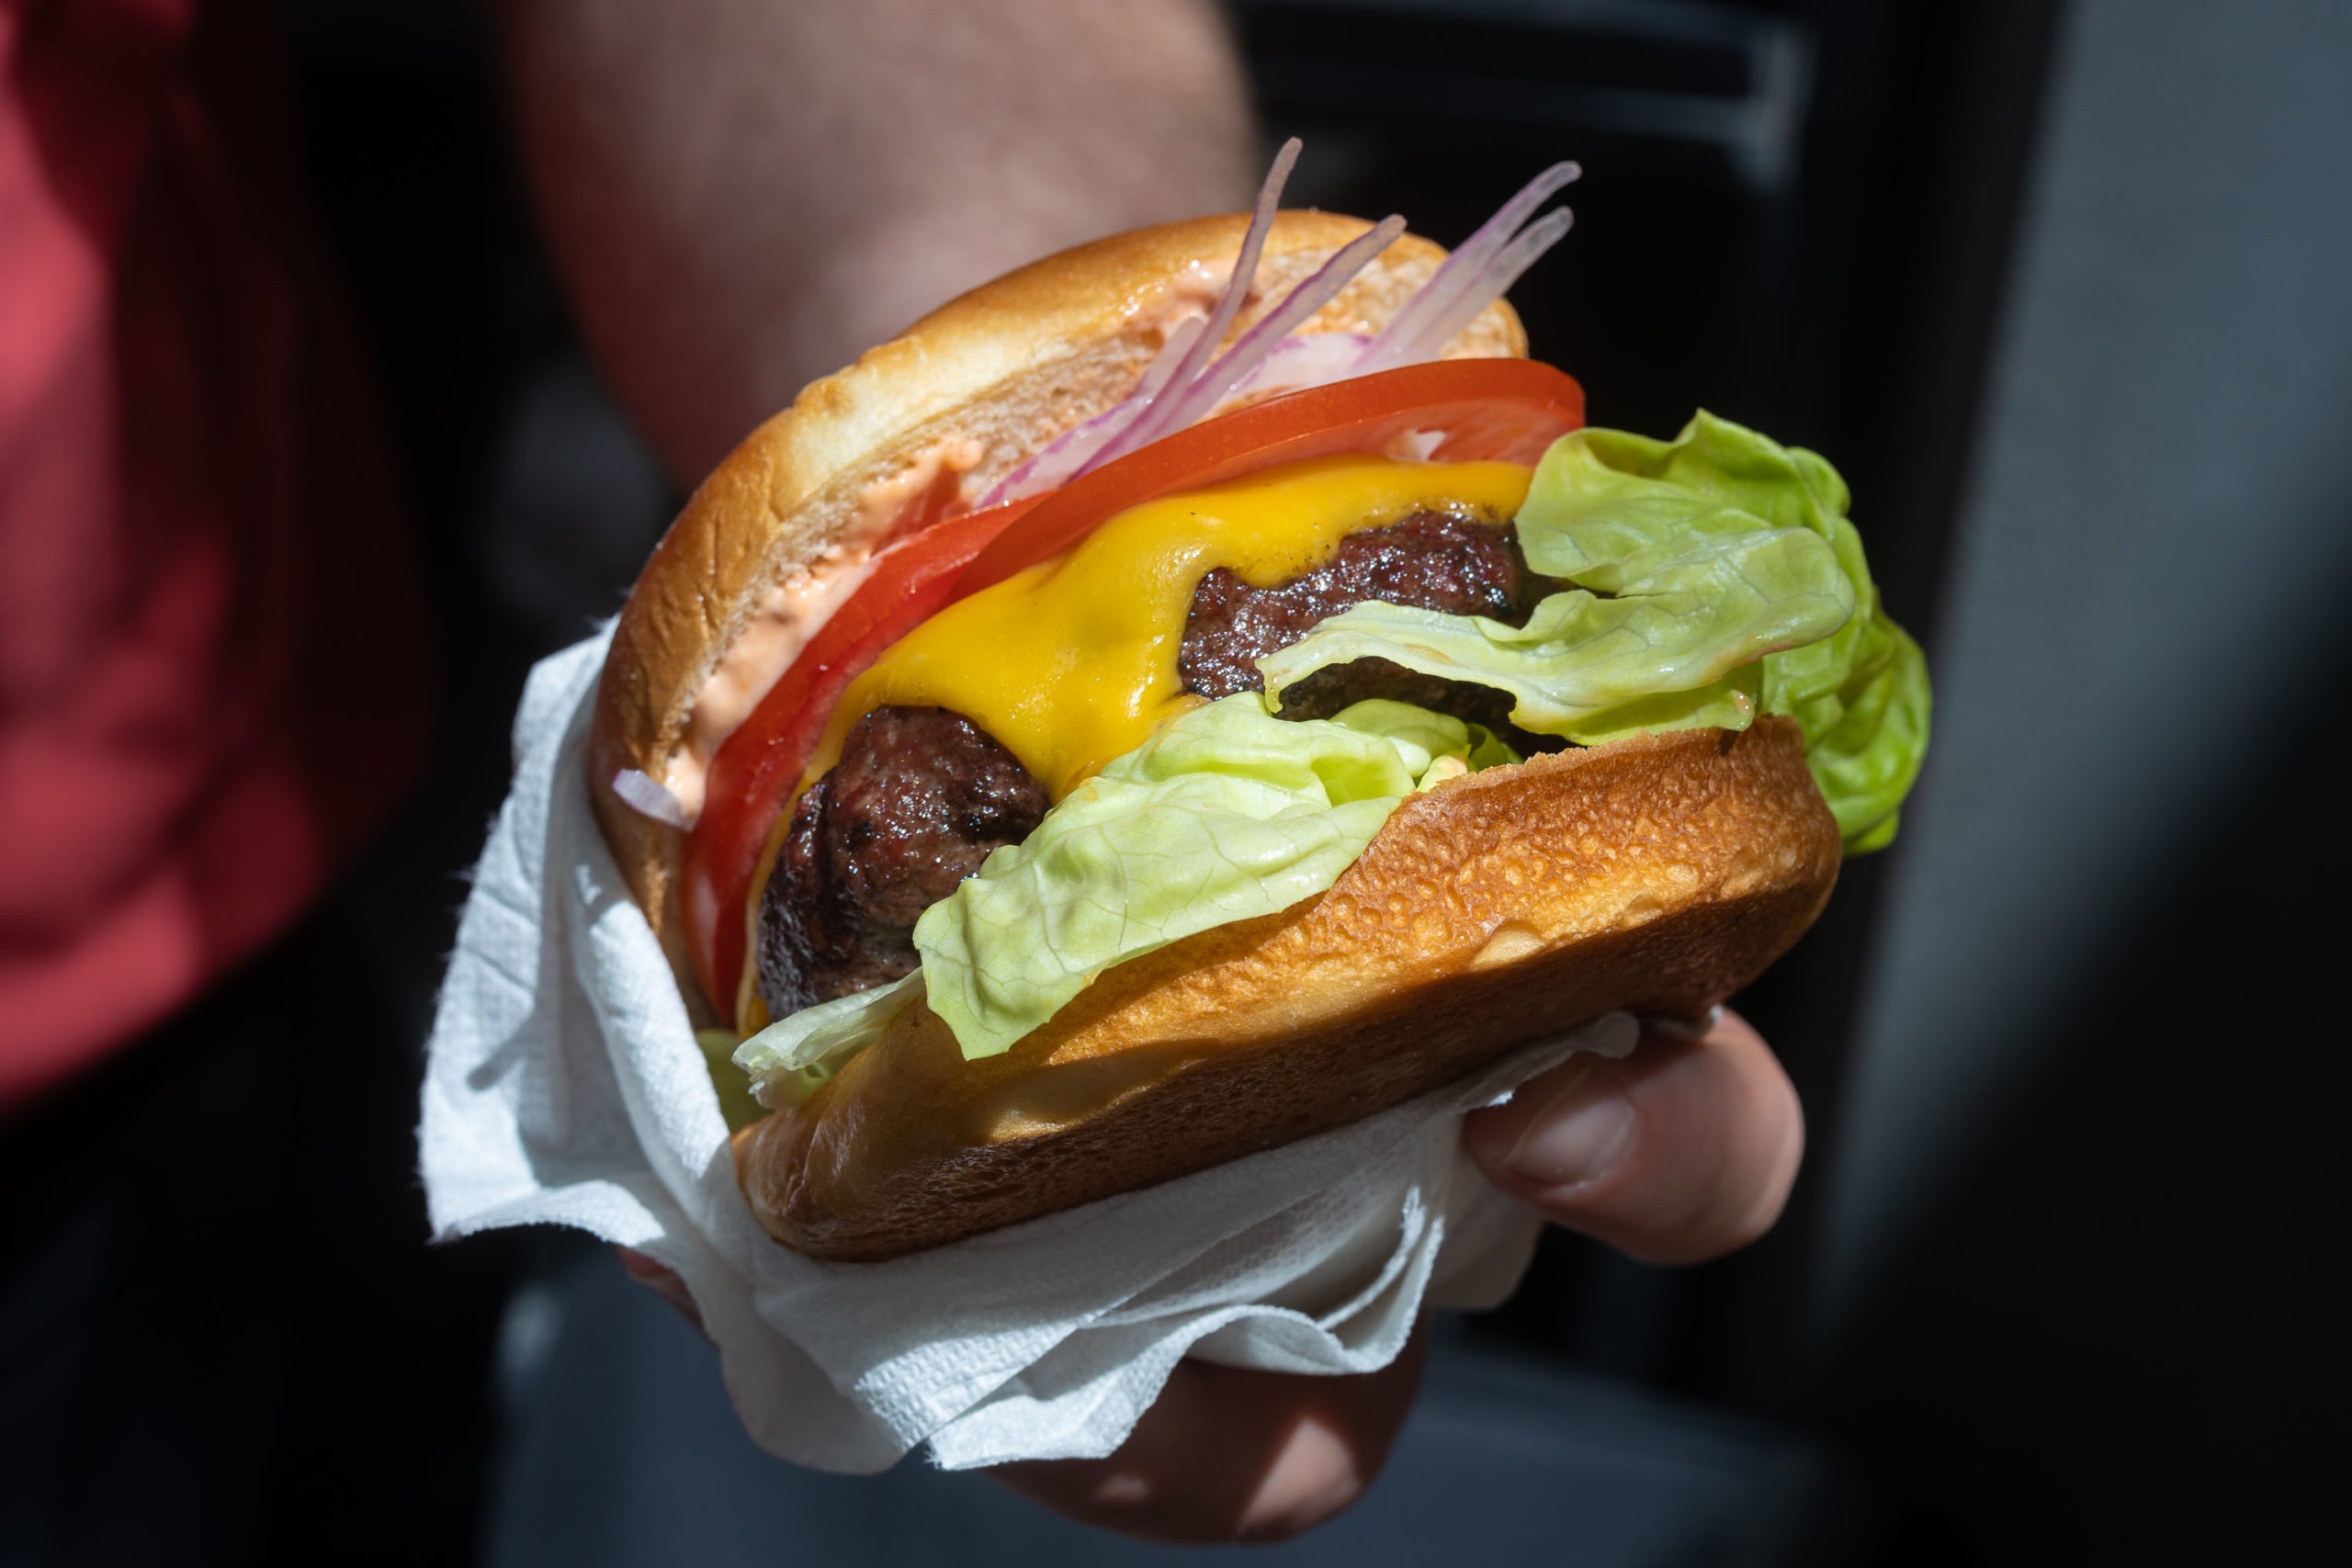
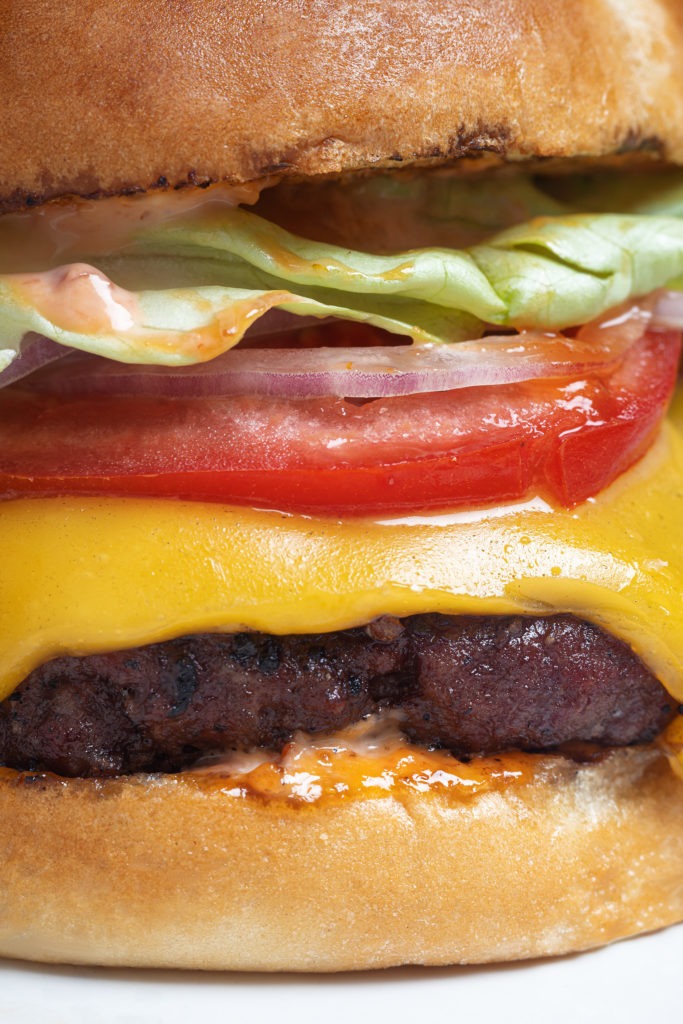
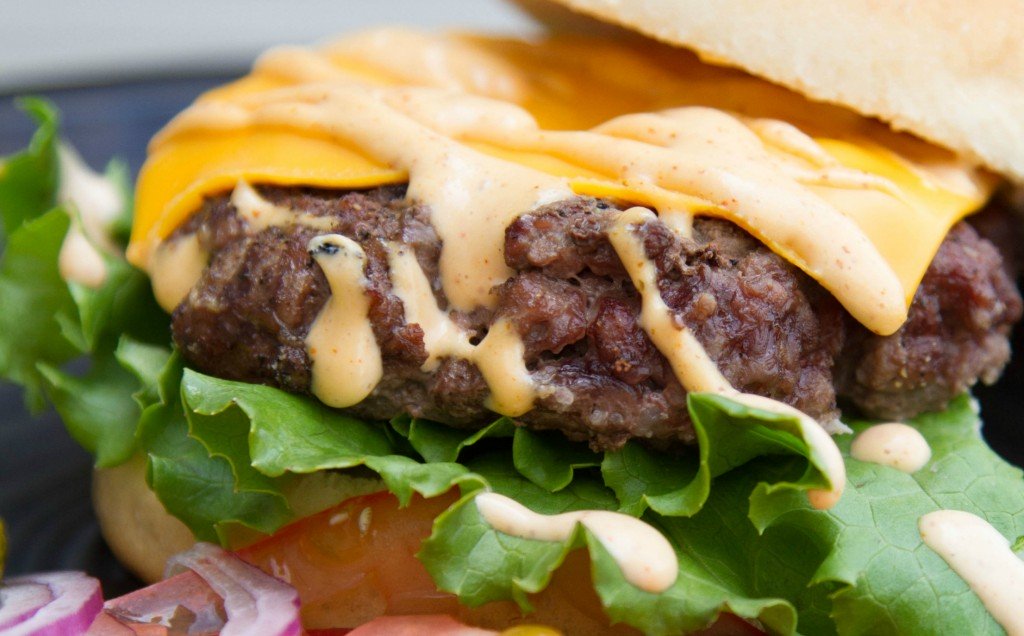
Wait. No. Not that! Not on your grill! As outdoor cooks, I think we all need to get serious about that staple of the grill, the hamburger. There are literally millions of ways you can prepare burgers, each with different seasonings, different toppings, different stuffings, but they all need to be cooked properly to prevent foodborne illness and ensure just the right tenderness and juiciness.
A safe burger temp is 160°F
To help you prepare for all the grilling you’ll do this summer, we’ve done the thermal legwork so that you can make safe, tasty, impressive burgers for your family and friends.

Grilled hamburger temperature basics
First, let’s lay down the ground rules. Store-bought ground beef must be cooked to an internal temperature of 160°F (71°C) to be considered safe to eat. Why is that, when I can eat a medium-rare steak that is 30°F (17°C) cooler? Because of the grinding process itself. You see, bacteria don’t tunnel or even try to travel at all, and that means that pretty much all the bacteria on a steak are living on the surface. If you sear a steak at a high temperature, you’ll kill the bacteria on the outside, but since there aren’t any inside, you don’t have to worry about them.
But if you grind that steak up and turn it into a ribeye burger (yum), you’ve taken all the bacteria living on the outside of the steak and distributed them throughout your patty. And since any piece of meat is only as cooked as its least cooked part, you need to cook the ground beef to 160°F (71°C) to ensure it is safe to eat. Of course, with carryover cooking, that means you’ll want to pull your burgers at 155°F (68°C) to achieve the best temp possible.
Ok, basics out of the way, let’s talk a little about nuance. There is a way to bend those rules by grinding your own meat for your burgers. If you buy your ground beef prepackaged, you don’t know what cuts were used, how long it has been mixed together, or anything else. If you buy a piece of good, well-marbled chuck and grind it fresh just minutes before you grill it, you have more knowledge about—and less risk from—your burgers. Not only can you cook a home-ground burger to an astonishingly juicy medium rare (130–135°F [54–57°C]), but you can choose the flavor profile of your burger by fiddling with the ratios of different cuts you use.
That being said, you may already have purchased 10 pounds of ground beef for a weekend cookout, and that’s fantastic. Let’s talk about how to cook that the best way you can.
Note: the principles we’ll discuss below can also be applied to home-ground burgers. Simply adjust the temperatures accordingly.
How to grill the best burgers
The best way to hit your temperature target when grilling burgers is to use the two-stage cooking method. The two-stage method means setting up your grill with a lower-heat section and a high-heat section. You start your food on the unheated side, allowing only the ambient heat from the hot side to cook it. When you come within range of your desired final temperature, you move the meat to the hot side for a final sear. This is different than the standard method that most people use: slapping burgers directly over high heat and cooking them until they are “done.”
Why cook burgers in two stages?
If you’re wondering what the point is, why bother with a two-stage cook, the answer is this: control. By approaching the final temperature more slowly, you keep the thermal “momentum” in your burgers low, thus making it easier to hit your target pull temperature.
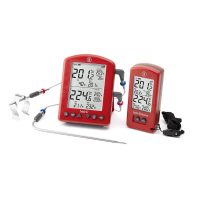
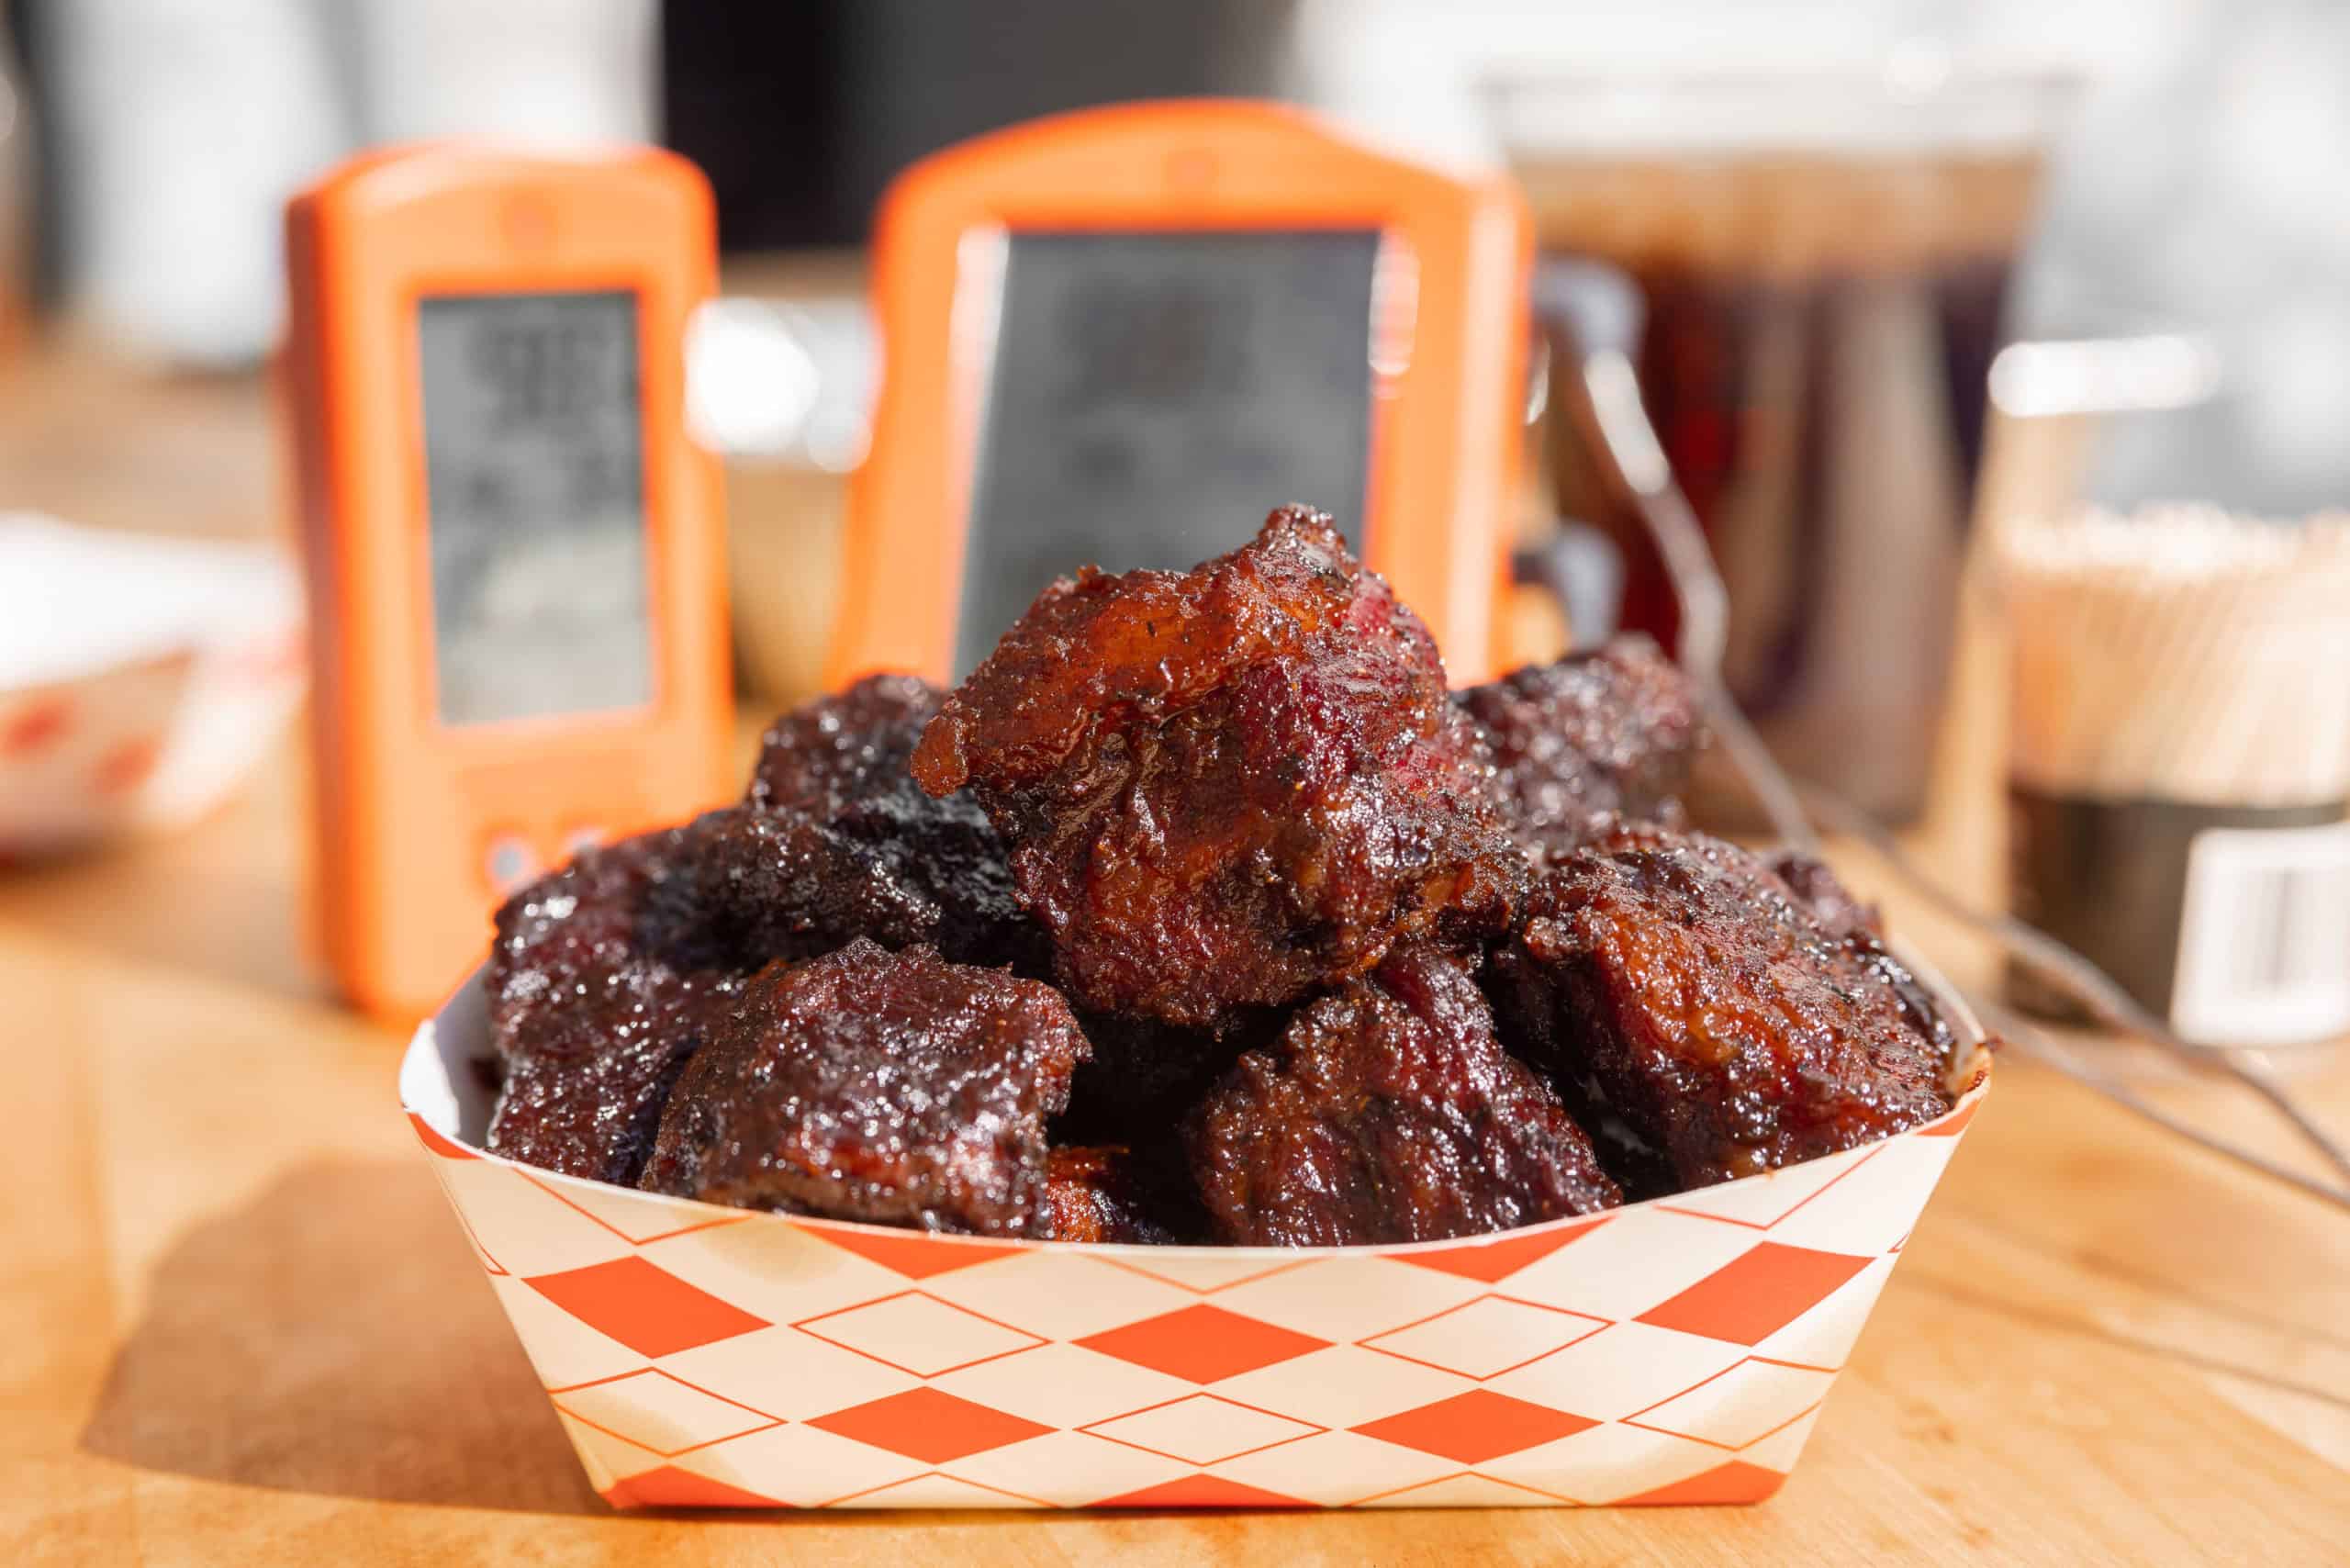
To show this is true, we cooked 5 oz burgers (though we like cooking 8 oz burgers even more!) over direct heat and over indirect heat followed by a sear and we recorded the data to see the differences. To perform the experiment, we used an armor cable Type-K thermocouple probe and a ThermaQ® Blue. And at this point, I need to say something about our method. We do not, as a rule, advise people to use leave-in probes when cooking directly over high heat, as in the case of grilling. Using leave-in probes is fine for the initial stage of two-stage cooking, where the probe and wire can be kept away from high heat, but they are not generally advised for searing. Most probe transitions and wires can’t stand up to the kind of heat that is often found in a grill full of burgers. A hot grill can well exceed the safe range for most probe transitions, especially if there are 1200°F (649°C) flare-ups from the fat dripping onto the flame! (For more nuance on that topic, see our post about grill types and their heat signatures or our post on grilling with leave-in probes.)
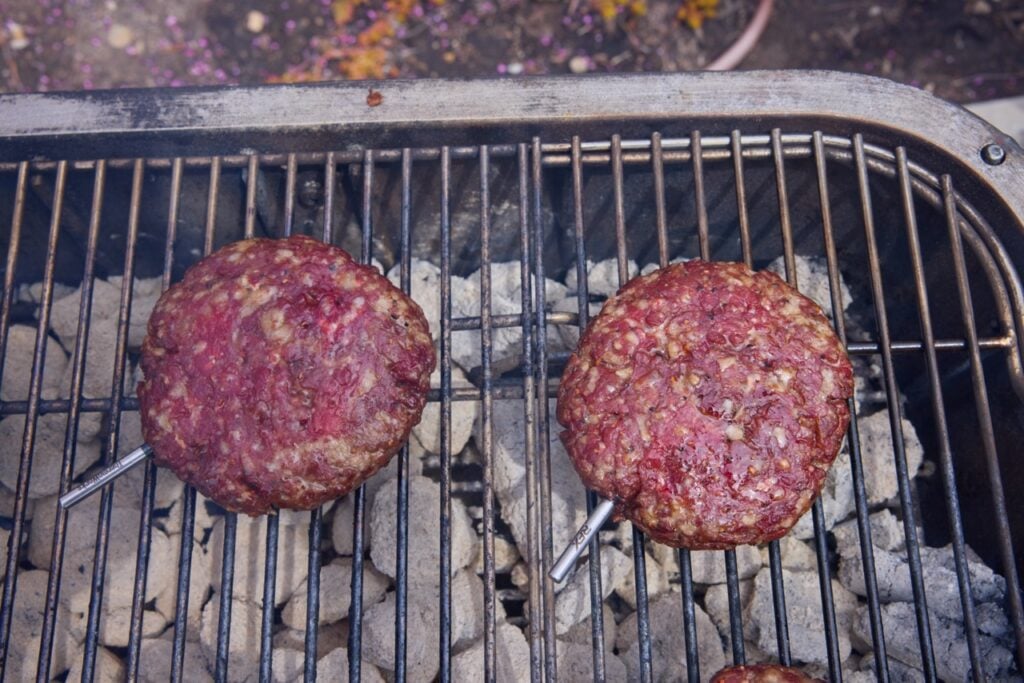
The armored probe can take more heat than most probes, and we thought it worth the risk to show you the difference in the two methods. (Incidentally, the probe performed admirably and didn’t burn out.)
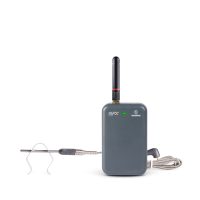
(ThermaQ is fantastic, but may be overkill for a home burger cook. We recommend RFX MEAT Wireless probe thermometers for this cook. They give you all the same graphing functions, and can stand going over direct heat.)
Direct heat grilling
When we cooked the burgers over direct heat, their temperature rise was steep and swift. Take a look at the graph of how long it took to go from cold meat to done:
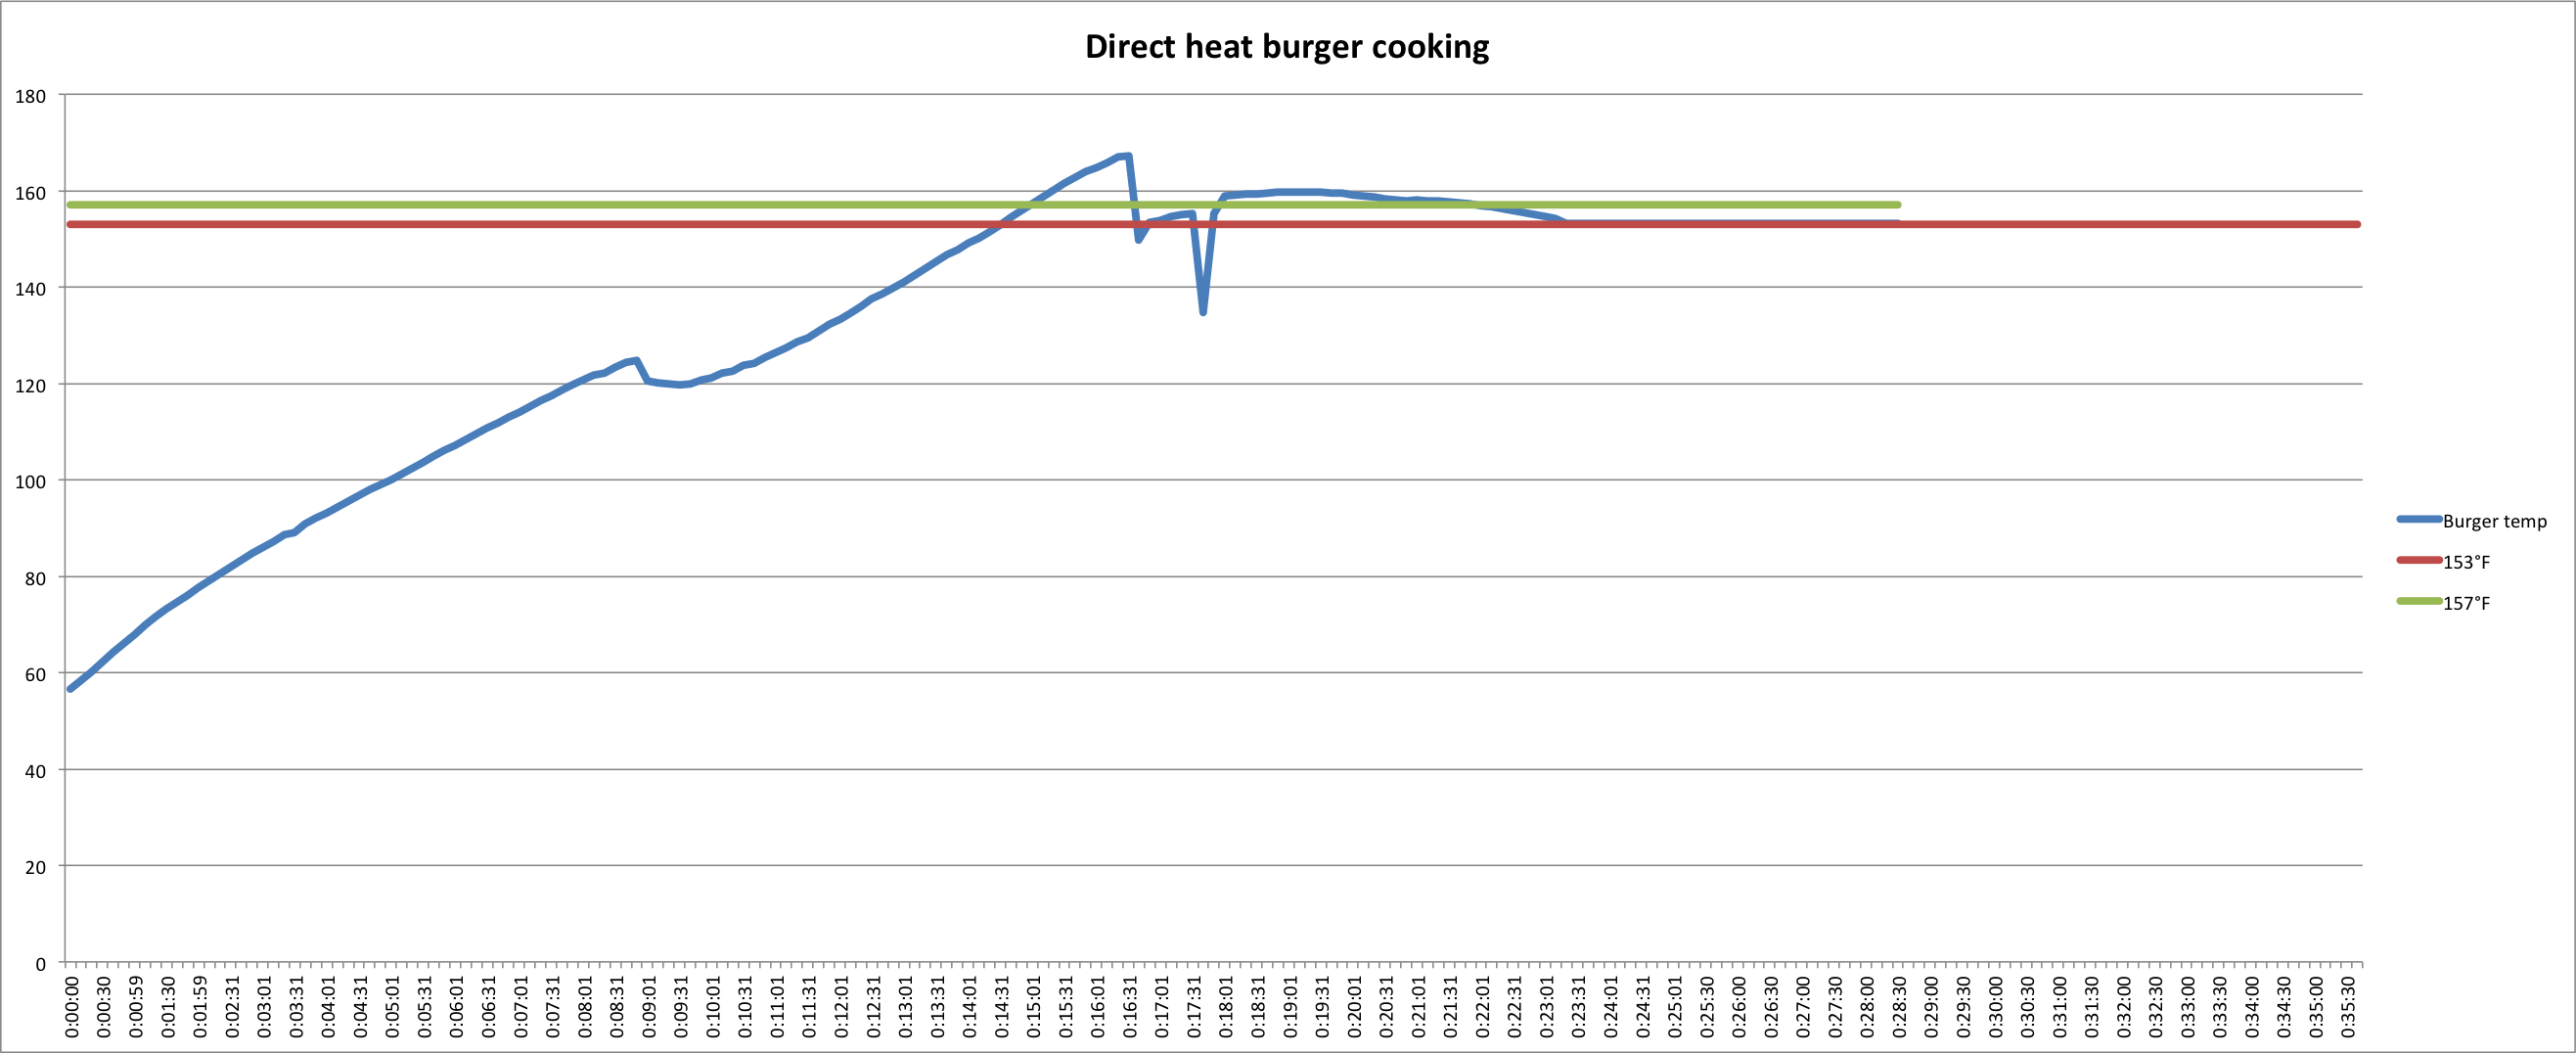
You can see a couple of things. I’ve set lines at 153°F (67°C) and 157°F (69°C) so that you can see in what a short range of time your pull temp occurs. The time from when the beef hits 153°F (67°C) until it reaches 157°F (69°C) is only about 30 seconds. That’s a pretty short window that can easily be missed if you aren’t paying attention, despite using a super-fast Thermapen® ONE.
One way to understand this is to think of the gradients in the meat. Since the temperature difference between the inside and the outside is quite extreme, the temperature curve from the center outward is quite steep. This means that the temperature will be changing quickly throughout the burger. It’s easy to overshoot a target when the temps are changing so quickly! And in fact, though we took these burgers off the heat at 153°F (67°C), you can see that the carryover cooking took them past the 160°F (71°C) we were aiming for. At our grill heat, we could have taken them off a few degrees earlier and been safe.
(I included the resting period on the right in this graph to make the timescales equal on the two graphs. You can compare and see how much steeper the temperature climb was in this initial cook than in the graph below.)
Two-stage grilling
For our two-stage cooking, we cooked the burgers away from the heat with the grill lid closed until their temperature reached 135°F (57°C). When we cooked the burgers at a lower temperature first, we carefully narrowed the range of temperature gradients present in the patties. Our gradients were smaller, and that meant that the temperature change was slower when we eventually put them on the hot side for searing.
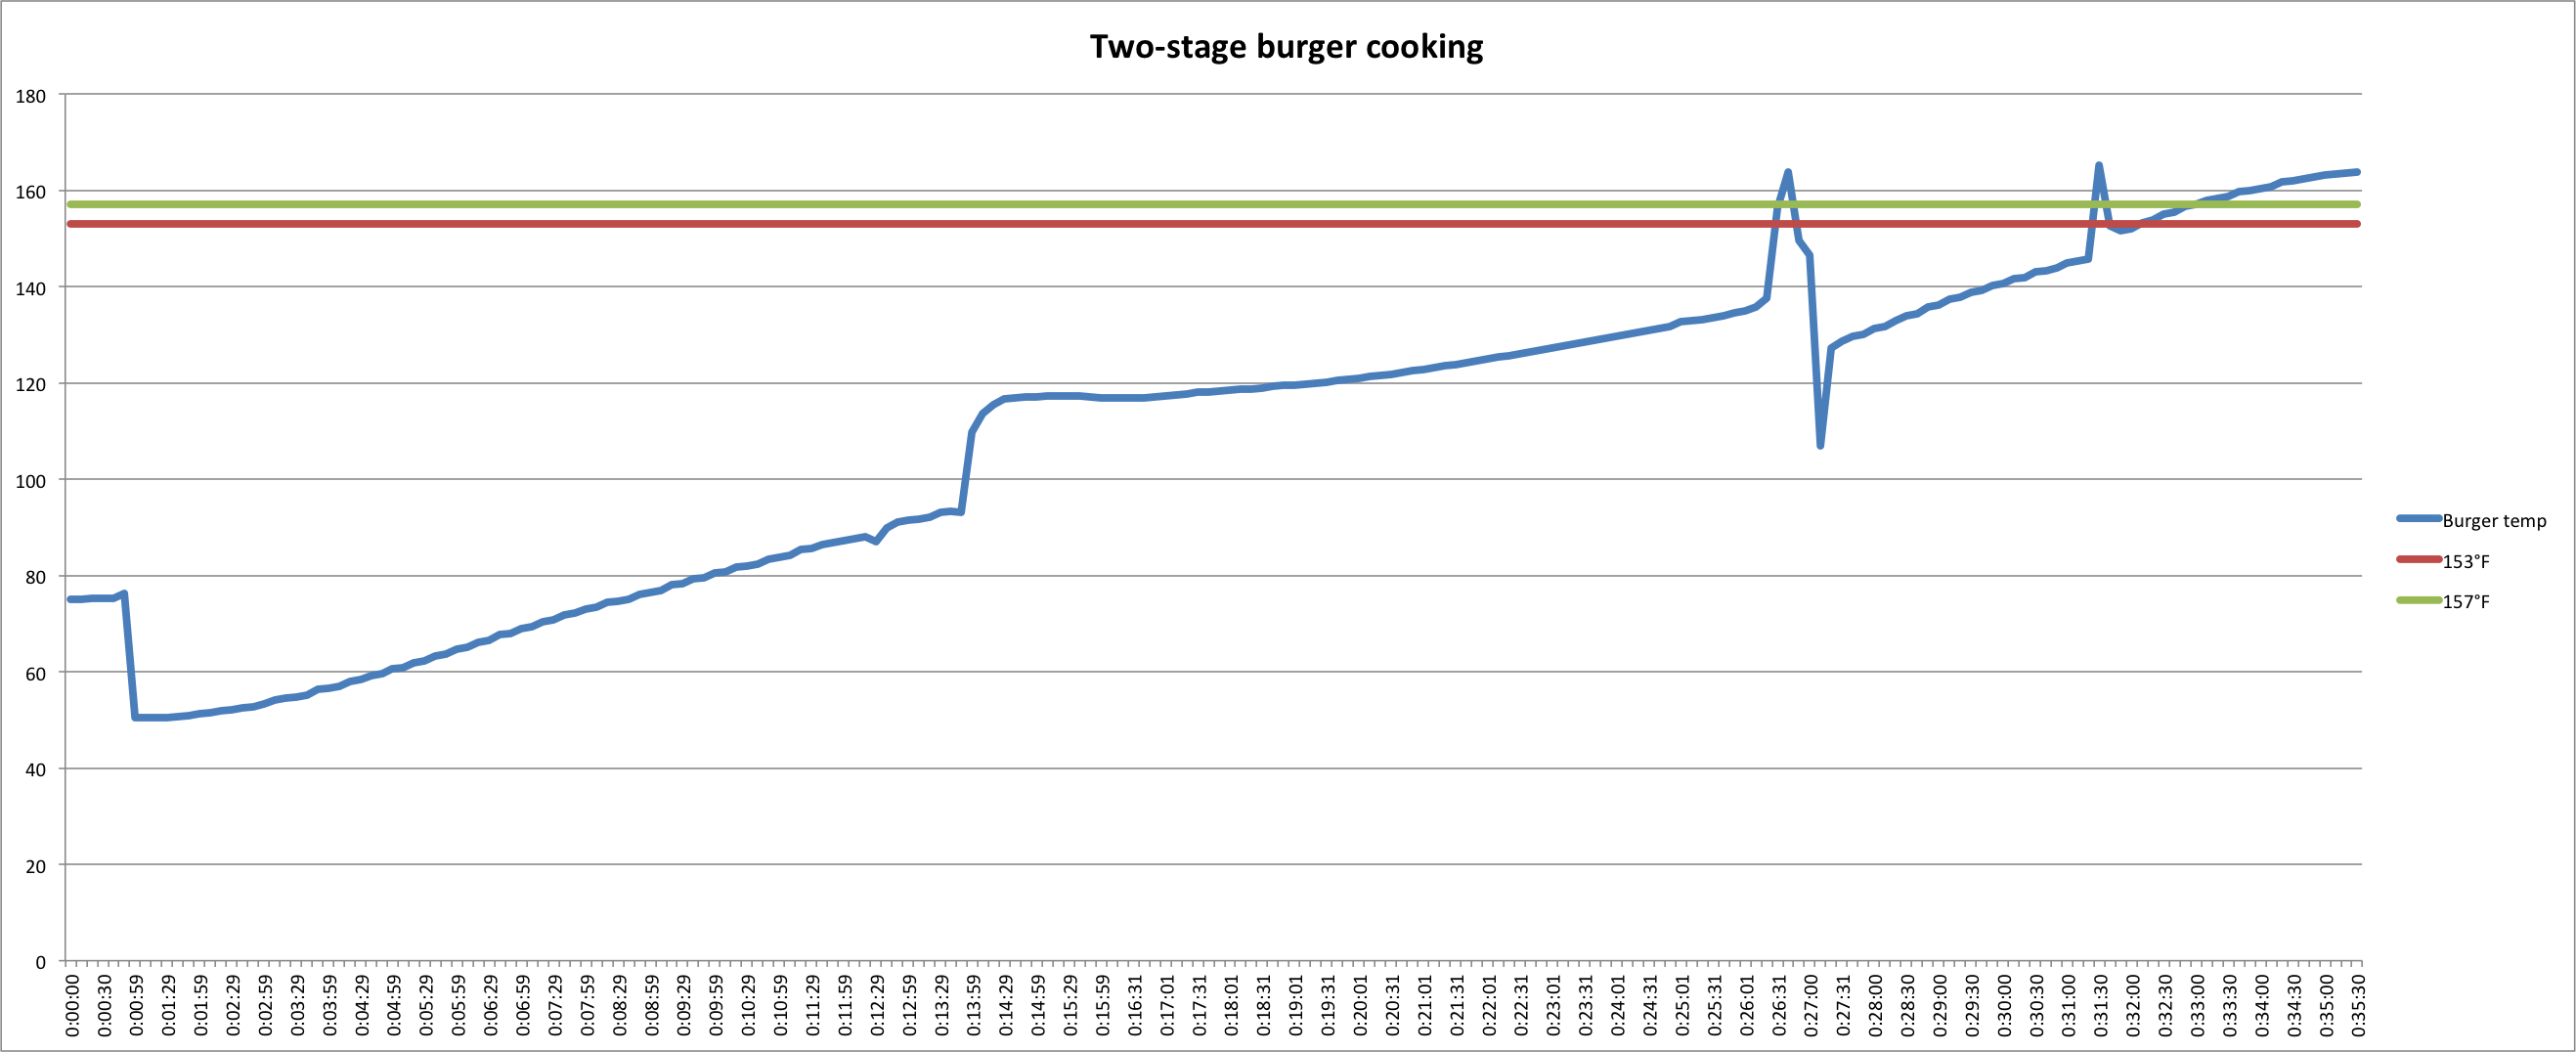
A few things can be gleaned from this graph. First, you can see where my probe thermometer was not in the thermal center at the very beginning. Verifying the thermal center with a Thermapen is essential for proper cooking! And we quickly readjusted the position of the leave-in probe.
But in relation to what we’re focusing on here, the time between 153°F (67°C) and 157°F (69°C) in this case was over one minute, twice the time of the direct-cook burgers. That means you have twice the chance of getting properly cooked, tasty burgers! And with less thermal momentum, there was also less carryover cooking, which means you are also less likely to end up with overcooked burgers once they leave the heat.
As discussed above, this same method can be applied to home-ground burger patties, with even tastier results. Cook over indirect heat until about 20°F (11°C) below your target temperature, then sear them to your Thermapen-perfect desired temperature. If you want medium-rare, keep your first stage cook to 110-115°F (43-46°C). But only if you are grinding your own meat!
Conclusion
If your aim is perfect burgers, especially for a crowd, the two-stage method is the way to go. Use a leave-in probe thermometer for the initial cooking stage and a Thermapen ONE to finish your burgers on the hot side and you’ll get exactly the results you’re looking for. The more-gentle initial cooking decreases thermal momentum and gives you a target-temperature window that is twice as long as the one you get from direct cooking. So improve your burger game this summer, and kick your burgers into a higher gear!
Interesting. This is the opposite of what I’ve read everywhere else – that you are supposed to go really high heat immediately, for a few mins on one side then turn once and finish cooking on medium heat. This is to sear the patties and help retain juices. I get your point about increasing the time you have for a temperature window but during that lower cook are you dribbling out all the juices? I know the sear method does work because when I stick in my thermopop at the end to check temps I can get little gushers of juice from the hole I just made.
Hogan,
In the trials we performed, burgers cooked slowly ended up just as juicy as those cooked over direct heat.
That is anecdotal evidence, but I believe the slower protein coagulation in the slower cook compensates for the lack of insta-crust obtained by the hard sear. Maybe this warrants further study on our part!
This
I would be interested to know. In any case, I will say that my purchase of the Thermopop has been amazingly helpful for the quality of my burgers, brats and chicken. I usually get the burgers off at 165 but I might try taking them off a bit earlier at 155 like you suggest. Before Thermopop we would always do brats by “sight” which meant cutting into them which drained all the juices, and we certainly overcooked them. The first few times after Thermopop my mother in law looked at them with raised eyebrow like “are you sure they’re done???” Yes, I am, thanks to Thermopop. I know I sound like a shill for Thermopop but I’m a real person 🙂
Hogan,
I’m glad to hear it’s improved your cooking experiences! I think you’ll like burgers at 155 better than 165.
Happy cooking!
“Sealing in juices” and such has been proven to be a myth. The sole reasons for searing meat are to develop a crust for texture contrast and to activate the Maillard reaction (deep browning) to develop complex flavors.
CORRECT Brian !! “Sealing in Juices ” is a proven myth !! Just check out the cooking gurus posts…..Bobby Flay, Chef Jean Pierre, Guga, Chud’s BBQ, The BBQ Lab, Mad Scientist, Smoking’ Dad, …the list goes on 🙂
maybe it was the very lean meat, but i tried this and they were dry, but not unpalatably so. I might do a few experiments to get it right
To keep very lean ground meat from getting dry I mix in one or a combo of finely diced : mushrooms ; onions ; peppers , etc . I find Onions are most popular.
Add oil to lean ground beef. Anything less than 15% fat needs a boost. Also add panko and/or minced sautéed onions, garlic, peppers etc to help retain moisture
Use 80/20 at a minimum for juicy burgers. Very lean meat is fine for tacos or sloppy joes, but not for burgers. That in itself guarantees you dry burgers.
Yup; confusing. Now Meathead of Amazing Ribs states searing does not retain juices!!! No wonder we hapless folks have problems…………
There’s a fundamental error in this article that brings into question whether the author knows what they’re talking about. Whether beef is store-ground or home-ground does not affect whether surface bacteria is distributed throughout the burger and it should be cooked to 160 to be safe regardless of who grinds it. PERHAPS the steak you bring home to grind has less bacteria on the surface, but there is no assurance of that. PERHAPS your grinder is cleaner than the one used in the store, but there is no assurance of that. It is the act of grinding that distributes bacteria from the surface into the meat whether the store does it or you do it. Thought for the day: why not hit the surface of the steak with a blowtorch and THEN grind it? ????
Ed,
You bring up an excellent point. Rinsing the meat first is something I should have brought up. Plain cool running water is perfect for that.
You could also use a dilluted peroxide solution to sterilize it, which is both “generally recognized as safe” by the FDA and is something recommended by the authors of Cooking for Geeks.
Thanks for bringing it up!
Martin–Please elaborate on the benefits of rinsing the meat with cool water first. I can’t imagine that would kill surface bacteria. If diluted peroxide is the key, what percentage? Or forget the whole thing and just reverse-sear to 155?
Rick,
Bacteria don’t cling to any surfaces—they just sit on the surface. Running cold water (cold to slow their metabolism) literally washes most of them off the surface. I can’t say if it’s a log-7 rinse, but it is very thorough.
As for the peroxide, I’ll have to read up on it and get back to you.
Great questions!
As a avid grilled and an owner of a USDA inspected slaughterhouse, along with a meat processing room and a retail sales counter, I find your thoughts on bacteria interesting. I have not heard of the peroxide wash, although I can see how peroxide with its various properties could be beneficial. There are several commercially available carcass rinses that neutralize bacteria, and some that you can make. We use one with vinegar and water which not only is organic but will kill the surface bacteria. Most slaughter houses use a carcass rinse and we periodically pull a surface sample for testing to insure that our process works. Cold water by itself is not going to rinse off the bacteria, we have data to back that up. As Ed Foster says up above the grinding process distributes the existing bacteria throughout the product and even if your slaughter house has taken all the appropriate measures there is always the chance of post contamination in the fab process or even at the grocery counter with improper sanitation or employee hygiene. Maybe I’m biased but your chance for the cleanest meat will come from a butcher shop that is diligent with its sanitation program. Any sanitation program is only as good as the employee buy in…
Fascinating thoughts! Thanks for sharing!
This misses an important point. Yes, when you grind the meat it distributes the bacteria through the ground meat. That’s all there is when you cook it right away. But when it is ground at the retailer, then sits in the cooler, then taken home and sits in your fridge, all those bacteria are growing and multiplying the whole time and they are doing so below the surface. Even in the freezer, they will grow and multiply very slowly.
The difference is time for the bacteria to grow and spread _inside_ where you have to heat them to kill them.
You never stated inside temperature of grill. I assume you kept grill at a constant inside temperature. What was inside temperature of grill?
Bill,
The grill I was using happened to be hovering around 300°F ambient temperature. So I was doing the slow-cook at that temp.
That 160 is the quick kill temp. A lower temp(like 145) for 8-10 minutes can accomplish the same kill.
Here’s a handy chart I saved from the blog summarizing various temps and holding times to kill salmonella. I assume this applies to meat as well as poultry.
Rick,
It holds true for all salmonella. However, with pork and beef the main worry is actually E. coli. I have not yet found such a chart for that bacterium. The same basic principles will hold, but I cannot speak to the exact times.
I have not tried this but my initial question would be does the burger release from the grate as easy cooking on the low side?
Dave,
Yes, it does. I’ve had no problems with this at all, in fact. Give it a try and tell us what you think! Worth it?
Stumbled on this looking up hamburger cooking temps. Grinding one’s own meat is actually safer than store bought pre-ground. The reason is because at a factory there are numerous cattle that contribute to any run of commercial beef grinding. So the chance of one cow with E. Coli HO 157 contaminating all of the meat is much higher that if you put the meat of one cow through your personal grinder. Always decontaminate meat before grinding. You can do this as noted above with dilute hydrogen peroxide or you can buy irradiated meat from specialty stores. Most of my pals take their own cattle and kill one a season for burger. If you do this, and your dressing and butchering techniques are proper, and your work site is bleached, you will not contaminate your meat by contact with the gut and then there will be essentially no chance of contamination of the meat. If you live in a rural area, finding someone who does this is easy. If not, take a ride in the country…most private places are on the web and there is one near you. Tour their prep area and inquire as to their decontamination techniques. We are brutal about this…but not everybody is!
There are data regarding the effectiveness of wiping vs rinsing vs washing with soap for the removal of bacteria from one’s own skin. One expects there would be a rough correlation with the surface of meat. And it is no surprise that rinsing is about 75% effective. Wiping much less and rinsing after scrubbing with soap and water is much higher. So…if you rinse…you still need those high surface temps to kill surface bacteria.
Dr Richard
Thank you so much for this contribution! I love the idea of finding a good, local producer and checking them out.
What if your burger blend is done fresh at a butcher shop (double ground medium)? Does that allow the lower home ground pull temp?
If you know it was ground fresh today, and that your butcher keeps a clean shop, by all means go for it!
Wow, way to complicated. I’m just gonna do it the way I’ve always done it which is the wrong way according this article. lol Happy Grilling.
There are plenty of ways to cook a burger right! If you like your way, then it’s right for you, but do check its final temp before digging in!
OK, but the maximum temperature the probe reads for both conditions is about the same considering you are still climbing a bit when the second graph is truncated. Plus it takes nearly 40 minutes to make a burger… Would it not be better just to turn the grill heat down after a high initial heat?
The max temp is the same, but in the two-stage cook, you approach that final temp more slowly, meaning it’s easier to bullseye your final temp. Doing a forward sear with your burgers can also be great! We just found that in our trials, reverse searing was a little better.
Reverse sear is awesome with burgers.
In Austin this weekend. Taught my daughter how to reverse sear a steak with a Thermoworks Smoke.
Great!
Did you flip the burgers and if so when?
Yes, about every minute to minute and a half.
Interested in knowing what grill you’re using in this article?
It’s a PK. Tons of fun to cook on!
When doing the 2-stage cooking of hamburgers, what temp should the indirect side of the grill be? And once they are put over the direct heat, what temp should that be?
Try to keep the cool-stage around 300°F, then have the hot side around 425°F for the sear.
What temperature should a cast iron skillet be for frying a hamburger?
I’d go with 425°F, or somewhere near there.
It’s time AND temperature… if you dip a chuck roast into boiling water for about 1 minute (I can’tremember the exact time… google it) then into ice cold water, you are likely to kill any harmful bacteria… then grind and eat raw if you want to… similar is when you wash the outside of a watermelon or cantaloupe before cutting… it’s the cutting that carries bacteria into the interior of the melon…
Did I miss something in your July 2018 comments, namely in direct stage grilling and in two stage grilling, no mention of flipping burgers and when?
Am about to use a thermopen one in my next round of burger grilling.
Norman,
Good point! I like to flip the burgers every 60–90 seconds. You get good char without overcooking one side that way. I hope that helps!
About washing meat in any temp water, first I am not an expert by any means, but back near the beginning of Covid 19 there were lots of dramatizations on how germs spread, distance when talking vs. yelling, sneezing, singing, etc. One of these was inresponse to washing food, meats in particular, a process that many people in the early Covid days started doing as a safety measure. The demo showed germs moving surprising distances and getting on many surfaces near and around the sink, as well as the hands AND arms (with zealous washing even further onto the clothes) of the person washing the meat. The upshot of the dramatization was not to wash meat (they washed a chicken) but I suppose just holding meat still under running water without any manipulations could minimize this undesired result? I would think you would have to be just a careful drying the meat. Regardless I would thoroughly clean the entire area with bleach (or your preferred germacide/antibacterial cleaner)
I just ordered a Thermapop and am hoping that with it I will finally make a safe, juicy, tender oven roast with potatoes browned around it like my Nana used to make but that I have never gotten right. I hope so because now I really want it and soon will have the tool to guide me.
Yes, the splashing can spread germs, and you’d need to sanitize afterwards. Drying with disposable paper towels is the way to go!
With a large BGE, I’ve experimented with hot sear and two stage burger grilling along with a different patty size, thickness, etc. Overall, I’d say keeping an eye on your grill/meat temp to avoid overcooking is key with any method but two stage seems the better method with thicker burgers. I light the back half only of the lump with a MAPP torch, leave the lid and intake full open and go inside to make and lightly season the four, ~1/2 pound patty’s with a beef rub. I use store bought 80/20 hamburger – CAB, if it’s on sale. Although I have a variety of ThermoWorks tools, I only use the Thermapen One or its predecessor for burgers. I like to add a few, very small pieces (1x2x1/2”) of oak or even apple chunks at the “fire line”, wait a few minutes with the lid closed and let the iron grate and egg continue to heat up. With the egg, the fire propagates rather slowly to the unlit lump so for grilling burgers I can achieve a hot and cooler side due to the short cook time. When the dome temp is at about 300 or so, I load the burgers (which by now are at about 45-50F raw) along the front half perimeter and close the air intake to about 1/2 and just the daisy petals at full open. The dome temp will continue to rise while the burgers get a kiss of smoke and heat up. After a few minutes, I flip and rotate the burgers, staying on the cool side. I rotate the burgers because the center of the grill is well lit by now and the hottest section, so trying to even out the heat in the burger. At this point, I’m doing the balance of what the article suggests, transferring the burgers with a flip to the back half perimeter which is about 450F at the grate, about 500F at the dome. When the juices are seeping out a bit, time for a flip and rotate with a finished burger temp around 155-160. I never seem to see much heat rise in burgers after pulling. Stubborn burgers get a flip and an additional half minute at the center of the grill.
My goal is to create a juicy burger with a nice balance of flavors, as easily as possible. I can get the grill prep and cook accomplished in 60-70 minutes, aside from Egg cool down time. Favorite burger topping is sliced mushrooms and chopped onions sautéed in butter, Worcestershire sauce and Jim Beam. Don’t need ‘nuthin else as these flavors come together nicely. But hey, I love a great, grilled burger – period.
How is it any safer to grind your own burgers when bacteria are still on the outside of beef cuts? Why not still 160° minimum?
The only way this might make sense is if you cooked the outside of the meat first and then grinded it after.
It has to do with time. the bacteria that get ground into the meat don’t have time to grow and multiply as much when you grind fresh and cook as opposed to when you buy, say, a tube of ground beef form the store.
Is it 100% safe? No, but it is much, much safer. If you want it even safer, you can briefly poach the meat, as you say, cooking the outside a little bit, before grinding. Of you could give it a spritz with hydrogen peroxide.
Well, no one else mentioned this, so maybe I am just missing something. But I cannot make sense of the two graphs. The way I read it, and contrary to the text, the direct heat method shows a longer, not shorter time duration to go from 153 to 157. At lease that is so for the first two times the meat temp rises to 153 in both methods. But perhaps the meat is not pulled when it first hits 153, as stated, but on the 2nd or 3rd time it rises to that temp. In any case, what is accounting for the sharp rises and falls of the temps shown in both methods? If the probe is in the center, then flipping should not produce much change in temp, especially if flipped every 60-90 seconds . Without identifying the abrupt changes of temps in both graphs, it’s hard (for me, anyway) to figure what is going on.
I read your article plus all comments about two stage grilling. So, I took your challenge by grilling using your two stage. I must say burgers were excellent and much better than the way I have grilled burgers for 55 years. I’m never to old to learn better ways. Recommend to all grillers to try your two stage method. I promise you you will not be disappointed.
What about Sous Vide?
According to the ATK book on Sous Vide, cooking in the water bath over a long period will kill pathogens. You can even cook pork Medium-Rare.
The hamburgers will stay at the chosen temperature until they are pulled from the water.
You can cook them medium rare over a few hours and sear them on the BBQ grill.
I’ll bet the author did his testing over gas. I tried this technique over charcoal on a Weber grill and discovered a problem. First, get the coals going and up to temperature under one side of the grill. Then, put the burgers on the other (cooler) side of the grill and close the lid. Open a couple times to monitor burger temperature and flip them. When they are getting close to the target temperature, remove the lid and move the burgers directly over the coals. Here’s the rub: After ten or so minutes with the lid on, the coals are no longer as hot as they were before, and in fact not hot enough to quickly sear the burgers. I realized this when I pulled them off and we ate them. Alternately, one could pull off the lid and take the burgers off the grill until the coals again become hot – five minutes? – then complete the searing. But they’d get cold inside, no? Or maybe just remove the lid well before the burgers get near the target temperature, allow the coals to reheat, and then move them over the coals for the searing? Or maybe this whole technique just works better with gas? Thoughts?
You are right that we did this on gas, but we have also tried it on charcoal. There is a dance you have to do of getting enough airflow to keep the coals hot, for sure. We also set up our charcoal grill to use Billows, so when we take the lid off the fan starts blowing and lights the coals up fairly quickly. Of course, we WOULD do that!
Great info and it’s scary to think that we have been eating med-rare burgers all these years. I have always assumed meat tartare has the outer layer sliced off with a knife but I’m not sure. Is slicing the outer layer off the meat another way of removing the bacteria from the surface before grinding? Or is the knife pushing the bacteria into the meat? What are the true health risks of not removing the bacteria from the outside of beef?
Yes, slicing can drag bacteria on to the new surface.
Here’s the thing about food safety: you can make all your food almost 100% safe, but a lot of it won’t taste very good. There is always some inherent risk in things like medium-rare burgers and steak tartare, a risk we all have to decide on for ourselves. Those with weaker immune systems need to take it seriously, those with very robust system. can make that choice of not.
But there are things you can do to make the meat safer. When we served tartare back when I was a chef we’d dry brine the loin overnight before chopping it up. The sale does a good job of killing surface bacteria. You can also blanch a whole cut very briefly before grinding. But using fresh meat and grinding it yourself will do a pretty good job of mitigating the risks.
If you want a juicy burger, mix in some baking soda before forming the patties. I believe it is 1/4tsp per pound of meat.
When looking for many, I’d suggest a IN BETWEEN step to extend the 1st. Precooking step and the final sear/serve step so that you can better match the burgers to thise waiting to be served…
Q. Does this multistep method also apply to salmon fillets?
Yes, it also works for salmon, but at lower temperatures. Salmon is done between 125 and 140°F (depending on personal preference), so you’ll need to lower the action temps accordingly.
I gave up the sear long ago and cook everything low and slow in the smokers. You will adjust to not missing the sear over time and it’s much healthier since that wonderful caramelization is unfortunately carcinogenic.
I realize this is an old thread, but my interest is in the charcoal grill that is pictured. I spent a couple hours on the internet just trying to find out what it is, with no luck. Yes, I have all my thermoworks thermometers…
That is PK grill and it’s a ton of fun to cook on! It is also a favorite among competitive steak cooks.
Julia Child always ate her burgers rare to medium-raw, and she didn’t die of a food-born illness. If memory serves me, I think she was about 91 (just two days shy of 92) when she died. I’d settle for that. I’m almost 85, and I don’t eat commercially-ground meat. I grind it myself in a grinder that I sanitize meticulously for my own use.