Braided Pork Belly—Tender and Beautiful
You know we love pork belly, and we’re pretty sure you feel the same way. That’s why we’re excited to bring you this method for braided pork belly. It’s a gorgeous presentation for a gorgeous meat. Is there anything especially revolutionary in this method? Maybe not, but it’s a nice chance to go over some pork belly temperature basics again, and that’s never a bad thing. Get out your sharp knives and your leave-in probes; you’re going to want this one.
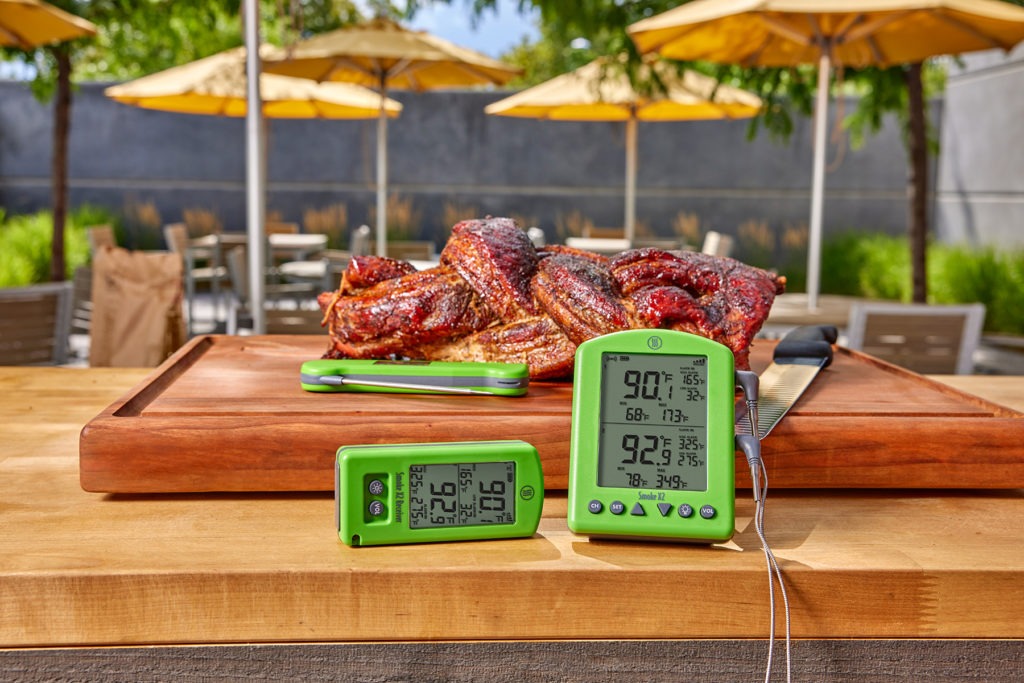
Why braid the belly?
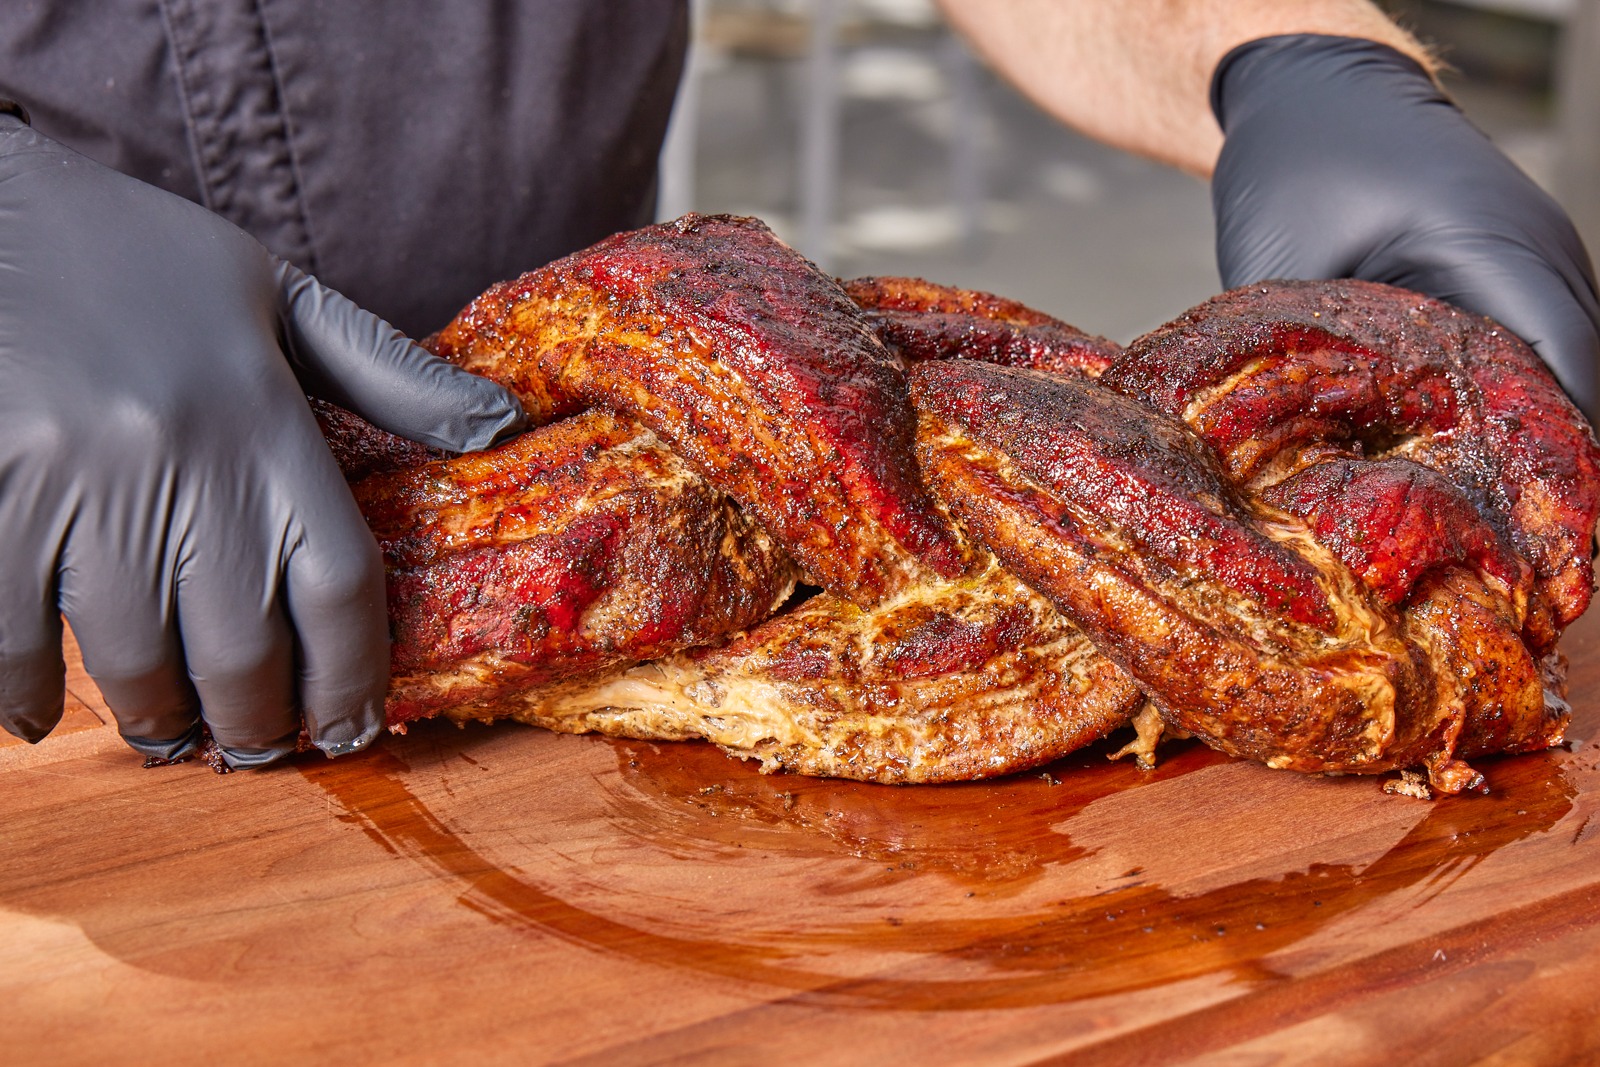
We can’t lie here. The biggest reason is aesthetics. It just looks so darned cool! It’s like a challah loaf (though decidedly unkosher), but made of meat. If we eat with our eyes first, then this is sure going to satisfy.
But beyond that, there is a flavor advantage. By cutting the meat into long strands and seasoning those strands all over before braiding, we nearly double the flavor-carrying capacity of our meat, and that is no small thing.
Braided pork belly: what are we looking for?
When we cook a pork belly, we’re looking for lusciousness above all. All that fat; all that collagen that wants to turn into gelatin; all that goodness. You can, of course, cook a whole belly. You can also cook a belly cut into cubes. In either of those cases, you kind of want to cook the belly into its last extremity, ready to fall apart as soon as it hits the tongue. But when we’ve gone to the trouble of braiding it, it seems silly to want it to fall apart that way when we slice it up.
Pull temps for braided pork belly
For that reason, we’re only going to cook this to about 165°F (74°C). Why is that a surprise? Because it only gets us part of the way into the collagen-melt zone. Collagen begins to dissolve at about 140°F (60°C), but it really starts to fall apart at about 170°F (77°C). Cutting off the cook at 165°F (74°C) means we haven’t fully dissolved all that tissue, so our pork has a little more structure.
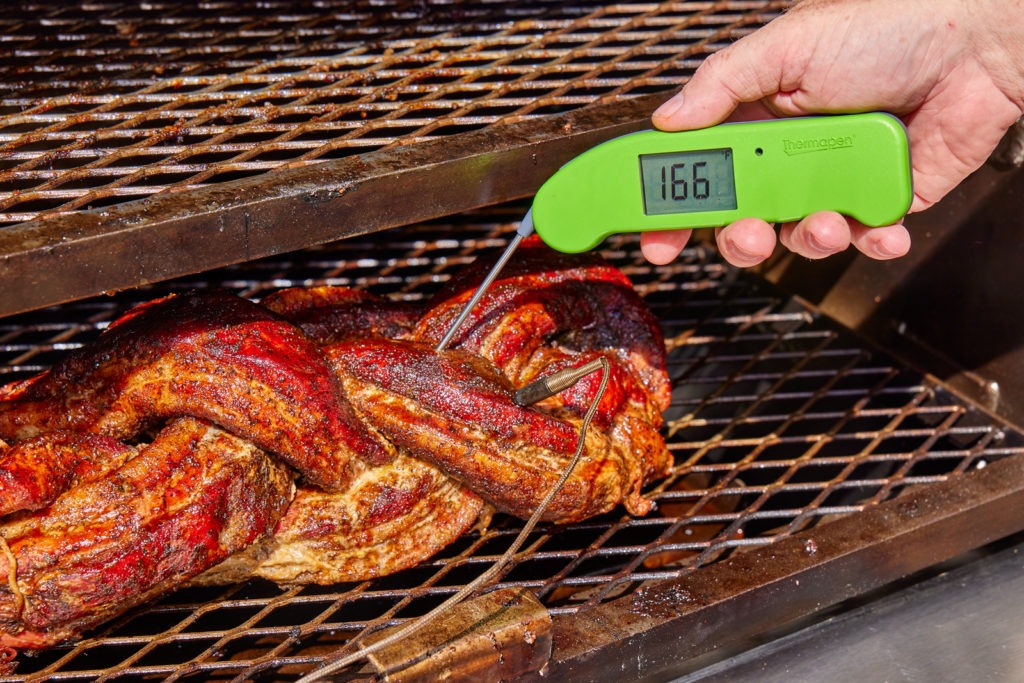
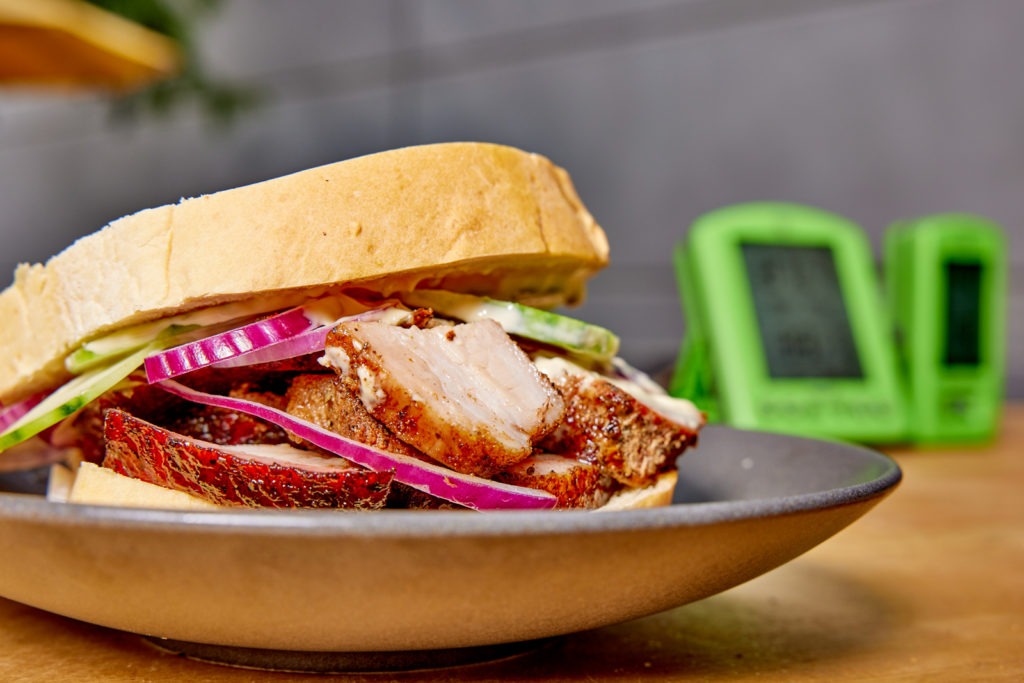
No, it’s not chewy. It’s not tough. It just isn’t falling apart when you look at it funny. That means we can slice it and get a mass of little squares of meat that are perfectly bite-sized and fun. It’s great!
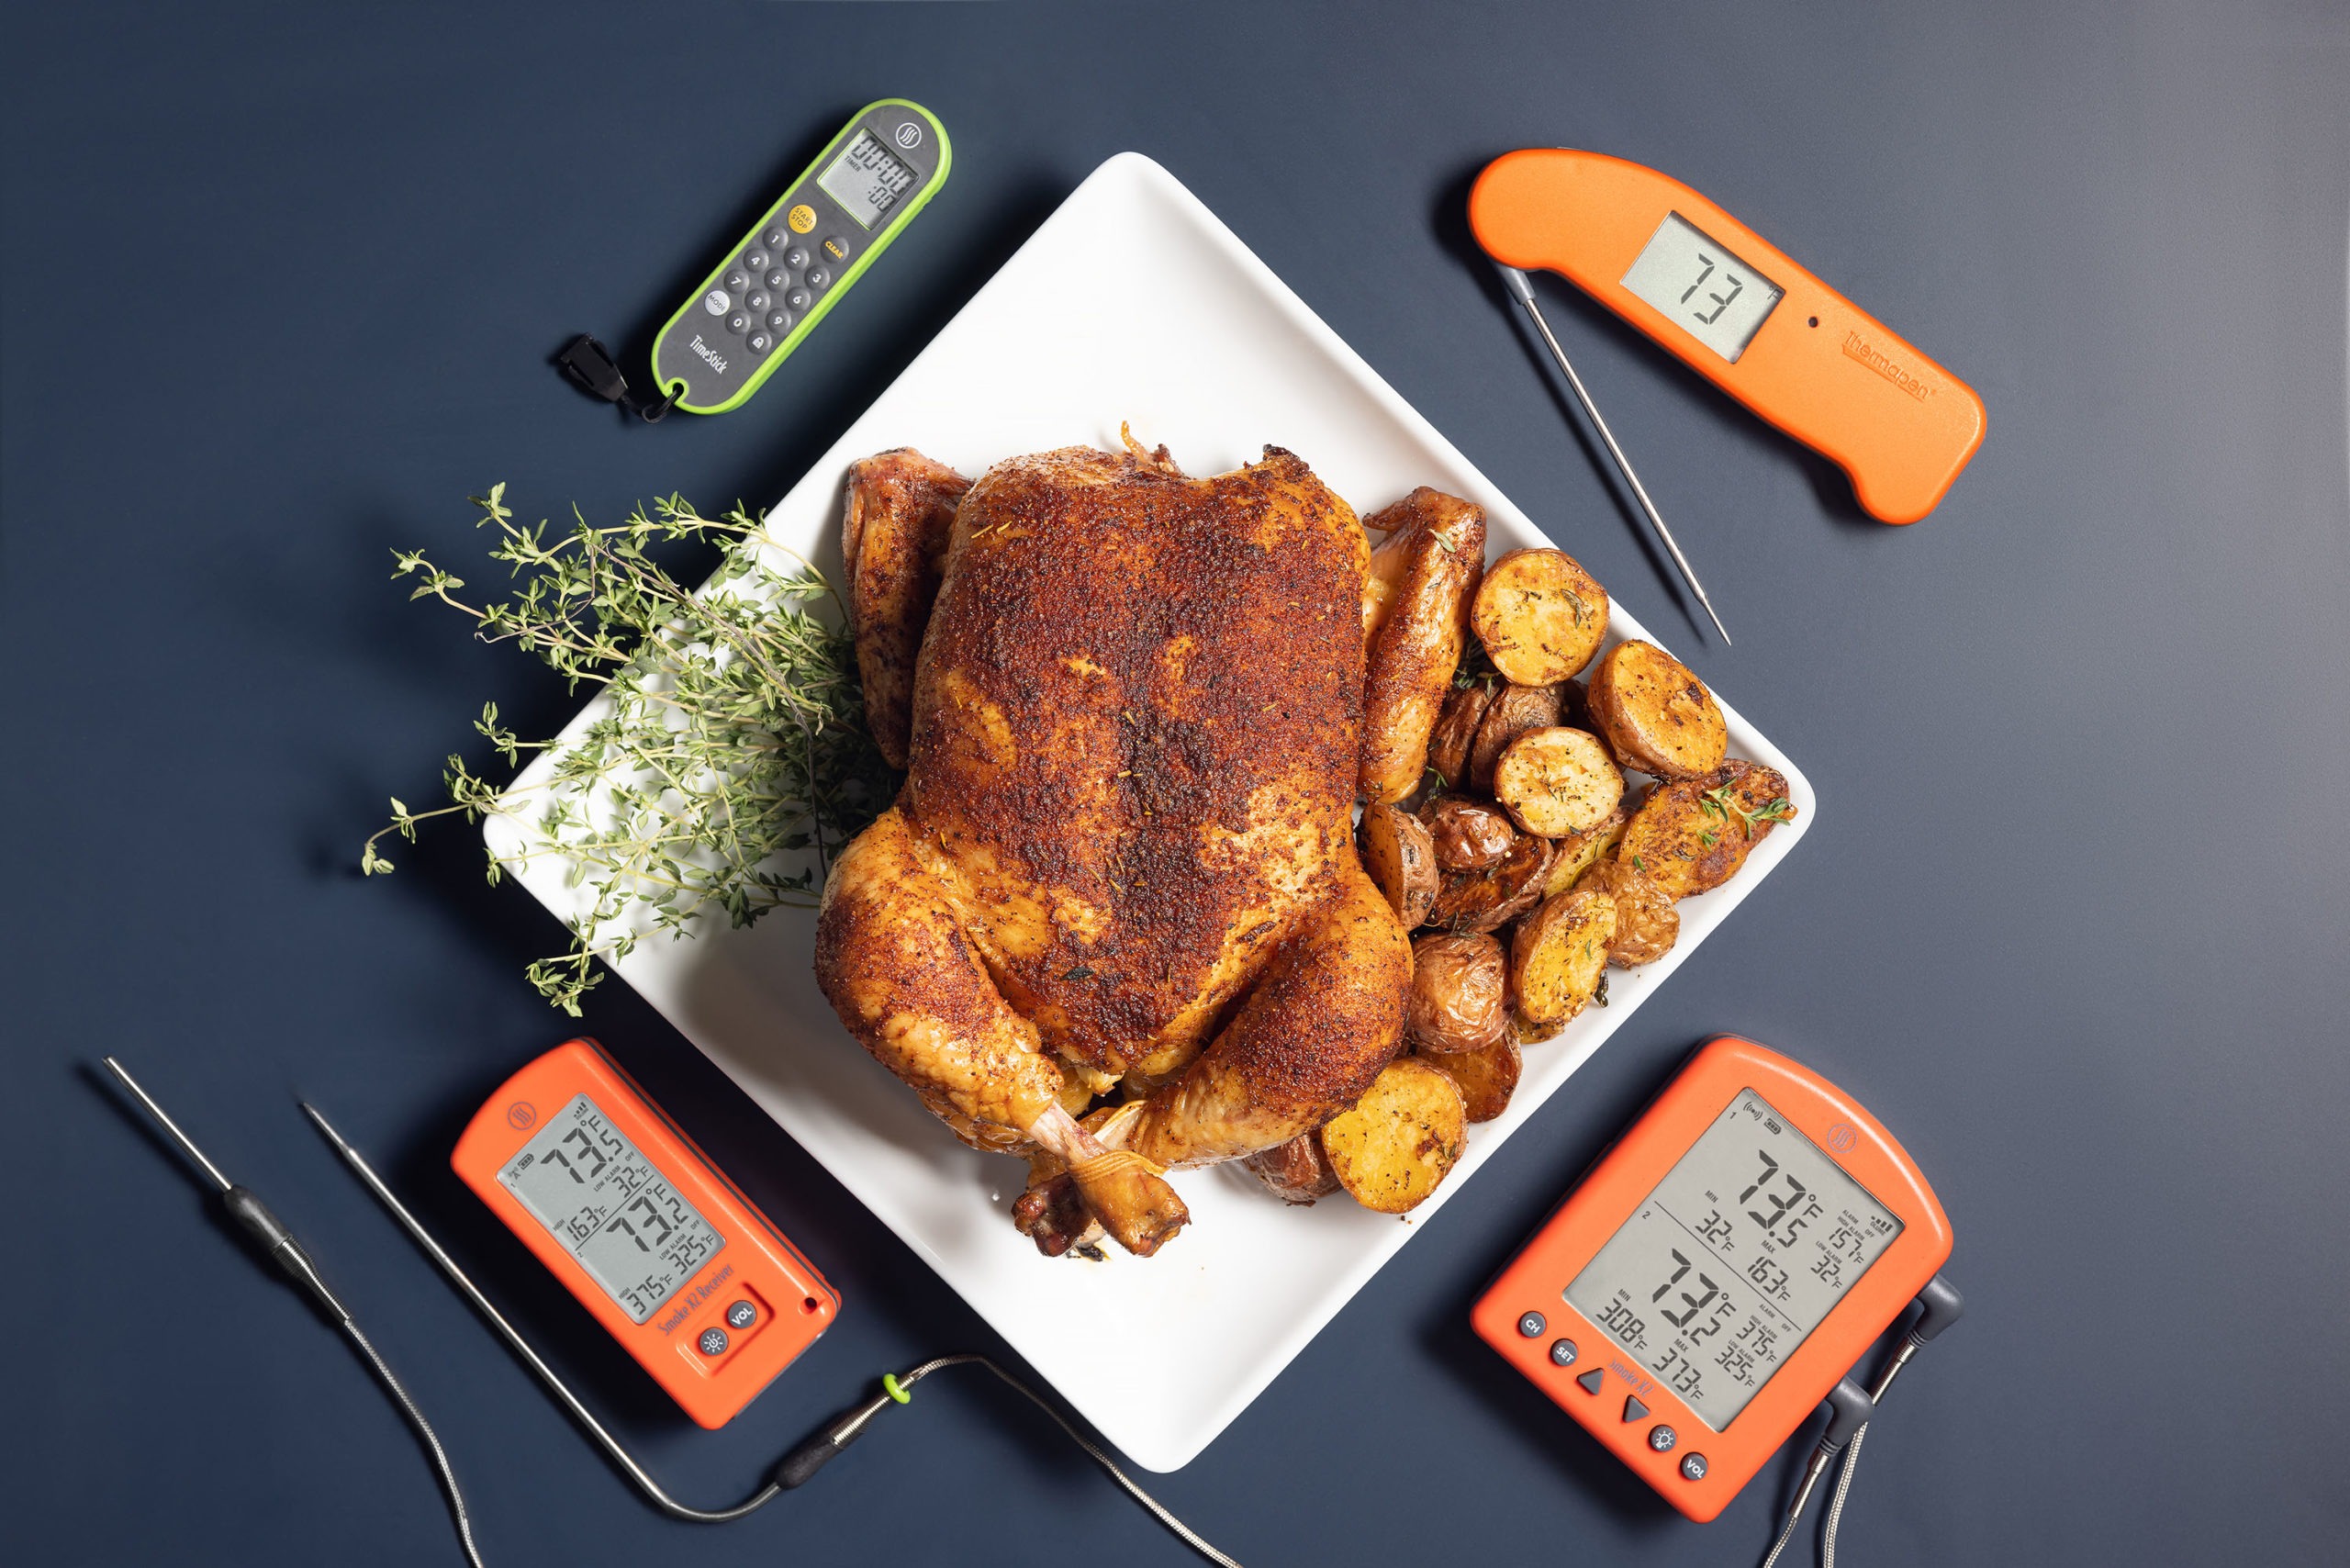
Using your Smoke X™ is perfect for this, as you can keep the receiver with you and see the temps anywhere in your house without having to get your phone out. You can set a high-temp alarm for your meat and know when it gets there without any trouble. Naturally, you’ll want to verify that temp with your Thermapen® ONE to make sure you didn’t just set the probe in a warmer part of the belly.
Braided pork belly cooking temps
We want the meat to taste smoky—not like a campfire, but seasoned nicely with some smoke. So we’re going to start it out at 250°F (121°C). About two hours at that temp will impart a good amount of smoke, then we can change the environment to speed the rest of the cook.
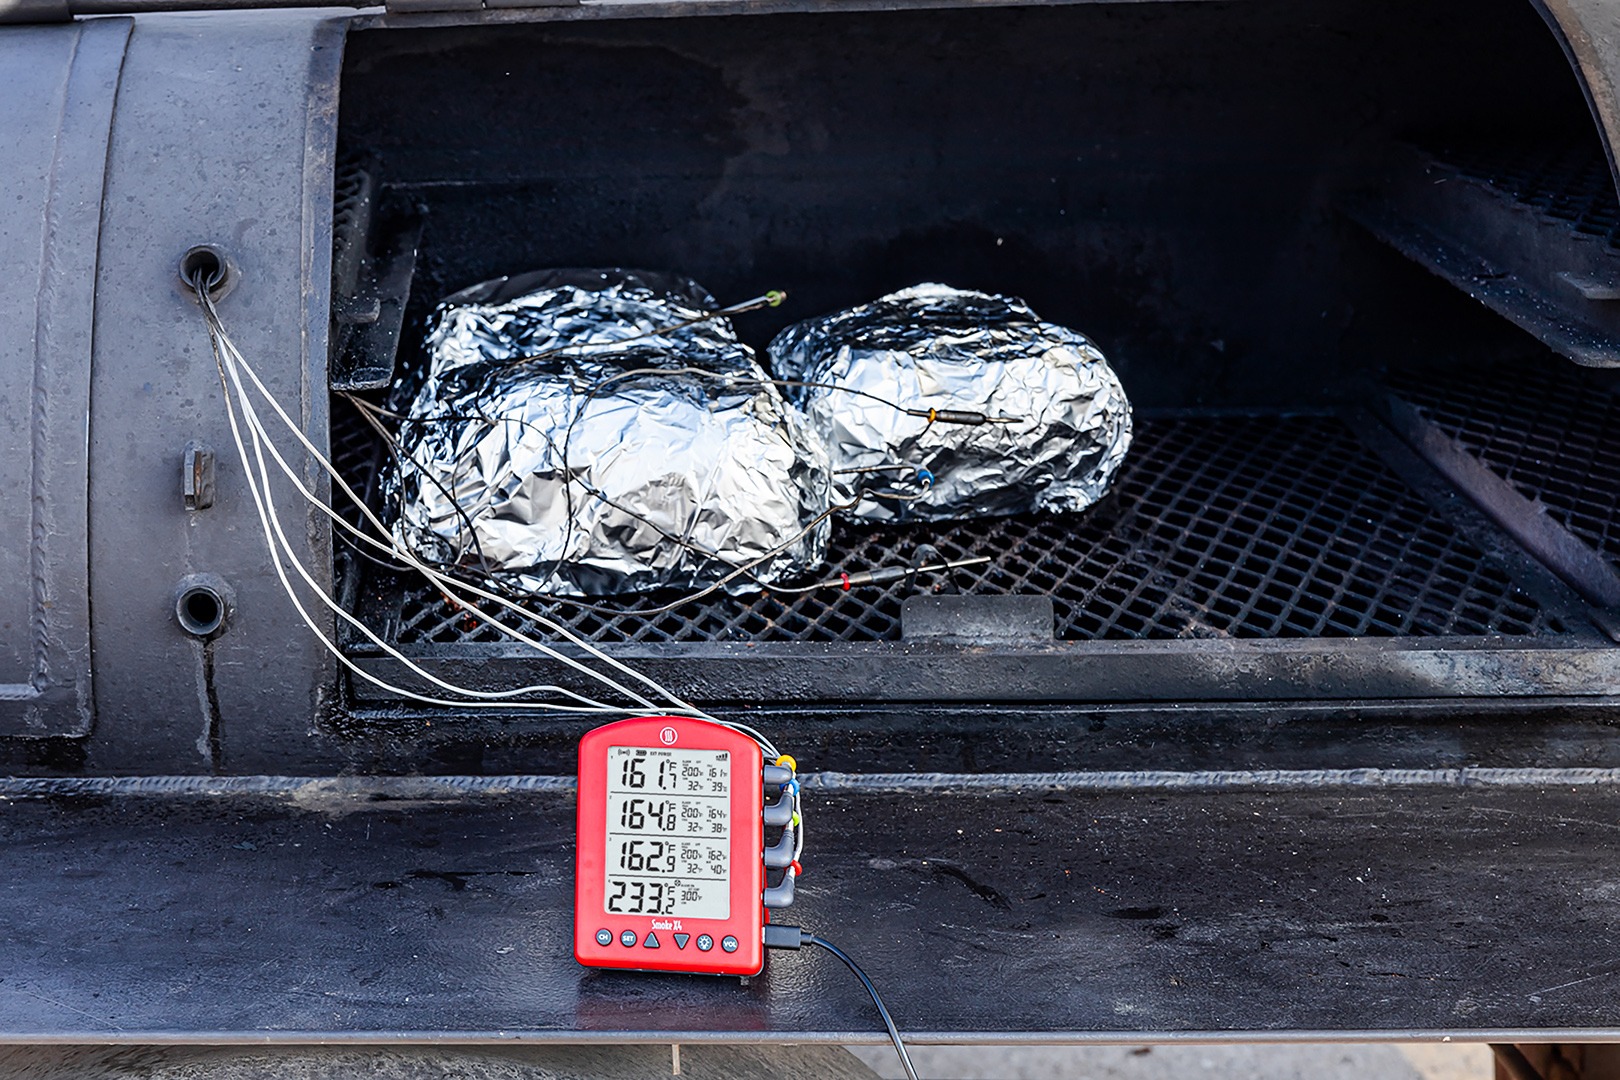
Once the meat has been in for 2 hours, we wrap it in foil to move its temperature more quickly. By wrapping it we create a high-humidity environment that will move the temp along without stalling at all. And because we already have good smoke flavor and the meat is protected by foil, we can also turn up the heat in the smoker. Going up to 300°F (149°C) is perfect. Of course, throughout this project you’ll want to be keeping an eye on the pit temp with your Smoke X.
When the meat reaches its target pull temp, unwrap it, sauce it and continue to cook it until the sauce sets and becomes glazey-sticky. This is not only delicious and gorgeous, but it also gives the pork a little more time for collagen dissolution. Win/win.
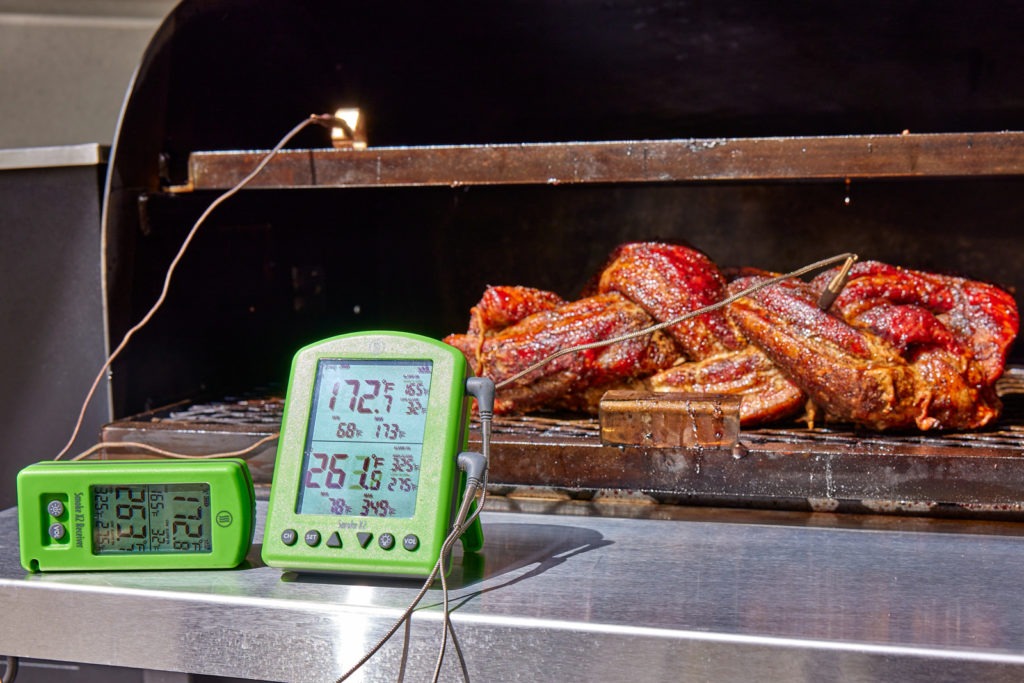
For your next cookout, you might want to give this a try. It’s a delicious dish, it’s a stunning presentation, and, if you follow our temperature advice, it’s going to turn out just right. It’s the tastiest loaf of meat you’ll have made in some time, that’s for sure! Give it a try and pass the knowledge on to your friends and neighbors. Happy cooking!
Braided Pork Belly recipe and method
Ingredients
Instructions
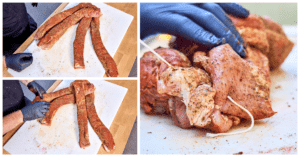
- Prepare the belly for braiding by cutting it into four strands. Cut long slits through the meat starting one or two inches from one of the short sides.
- Season the strands well on all their sides.
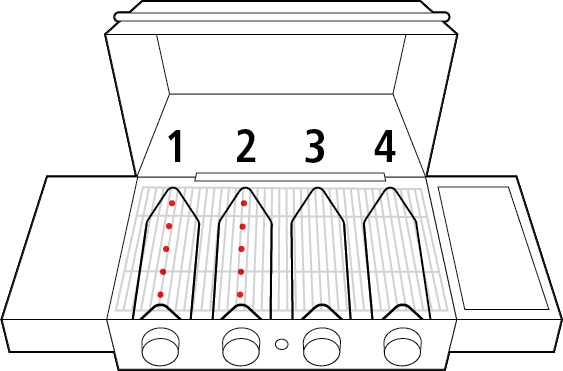
- Fan out the strands and braid in the following order: move 4 over 2, move 1 over 3, move 2 over 3. Repeat.
- Pin the loose ends together with a skewer or sew them together with some butcher’s twine and a thick needle. (Obviously, remove the needle.)
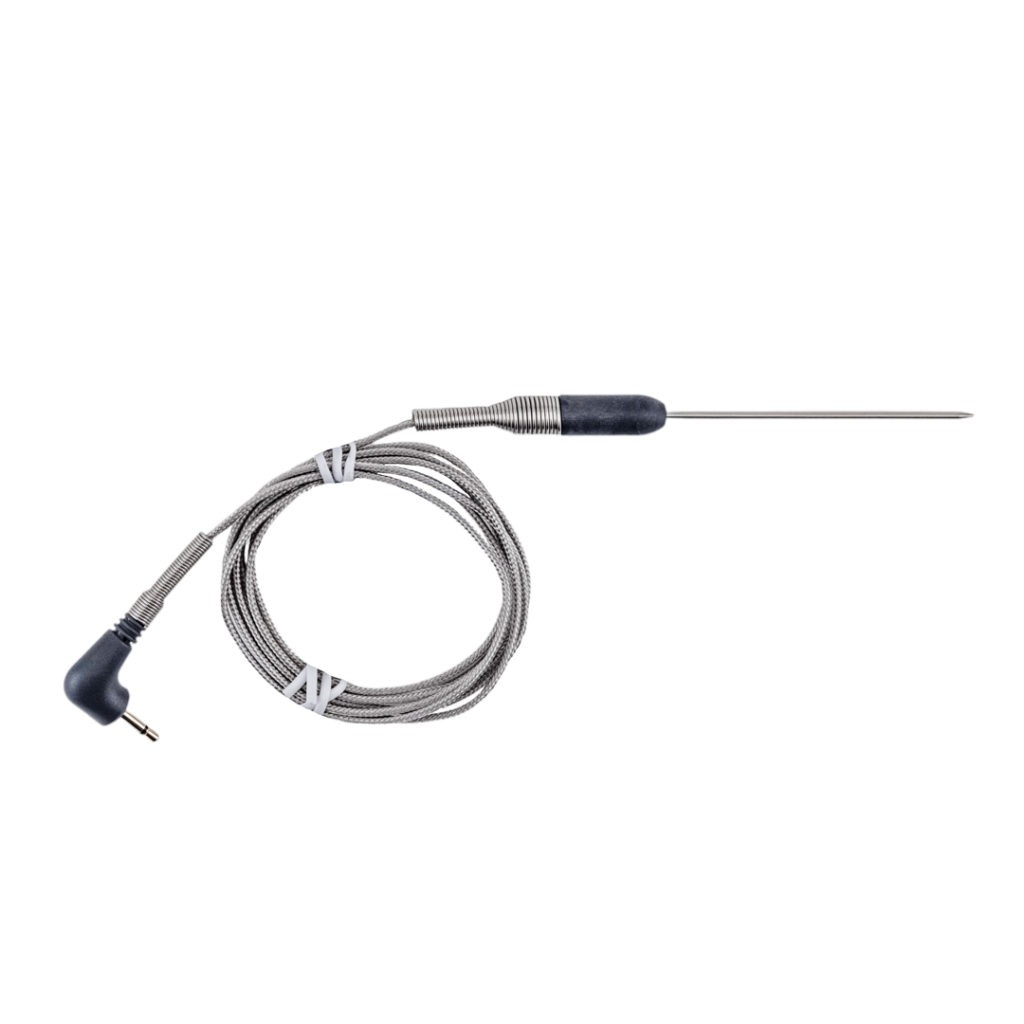
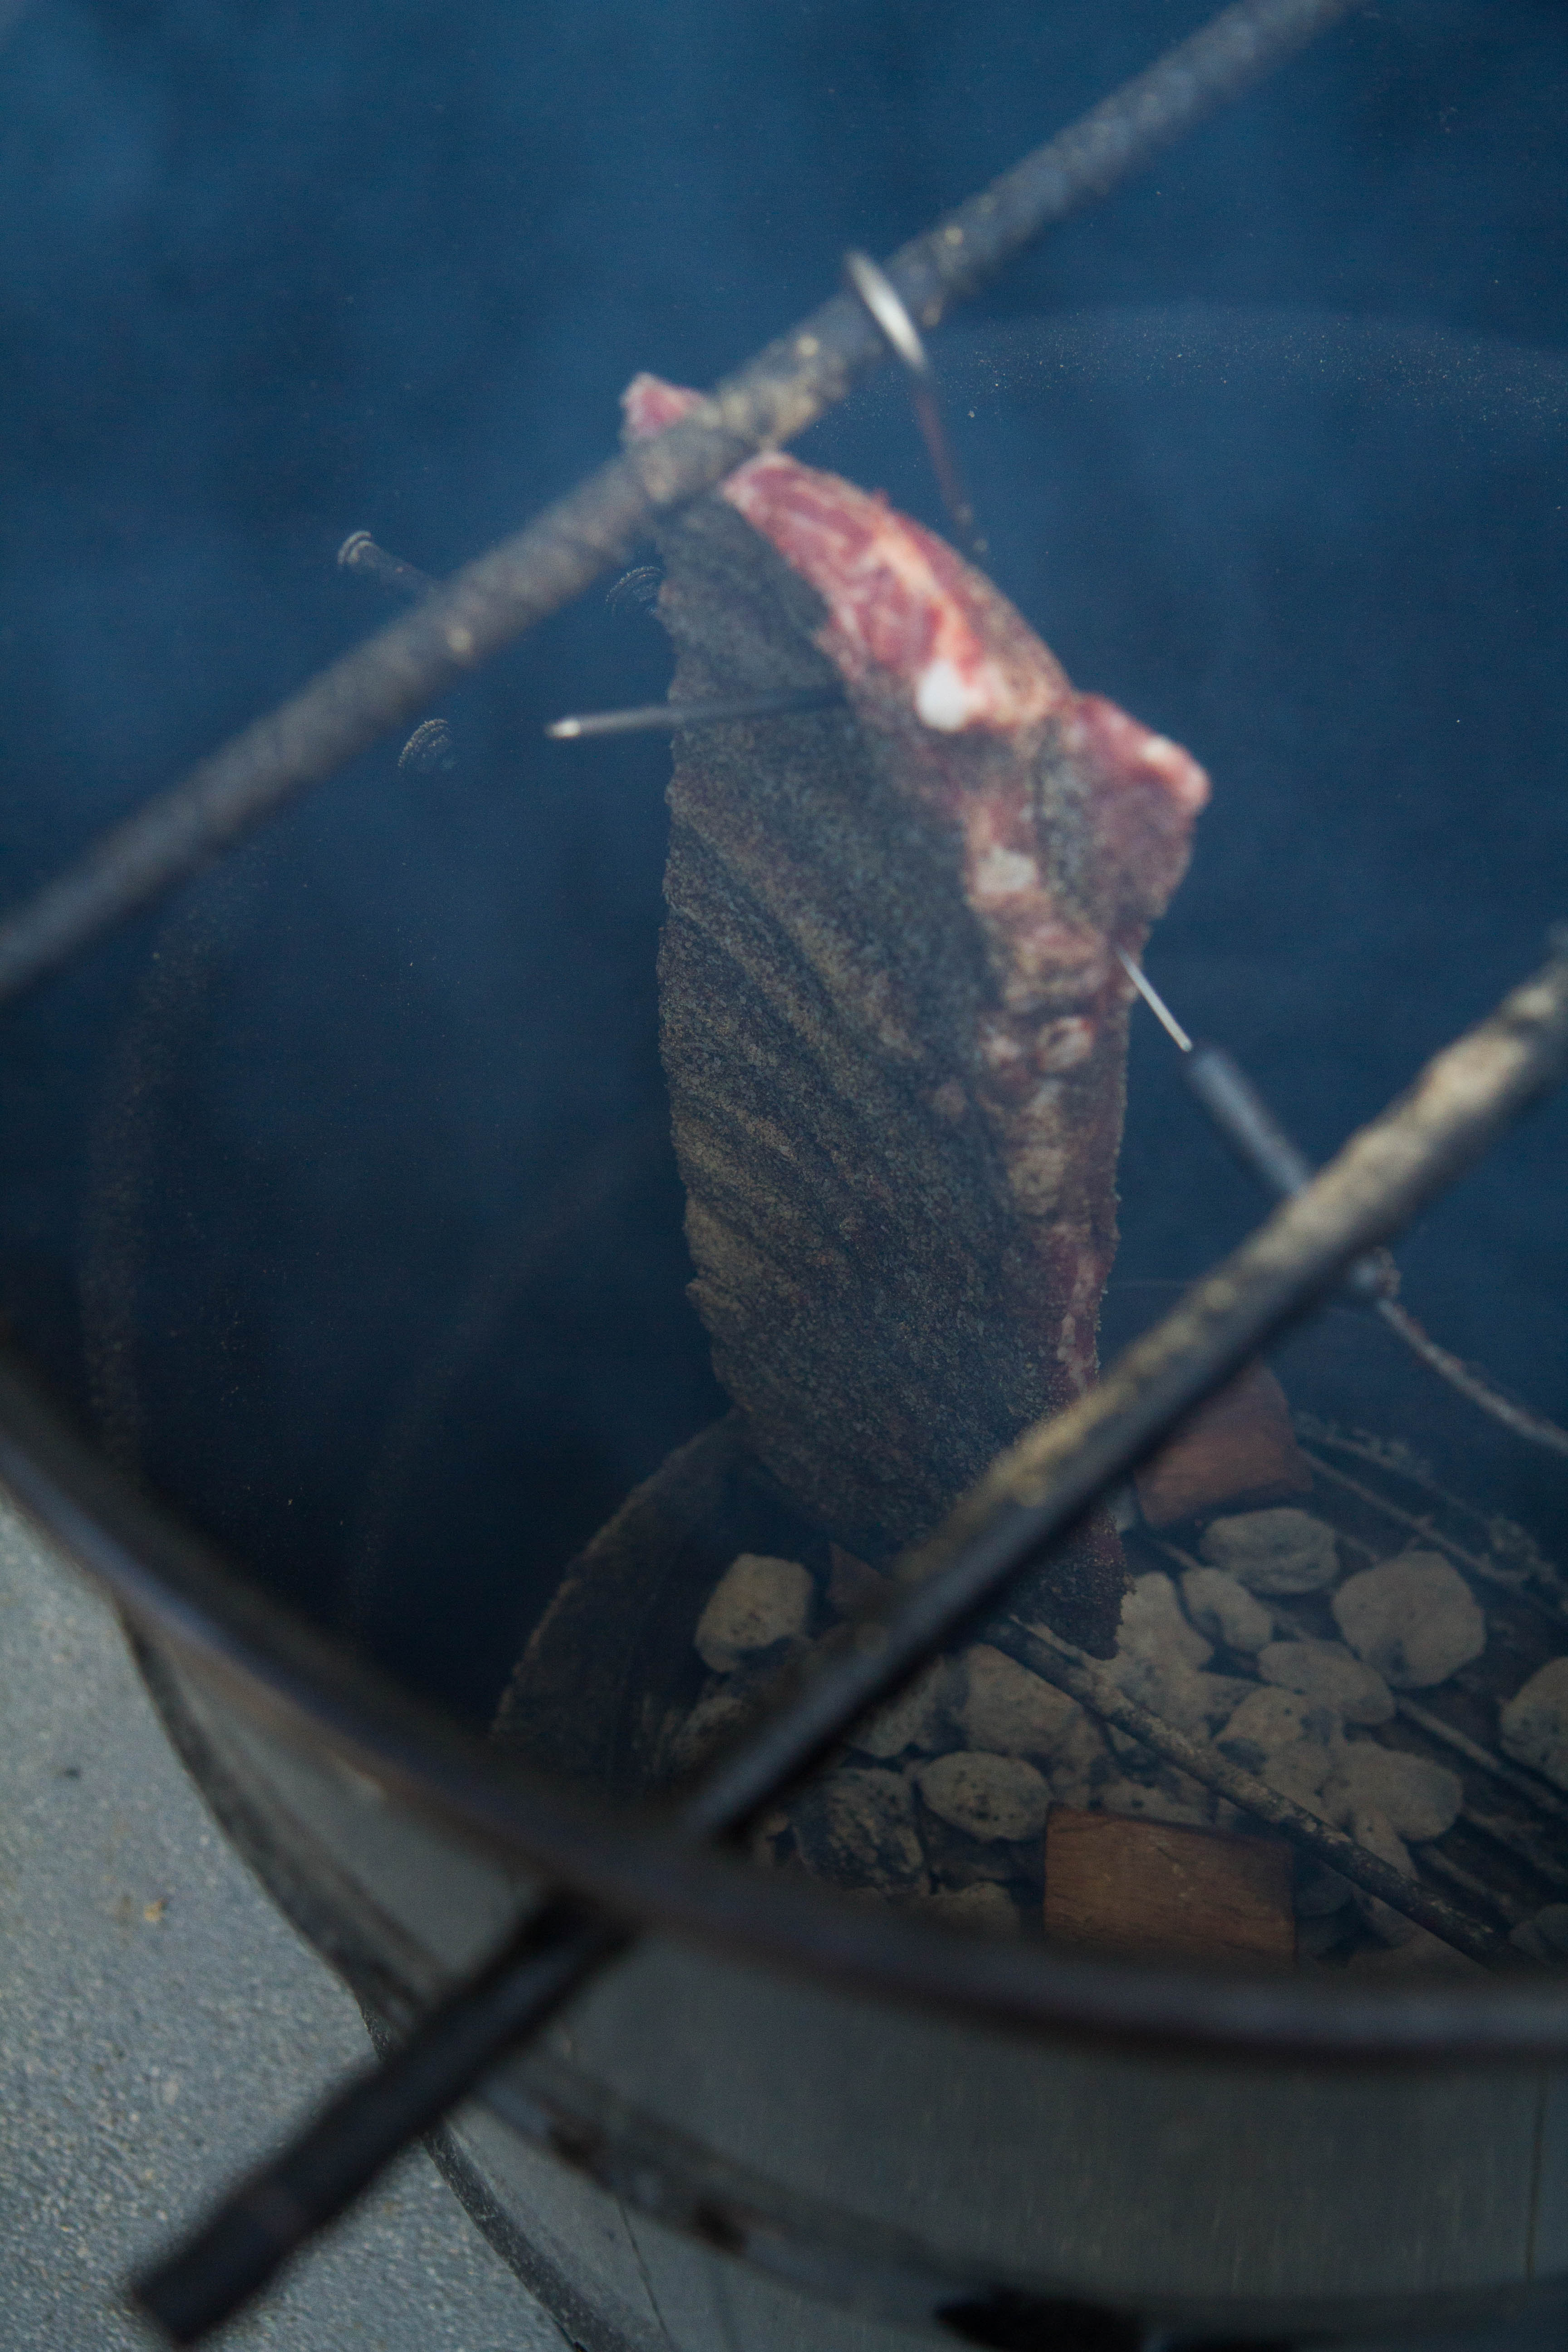
- Place the meat in the smoker, insert a probe in it and connect it to your Smoke X2. (This is more for monitoring purposes than anything else at this point.)
- Cook the meat for 2 hours, then wrap it in aluminum foil, re-insert the probe, and set the high-temp alarm on the meat channel to 165°F (74°C). Put the meat back in the smoker and turn the smoker temp up to 300°F (149°C).
- When the high-temp alarm sounds on your meat channel, check the belly in a few places with your Thermapen ONE to make sure the whole thing has reached the target temp.
- Unwrap the braid, put it back in the smoker, and brush it with your sauce. Cook about 30–45 more minutes, until the sauce sets up.
- (Total cook time will be somewhere in the vicinity of 4 to 6 hours, depending on several factors.)
- Remove the meat from the smoker, take a bunch of pictures—if you want to—and carve it up! Get some good sandwich bread for it, or just go to town with your fingers!
Shop now for products used in this post:







If we don’t have a smoker, could we achieve the quality of this meat using the oven, minus the smokey vibe?
Absolutely. Same temps, just in the oven instead.