Homemade Potato Chips: Crispy, Tasty, Temperature Perfect
There are few things I like more, culinarily speaking, than making a meal that is as homemade as I can make it. I’m talking homemade brats with homemade buns with homemade sauerkraut, for instance. But if I’m going to go to all that trouble to make the perfect main dish, why not go the extra mile and ditch the bags of potato chips?
Potato chips are one of those things we get from factories all the time that seem somehow unreachable at home. But in reality, they are easy to make and, if you use your thermometer and follow our tips, totally delicious. Let’s take a look.
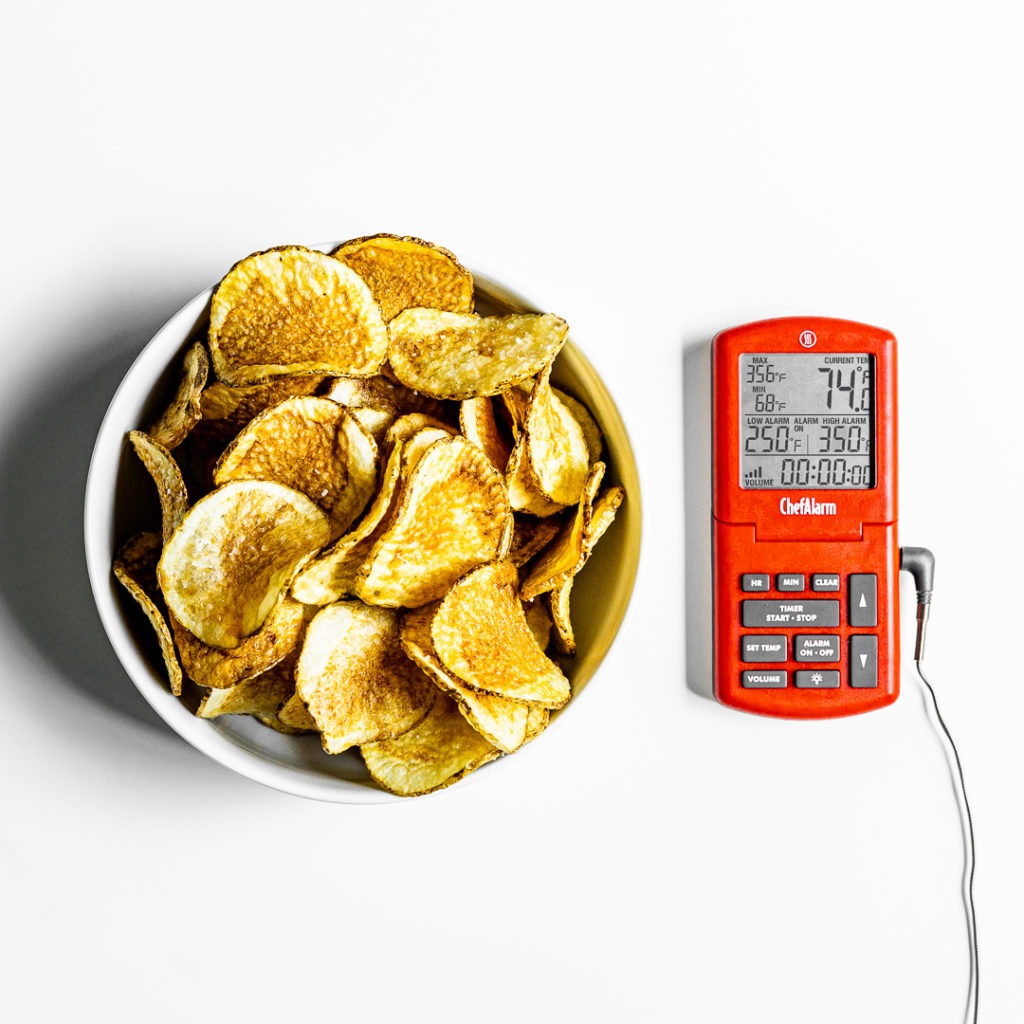
What kind of potato is best for potato chips?
First, potatoes come in two basic types, floury and waxy. The difference lies in their starch content and structure. Waxy potatoes are amazing for boiling as they keep their shape, but floury potatoes fry up crisper. Use a floury (also called mealy) potato such as Russet or Shepody for your chips and you’ll have better success.
What makes a good potato chip? How do we achieve it?
Crispness
First, good potato chips must, of course, be crisp, with no hint of undercooked squidginess. And that means that they must be fully dehydrated—any water left in the potato will ruin the texture. But how crispy they are versus how crunchy they are—that depends on how they’re cooked.
Harold McGee discusses the differences in cooking techniques that lead to different textures:
There are two basic ways of frying chips, and they produce two different textures. Cooking at a farily constant and high oil temperature, around 350°F/[177°C], heats the slices so rapidly that the starch granules and cell walls have little chance to absorb any mositure before they’re dessicated and done, in 3–4 minutes. The texture is therefore delicately crisp and fine-grained. Most packaged chips have this texture because they’re made in a continuous processor whose oil temperature stays high. On the other hand, cooking at an initially low and slowly increasing temperture, beginning around 250°F/[121°C] and reaching 350°F/[177°C] in 8–10 minutes, gives the starch granules time to abosorb water, exude dissolved starch into the potato cell walls, and reinforce and glue them together. The result is a much harder, crunchier chip. This is the texture created by “kettle frying,” or cooking the slices by the batch in a vessel like an ordinary pot. The temperature of the preheated kettle drops immediatley when a batch of cold potatoes is dumped in, so the potatoes cook in oil whose temperature starts low and rises slowly as the potatoes’ moisture is cooked out and the [heat] catches up.”
Harold Mcgee, On Food and Cooking, pg. 304
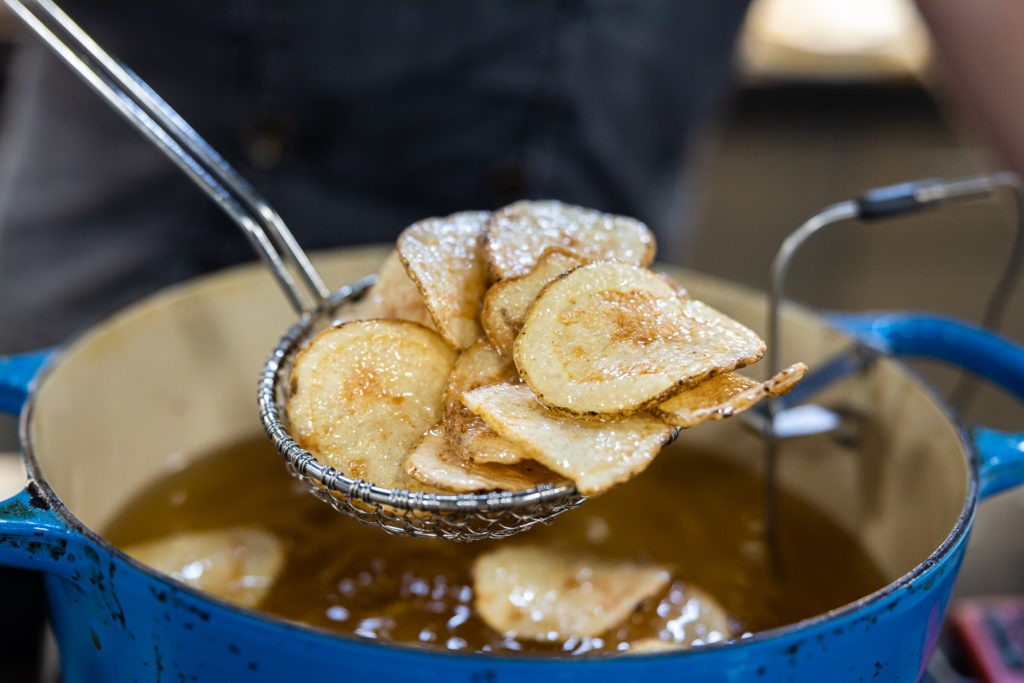
Now, I don’t have a continuous-processor potato chip cooker, 3 so we’ll be making chips by the kettle method. When you add the chips and the oil temp drops, don’t turn the heat all the way up to try to race back up to 350°F (177°C). Let them cook slowly back up to temp.
Oiliness in potato chips
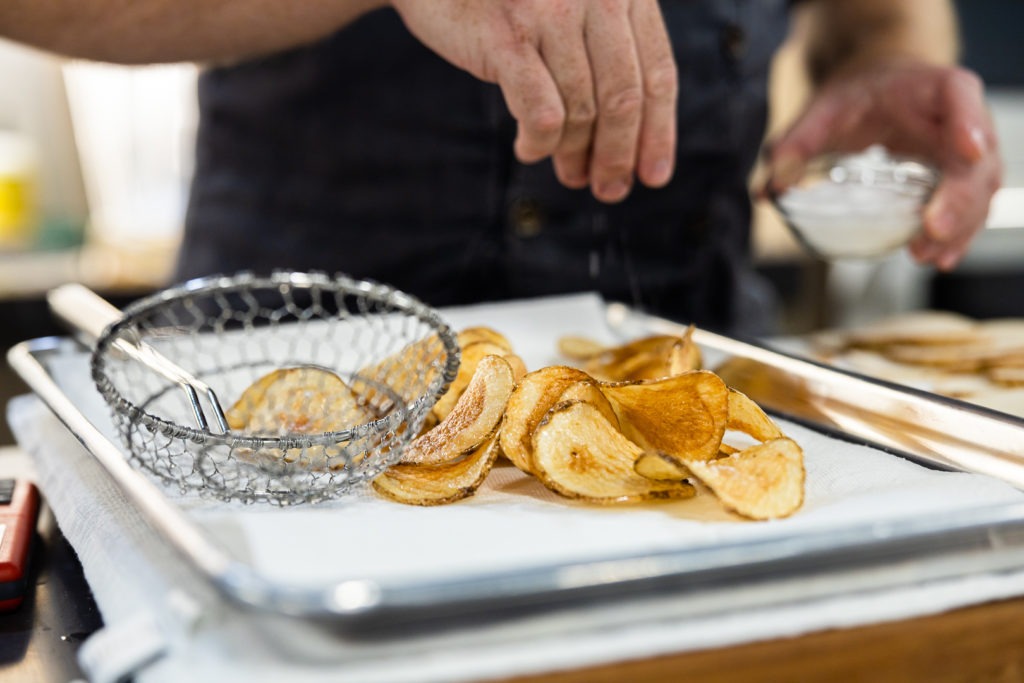
Potato chips end up coming out about 35% oil by weight once they’re cooked, which is plenty oily! To keep the oil proportion in check, drain your potato chips well after frying. A rack set in a rimmed baking sheet is good, but a rack covered in paper towels set in a rimmed baking sheet is even better. Gravity can pull a good deal of oil out of fresh chips, but the wicking action of a paper towel can do even more.
Flavor
A good potato chip, whether it is light and airy or hearty and crunchy, needs to have a good flavor. The best chips have a certain potatoey-ness to them and taste of more than just oil and salt. A good potato chip should not have any overcooked/burnt flavor, and it needs to have enough (but not too much) salt.
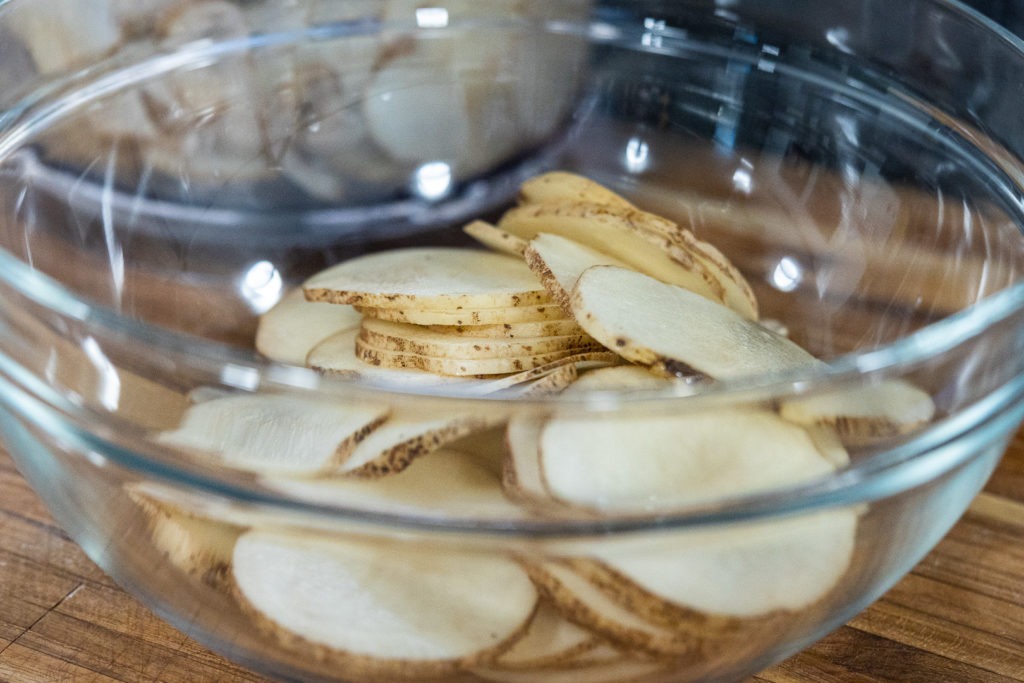
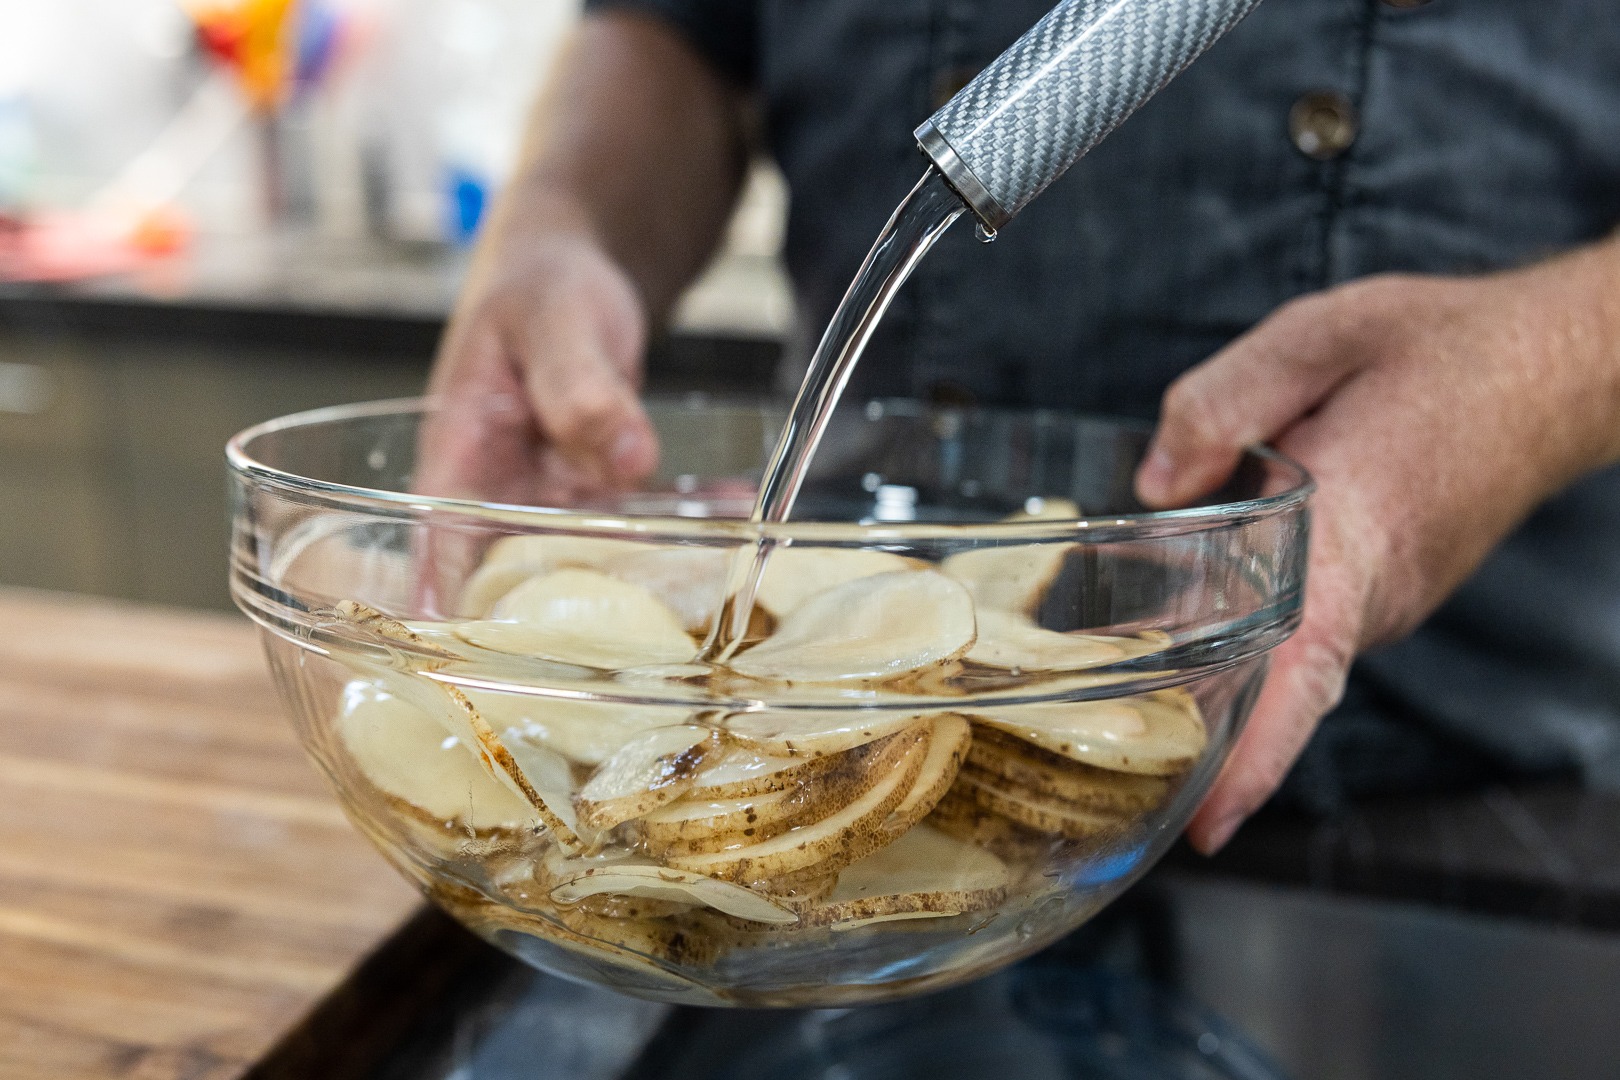
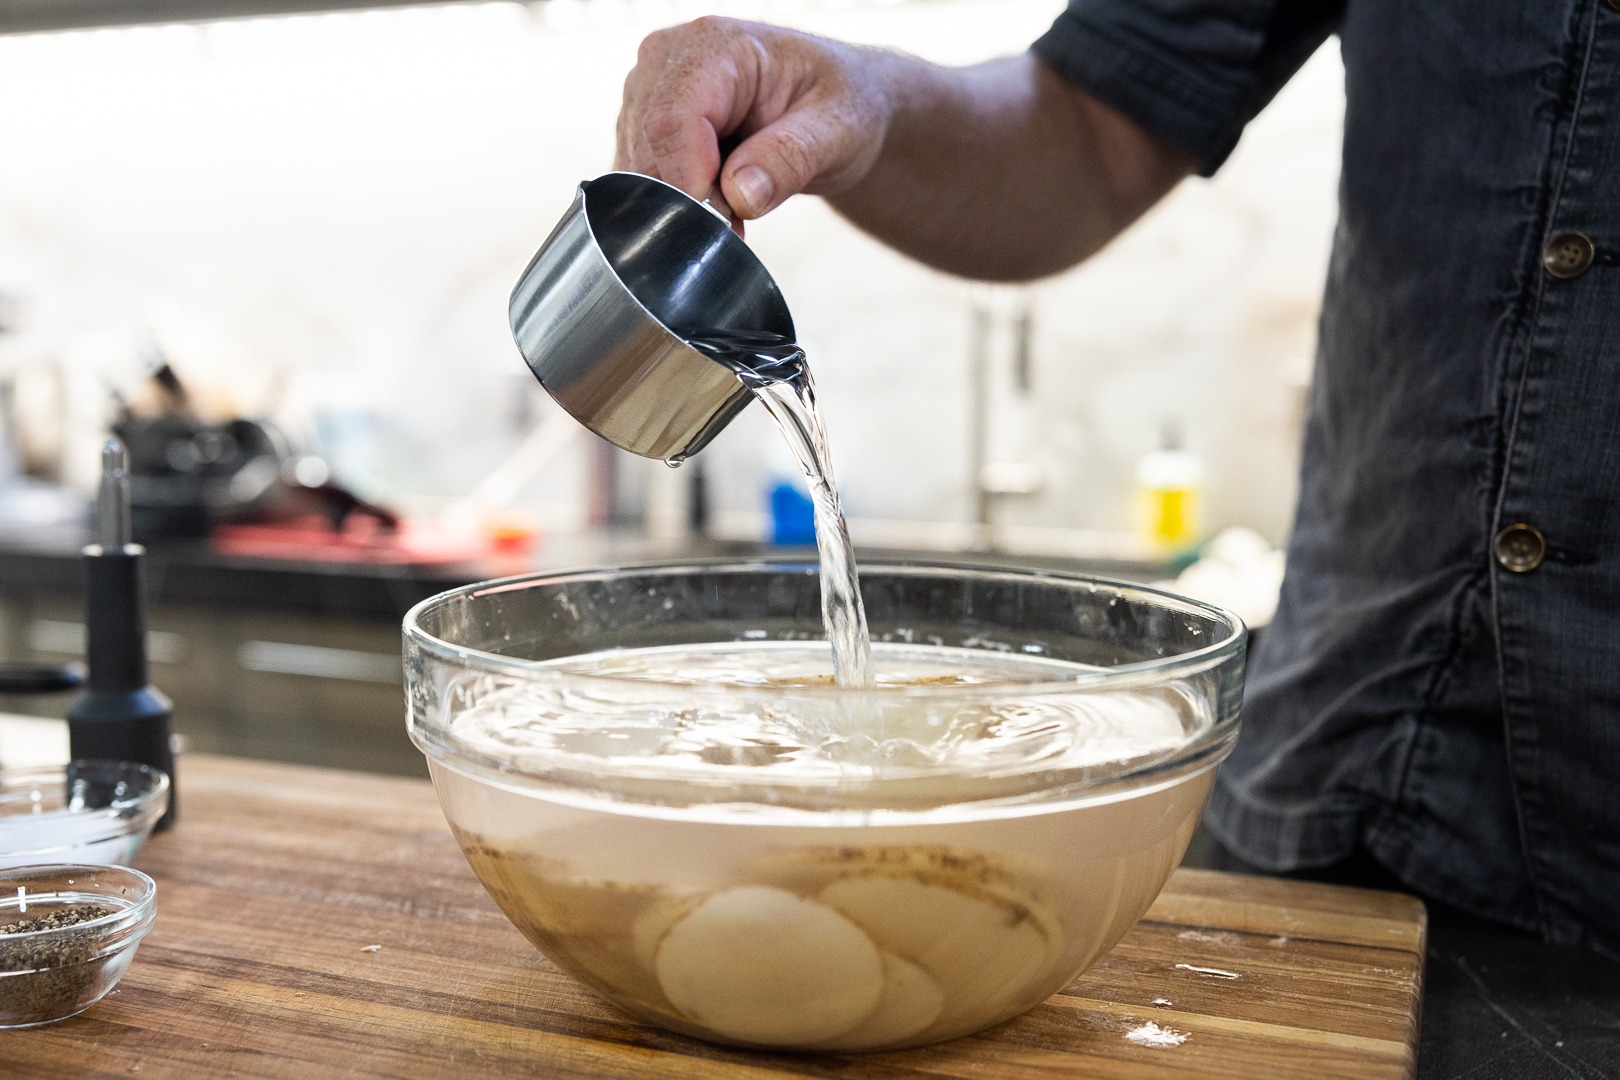
By rinsing the chips well, we can eliminate surface sugars that will brown too quickly, or even burn. Slice the chips, then give them a bath in cold water, agitating them and even changing the water once or twice until it runs clear. To help the chips crisp up, take a page from Alison Roman at Bon Appétit and use some white vinegar during the last soak. The acid helps the pectin in the cell walls firm up, giving you even more crunch.
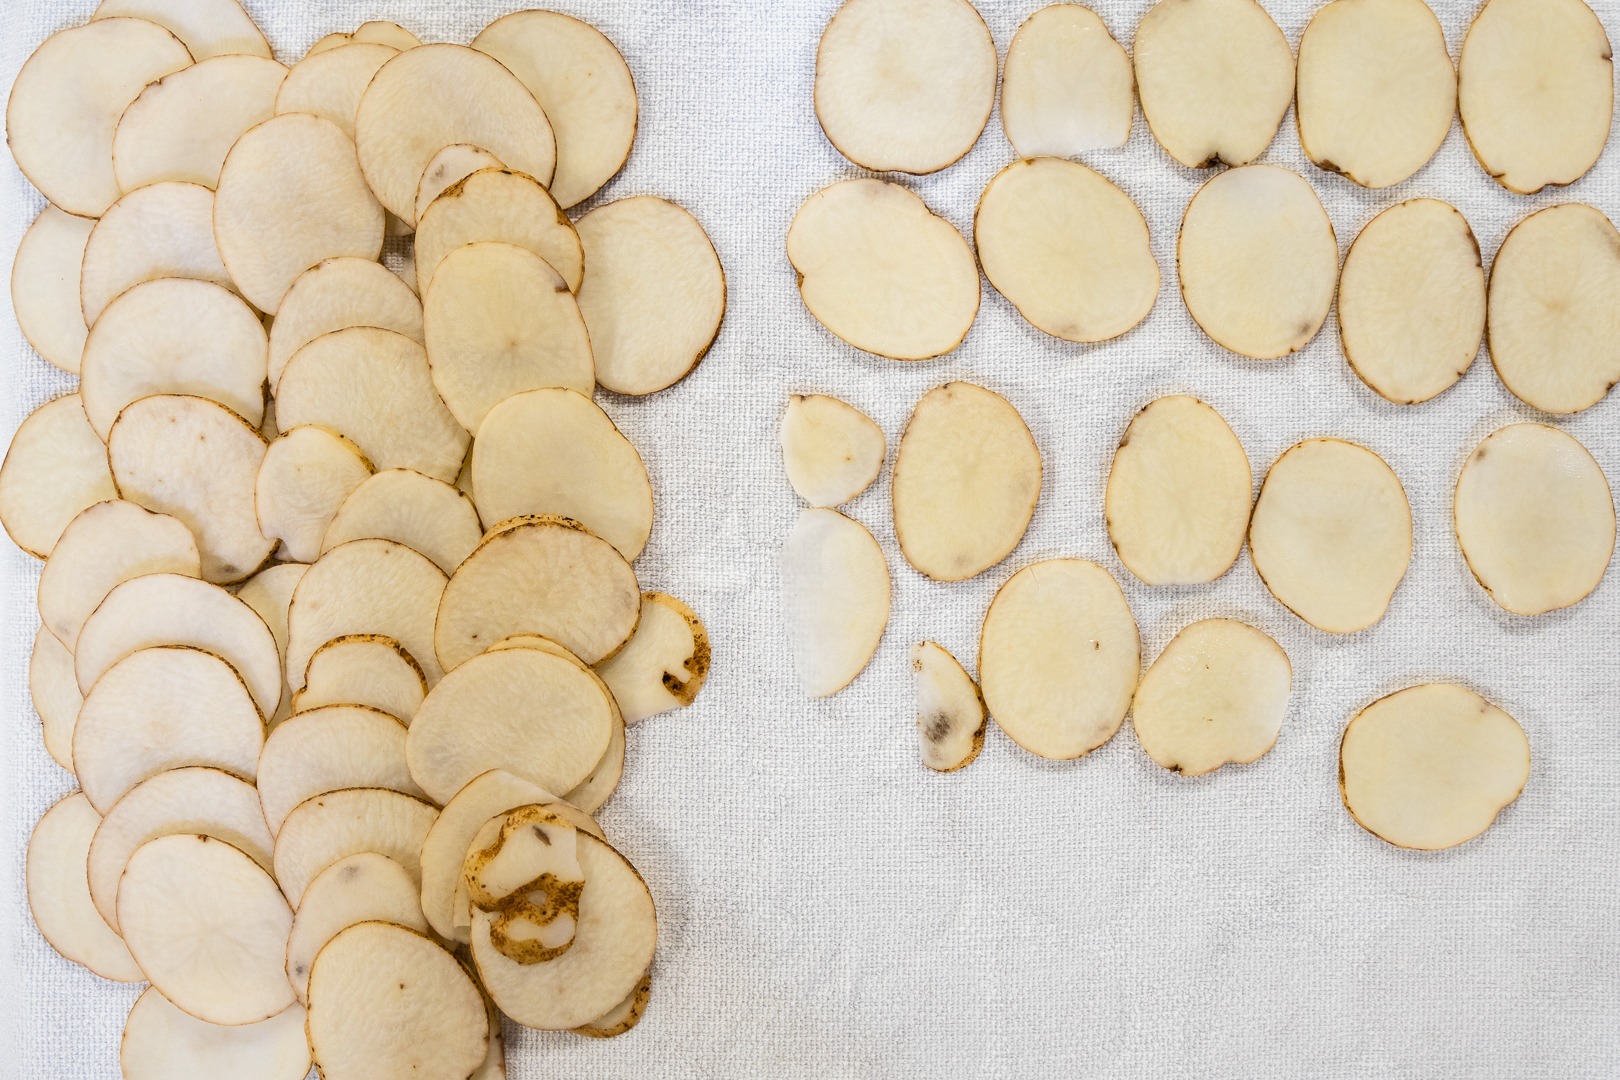
Of course, after all that soaking and rinsing you’ll need to dry the chips before you drop them in the fryer so that your kitchen doesn’t explode 4, but the rinsing process will give you a better flavor.
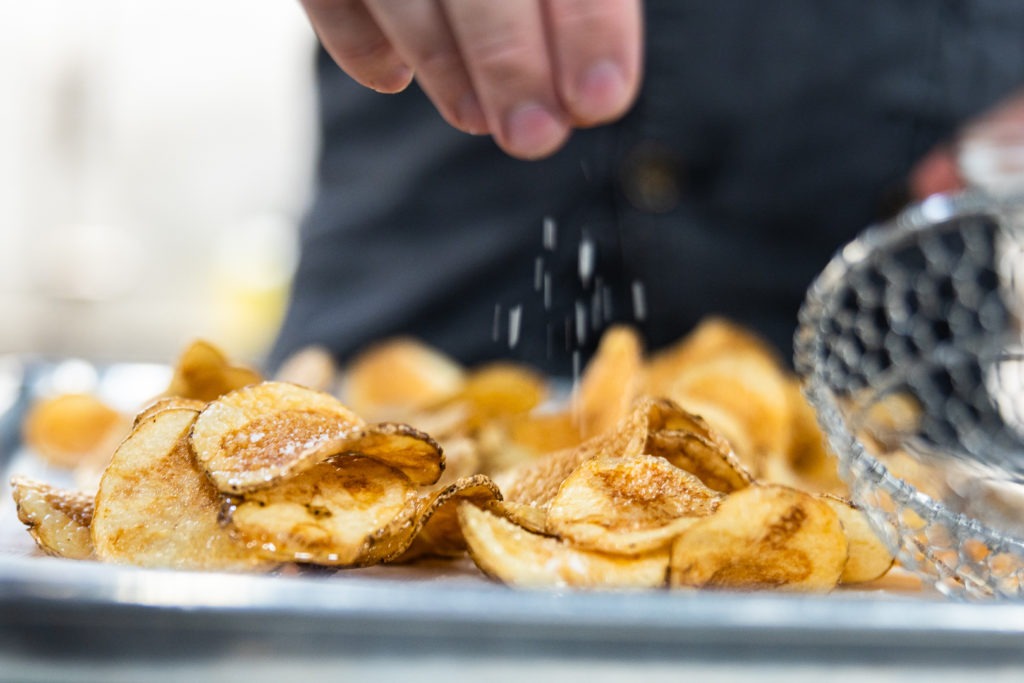
As for the salt, large grains of salt aren’t the best here. Finer-grained salt will adhere more evenly to the surfaces of the chips. You can use kosher salt if you have it, but you can also put that kosher salt in a spice grinder to make it finer. Either way, add it when the chips are hot and fresh out of the oil, while they are still draining.
If you want to add more flavors, go for it! Try using your favorite BBQ rub, for instance, either in addition to or instead of salt (depending on how salty the rub is).
How thick to cut potato chips
Standard potato chip thickness is only about 1.5mm (about 1/16″), which, according to McGee is only about 10–12 potato cells thick! However, unless you have a good mandolin, that may be hard to get. You can increase the thickness to about 1/8″ (~3mm), as we did, and still get a very good chip. It will have more of a hefty, hearty crunch to it, but will still be a “chip.” If you can slice to 1/16″, by all means, go for it!
Critical temps for frying potato chips
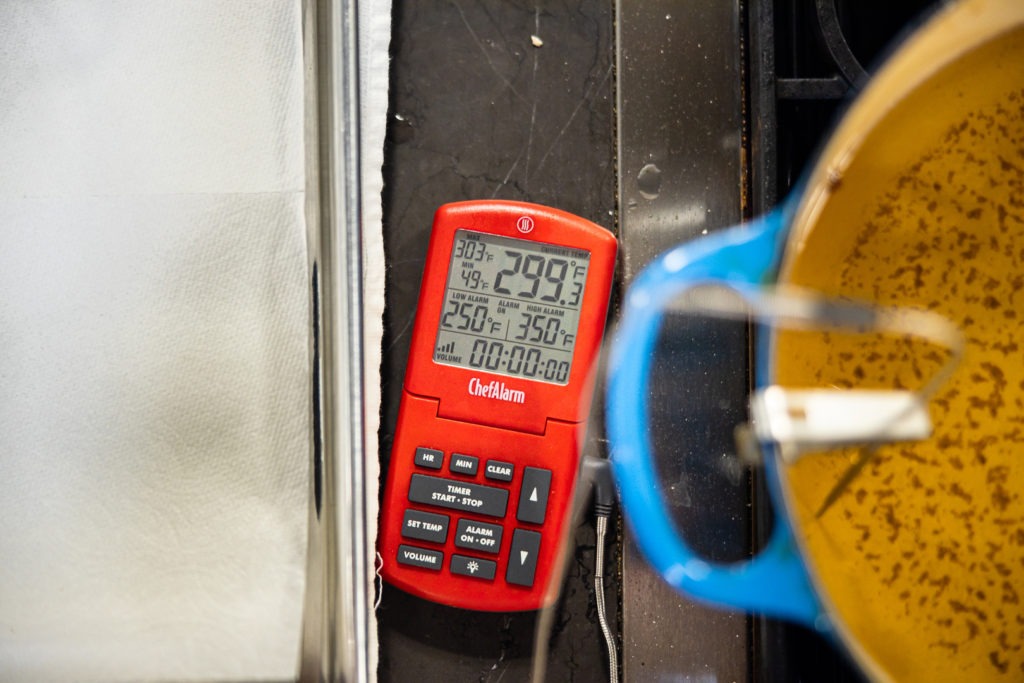
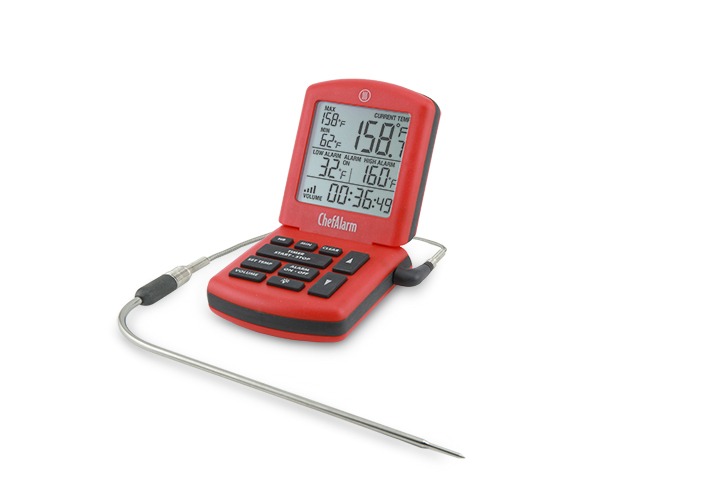
As McGee said above, kettle chips count on the drop in oil temperature for their texture, and we’ll be taking advantage of that. Use a ChefAlarm® to track the temps throughout the cook and let you when you need to adjust the heat to keep it in the correct range. Set the high-temp alarm for 350°F (177°C) and the low-temp alarm for 250°F (121°C), attach your Pro-Series® probe to the pot with a pot clip and let the ChefAlarm do the monitoring for you.
Making potato chips is a fun, fascinating process. And, assuming you cooked them correctly and they were fully desiccated, the results can last for days, if not weeks, if kept in a dry location. So you can make them today for tomorrow’s cookout. Serve them alongside those brats without stressing about a homemade side. With temperature control and thermal knowledge, you can put homemade kettle chips on the table that will rival any you can buy from the store. And that, reader, will make you a cookout boss.
Print
How to Make Potato Chips: A Recipe
Description
Homemade potato chips, with thermal help from On Food and Cooking, by Harold McGee, and soaking advice from Alison Roman at Bon Appétit.
Note: you can peel the potatoes if you like, but I like to leave the skins on for aesthetic reasons.
Ingredients
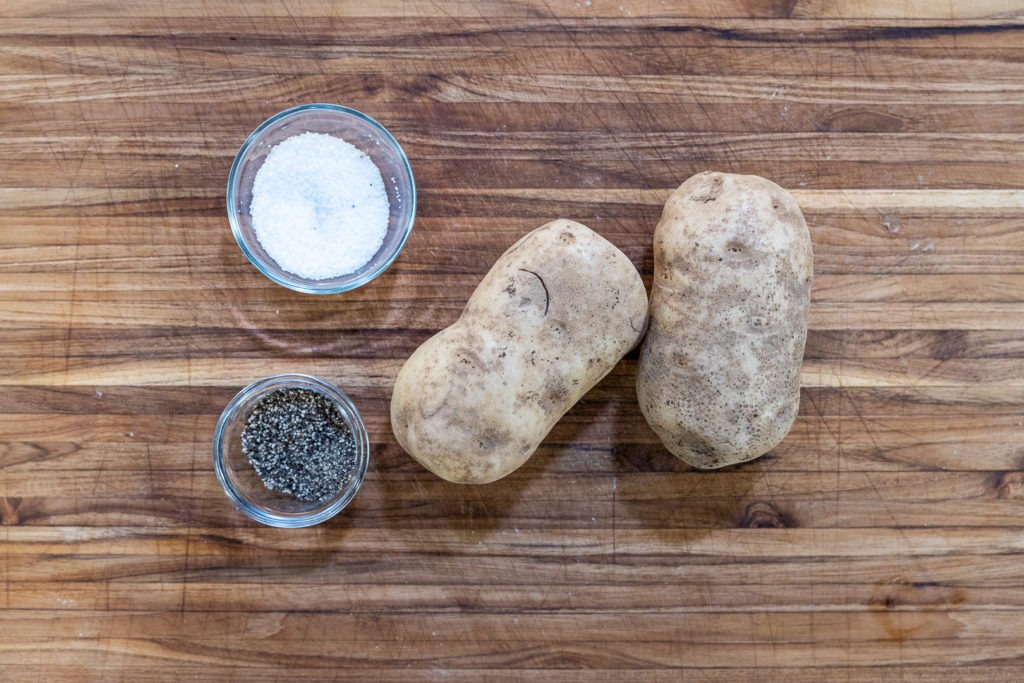
- 2 floury potatoes (Russet, Shepody, etc.)
- 1/2 C white vinegar
- Salt, fine is preferred to coarse
- Other seasonings, as desired
- Oil for frying
Instructions
- Slice the potatoes evenly, as thin as 1/16″ up to 1/8″ thick.
- Soak the potatoes in a few changes of water until you don’t see any more starch accumulating in the water.
- Give them one last soak in about 6 C of water with 1/2 C white vinegar. Let them soak like that for at least 30 minutes.
- Drain the potatoes and dry each slice. Laying them all on an absorbent cloth, then laying another cloth on top of them, works well.
- Heat 4″ of oil in a large, heavy-bottomed pot or Dutch oven. Use the probe from your ChefAlarm and set the high-temp alarm to 350°F (177°C) and the low-temp alarm to 250°F (121°C). Using fresh oil will result in lighter-colored chips.
- Prepare a draining rack set into a rimmed baking sheet, preferably with paper towels on it.
- When the oil is hot enough, drop a handful of chips into the oil. Stir them with a spider or heat-proof spatula to prevent them from sticking and cooking together.
- Adjust the heat as necessary to keep it within the cooking range, but don’t turn the heat all the way to high. It should take some time to get back up to 350°F (177°C).
- Cook the chips until they are golden brown and there are no more bubbles coming out of them in the oil. (Bubbles indicate boiling which indicates water.)
- Use a kitchen spider to remove the chips to your draining rack.
- Salt the chips and let them cool.
- Serve or store the chips in an airtight container. Enjoy!
Shop now for products used in this post:


Very Clearly explains the recipes.