Thermal Tips for Key Lime Pie, a Classic!
There is no season that is not excellent for Key lime pie. In the heat of summer, it is a sweet and tart way to cool down, and in winter it is a bright, sunshiny taste of warmer weather. Either way, chances are good that whenever you’re reading this, it’s time to go get some limes and make a pie.
Key lime pie is easy to make and has very few ingredients, which is nice. But making it just right can require a little care. To get a crisp crust and a filling that holds its shape you need some thermal thinking. Here, we’ll take a look at the thermal (and acidic) principles of Key lime pie to help you get perfect pie every time. Grab a Thermapen® ONE and a citrus juicer and let’s get to it.
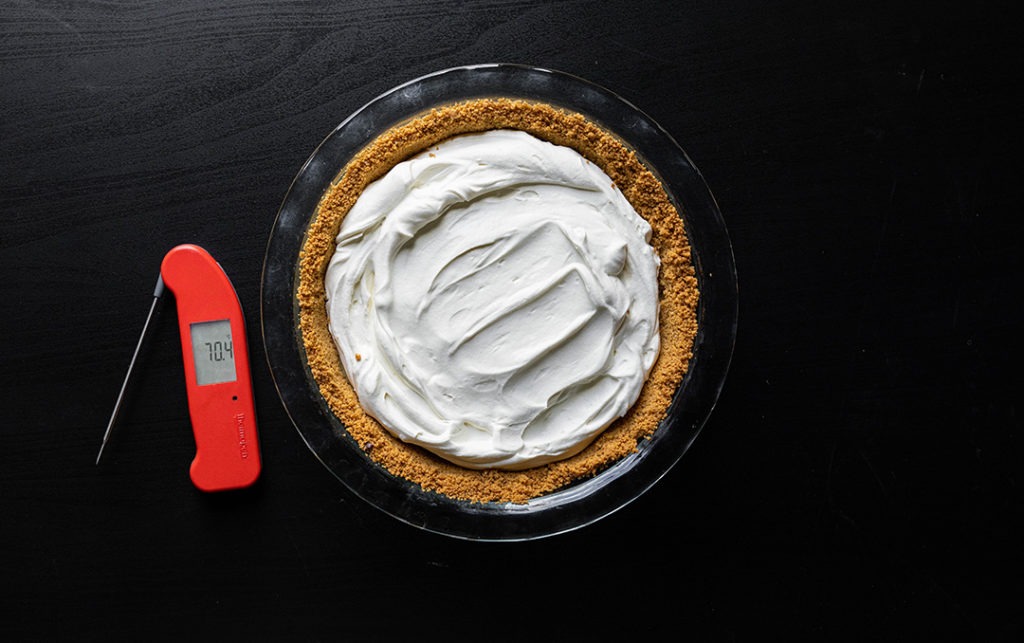
Key lime pie: what is it and how should it be done right?
Key lime pie is made primarily of key lime juice, egg yolks, and sweetened condensed milk. In fact, that’s pretty much the filling right there. It was, some pastry scholars think, based on a recipe for a lemon pie published by the Borden company back in the ’30’s.
Since gaining renown, Key lime pie has faced the same forces of entropy and “modernization” that affect so many foods. It’s can be easy to find a key lime pie now, but it can be hard to find a good one. That’s why you should make your own!
So what is a good Key lime pie? There are things we want and things we don’t want.
- We don’t want an artificial green color. If a restaurant tries to serve you a Surge-green slice of key lime pie, send it back.
- We don’t want a soggy crust.
- We don’t want any artificial, fake flavors. If your pie isn’t flavored with actual lime juice, you don’t need it.
- We don’t want a Key lime pie that is runny. We should be able to lift a slice out of the pan and have it hold its shape.
Making your own pie from scratch the right way does away with all of these problems, leaving you with a dessert that is bright, clean-flavored, and easy to eat (and eat, and eat).
How to make Key lime pie right
Let’s look at the list of things we want and don’t want and see how we can achieve them.
Key lime pie color and crust
First, color. Ture key lime pie is barely green. It should have the color of, well, lime juice mixed with milk—because that’s what it is. Incorporating the grated zest of a lime (Persian is fine for this) into the filling will give it accents of green and a better, lime-ier flavor, but that should be the extent of your coloration.
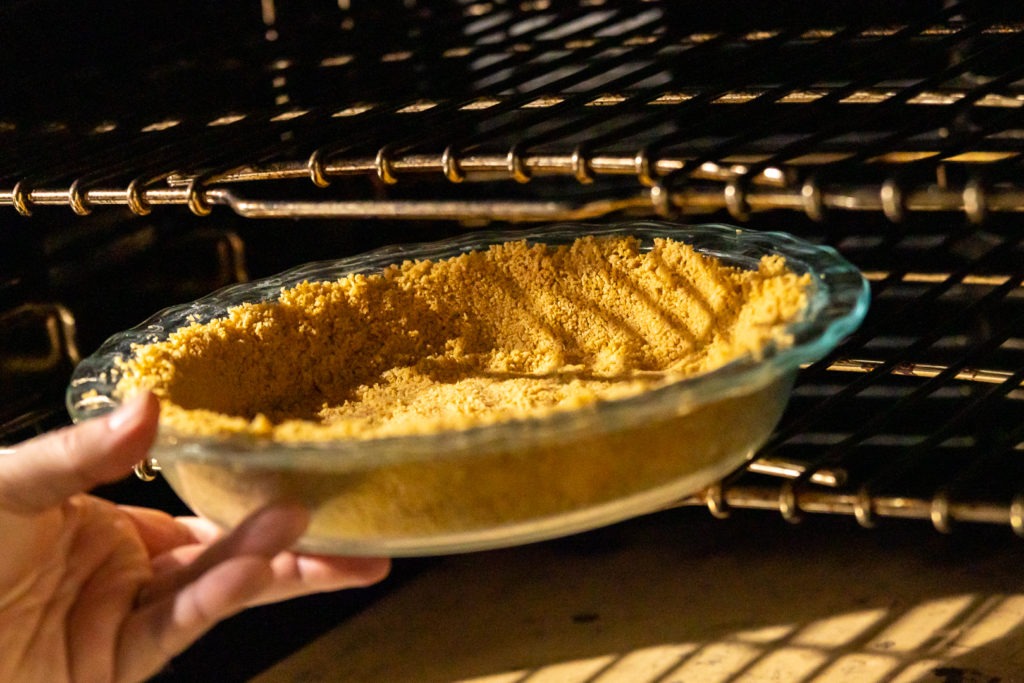
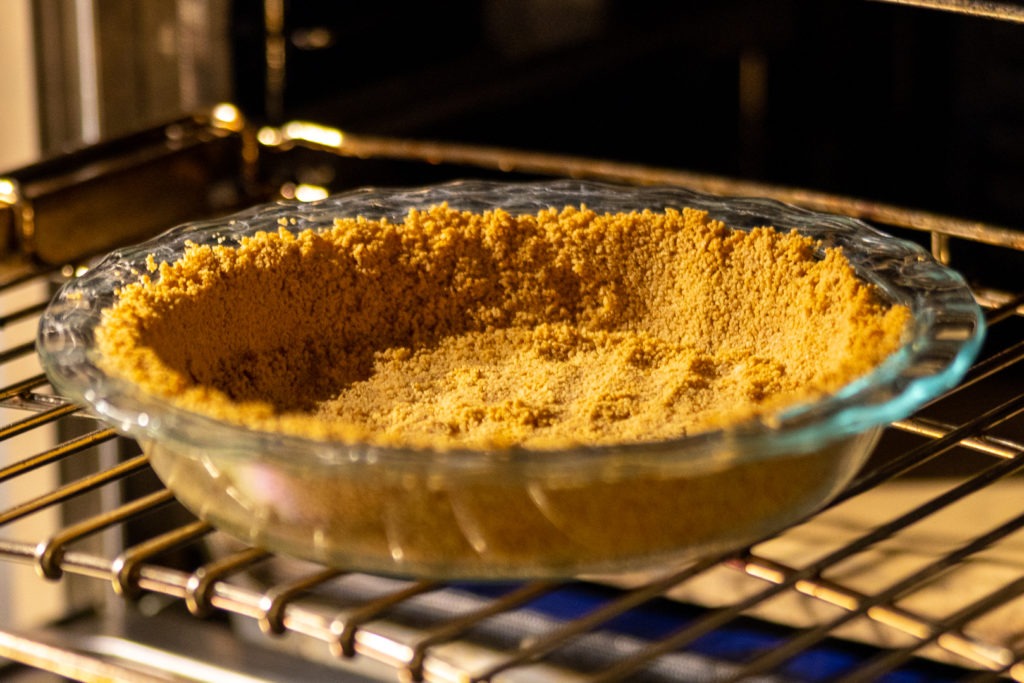
What about a soggy crust? No problem. Blind baking the graham-cracker crust helps to firm and crisp it before we add the wet filling.
Key lime pie flavor
When it comes to natural lime flavor there’s a firm line that has been drawn. The purist will insist that it is, in fact, fresh Key lime juice, and nothing else, that should be used.
Key limes—named for the Florida Keys—are smaller, thinner skinned, and more interestingly flavored than your standard Persian lime. They are sometimes sold as “Mexican limes” and can be yellow when fully ripe (though green ones are just fine). The flavor of the Key lime is critical to this dish, so I recommend seeking them out; they can often be found at Mexican or Latin markets. You’ll need 12–20 of them for this dish. If you just can’t find them, get bottled key-lime juice. If you can’t find that, then settle for fresh Persian limes.
Key lime pie: the perfect texture
This brings us, finally to firn, not runny, pie filling. Some Key lime pie recipes require no baking whatsoever, depending on the acids in the lime juice to denature the proteins in the egg yolks and the milk until they hold their shape—kind of a milk-and-egg ceviche. Though that process can work on its own, a two-pronged approach is best:
“Introducing an acid to egg proteins neutralizes some of their negative electrical charges. Consequently, when the proteins are heated and unwind they do so at a lower temperature. The altered electrical charges on the proteins cause them to form a weak, soft gel…thus, the strong acid in lemon [or lime] juice, while encouraging an egg to cook and form a solid, keeps the solid moist and creamy.”
—Cook’s Illustrated, The Science of Good Cooking.
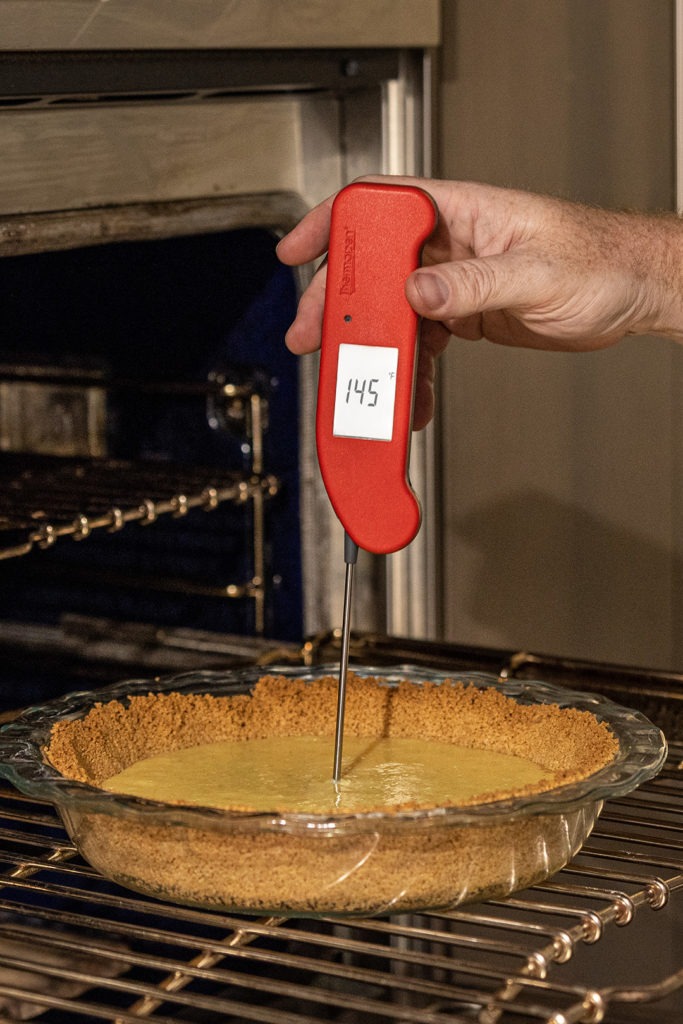
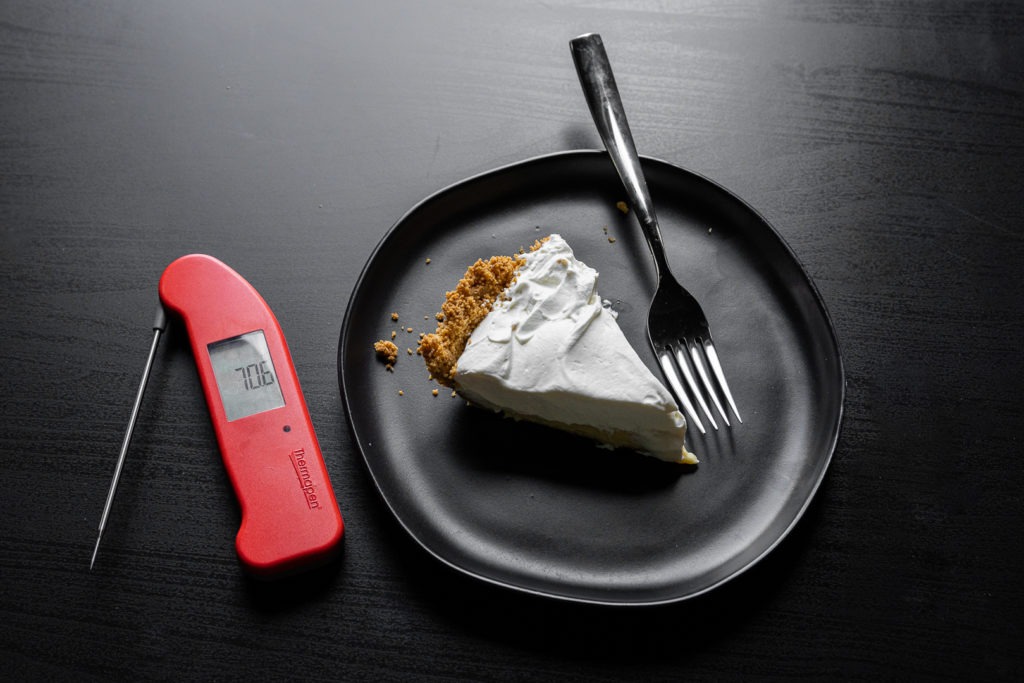
It’s hard to get the pie to set up the right way with just acid and eggs, and the acid helps the eggs cook up more smoothly, so a bake cycle is beneficial to the whole process. Baking the pie at 325°F (163°C) until it reaches an internal temperature of 145°F (63°C) is perfect. Using a Thermapen ONE to verify the temperature is far more accurate than shaking the pie to check for “wiggle,” and will help you to not overcook it. Use one and you’ll never be in doubt of whether your pie is done or not.
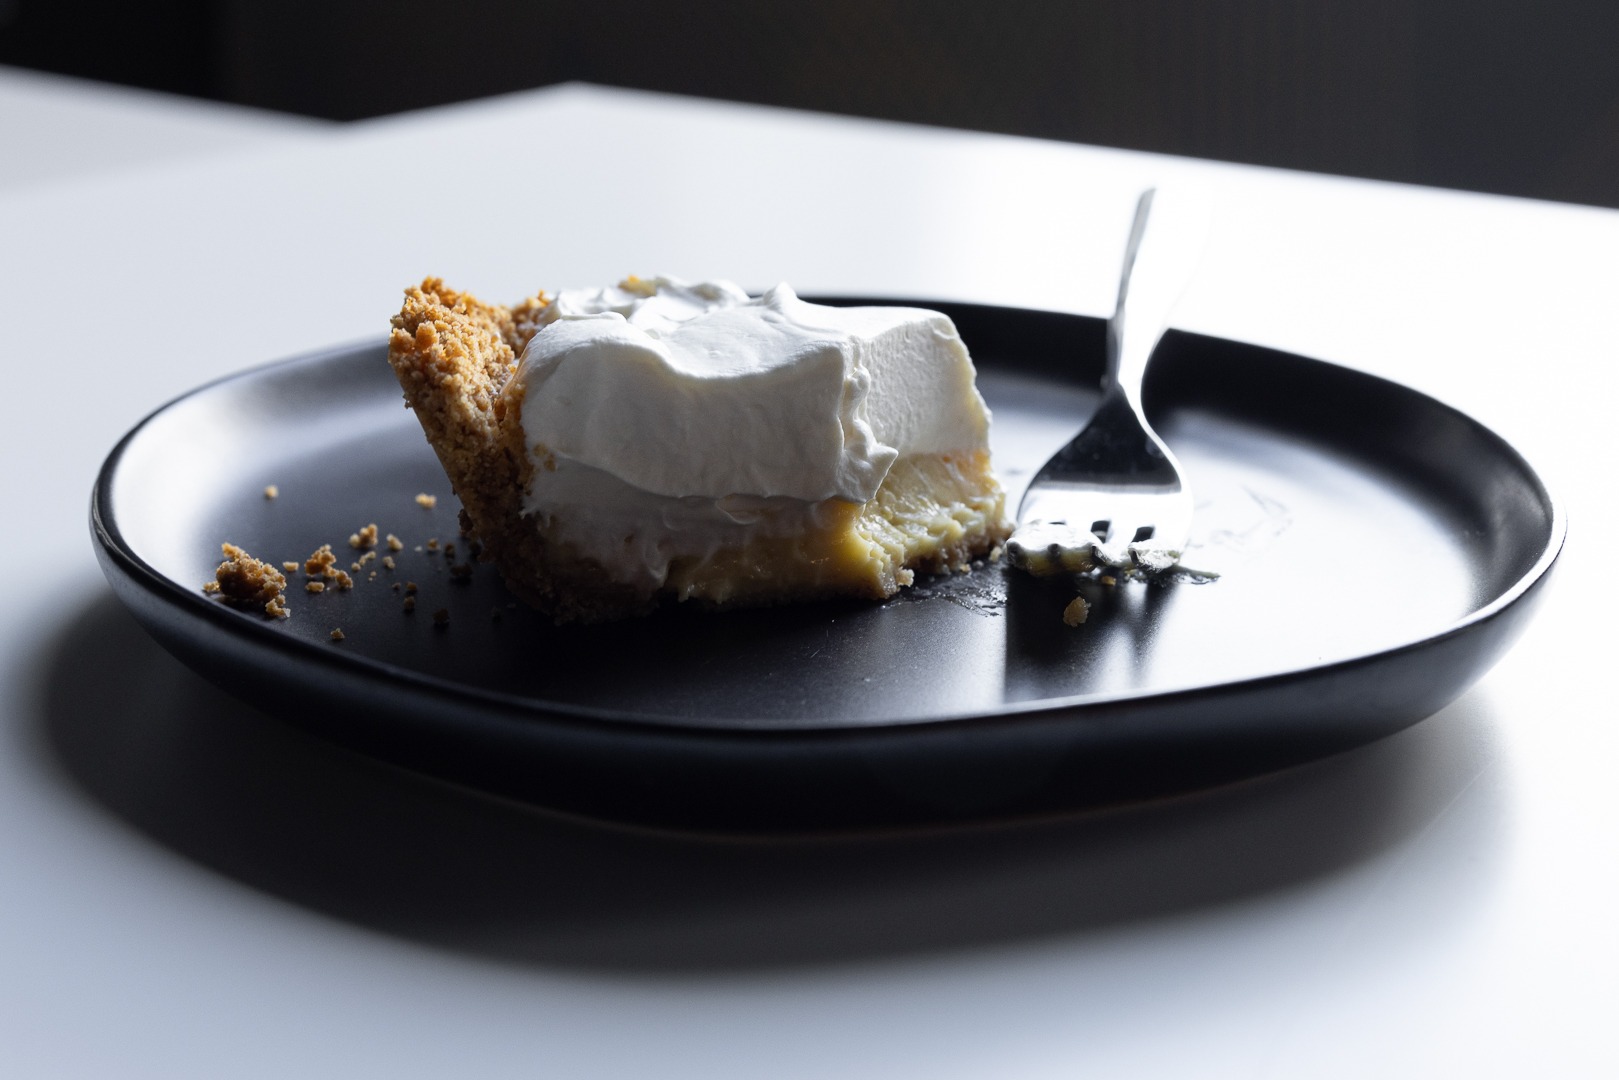
If you follow these guidelines, you’ll be in pie heaven in no time. Really, the hardest part of this recipe is waiting for the pie to cool so you can eat it (it is best served chilled). You can top it with whipped cream, as we do, or with meringue, or just leave it bare, according to your like.
This pie is simple enough to prepare from start to finish in one day so you can easily serve it after dinner. Applying just enough heat at the right time is really all it takes to pull the recipe off without a hitch. Give it a try and you’ll be glad you did. It will help either cool you down or warm your heart. Sweeten your life with this slice of sunshine, then share it with a friend to sweeten theirs, too.

Key Lime Recipe
Description
Classic Key lime pie, adapted from a recipe at King Arthur Baking.
Ingredients
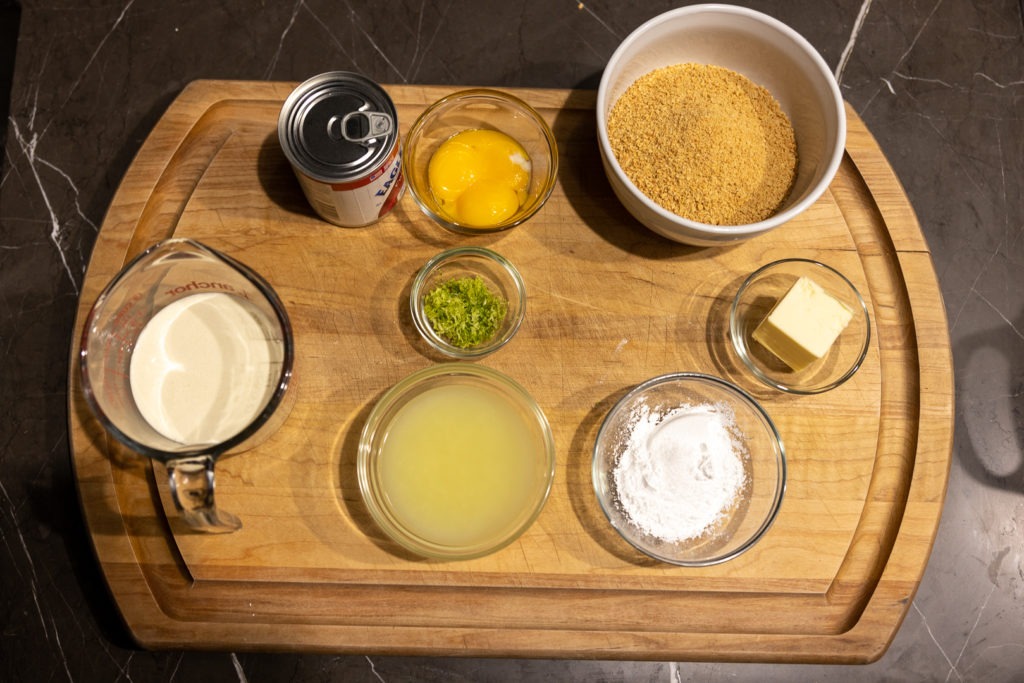
- 1–1/2 C graham cracker crumbs (about two sleeves of graham crackers)
- 1/4 C powdered sugar
- 1/8 tsp salt
- 1/3 C melted butter, cooled to 80–90°F (27–32°C) (any time a recipe calls for melted butter, this is the temperature range it should be in)
- Grated zest of 1 medium lime
- 3 large egg yolks
- 1–14 oz can sweetened condensed milk
- 2/3 C freshly squeezed Key lime juice (from about 20 Key limes, depending on juiciness)
- 16 oz heavy whipping cream, sweetened and whipped to firm peaks
Instructions
Make the crust:
- Preheat your oven to 325°F (163°C).
- Melt the butter and cool to 80-90°F (27-32°C).
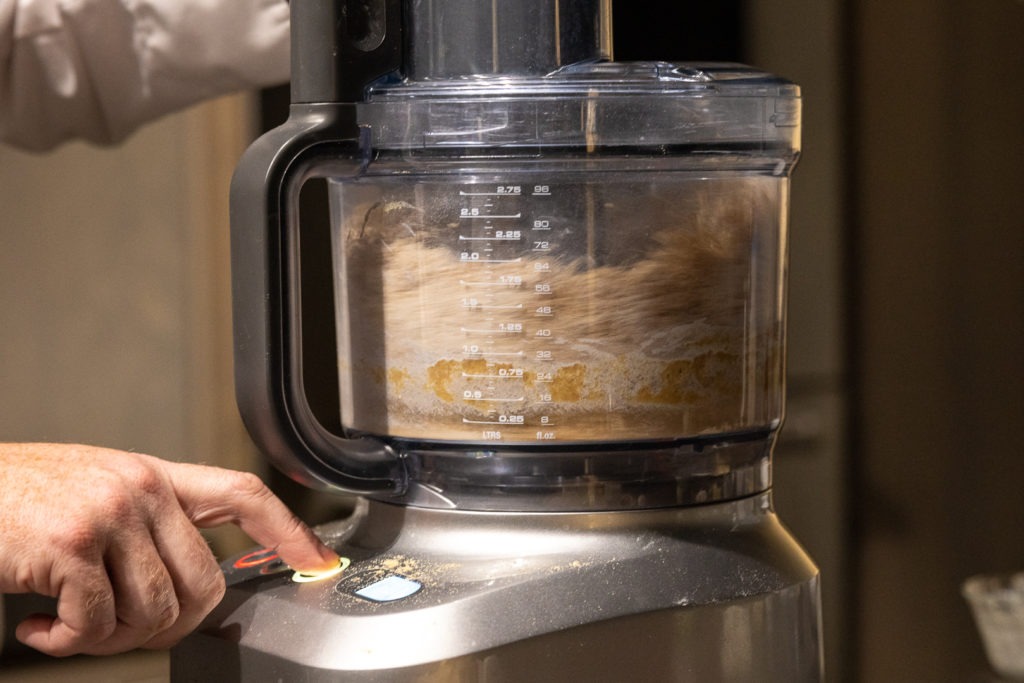
- Pulse graham crackers in a food processor until the crumbs resemble coarse flour.
- Add the powdered sugar and salt, pulse to combine.
- Add the melted, cooled butter and mix until thoroughly combined.
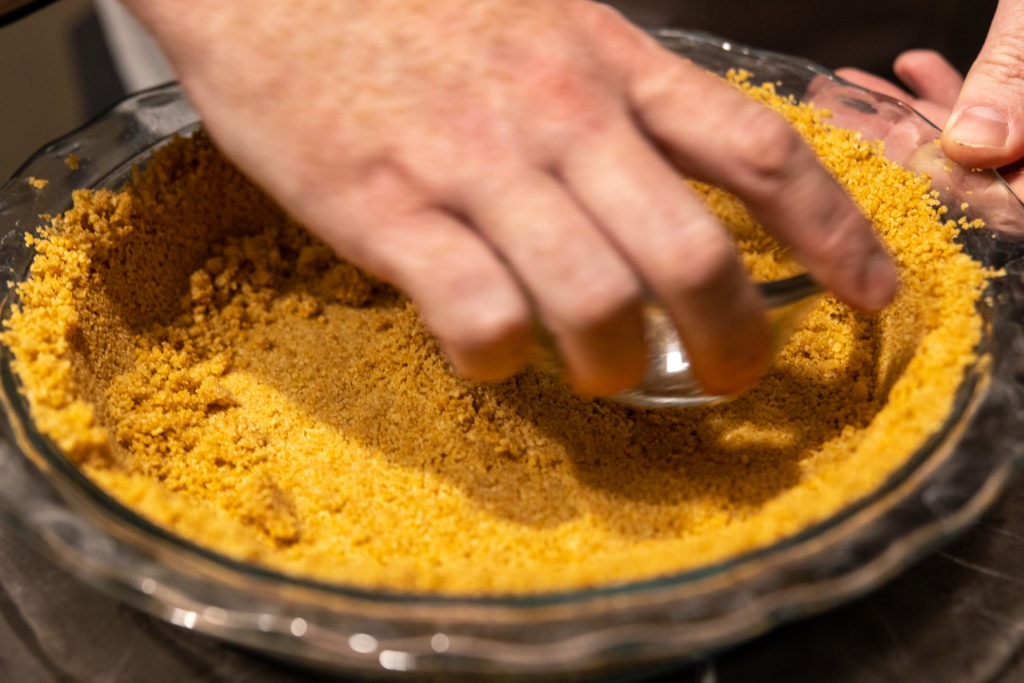
- Press the crumb mixture into a 9 in (23 cm) pie pan evenly on the bottom and up the sides of the pan. You can use the base of a dry measuring cup or a spoon to make the process easier.
- Bake the crust for about 15 minutes, until it is fragrant and slightly darker in color.
- Set the crust aside to cool.
Prepare the filling and make the pie:
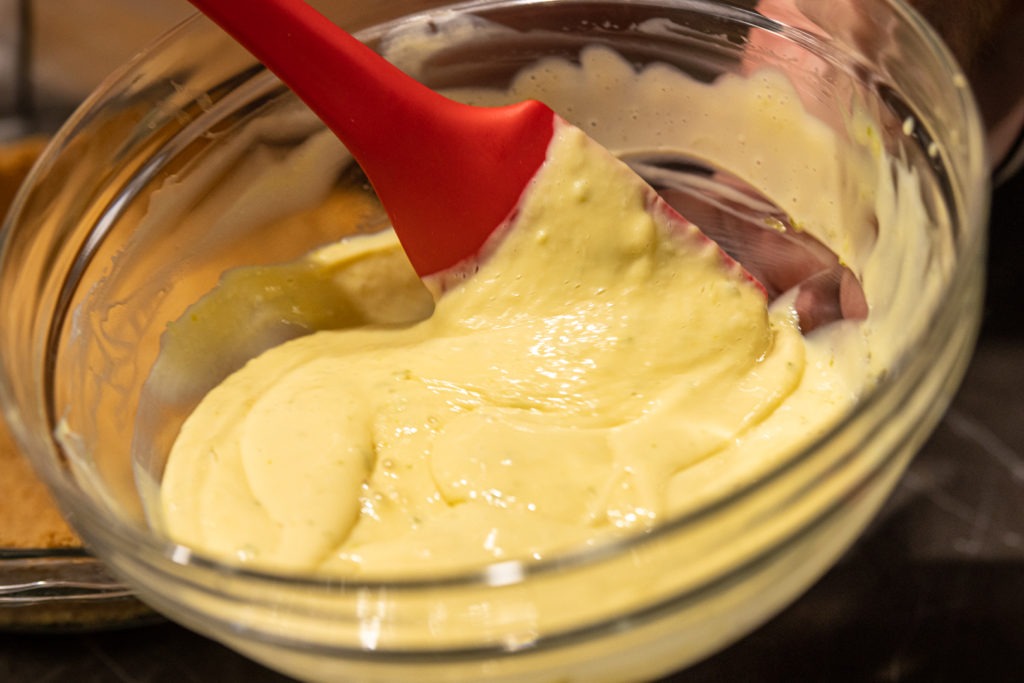
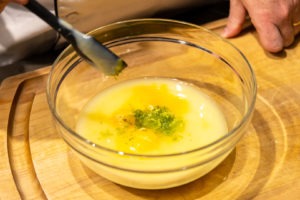
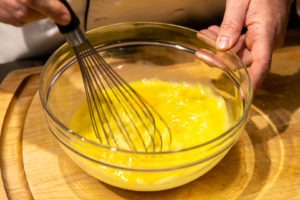
- In a medium mixing bowl, whisk together the sweetened condensed milk, egg yolks, zest, and lime juice until it thickens—about 3-4 minutes of whisking.

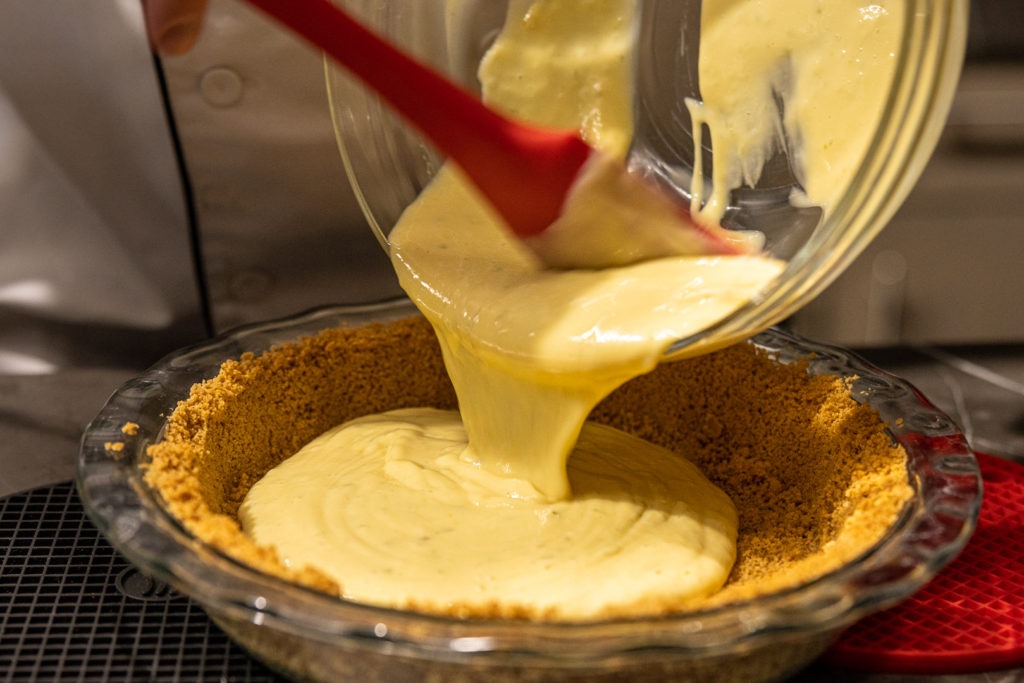
- Pour the thickened filling into your cooled pie shell.
- Bake at 325°F (163°C) until the internal temperature reaches 145°F (63°C)—about 20-25 minutes.
- At 20 minutes, check the temperature of the pie using your Thermapen ONE. If you don’t see any temperatures below 145°F (63°C), it’s ready to come out!
- Cool the pie to room temperature, then refrigerate for 3 hours, garnish with whipped cream, and serve.
Shop now for products used in this post:



neither your recipe excerpt above nor the preparation steps mention the amount of sweetened condensed milk needed. From King Arthur Flour’s recipe for Classic Key Lime Pie
http://www.kingarthurflour.com/recipes/classic-key-lime-pie-recipe
It says to use:
14-ounce can sweetened condensed milk (1 1/4 cups)
Mike,
Thank you for bringing this to our attention! The appropriate edit has been made.
Thanks,
-Kim
To be authentic, you really must use Key lime juice which is hard to come by outside the Florida Keys. However, you are able to purchase bottled key lime juice at some specialty shops and online.
Key Lime juice can be found at most grocery stores. I got mine there. Just got through making a pie with it. Good luck!
If you make meringue, will it work to bake at 325 degrees and have meringue browned to right amount in the 20-25 minutes it takes to reach 145 degrees temp?
That depends on a lot of things! To skirt the whole “raw egg meringue” issue, I’d recommend an Italian meringue instead of a french meringue. You make it using hot hot sugar syrup, which partially cooks the eggs during the whipping. Then it’s less of a health issue. I also find Italian meringue to be more stable than French.