Thermal Tips: Homebrew for Beginners
There are many different methods for brewing beer ranging from the most simple extract brews to complex hand crafted artisanal home-brews. For this post, we used a basic All-Grain Classic Dry Stout 1-Gallon Ingredient Kit along with a Homebrew Starter Equipment Kit, which makes homebrewing a simple paint-by-numbers process for a beginner.
The basic science of breaking down starches into simple sugars, and the process of fermentation remain the same regardless of the brewing method used, and temperature control from start to finish is a critical factor in determining successful results.
Mashing
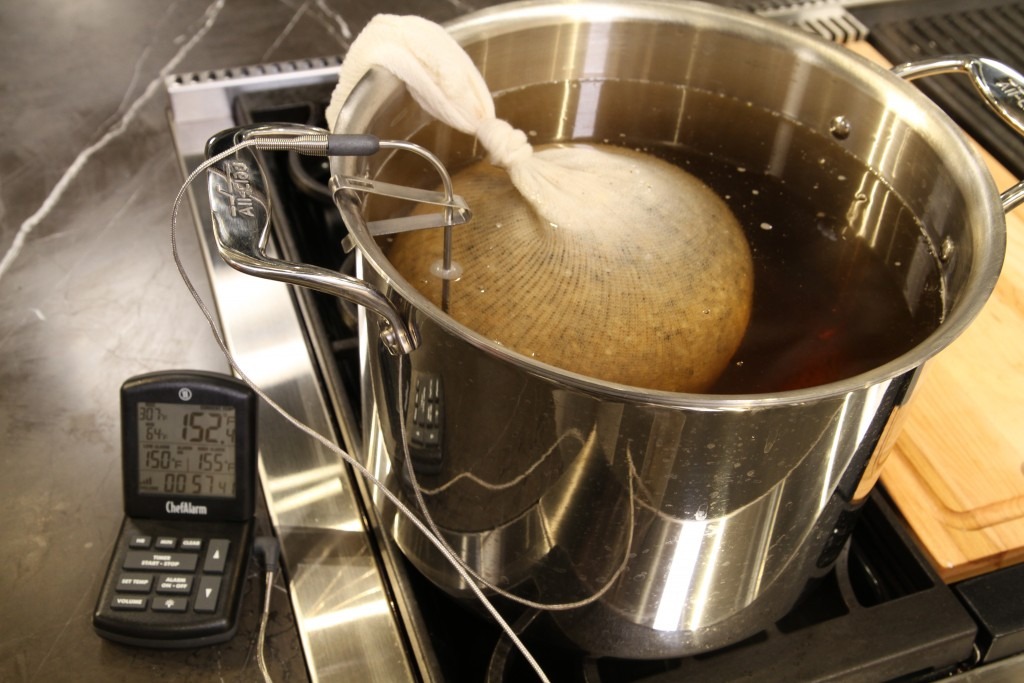
Fermentation requires sugar, and mashing is the process of converting the long chain carbohydrates in grains into smaller molecules or simple sugars that can be fermented. Grains are soaked in hot water for 1 to 2 hours, and the temperature of the water is crucial. Most techniques call for the water to be in the range of 120-160°F (49°C). Naturally present enzymes that break down the grain’s complex starches into simple sugars are most active in the precise temperature range of 150-155°F (66-68°C). Mashing outside of this small spectrum can impede the enzymatic processes and produce a beer with less rich flavor, or even lay the foundation for inadequate fermentation.
Chris of Homebrew Finds has this to say about mashing temperature, “Temperature is crucial at a few key stages in the home brewing process. Mash your grains just a couple degrees off of your intended temperature and you’ll have a slightly different beer from what the recipe had intended.“
Choosing the Right Temperature Tools
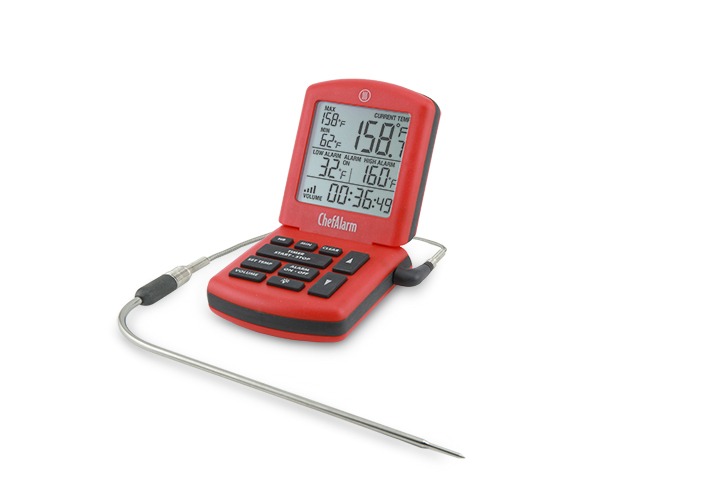
Whatever the optimal range needed for your brew, the ThermoWorks ChefAlarm® is the perfect tool for maintaining a narrow temperature range for an extended period of time.
The ChefAlarm is the only instrument in its price range to feature both high and low alarms. To properly keep the mash in the optimal temperature zone, you need both the high and low alarms. The ChefAlarm’s high alarm will alert you to when enough heat has been applied, and the low alarm will let you know when to increase the heat so the enzymatic processes don’t slow down.
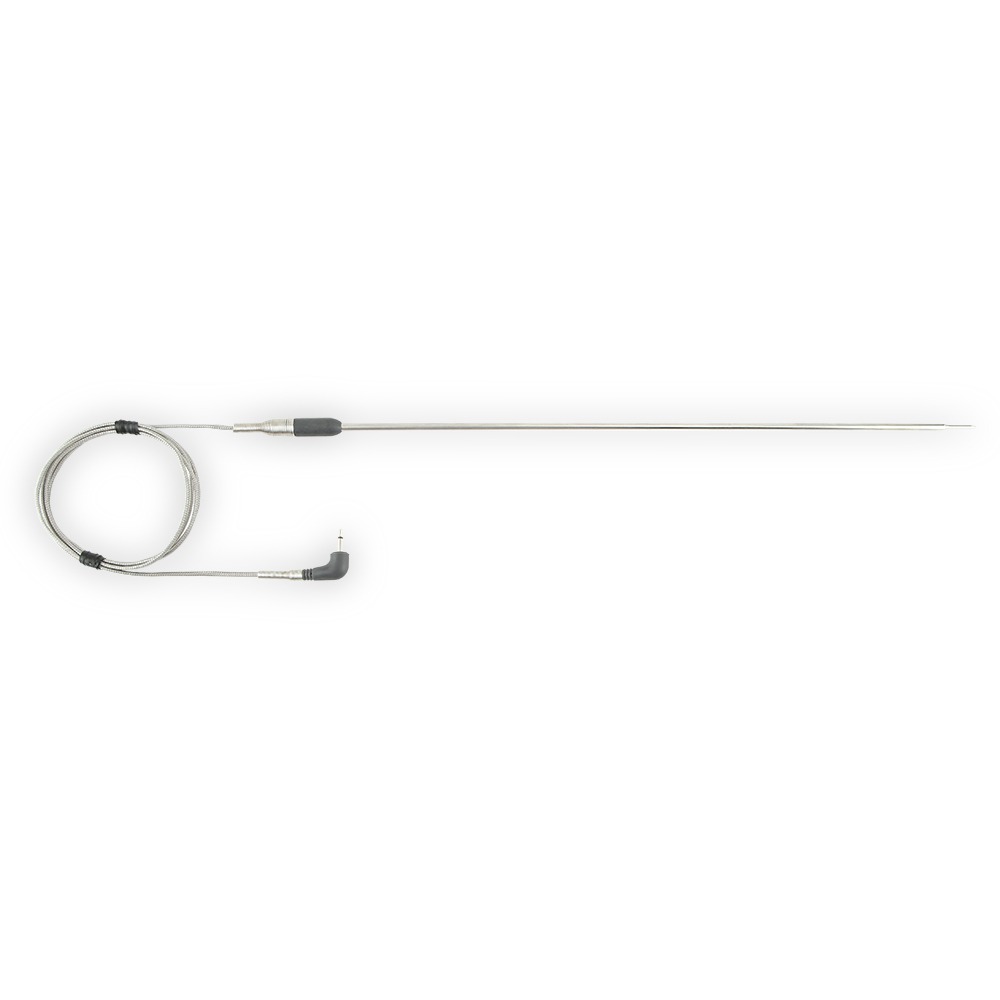
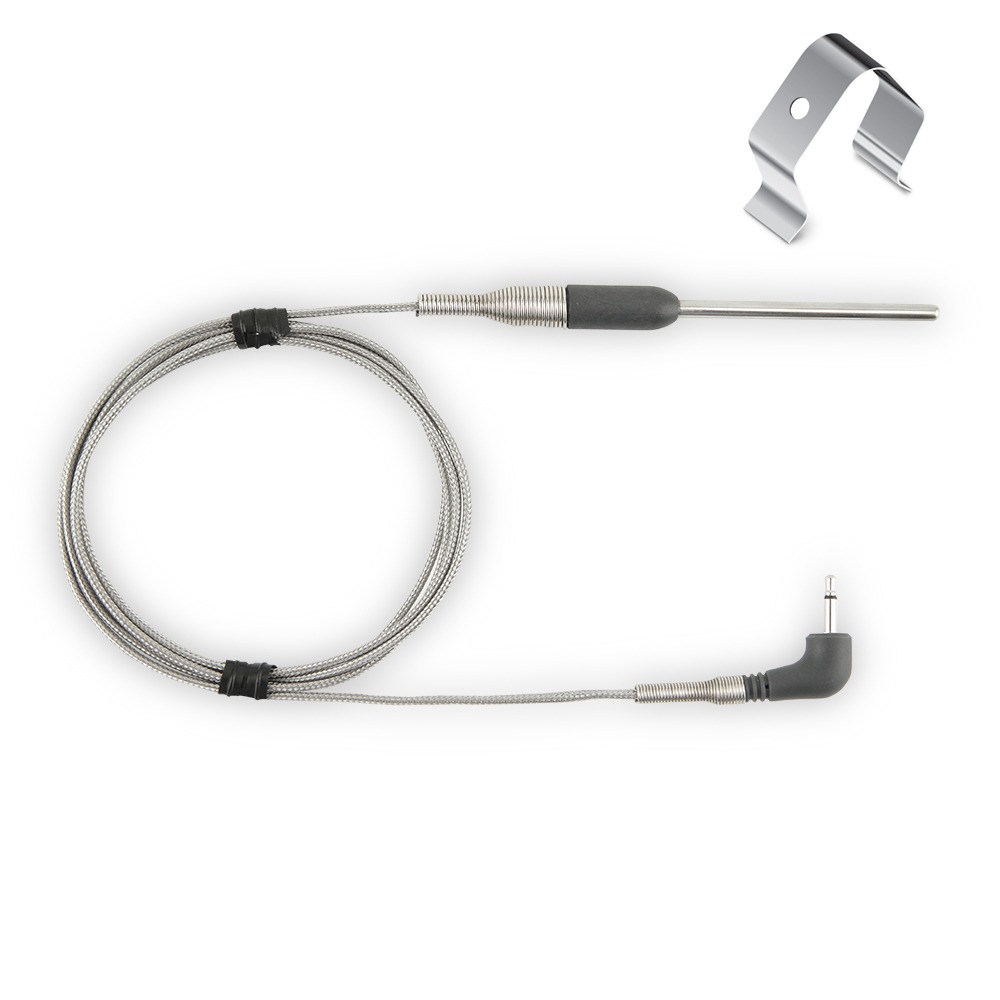
Choosing the right probe is also important. The length of the probe needs to adequately sense the thermal center of the brew. The ChefAlarm accepts a wide array of different types of Pro-Series® probes, including the Pro-Series High Temp 12” Probe (pictured up and to the right) that is perfect for large volume containers, 5 gallons and up. For smaller batches, the standard 6” Pro-Series High Temp Cooking Probe will work perfectly well.
Important: Do Not Submerge the Transition
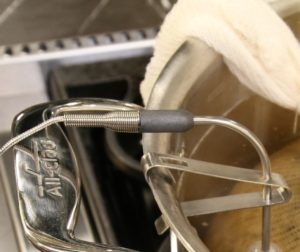
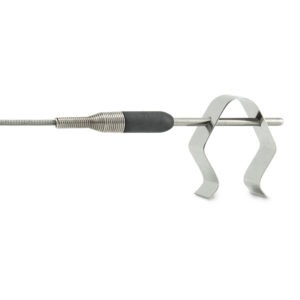
Whichever probe you use, be sure that only the probe shaft is submerged in the liquid, not the transition—the connection point of the probe and the cable (pictured right). The transition is not waterproof and can become damaged if immersed. Use a pot clip or tape to secure the probe to the side of your pot. Not only do you need to be sure you’re getting an accurate reading in the thermal center of the mash, but if the probe tip is resting on the bottom of a pot over burners that are turned on, the end of the probe is then exposed to temperatures above 600°F (316°C), which could cause thermal shock, damaging the probe’s sensors.
Set the Alarms
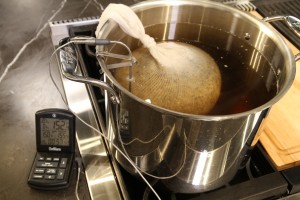
If the optimal temperature range of 150-155°F (66-68°C) is your target for the mash, set the High Alarm on your ChefAlarm to 155°F (68°C) and the Low Alarm to 150°F (66°C). When the low alarm sounds, add heat to the mash (either by turning on a burner or adding boiling water). When the high alarm sounds, stop adding heat, and stir gently to be sure you get an accurate reading. The alarm can be silenced by tapping on any button on the ChefAlarm’s face.
Drain the Grains
For this brew-in-a-bag all grain method of brewing, we simply removed the bag of grains from the liquid, allowed it to drain fully in a colander (all the drained liquid went back into the pot), then moved on to the boiling step. Other brewing methods require the steps of mashout and sparging.
Mashout
This process stops the enzymatic process of breaking down the starches before draining the sugary liquid (called wort at this point). Heating the mash to 167-172°F (75-78°C) will cause all enzymatic action to cease. Set your ChefAlarm’s high alarm to 169°F (76°C) before heating the mash.
Sparging
After mashout, drain the mash into a pot for boiling. Many techniques call for rinsing, or “sparging”, the grains in the mash container with additional water at very specific temperatures—178°F (81°C), for example—to extract additional sugars before boiling.
Set the high alarm of your ChefAlarm to 178°F (81°C) to be sure the temperature of your sparging water is exactly right.
Boiling
Once the wort is drained and collected, hops are added to the pot and boiled for about 60 minutes to both stop the enzymatic processes and fully extract flavors from the hops.
Cooling
With the boil complete, the liquid needs to be cooled down to 60-70°F (16-21°C) quickly. The cooling temperature range is important for the yeast to survive and perform well through fermentation. In addition to controlling the yeast’s efficacy, the longer the cooling process takes, the more opportunity there is for airborne bacteria to contaminate the wort. Great care should be taken to keep all tools and equipment sanitized during the process. The presence of pathogens can adversely affect both fermentation and the resulting flavor.
There are many methods for cooling your brew, and these are just a few:
- Wort Chiller: Wort chillers made of copper tubing are very effective in cooling the wort.
- Ice Bath: If brewing a small 1-gallon batch like we did, cooling the wort in an ice bath will work well.
- Finish With Cold Water: Some brewers will make a concentrated wort, then add cold water to cool it down.
However you chill the wort, set your ChefAlarm’s low alarm to 72°F (22°C) to know when you’re ready to move onto fermentation.
Stir the wort and spot check the temperature with an instant read thermometer like a Thermapen® Mk4 to ensure the liquid is at 72°F (22°C) or just below. Fermentation is very temperature sensitive. Don’t be tempted to move forward too early.
Fermentation
After transferring the liquid to its fermentation vessel and pitching the yeast, it is critical to track the ambient temperature of the area where the beer is fermenting, and for some brews, so is tracking the internal temperature of the beer. Fermentation generates heat, and that thermal energy is partially retained in the vessel, and partially transferred exothermically. For some ales and lagers temperature control during fermentation is crucial to the end result.
A Pro-Series Air Probe is the perfect tool to monitor the ambient temperature. Place the fermentation vessel in a cool, dry area where it can sit, undisturbed for the recommended length of time with the brewing method used. The fermentation time for our dry stout was 2 weeks. Set the ChefAlarm’s low alarm to 64°F (18°C), and the high alarm to 70°F (21°C).
The ChefAlarm’s constant Min and Max recording feature is another measure to help you keep the fermentation environment at a stable temperature. The temperature extremes will be captured, and can be cleared daily to help keep fermentation in the most optimal temperature range. With the high and low alarms, as well as the min and max recording, you will know if your thermostat needs to be adjusted, or if the vessel needs to be moved to a different location.
If tracking the internal temperature of the beer during fermentation is a vital part of your brew, the Pro-Series High Temp 12” Probe is a great option.
Thanks to Chris at Homebrew Finds for giving us expert advice on the best temperature tools through every critical step of this process.
Homebrewing is a very detail-oriented and intense process, but having the right temperature tools helps take out the guesswork when moving from step to step. Whether you’re a seasoned brewing veteran or a beginner, the ThermoWorks Thermapen, ChefAlarm and Pro-Series Probes will have you set up for success!
Watch for our upcoming post, with a more in-depth and scientific review of the brewing process.
Shop now for products used in this post:
Resources:


