Thermal Tips for Perfect Pie Crust
If you’ve ever had a pie crust recipe fail, you know that the phrase “easy as pie” can be a bit of a misnomer. Flaky, tender pie crust can be harder to achieve than your grandmother made it seem, but with a touch of science and some careful temperature control, you can get your pie crust just right this year!
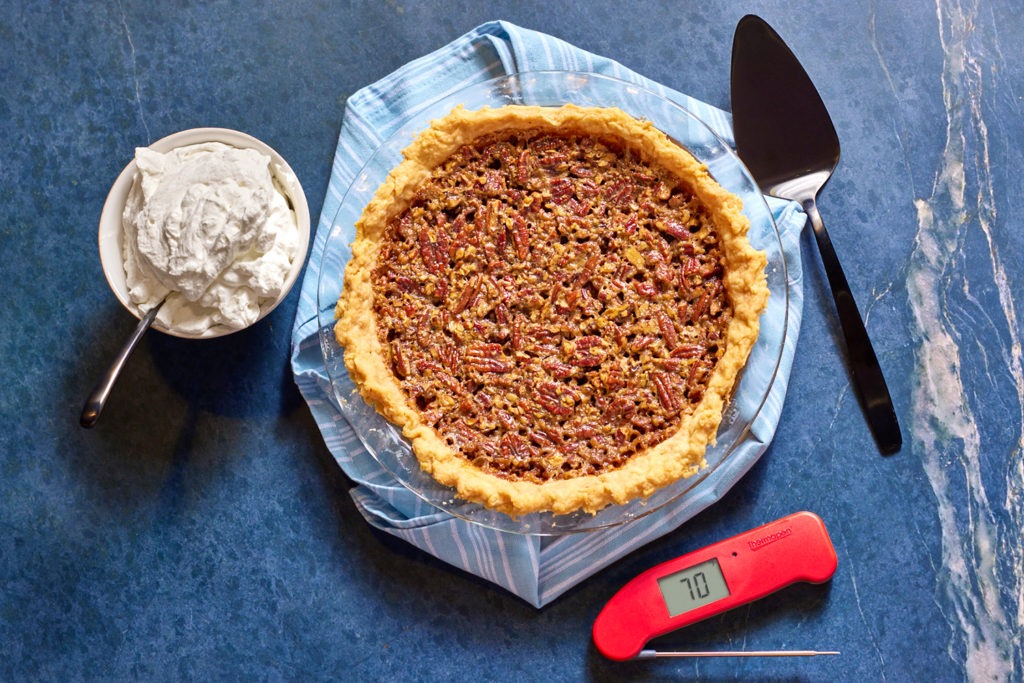
Problem: hard, chewy crust
A beautiful pie (apple, pumpkin, pecan) can be ruined by an off-texture crust. Tough, unyielding crusts are the result of too much gluten development, while flaky crust is the result of proper fat distribution. Let’s look at these two problems in order and see how we can temperature-control our way out of them.
Gluten is a natural result of two wheat proteins (glutenin and gliadin) combining in the presence of water. When we knead bread dough, we do so to bring about good gluten development, which will give us chewy, well-structured bread that is easy to work as a dough. But that same springiness translates into a tough pie crust. (No one wants to have to chew their pie crust that much!)
To remedy this problem, we can do 4 things:
- decrease gluten in the flour
- decrease manipulation
- decrease water
- decrease temperature
Choosing a lower-gluten flour is the first trick for getting your pie crust right. Bread flour has a high gluten content, while cake flour has the lowest content. An all-purpose or a pastry flour is best for pie making, as they strike a balance between ease of use and tenderness.
The gluten in the flour is made stronger by kneading (manipulation), so the less we work the dough, the more likely it is that we will end up with a blue-ribbon crust. This is why most recipes say something like “mix just until a ball forms.”
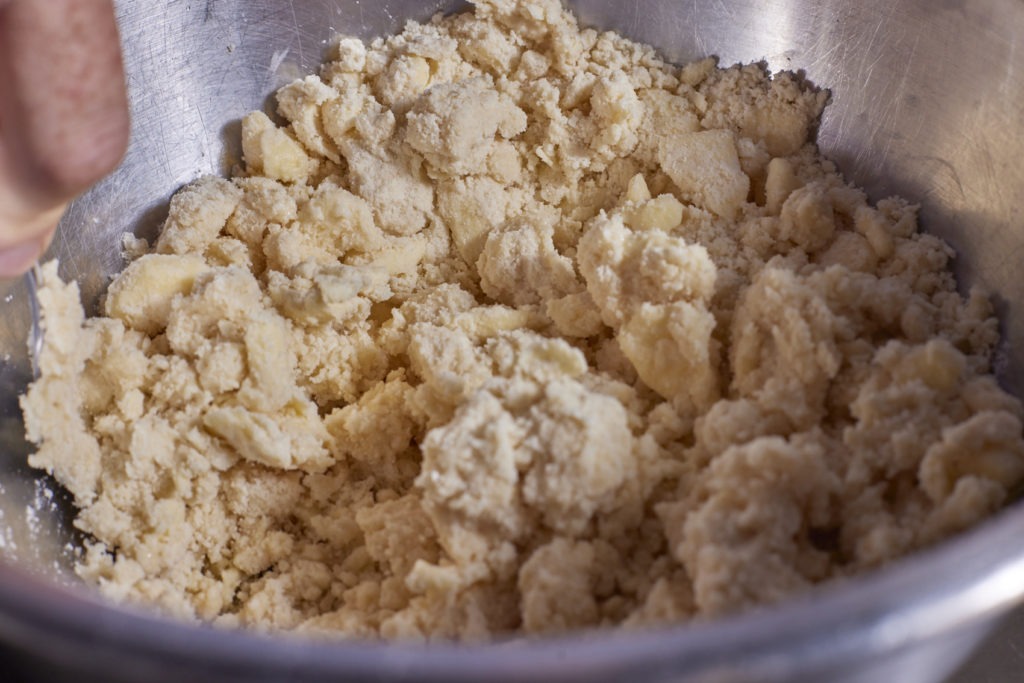
Decreasing water seems hard at first, because how can we make a pie crust that we can roll out without it being wet enough to be workable? Well, we can use a liquid that doesn’t have as much water in it. America’s Test Kitchen has long been a proponent of the vodka pie crust, and the idea really carries some weight. By using a liquid that has an alcohol volume of ~40%, we create a gluten-forming environment that is only 60% as efficient, but retains all of its workability! The test kitchen uses vodka because of its neutral flavor, but any spirit with a high alcohol and a flavor that matches your pie will work fine. Both the flavor and the potency of the alcohol will burn away during cooking.
Critical Dough Temperatures
Because gluten formation is a chemical reaction, its speed is dependent on temperature. Lower the temp, lower the gluten, and increase the tenderness of your crust.
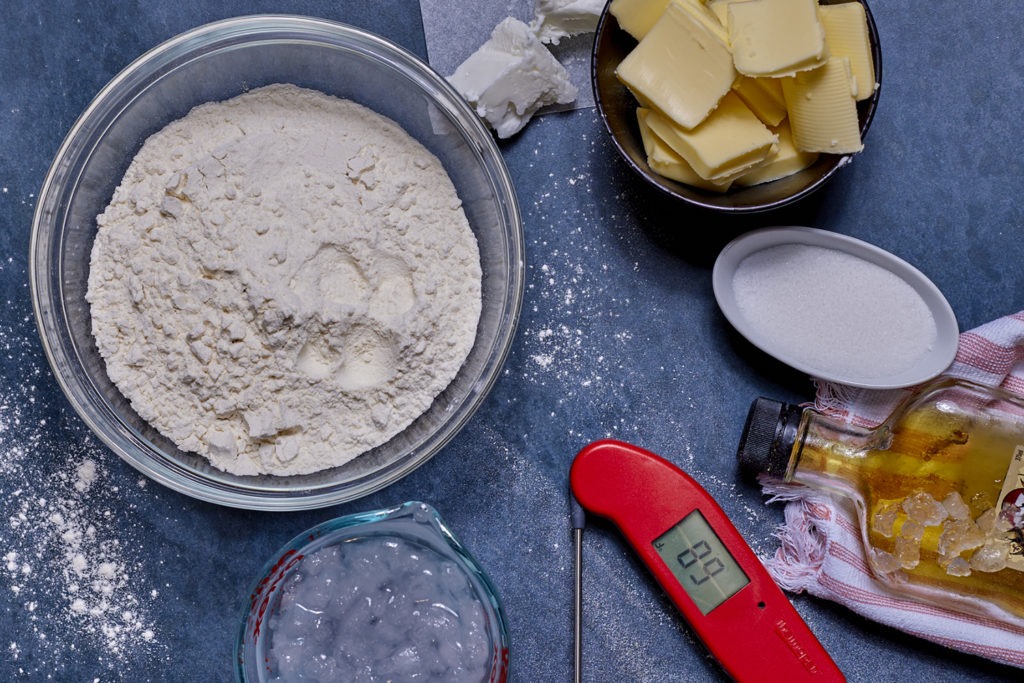
For our pie this year, we used the recipe from America’s Test Kitchen available on SeriousEats.com, which calls for equal parts water and vodka. For the water, we prepared an ice-bath, assuring the water was as cold as possible without freezing—32°F (0°C), which we verified with our Thermapen® ONE.
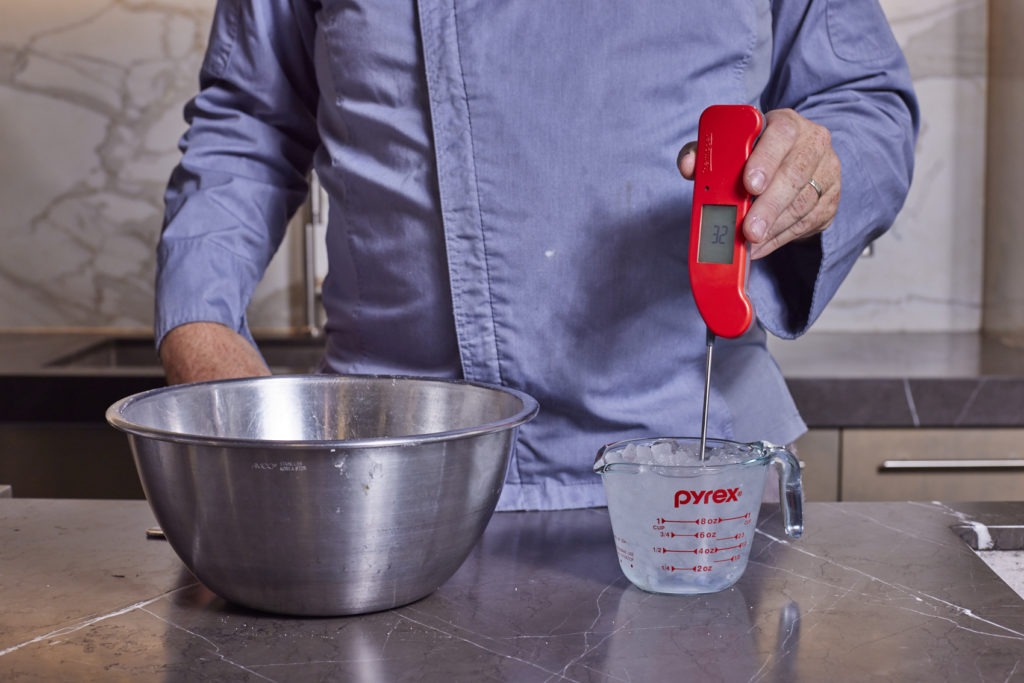
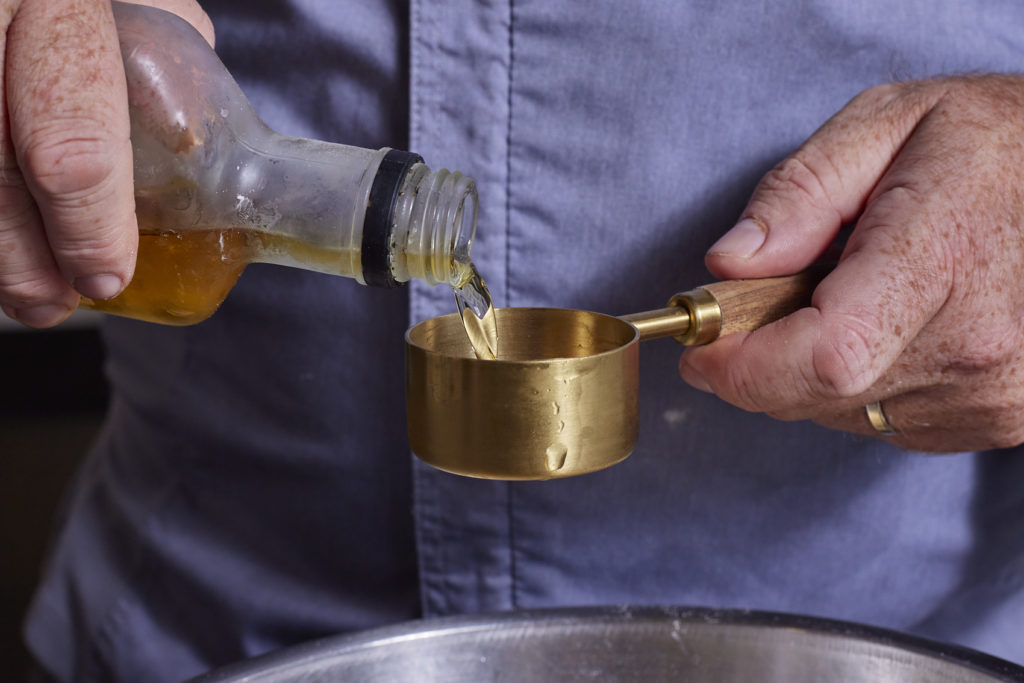
For the vodka (of which we didn’t have a bottle on hand) we substituted spiced rum, which we placed in the freezer for several hours before beginning our crust. The alcohol won’t freeze, but we want it as cold as we can get it.
Liquors with an alcohol content of 40% a.b.v. don’t freeze until -17°F (-27°C), which is far colder than home freezers. But after a couple of hours in a standard freezer, our rum was all the way down at 2°F (-17°C) as verified with our Thermapen! This cold alcohol combined with our cold water helped keep our crust soft and tender.
Proper fat distribution makes crust flaky
Flaky crust is made by creating tiny sheets of butter or shortening that are coated in flour.
In the oven, sheets of fat, trapped air, and steam from the dough water (and the water in any butter) all help to separate the dough into layers and give it a flaky texture.
—Harold McGee, On Food and Cooking, pg 565
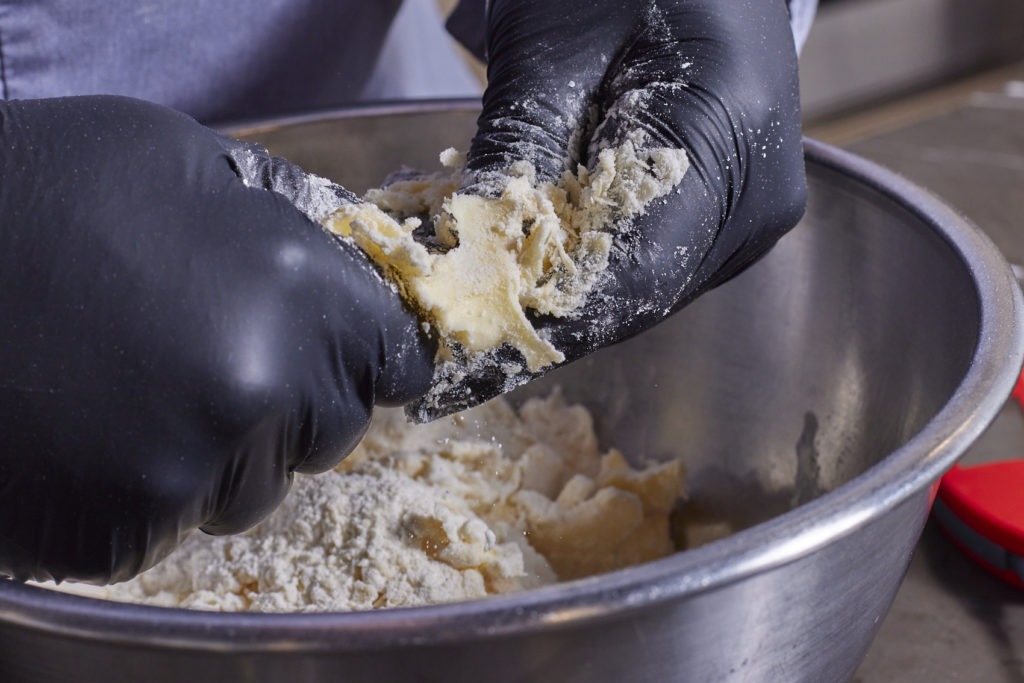
By pressing the butter into sheets coated in flour, or by later rolling out pea-sized pebbles of it, you create the lovely pockets of butter that become layers of flakiness in your crust.
In order for the fat to sheet properly, it has to be at the right temperature. This is why you don’t make a flaky crust by using melted butter or oil. Cutting up your butter or shortening into small pieces and then keeping them in the refrigerator until you are ready for them is a great idea (our fridge kept our butter pieces at a Thermapen-measured temp of 37°F (3°C). This is another reason using cold water and vodka can help: you aren’t adding heat to the mix that will soften your butter unnecessarily.
If you want to go the extra mile, you can put your flour in the fridge for a few hours before you begin as well. Lower temps mean less gluten and better butter sheets, so do what you can to get those temperatures down!
Perfect Pecan Pie Filling
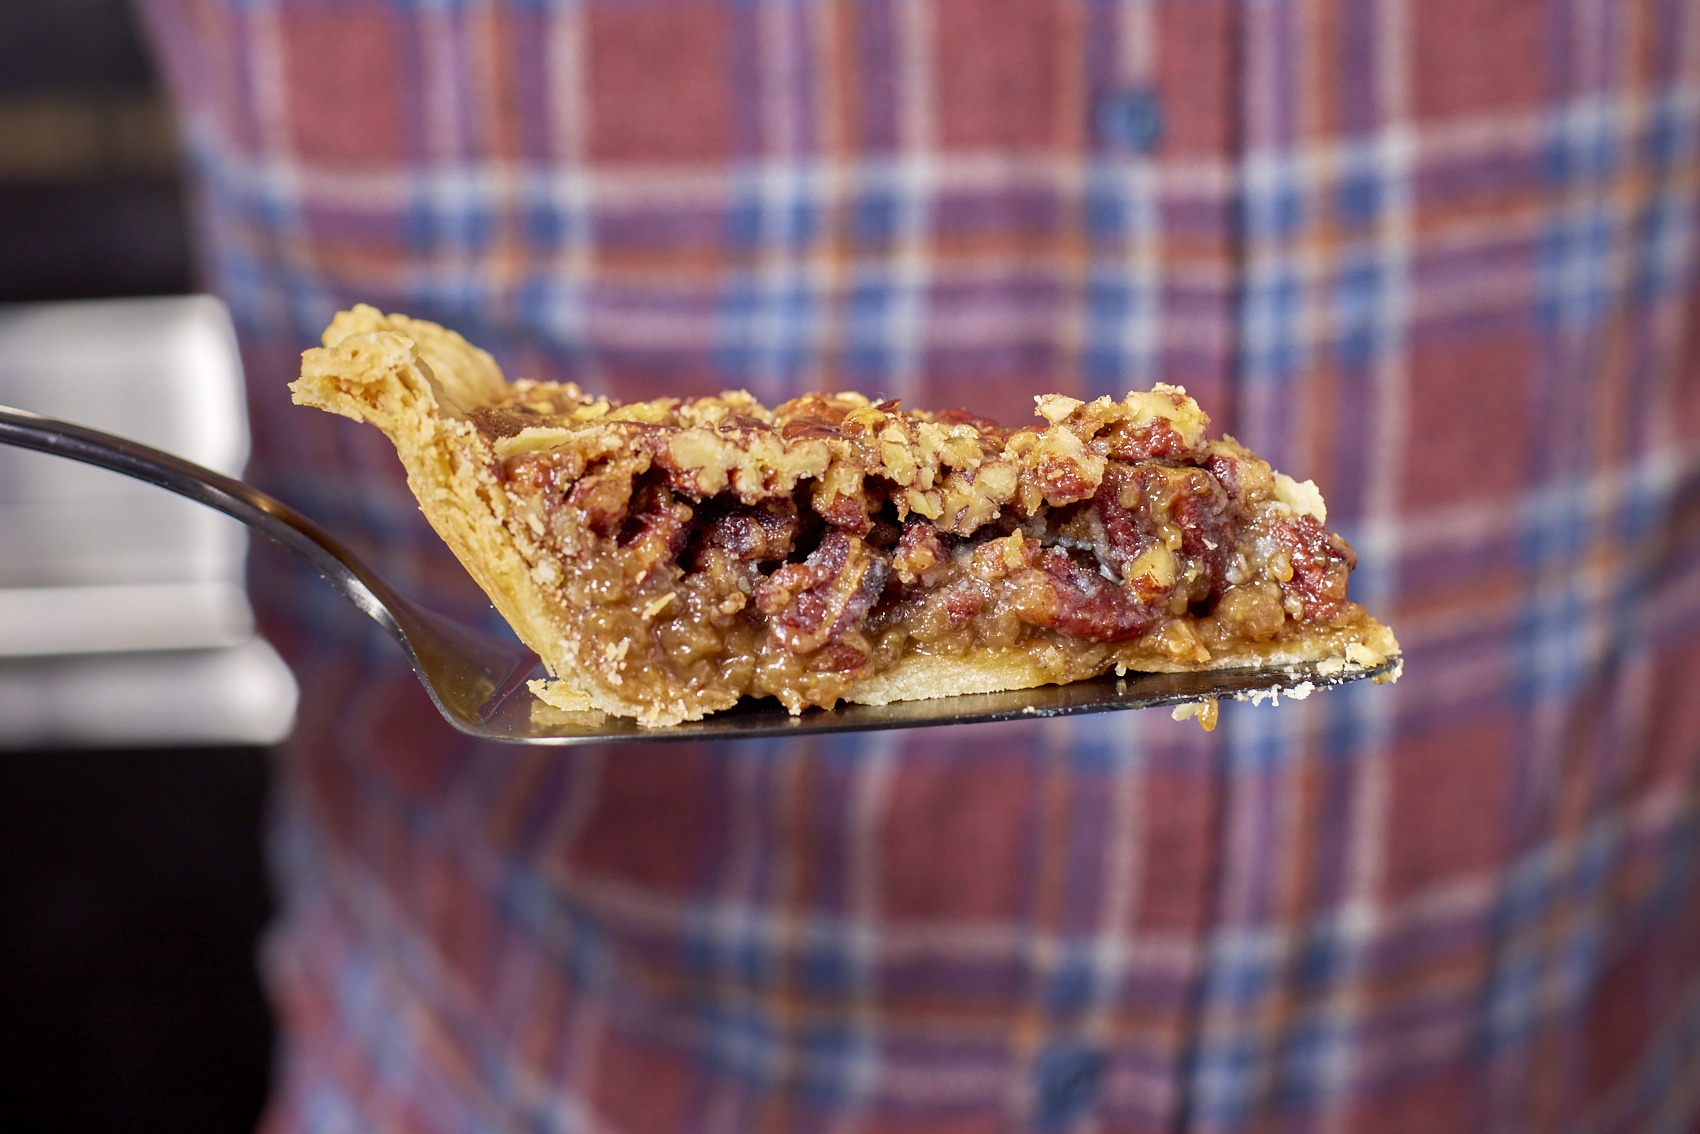
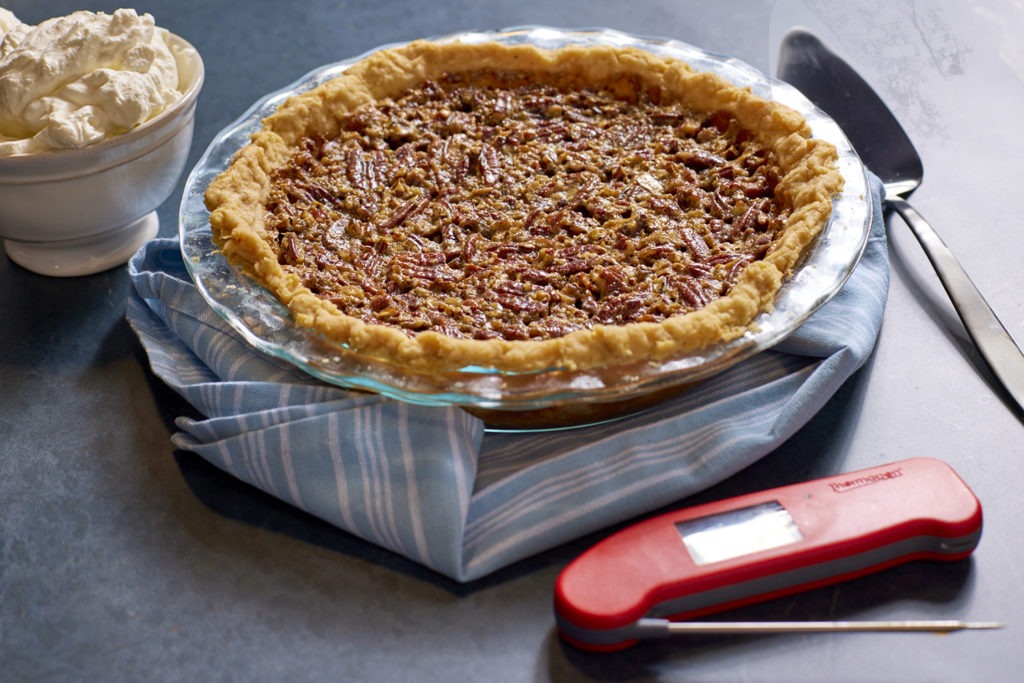
Pecan pie, a classic if ever there was one, is basically a chunky custard. The whole and chopped nuts disguise the fact that this is a filling made of eggs and sugar. That’s a custard. But where pumpkin pie has a tendency to overcook and crack (look at our post on pumpkin pie to learn how to stop that from happening), pecan pie tends to not set fully, staying runny even when cooked.
To avoid that pitfall for this pie-crust photoshoot, we precooked the filling just enough to give it a head start when it hit the oven. Egg proteins start to firm up at 140°F (60°C), but don’t set until 160–180°F (71–82°C). To make sure your pie is properly cooked, heat your filling to 130–135°F (54–57°C) before you pour it into your blind-baked pie crust. A quick check with your Thermpaen ONE will let you know you’ve hit the temp just right. We have a whole post devoted to pecan pie, where we cover this tip as well as a few others and provide a fantastic recipe for it. Check it out!
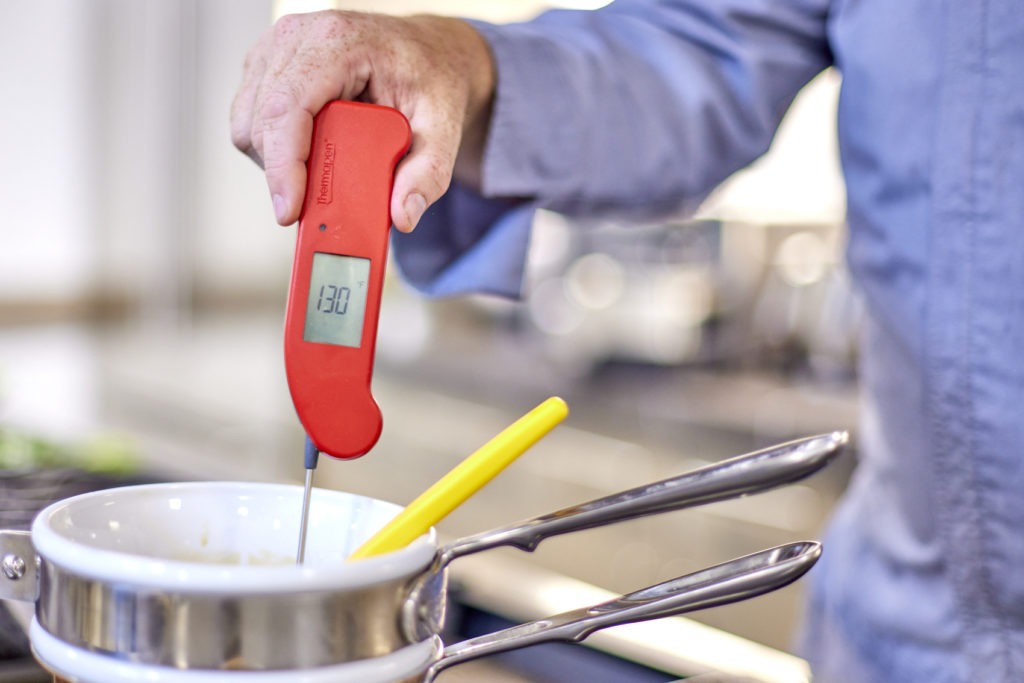
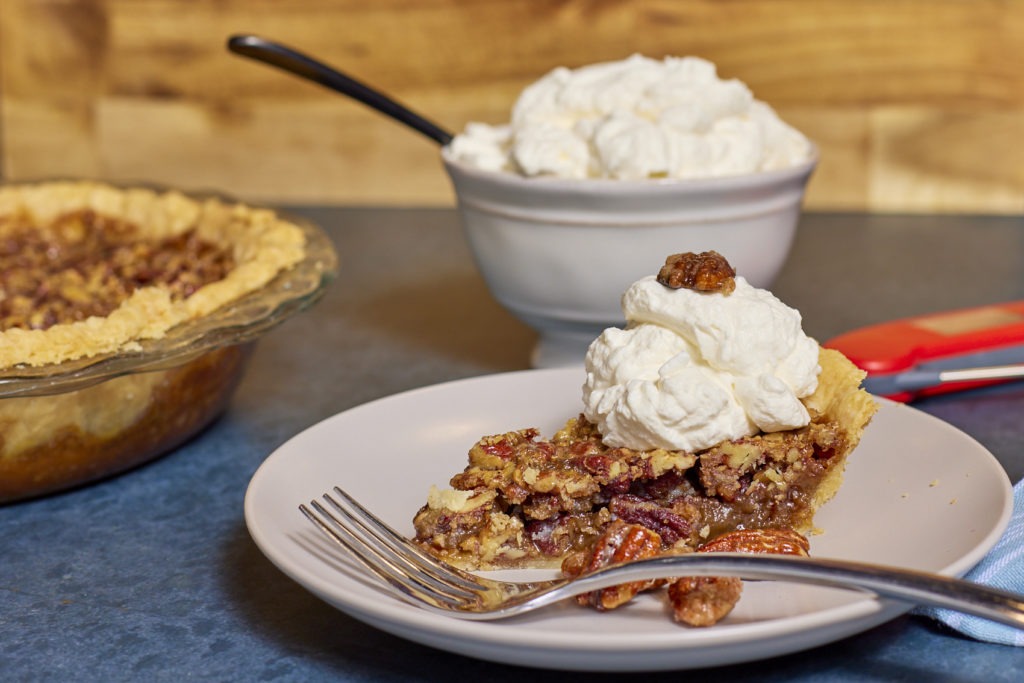
This Thanksgiving, be at the top of your pie game. Use the right tools and keep an eye on your temperatures. Remember: Thermal control is the key to success in almost all aspects of cooking. By keeping your dough cold you can get a tender and flaky crust, and by not overcooking your pie you can be sure of a smooth, delicate finish.
Fool-proof pie crust recipe
Description
Adapted from SeriousEats.com with additional instructions from Epicurious.com
Ingredients
- 2 1/2 cups (12 1/2 ounces) unbleached all-purpose flour
- 1 teaspoon table salt
- 2 tablespoons sugar
- 12 tablespoons (1 1/2 sticks) cold unsalted butter, cut into 1/4-inch slices
- 1/2 cup cold vegetable shortening, cut into 4 pieces
- 1/4 cup cold vodka (or another high-proof spirit)
- 1/4 cup cold water
Instructions
-
- Combine flour, salt, and sugar in a bowl until combined.
-
- Add butter and shortening and cut into flour with a fork, or by pressing the flour quickly between your fingers (try not to warm it up) or sliding it between your palms.
-
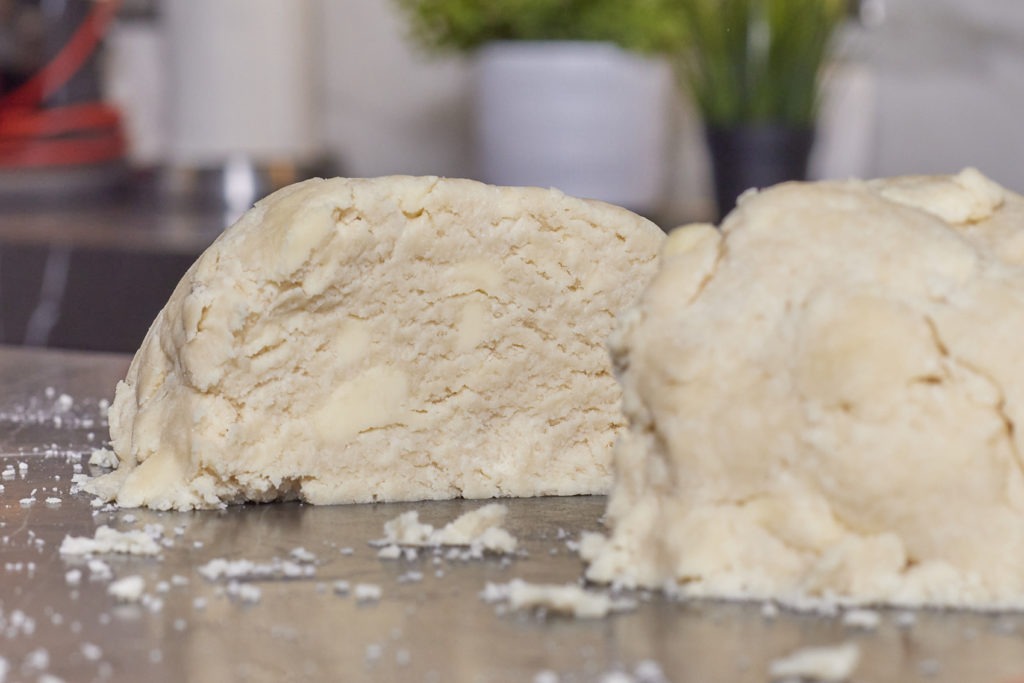
- Sprinkle vodka and water over mixture. With a rubber spatula, use folding motion to mix, pressing down on dough until dough is slightly tacky and sticks together.
- Divide dough into two even balls and flatten each into a 4-inch disk. Wrap each in plastic wrap and refrigerate at least 45 minutes or up to 2 days. This resting period allows the liquid to distribute evenly and makes rolling out easier. It also allows any gluten you have created to relax before rolling.
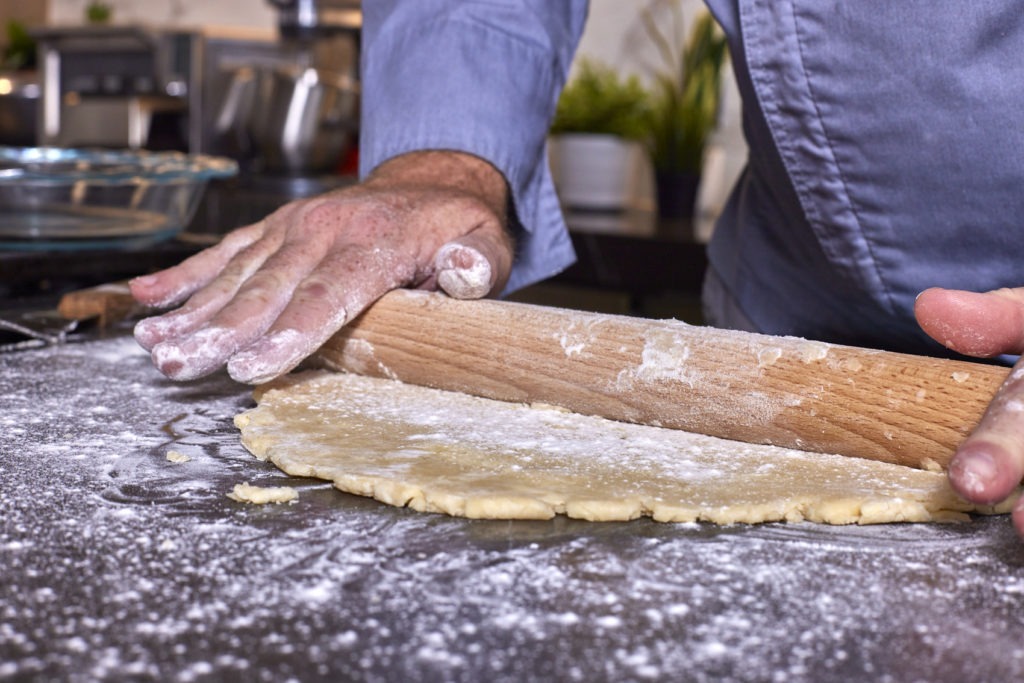
- Flour your work surface and roll out one dough disk until large enough to fit your pie pan.
- Transfer crust to your pan, cut away excess, and crimp edges.
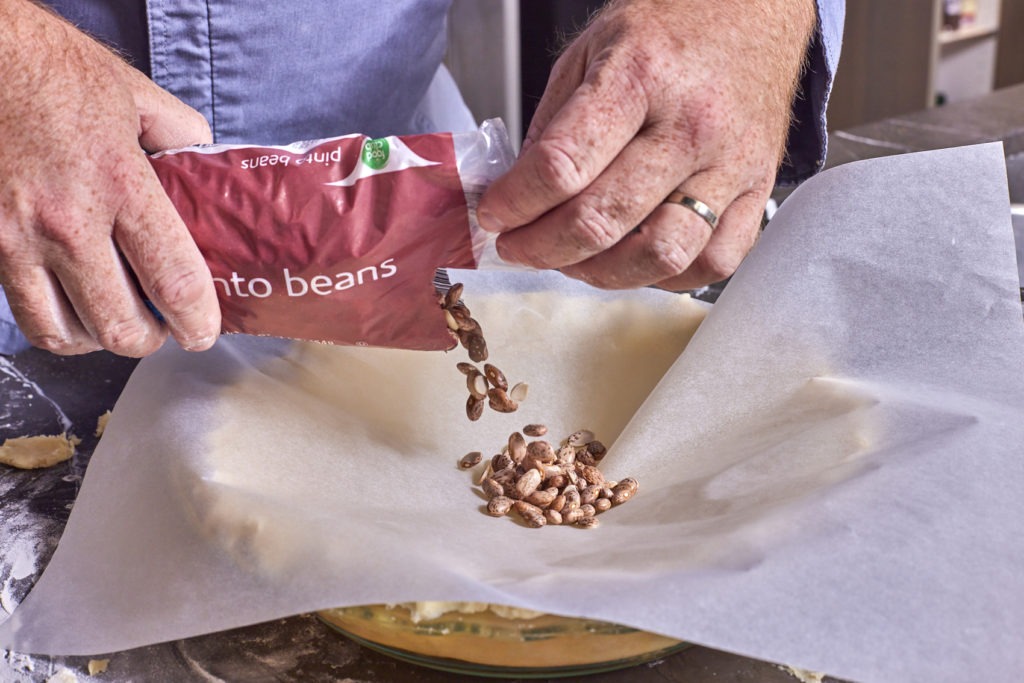
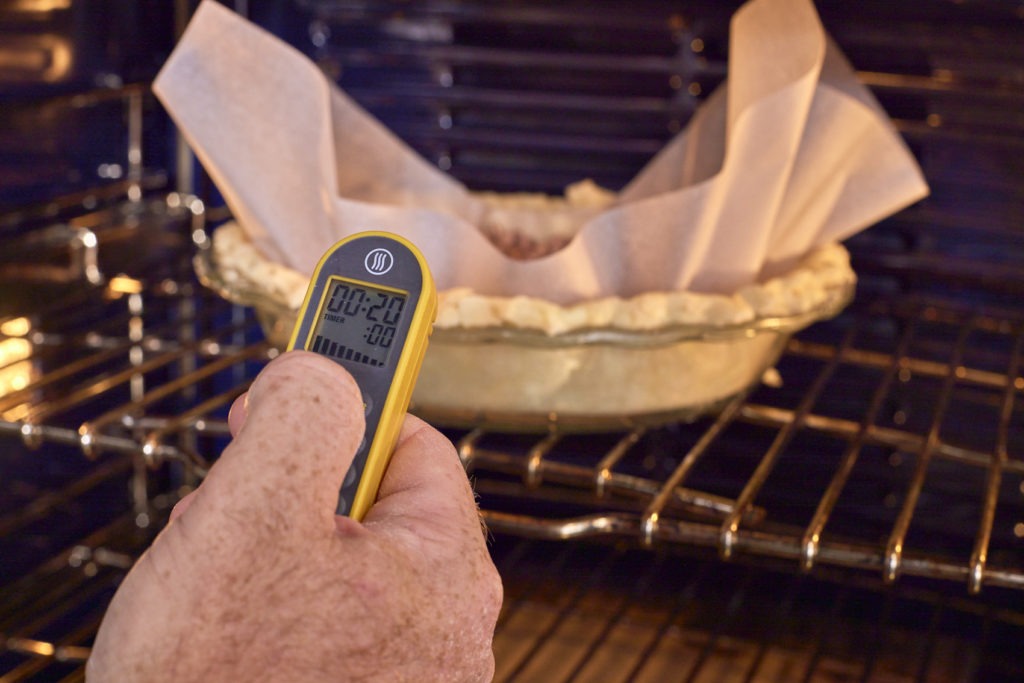
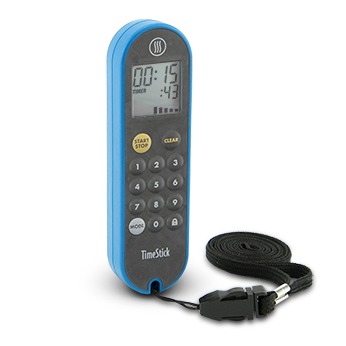
- If your recipe calls for pre-baking the crust (as many do), cover with parchment paper or foil and add pie weights. Bake for 20 minutes at 400°F (204°C) (use a TimeStick® to keep track).
- Remove the weights and cover and bake another 6-10 minutes or until pale gold.
-
- Fill with your favorite pie filling recipe and bake. You may want to wrap your crust in foil or use a pie-shield to prevent overcooking the edge of your pie crust.
Shop now for products used in this post:



We used our ThermoPop to measure the temperature in the center of the pumpkin pie yesterday and the result was fabulous!! It’s a family pie recipe that dates to the mid 19th century and makes the best pumpkin pie you’ve ever had, but this year, it was beyond amazing. Thank you for the tip!
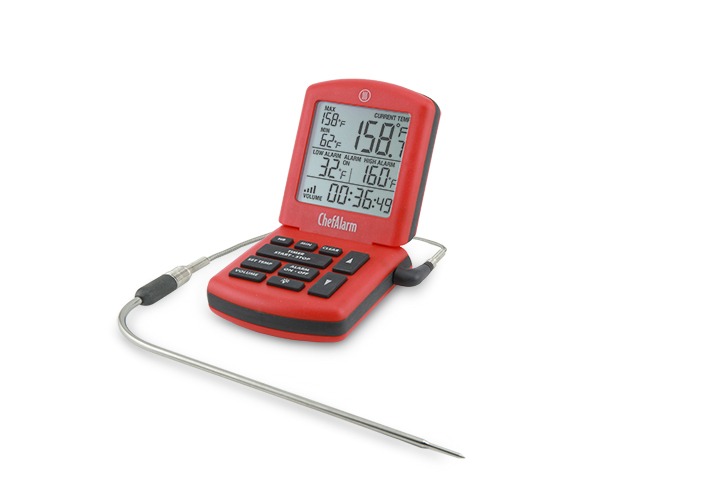
Now, you suggest using a ChefAlarm to track the temperature. Sounds great! Now, how, exactly, would you set that up??? You mention other interesting uses for your products now and again, all of which befuddle me when trying to figure the set-up. I think that a blog post focused on unusual set-ups would be a great service to your customers. Please?
Thanks!
Dee,
A post on probe-jigs would be fun indeed! We’ll think more about the weird setups we suggest. In the case of the pumpkin, I was just thinking of putting the angle of the probe hanging over the crust, with the probe buried in the center. You might get rather a nasty hole in the surface, but a perfect texture nonetheless. It seems that your use of the ThermoPop did the job just fine! I’m so glad the recipe turned out even better than usual!
Really good sweetie.