Thermal Secrets for Crème Brûlée
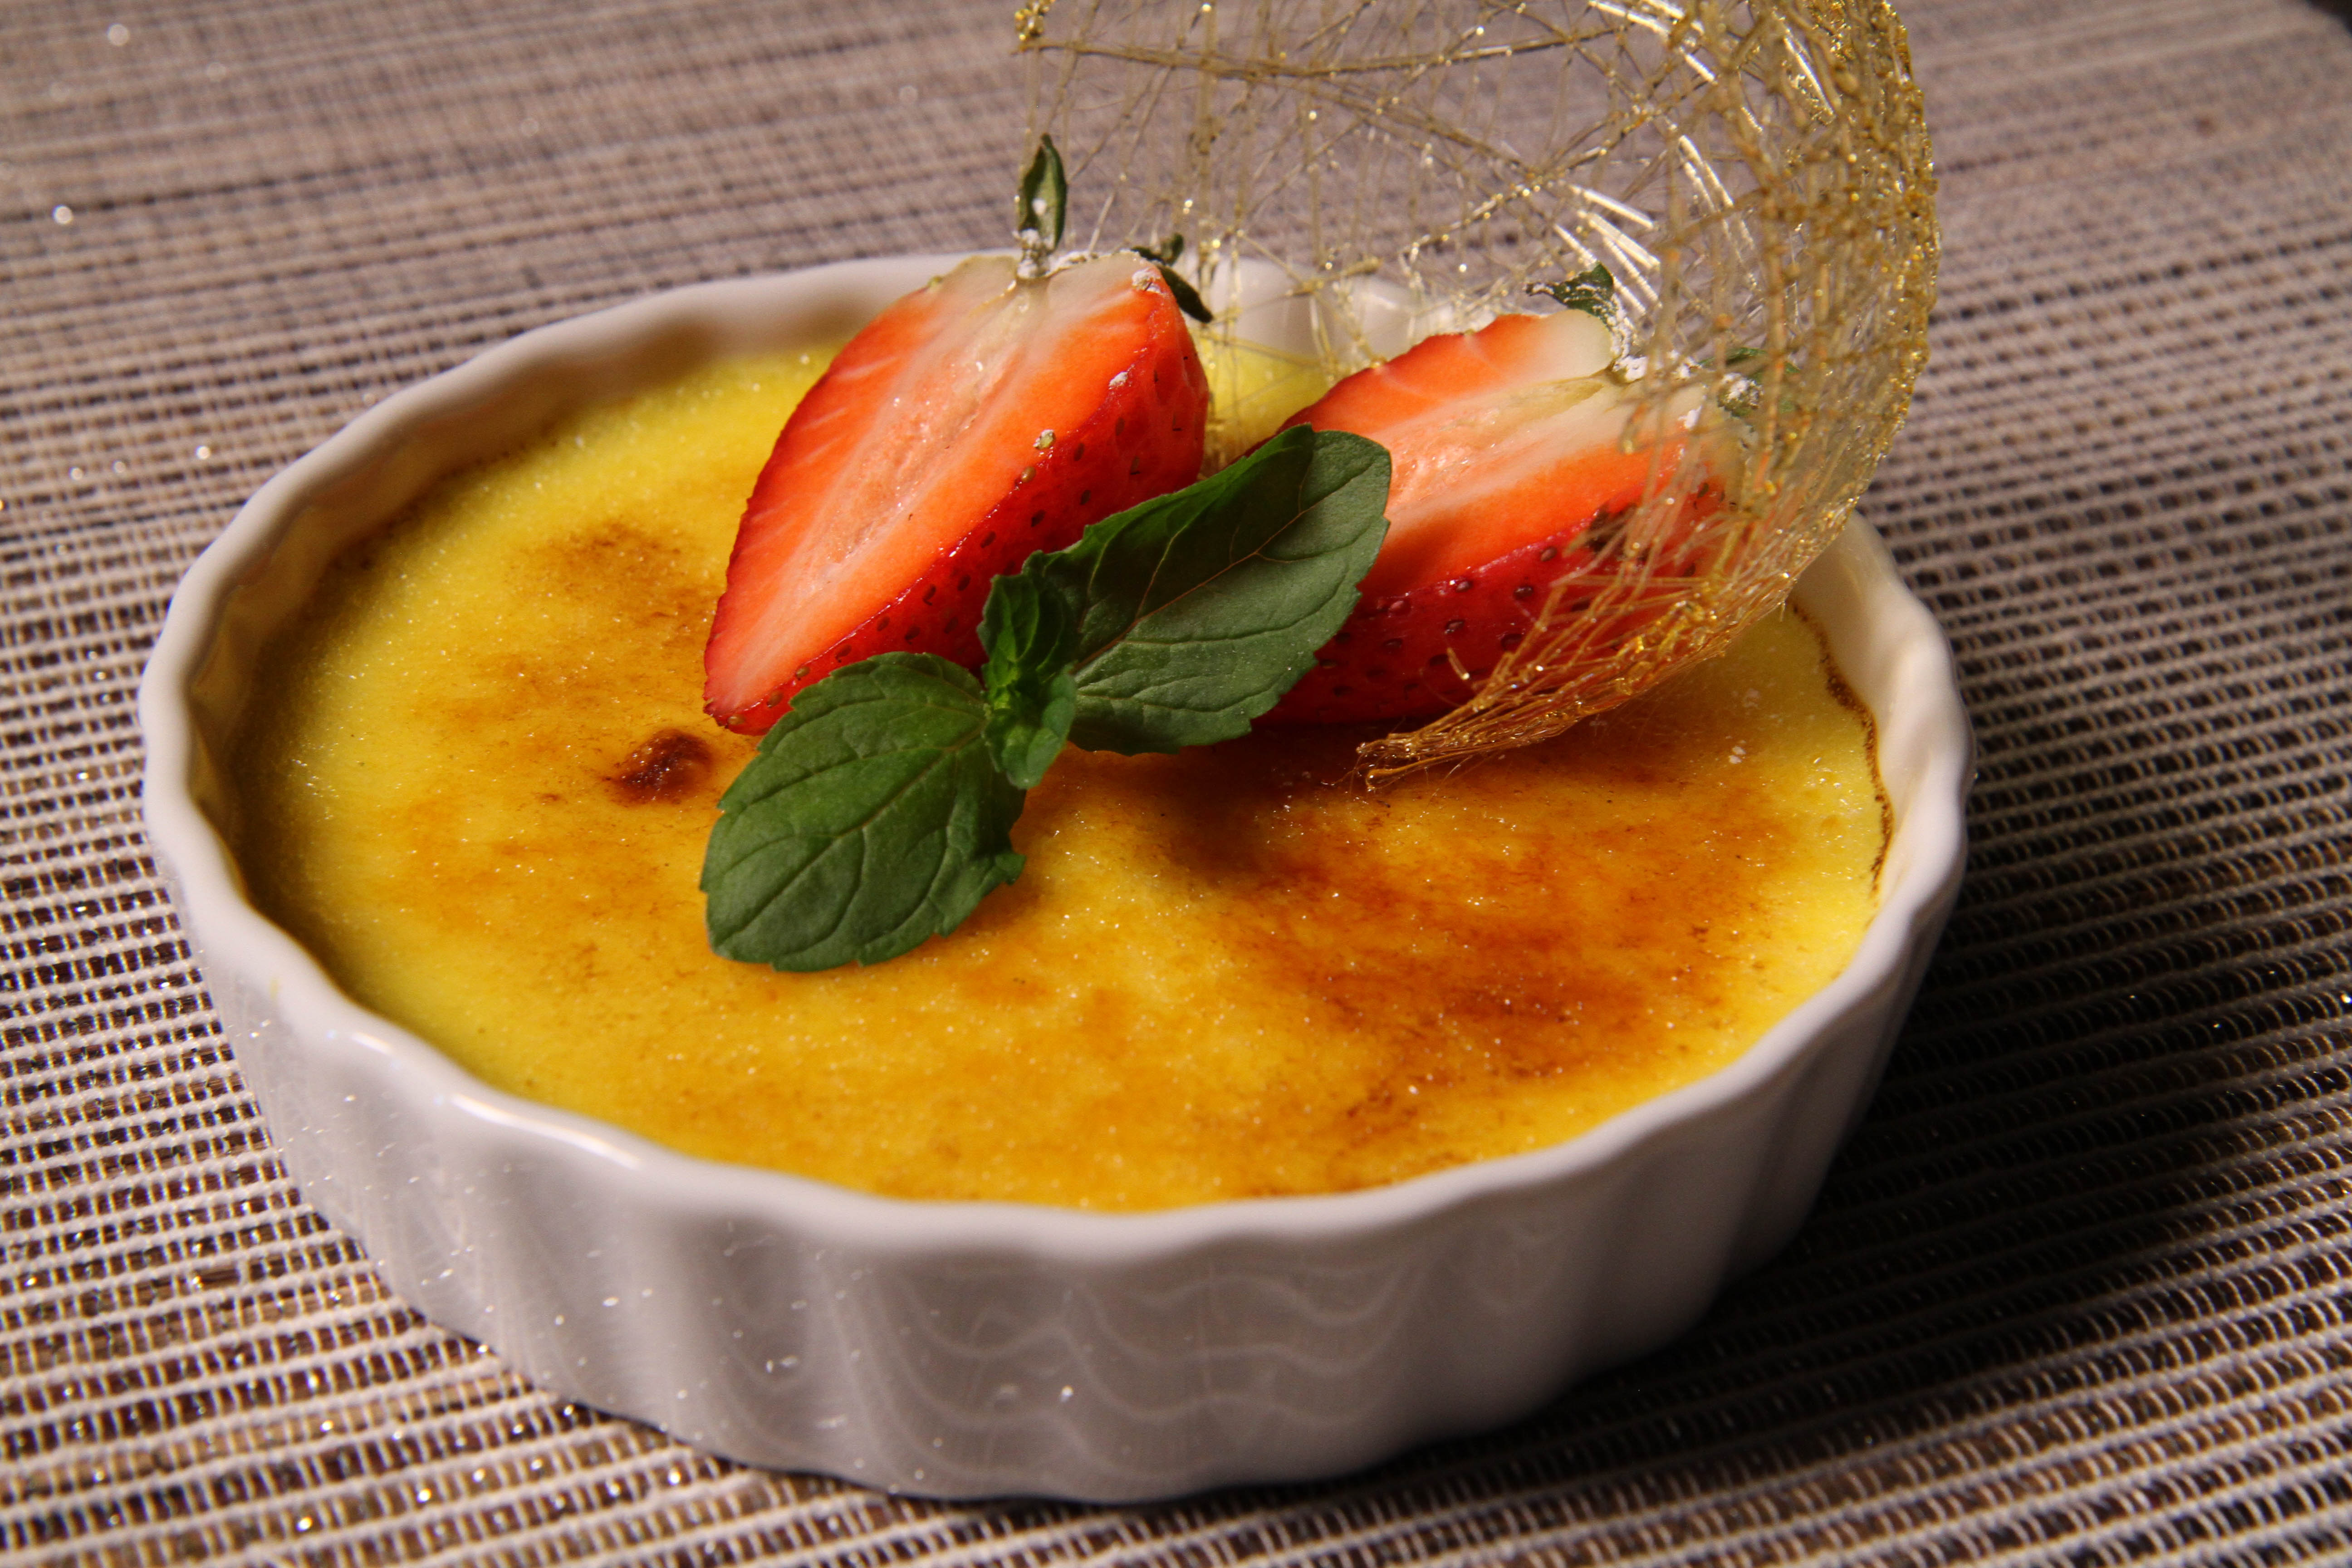
French for “burnt cream“, crème brûlée is an elegant and ideal Valentine’s Day dessert. The trick to achieving a custard that’s smooth-as-silk is proper temperature control—and is much easier than you might think! With simple ingredients and simple steps, your crème brûlée can be a restaurant-worthy success. An instant-read thermometer like a ThermoPop® is what you’ll need at your side.
Be Gentle:
Custards rely on the coagulation of egg protein to gain their structure. It’s important to keep the heat gentle through the entire cooking process. If the heat is too intense, the egg protein sets up quite rigid and can quickly curdle over the stovetop, or may become too firm after baking in the oven—low and slow is the key.
The final texture of crème brûlée is soft-set, similar to the texture of Greek yogurt, not a firm custard like flan. Maintaining gentle cooking can make or break crème brûlée. For more information on egg coagulation in custards, check out our post, Temperature Tips to Picture Perfect Pies.
In addition to a low-temperature oven, we sometimes bake delicate egg-based desserts in a water bath, also known as a bain-marie. The ramekin or springform pan is placed in a roasting pan filled with water. Because the water never reaches a temperature higher than that of boiling water, or 212°F (100°C), the water further slows down cooking in these desserts. -Cook’s Illustrated, The Science of Good Cooking, pg. 176
The Recipe:
We used Cook’s Illustrated’s crème brûlée recipe in The Science of Good Cooking on pg. 180 (the classic creme brulee recipe is also available online with subscription).
The Ingredients:
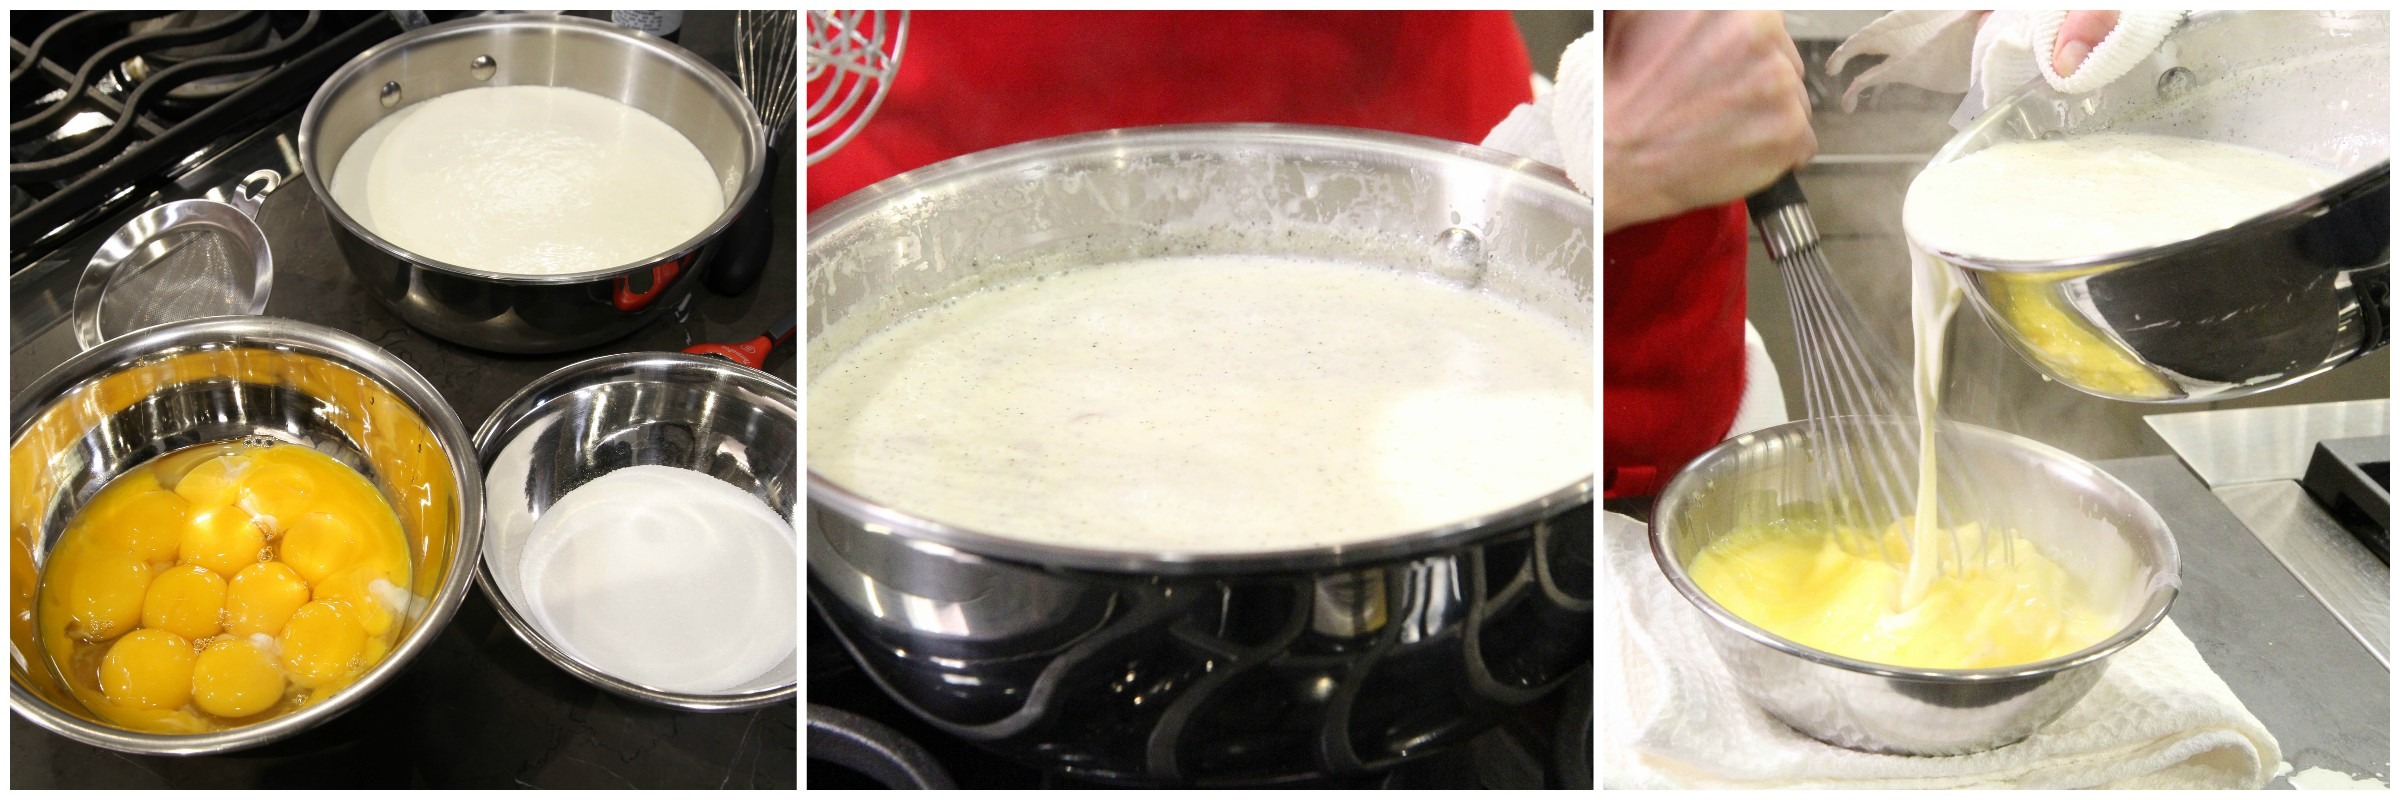
Simple Components: heavy cream, sugar, egg yolks, vanilla bean, and a pinch of salt. Custards are an application where splurging on real vanilla beans is well worth it. The scraped vanilla bean pulp and pod are allowed to steep in the hot cream for 15 minutes to infuse the rich flavor.
Kitchen Project
Prepare the Equipment:
- Preheat oven to 300°F (149°C).
- Line a roasting pan or sheet pan with a kitchen towel. The kitchen towel will insulate the bottom of the ramekin from the intense heat of the pan.
- Evenly arrange ramekins in the lined pan—they should not be touching.
Watch the process from start to finish in the video below:
https://www.youtube.com/watch?v=f6y7-QVMW1g&feature=youtu.be
Prepare and Bake the Custard:
- Cut vanilla bean in half lengthwise with a paring knife and scrape out pulp as in the video above.
- Combine the vanilla bean pulp and pod, sugar, salt and half of the cream in a medium saucepan, and bring to a boil over medium heat. Remove from the heat and allow the cream to steep for 15 minutes. Once steeped, stir in remaining cold cream. Adding the cold cream after the vanilla bean steeps will bring the temperature of the mixture down, decreasing the likelihood of curdling the eggs.
- Whisk egg yolks in a large bowl until combined. While whisking the egg yolks, slowly pour in cream mixture until thoroughly combined.
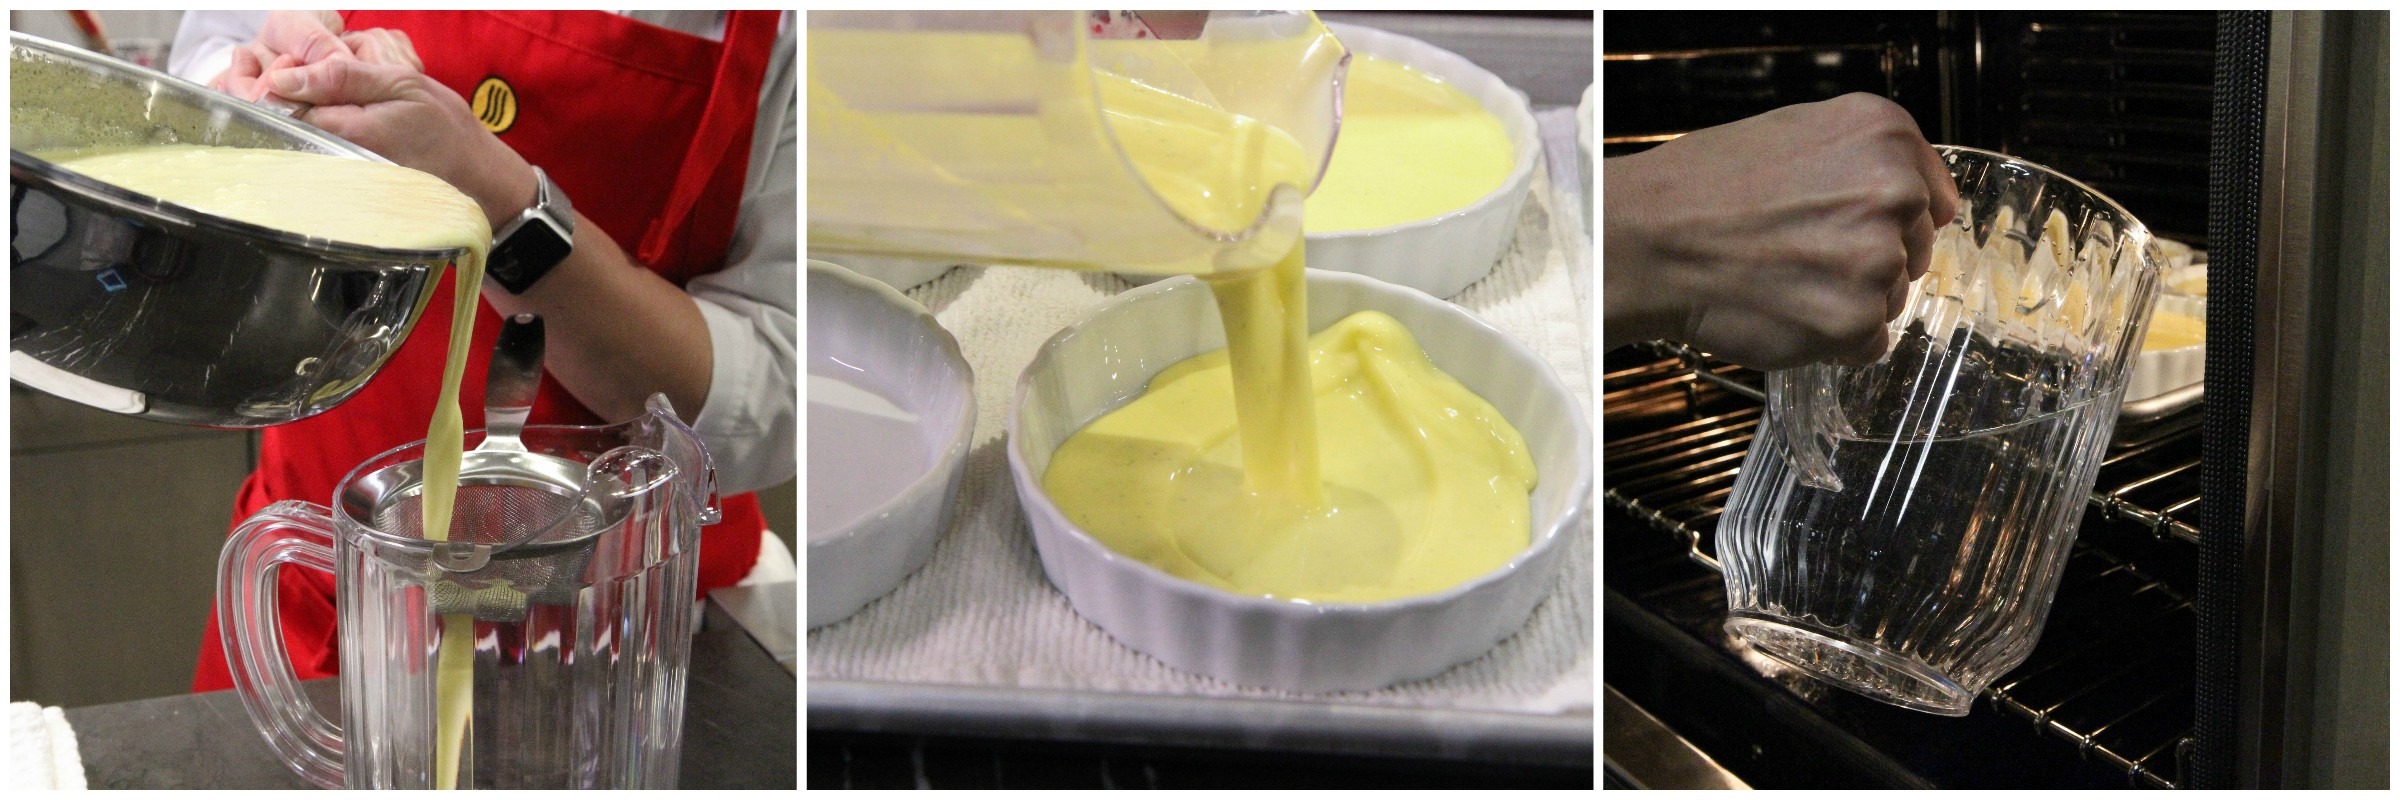
- Remove the vanilla bean pod and strain the custard mixture through a fine-mesh sieve into a large measuring cup or pitcher. Discard strained solids.
- Divide custard mixture evenly among ramekins, filling about 2/3 to 3/4 up the sides of the ramekins.
- Place baking pan on oven rack, and carefully pour enough water into the pan to come halfway up the sides of the ramekins.
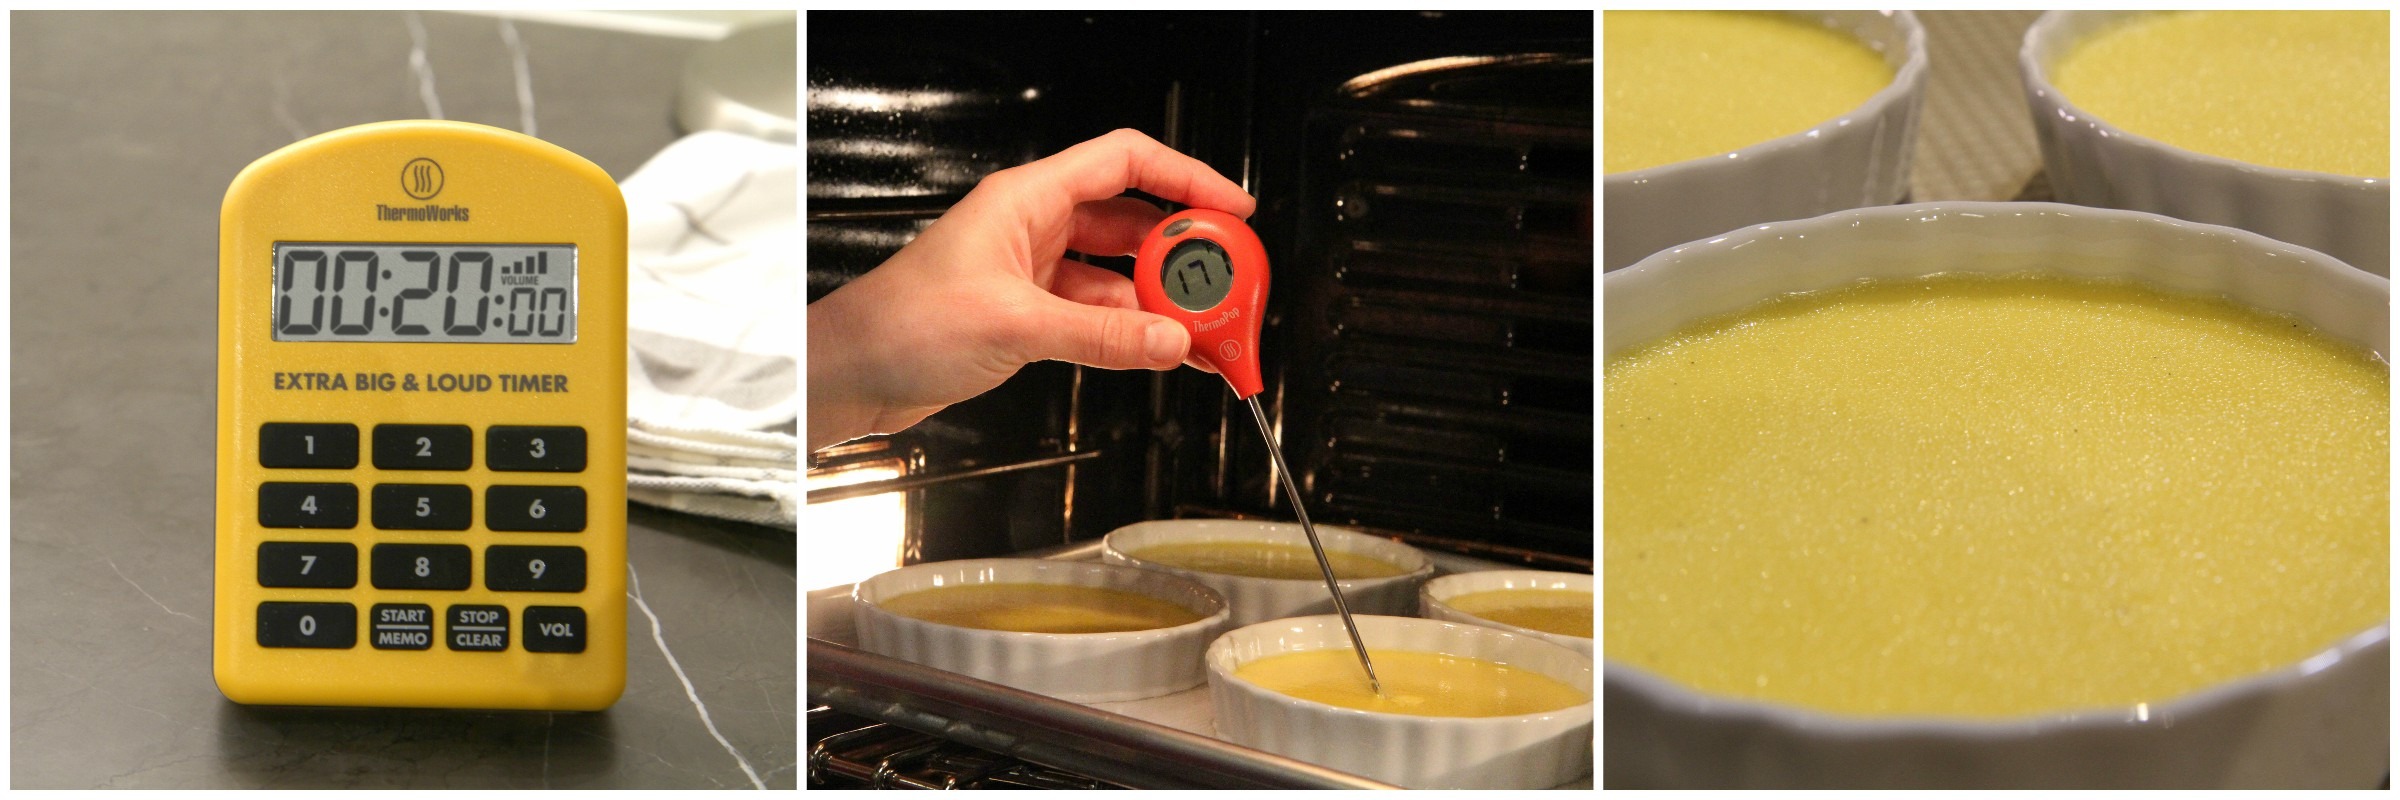
- Bake until the center internal temperature reads 170-175°F (77-79°C)—about 25-30 minutes. Set Extra Big and Loud Timer for 20 minutes, and start checking the internal temperature 5 minutes before the recommended cooking time.
- When done the custards should be smooth without bubbles on the surface, and no browning. They will jiggle slightly in the center. Baking to a final internal temperature rather than checking it consistency by tapping the edge is the best way to achieve the ideal texture every time.
- Transfer baked custards to a wire rack to cool. Once cooled to room temperature, place ramekins onto the baking pan and wrap well with plastic. Refrigerate at least 4 hours, or overnight.
Finishing the Brûlées
- Finish the custards right before serving. Burning the sugar and holding for long periods of time will lead to the sugar crust absorbing moisture and will become soft.
- Using a paper towel blot the surface of the custard to absorb any condensation that may have collected. The sugar will absorb the moisture and will require more heat to caramelize the sugar and the burned crust won’t be nearly as caramelized—much in the same way that it’s important to pat a steak dry before searing to ensure good caramelization and even browning.
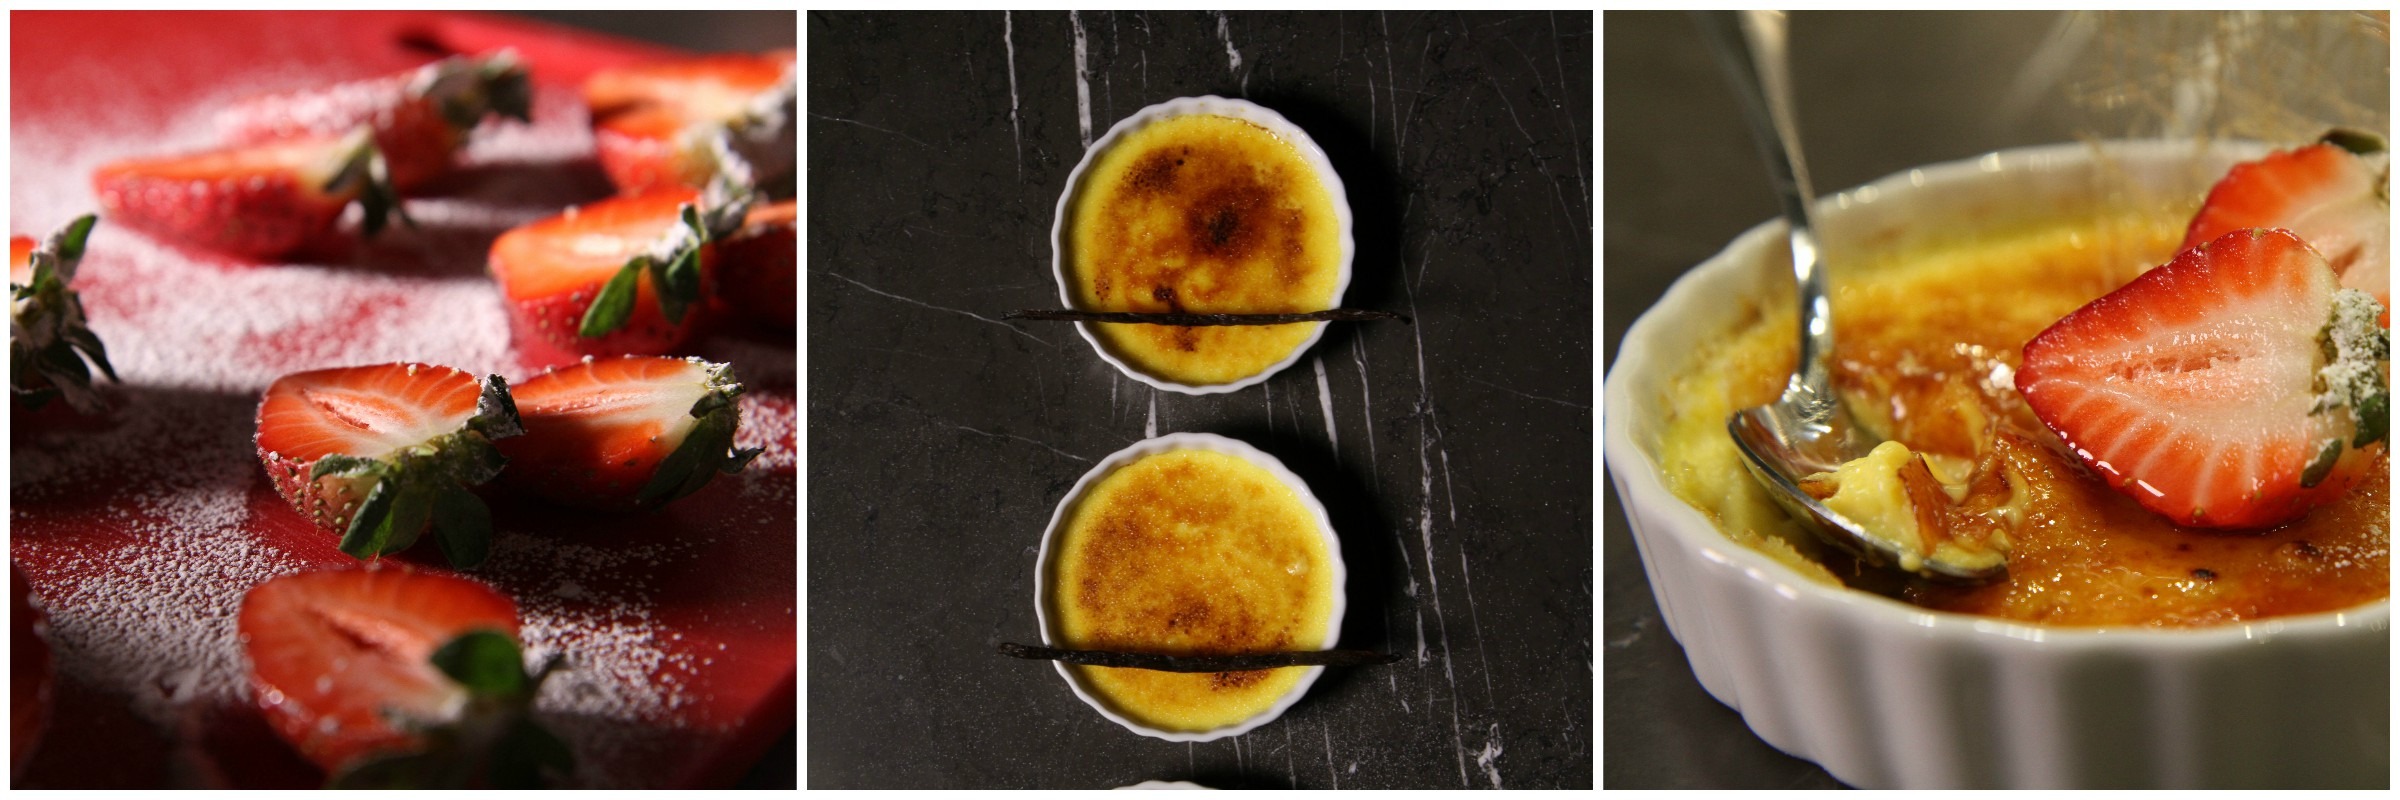
- Evenly sprinkle about 1 teaspoon of granulated or turbinado sugar over the top of each custard and tap off excess sugar. Use a torch to burn the sugar. A broiler’s heat is uneven and by the time the sugar is caramelized the custard is nearly heated through. Caramelize the sugar, garnish and serve. The sugar should be crisp.
Sugar Cages
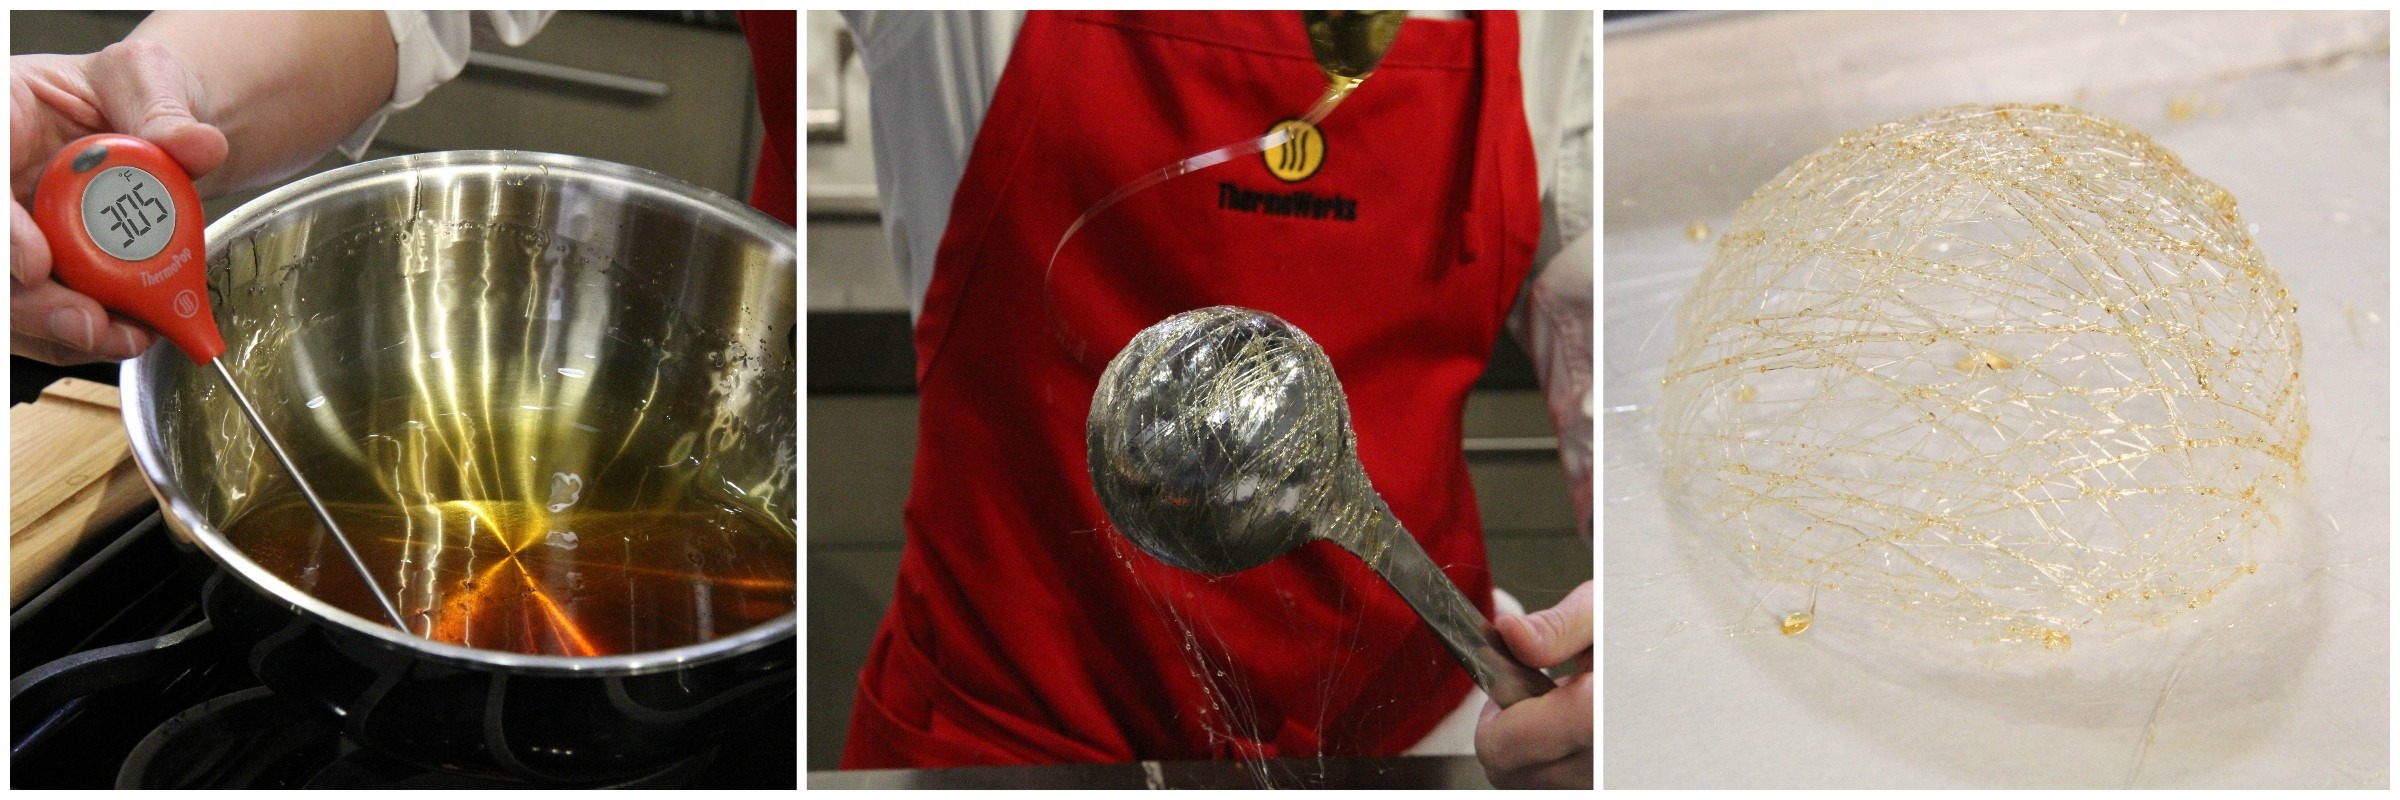
We garnished our crème brûlée with sugar cages and halved strawberries. To make sugar cages, cook sugar to 300-310°F (149-154°C), and using a small metal spoon, string hot sugar over the back of a lightly oiled metal ladle. Trim sugar around the edge of the ladle. Carefully slide cage off of ladle and store the fragile garnish at room temperature until ready to use.
This simple French classic may make it into your regular repertoire. With tips for gentle and even cooking as well as knowing your final target temperature, you’re set up for success. Keep a ThermoPop handy and make your loved ones something special this Valentine’s Day.
Products Used:
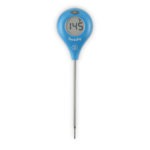

Resources:
Cook’s Illustrated, The Science of Good Cooking
Products Used:




One thing I have to add to finishing Cream Brulee is to torch it in a small sheet pan with ice water half way up the sides, just like it was baked, it keeps it cool and the torch does not cook the brulee further.
BFitz,
What a great recommendation! Thank you!
-Kim
It would be great if you would set up your instructions to be printed out with out the sidebar information.
Mike,
Thank you for your comment. The sidebar shouldn’t be included with the print layout now.
-Kim
This is amazing! The tip for 170 degrees has allowed me to get a texture better than any restaurant I’ve been to.