Skillet Chicken Thighs: Recipe and a Simple Method for Delicious Dinners
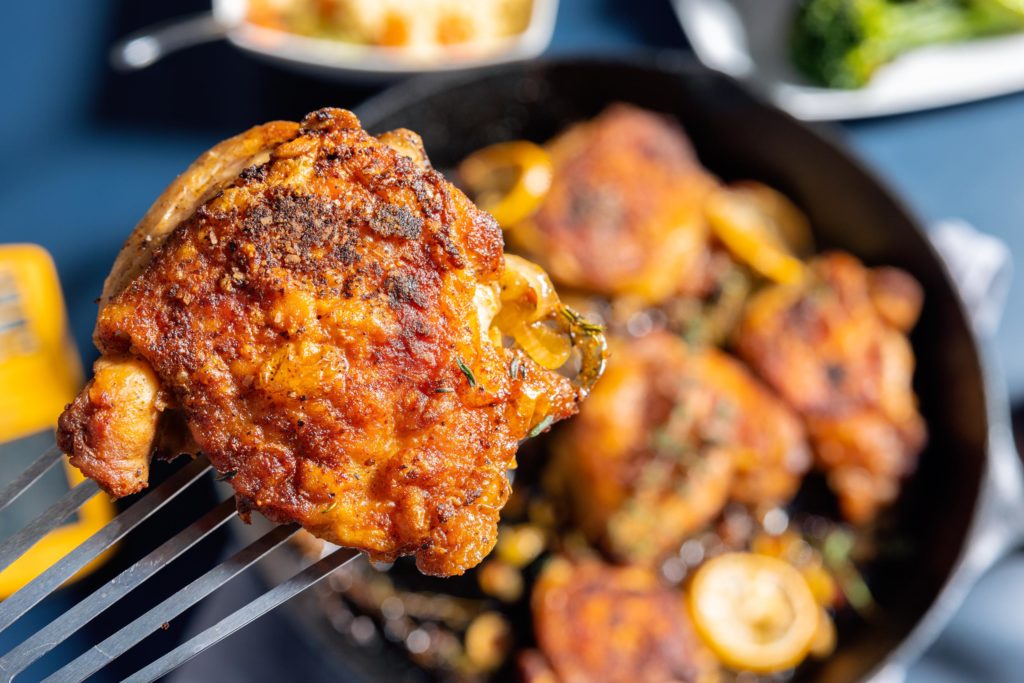
Let’s talk about chicken thighs. Readers of this blog will know our affinity for them; that we love how they are juicier, harder to overcook, cheaper, and more richly flavored than chicken breasts. And talk about versatile! You can BBQ them, you can cut them up for teriyaki bowls, you can use them in classic Chinese-American dishes. Or you can simply crisp them in a pan and shower them with delicious ingredients before finishing them in the oven. Yes, crispy skillet chicken thighs!
Here we want to give you a nearly foolproof method for cooking chicken thighs to their crispy, juicy best. We include, of course, the thermal understanding you need to get it right, but we’re also giving you a terrific recipe that you’re sure to love. Let’s dive on in!
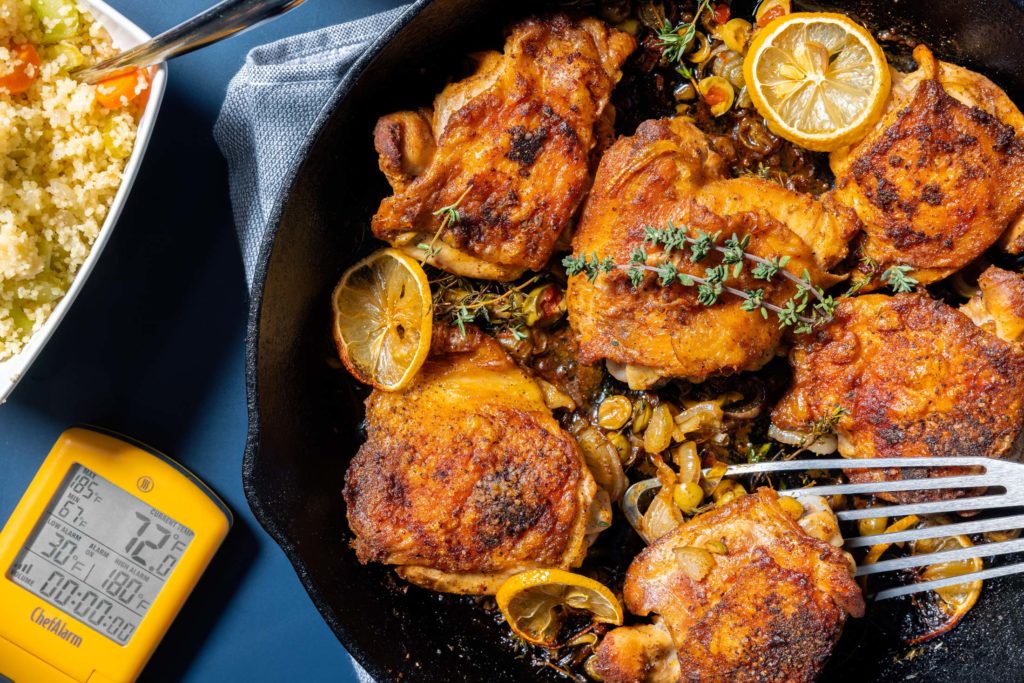
What makes the skin on chicken thighs crispy?
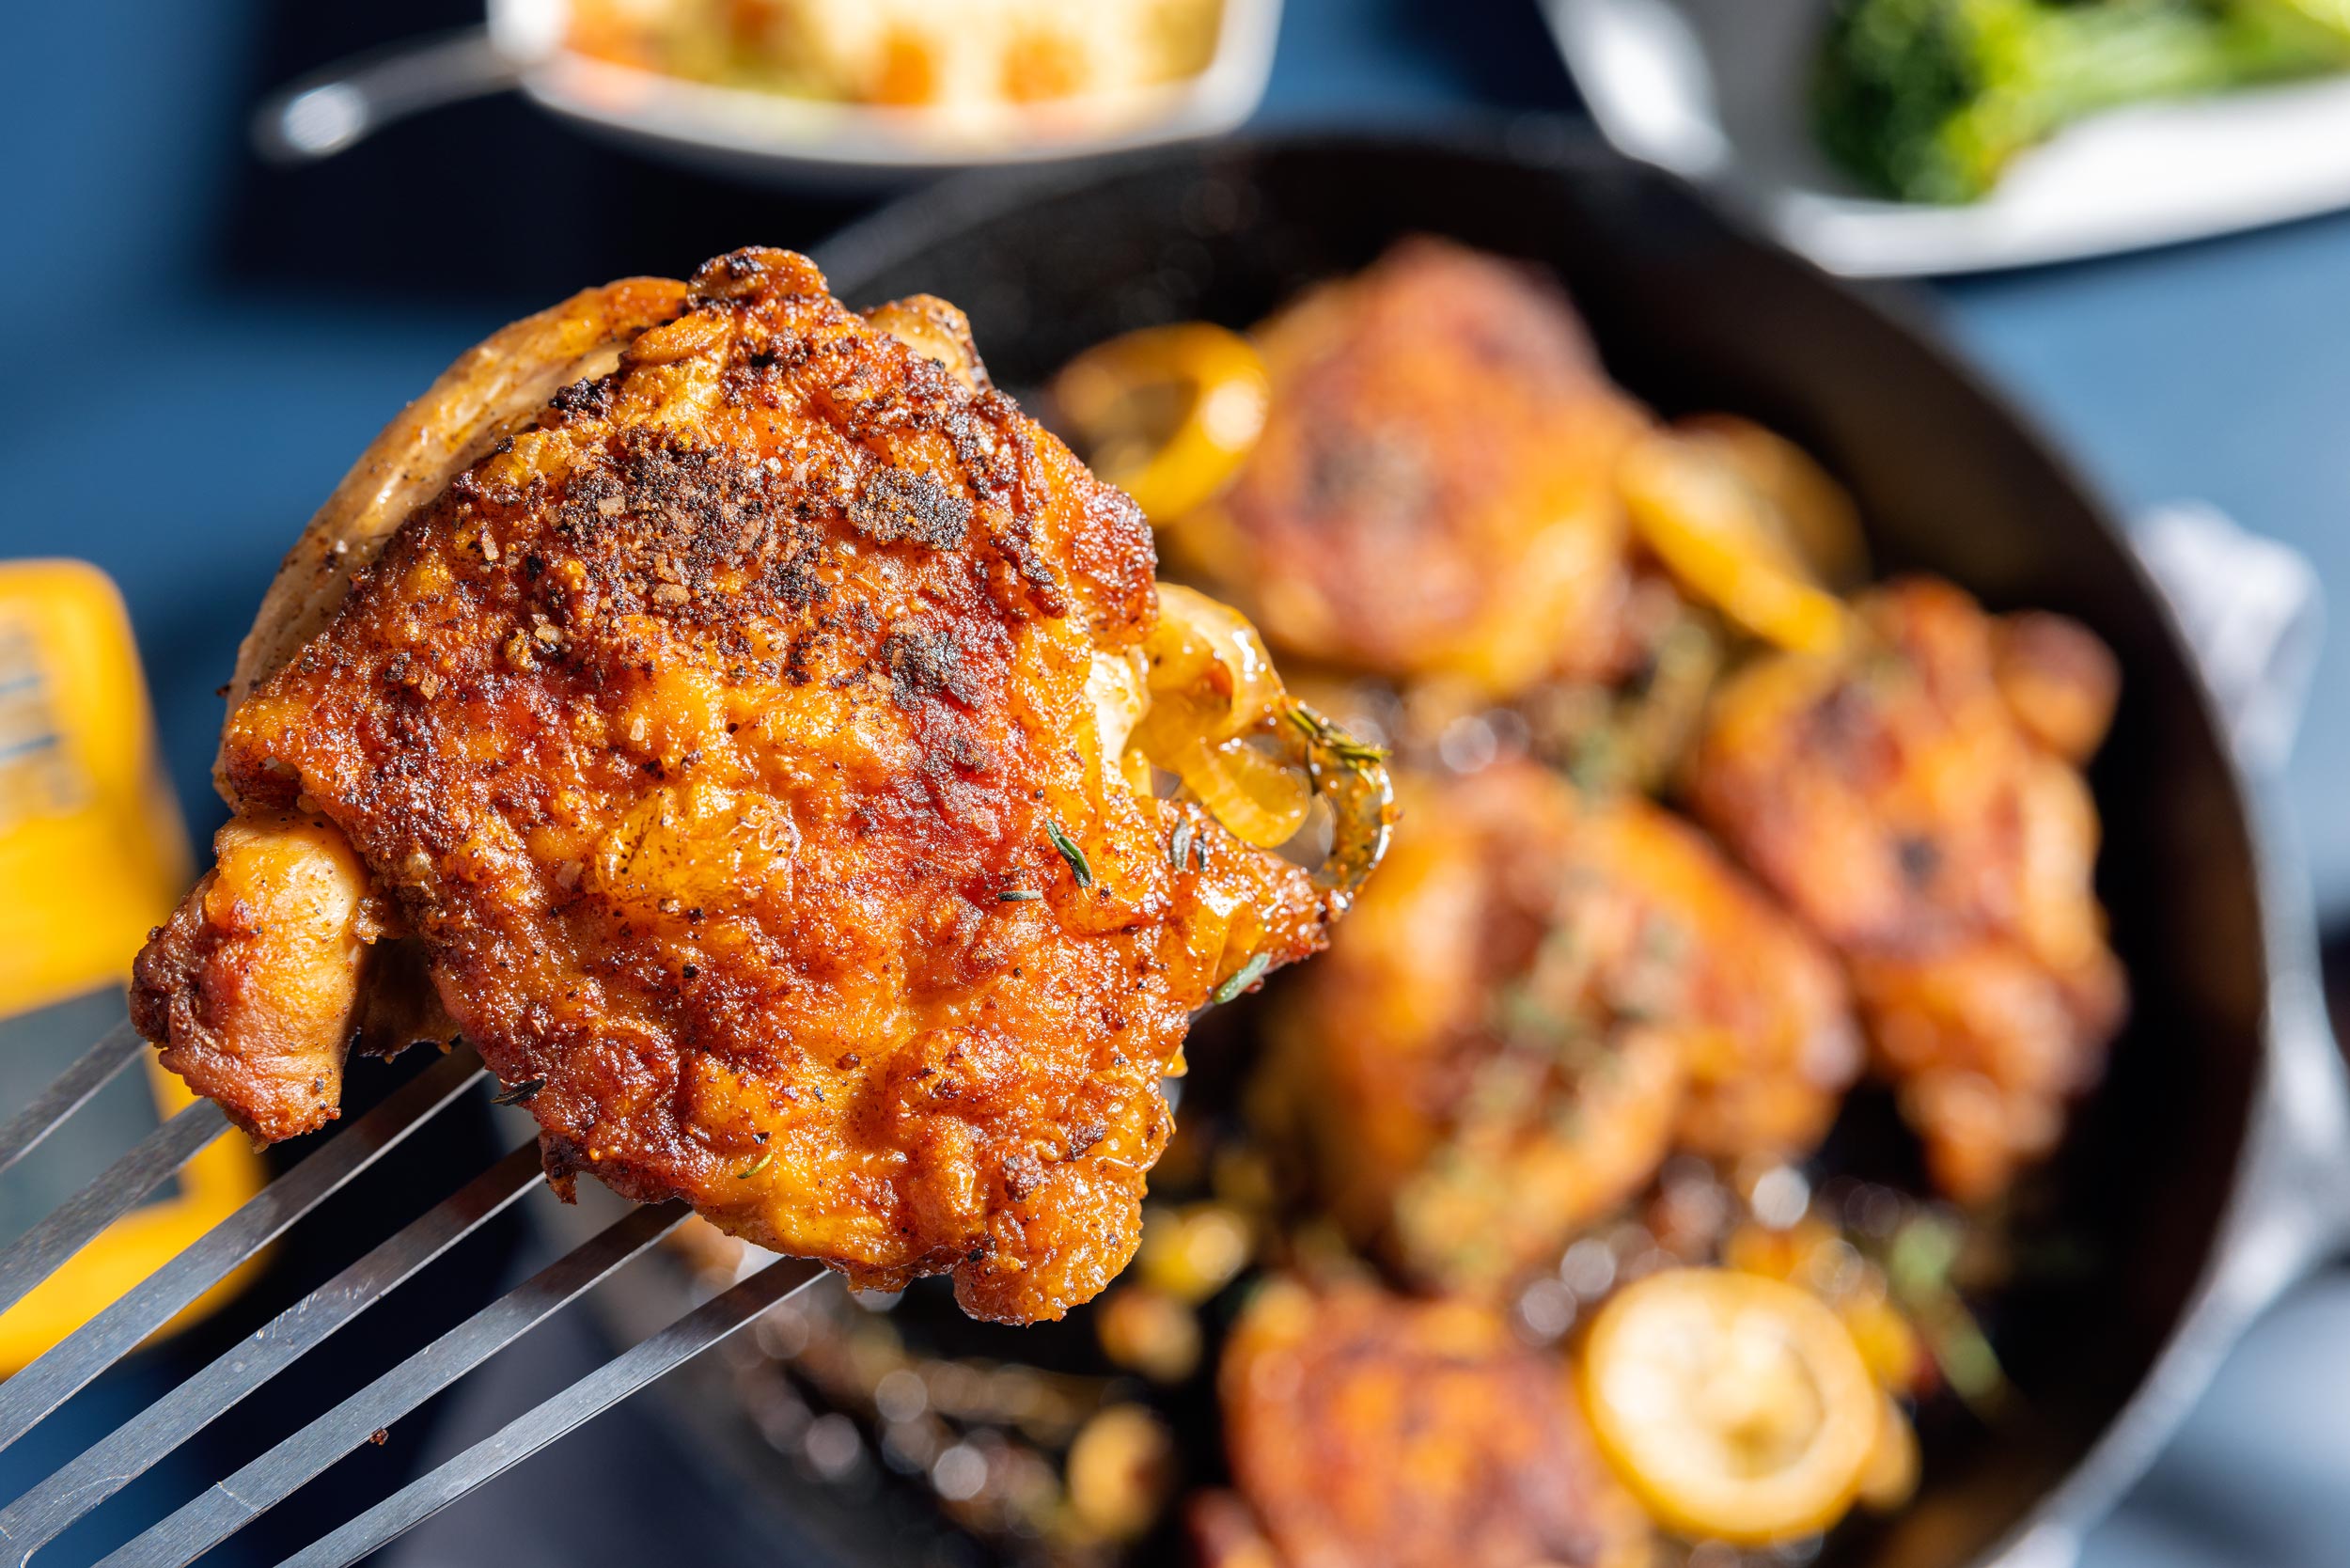
To become crisp, chicken skin needs to lose water and fat. The water is obvious: wet things are rarely crisp (we’re not talking about water chestnuts here … and those are really more crunchy than crisp). This can be difficult to achieve, though. After all, we want juicy meat, and that means water has to be present somewhere. We’ll use the direct heat of the skillet to get the ball rolling on crispness, but we’ll finish the thighs in the oven with the skin facing up to let the hot air finish drying out the surfaces, with the juice from the meat dripping away from the skin.
As for the fat, it needs to be rendered. Rendering is the process by which fat stored in cells is released from those cells into the cooking environment—think of bacon. As the bacon heats up, the cells break apart, spilling their fat into the pan. We need the same thing to happen with the chicken skin, or it will be as flabby as, well, undercooked bacon. Direct contact time with the pan is essential here.
Skillet chicken thigh temperatures
There are two factors we need to consider when it comes to cooking the thighs: oven temp and internal chicken temps.
Chicken thigh oven temp
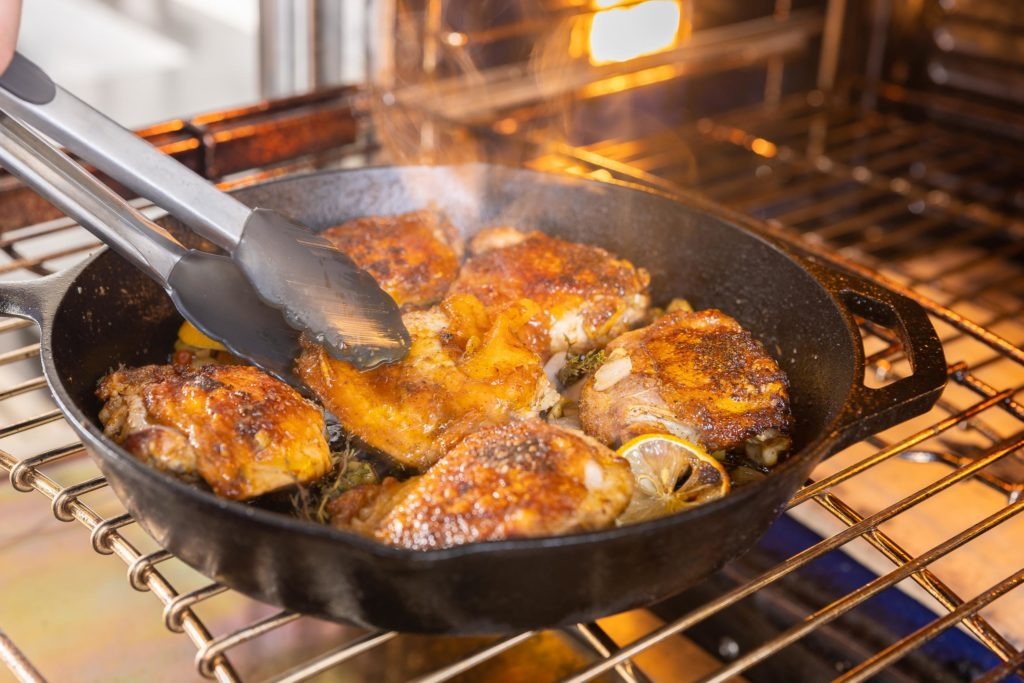
We’ll put the thighs in the oven with their skin side facing down. We do this to finish rendering the subcutaneous fat that will make the chicken skin squidgy. But once the direct heat of the skillet is done with the fat, we want to make sure the skin itself is as crisp as possible. We turn them skin-side-up and continue to cook, so that any juices from the cooking chicken are dripping away from the skin, not onto the skin. And to get them extra crispy during this hot air-drying process, we need a hot oven. 475°F (246°C) is hot enough to dry and crisp those skins in the time if takes for the skinless side of the chicken to finish cooking on the pan’s surface. That oven temperature also helps speed the cook along, getting us to table with our savory chicken even faster.
Chicken thigh temps
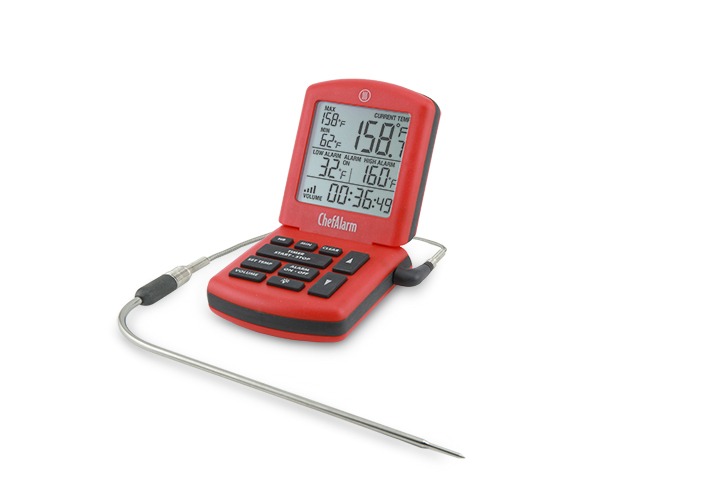
Two questions: When do we flip the chicken and when is the chicken done? We need to give the skin time to render (see above), but we also need to give it time to crisp. If we were to cook the chicken to doneness with its skin facing down, the juices that will run out of the meat will soak into the chicken skin and undo all the crisping work we’ve done. To prevent that from happening, we need to give them some time skin-up. Setting our ChefAlarm® for 165°F (74°C) for our flip gives us time to crisp the skin as the chicken finishes cooking.
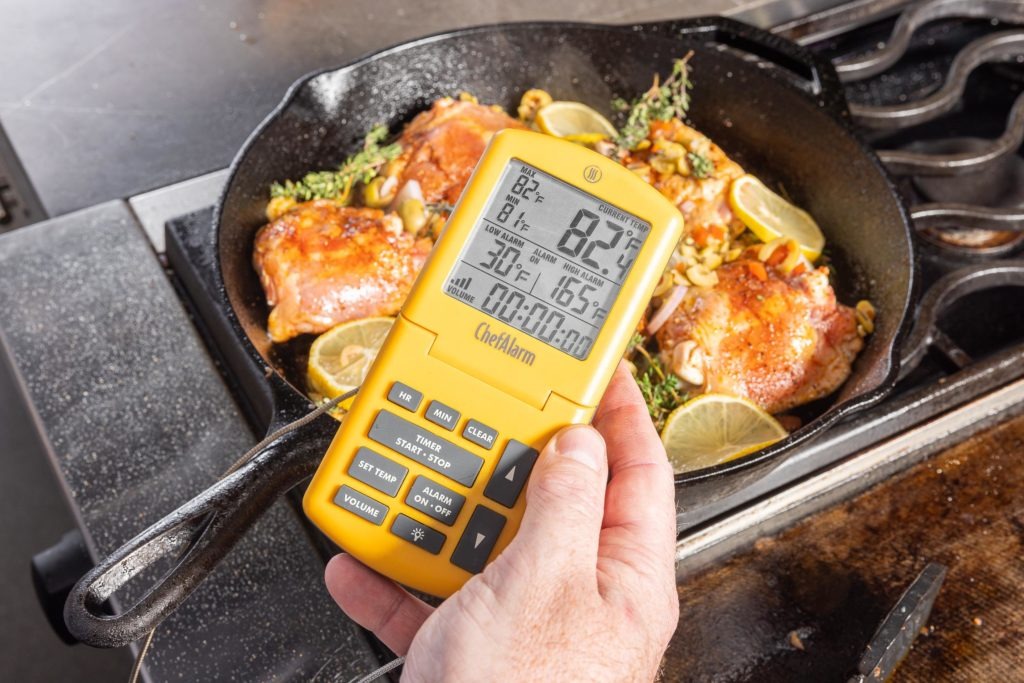
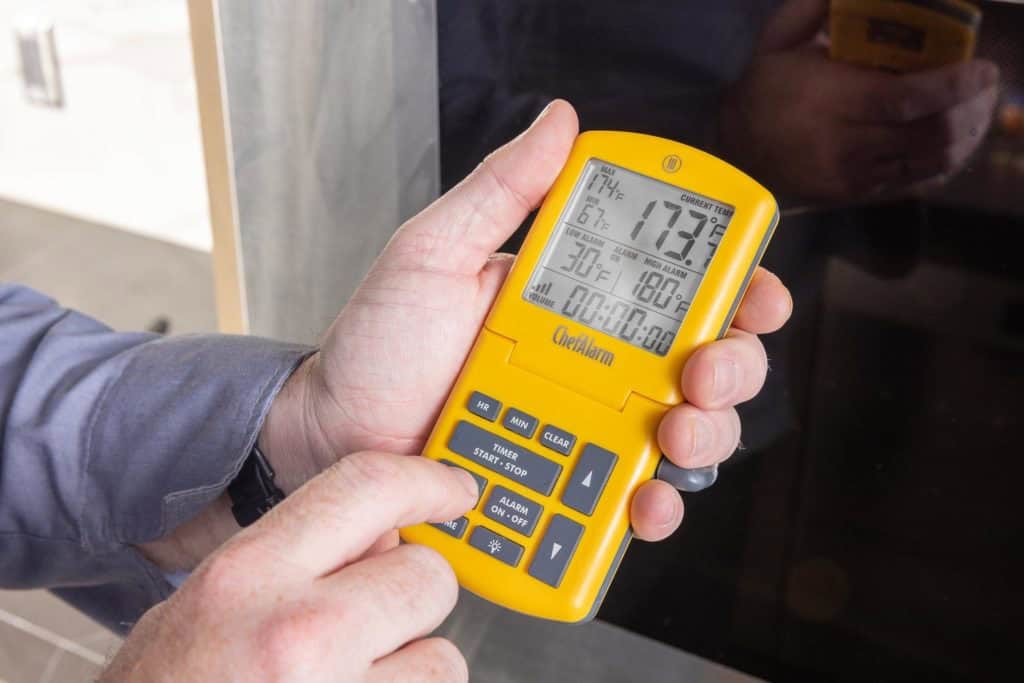
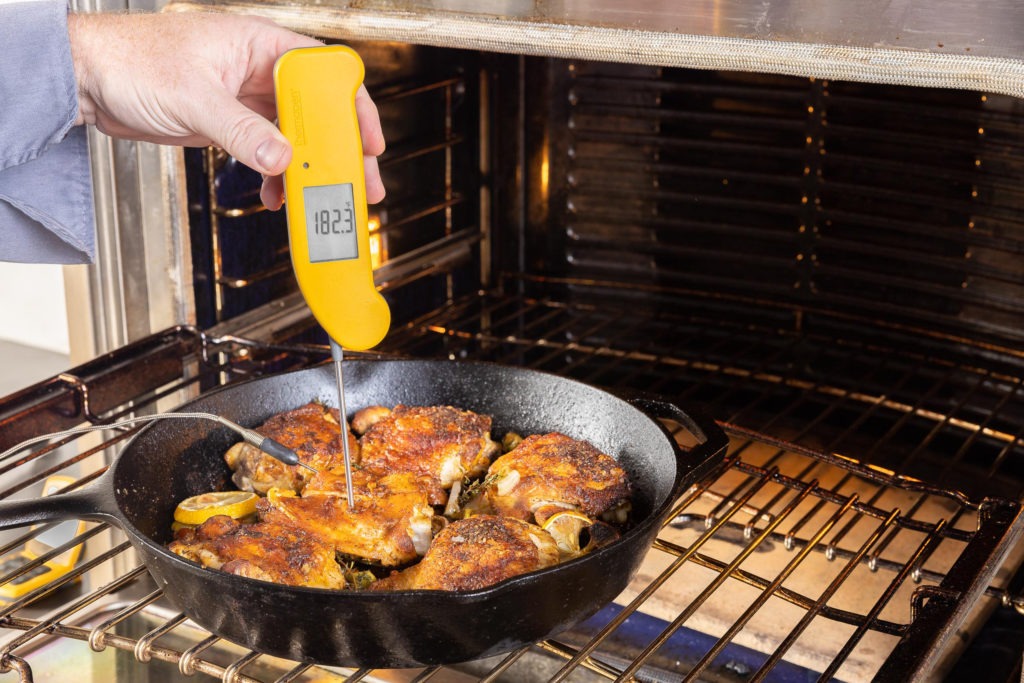
And to what final temp shall we cook? Cook chicken thighs to 180°F (83°C). If that seems high to you, you may be thinking of chicken breast, which starts to overcook at 155°F (68°C). Chicken thigh meat isn’t really tender until it gets to 175°F (79°C), and going to 180°F (83°C) is just that much better. Use your ChefAlarm to track the temps as you cook, removing the probe and re-inserting it when you flip the thighs over.
Flavoring the chicken thighs
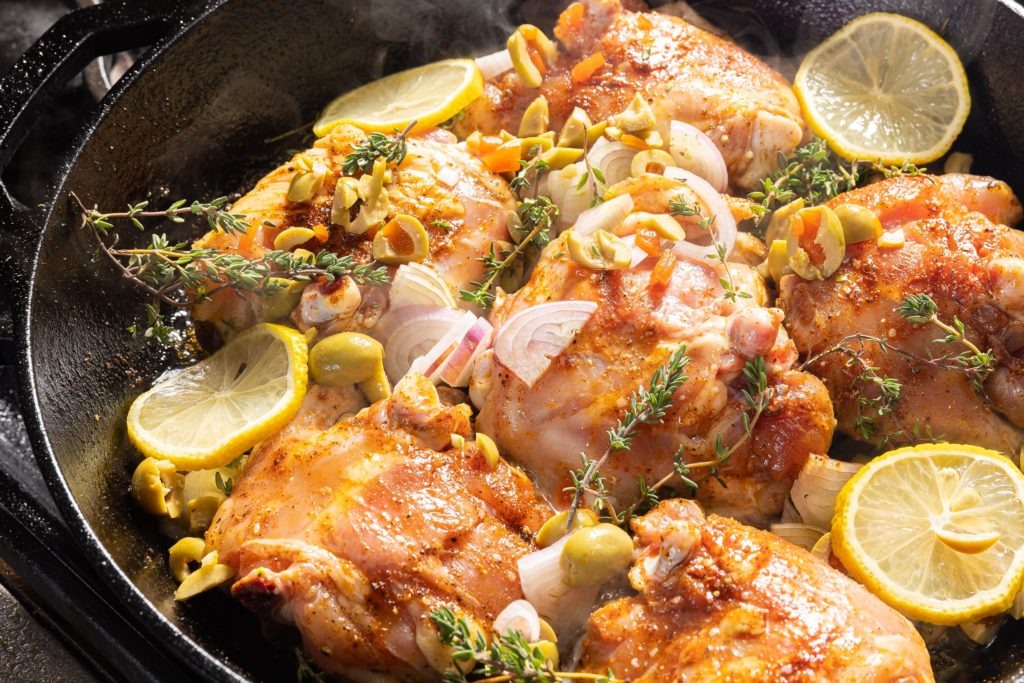
We chose to make these thighs with some delicious Mediterranean flavors—bright lemon, briny olives, and warm, savory shallots all play with the earthiness of paprika and thyme. But we don’t just add them all to the pan with the chicken. We salt and pepper (and paprika) the chicken before it goes into the pan, but no other flavorings go in until the skillet goes heads for the oven. Then we scatter the olives, shallot slices, and lemon slices over the surface. They cook in the hot, hot oven and will fall to the pan’s surface when we flip the chicken over. There they will finish cooking, even caramelizing and mixing their flavors with the chicken juices. And only when we flip do we add some lemon juice between the thigh pieces so that we get more of that bright flavor without soaking our carefully crisped skin again.
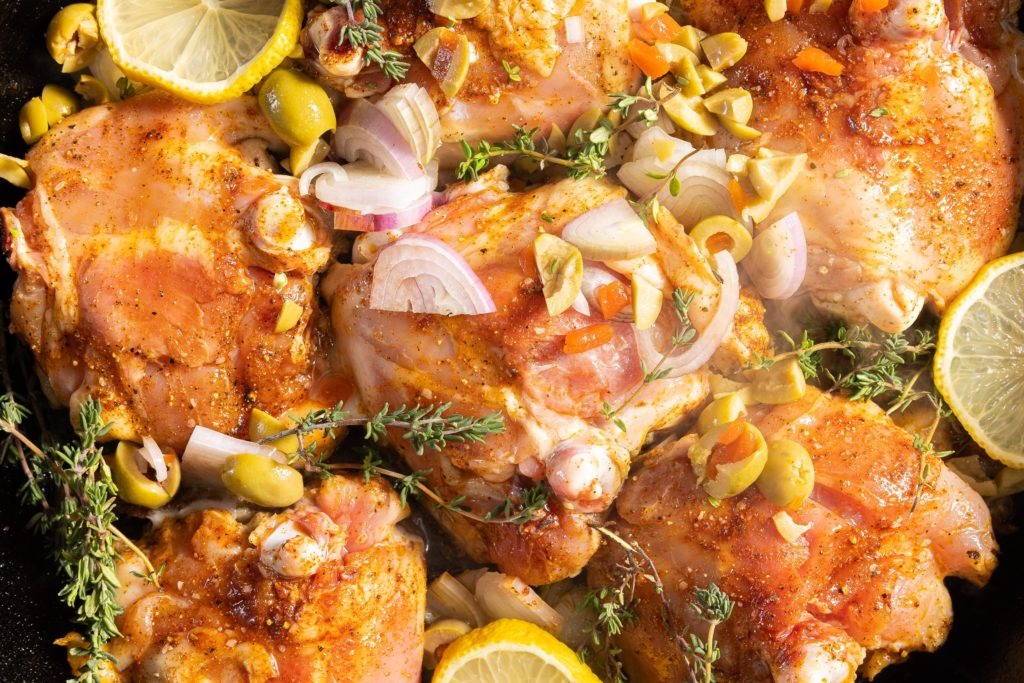
Earlier on in this post, we mentioned the versatility of chicken thighs, and we meant it. You can season these any way you like. Use some fresh green or red chilies, lime, and sesame seeds. Use some garam masala instead of paprika and some cilantro and pre-boiled potato chunks. You can dress them however you like, so long as you follow the temperature guideposts we’ve laid out and try to keep anything wet away from the crisping skin.
Try this recipe out. I was disappointed as many people came to the kitchen to sample it as did, because I wanted more chicken than I got! We think you’ll find this method both easy to perfect and endlessly useful. Grab your thermometers, get out the skillet, and make something your family and friends will love.
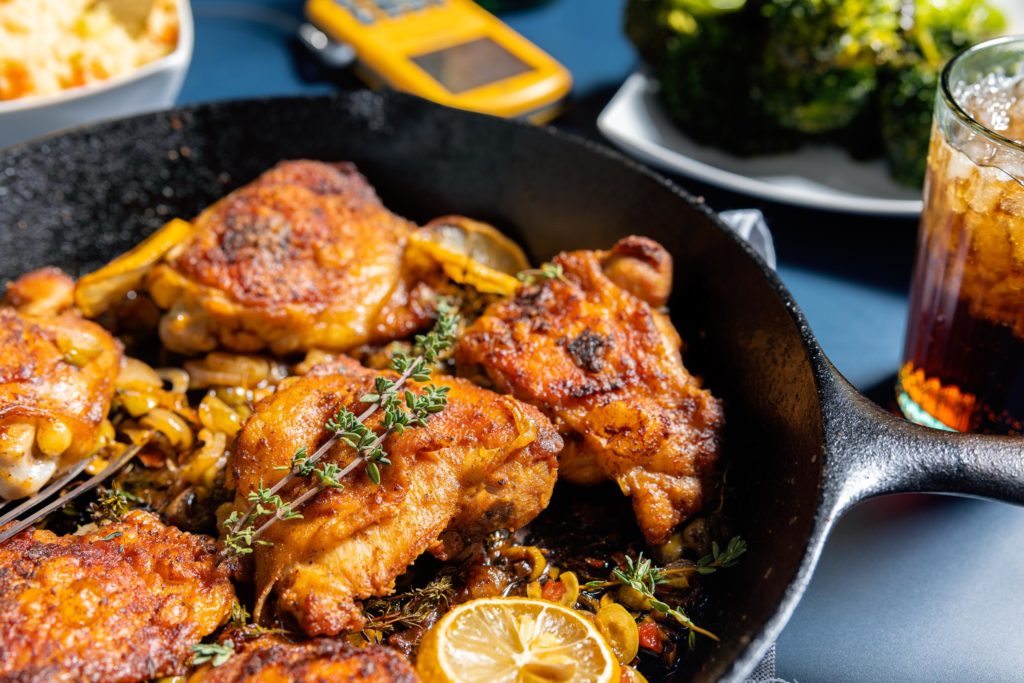

Savory Mediterranean Crispy Skillet Chicken Thighs Recipe
Description
Delicious, crispy skillet chicken thighs with a Mediterranean flair
Ingredients
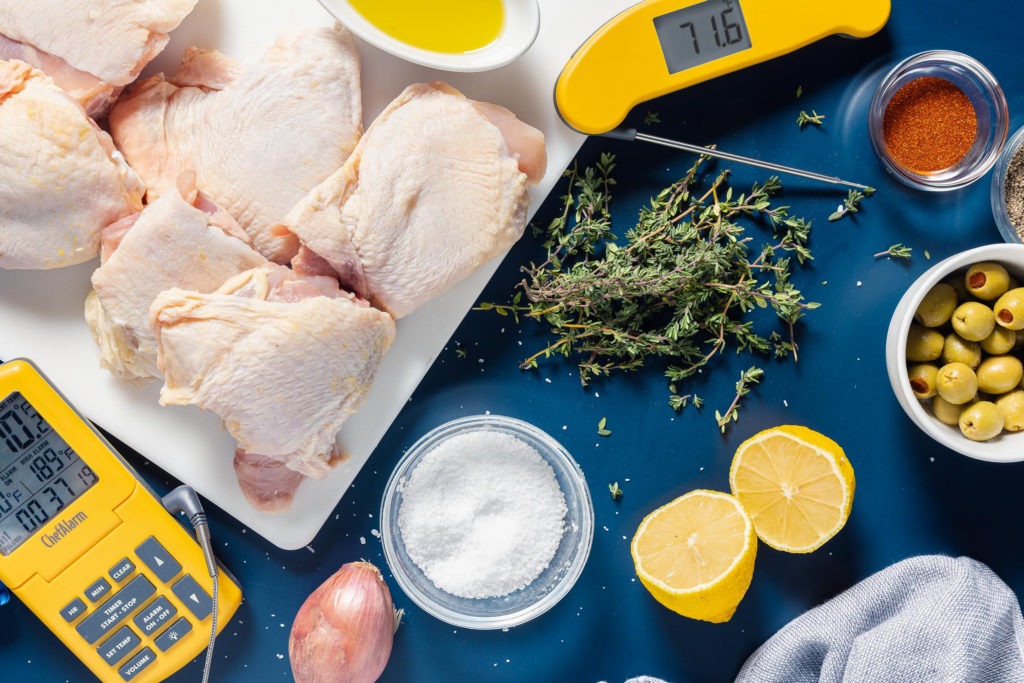
- 6 bone-in, skin-on chicken thighs, thawed if previously frozen
- Kosher salt and black pepper
- 1 tsp paprika
- 2 Tbsp olive oil
- 3/4 C rough chopped green olives
- 1 shallot, thinly sliced
- 1 lemon, cut in half, with half of it sliced
- 4 sprigs fresh thyme
Instructions
- Preheat your oven to 475°F (246°C).
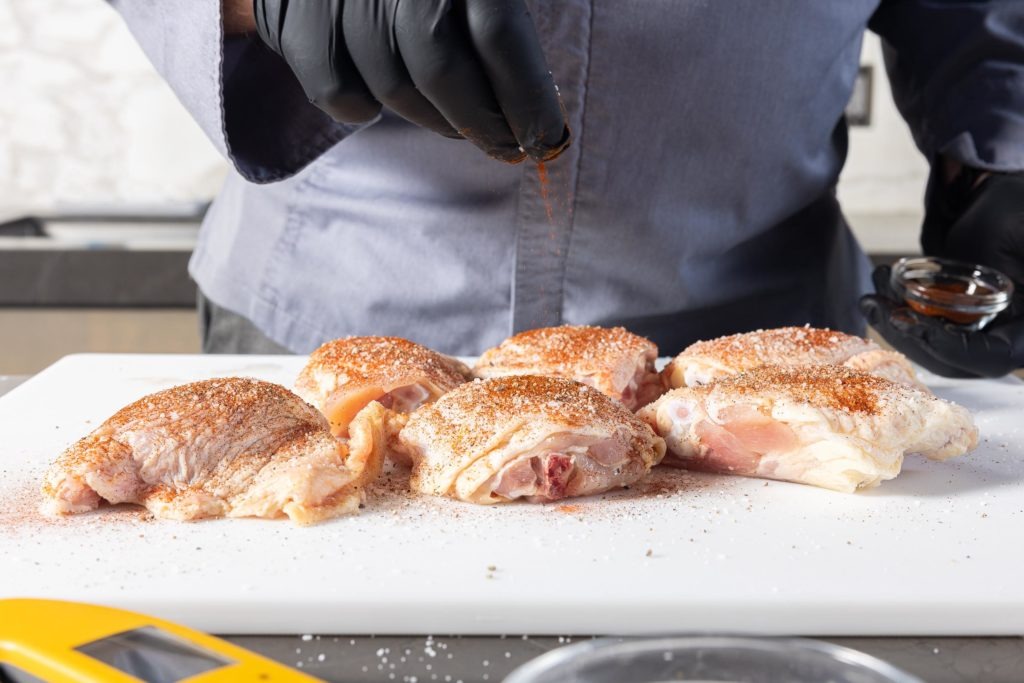
- Salt and pepper the chicken thighs generously on both sides, also seasoning them with the paprika.
- Put a cast iron (or other heavy-bottomed) skillet on the stove and heat over high heat.
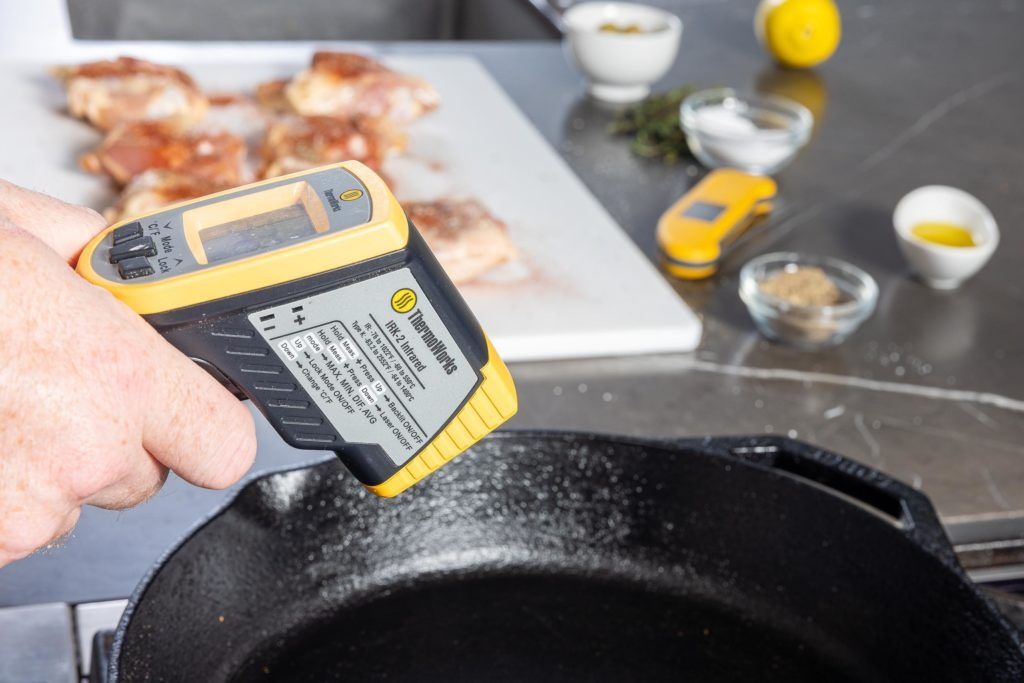
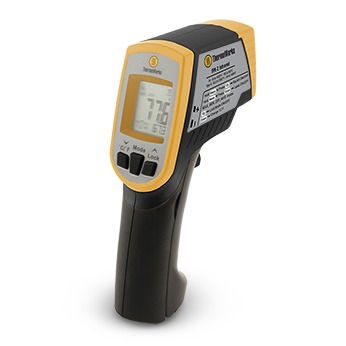
- Add the oil to the pan and heat it until it is almost smoking, ~375°F (191°C). (Use an IR thermometer to check the pan temp.)
- Place the thighs, skin-side-down, in the pan. Cook for 2-3 minutes, then reduce heat to medium.
- Continue to cook the chicken for about 8-10 minutes, until the skin is well browned and is becoming crisp and well-rendered. Rotate them in the pan from time to time to make sure they brown evenly on the skin side. Do not flip.
- Kill the heat. Scatter the olives, shallots, lemon slices, and the thyme, stripped from its stems, over the chicken in the skillet.
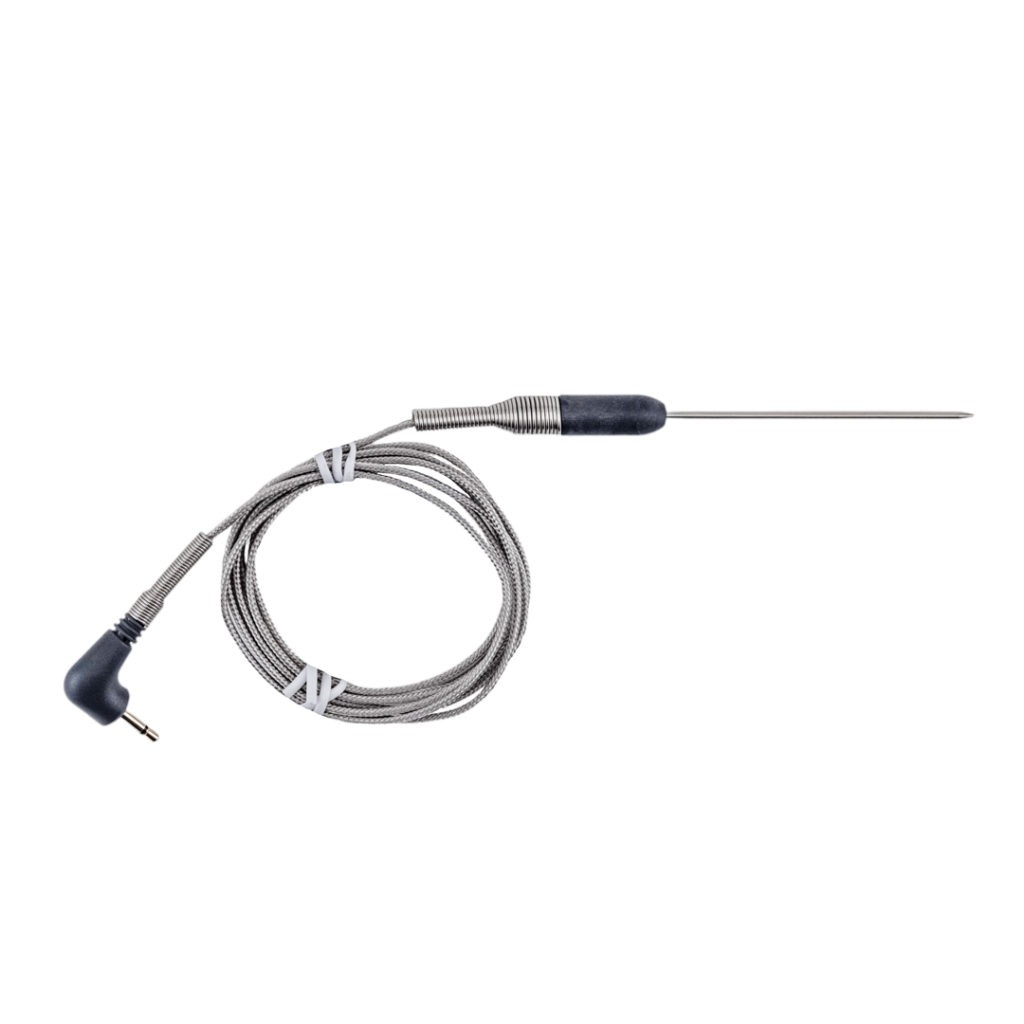
- Insert a needle probe into the centermost piece of chicken. Don’t let the probe touch the bone, but make sure it’s as close to the center of the meat as possible. Connect the probe to a ChefAlarm and set the high-temp alarm to 165°F (74°C).
- Put the skillet of chicken in the oven and monitor the cook from the outside with your ChefAlarm.
- When the high-temp alarm sounds after about 10–15 minutes, open the oven and flip all the chicken pieces so that they are skin-side up. Squeeze the remaining half of the lemon into the cracks between the chicken.
- Continue to cook the skillet of chicken in the oven. Reset the high-temp alarm to 180°F (82°C).
- When the high-temp alarm sounds, about 5–7 minutes later, verify the doneness with your Thermapen ONE.
- Carefully remove the skillet from the oven and serve the chicken, spooning the olives and shallots from the pan onto the individual portions.
Shop now for products used in this post:



Perfect. I love your recipes, thank you so much for having such an analytical approach to cooking. I have probably 3 of your hand held’s, one “Smoke” and have bought them for 2 of my children. Thank you, keep these coming please.
You recommend using an IR thermometer to check temperature of the skillet. What emissivity setting do you use for cast iron. I have a chart, but it doesn’t list cast iron.
Use an emissivity of 0.95 for cast iron.
I will definitely try this one. Why a needle probe instead of a regular probe (for example, one that came with the Smoke)?
The needle probe is easier to handle in a small cut like a chicken thigh. You can certainly use the included probe, but it can be a little unwieldy. If you don’t have the needle probe, use what you have!
This was so delicious. I ate every bit of my thigh. I purchased my thighs from a local farm and they were of excellent quality. I am so tired of the mass produced chicken in the grocery stores. I loved the added flavors from the lemon, shallot, olives and thyme
Hi Earl,
You wrote ¾ green olives in the Delicious, crispy skillet chicken thighs with a Mediterranean flair recipe, is that ¾ cup?
Thanks again for you great instructions and recipes.
Yes, 3/4 Cup.
3/4 what of green olives?????
I presume it is 3/4 of a cup of green olives chopped.
When to measure 3/4 cup of whole green olives
Or
3/4 cup of chopped green olives……
I think the measurement s would be different.
3/4 cup when chopped! Sorry for the confusion.