Flavorful and Juicy Pork Chops via Reverse Searing
We all know that a properly cooked steak is not always easy to find when dining out, which is why we recommend cooking your own. But do you know what’s even harder to get cooked right in a restaurant? A pork chop. Notoriously dry and overcooked, there’s no dish that should be ditched when dining out like the pork chop. And when you can make them succulent, juicy, and delicious at home for a fraction of the cost, why not do it yourself? Why not reverse sear your pork chops?
We’ve devoted a lot of space on this blog to the theory and practice of steak cookery but have not given as much time to chops. Well, I intend to remedy that, to some extent, today. Here we’re going to talk about how to apply one of our favorite methods for steak cookery—the reverse sear—to bone-in pork chops. Plus, we’re going to give you a killer-tasty recipe that is sure to impress anyone you make them for. Thermal understanding is key, and it’s time we unlocked that door.
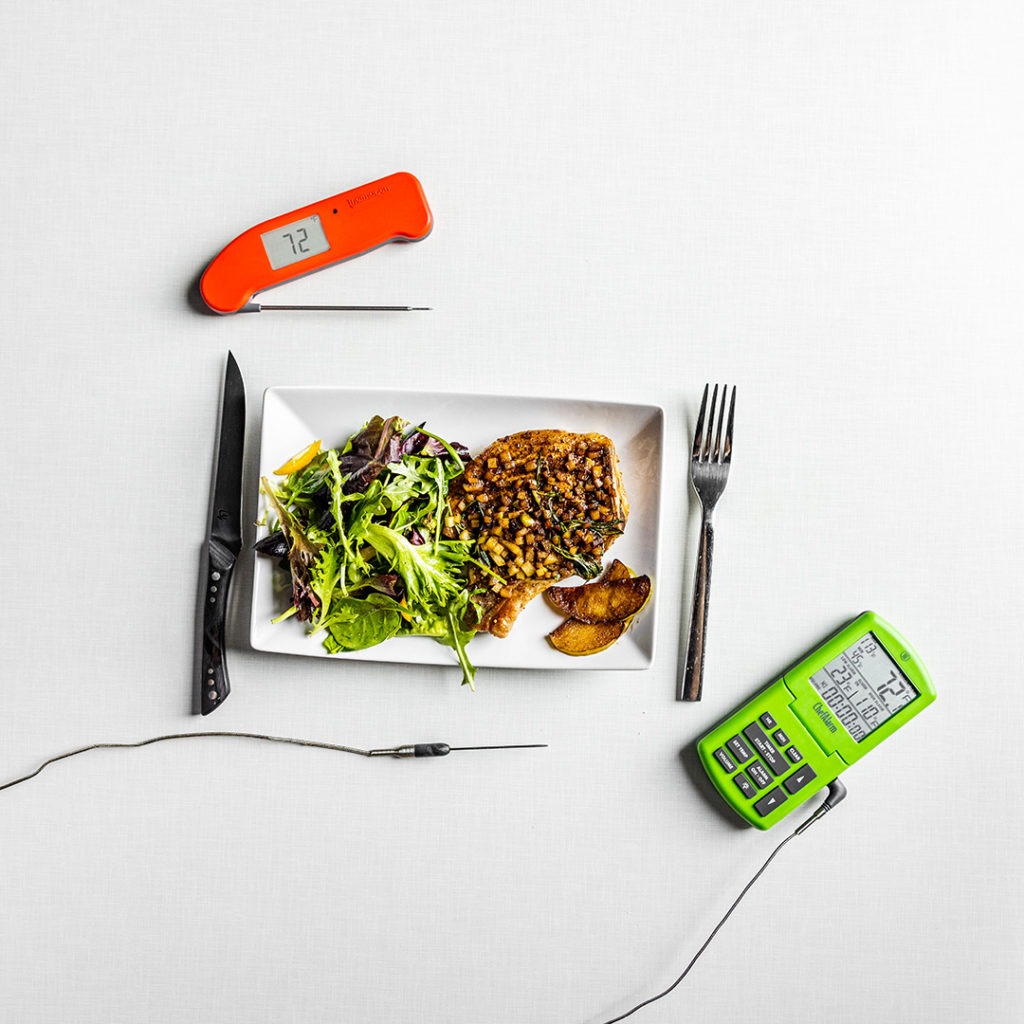
Why are pork chops dry?
Pork chops are dry for two reasons: modern hog-raising methods and overcooking.
The American desire for leaner, cheaper meat has led to a streamlined, skinny hog that is raised without developing much intramuscular fat. Less intramuscular fat means there is less of a buffer against overcooking, especially in tender cuts like, say the loin from which chops are cut. A heritage-breed pork chop is more likely to be juicy even if cooked a little too much because it has more fat in its tissues.
Now, I don’t have ear the ear of Big Pork, so that’s not likely to change by, say, dinner time tomorrow night. All I can do is work with what I have and not overcook the pork I’m given, and that means not overcooking it. That is, of course, where temperature comes in.
Pork chop doneness temperature—how to cook moist pork chops
According to the USDA, pork is cooked to a safe-to-eat temperature at 145°F (63°C), much lower than some people think. If you want to cook them a little lower than that (I often do) that’s up to your food-safety judgment, but if you stick to the USDA recommendation your chops will still be much juicier than most you’ve ever had.
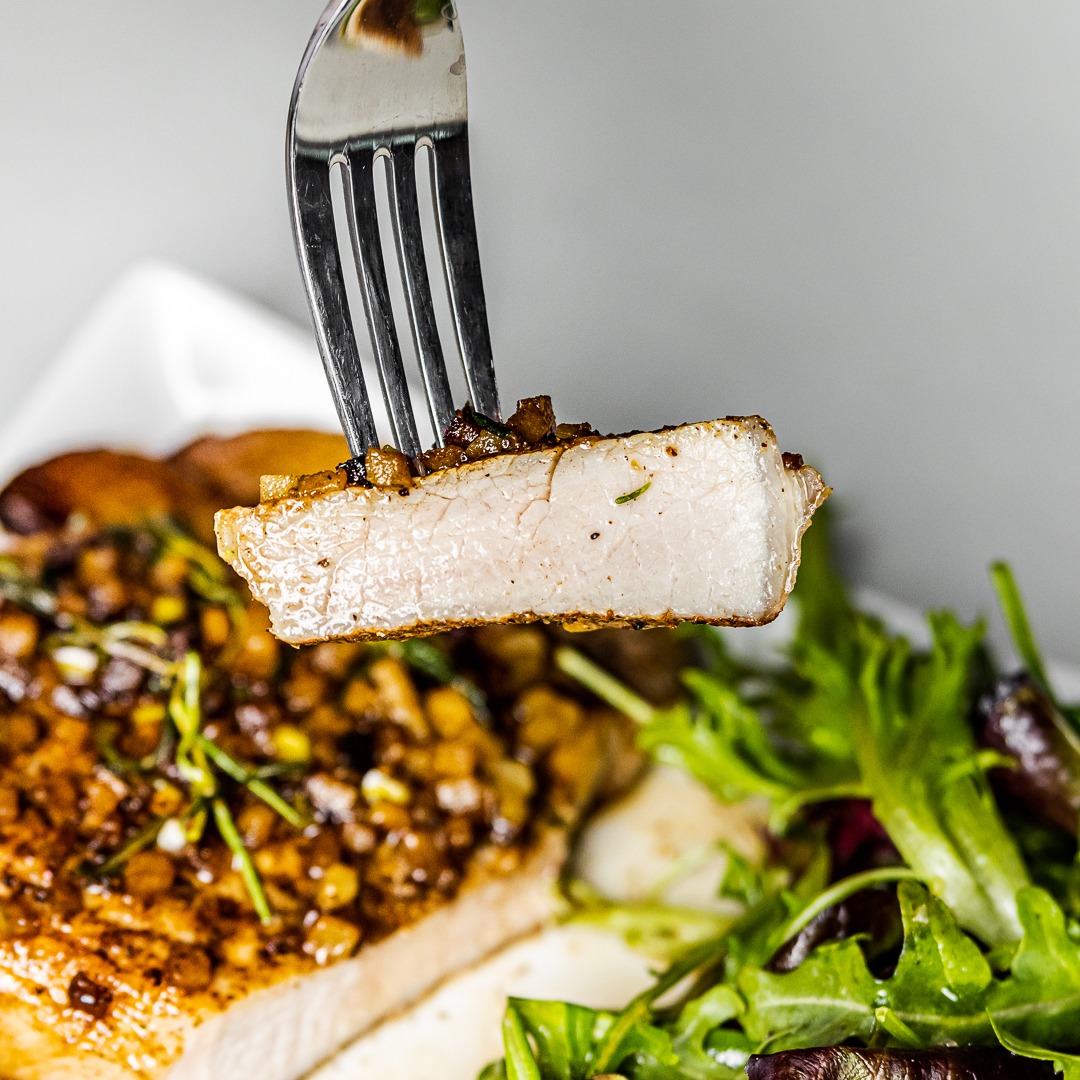
But you should be aware of how you’re going to cook them. The method we present here will definitely have some carryover cooking, so we’ll want to pull back a little from that 145°F recommendation. I pulled our chops at 140°F (60°C) and they came out perfect. Using a fast and accurate thermometer like Thermapen® ONE is essential for getting that temp right—you can’t rely on the “palm squeeze” method for judging doneness! I know, I know, it’s like sacrilege to say, but if you don’t believe me, try checking your palm’s “doneness” against a few of your friends by squeezing your thumb muscle and squeezing theirs. You’ll find that you all have pretty different muscles that you’re trying to use as thermometers. An actual thermometer works much better!
Reverse searing pork chops
To reverse sear, you first cook something at a relatively mild temperature to get it within about 30°F (17°C) of its target final temperature, then move it to a very hot pan (or grill) to finish cooking and create Maillard browning. Without the high-heat step, the chops are wan and uninteresting; with it, they are tasty and delicious.
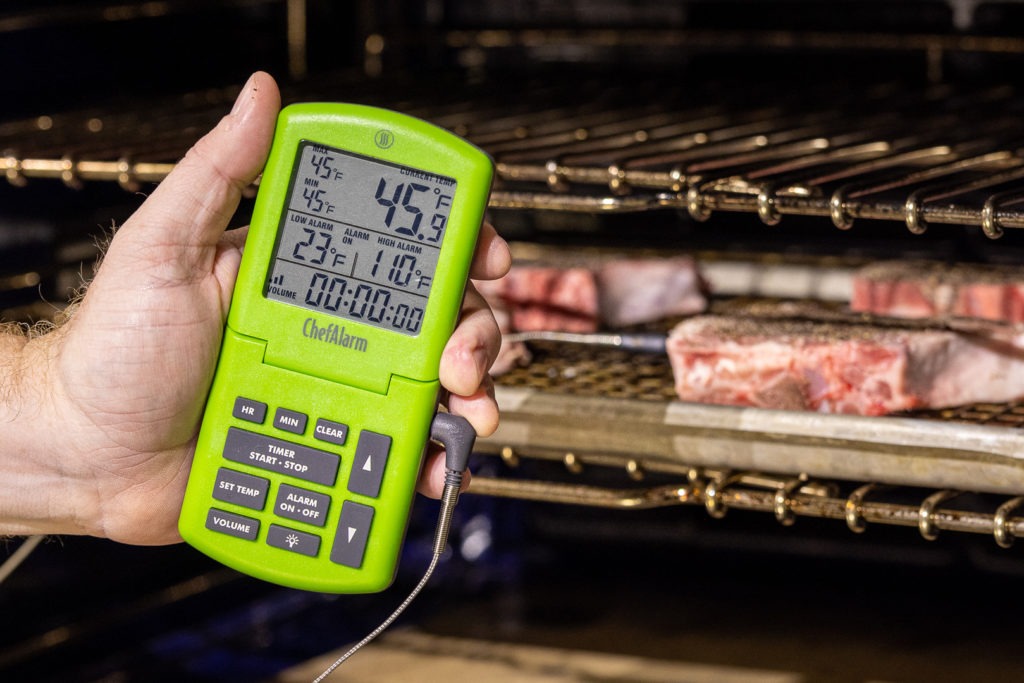
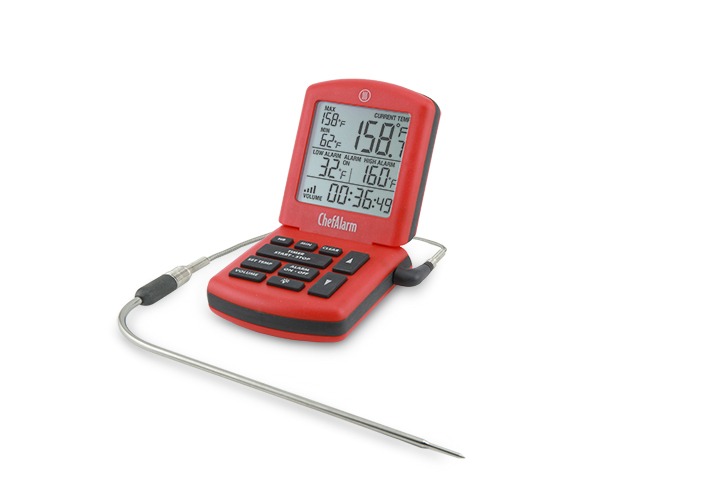
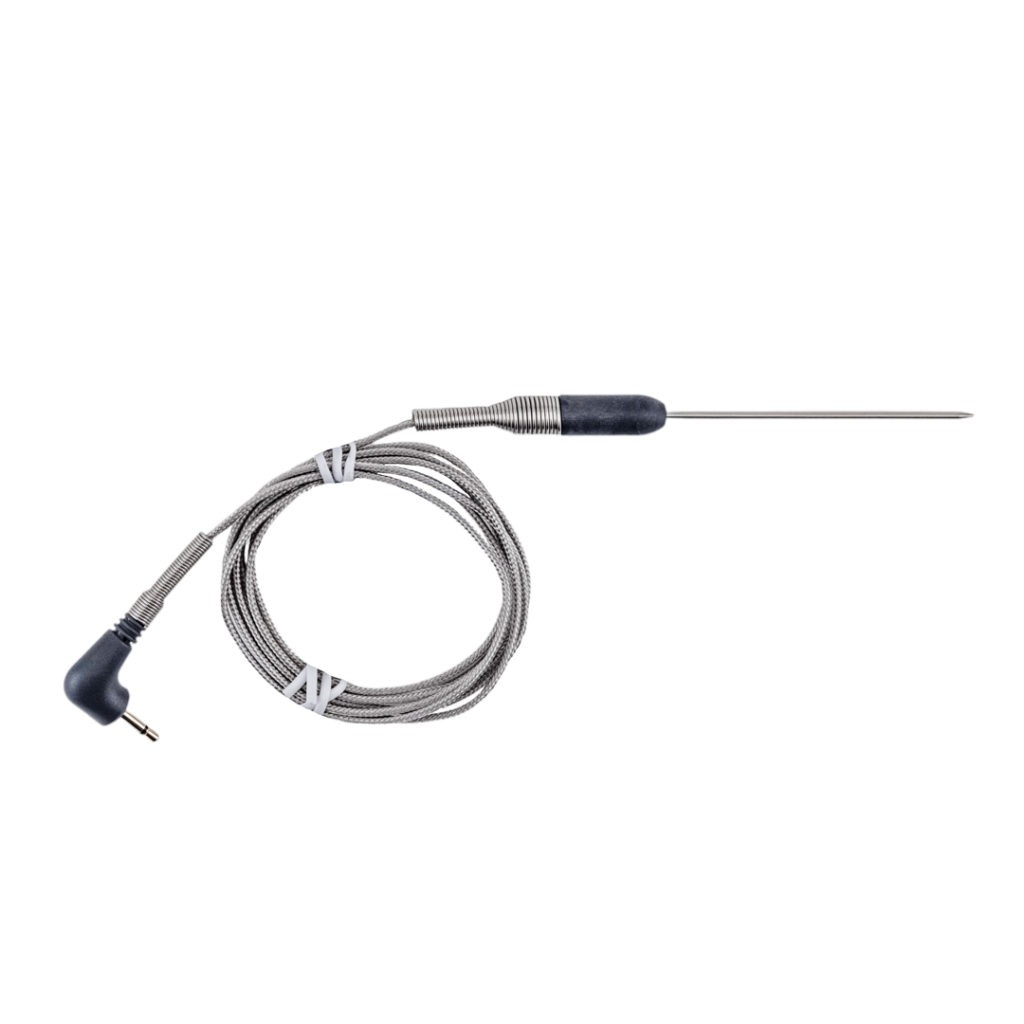
Use a leave-in probe thermometer like ChefAlarm® to track the chops as they cook in the oven until they reach 110°F (43°C), then use your Thermapen while they sear in the pan and you’re sure to get practically-perfect doneness.
Note that while we sear steaks like ribeye with no additional oil in the pan, we do add oil to the pan for searing pork chops. They are too lean to grease the pan themselves, so a good spritz with nonstick spray or a drizzle of oil will help them brown better at the beginning of their cook.
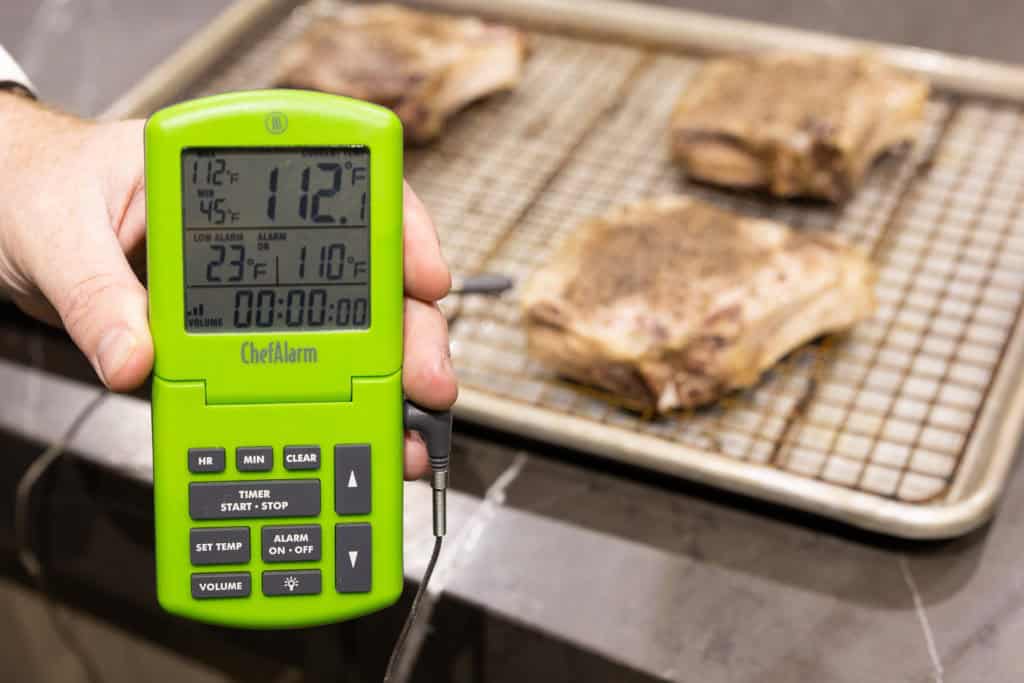
Reverse searing pork chops is a great way to cook them properly. It’s easy, it’s convenient, and you get fantastic results.
Basting with butter, basting with flavor
I should insert a note here on a great method that I recommend.
When pan-searing nearly anything—steaks, chops, fish, even tofu—I like to use a technique that chefs call poêler (PWAH-LEH). Technically this just means to fry, which seems a little reductive, but in the wider cheffing community, it applies to a process of adding butter to a very hot pan, tilting the pan towards yourself, and using a spoon to repeatedly collect the butter and baste it over the item being cooked.
The basting helps to “harden” the sear, giving you a better-seared crust. You are essentially drying the chop in hot butter. Flavorings such as sprigs of fresh herbs or crushed cloves of garlic are often added to the butter during a poêler, imbuing it with their essences and flavoring the food.
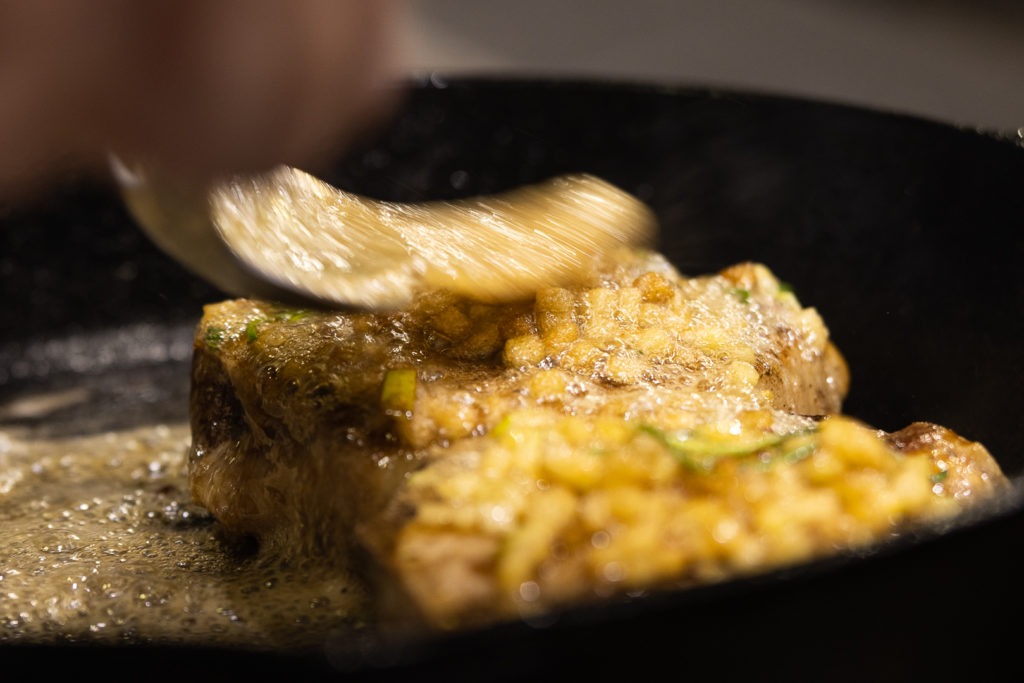
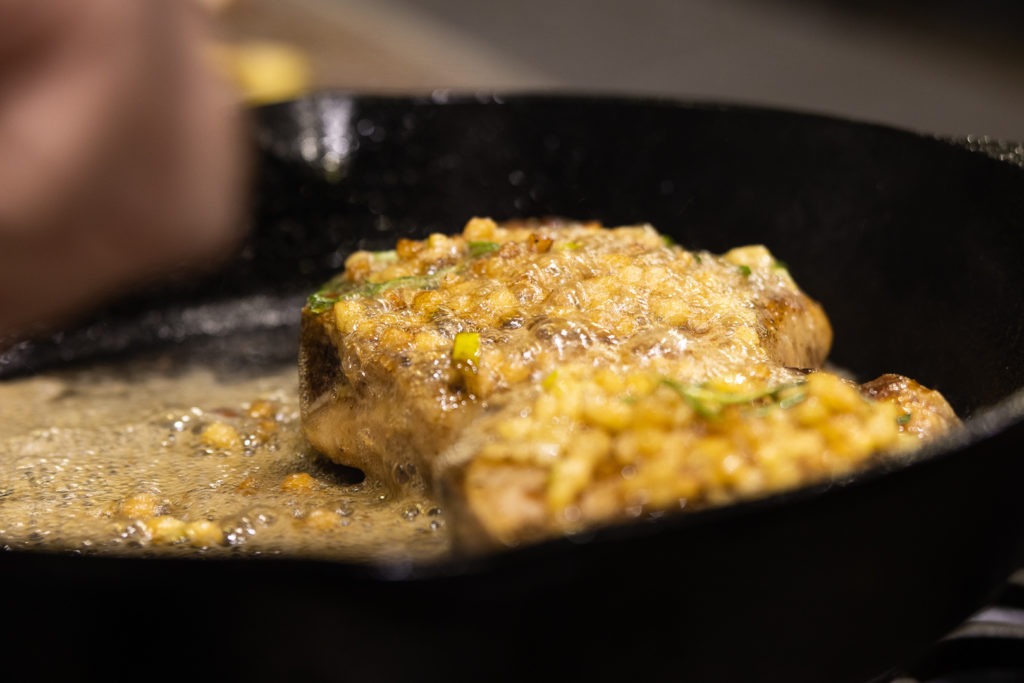
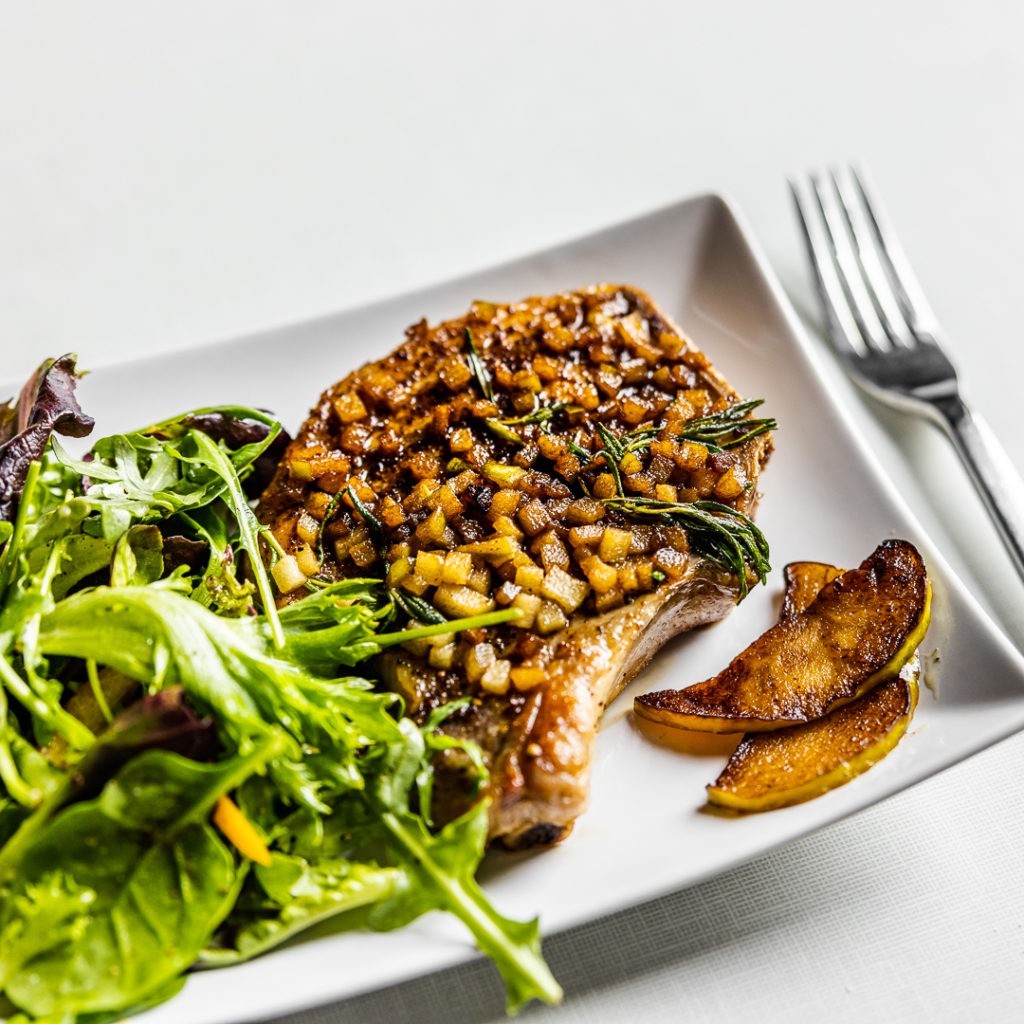
For pork chops, I like to use finely diced Granny Smith apple and fresh rosemary. When you flip your chop over, add 2–3 tablespoons of whole butter to the pan and tilt the pan towards you with one hand (and a hot pad!). As the butter melts, toss in a sprig of rosemary and start using a large spoon to toss/spoon the butter up onto the top of the chops. I usually spoon the herbs right onto the meat and run the melted butter down through them onto the meat.
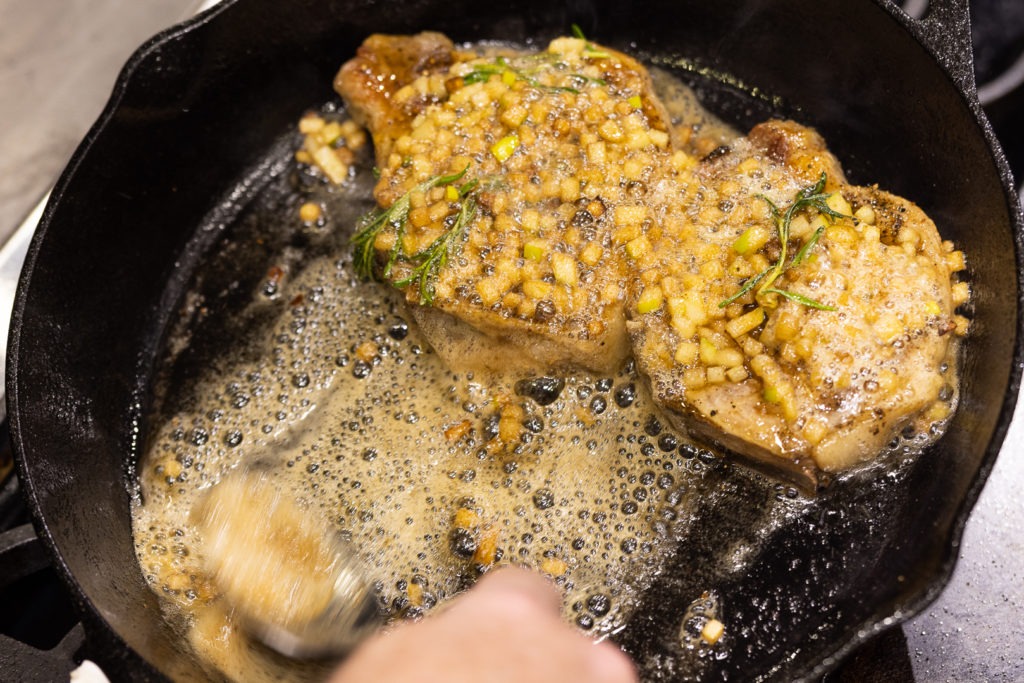
After you’ve started to sear with the melted butter, toss in a tablespoon or two of finely diced apple and keep basting. The apples will caramelize in the hot butter and will also flavor the pork.
Use your Thermapen ONE to check the temperature of the chops after you’ve given them a good baste (30–60 seconds). Look for a temperature no lower than 140°F (60°C).
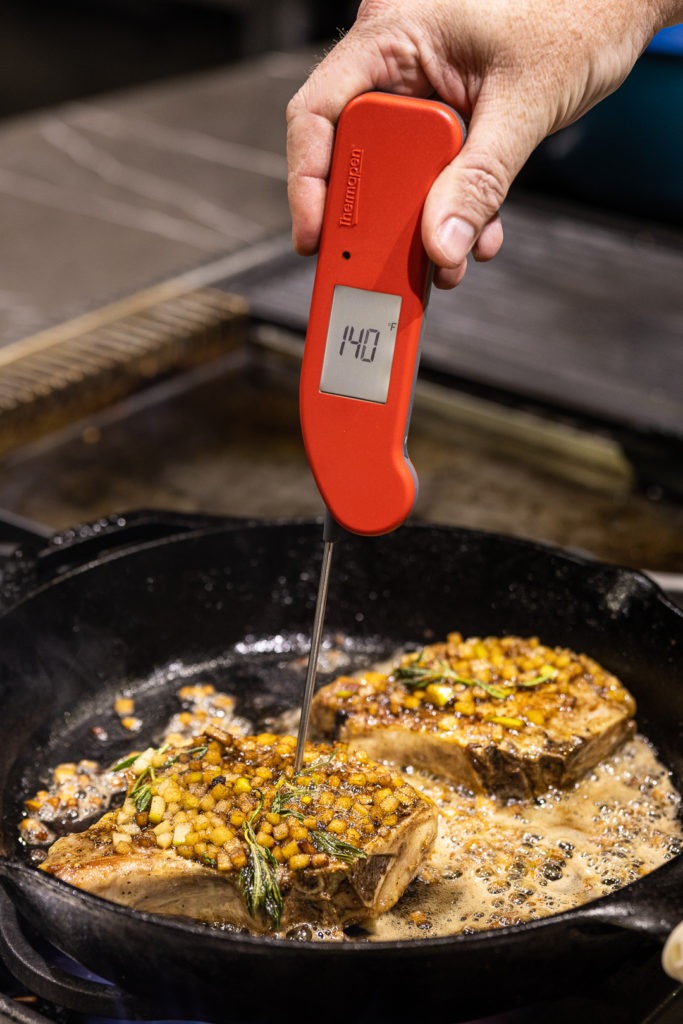
When you serve the chops, do so with the pan-caramelized apples atop each chop. It’s like serving apple sauce with your pork chops only way, way better.
There’s no reason you can’t have perfectly juicy, incredibly flavorful pork chops at home. With some thermal thinking and the reverse sear method, it’s easy enough to make these chops. Try it and make impressive, delicious chops for yourself and your loved ones without any worry. And the apple-rosemary topping is not going to hurt things one bit! Give this process and this recipe a try, then teach a friend how they can have better pork every time. Happy cooking.
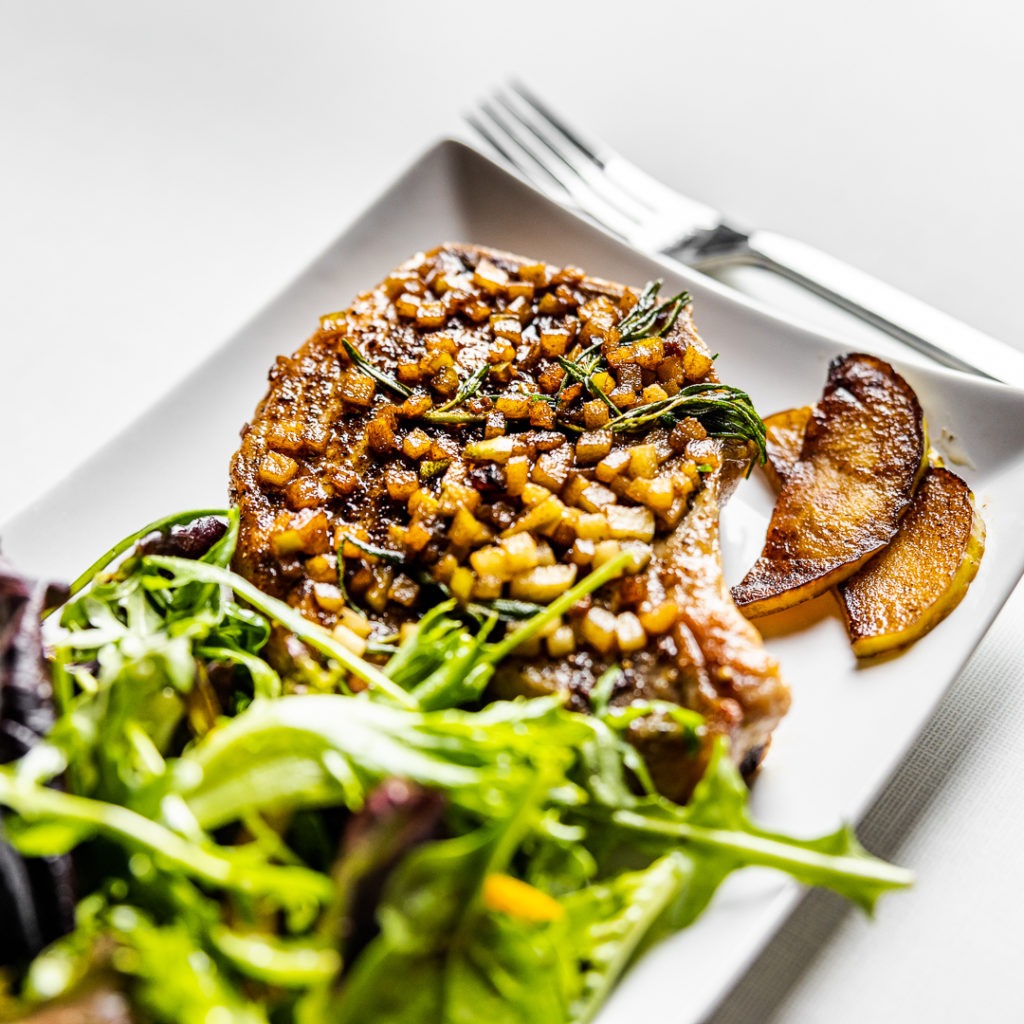
Reverse Seared Pork Chops With Pan-roasted Apples Recipe
Description
Reverse searing pork chops for juiciness and perfect doneness. Flavored with pan-roasted apples.
Ingredients
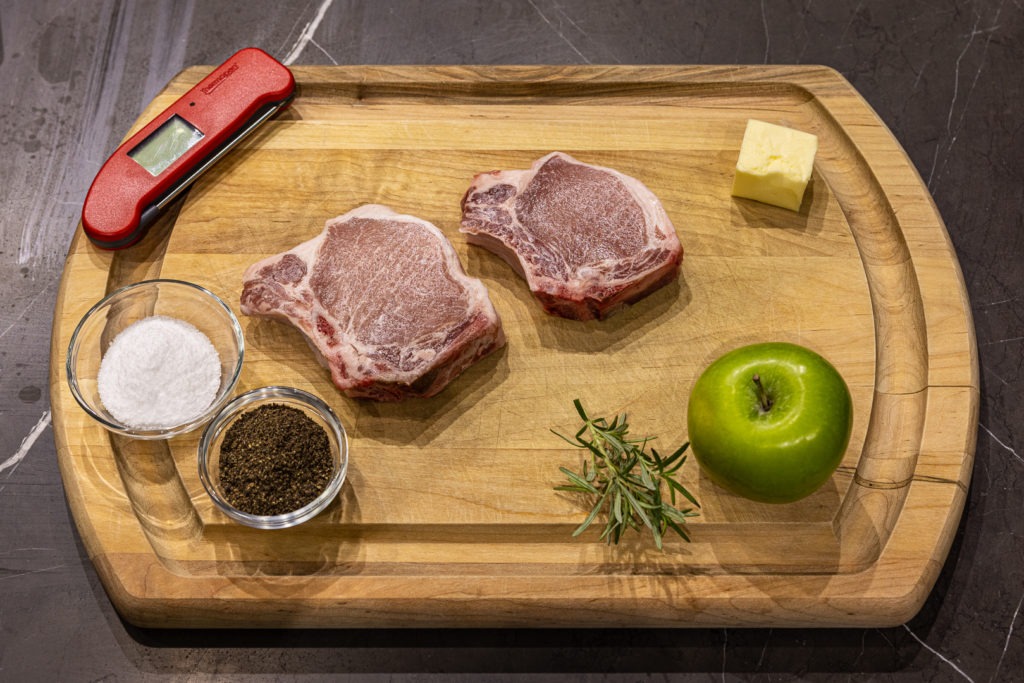
- 2 bone-in pork loin chops
- Kosher salt and pepper to taste
- Non-stick cooking spray or some high smoke point oil
- 2–3 Tbsp butter
- 1 sprig fresh rosemary, cut in half
- 3 Tbsp finely diced Granny Smith apple, plus apple slices for garnish
Instructions
- Preheat your oven to 300°F (149°C).
- Season the pork chops liberally with kosher salt and black pepper. Spray them with non-stick cooking spray on both sides.
- Place the chops on a rack set in a rimmed baking sheet. Insert a probe into the center of the thickest chop. Set the high-temp alarm on your ChefAlarm to 110°F (43°C).
- Cook the chops in the oven until the ChefAlarm high-temp alarm sounds. Remove them from the oven.
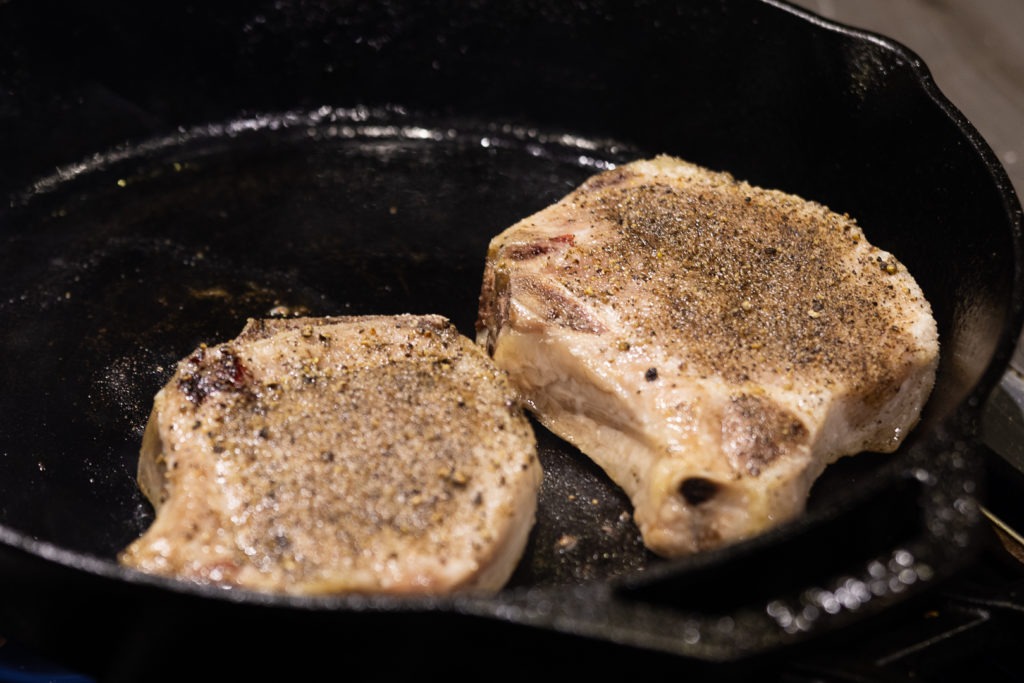
- Preheat a cast-iron or other heavy-bottom pan over medium-high heat for a couple of minutes. Spray the pan with nonstick spray or slick it with a little oil.
- Place your chops in the pan and start to sear them.
- After cooking on one side for about 2 minutes, flip them over. Add the butter to one side of the pan and let it start melting and bubbling.
- Use a hot pad to grab the handle and tilt the pan up toward yourself. Add the sprigs of rosemary to the pool of hot butter and start basting the chops with the sizzling butter by using a large spoon.
- After about 30–45 seconds of basting, add the minced apple to the butter pool and continue basting, moving spoonfuls of butter and diced apple up onto the chops.
- After 30–45 more seconds, start temping the chops with your Thermapen ONE.
- When your pork chops reach a lowest-internal temperature of 140°F (60°C), remove them from the pan, with apples still atop, and let them rest. Scoop out any more caramelized apple bits and top the chops with them.
- If you like, you can sear/caramelize the apple slices you reserved for garnish.
- Serve the chops and prepare yourself for sincere compliments.
Notes
If you want to cook more than two chops, cook them all in the oven together then sear them in batches of two, carefully pouring and wiping out your pan between batches. The chops will be fine sitting on the counter while you cook the ones closer to the front of the line. We cooked four chops with a photo session between the first and second batch, and both batches were equally tasty.
Shop now for products used in this post:



Brining the chops before cooking will help keep them tasty and juicy, too.
That will help, yes!
If you brined, would you use a dry brine or wet?
I’m not sure what Hank will do, but I’d prefer a dry brine myself.
I’m going to try this way of cooking pork chops tonight! I had completely given up on pork chops because they turned out so dry. Now I know why and am grateful to you for sharing how to keep pork chops more tender.
You guys do a great job of teaching in simple terms. Thank you
Thanks for your approach in providing both theory and practice in your blog. By the way, it might be worth emphasizing that thick-cut, bone-in pork chops are always easier cook that either thin or boneless chops. Those boneless center-cut loin chops may look pretty in the store, but they’re destined to be dry.
Great point.
I’ve used this method for many years, but I’ve found that it works much better with chops or steaks that are at least a full inch thick. Thicker is better. Many stores bring in meat that is pre-packaged in a central distribution center, and they cut everything too thin. Ask for what you want, and if the butcher refuses, shop elsewhere.
Agreed!
The best pork chops I ever had were when I found a large pork loin on sale for such a good price I kept standing there deciding what I would do with it all. The butcher came by and asked me if I needed some help. I talked to him about my cutting it into boneless chops. He offered to cut it into boneless pork chops for me, and leave the smaller ends for me to make a different dish with. He asked me how thick, and I said THICK. They were about 1.5 inches thick and I’ve never had better. At home, I thinly sliced up the smaller/irregular ends of the loin for an asian dish later that week. Pork Success!
And don’t buy those really thin chops. Get chops about 1″ or thicker. The thin ones cook through before you know it!
Yes!
Can the chops be smoked first to the 110 F on a smoker, then proceed on to the reverse sear portion of the recipe? If so, what smoker temp should be used?
Oh, by all means! I’d keep the temp low, because it won’t take as long to get to temp as, say, a pork butt. 225°F would be my advice, maybe up to 250°F. Those will be tasty.
I cook a bunch of porkchops sous vide to 138 degrees, sealed with butter, rosemary, and garlic, then freeze them. To serve them, I thaw them, microwave them on medium power to about 110 degrees, sear them in a pan at about 600 degrees, and then top them with a compound butter flavored with garlic, rosemary, and Dijon mustard.
Sounds DELISH!
This method looked and tasted great. However, I would like offer a tip to hopefully help somebody from making the same mistake I did. instead of following the instructions to the letter I thought it would be a good idea to leave the probe in during the searing and just wait for the alarm to go off at 140. However, the butter getting on the end of the probe didn’t do it any favors and I have an order in for a new temp probe. Probably would have worked if I had used one of my Sous Vide water proof probes but oh well. lesson learned.
Thanks for the recipe. It is a winner.
Bart,
I like where your head was on that, but, as you found out, the probes don’t like that much hot oil! It gets in the seals. I am not sure how the sous vide probe would fare. It has a cable max temp of 500°F and a “full immersion” max temp of 392°F, so it might be ok. And though I’d love to sell more probes, I think the best bet might be to use an instant-read like Thermapen and check regularly.
Excellent recipe. My husband said it was restaurant quality and I even over cooked it. Still delicious!
I really wanted to make this recipe. After reading it several times, I am going to forgo. Too many steps and scrolling up and down I don’t want to miss a step
If you click “print recipe” on the recipe card, it will give you a version with all the images removed for easier reading. It fits easily on one page.
I made this tonight. I long ago mastered a reverse sear ribeye. This is definitely just as good if you want to skip the red meat. Delicious!
Only negative would be that I eat my pork at 125–danger of “undercooked” pork way overstated and out of date. A lot easier to have a juicy one at this lower temp!
No No No
SMOKE at 225 until the chop reaches 110 then sear on hot grill or turn up smoker to 500 or more. Then sear to 140 internal temp. You can add bbq sauce during the sear for a great bbq chop!