The Thermodynamics of Ice Cream Made With Dry Ice
When we think about heat transfer with food, cooking is typically what comes to mind. But food can absorb heat or release it. The thermodynamic process of releasing energy from food is what takes place when making ice cream. We have a super cool method for freezing ice cream that may have you whipping up batch after batch all summer long!
Thermal energy exists in EVERYTHING around us, and that energy is constantly in motion through all phases of matter. In cooking, heat is transferred by means of roasting, grilling, deep-frying, and boiling to physically change the structure of proteins, starches, and fats in a way that makes food more enjoyable to eat.
Heat energy has to be transferred out of ice cream in order for it to to freeze. When heat energy leaves the liquid ice cream base by being transferred to something colder nearby, like ice water or dry ice, its room temperature molecules slow down and arrange themselves into fixed positions, turning the cold substance that was once a liquid, into a solid.
Long story short, thermal energy in the form of heat either flows into a system, or out of a system.
What’s Going on Inside Ice Cream?
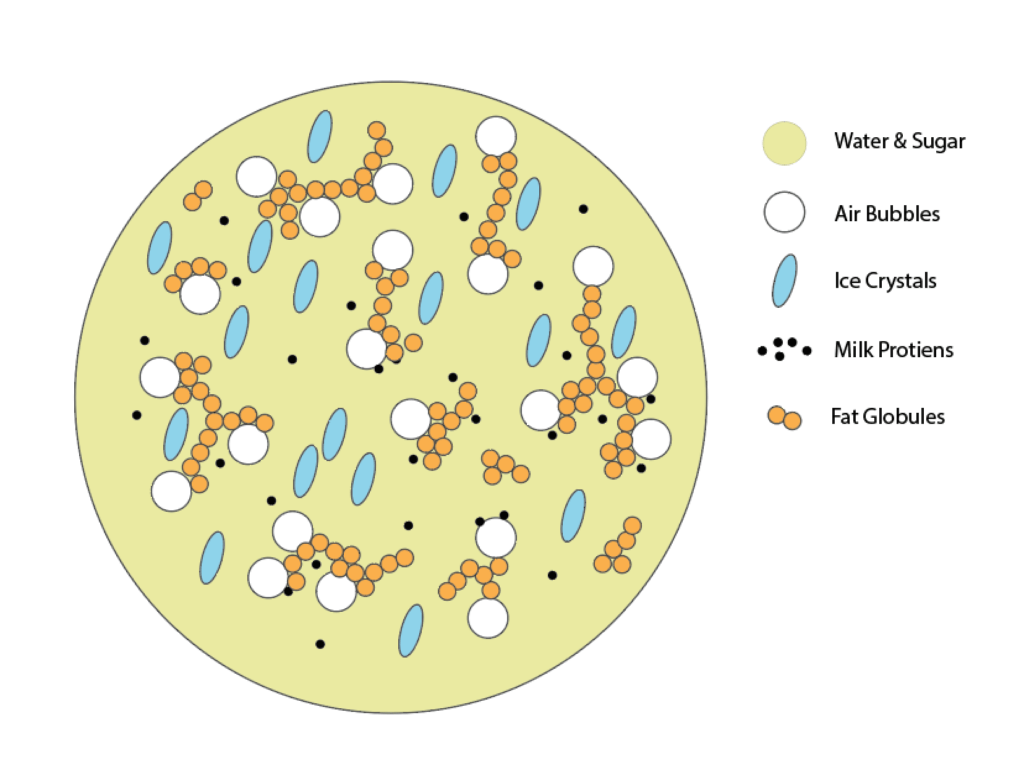
There’s more going on inside a scoop of ice cream than meets the eye. What seems like a solid structure is actually a uniform suspension of all the ingredients. This process is all about transferring heat out of the liquid. The ice cream base’s thermal energy needs to be rapidly released, while being kept in constant motion, to create that uniform suspension. Traditionally this process is done by spinning the liquid ice cream base surrounded in an ice bath with a traditional ice cream churn. But for this project, we’re going to use dry ice to help us very rapidly release energy from the liquid.
Ice Crystals

The constant stirring motion of the paddle or dasher in the ice cream maker (or, in our case, stand mixer) disrupts the freezing process as ice crystals are forming, breaking them into millions of tiny particles. To form the smaller crystals that make ice cream particularly smooth and creamy, the energy release needs to be rapid and the speed of the paddle needs to increase as the temperature of the mixture decreases.
Air Bubbles
As the ice crystals develop while the custard is in motion, it is also essentially whipped. Millions of tiny air bubbles are developed and dispersed evenly during churning, similar to how air is incorporated when butter and sugar are creamed together when making cookie dough. The increase in volume from incorporated air (referred to as overrun) accounts for up to 50% of the mixture’s volume. Adequate overrun is essential to hold all of the ingredients together in an even suspension. Without the air bubbles, ice cream’s texture wouldn’t be soft at all and you wouldn’t be able to scoop it. It would form a solid brick, like other frozen liquids.
Fat
Fat from the milk and heavy cream (and egg yolks in some ice cream bases) are miniscule globules suspended in a liquid. The networks of fat globules are broken down into finer particles in the freezing and churning process, making the finished product more smooth. Milk (from liquid milk and added dry milk powder) and sometimes egg proteins help to stabilize the fat, emulsifying the custard mixture.
Sugar
Sugar accounts for about 12-16% of the final weight of the ice cream and it does more than just sweeten the mix. It bonds with the water and lowers its freezing point to 14°F (-10°C), which is the ideal serving temperature of ice cream. Part of the water in the mix will actually remain liquid (about 28%), making the ice cream soft at temperatures where water would normally be frozen solid.
This process of emulsifying the milk fat mixture through aeration and freezing is called partial coalescence: each component is held in even suspension. The goal when making ice cream is to get the ice crystals and air bubbles as small as possible to achieve a smooth texture. Each air bubble is surrounded by a thin layer of milk proteins embedded with fat globules. The faster the ice cream base’s temperature drops, and the faster it’s mixed during the process, the smoother it will be. To rapidly freeze the custard to temperatures below freezing, a very cold tool is needed: in this case, solid CO2, AKA dry ice.
Dry Ice: A Super Cool Thermal Tool
Solid carbon dioxide is a chilly -109°F (-78°C)! This extremely low temperature can damage skin on contact, and must be handled with care. Dry ice changes phases from a solid directly to a gas state, skipping the liquid phase. This type of phase change is called sublimation, and we are going to put this phase change to work as a tool to perform rapid heat transfer.
In this method, crushed dry ice very rapidly transfers the heat energy from the liquid ice cream base into the surrounding atmosphere as its phase changes from a solid to a gas.
With traditional ice cream makers a vessel with a paddle (or dasher) in the middle is filled with the liquid ice cream base and kept in motion while heat energy is transferred exothermically by heating the low temperature ice bath around it. In our method using dry ice, the heat energy is released from the inside out. The solid CO2 is added to the ice cream, but disappears almost instantaneously as it quickly warms and becomes a gas, taking the liquid’s heat energy with it out into the surrounding air. In this application the dry ice isn’t actually an ingredient, it is a tool. Cool, huh?!
This is one of the tastiest phase change science experiments you’ll ever perform. You can use the recipe listed here from ChefSteps’ Soft Serve post, or any ice cream, gelato, or sherbet recipe that tickles your fancy. To prevent the possibility of a bubbling-over mess, be sure that the total volume of the liquid base does not exceed about 1-1/2 to 2 quarts.
Simple Vanilla Ice Cream
Ingredients
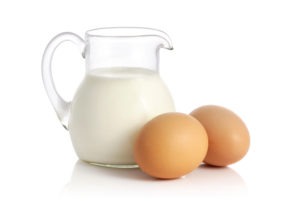
- 2 lbs 3.3 oz (1 kg) Whole milk
- 8 oz (225 g) Granulated sugar
- 3.5 oz (100 g) Heavy cream
- 3.4 oz (95 g) Nonfat dry milk powder
- 1/2 oz (12 g) Vanilla extract
- 1/8 oz (3.5 g) Salt
Tools and Equipment
- 2 lbs (900 g) Dry ice
- Ice cream cones
- Stand blender or immersion blender
- Stand mixer with paddle attachment
- Clean towel(s)
- Disposable piping bag with medium round tip
- Hammer or mallet
Method
- Scale all ingredients and place into a blender. Blend until smooth, about 1 minute. Or, place all ingredients into a medium sized bowl and process with an immersion blender until smooth.
Pour ice cream base into a medium saucepan and heat to 176°F (80°C), stirring occasionally. Use a Thermapen® Mk4 to spot check the temperature.
- Quickly cool the liquid ice cream base by placing it into an ice bath, or refrigerating overnight. This will speed up the freezing process, yielding a smoother product. Chill the ice cream base to the temperature range of 35-39°F (2-4°C) before freezing.
If carried out at a high enough temperature (above 170°F [77°C]), cooking can improve the body and smoothness of the ice cream by denaturing the whey proteins, which helps minimize the size of the ice crystals. —On Food and Cooking, Harold McGee
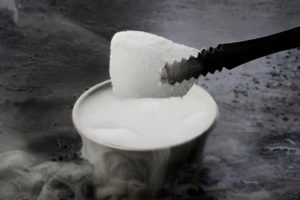
- Wearing gloves, place dry ice in the kitchen towel, wrap well, and smash it with a hammer to break the dry ice into pieces. Working in small batches, blend the dry ice into powder in a blender. Transfer the powdered dry ice to a bowl.
- Pour the ice cream base into the bowl of a stand mixer fitted with the paddle attachment. Begin mixing on low speed adding a small amount of the dry ice at a time. The mixture will bubble up. If too much dry ice is added at once it will bubble over the top edge of the bowl—it’s important to go slow in the beginning. Wait for the bubbling to die down a bit before adding more dry ice.
- Once the mixture begins to thicken, increase the mixer’s speed to ensure the development of small ice crystals. At this point you can begin adding the powdered dry ice more quickly. Continue paddling on medium speed and adding powdered dry ice until the ice cream is thick and smooth—like soft serve.
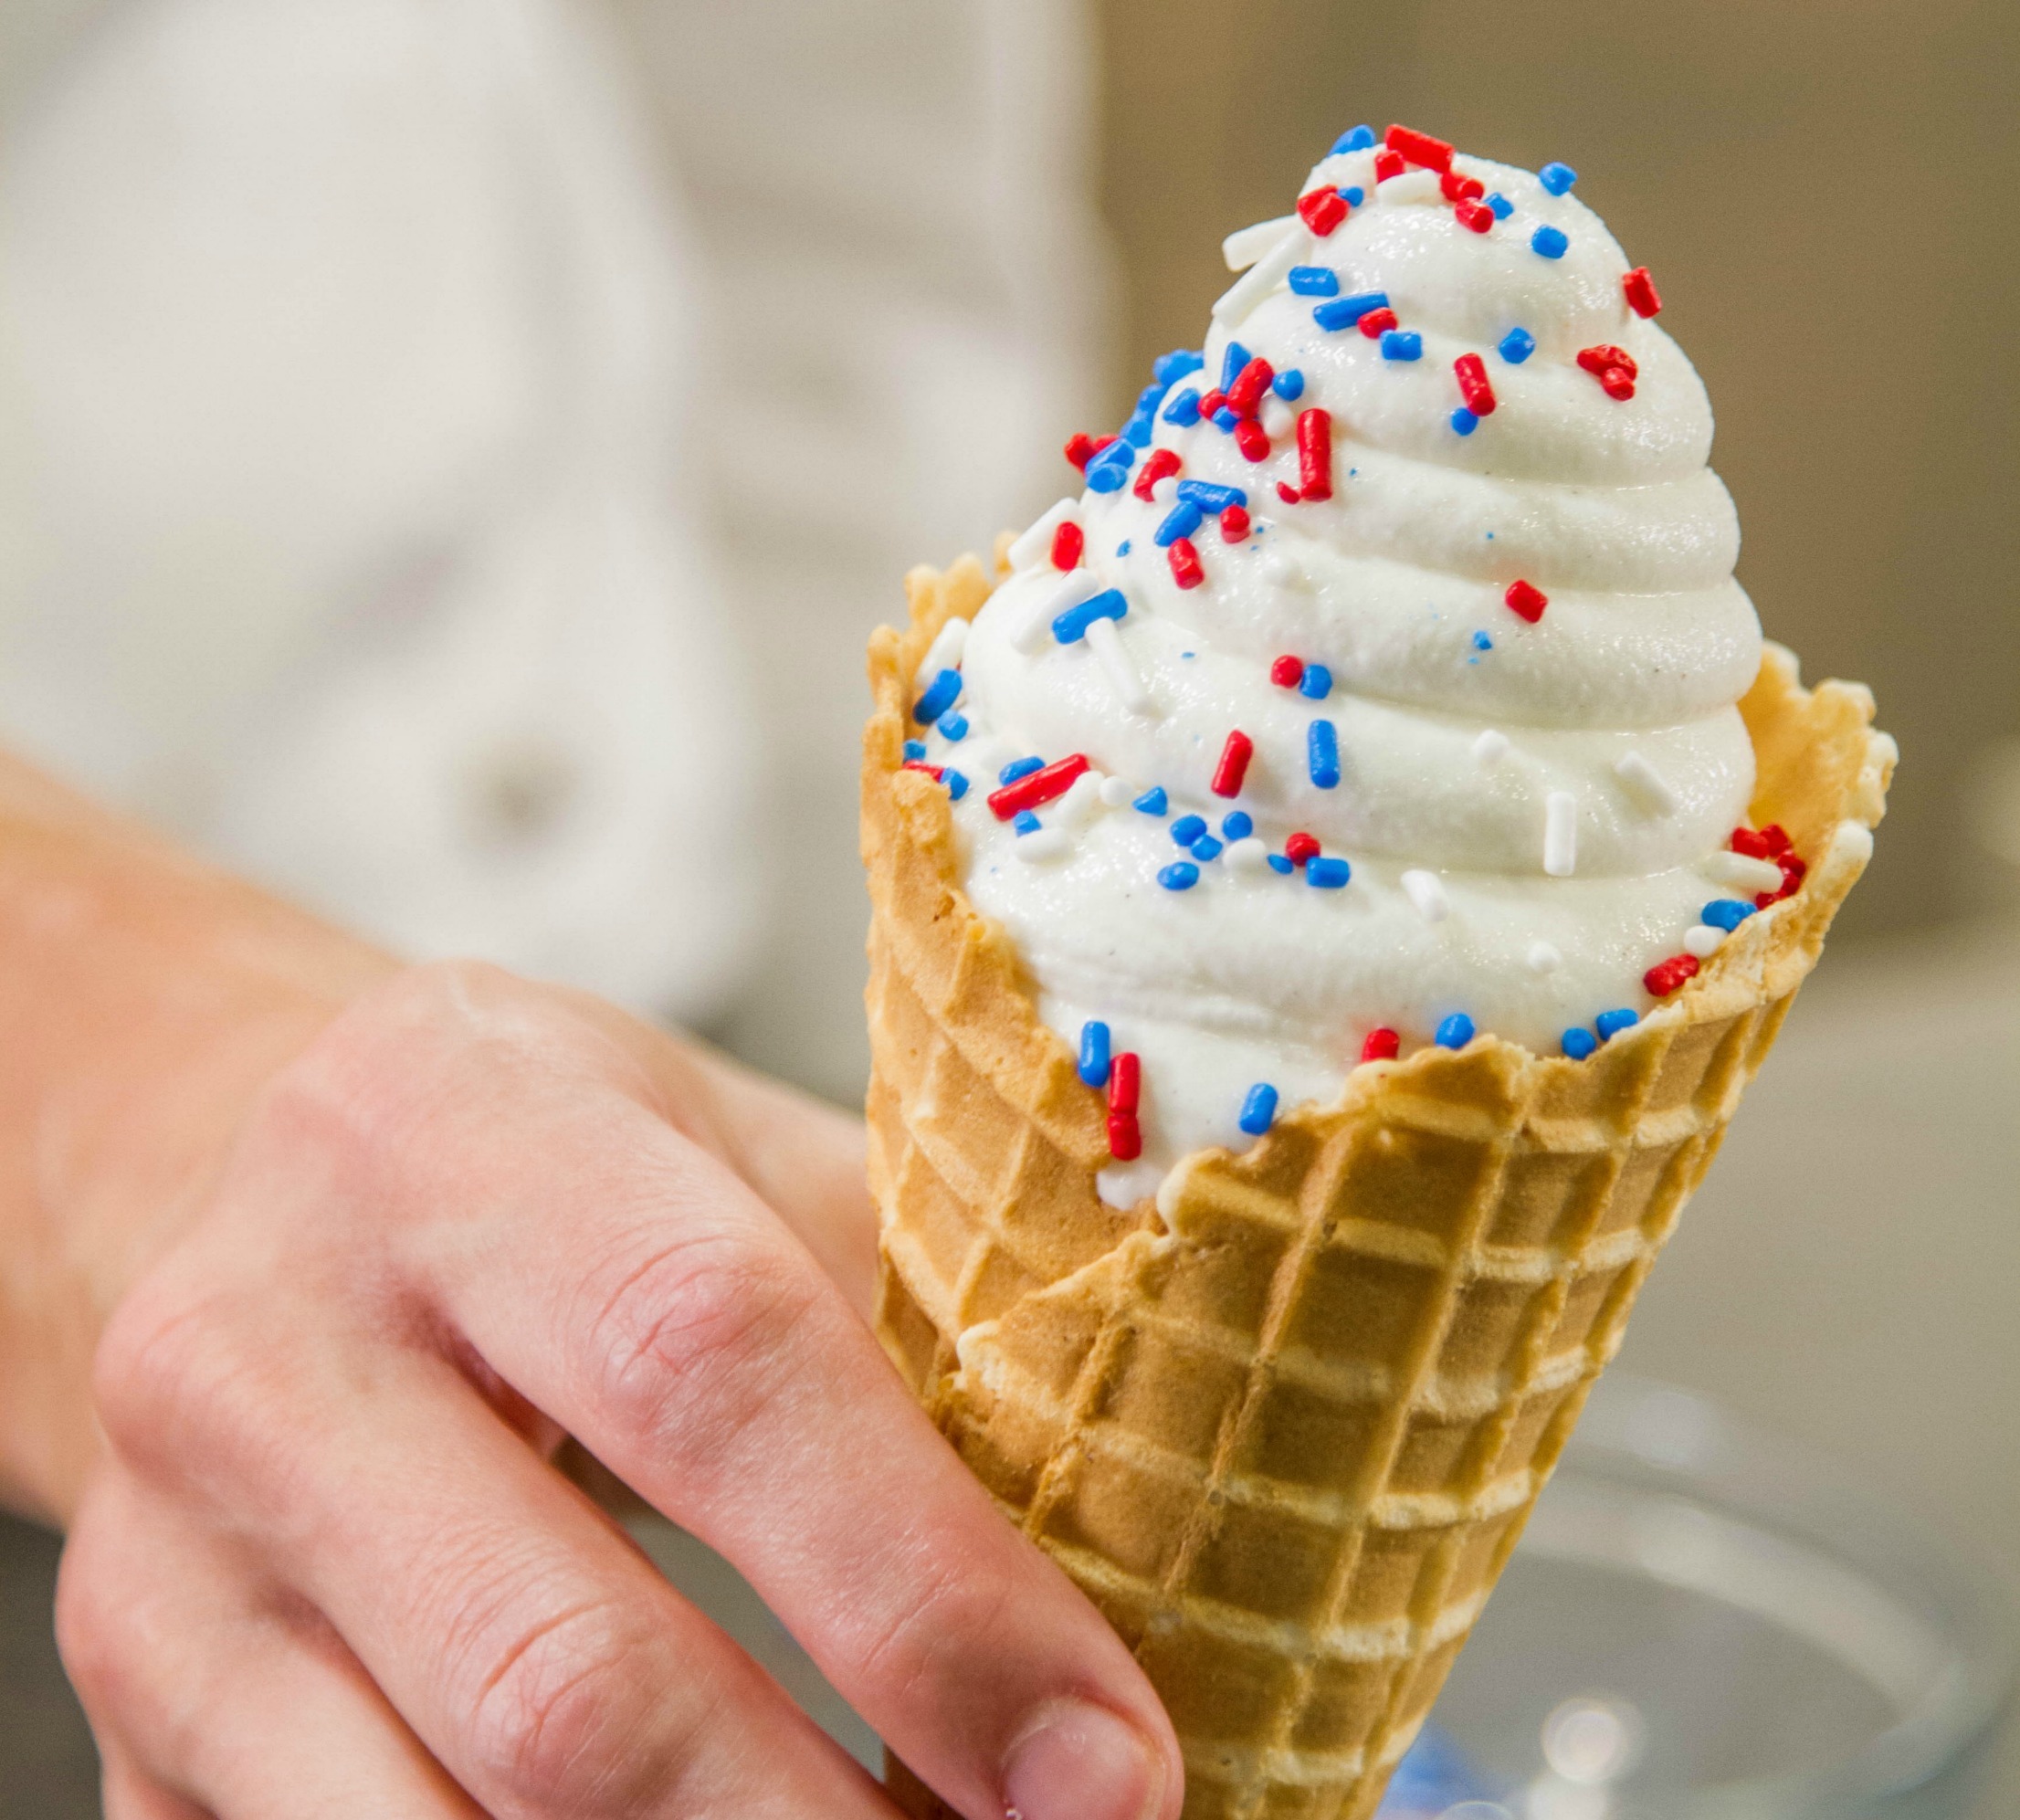
- Fill a piping bag with your ice cream and pipe it into cones. Or to harden the ice cream transfer it to a chilled container, place plastic wrap directly onto the surface of the ice cream, cover with an airtight lid, and freeze overnight.
For easy serving of frozen ice cream, use an ice cream scoop with heat-pipe technology.
Products Used:

Resources:
Soft Serve Ice Cream, ChefSteps
Frozen Desserts, by Francisco Migoya (Head Chef at Modernist Cuisine)




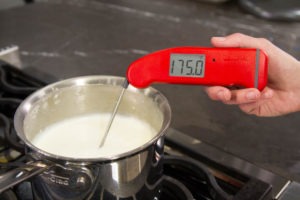 Pour ice cream base into a medium saucepan and heat to 176°F (80°C), stirring occasionally. Use a


This is so cool!!(no pun intended!) I am a teacher and this would make a great science experiment for my class! Also, I love to cook, I have a KitchenAide mixer but no ice cream maker. Now I can make ice cream without having to buy an ice cream maker!
Marjorie,
Yes! This would be an awesome school science experiment! We have been very pleased with the results with the powdered dry ice ice cream method time and time again. And you can use this method with any ice cream, gelato, or sorbet base. Have fun!
Thank you,
-Kim
I knew a physics professor who would go out into the schools and make ice cream using liquid nitrogen.
Lynda,
Yes! Liquid nitrogen is a very cool culinary tool, too. Dry ice is -109°F, and liquid nitrogen is -321°F–and that’s a huge difference! We are planning to use liquid nitrogen in the future.
Thanks!
-Kim
I had two questions on this. First can you use the glass bowl with a kitchen aid or does it need to be the metal bowl? And also will this work with any ice cream recipe such as a gelato or recipes that use eggs? Thank you.
Alan,
A glass mixing bowl should work just fine. It may be a good idea to chill the bowl in the freezer beforehand so the extreme cold temperature of the dry ice isn’t such a shock to the glass. And yes! You can use any ice cream, gelato, or sorbet base with this method. Have fun!
Thank you,
-Kim
I tried the technique, but unfortunately ended up with a very ‘carbonated’ tasting ice cream. Any experience with that or any idea as to why it happened and how to fix it? Thanks!
Noam,
We have heard of some people describing a carbonated taste with their dry ice-ice cream. Some recommend paddling a little bit longer in the mixer after all the powdered dry ice has been added. Also, letting it “cure” in the freezer overnight seems to alleviate the taste completely. To bring the soft serve texture back, paddle the solid ice cream in your mixer until it’s smooth enough to pipe.
Thanks,
-Kim
In your article, you suggested that dry ice changes phases from a solid directly to a gas state, skipping the liquid phase. My son came home from school wanting to do a science project involving dry ice. Are there certain conditions that the dry ice needs to be kept in?
Derek,
This is a fun project to do with kids! Buy the dry ice right before you plan to make the ice cream. Since it is solid at such a low temperature, even storing it in the freezer isn’t cold enough, and it will have turned into a gas if you try to hold it in the freezer overnight. Just crush the ice right before you plan to use it, and you’ll be fine!
Thanks,
-Kim
Where does a person buy dry ice? You talk about it as if it’s readily available, like in supermarkets (“Buy the dry ice right before you plan to make the ice cream”), but I’m 75 years old and have never seen it in any store.
Dry ice is available at most local grocery stores in a freezer near the front. If you don’t see it, just ask an employee for help and I’m sure they would be happy to assist.