How to Smoke a Brisket Flat: Tailgating Temperatures
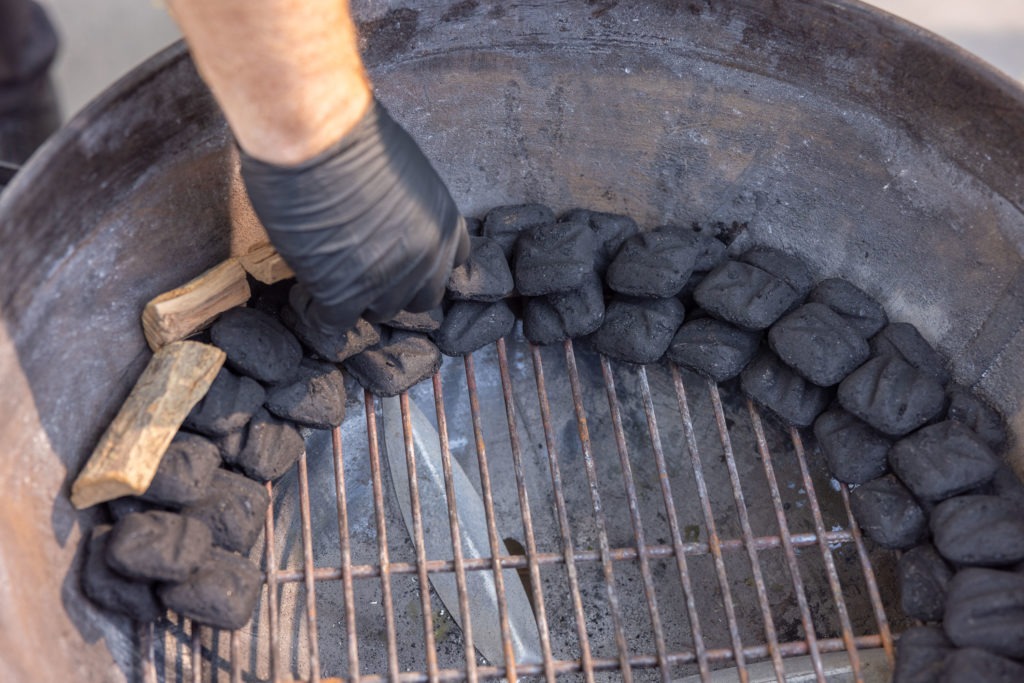
Tailgating is a sport unto itself. Who has the best canopy? Who has the best sound system? Who has the best food? You don’t have to bring a trailer offset smoker to BBQ at the game, though. Bring a kettle grill, set it up with a charcoal snake around the edge, and you can smoke with the best of them on game day.
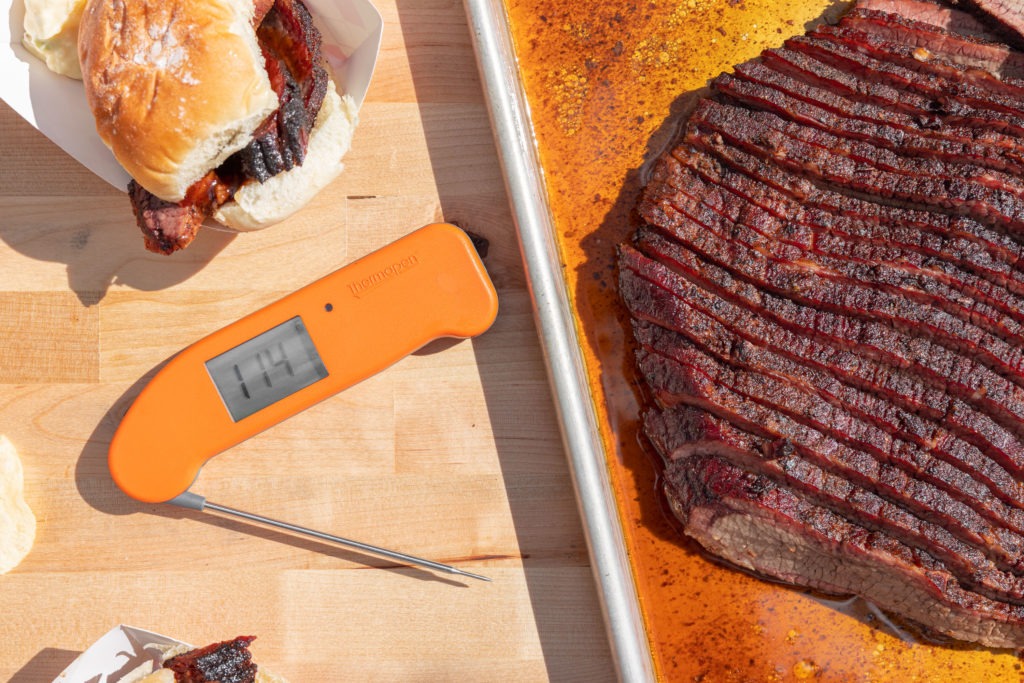
Brisket Flat temperature: 200–203°F (93–95°C)
If you love tailgating and BBQ but don’t want to stay up to tend a whole packer brisket the night before a game, then we have a solution for you: smoked brisket flat. Cooking just the flat of the brisket is a great way to tailgate—it’s ambitious, but achievable with the right thermal methodology.
We know a tailgate can be an all-day affair, and if you don’t have something meaty when halftime rolls around, your crowd will get angry. Give this method for brisket flat a shot and win your tailgate, no matter what happens to your team. Come along and we’ll show you how to get delicious sliced brisket in about six hours flat—the time it takes to smoke some ribs.
Contents:
Brisket flat benefits
Some may balk at the idea of using only the flat of the brisket, but even putting aside the convenient fact that flats are often easier to find than whole packers, there are some serious advantages to a partial-brisket tailgate.
The first and perhaps greatest advantage is that a brisket flat is thinner and of uniform thickness, and that means that it has better thermal properties. A whole brisket is strangely shaped with some parts that are about 6” thick and some that are only 2” thick. That’s not a recipe for even cooking. In fact, this is why so many briskets that you have eaten have had bad flat: in the process of proper point cooking, the flat can dry out. Cooking the flat alone gives you greater thermal control.
(To learn more about cooking whole brisket, take a look at our Brisket 101 post!)
The thinness also leads to a second advantage: brisket flat cooks so much faster than whole packers do (done in as little as 6 hours). Depending on the size, you can cook a flat in the time it takes to cook some baby back ribs. That makes getting to your game-day celebration on time a lot easier! And with a leave-in probe thermometer that lets you wander around, like Smoke X2™ with its long-range RF receiver, you can easily keep an eye on your flat while you enjoy the game-day festivities.
Finally, the last advantage I’ll mention for cooking brisket flats is the ease of service. With only one grain direction on one muscle, you only have to slice it and go. Cut it across the grain all the way across the meat and it’s not a problem—certainly easier than cutting a whole brisket!
Brisket flat challenges, brisket flat solutions
1—Connective Tissue
- Cooking Brisket flat does present some challenges. It is still brisket after all. For instance, you need to dissolve a lot of collagen into gelatin for that tender, fall-apart meat experience. Of course slow cooking takes care of that problem by allowing the whole piece of meat to cook at collagen-dissolving temperatures without burning. That’s why brisket is such a famous BBQ meat!
2—Leanness
- In addition to having loads of connective tissue that make it a naturally tough muscle, the flat of the brisket is also quite lean. The point is shot-through with fatty marbling, but the flat is relatively lean. This leanness can lead to drying out during the cook, if we’re not careful.
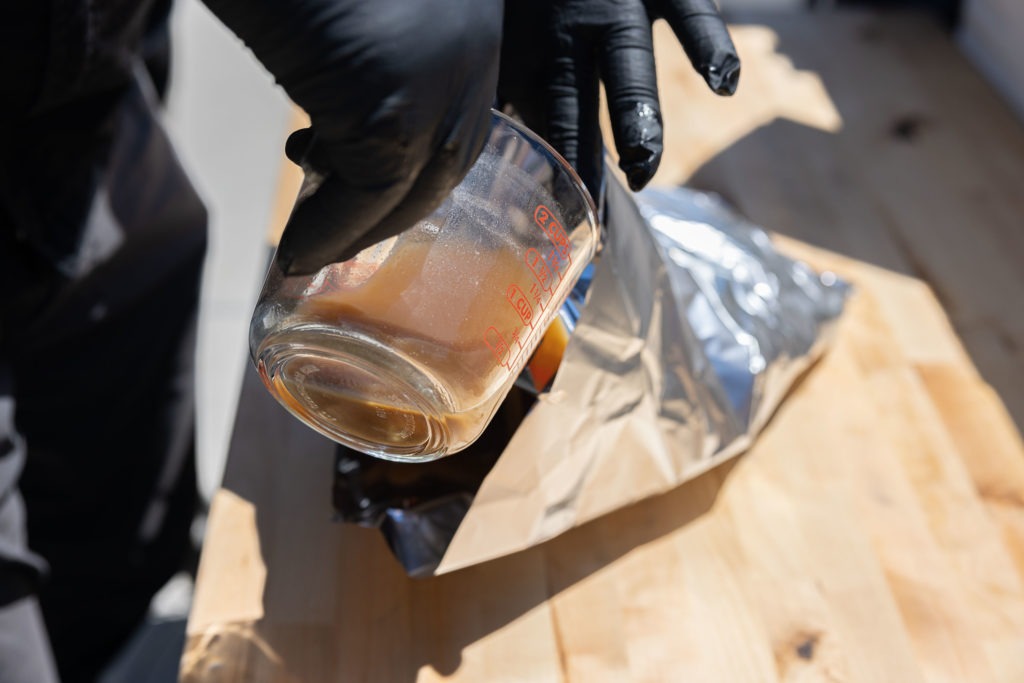
To combat the leanness problem, we’ll do two things: take advantage of the fatcap and add some liquid. Most brisket flats come trimmed on one side with the fatcap remaining on the other. Malcom Reed of the Killer Hogs BBQ team leaves the fatcap untouched when cooking a flat and cooks the brisket with the fat side down. This offers a layer of insulation between the meat and the heat source, keeping the meat on the bottom from drying out too quickly. He also recommends adding a cup of beef broth to the wrapping during the crutch (more on that in a second), which the meat can partially soak up as it rests. While not much broth will actually go into the meat, the added moisture in the cooking environment will speed our journey through the stall, getting your meat done faster with less time to dry out. Plus, you get BBQ seasoned beef broth for dipping later, which you won’t complain about, I promise.
3—The Stall
- The final obstacle that brisket flat presents is the stall. Yes, even without the point, your meat is still going to hit a stall when the proteins start to constrict and squeeze out their inner water reserves. That water then makes its way to the surface where it starts to evaporate and cool things down. You’ve heard of the meat sweats, right? These meat sweats stop your meat from cooking further for a long time.
As usual, we’ll combat the stall with a crutch. Wrapping the meat in aluminum foil when it reaches 160°F (71°C) (or develops a reasonable bark) will prevent evaporative cooling and will allow your meat to continue to cook relatively quickly. As I said above, we’ll add some broth to the wrap to increase moisture content—and also to make a delicious sauce out of later.
Smoked brisket flat temperatures
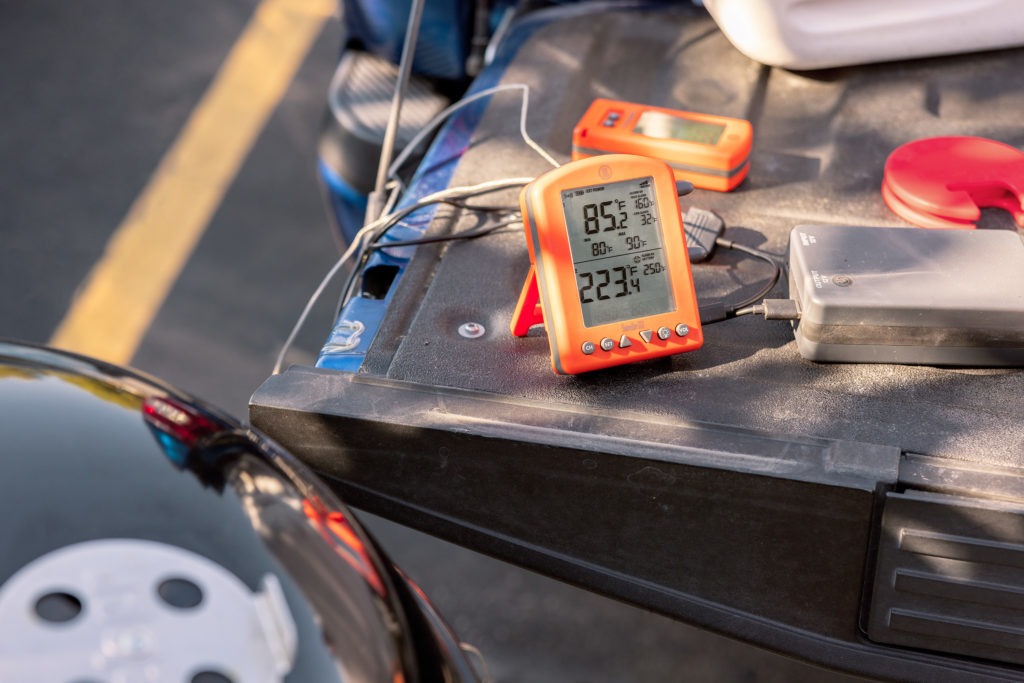
There are a few key temperatures of which we should take note when cooking brisket flat. The first is the cooking temperature. You’ll want to smoke brisket flats between 250°F and 275°F (121°C and 135°C) for a nice balance of speed and moisture control. Set the pit-channel on your Smoke X2 to have a high alarm at 275°F (135°C) and a low alarm at 250°F (107°C). That way you’ll be alerted on your phone if the pit temperature spikes or stalls out and needs attention.
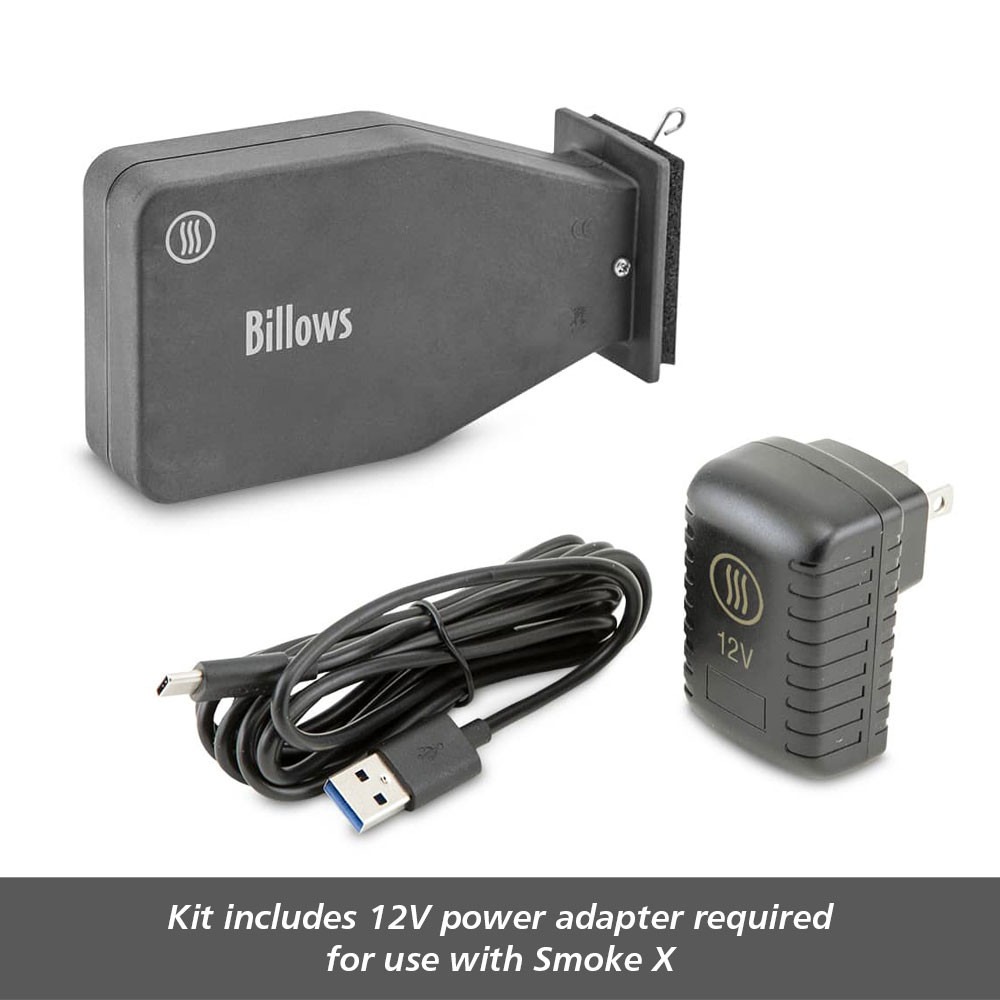
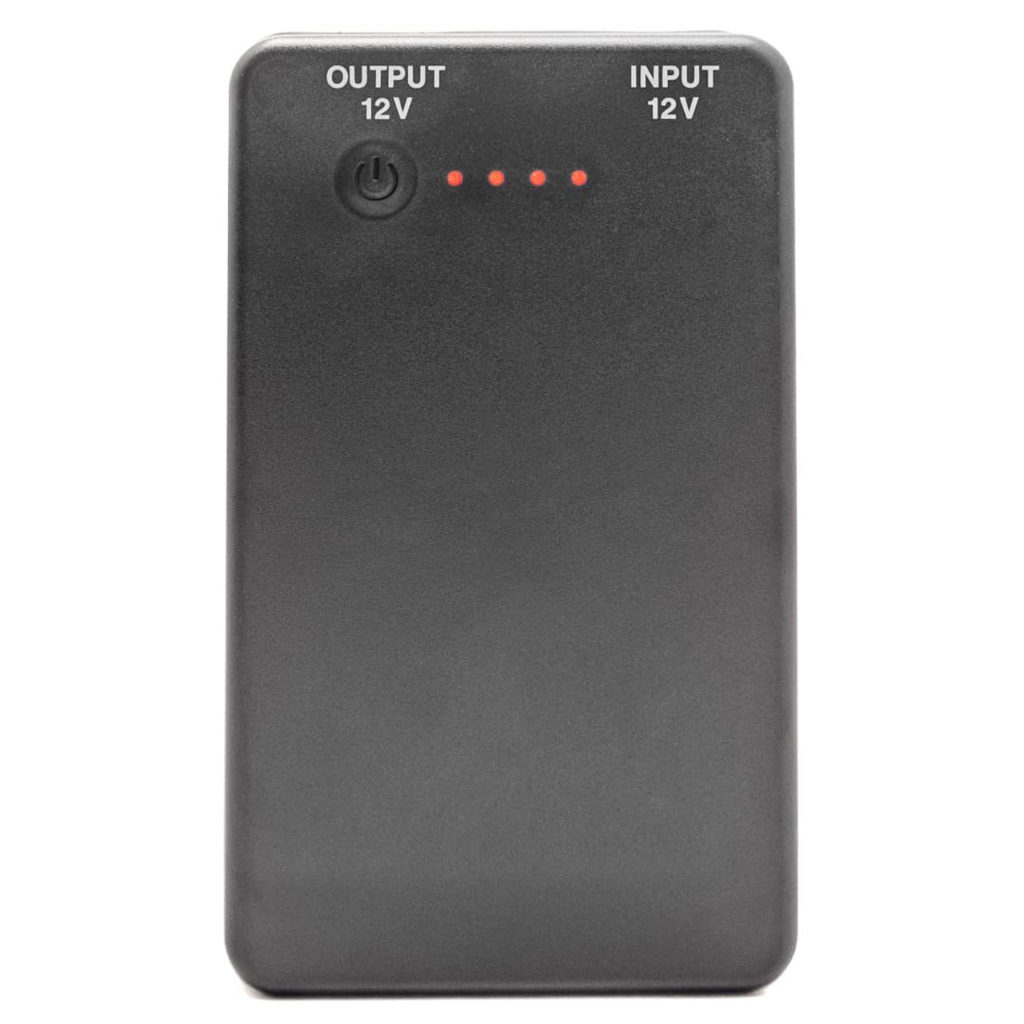
Or, even better, use Billows™ BBQ Temperature Control Fan to regulate the temperature in your smoker. Set the target temp on your Smoke X2 and Billows will give your fire just enough air to keep it right where you want it. (And if you don’t have anywhere to plug your Billows in, like in a parking lot, you might want to check out the Billows 12V Battery Bank that allows you to use Billows wherever you are for 24 hours when fully charged.)
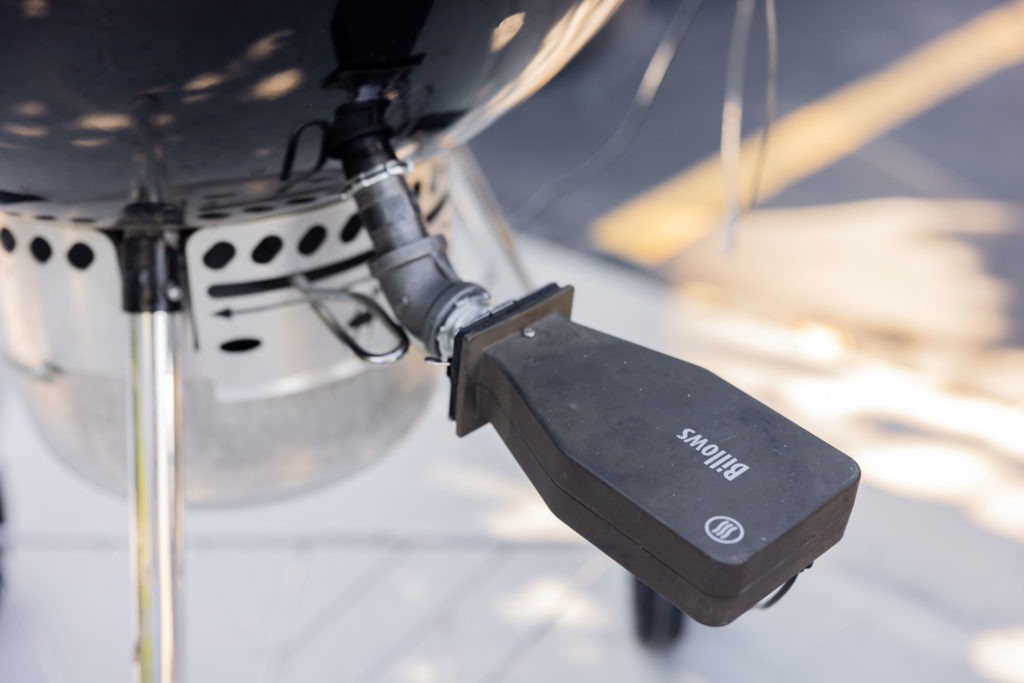
To wrap your brisket for the stall, set the high alarms on your meat channel to 160°F (71°C)—the approximate temperature that the stall starts. When your brisket reaches that temp, you can take it out and wrap it.
The advantage of using a multi-channel thermometer is fantastic. Though we thought we had set up our charcoal snake correctly, I found that we experienced a pretty solid temperature drop during the cook. I saw it from inside, where I was cooking, and was able to go see what was wrong. It turns out that our wood chunks had been adding more heat than we expected, and when they ran out, the temperature dropped. We added more charcoal to the snake and the temp went right back up.
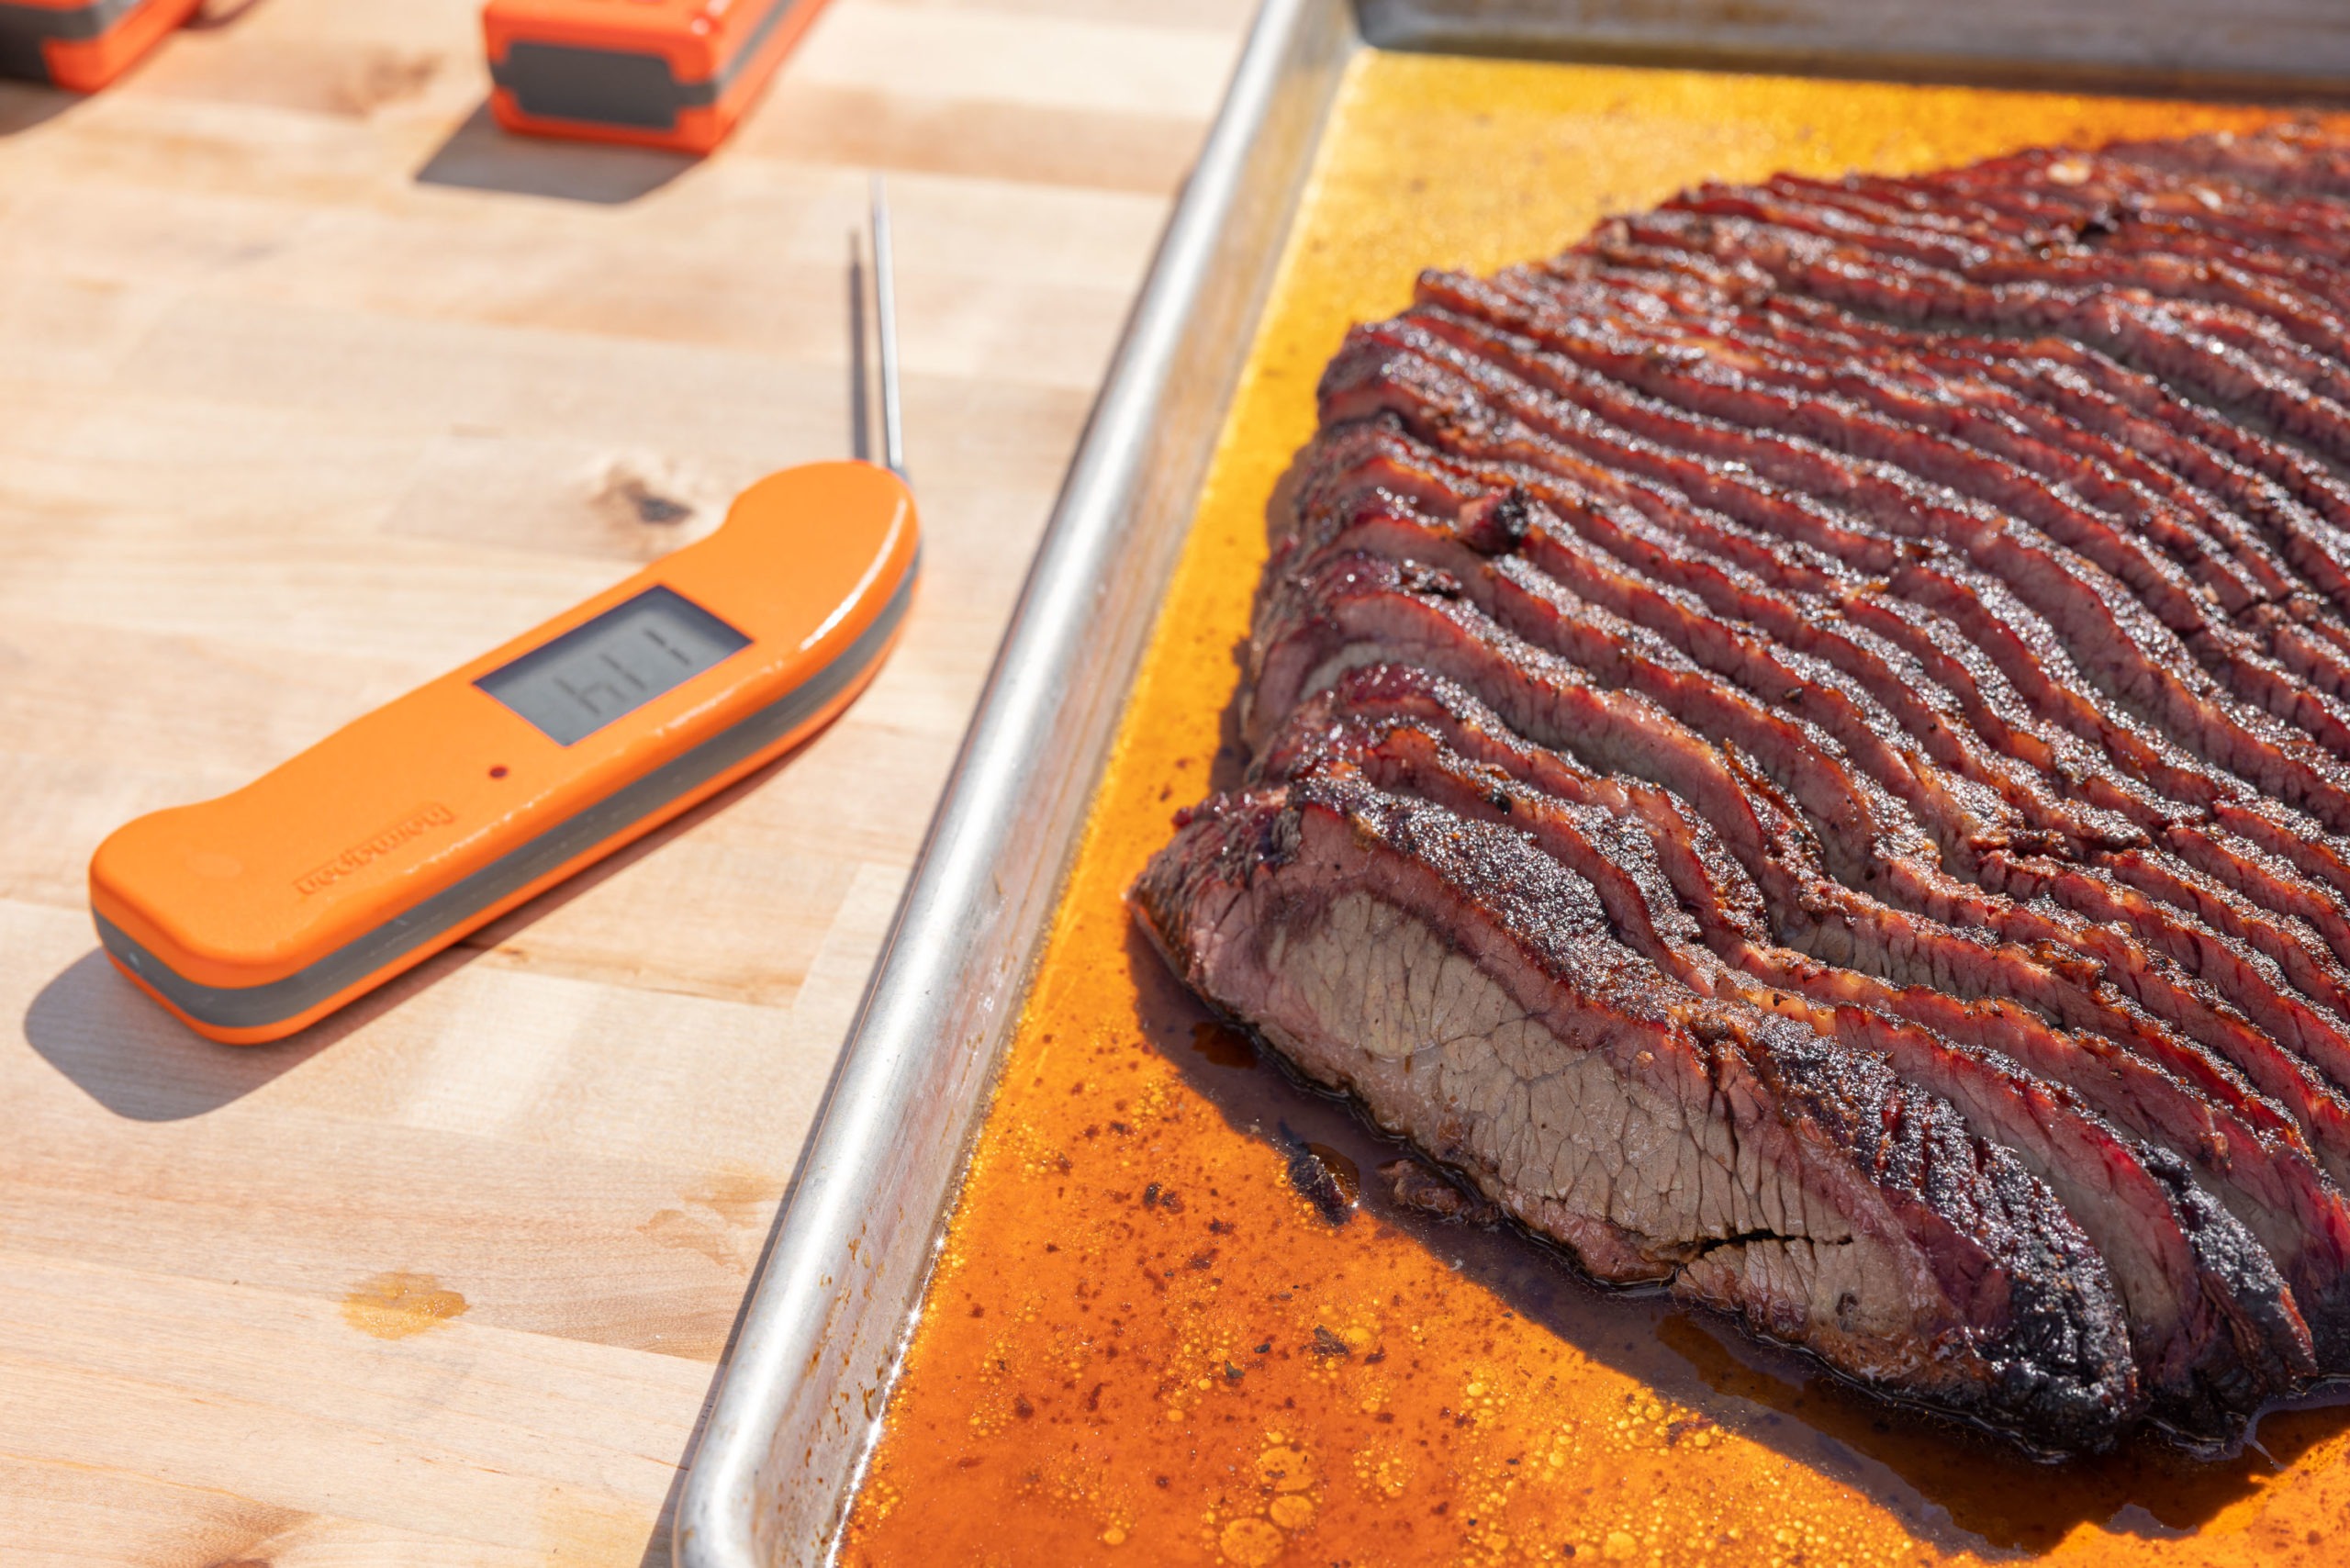
Once you wrap your brisket, reset your high-temp alarm for 200–203°F (93–95°C) to finish cooking. Let the brisket rest (preferably in a cooler) for an hour before slicing thin and digging in! (I know we usually recommend cooking to 203°F [95°C] for briskets, but because of the leanness on this cut, you might want to use a slightly lower pull temp—judge it based on your flat’s fat content and its probe-tenderness when you get to temp.)
On smoking at the tailgate
A brisket flat is a great way to push yourself and your tailgate game. It’s ambitious for the time you have, but the payoff is well worth the effort. Its thermal properties are fairly easy to handle, especially if you employ your Smoke X2 and Billows. Throw one on your kettle—or any other smoker—and win your tailgate, no matter how your team fares.
Smoked Brisket Flat Recipe
- Cook Time: 5–6 hours
- Total Time: 0 hours
Description
Smoked brisket flat, following Malcom Reed’s method.
Ingredients
- Brisket flat
- Yellow mustard
- BBQ rubs of your choice (equal parts by volume salt and pepper is a great way to go, though!)
- 1 C beef broth
Instructions
- Preheat your smoker to 250–275°F (121–135°C). Use your Smoke X2 and Billows to hone in on your preferred temp. If you’re away from power, use a well-charged Billows Battery Bank.
- Pat your brisket dry.
- Smear brisket flat with mustard on all sides.
- Generously season with rub.
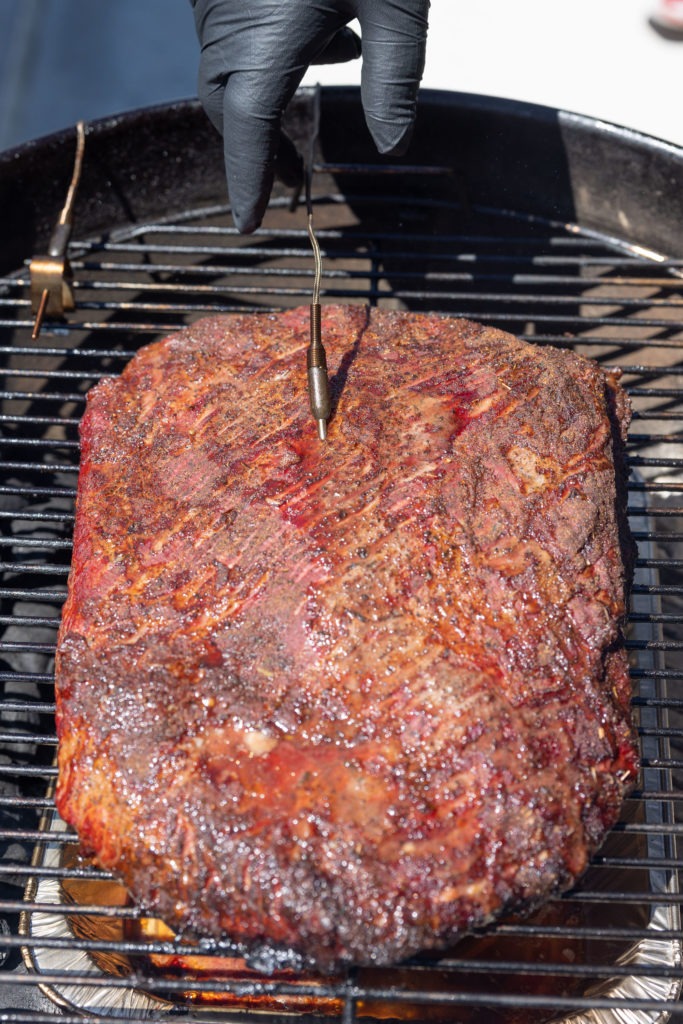
- Place the flat on the smoker with a probe connected to your Smoke X2. Set your high-temp alarm for 160°F (71°C).
- Smoke that brisket! Monitor the temp as you go, either at the smoker or on the receiver.
- When the flat reaches 160°F (71°C) (or has developed a good bark, whichever comes first), take it out and wrap it in a double layer of heavy-duty foil. Add a cup of beef broth as you wrap.
- Keep cooking the brisket after wrapping, this time with the high alarm set for 200–203°F (91–93°C).
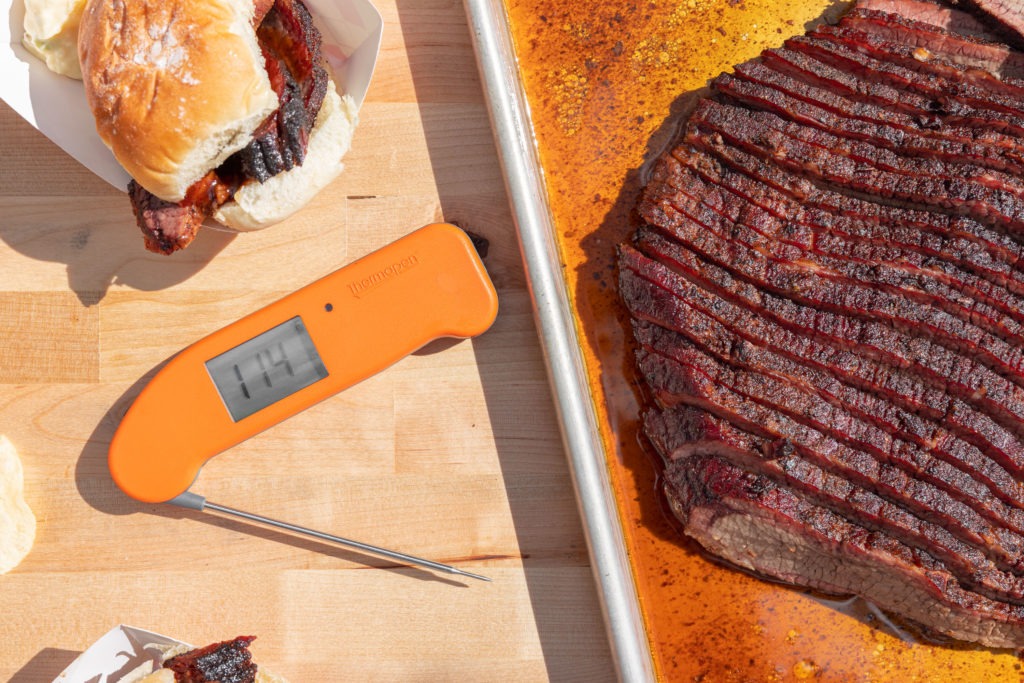
- When the alarm sounds, verify the internal temp with your Thermapen ONE. If you get a cooler reading, adjust your probe and continue to cook.
- Place the brisket in a cooler to rest for an hour after it comes off the smoker.
- Slice it up! Save the drippings from inside the foil. Now you have BBQ jus. Sandwiches! Sandwiches! Go, fight, win!




Good advice. I always shied away from doing just the flat as I prefer to eat from the point.
However, i have two flats in the freezer from a friend who just had one cow slaughtered and now will be able to give the flats a try.
Thom,
Fantastic! I also really love the point, but a properly prepared flat is nothing to sneeze at!
Would it be ok to inject the brisket flat?
Ron,
Sure! If you feel like injecting the flat, go for it. No problem.
Enjoyed the article but I wishyou would have included the approximate time it takes to reach each temperature goal.
Norman,
These took about 6 hours all told.
Do you leave the brisket wrapped while resting in the cooler? Are they stacked on top of each other. Does not the brisket continue to cook while in the cooler?
Mike,
Yes, leave them wrapped and go ahead and stack them. Their mutual heat will help the connective tissues mellow even more!
Great article.
My only wish is that there was a “print option” that formatted it properly
for printing.
Unfortunately, it is not. I tried printing it in up to date versions of Firefox,
Internet Explorer and Google Chrome and none of them print out properly.
As such, very difficult to save and use for cooking.
I am almost sure that the Themoworks blog used to be set up with an option
to PRINT to PDF which was awesome …. but for some reason that no longer
exists
🙁
Jay,
I’ve just added it. Happy cooking!
Thanks for recipe
How was the bark and tenderness of your brisket flat?
In your other recent article about bbqing packer briskets https://blog.thermoworks.com/beef/smoked-brisket-a-how-to-primer/ , you had a problem with the bark and tenderness in your foil wrapped brisket.
Wonder if the bark of your foil wrapped brisket would improve if you place the brisket back on the smoker unwrapped after it reached its target temperature(or maybe 5-7degrees shy of its target temperature) for an hour or so?
Looks like more research and bbqing for you … and another article!
Norman,
The bark did suffer! I think you are right about the naked finish. We may have to try it out sometime!
Good post for us. Hope more posts like this.
This story is 4 years old, has there been any follow ups on this method in the ensuing years?
This method remains solid, though we’re planning a different approach in the coming weeks.
Great article, the only suggestion I would add is put in a hot broth and not a cold one. You don’t want to spend your bbq time reheating the broth.
Excellent point!
Can you dry brine this flat the night before or for 12+ hours- would that make a difference?
I’ve done it and it turns out great.
Excellent information and explanation. I am looking forward to giving this cut of beef a try. I will be cooking it in my Traeger. Sadly, we rarely achieve any bark using the Traeger. I guess it is more gentle heat than most other smokers?
You can get bark in the Traeger, but it does seem to take longer and be a little softer.
What kind of adapter do you have on your Billows?
https://www.thermoworks.com/billows-mounting-kit/ We have one of the one with the o-ring and we put it into an angled pipe that we got from the hardware store and mounted in a hole we drilled in our kettle.