How to Make Pastrami, Start to Finish
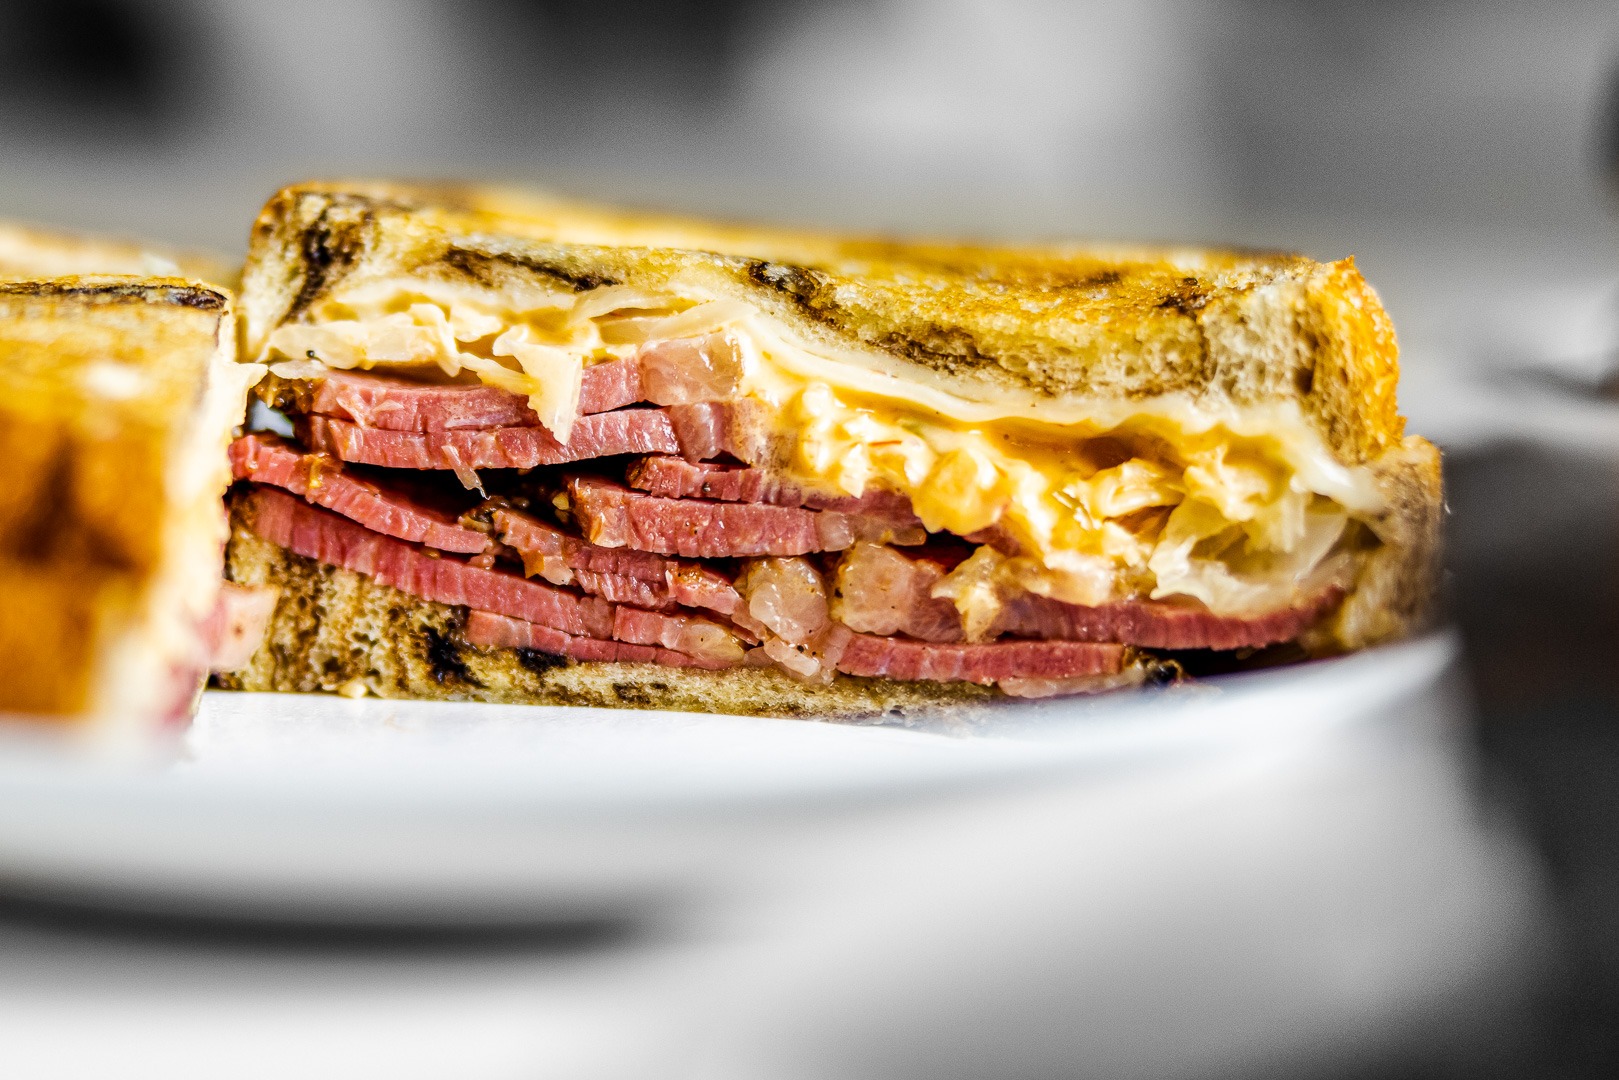
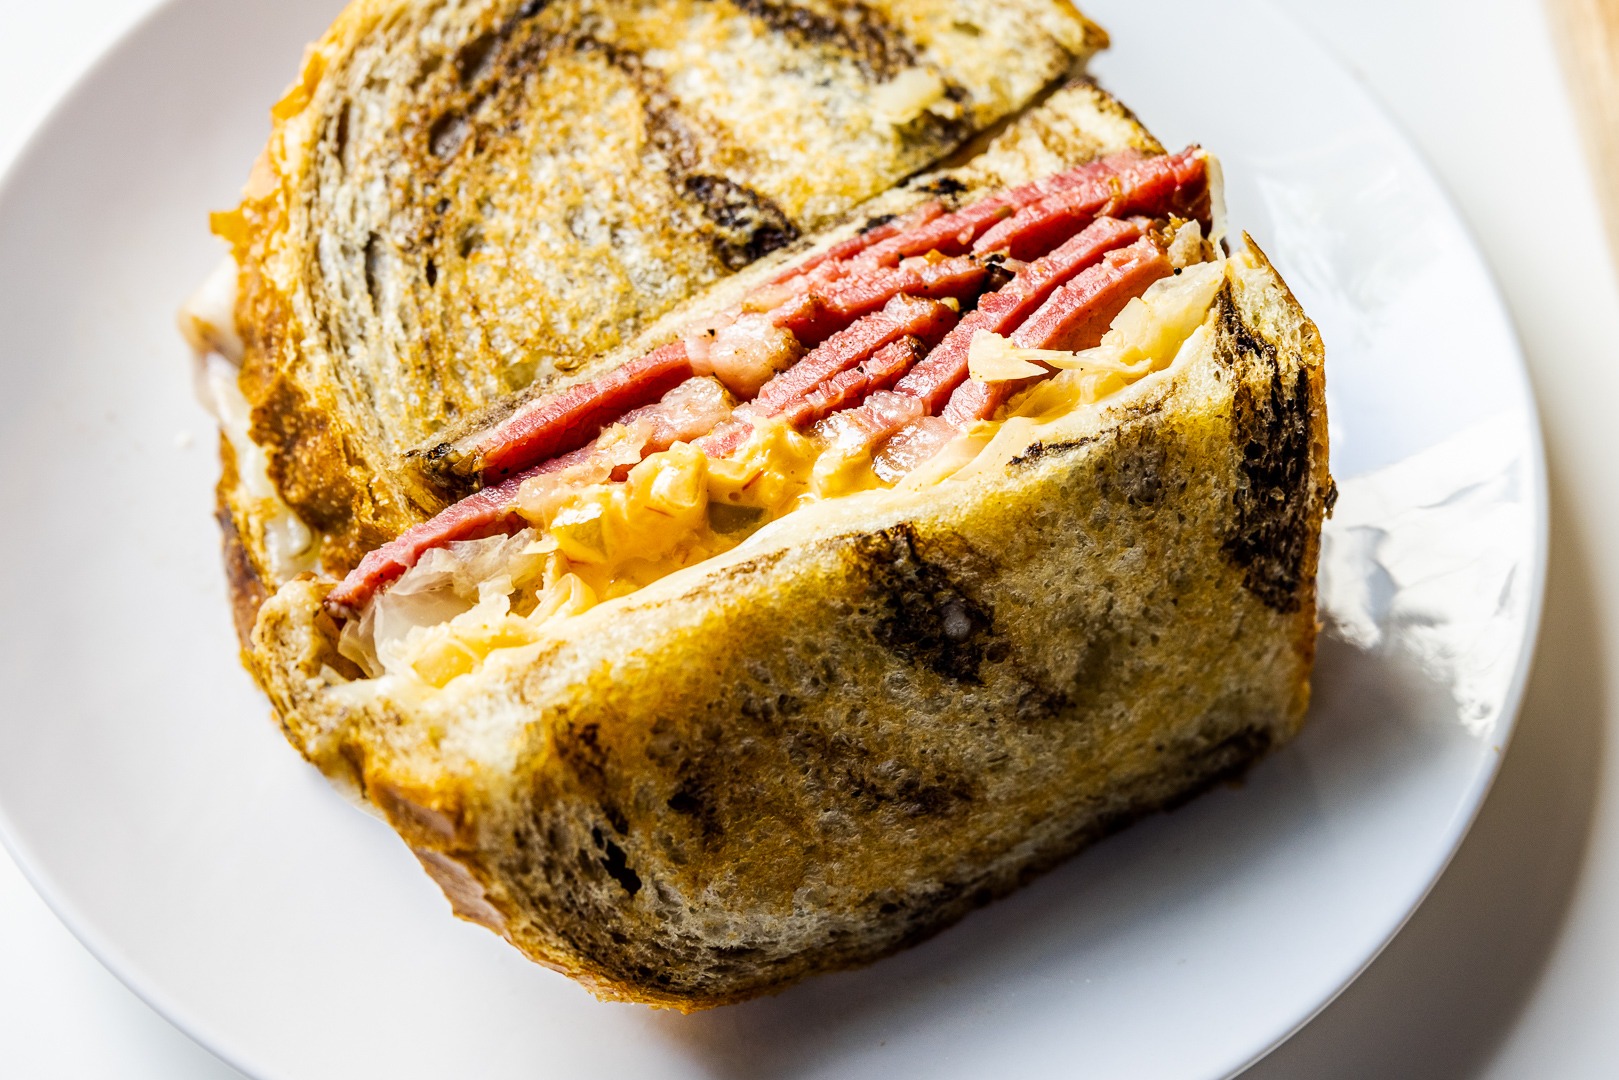
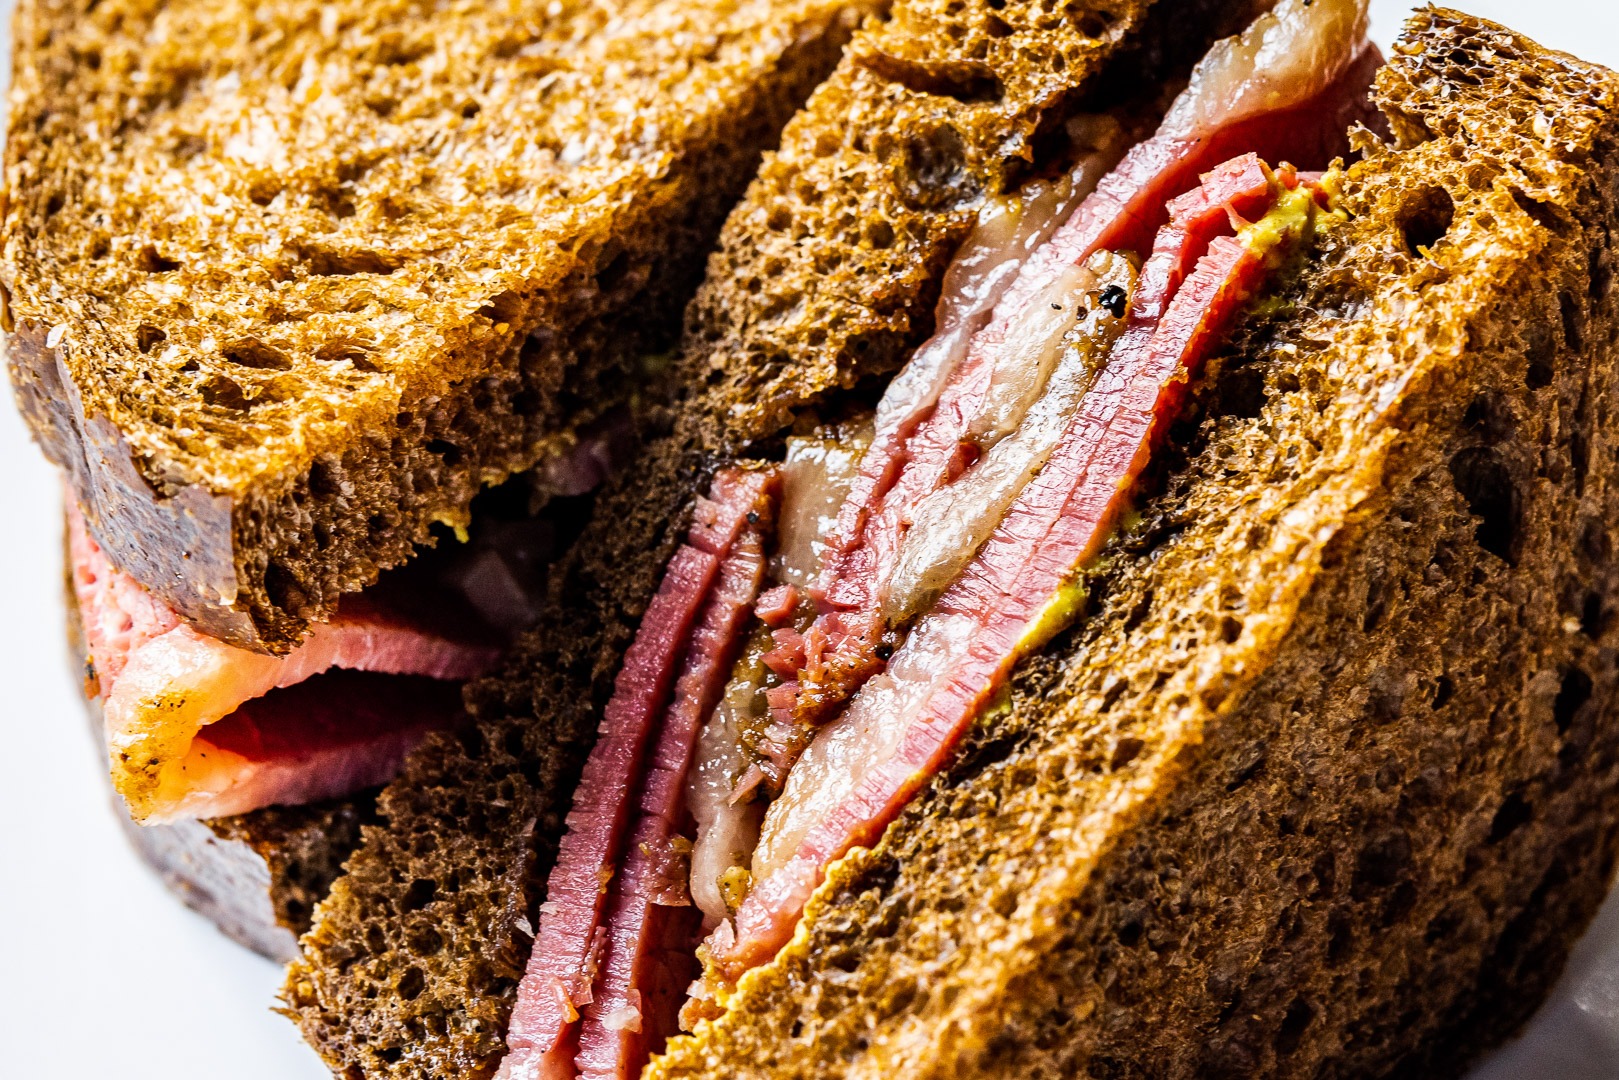
Pastrami on rye and the pastrami Reuben are two of the great sandwiches of our age. If you’ve ever had one, perhaps from a local deli even, you know that there are few tastier things you can eat between two slices of bread. Wouldn’t it be nice if you could make them at home? If you had all the pastrami you could eat right in your own fridge? You can! you just have to make it yourself. If you want an easy entry to cured meats or if you’re just looking for a new BBQ project to take on, give this recipe for pastrami a shot. Loads of perfect pastrami, cooked just right for sandwiches or anything else, coming up!

Pastrami vs corned beef, what’s the difference? What even is pastrami?
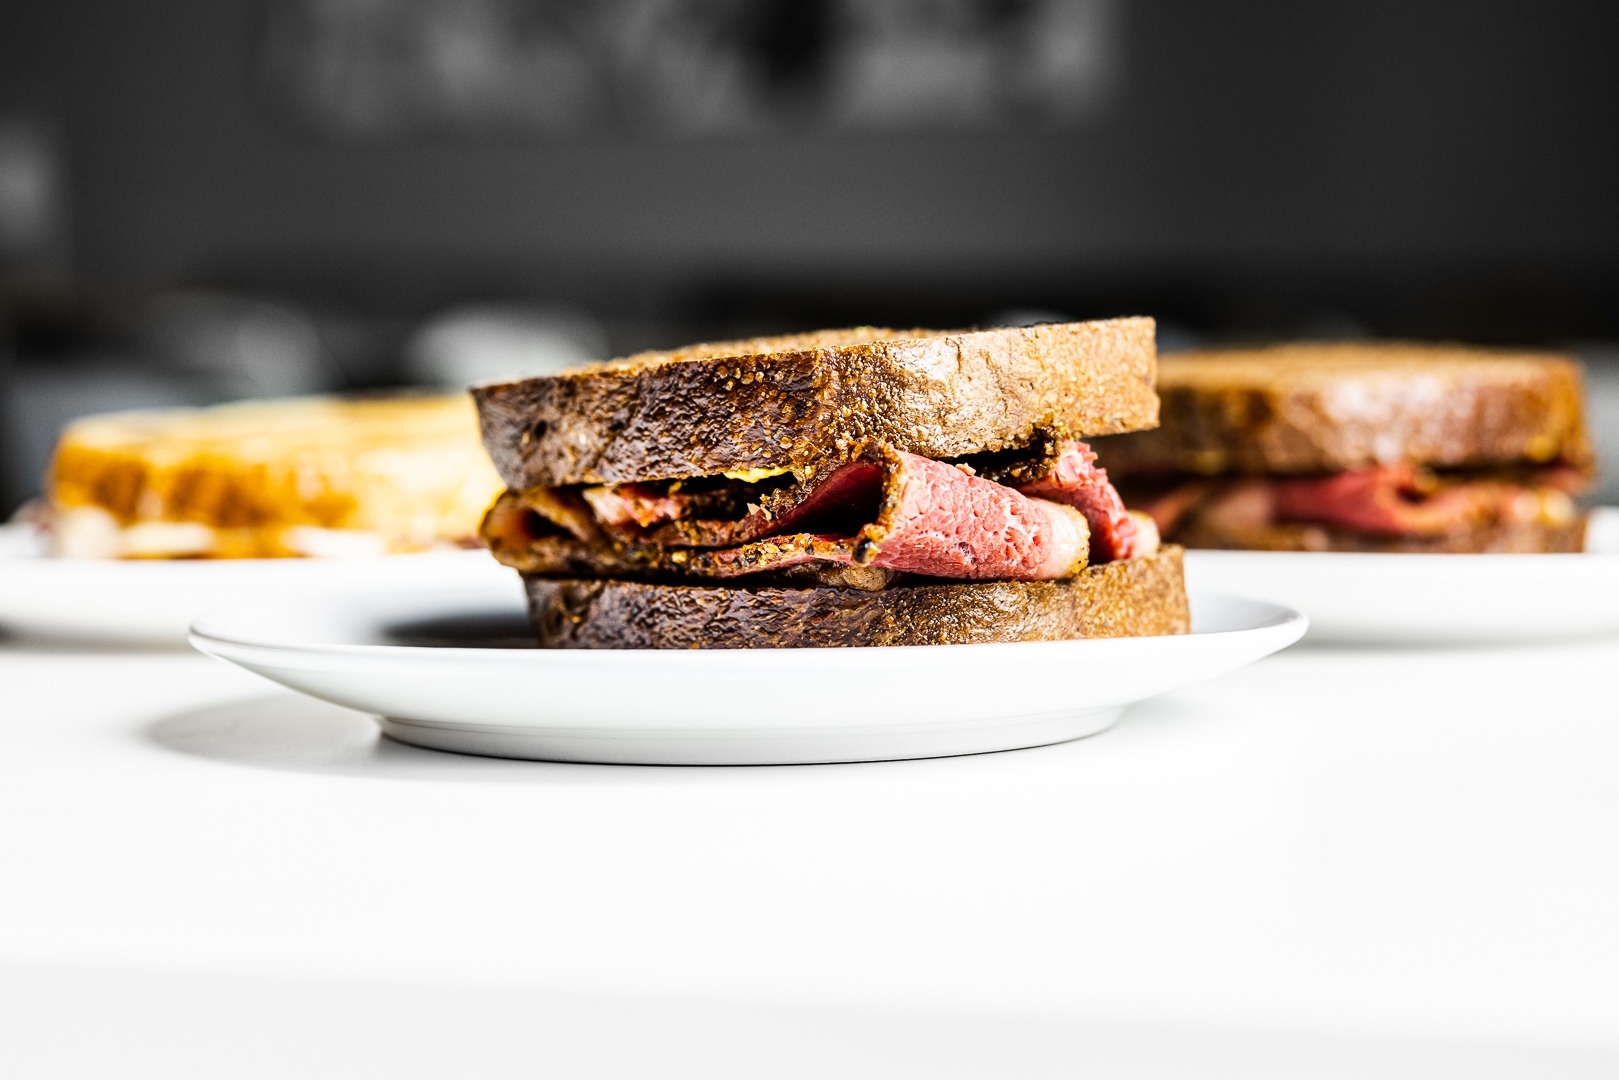
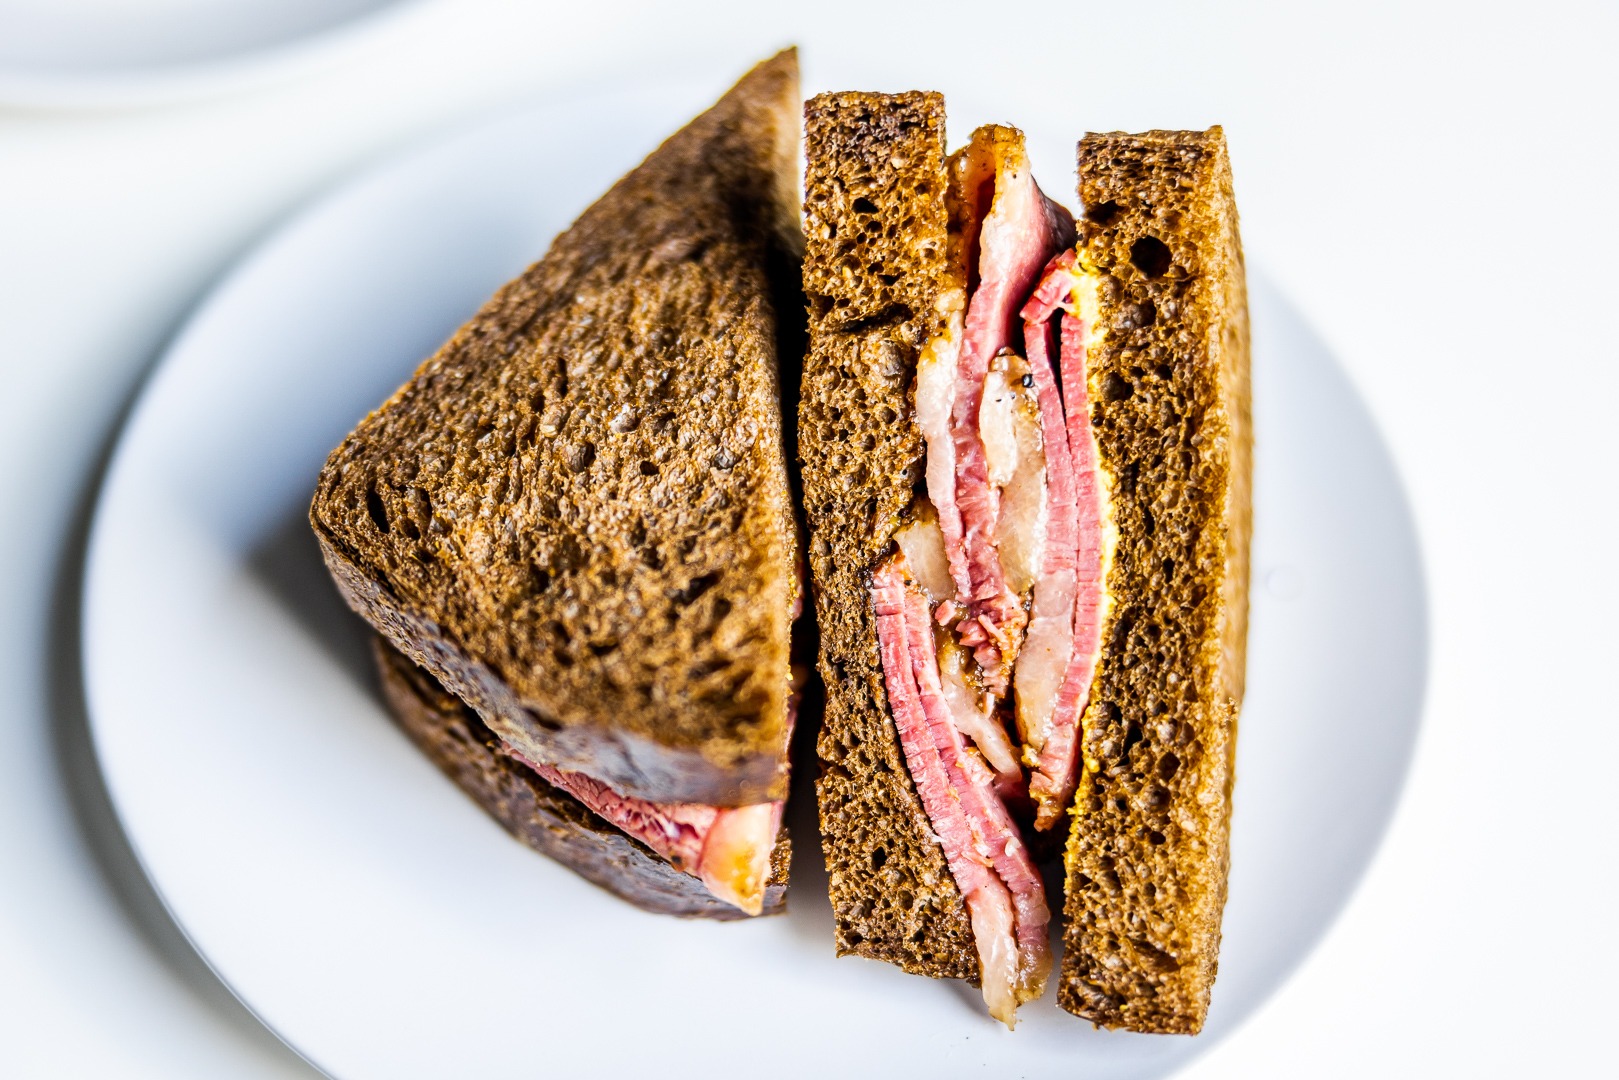
Pastrami is made from beef, usually brisket, that is wet-cured in a brine, then highly seasoned with a rub consisting mainly of black pepper and coriander, then smoked for flavor, and steamed to finish. It is often sliced hot and served as a sandwich, though it can also be chilled and sliced as a cold-cut meat.
Pastrami, the word, seems to have first appeared in print in the USA in 1936, making it a relative newcomer to our lexicon. It is most likely derived from Romanian or Armenian, and arrived with Yiddish-speaking Jewish immigrants in the early part of the 20th century. Various dried meats with names similar to Pastirma can be found all around the lands of the Eastern Mediterranean, though most of those seem to be closer in style to South African biltong than the current American pastrami.
The main difference between pastrami and corned beef is the flavor and final preparation. Both meats are cured in a nearly identical way, in a brine containing salt, curing salt, and flavorings. (This curing is a remnant of an age before refrigeration, when a whole cow would have to be slaughtered but could certainly not all be eaten at one time. The curing helped to keep the meat palatable and safe for longer.)
But the similarity stops there. Corned beef gets boiled and served as is, but pastrami gets its coat of spices, a hit of smoke, and then a steam bath to loosen it up. But if you take a core sample from pastrami that is sufficiently far from the smoky, seasoned surface, it will be very hard to tell the difference between it and corned beef.

Why brisket for pastrami?
As hinted at above, making pastrami dates back to Turkish Nomads from the Ottoman empire of the 13th century. More often than not, the meats that would have been made pastrami-style would have been mutton (sheep or goat) rather than beef. Later on, as pastrami was more widely prepared, the traditional cut of meat for pastrami was beef navel or the belly.

Brisket is far more widely available than beef navel, which I have yet to see at the market. Brisket can take the long curing, the smoking, and the steaming of this preparation and still be great for slicing. All that collagen that we break down in the meat as it cooks past 170°F and up to 203°F (from 77°C up to 95°C) becomes gelatin, giving pastrami a great mouthfeel and a unique structure.
If you like leaner pastrami—a question that can cause fierce debate among aficionados—you can use just the flat of the brisket. The flat is leaner, and it is also cheaper than a whole packer brisket. But if you like fattier pastrami, as I do, use a whole brisket, trimmed up, as we do in this recipe.
Of course, a whole brisket is a large piece of meat, and it will take a good solid week to cure. You’ll need a second fridge or some serious space management in your fridge to make a whole brisket’s worth of pastrami, but we think you will find that it’s worth it.
How to make pastrami: 5 simple steps
Making pastrami is far from difficult—there is almost no technical skill that goes into it beyond trimming and weighing—so anyone should be able to do it, and do it well. There are five basic steps in making pastrami:
How to make pastrami:
- Trim
How much you want to trim your brisket before turning it into pastrami is up to you. We like our corned beef and pastrami a little bit on the fatty side, so we leave a nice 1/4″ fat cap on the brisket, or even a little more.
- Cure in Brine
To adequately flavor the meat and allow the curing salt ample time to do its work, the meat needs to stay submerged in the brine for 7-10 days.
- Rinse & Rub
After curing, it’s important to rinse off the salty curing solution so the final product isn’t too salty. Run the pastrami-to-be under cool running water, then pat the meat dry before applying the spice rub liberally to all sides.
- Smoke
Keep the temperature of the smoker on the low side: 250°F (121°C) is a great balancing point between creating smoke flavor and getting the meat cooked until it reaches 150°F (66°C).
- Steam
The pastrami is steamed (either on the stovetop or in the oven) until the meat reaches an internal temperature of 203°F (95°C).
1. Trim
How much you want to trim your brisket before turning it into pastrami is up to you. We like corned beef and pastrami a little bit on the fatty side, so we leave a nice 1/8–1/4″ fat cap on the brisket. Most brisket flats in the stores are pretty closely trimmed, so control over the fattiness is another reason to do a whole brisket.
If you are electing to do a whole brisket, cut out most of the fat in the seam between the flat and the point. We usually leave the two muscles attached, but carve out almost all of the fat between them. Doing this creates a pretty uniform thickness across the whole cut of meat, making for nice, even cooking.
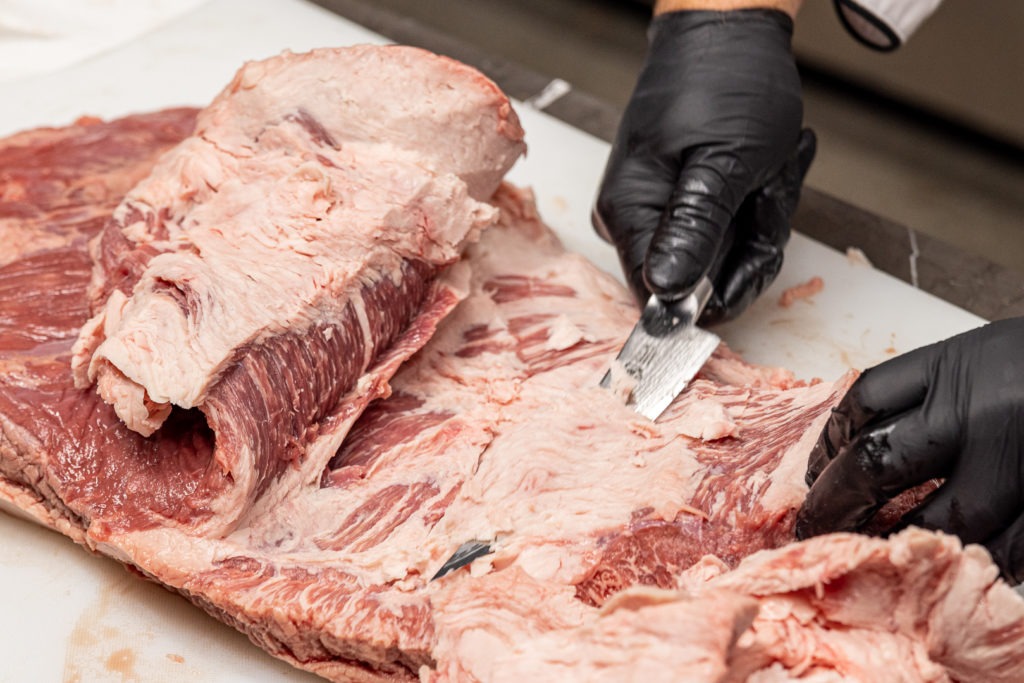
(You can, and should, take them apart when you start slicing so that you can work with the different grains of the two muscles on their own terms.)
2. Cure in Brine
You can start your pastrami with an uncooked store-bought corned beef, but curing your own always tastes better. Stick to a very traditional curing brine (salt, curing salt, sugar, pickling spices, some garlic).
The salty solution dehydrates the meat slightly, compacting the muscle fibers more tightly, resulting in meat with a fine, soft texture. To adequately flavor the meat and allow the curing salt ample time to cure it, the meat needs to stay submerged in the brine for 7-10 days.
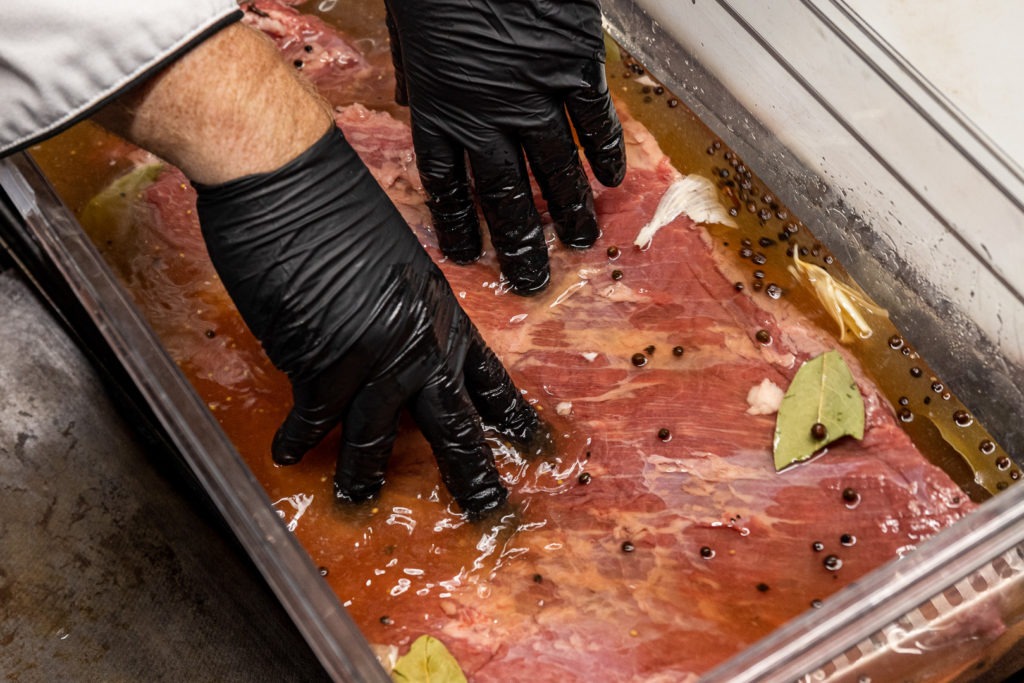
*For more information on curing meat for corned beef, check out our post on Homemade Corned Beef, with Temperature Tips for Success.
Curing Salt (Prague Powder): What is It and What Does It Do?
Salt is the main effective ingredient in a curing solution, but curing salt is also very important. The curing salt we use here, Prague Powder #1, is composed of 6.25% sodium nitrite and 93.75% sodium chloride and is usually colored pink so it isn’t accidentally mistaken for regular table salt.
It’s the nitrites in the curing salt that give cured meats their characteristic sharp flavor. The nitrites react in the meat to form nitric oxide which prevents fat oxidation, keeping the fat from developing rancid flavors. This same reaction binds to the meat’s myoglobin, producing the bright pink/red color of cured meats.
The most important function of curing salts in curing meats, before refrigeration, was the suppression of bacterial growth. Today, we continue to use them for aesthetic reasons—that wonderful cured color and flavor.
3. Rinse & Rub
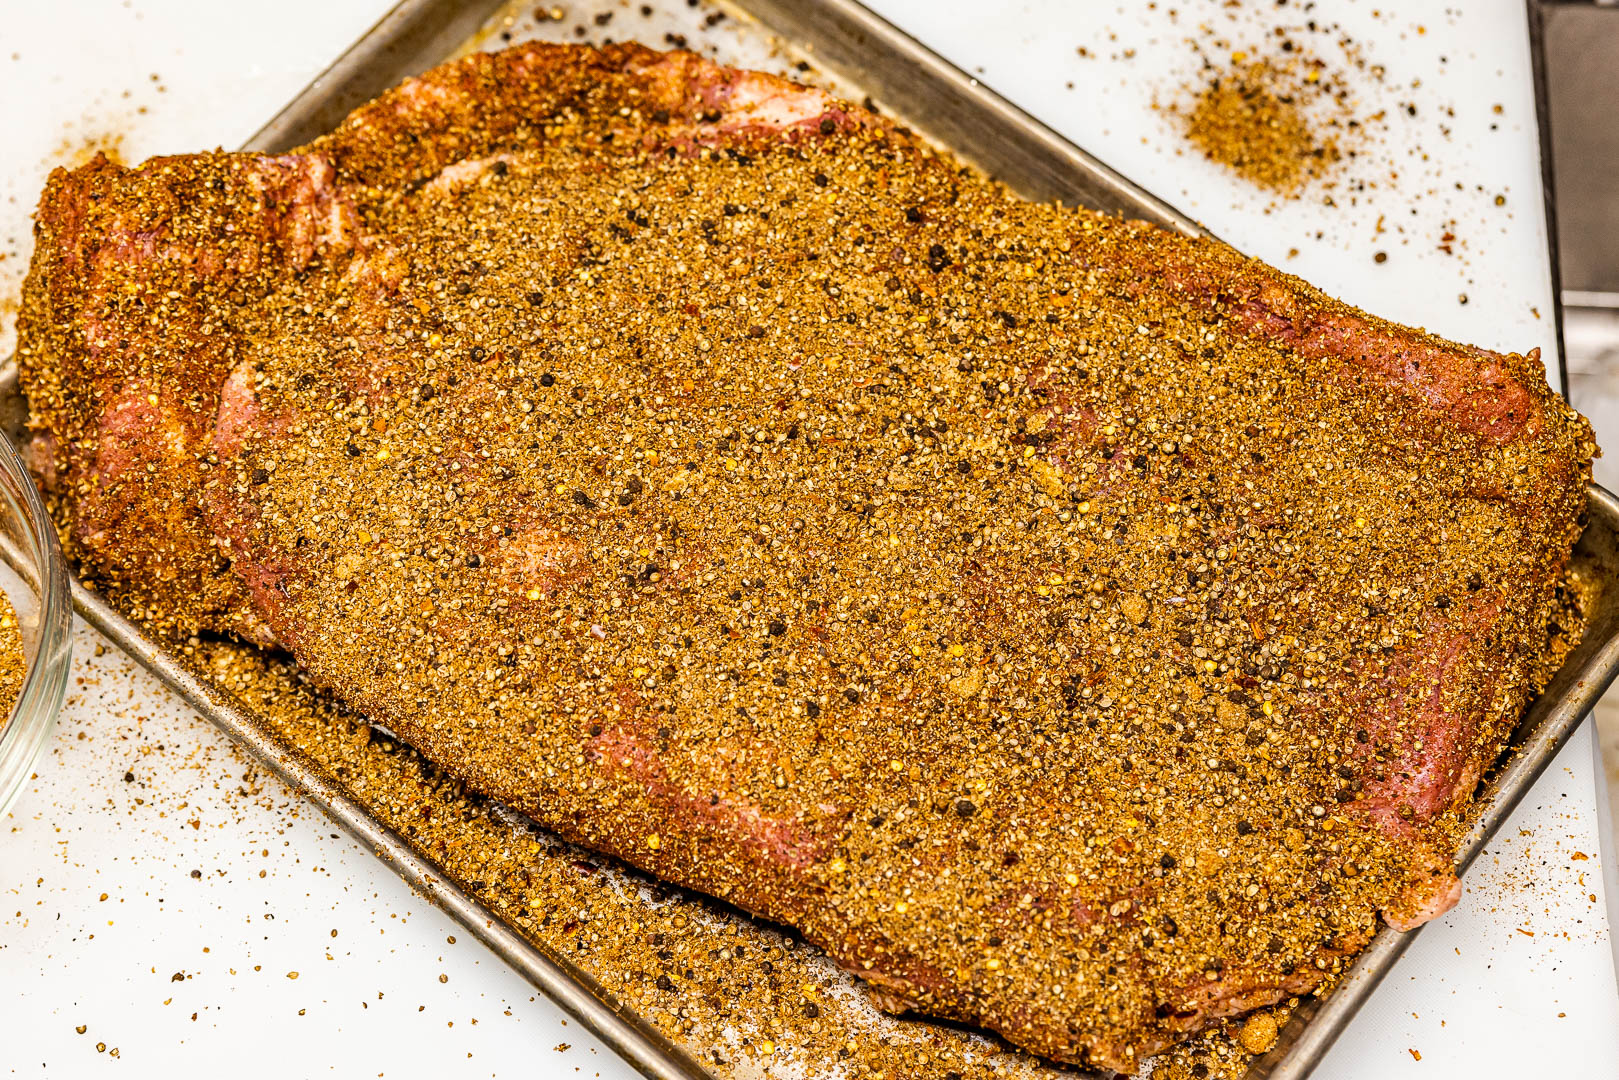
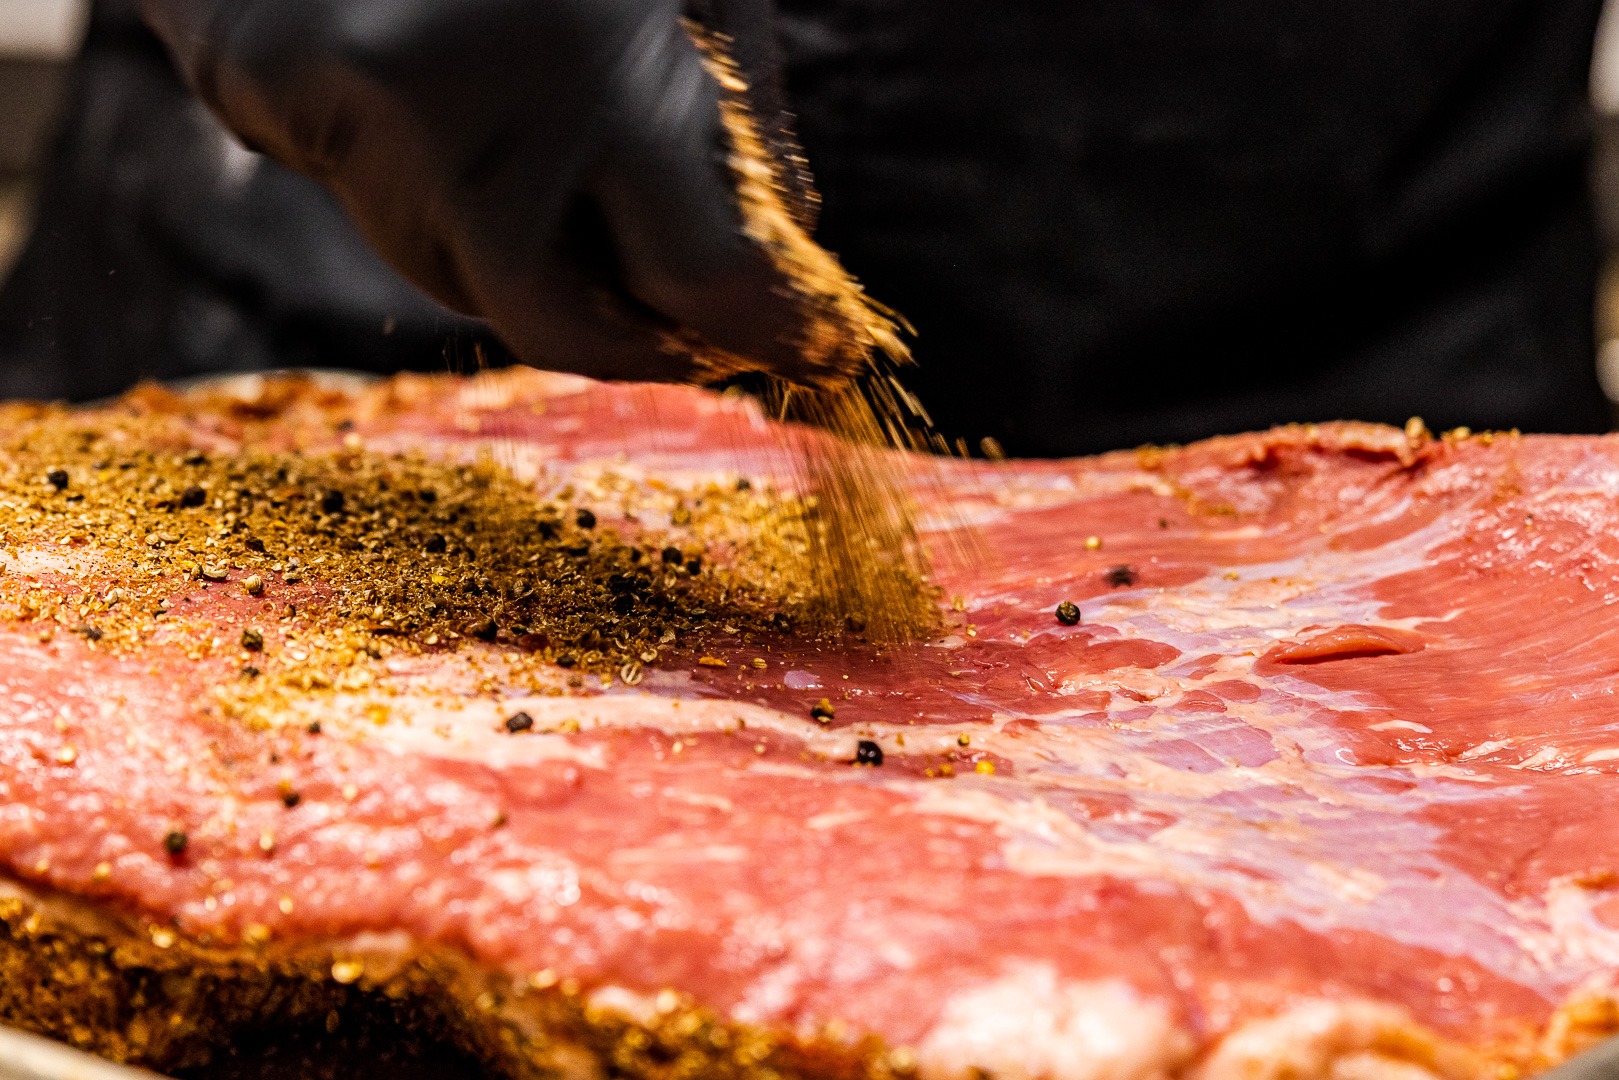
After curing, it’s important to rinse off the salty curing solution so the final product isn’t too salty. Run the pastrami-to-be under cool running water, then pat the meat dry before applying the spice rub liberally to all sides. Pastrami rub recipes usually have very strong flavors and are fairly coarse, but don’t be afraid of putting a lot on. It needs a good coat.
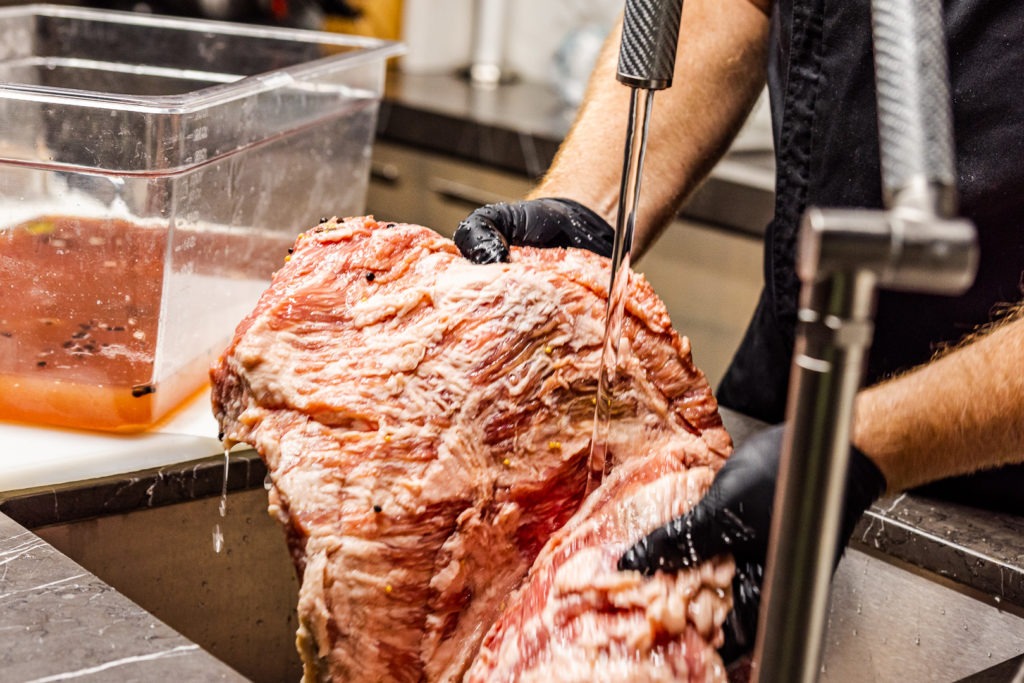
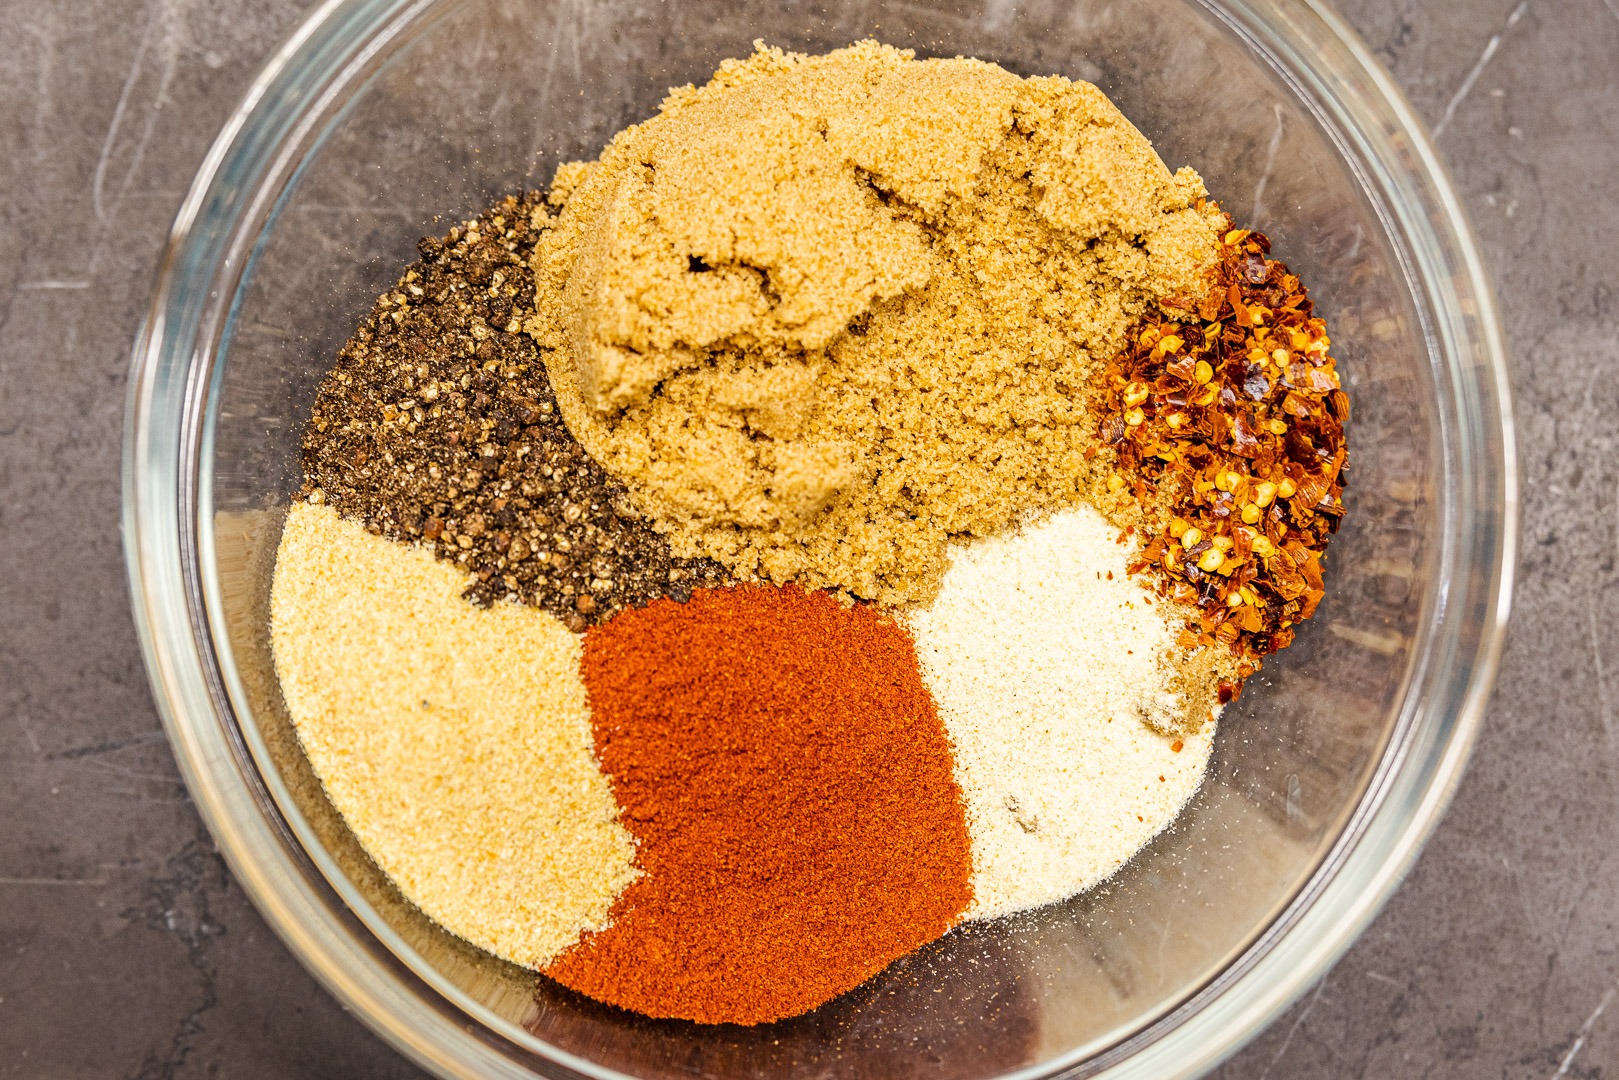
Because the cure makes the meat so salty, our rub will have no salt in it. This rub is very traditional, but you can modify your rub to fit your tastes as you see fit. Some juniper berries in it, for instance, would be nice. Maybe some coarsely ground dried mushrooms, even?
4. Smoke (and Chill?)
The corned beef is smoked to start the cooking process and to impart delicious smoke flavor. Keep the temperature of the smoker on the low side: 250°F (121°C) is a great balancing point between creating smoke flavor and getting the meat cooked.

We won’t be cooking the pastrami in the smoker the whole time, but rather just until it reaches 150°F (66°C). You can use your RFX MEAT attached to your RFX GATEWAY to monitor the meat temp and, if you use the included air probe, either your meat and the pit temp, or two different locations in the meat, as we did. By the time it reaches 150°F (66°C) it should have absorbed plenty of smoke flavor and the bark should be pretty well set. If your bark isn’t well set yet, let it go a few more degrees.
This step can easily take 4–5 hours, so depending on your cooking schedule, you might want to take a break here. Unless you have all day to work on this, you can cool the pastrami to room temperature at this point, then wrap or cover it in foil and refrigerate it until you’re ready for the next step. We did, and our pastrami suffered no diminution of either flavor or texture.

5. Steam—Why Steam the Pastrami?
Curing the meat in a salty solution for a week draws out quite a bit of moisture, and this last step is traditionally used to gently cook the meat in a humid environment where less water will be lost to evaporation. The pastrami is steamed (either on the stovetop or in the oven) until the meat reaches an internal temperature between 198 and 203°F (92 and 95°C)—depending on how long it takes to get to temp. We used the RFX MEAT again to monitor the temp as it steamed.

Brisket is a very tough cut of meat packed with connective tissue. The best way to break down connective tissue, turning it into succulent gelatin, is to cook the meat at a low temperature for a long time. Creating a high-humidity environment will prevent evaporation and will help us bypass the “stall.” Cook the brisket at 250°F, or up to 275°F (121°C up to 135°C) in your oven with the pastrami set on a rack in a roasting pan with a shallow pool of water in it. (Use pre-heated water in the bottom of the pan. You don’t want to spend cooking time in the oven just slowly heating a pan of water under your meat.)
When the high temp alarm in your app sounds, verify the internal temperature with your Thermapen ONE. Make sure you don’t see any temps lower than 198–203°F (92–95°C). The Thermapen will also tell you how tender the meat is—a gauge that is almost as important as temp. You aren’t looking for a tenderness equal to a BBQ brisket; that tenderness is too tender for slicing for sandwiches like these. You want the meat to feel just a little “tight”—but only a little.
Fair warning here: your kitchen is going to smell insanely good during the steaming process.
Serving and Storing Pastrami
As you can see, making pastrami takes time, but nothing about it is particularly hard. Use your RFX MEAT and your Thermapen ONE to get your temperatures, and thus your textures, just right, and it will turn out marvelously. And now that you have a whole brisket’s worth of fresh, high-quality pastrami, what are you to do? You could assemble several loaves of marble rye and pumpernickel, some kraut, swiss, dressing, and good spicy brown mustard, invite some friends over and eat it all right now. No one would blame you one bit! If you want it to last longer than, say, just tonight, you need to store it. You can chill it, then slice it, then freeze it, or you can cut it into chunks and freeze it. Vacuum sealed, it will last ages in the freezer. But if you do decide to put some aside for later, don’t forget to eat a good portion of it right away!
Pastrami is a glorious meat if ever there was one, and it’s simple to make. If you’ve ever felt daunted by it, put those feelings aside and clear some space in your fridge for a curing bin, get your RFX MEAT out, and try it. If you even vaguely like pastrami, you’re going to love this.
Happy cooking and—even more—happy eating.

Homemade pastrami recipe
Ingredients
- 1 brisket or brisket flat 5–12 lbs
Curing Solution
- ¾ C (227 g) kosher salt
- 1 C (156 g) brown sugar
- 4 whole cloves of garlic crushed
- 2 Tbsp whole mustard seed
- 2 Tbsp whole coriander seed
- 1 Tbsp ground ginger
- 2 tsp (19 g) Prague powder #1 (pink curing salt)
- 1 Tbsp whole allspice berries
- 6 whole cloves
- 2 Tbsp whole black peppercorns
- 6 bay leaves
- 1 Gallon water
Spice Rub
- ½ cup packed brown sugar
- ½ cup whole black peppercorns
- ⅔ cup whole coriander seed
- 1 Tbsp granulated garlic
- 1 Tbsp granulated onion
- 1 Tbsp red pepper flakes
- 2 Tbsp paprika
Instructions
Trim and brine the meat
- Make the brine in a suitably sized container by mixing the water with the other brine ingredients and whisking until the salt and sugar are dissolved.
- Trim the brisket of excess fat according to your preference. If using a whole brisket, trim the fat between the flat and point. (For a good look at that process, see our post on Brisket Burnt Ends.)
- Submerge the brisket in the brine and refrigerate it for 7–10 days, turning it over in the brine every day or two.
Rinse, rub, and smoke the brisket
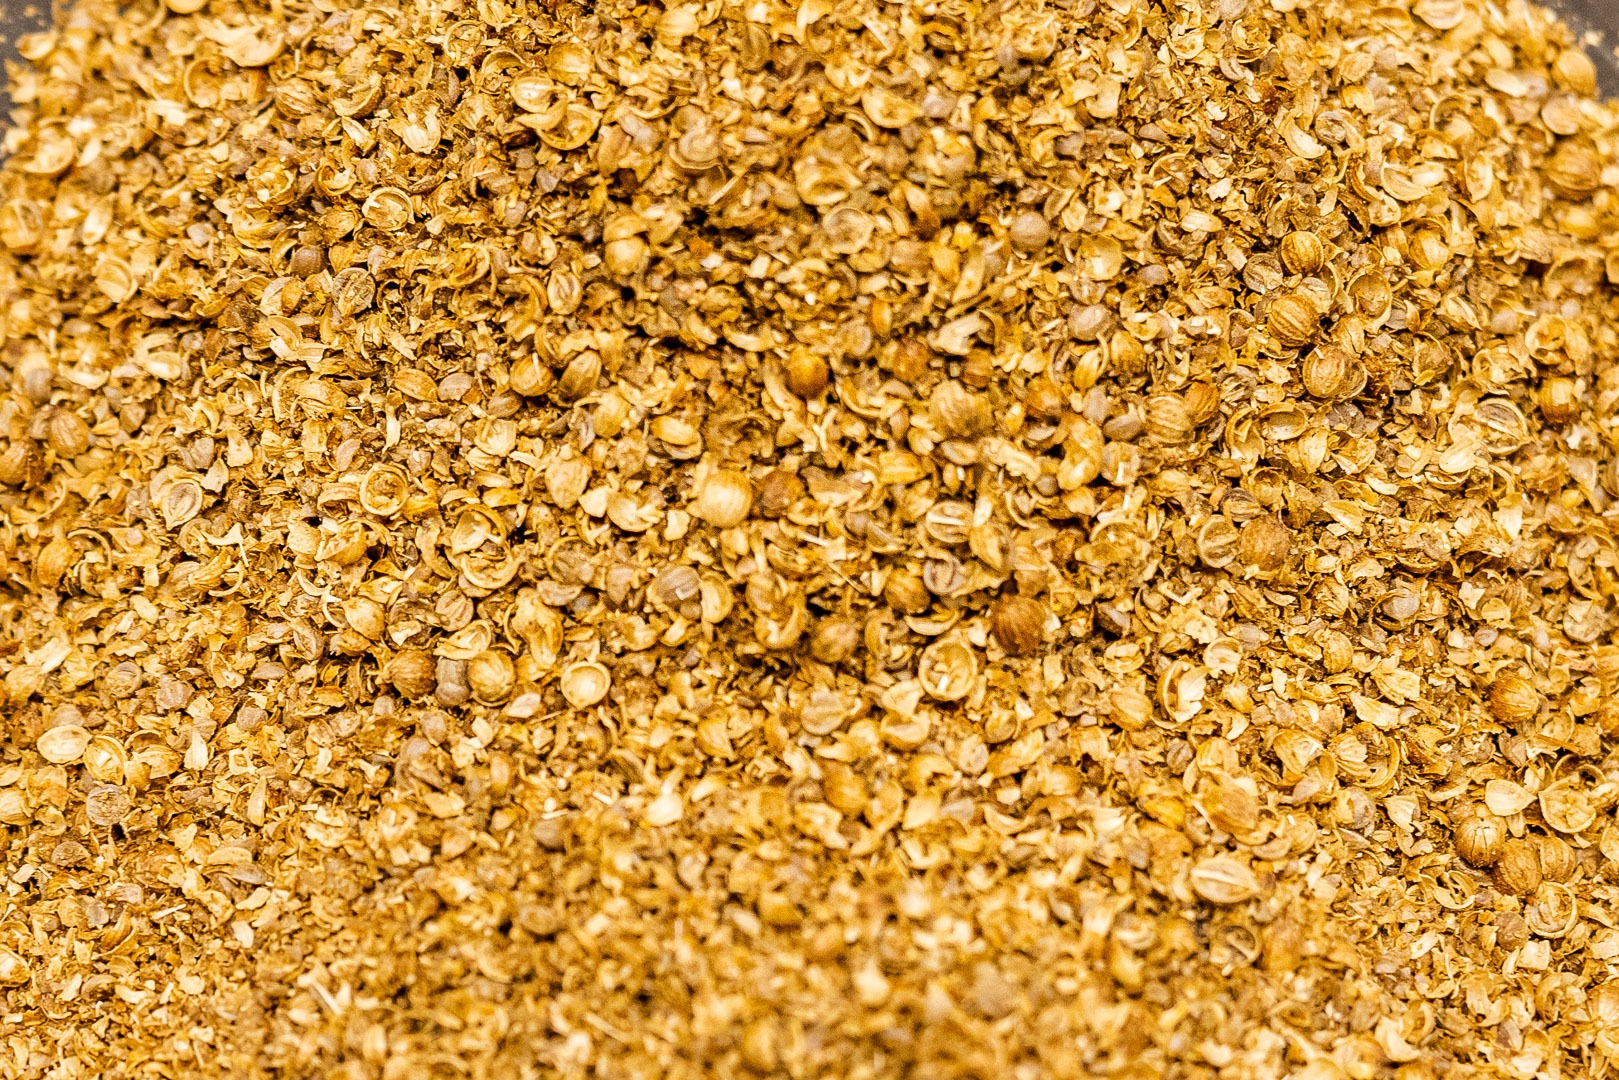
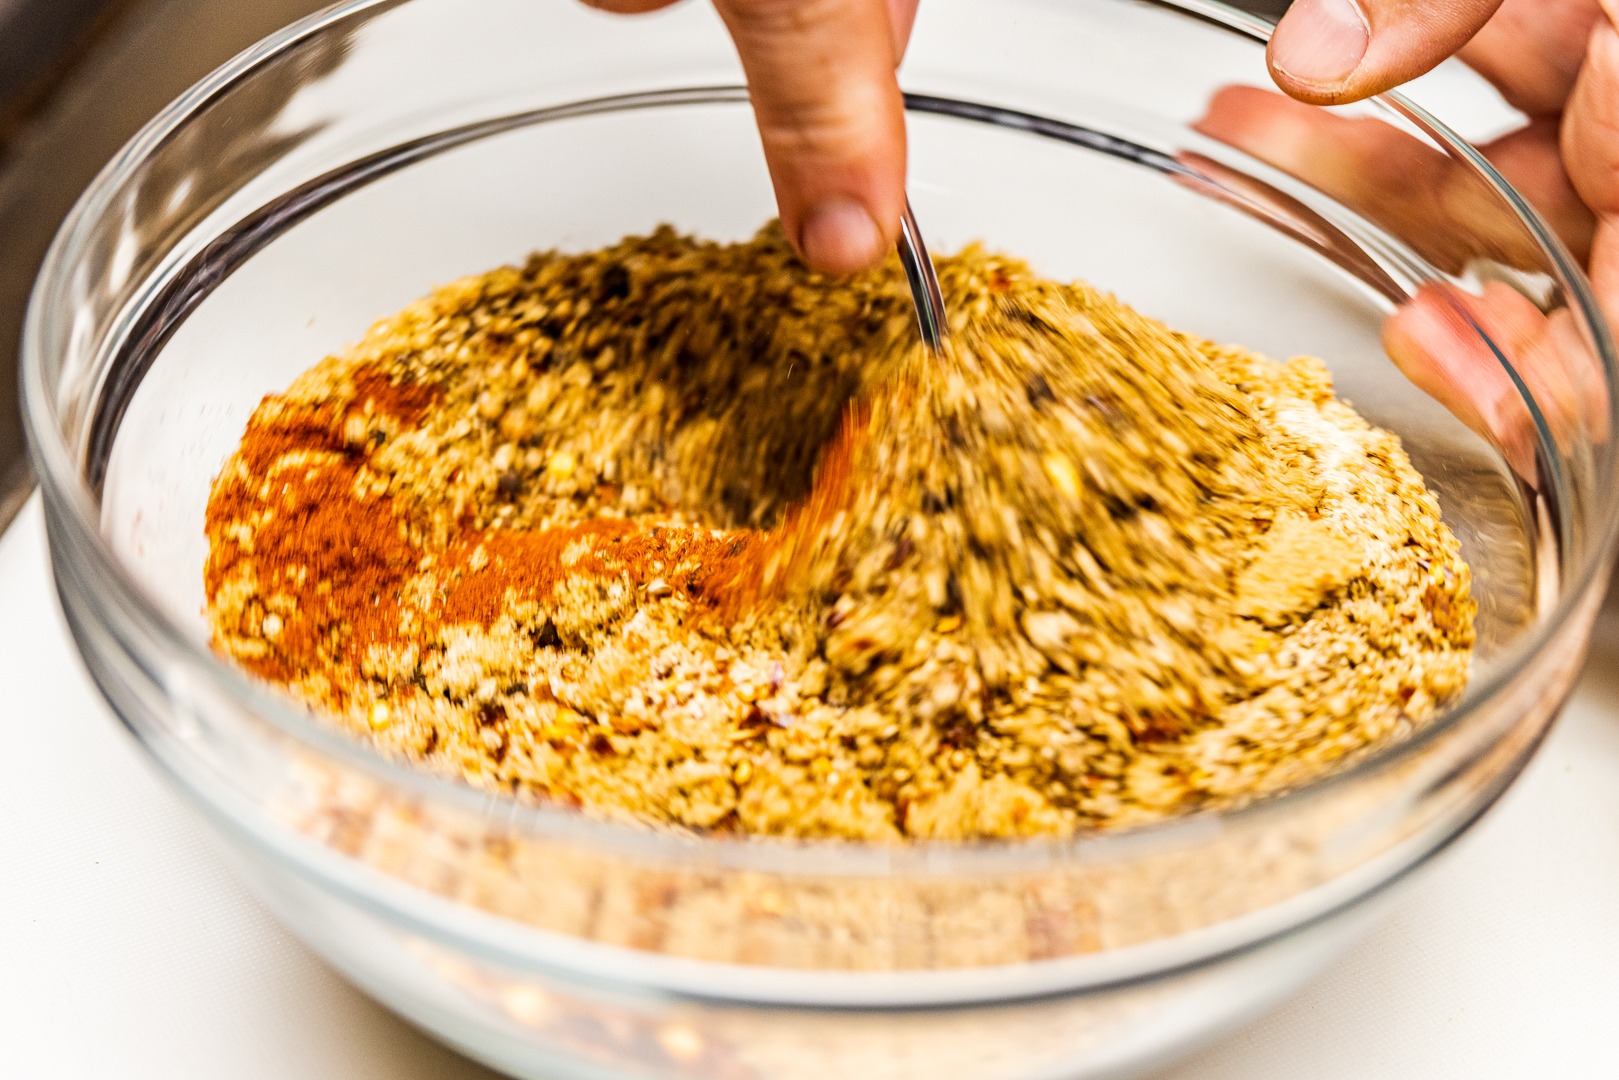
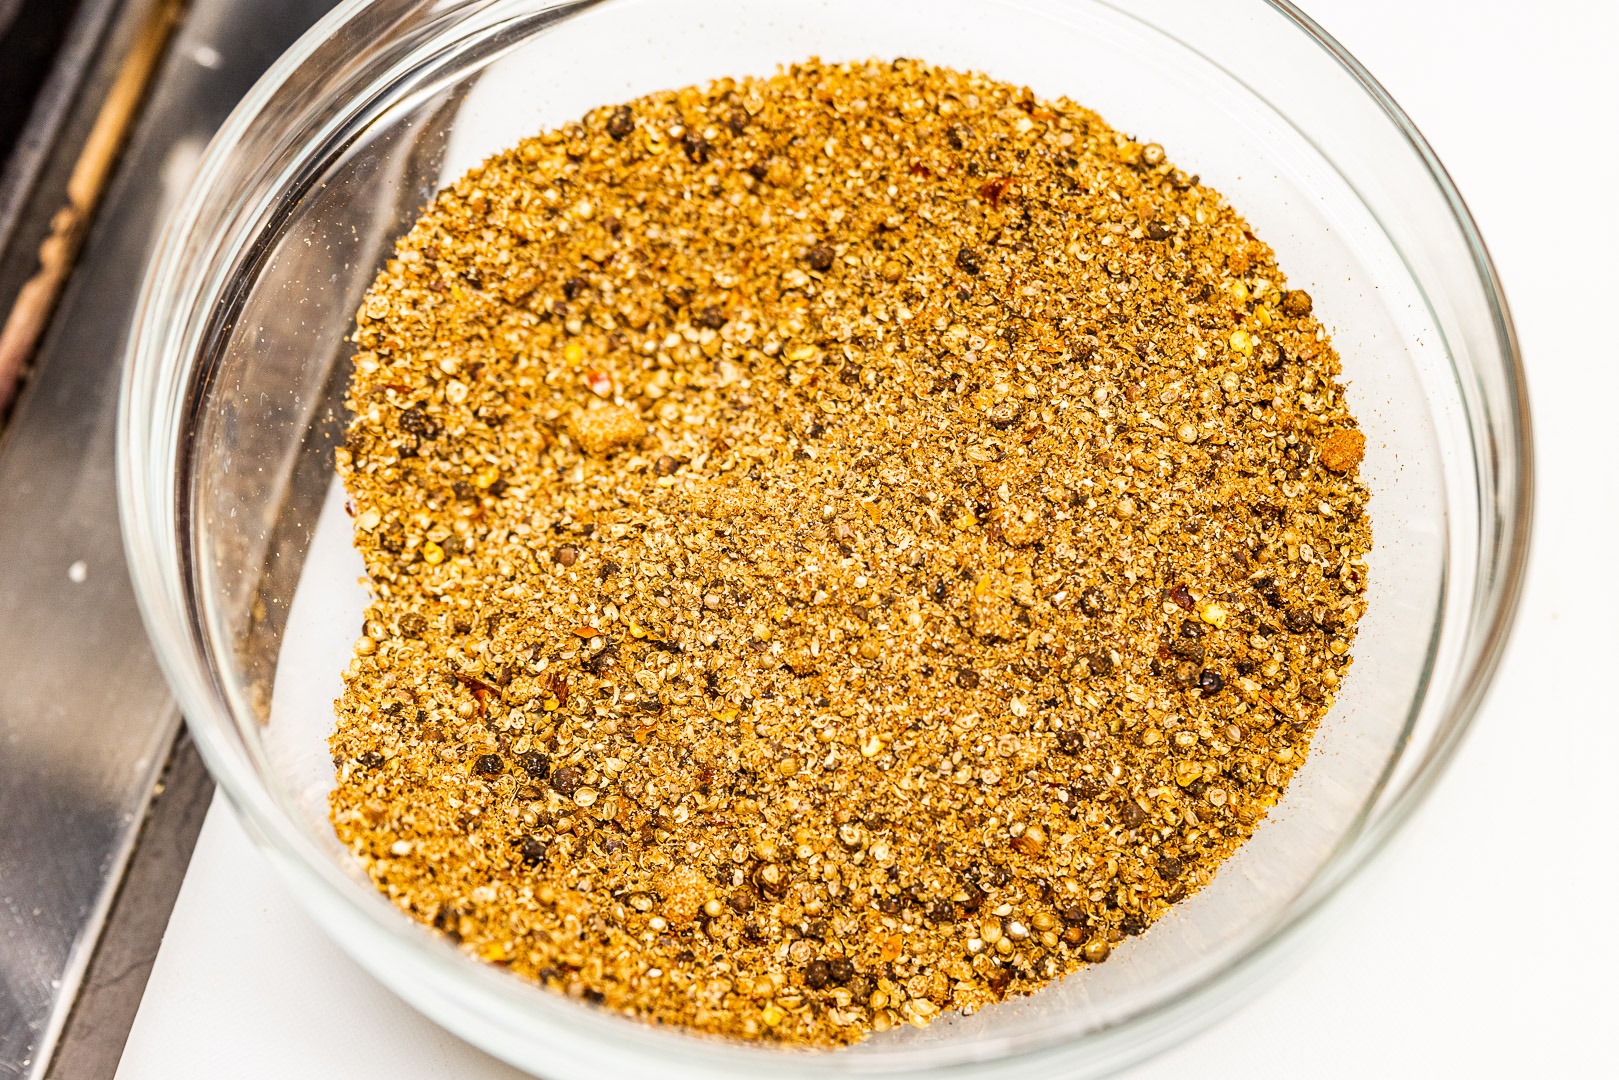
- The day of the smoking, prepare the rub by coarsely grinding the coriander and the pepper and mixing them both with the other ingredients for the rub.
- Preheat your smoker to 250°F (121°C) using your choice of smoking wood. If using your RFX GATEWAY and Billows to monitor and control the air temp, set the Billows temp to 250°F (121°C). If not using Billows, make that your high-temp alarm and make your low-temp alarm 225°F (107°C).
- Remove the beef from the brine, and discard the brine carefully so that you don't contaminate your kitchen with beef juices.
- Rinse the cured beef under cold running water, then dry it all over with paper towels.
- Apply the rub liberally all over the brisket, including in the gap between the flat and point.
- Put the beef on the smoker and insert RFX MEAT into its thickest part. Set the high-temp alarm for 150°F (66°C) and smoke the beef.
- When the high-temp alarm sounds, verify with your Thermapen ONE and remove the pastrami from the smoker.
- If you are going to finish cooking the next day, let the pastrami cool to room temperature, uncovered, before wrapping or covering it and refrigerating it. If you are doing it all in one day, just continue to the steaming step.
Steam the pastrami
- Heat your oven to 275°F (135°C).
- Set a rack in the bottom of a roasting pan and pour nearly 1/2″ of very hot water into the bottom of it.
- Place the pastrami on the rack, cover it tightly with foil, and place it in the oven.
- Insert RFX MEAT through the foil so the antenna end is sticking out and set the high-temp alarm for 198 to 203°F (92 to 95°C). (Set it for the lower temperature and start checking texture when it gets there. If it's too firm, reset the alarm to a higher temp and keep going.)
- Steam the meat until the high-temp alarm sounds.
- Verify the internal temperature and tenderness with your Thermapen ONE. Remember that this doesn't need to feel super tender, as it will be sliced very thinly.
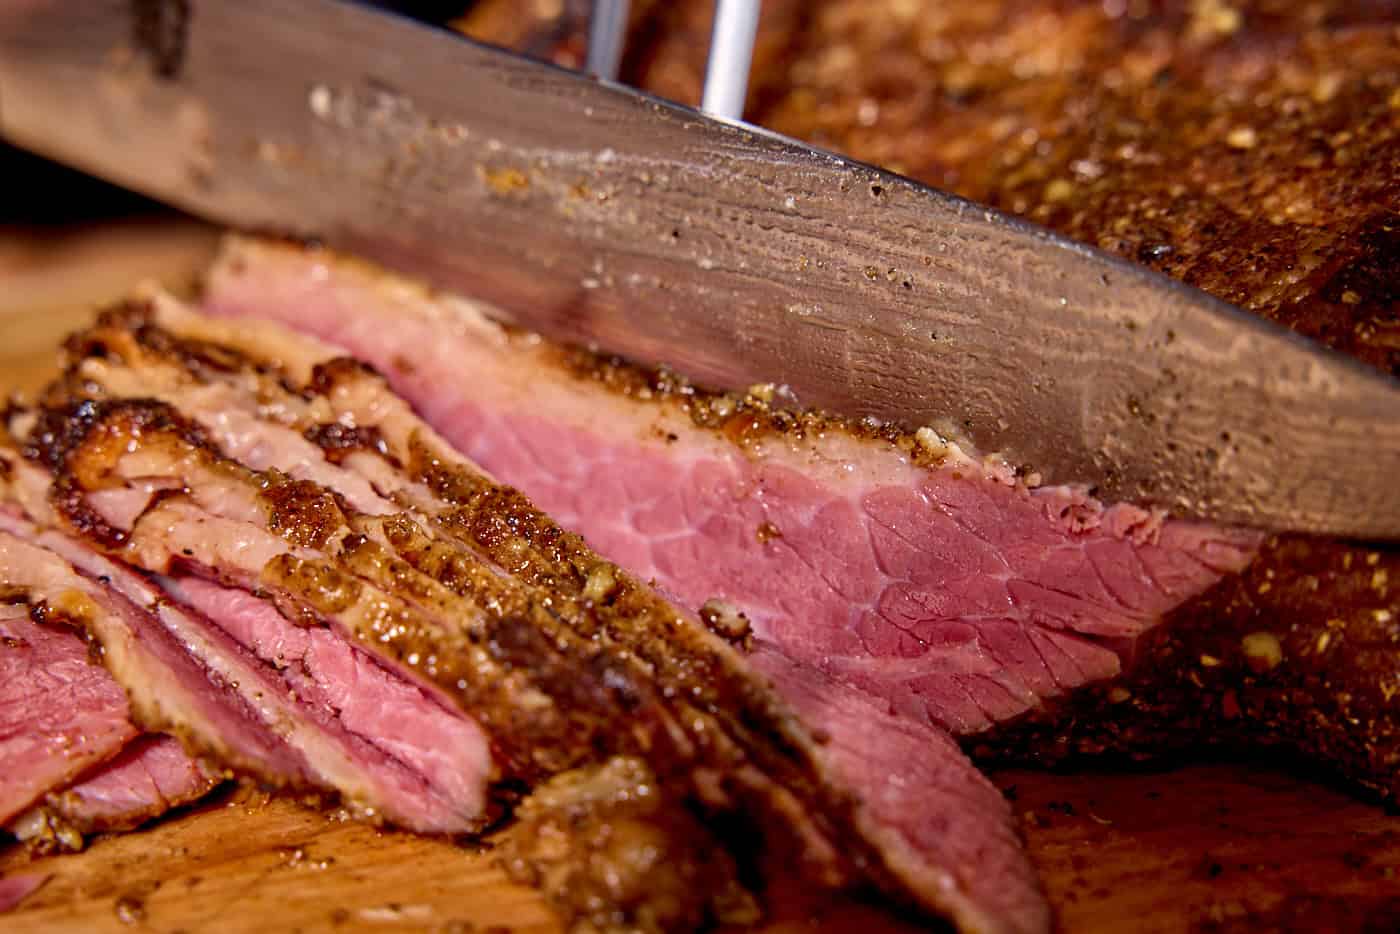
- Remove the pastrami from the oven and either start carving it right away or cool it to make into cold cuts later.
- Eat it, eat as much of it as you can!




Thank you for the amounts in grams also are there temps for baked goods ie bread cakes felt recently an angel food cake was “right”at 207
FINK John,
Yes! Cakes are typically done when they reach an internal temperature of about 200-210°F. At that point the starches and proteins have coagulated and gelled, setting the structure of the cake, and enough liquid has evaporated to create the texture you’re looking for. Great observation!
Thanks,
-Kim
Awesome description of the curing process, thanks.
Hello.
I have a question about baking.
Are you aware of a guide or publication that lists internal temperatures for knowing when baked goods are done? Is it even possible to do this rather than traditional methods of touch (cakes) visual (cookies & pies) or inserting a probe (cakes)?
Thank You
Clyde,
Yes, most cakes are done when their internal temperature reaches 200-210°F. We recommend instant-read digital thermometers like the ThermoPop or Thermapen for this application.
The final doneness temperatures will differ for other baked good such as pies and cheesecakes. Traditional New York cheesecake is done when it reaches 150-160°F, and pumpkin pie is done at an internal temperature of 175°F.
Check out the Chef Recommended Temperatures Chart in our Learning Center.
Thanks for your question!
-Kim
I noticed in the “Cure” section you list Bay Leaves twice in the spice list. Are they twice as important as the other spices?
Da Moore,
No, they’re definitely not twice as important! It was a simple mistake. Thank you for the catch!
Thanks,
-Kim
If I’m aiming for fall apart pastrami, how do I manage that? Your pics make it seem still pretty firm.
Dave,
The pastrami is a bit firm, mainly due to the wet cure that pulls moisture out. You could decrease the length of time that you cure your brisket, the pink color from the nitrite effect of the cure may not penetrate completely to the center of the meat, though. Another option would be to use the point end of a brisket rather than the flat. It has more fat and will have more of the fall-apart texture you’re looking for.
Thanks!
-Kim
What type of wood flavoring is used in the smoking?
Mike,
We used apple wood for this project.
Thanks!
-Kim
The recipe for the cure includes the following:
3/4 cup (8 oz. [227 grams]) kosher salt
1 cup (5-1/2 oz. [156 grams]) brown sugar
(Comment: 1 cup = 8 oz, therefore, 3/4 of 1 cup is 6 oz, not 8 oz and 1 cup is 8 oz, not 5-1/2 oz ?)
1 tbsp. (1/4 oz. [7 grams]) ground ginger
(Comment: 1 tbsp = 1/2 oz, not 1/4 oz?)
2 tsp. (2/3 oz. [19 grams]) prague powder (pink curing salt)
(Comment: 1 tsp = 1/6 oz, so 2 tsp = 2/6 or 1/3 oz, not 2/3 oz?)
Am I missing something on the conversion of cups, tablespoons, and teaspoons to ounces here?
John,
The measurements in cups, teaspoons, and tablespoons are volume measurements. All of the ounce measurements listed in parentheses are weight measurements. Volume and weight measurements do not translate straight across because of density differences between the ingredients being measured. The straight-across ounce conversions you cited are fluid ounces (ounces measured by volume), not ounces measured by weight.
Kosher salts differ in their weights, and the one we used was quite dense—so its volume measurement was only 3/4 cup rather than 1 full cup at a weight of 8 oz. Ground spices are very low-density ingredients, and their volume is much greater than an ounce of water or oil measured by weight.
Think of the comparison of a pound of feathers vs a pound of bricks. The feathers will surely occupy a greater volume of space than will the bricks that are far more dense.
Hopefully this makes sense. Thank you for your question!
-Kim
Thanks. I now kind of feel like a dumba$$, but it you don’t ask, you don’t learn. 🙂
John,
LOL, don’t feel that way! I’m glad it makes sense now.
-Kim
There are two pink curing salts, #1 and #2. This is a great article but I wish you would have mentioned which curing salt to use, most likely #1.
Jeff,
Thank you for your question. We used prague powder #2.
-Kim
I have used the exact same recipe and temps but used a venison bone in ham, and an Axis ham (no bone), they both turned out wonderful.
Randy,
That sounds amazing! Thank you so much for sharing. Hopefully this gives other readers a new idea.
Thanks,
-Kim
So, if I use a water bath in my smoker, do I still need to steam at the end of the process?
Hi, Dave. The steaming step is part of the traditional cooking method for making pastrami. Of course, it can be left out, but then it isn’t as authentic.
A practical way of steaming pastrami is to use a 3 part Italian-style pasta pot.
Place the meat inside the colander, with 1 to 2 liters of water simmering under it, and cover the pot. The water underneath will collect the dripping and some of coat of pepper and coriander. Top up often.
Before taking the next step, correct for excessive salt by adding water and/or removing some of the liquid and then adding water.
30 minutes before serving, slice a cabbage head in 4 from the top down and place 2 quarters inside (cook for 15 to 30 minutes, depending on whether your cabbage al dente or soft). Makes an interesting alternative for sauerkraut
You can also drop some small potatoes or carrots in the pot to boil.
PS: a cheat around smoking your meat is to add some liquid smoke to your brine for 2 to 3 days, before removing the meat from its brine bath.
Of all the Pastrami that I have eaten in my life
I never knew it was smoked
not having a smoke box at home ,how long would I
Steam it ( per pound/ K ) to cook it through
Nice recipe
Gary
Gary,
Pastrami is generally smoked well, then steamed to finish. But, as you say, not everyone has a smoker! I’ve never attempted a straight-steam method on it before, but some sources I trust estimate an hour per pound. Now, I’d probably say an hour PLUS an hour per pound, which I think will be closer to the truth. But there are extenuating circumstances: the thickness of the meat, initial temperature, etc. No matter how long the estimate is, probe it for the proper final temperature! That doesn’t change, no matter the method.
I steamed mine yesterday. My wife and I had some for supper. It was by far the best pastrami I’ve ever had.
My wife told me that it was the best and I needed to use that recipe again
Thank You
Fantastic!
If initially smoked to 150, then cooled to room temp, what’s a reasonable time estimate for the steaming step?
A long time! I’d plan on a couple hours, still.
When I smoke a brisket I normally wrap the brisket in foil or peach paper when the internal temp reaches 150 to 160. Then continue to cook in the smoker to an internal temp of 205 +/-. This effectively steams the brisket in its juices. Would this work with pastrami?
It totally should.
I cook a lot in my traditional stove top pressure cooker (No Instapot, I cook the way my mother did)
What would you recommend time for steaming in the pressure cooker? I would smoke on the smoker to 150, then steam immediately or put in fridge and steam later.
I would try 30 minutes first. My experience with pressure cooking meats says that ought to do it, but I’ve honestly never tied this in this way.
Best Pastrami recipe out there. No short cuts means a phenomenal end product, been experimenting with recipes for 2 years, keep on coming back to this one. Really appreciate the through step by step approach – first class!
Wonderful! Thanks for the comment!
Hi Martin, in comparing this recipe with the Amazing Ribs version, I noticed that your calls for a rinse after the brine, while Meathead’s calls for an 8-hour soak in fresh water to desalinate. Before giving this a try, I was curious if you could comment on this difference in approach and whether there are any steps I should take to mitigate against an overly salty end product.
I’m a big fan of your recipes and appreciate any feedback!
That’s an interesting question. I have to say that I think a long desalination soak is not a bad idea, but I did not find our pastrami to be overly salty. It was just…delicious!
PASTRAMI
Hi! I’m finding that the brine does not cover the entire brisket. If doubling the brine, do I double the pink salt/prague powder as well or just the salt/sugar/aromatics? Thanks!
Yes, if doubling the water, double everything.
Since St. Paddy’s day is coming up quickly, and briskets will be available on the cheap, I have to ask this question. So, if I wanted to cheat a bit and start out with a corned beef, which typically weighs in about 4lbs., how does that change things? I’m assuming I’m starting out with a cured piece of brisket, so do I just pick up the recipe with rinsing and follow the rest?
Exactly! Yes, get the pre-brined, rinse it and run from there.
Hello.
For 5 pounds of meat I used 19 grams of cure #1.
Your instructions say cure and do not specify numbe 1 or number 2.
All other instruction were followed.
Today is my second day of curing time.
Should I trow away the meat.
Best regards
Cure number 1 is the correct cure! Keep curing, you’re in for a treat.
For what it’s worth, I followed this recipe with beef cheeks. We ate the first two cheeks and they were great. We wrapped the other two cheeks in foil, then in a towel, then stored them in a small cooler for two hours. The difference was shocking. The wrapped cheeks were moister and more tender. I need to try this with brisket and maybe a chuck roast.
The rest will do that! Also, the idea of beef-cheek pastrami sounds phenomenal.