How To Cook Beef Tenderloin on a Smoker
For a meal that is celebratory, you just can’t beat tenderloin. Its tenderness and luxuriousness practically scream important dinner, and its cost backs that claim up. Most people don’t just toss a tenderloin in the oven because—I don’t know?—it’s Wednesday. This is meat for special occasions. And the great thing about tenderloin is that it doesn’t need a lot of work to make it fantastic. Simple seasoning, proper temperature control, and you’re there.
But have you tried smoking a beef tenderloin? Oh, you should! Take all the ease, all the deliciousness, all the tender goodness and add a nice, light layer of smoke to it? Please! This dish is a killer combination of fun smoke flavor and total beef tenderness, and it’s only going to take about an hour. But hold tight, let’s look at what’s going on.
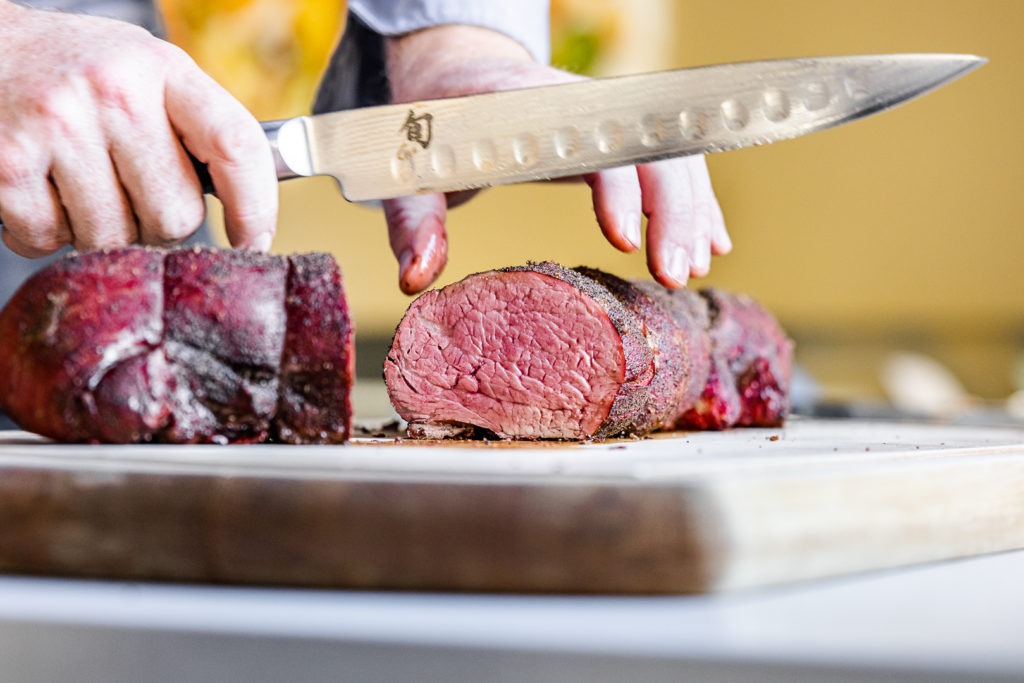
Tenderloin Techniques
As you may have seen on our blog before, tenderloin comes from one of the most under-used muscle areas on a cow, meaning it is exceedingly tender. But this tenderness is accompanied by an extreme leanness, meaning the meat can be easy to overcook and dry out.
We ran tests to find out whether a traditional high-heat cook in the oven was the best method of cooking this cut, and we found that lower and slower heat yielded a more evenly cooked tenderloin than did the heat-blast method, without taking too long to cook.
The advantages of this lower-temp cooking method include edge-to-edge pinkness without almost any gray band, and a decreased risk of overcooking an expensive cut of meat. But this method also means that tenderloin is an ideal cut for smoking! Low, slow cooking is, of course, the mantra of the pitmaster, and the tenderloin plays very well by those rules.
The lack of connective tissue separates the tenderloin from the traditional smoking meats like brisket, pork shoulder, and ribs, but that actually plays to our advantage. Tenderloin will be done at around 125°F (52°C), meaning you won’t have to get past the dreaded ‘stall,’ and you don’t have to wait for collagen to break down into gelatin. You just get the meat warm enough to become palatable to you, and it’s done. There’s no pressure on the muscle fibrils to expel their water, no extreme denaturing of the proteins, just a perfect medium rare (or medium, depending on your taste) tenderloin.
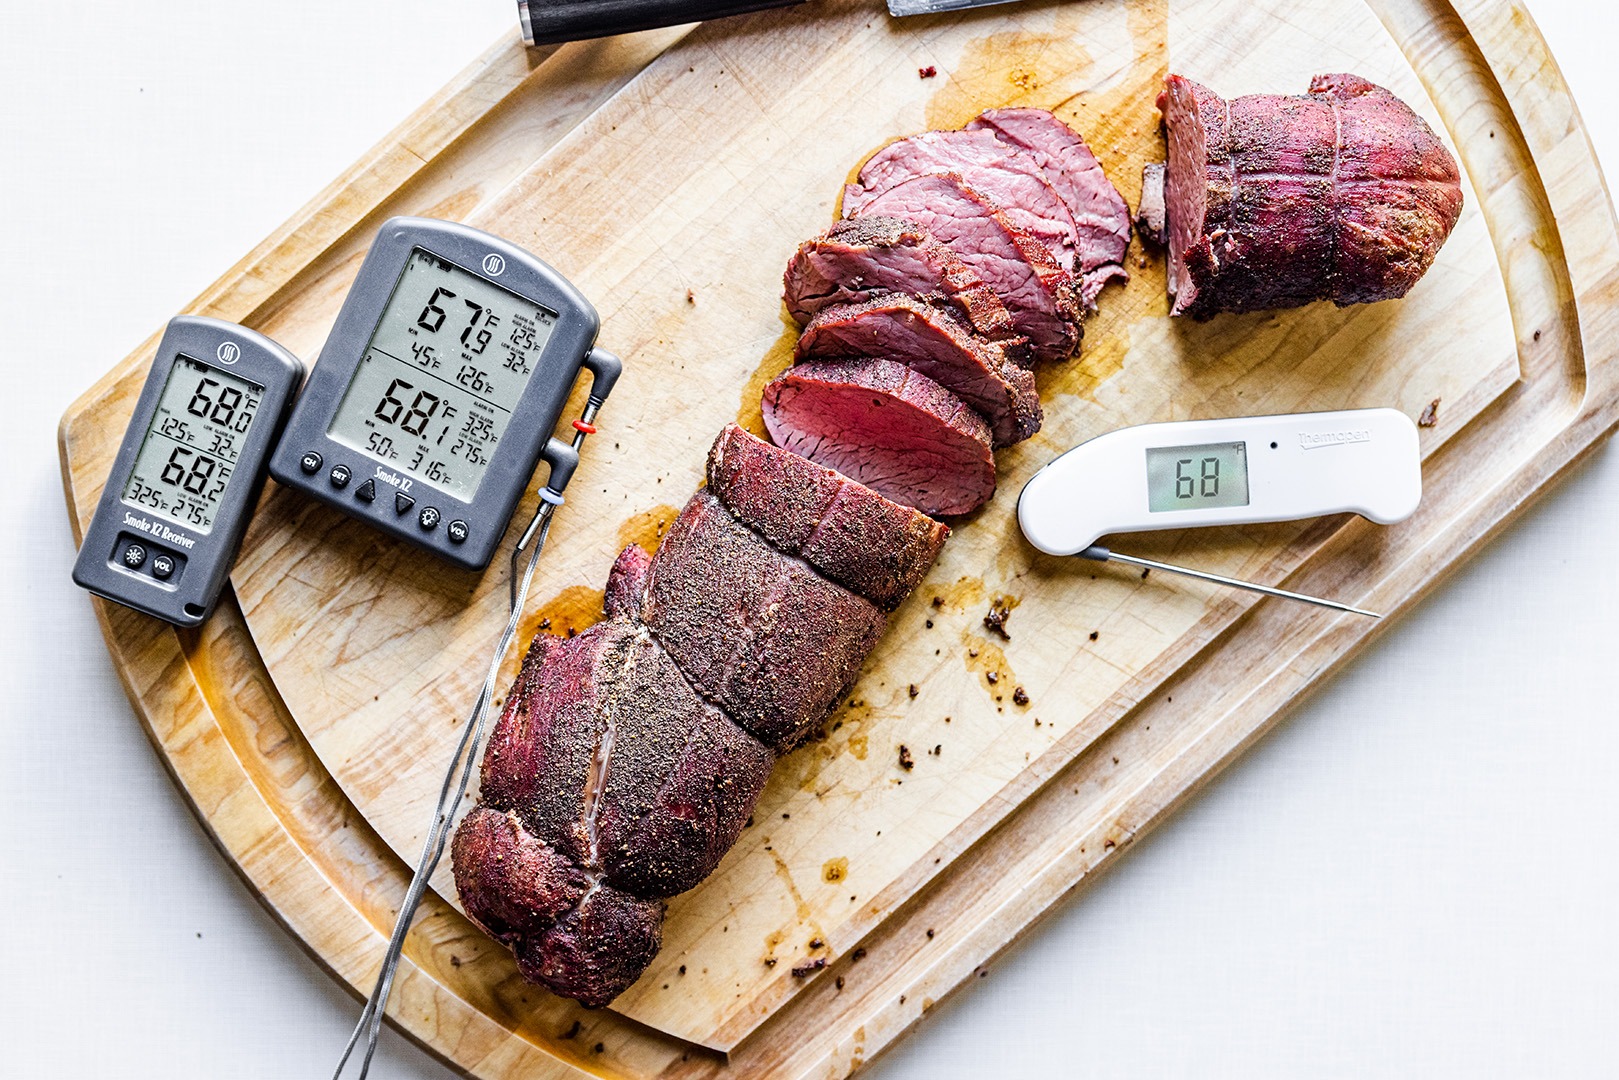
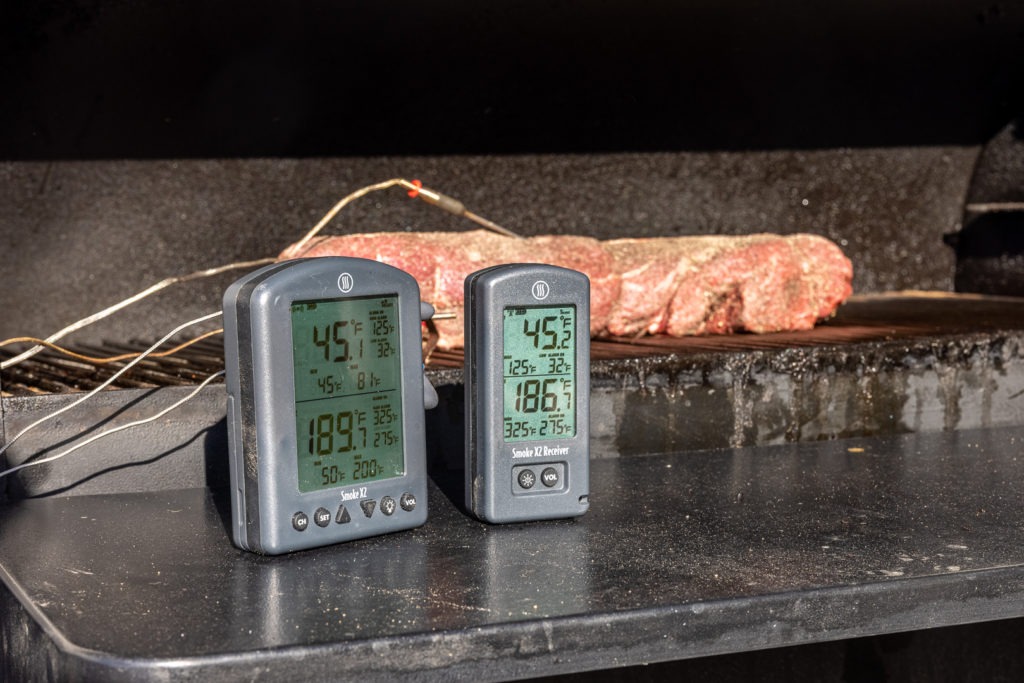
For the exact degree of doneness that you like, use the Smoke X2™ to monitor the meat temperature. The two probe channels and the long-range receiver make it super easy to track your cook, which is important so that you don’t overcook your tenderloin by even a few degrees.
How to Smoke the Tenderloin
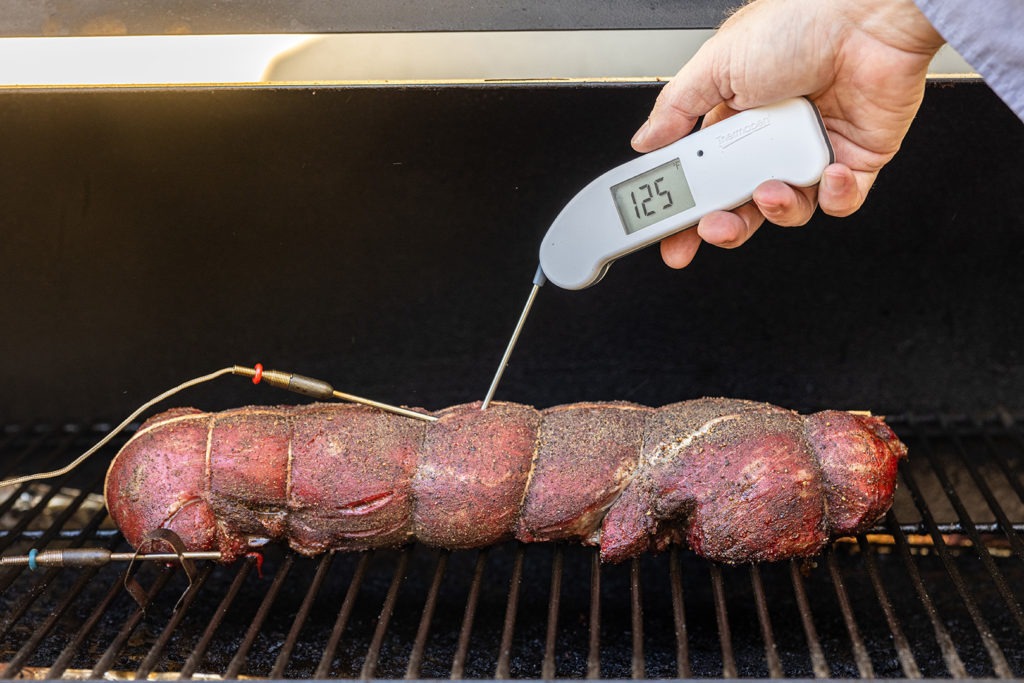
For this cook, we followed Steven Raichlen’s recipe for whole smoked tenderloin, which is as basic a recipe as you can get but is wonderful for how it showcases the tenderness and succulence of this mild cut of beef. Strongly flavored rubs will hide the flavor of a tenderloin, so a simple rub with salt—and/or smoked salt— and pepper is all that is needed. The meat is put on the smoker without an initial sear and is cooked at a mere 300°F (149°C). If you wanted to drop that temp even lower, to a smoker temp of ~220°F (104°C), you absolutely could. It will take longer, but even more smoke flavor will imbue itself into the meat. Either way, be sure to verify the doneness temperature with a fast and accurate thermometer like Thermapen® ONE so you can be sure everything is just right.
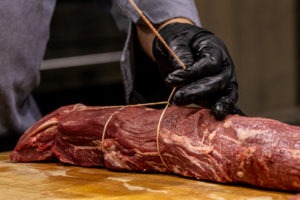
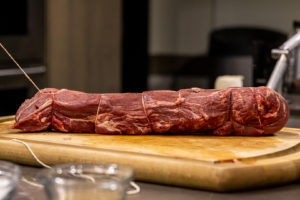
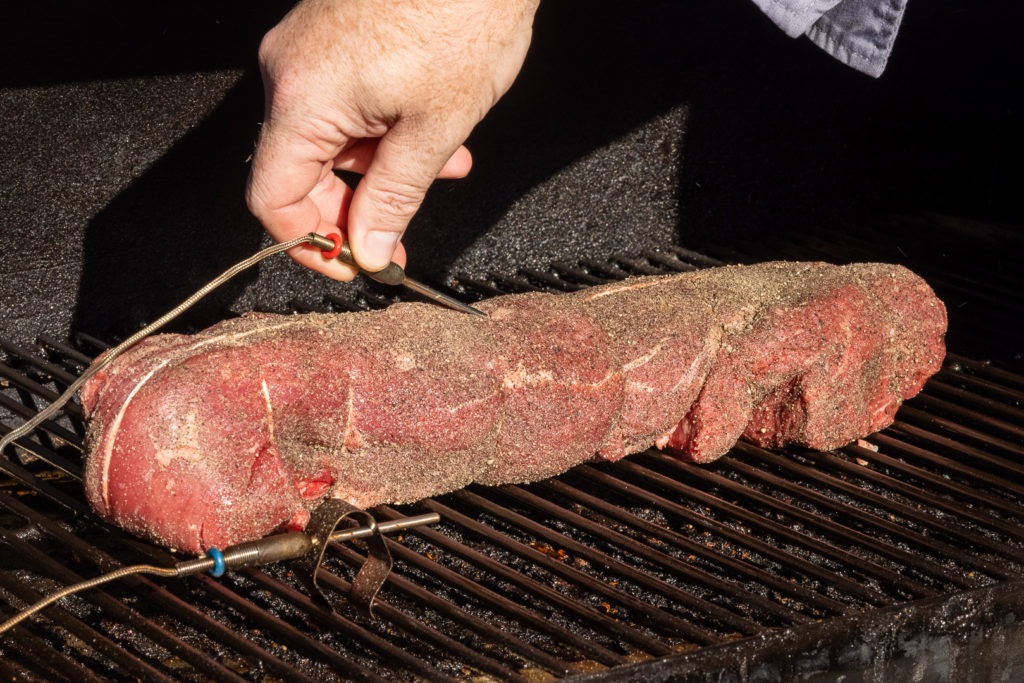
You will also want to trim and tie the tenderloin (or have a butcher trim and tie it for you). Tying the tenderloin creates a more uniform shape along the length of the meat, which means more even cooking. If the tail is flopping around in the smoker, it will be well overcooked by the time the center is done. A cylindrical shape is very effective for even heat transfer, so that’s what we’re shooting for.
A tenderloin is a great way to celebrate, and celebrate big, not only because it’s easy, it’s fast, but also—especially—because it’s incredibly delicious. And with your Smoke X2, you can monitor this expensive cut to a perfect doneness that will be the delight of you and all your guests. Give it a try, I think you’ll like it.
Print
Smoked Beef Tenderloin Recipe
Description
Based on Whole Smoked Tenderloin With Ember-roasted Peppers, by Steven Raichlen
Ingredients
- 1 whole tenderloin, trimmed (4–5 pounds)
- Coarse kosher and/or smoked salt
- Coarse ground black pepper
- 1–2 Tbsp olive oil
Instructions
- Preheat your smoker to 300°F (149°C)—you can go down lower if you like, but know that it will take longer to cook
- Fold and tie the tail under the tenderloin
- Tie the tenderloin ever 2 inches or so, to create a uniform thickness along its length.
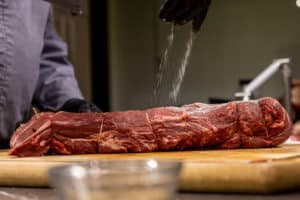
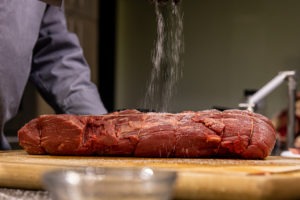
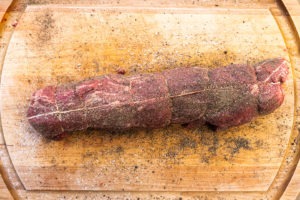
- Rub the beef tenderloin all over with pepper and salt. (We used a combination of kosher and cherry-smoked salt.)
- Rub the meat all over with the olive oil.
- Place the meat in the smoker, and insert the probe into the center of the loin.
- Set up the air-temperature probe as well.
- Close the lid on the smoker.
- Set the high-alarm on the Smoke X2 for the meat to 125°F (52°C) for medium-rare (or 130°F [54°C] for medium).
- Set the air probe’s high alarm to 325°F (163°C) and the low alarm to 275°F (153°C).
- Allow the meat to cook until your alarm sounds (about 1 hour).
- Check the temperature with your Thermapen ONE, making sure that the lowest temperature you see is your target pull temperature of 125°F (52°C).
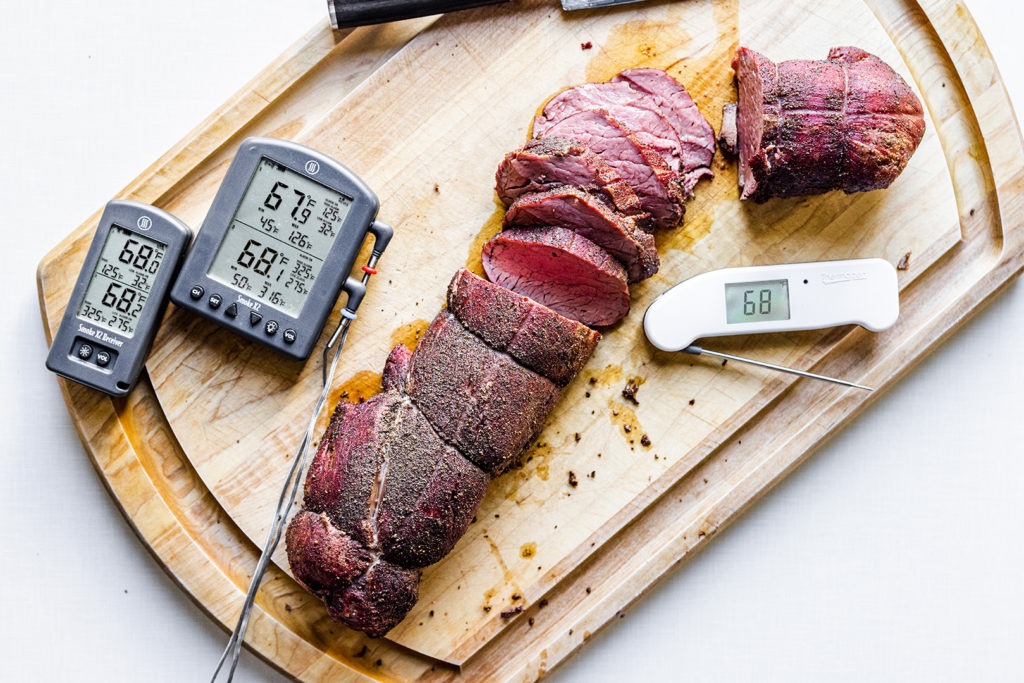
- Remove the tenderloin from the smoker, and let it rest for 10 minutes before carving. This will give the meat time for the ~5°F (3°C)carryover cooking that will occur, resulting in a perfect 130°–135°F (54°–57°C) for medium-rare or 135°–145°F (57°–63°C) for medium.
- If you like, leave the probe in the meat while it rests. The Smoke X2 meter will register the highest temperature reached before cooling as the Max temperature on the Min/Max display.
- Slice the smoked beef tenderloin and serve it up.
Shop now for products used in this post:




I go with 225 degrees and find the extra time worth it in terms of tenderness, smoke flavor and even cooking. With the lower temperature, I find it helpful to sear the steak either before or after smoking to get a tasty crust. I prefer searing on a very hot grill or very large grill-pan before smoking because that allows me to more accurately control the final temperature.
Jim,
Excellent point! At 300°F, you get a bit of air-sear. At 225°F, you’ll want to sear in addition to the cook.
Happy cooking!
We love your products. My son cooks a pro circuit bbq competition with KCBS. He placed 15th overall in 2017 against 1000’s of other teams! Without the accuracy of the thermapens he’d be lost.
Thank you for such great products!
We love the recipes you post!
Amy,
That’s fantastic! We wish him luck in the future. Coming up # 1 this year?!?
Thanks for reading and happy cooking!
How much wood chips would you recommend & when would you add them to the smoker ?
Curt,
Because this piece of meat doesn’t have to cook for a long time, loads of chips aren’t necessary. A fat handful will do at the beginning, and if you want to throw a few on at the end to amp up the flavor, that’s not a bad idea. It ends up being a more…’delicate’ smoke flavor.
At a future date, I would like to buy one of the therma Q s however I must first find another house to make payments on. Thanks for the e mails, I really like the ones with recipes and helpful hints, also rub knowledge would be helpful.
Phil,
By rub knowledge do you mean what rubs we use? One of my current faves is Jess Pryles red rub. It’s got a bit of kick and is super tasty. Most BBQ rubs are very good, honestly. Because BBQ cooks are SERIOUS about their food, most people don’t dare make a shoddy product.
If you mean something else, please feel free to comment back or even contact me directly!
I am wondering about your order of application when it comes to seasoning and oil. Your instructions say to coat with seasoning and then coat with oil. Wouldn’t it be better to apply oil first? The seasoning would stick better, and applying oil after seasoning could interfere with an even coating of the seasoning. I’m not highly experienced, so I’m just asking.
Good question! We want the seasoning to adhere to the meat and to soak into the meat. Yes, salt may stick to an oiled surface, but it won’t get intot he meat with an oil barrier between them. Applying oil after the spices creates a good heat-conduction layer while allowing the seasonings to soak into the meat.
I really liked your answer on seasoning before or after the olive i have always wondered about if the oil would make a barrier to keep the spices from getting into the meat thank you very much
I’m smoking a 5.5 lb tenderloin tomorrow evening for a New Year’s Eve dinner and will be following your method. I really appreciate your easy to understand and follow instructions.