How to Make Homemade Chiles Rellenos: Recipe and Critical Temps
One of the most popular dishes at Mexican restaurants everywhere, chiles rellenos (ray-YAY-nohs) are an indisputable crossover classic. A true traditional dish from the culinary wonderland that is Puebla, Mexico, the dish has reached well into the hearts of Americans, as well. A roasted chili, stuffed (often with cheese, but we’ll talk more about that), and fried in an eggy batter, this dish seems out of reach to the home cook. But it is actually not difficult to make, and if you nail the oil temps and follow a few other hacks, you can make them as well as—or better than—your favorite local Mexican spot. Let’s dive in and take a look!
Chile relleno basics: what they are and what makes them good
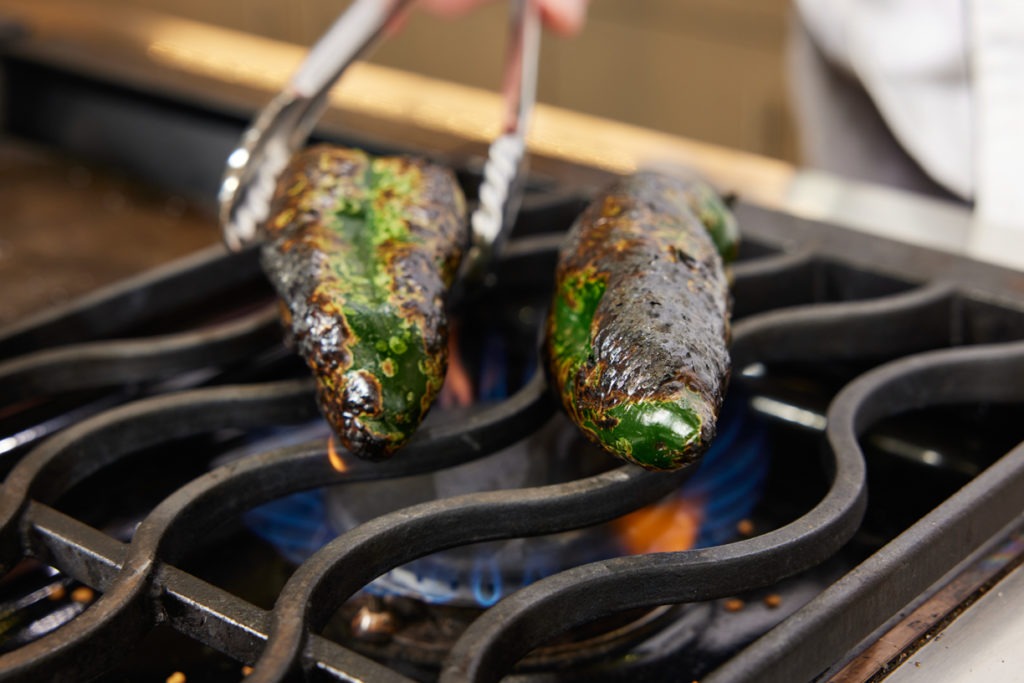
The name, chile relleno, means, simply, “stuffed chili.” The pepper is most often a poblano, but can be a New Mexico chile (including Anaheim), or a pasilla. The chiles are first roasted, either on a hot pan (a comal), over an open flame, or tossed into a bed of hot coals. The roasting par-cooks the chiles, awakens many of their flavors, and makes their skin blister, char, and easily shed. With the skin charred and peeled, the surface of the chiles is left raw-looking and damp.
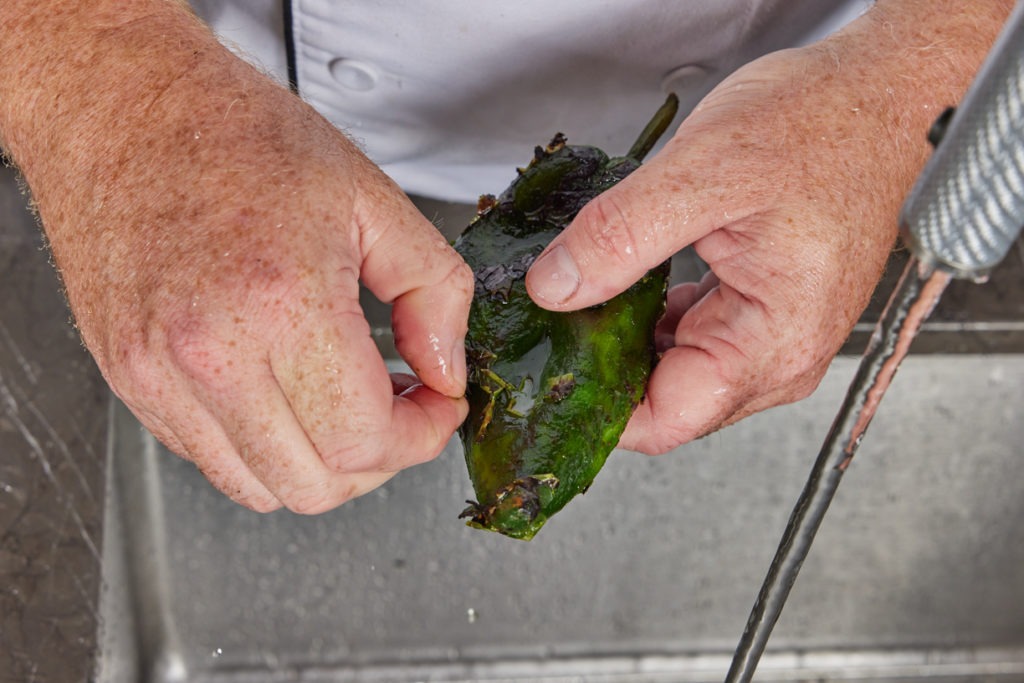
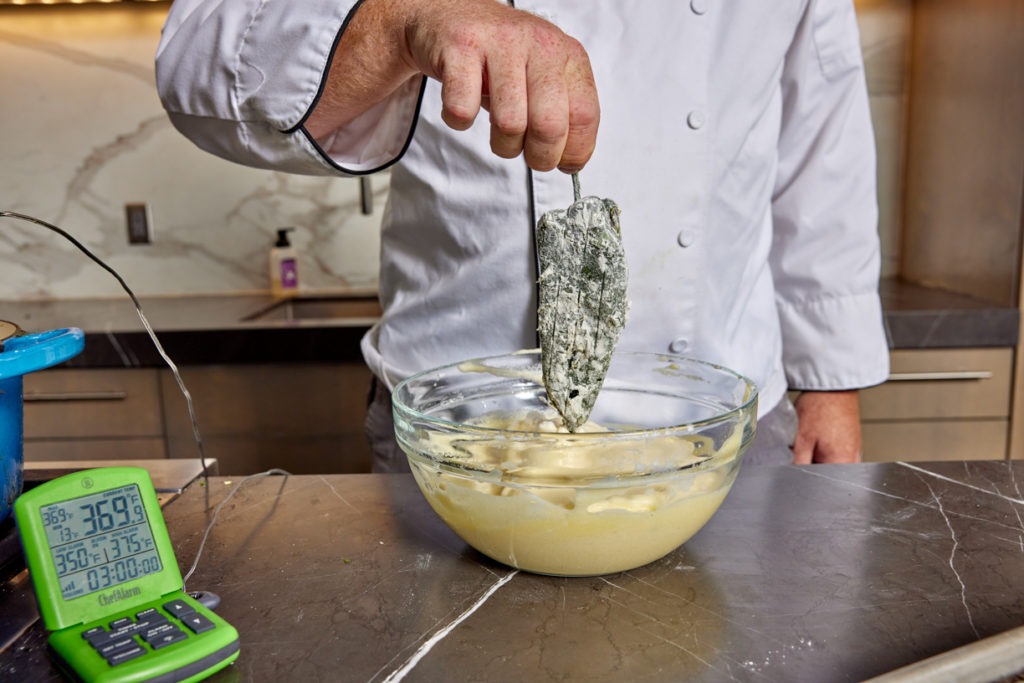
That texture is perfect for dipping the peppers into flour to provide a base-coat for the batter to adhere to. Imagine trying to dip a smooth, fresh chile in batter—the shiny skin would slough the batter off like water from a duck’s back. The roasted, peeled chile, dredged in flour, can accept all the batter it needs.
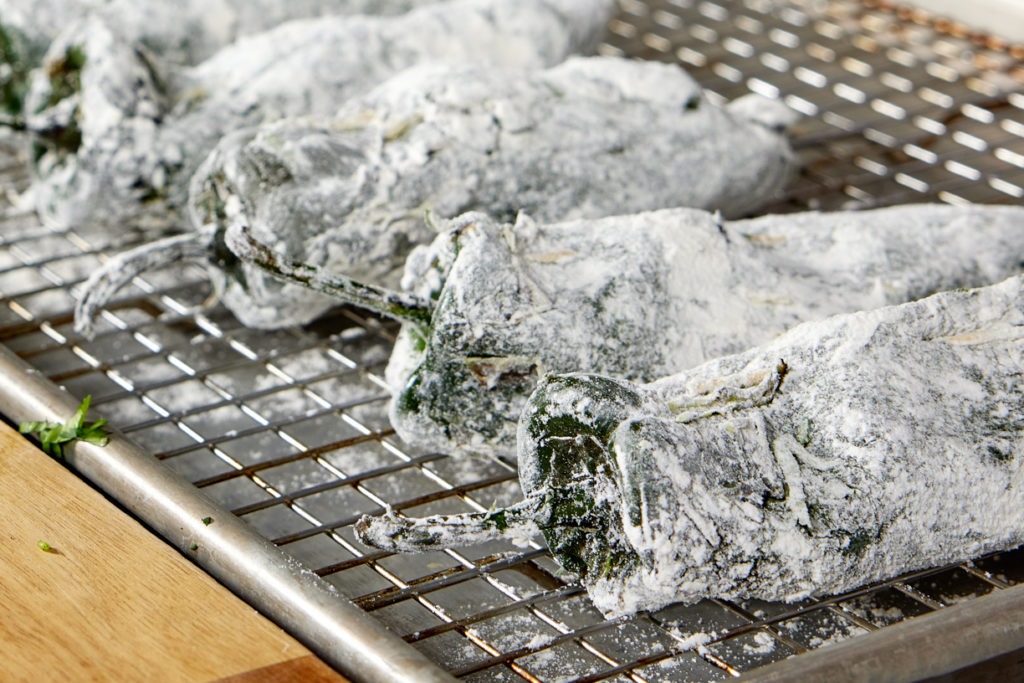
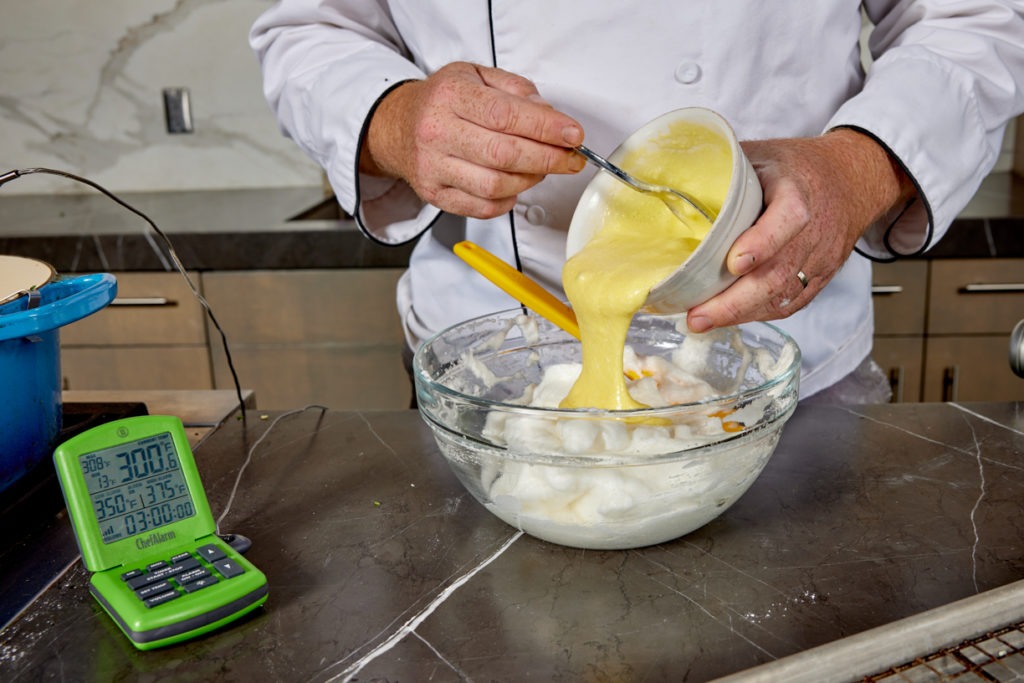
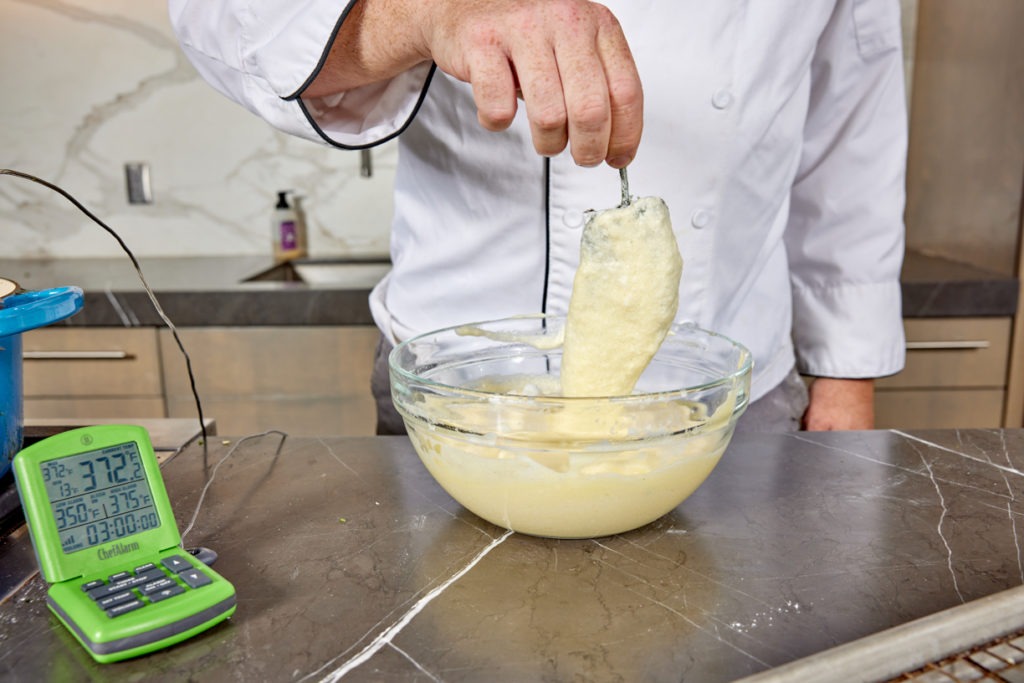
And that brings us to the batter. The batter is…eggs. Mostly eggs, anyhow. In essence, it is a souffle that you dip the chile into. You separate the whites and yolks, beat the whites stiff, fold in a small amount of flour, then gently stir in the yolks, tempered with some of the whites. That’s the batter! It’s a savory souffle that gets fried on the outside of a chile instead of made into a dish in its own right. Fascinating!
How to stuff chiles rellenos
Once the chiles are roasted and peeled, but before they are dredged and battered, you need to stuff them. Cut a slit from the top of the chile, down a few inches toward its lower tip. Use a spoon to scrape out the majority of the seeds clustered near the base of the stem. You can try to get out as much of the veins from the walls as you like. That’s where the spice is located, but these are pretty mild peppers, so you don’t need to worry about the membranes unless you have some serious spice aversions.
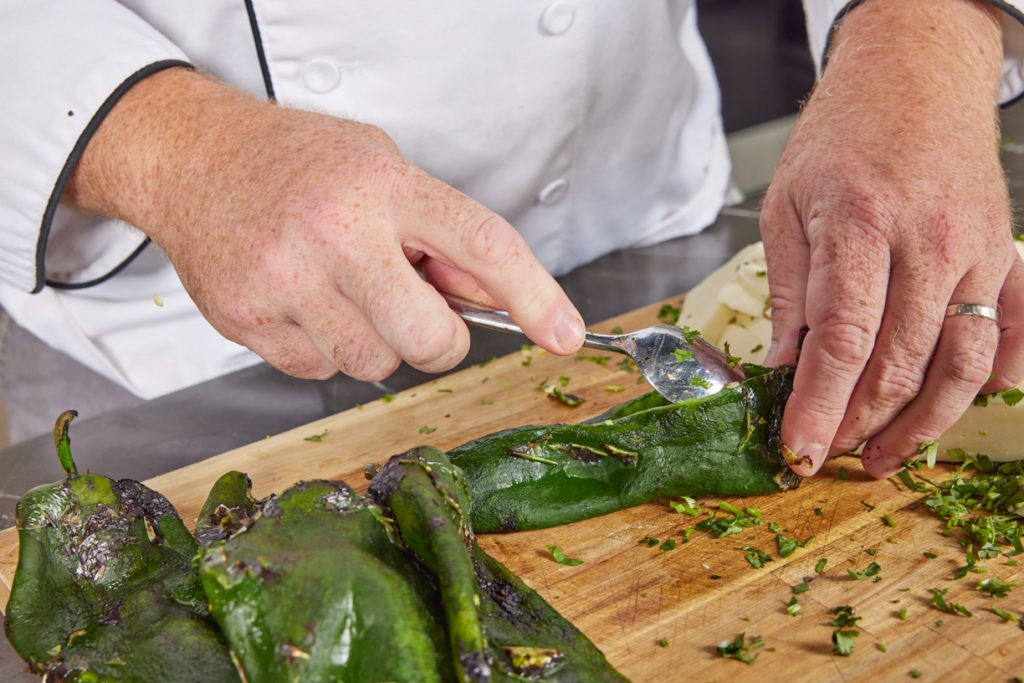
With the chiles cleaned out, you can fill them. Stuff your filling into the chiles. You can be fairly generous with it, so long as you can manage to close the pepper—three or four strips of Oaxaca cheese was enough for our peppers. Pull the two sides of your slit together so that they overlap somewhat. Use a toothpick to pin the seam closed, as you would when putting a lapel pin in place. Yes, this leaves a toothpick in place, but you can remove them all before serving, or tell your diners about the toothpick so they can fish it out themselves.
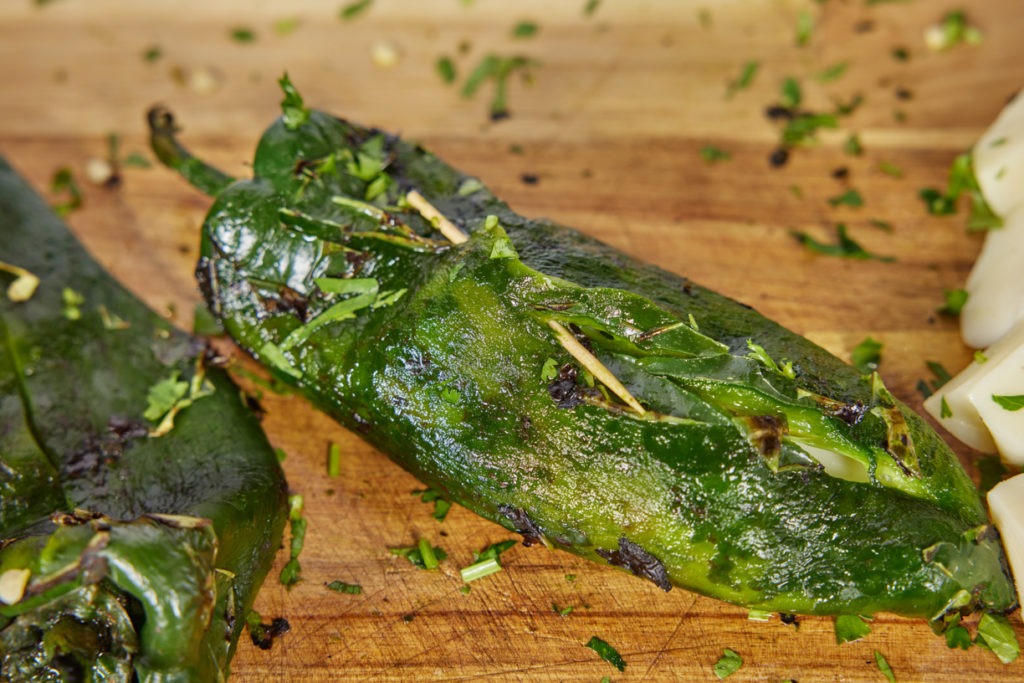
Filling for chiles rellenos
The filling for chiles rellenos can be whatever you want. The kind most Americans have eaten are generally stuffed simply with cheese—Oaxaca queso is best, but low-moisture mozzarella will do. (We tossed out sliced cheese pieces with a little fresh cilantro for extra flavor—a nice touch, if not strictly “authentic”.) But in Puebla they are often stuffed with a picadillo mixture—ground, spiced meat, often cooked with olives and raisins as well as some tomato. If you use meat like that, precook it, as the chiles don’t fry long enough to cook through. You can even precook the filling, chill it, and stuff the peppers cold with it. It will get warm, just not hot enough to “cook”.
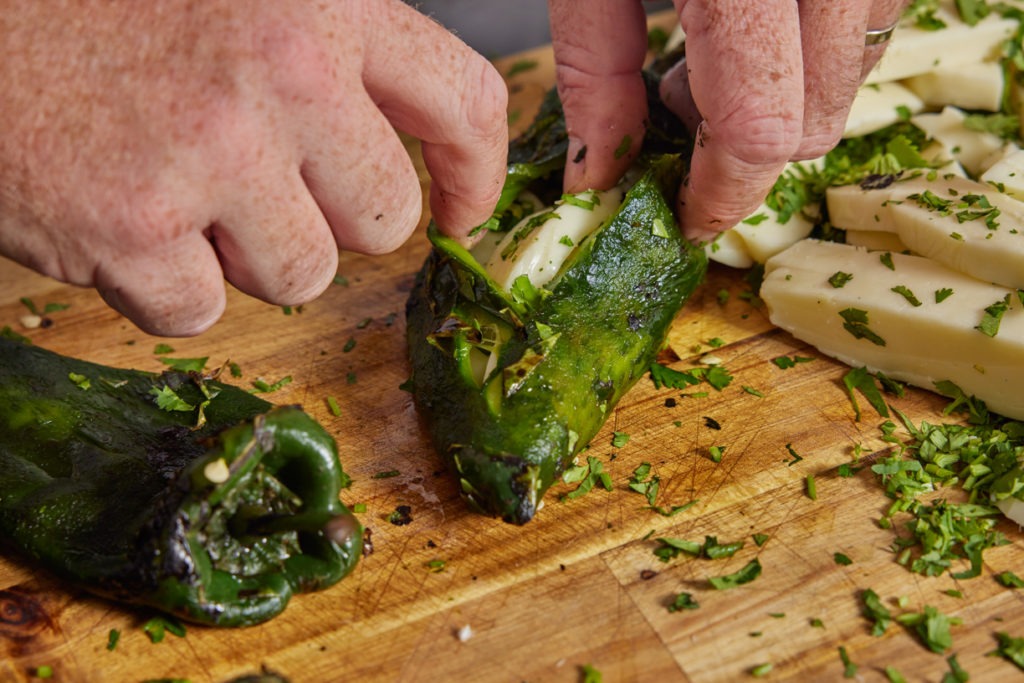
But you can really use whatever you like to fill them! use a combination of meat and cheese, opt for some grilled chicken, go jalpeño pepper style and stuff it with some cream cheese and bacon. Or, heck, find a way to make a chili-centric dessert—you’re clever, you can make it work, right?
Frying chiles rellenos
Our chiles are roasted, stuffed, dredged, and battered, but who should we fry them? Hot! We added only a small amount of flour to the batter,s o we won’t easily get the same browning that we would in a mostly-flour batter. The protein=heavy batter doesn’t brown the same way that the starches and sugars in white flour usually do. This is much more like browning a stezk than browning some toast. So turning our oil up to 375°F (191°C) is just fine in this case, and is, in fact, needed! It takes a lot of heat to melt that cheese, and it also is needed to get any kind of golden-brown on the batter.
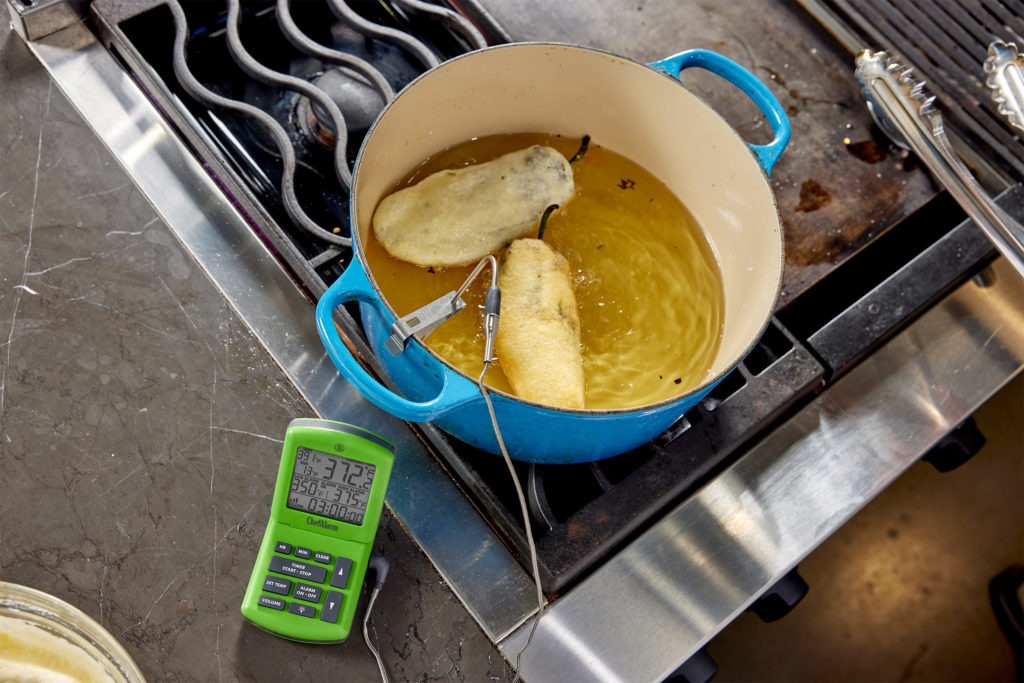
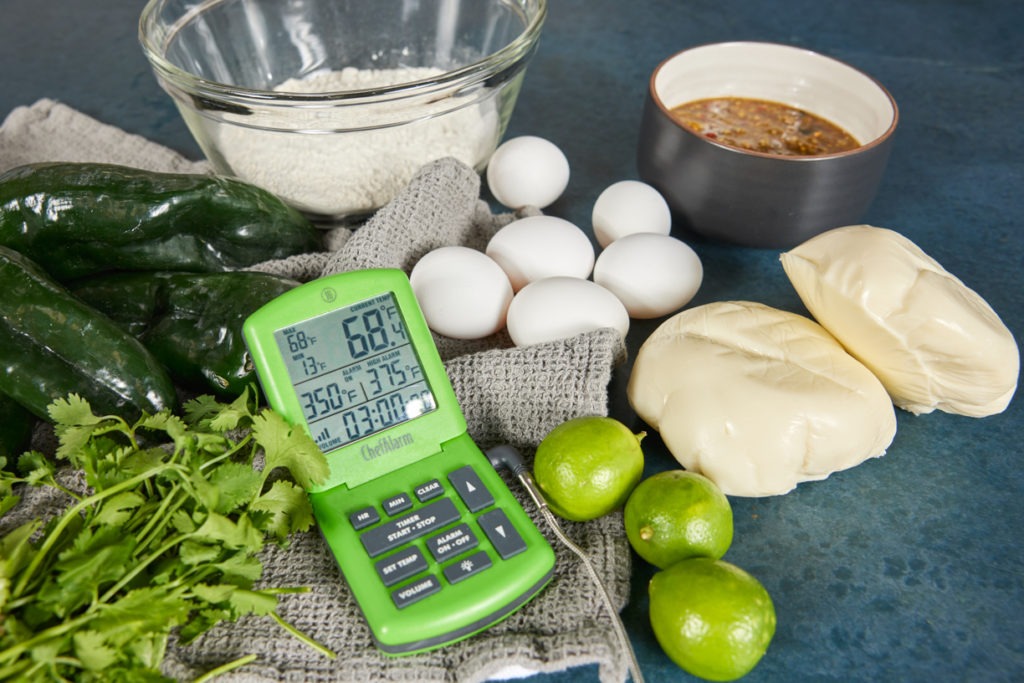
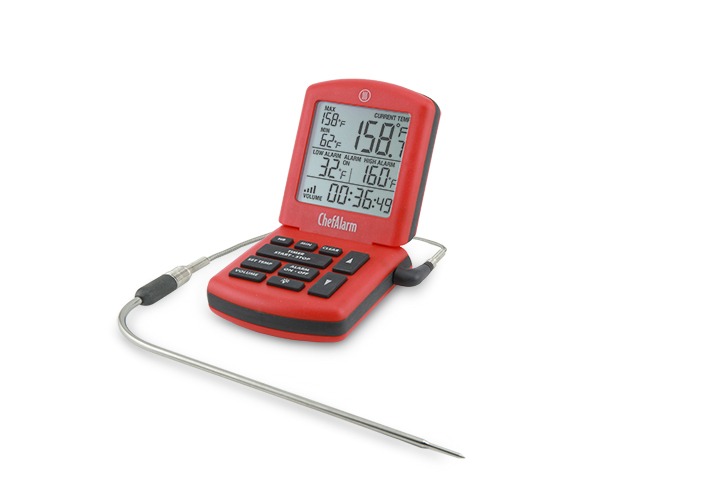
Using your ChefAlarm® for this cook is important because we’re riding a line between not getting anything done and burning our oil itself—that temp is close to most smoke points, and if you don’t watch it, you’ll go over into bad territory. Set the high-temp alarm on your ChefAlarm to 375°F (191°C) and the low-temp alarm to 350°F (177°C). Keep the probe off the bottom or walls of your pot, and you’ll always know you’re cooking in the right range. By the time the eggy batter is a golden-yellow brown, the cheese inside will be melted.
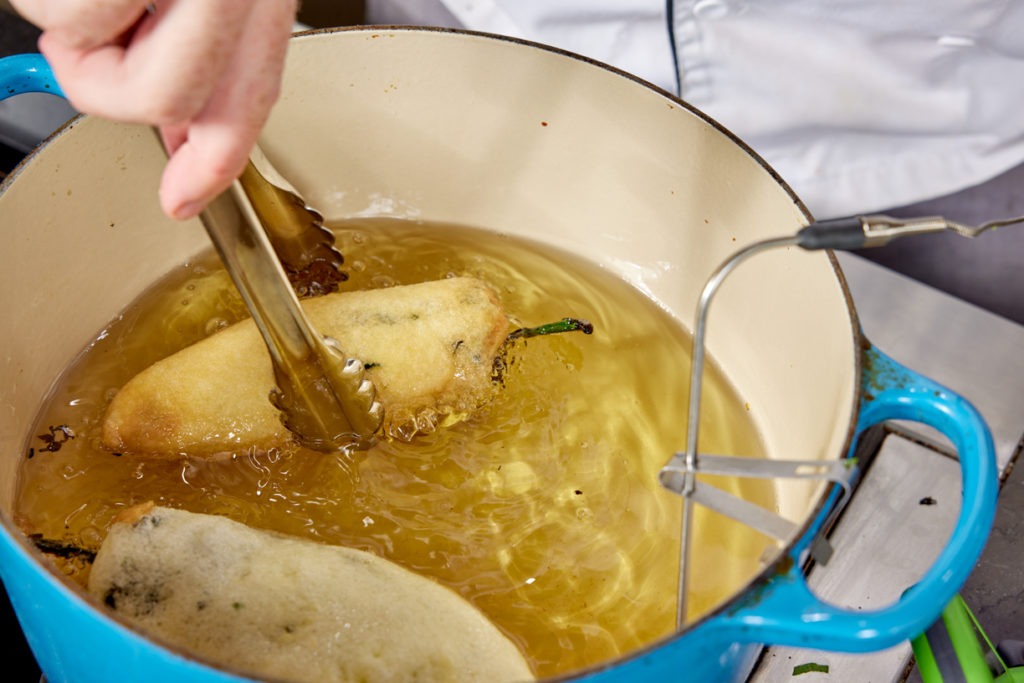
We love a good chile relleno, and these are very good rellenos. Understanding how the batter works and keeping track of your oil temps is critical to a successful relleno, and with ChefAlarm, it’s also super easy. Give this a try. Play around with fillings, with different peppers, even, and find the way to make it that suits you best. You’ll be glad to add this delicious dish to your cooking playbook!

How to Make Homemade Chiles Rellenos: Recipe and Critical Temps
Description
Chiles Rellenos, adapted from Chili Pepper Madness.
Ingredients
- 4 poblano chiles
- 8 oz Oaxaca cheese, cut into strips that are about 1/2” wide
- Chopped cilantro (optional)
- 1/2 C all-purpose flour, divided
- 3 eggs, separated
- 1/4 tsp salt
- High smoke point oil, for frying
Instructions
- Roast your chiles over a stovetop flame, on a hot pan, or in coals, until the skins are charred and bubbly.
- Place the chiles in a zip-top bag or covered bowl and allow to sit for about 10 minutes to loosen their skins.
- Preheat your oil. Use a ChefAlarm probe and a pot clip, set the high-temp alarm for 375°F (191°C) and the low-temp alarm for 350°F (177°C). The oil can heat while you stuff and prepare the chiles.
- Remove the chile skins under cool running water.
- Slit each chile open from the top near the stem to about 1 or 2 inches away from the point.
- Use a spoon to scrape out all the seeds and as much of the membranes as you want to get rid of.
- If using the cilantro, toss the cheese strips with the fresh chopped herb.
- Stuff 2–4 strips of cheese into each pepper, then “sew” the seam up with a toothpick.
- Add the salt to the egg whites and whip them with a beater or whisk until they form stiff peaks. Scatter 1 Tbsp of the flour over the top of the whipped whites and fold it gently in until you don’t see any more dry flour.
- Stir a spoonful of the whites into the yolks to temper them.
- Pour the yolk mixture into the whites and stir gently to combine.
- Dredge the chiles in the remaining flour.
- One at a time, dip a chile into the egg mixture all the way up to the stem.
- Gently lay the coated chile in the hot oil. You can cook 2–3 chiles at a time.
- Cook, turning after the batter has set, until the relleno is golden all over, but not brown, about 3–5 minutes. Monitor the oil temp during the cook using your ChefAlarm, adjusting the heat so that the temperature stays in the correct temperature window.
- As the chiles finish cooking, remove them to a paper towel-lined pan to drain.
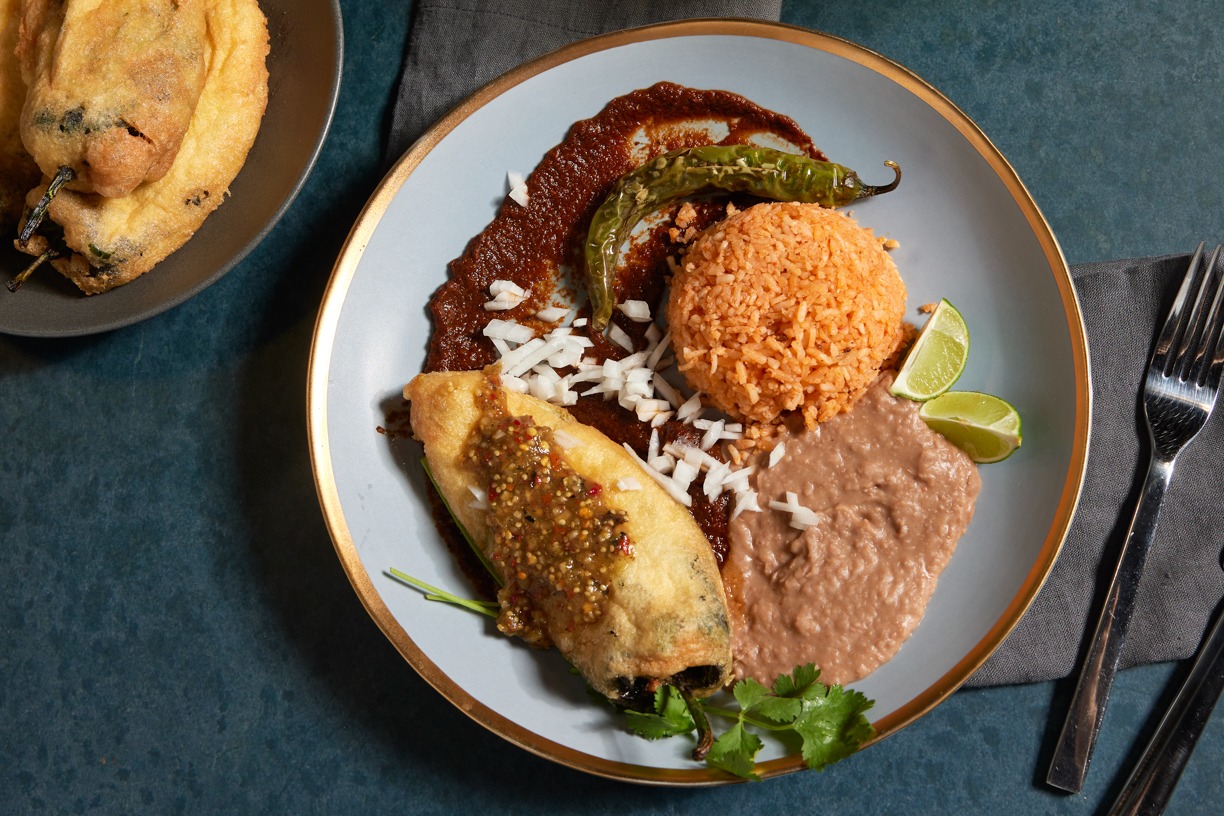
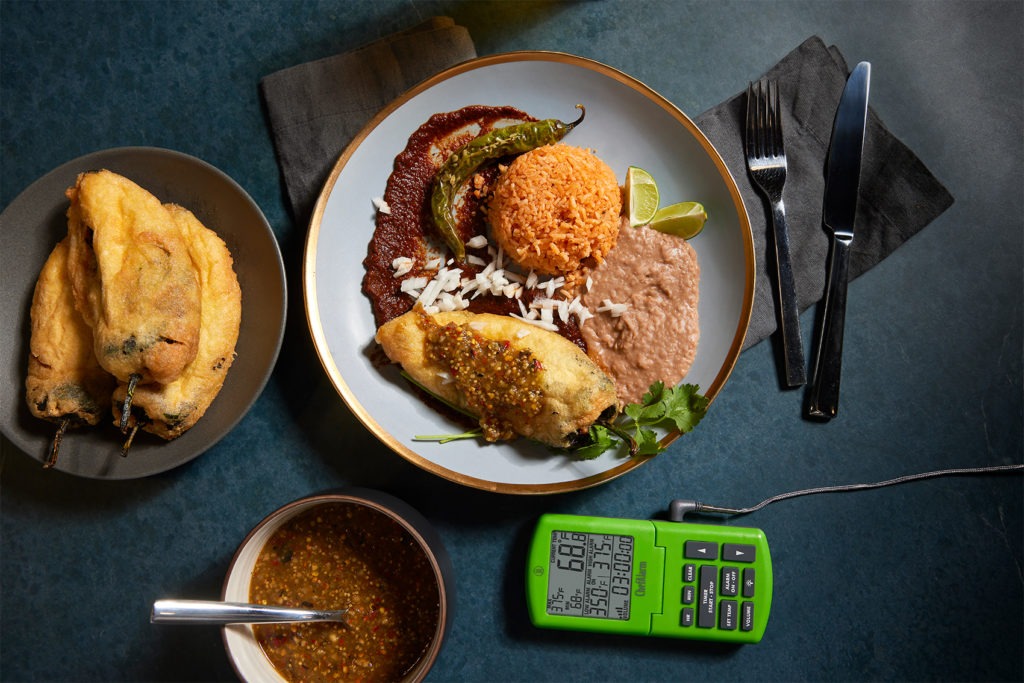
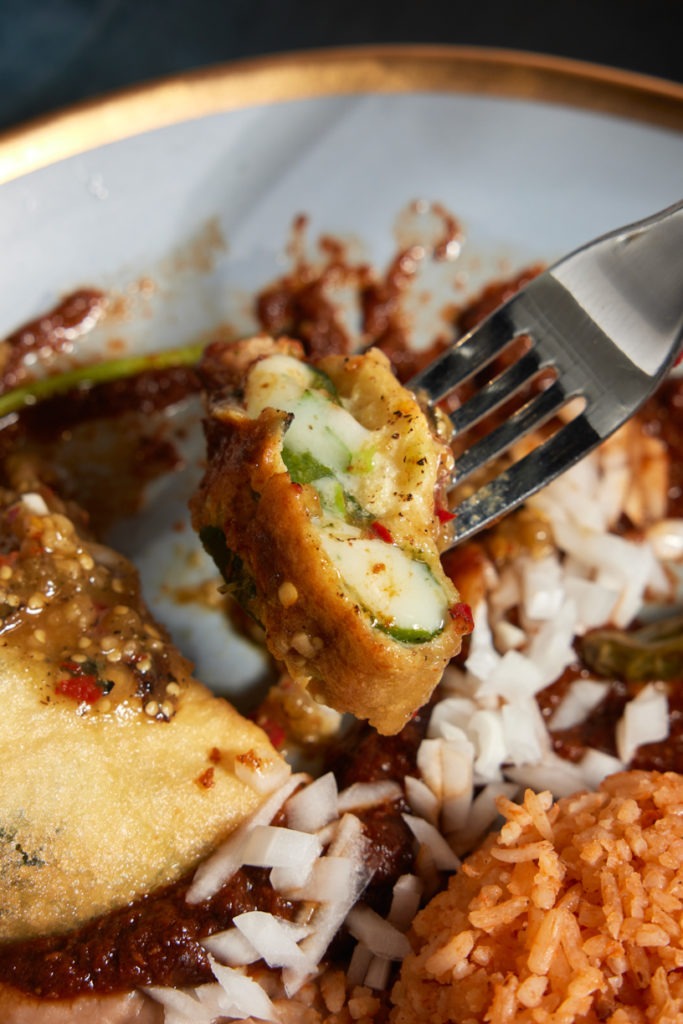
- Serve, topped with your favorite salsa, alongside rice, beans, or anything else you like.
Shop now for products used in this post:


