Homemade Baklava—Perfect Syrup makes for a Perfect Dessert
Unless you come from a home where it was made frequently, you probably think of baklava as being one of those impossible dishes to make yourself. All those layers, all that flavor…how are they to be accomplished by a layman like me, right? Wrong. Homemade baklava is deceptively simple to make yourself (unless you choose to make your own phyllo pastry, which we don’t). But there is one tricky thing: the syrup that is used to sweeten and moisten it. You need to strike a balance on its texture, and temperature is the way to get it right. Read on for our thermal tips and a delicious recipe for this sweet and aromatic treat.
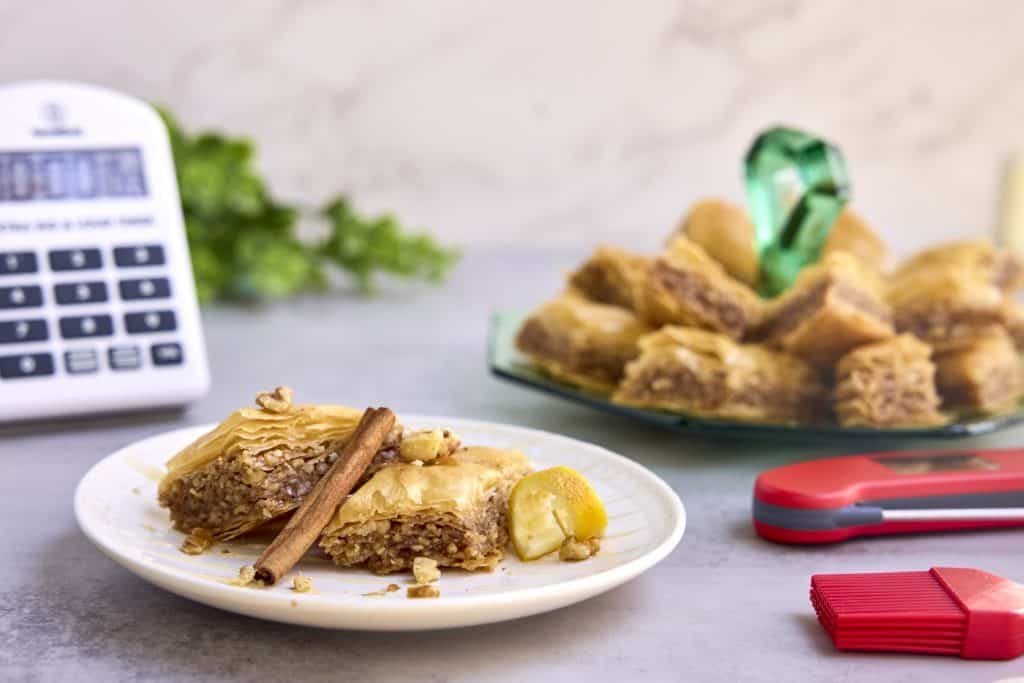
Get the tools for this cook here:
What makes great baklava
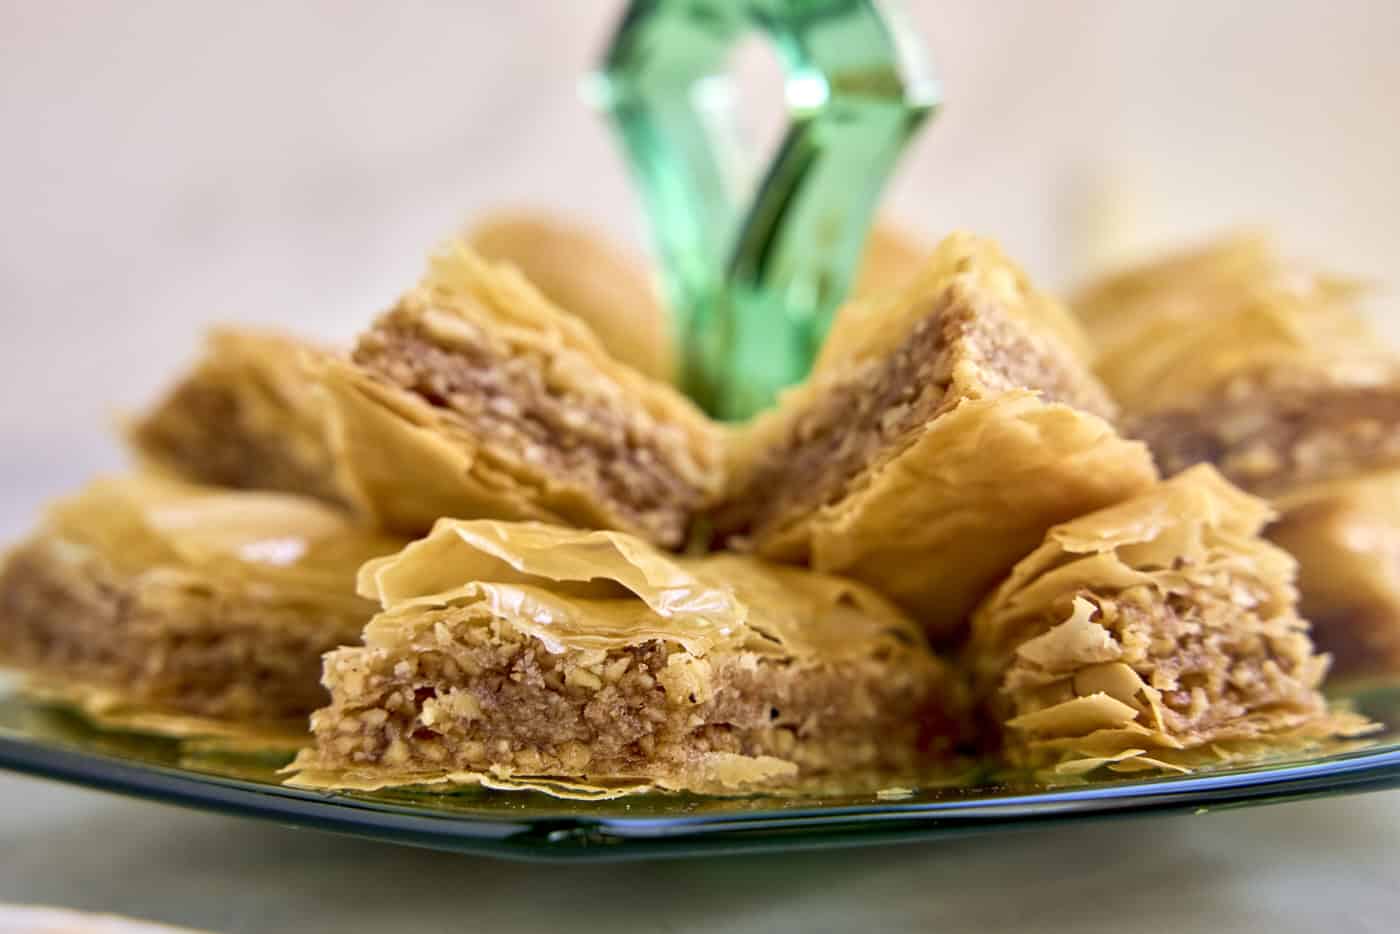
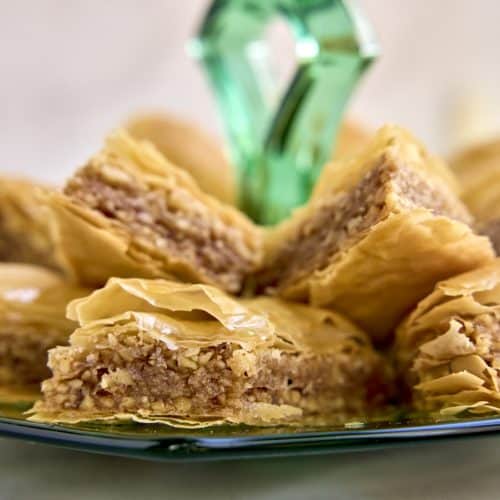
Baklava comes in dozens, if not hundreds of forms. Myriad shapes and styles abound, and the one we present here today is most closely associated with Greek-style baklava. But no matter which region across the thousands of square miles of baklava’s native range you look at, it will always be made with nuts, thin layers of pastry, spices, and something to sweeten it. There are “dry” versions made without syrup, but most versions are sweetened with a syrup, often made with honey.
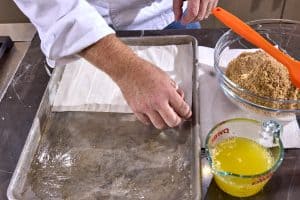
The pastry, which goes by various names in various regions, but which we will refer to as phyllo (filo), must be well layered, not clumped together. That is achieved by brushing melted butter between each layer as it goes into the pan. A silicone brush works very well for that, of course.
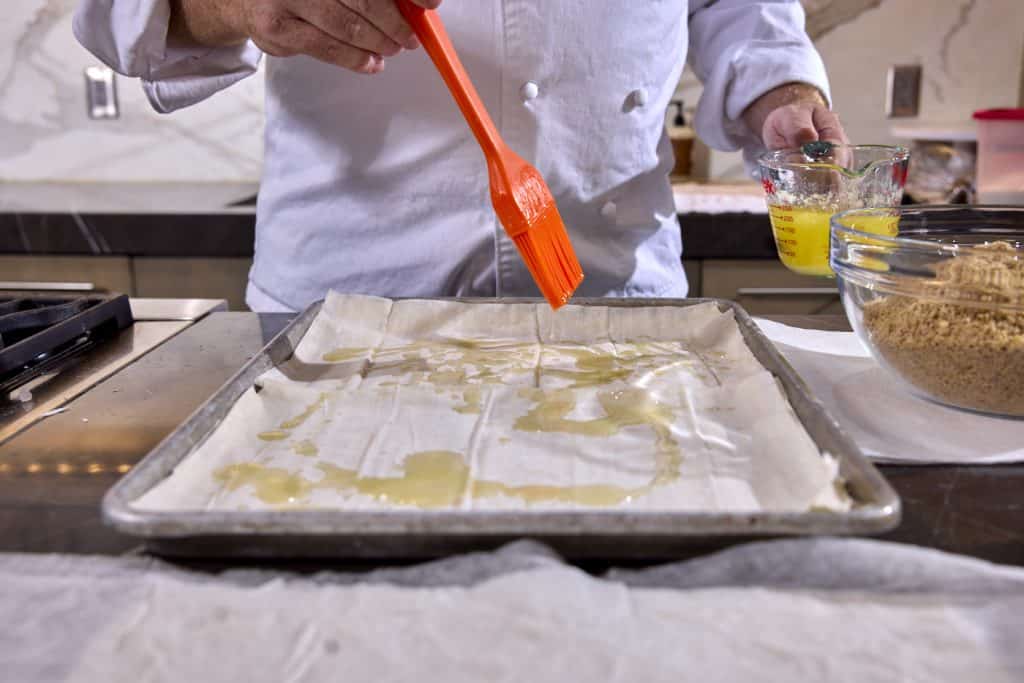
For perfect texture, it is important to have the right syrup consistency. If the syrup is too thin, the baklava is too messy, too “juicy,” maybe even a little soggy. If the syrup is too thick, the baklava is too sticky, too much like caramel. To get it just right, we’ll turn to temperature.
Baklava syrup temperature
A syrup’s viscosity depends on its sugar concentration. No matter what the base is (honey, agave, sugar, whatever) the concentration is associated with the boiling point of the liquid. The more concentrated the syrup, the higher the boiling point. We find the perfect concentration to be at the point where boiling syrup reaches 225°F (107°C), adjusted for elevation.
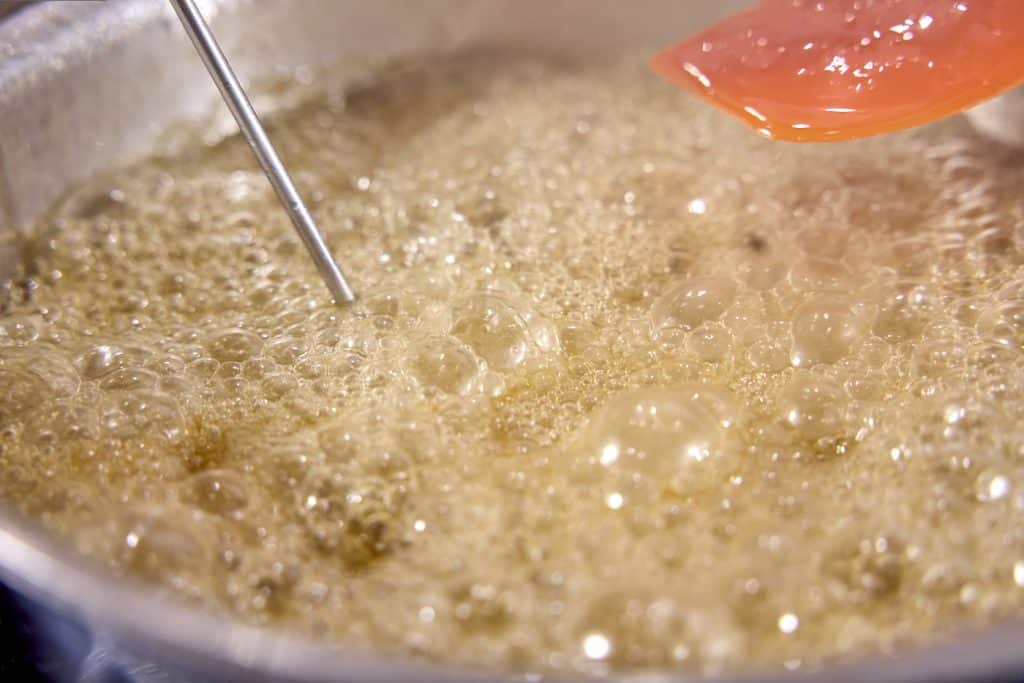
As we said, boiling syrup temperatures correspond to sugar concentrations. But at higher elevations, water boils at lower temperatures, meaning water leaves the solution sooner. And that means that sugar syrup temperatures need to be lowered. For every 500 ft above sea level at which you are cooking, reduce the boiling temperature by 1°F (0.56°C).
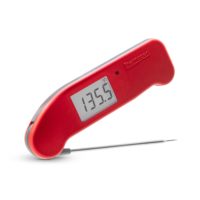
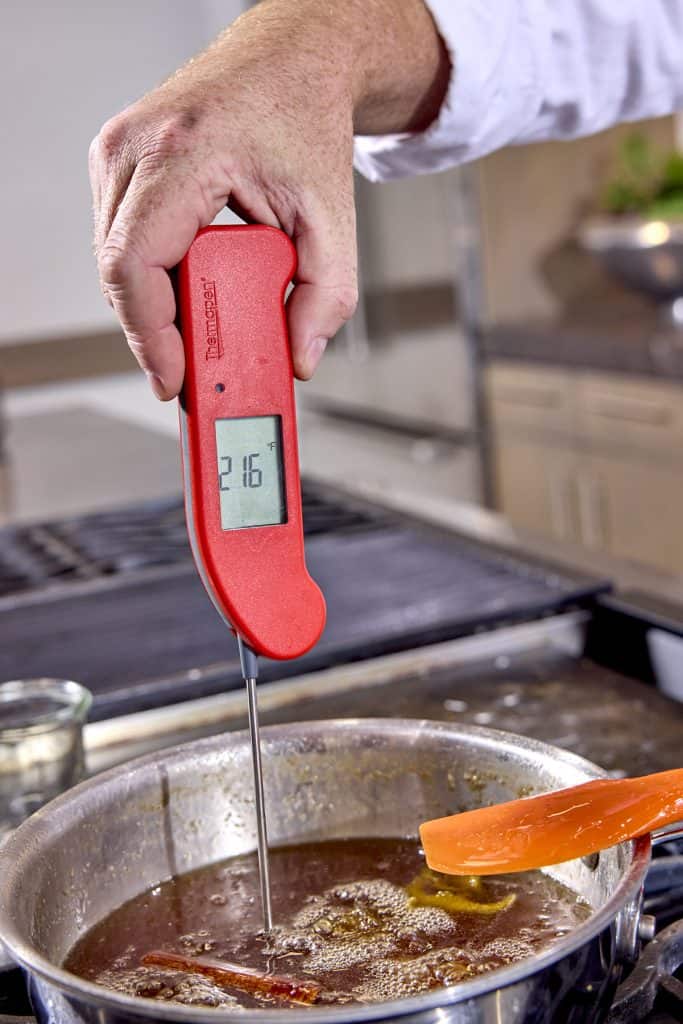
Use your Thermapen ONE to check the syrup temperature as it boils and concentrates. We stopped ours at 216°F (102°C), because we’re cooking at about 4,500 ft elevation. (Thermapen ONE is the best candy thermometer for this or any other sugar-syrup task.)
Some notes on baklava making…
On nuts
This recipe uses walnuts, but what nuts you use is up to you! Many traditional versions have loads of pistachios, some versions from central Turkey use hazelnuts. Many use almonds. Each nut will bring its own flavor and texture to the mix, so feel free to mix and match however you like.
On scoring clean lines
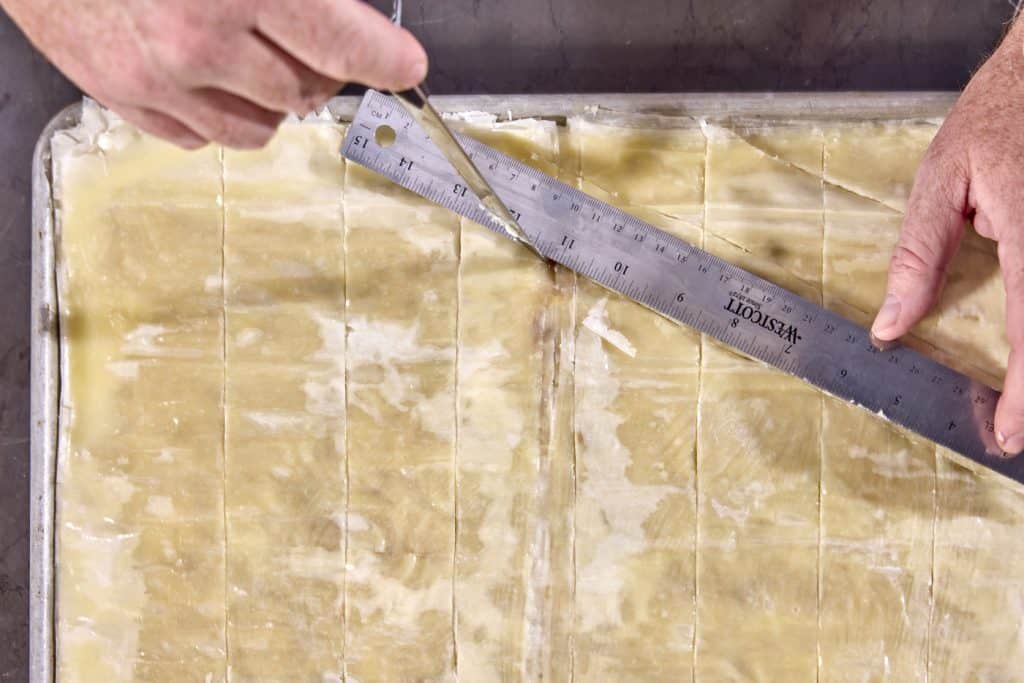
Because of the flakiness and shatterability of cooked phyllo, you pre-cut baklava before cooking it. But scoring through all those layers of paper-thin dough can be…frustrating. And it can end up a little messy. One other thermal, though not thermometrical, tip for beautiful baklava is to put it in the fridge for 30–50 minutes after building it but before you score it. The butter will set up, making the whole thing firmer, and allowing you to score it more precisely and more beautifully. As someone who has been making baklava for over 30 years, this was actually a revolutionary step for me, and it will get you making gorgeous desserts with even less practice.
Also, there is nothing to be ashamed of in using a ruler to cut straight lines. It makes it much easier.
Conclusion: make your own baklava
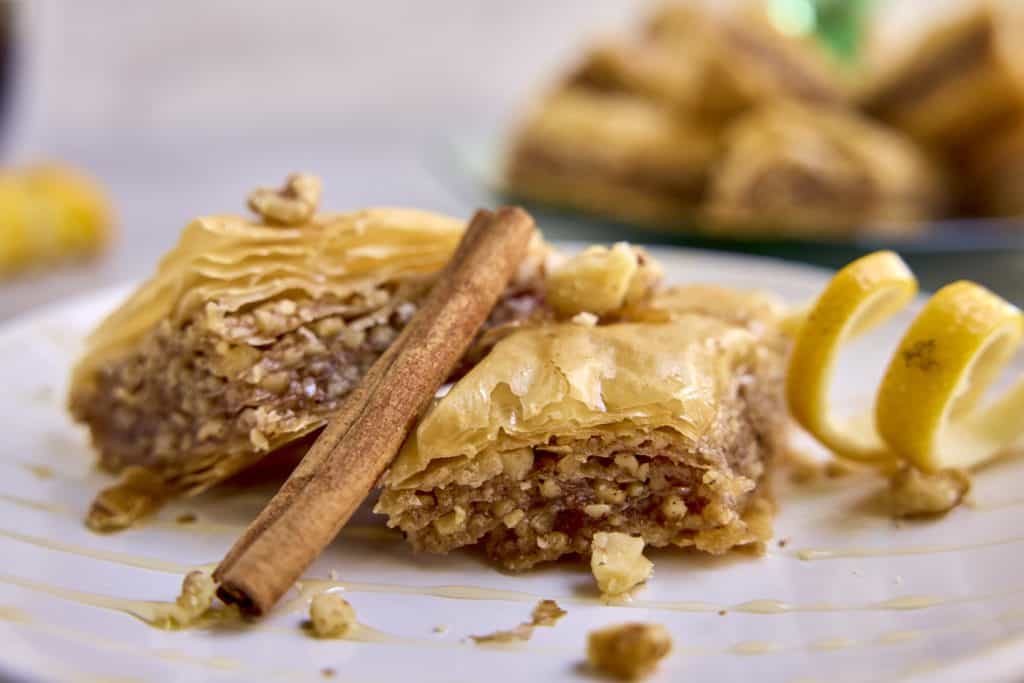
For an impressive gift around the holidays, for a family celebration of any kind, or for your Greek neighbor’s cookout, you can’t beat a plate of baklava. Because it seems so difficult to make, it impresses everyone who eats it, and makes them feel special that they are the recipient of such a gift. Not that it doesn’t have its challenges, mind, you, but after your first go-round with it, we think you’ll feel confident to make it all the time. And the baklava you make yourself will inevitably end up better than what you get at most restaurants because you can make it to match your taste exactly. Start with this recipe, get your syrup temperature down using your Thermapen ONE, and start experimenting. It’s a sweet, sweet problem to solve, for sure. Happy cooking.
Homemade Baklava recipe
Ingredients
For the syrup
- 225 g Brown sugar
- 300 g White sugar
- 125 g Honey
- 375 g Water
- 2 Cinnamon stick
- Zest of 1 lemon, removed with a peeler
- 1 Tbsp Lemon juice
For the baklava pastry
- 250 g Clarified Butter
- 400 g Walnuts
- 100 g Sugar or (1/2 C)
- 1 Tbsp Ground cinnamon
- 1 box Frozen phyllo dough, thawed
Instructions
Make the syrup
- Combine all the syrup ingredients in a saucepan and heat, stirring with a silicone spatula. Bring to a boil.
- Temp the syrup with your Thermapen ONE. When the syrup reaches 225°F (107°C) (adjusted for elevation), remove it from heat and let it cool.
Make the baklava pastry
- While the syrup cools, make the pastry.
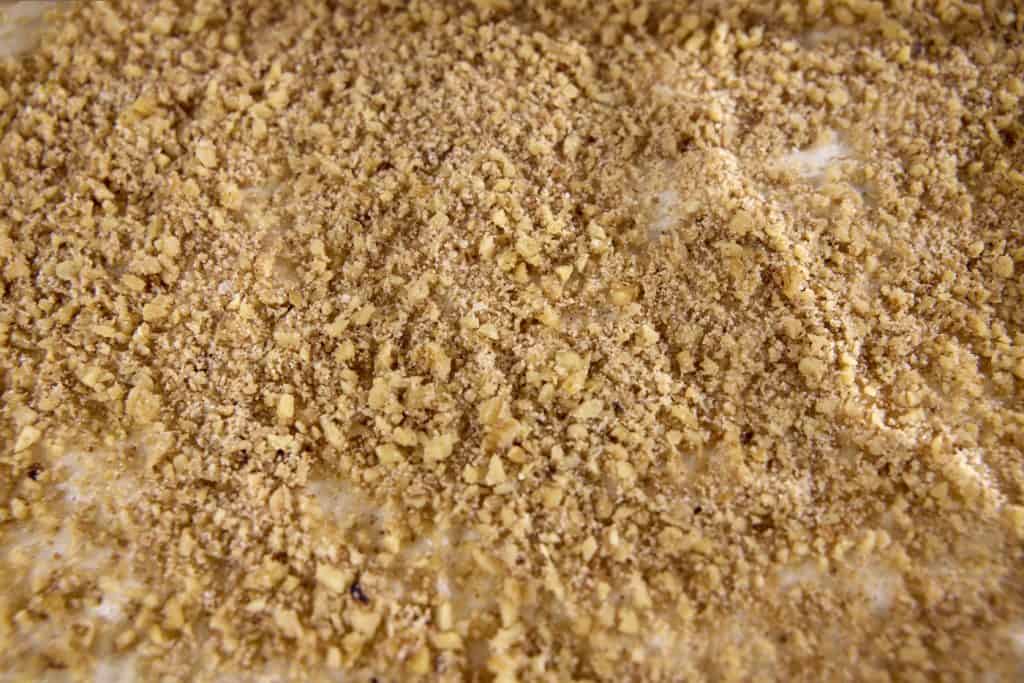
- Put the nuts, sugar, and cinnamon in a food processor and process until fairly fine.
- Lay out your phyllo and cut it so that it will fit in your pan. We made a large batch on a baking sheet and used two sheets to cover the bottom, but cut them so that they fit width-wise. If using a half sheet tray or another dish for baking, adjust your phyllo as needed. Set aside enough sheets of dough to have 8 layers of dough on top.
- Brush the bottom of the pan with clarified butter and lay down one layer of phyllo. Use a brush to butter it, and lay on another. Do this until you have 8 layers of phyllo dough with butter between each one. This is the base of your pastry.
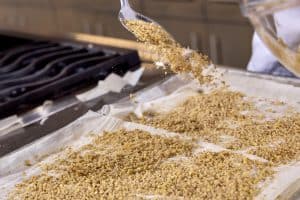
- Scatter a third of the nut mixture over the surface of the dough. Spread it evenly over the whole surface.
- Add another layer of phyllo, butter it, put on another layer, and butter it. Now add half the remaining nuts.
- Add two more layers of dough, each with butter between, and add the rest of the nut filling.
- Put on the top of the pastry by layering on the reserved sheets of dough, each with butter between, until the top is 8 layers thick. Pour on any unused butter.
- Put the pastry in the refrigerator for 45 minutes for the butter to solidify a little. While the pastry firms, preheat your oven to 350°F (177°C)
- Remove the pastry from the fridge and cut your desired shape pieces using the tip of a sharp knife.
- Bake your baklava for 30–50 minutes. (Use a timer to keep track of it!) When the baklava is golden brown and gorgeous looking, it is done.
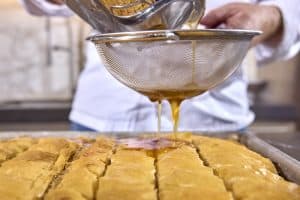
- Remove the baklava from the oven and strain the syrup over the top of it. Allow the baklava to cool and absorb the syrup for at least 4 hours, but overnight is better.
- Plate and serve your baklava to your adoring family and friends.


