Bright, Lemony Lemon Bars: Getting the Temps Right
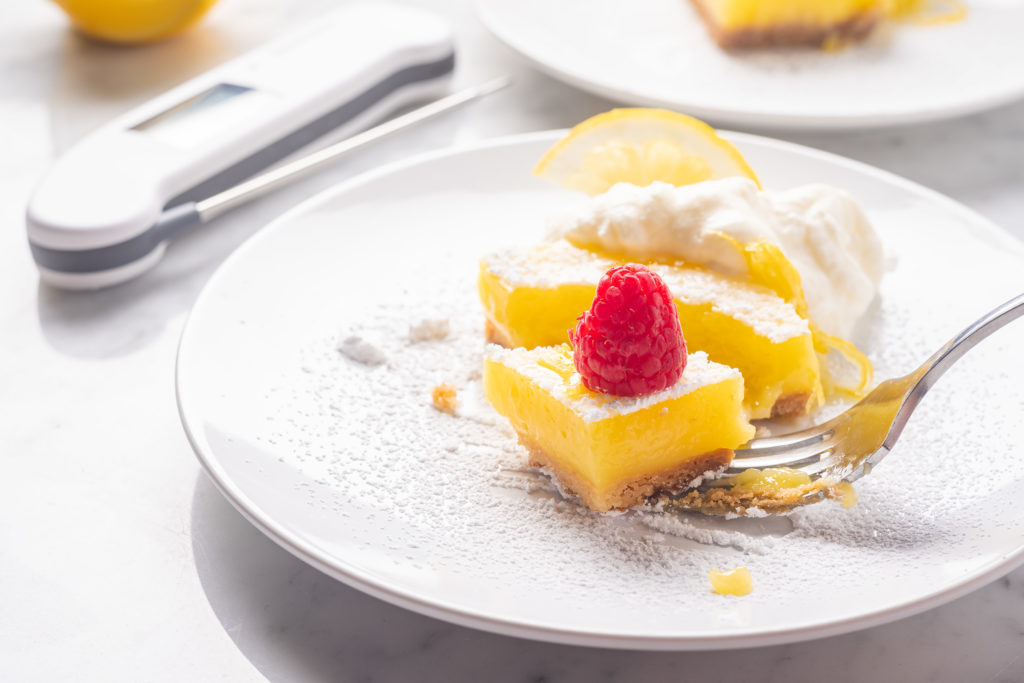
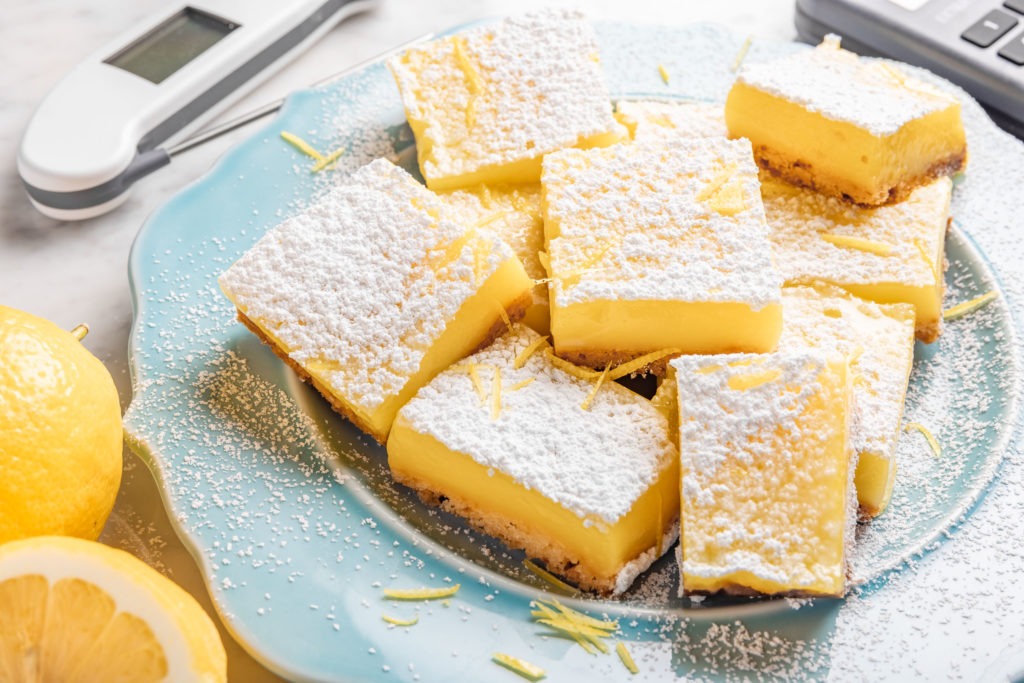
Lemon bars are a beautiful way to bring a bit of sunshine into your life. They work as a nostalgic dessert or as great a snack in their own right; and their bright, acidic sweetness is as good in winter as it is in summer. In this post, we want to help you make the best, lemoniest lemon bars you’ve ever had.
The method we look at here, used by both America’s Test Kitchen and Serious Eats, allows us to get a super-shot of lemon flavor by taking temperature into account. How can temperature help us get more lemon flavor? Let’s take a look!
What makes a good lemon bar?
First and foremost, a good lemon bar must be lemony. 2 But lemoniness is not the only quality of a good bar. We also have the crust to contend with, which should be tasty, buttery, and offer textural contrast to the stickiness of the filling.
Classic lemon bar recipes are weak
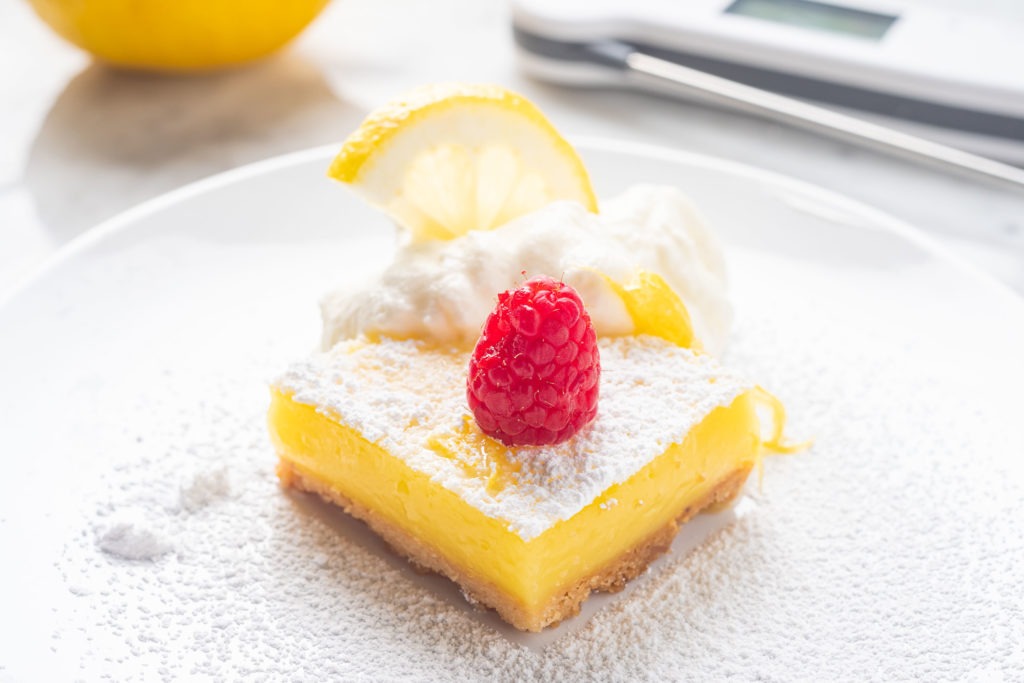
Most lemon bars I’ve ever eaten fail on the first requirement—they taste like sugar first and lemon second. It’s easy to see why: in searching through recipes for my research for this post, I found some recipes with as little as 3 tablespoons of lemon juice. How am I supposed to taste a lemon grove with only 3 tablespoons of lemon juice?!?
To be fair, those recipes have to use less lemon juice because of how they are cooked. They pour a raw filling onto their crust and then bake it to set it. If they used much more lemon juice, they’d:
- have to bake their bars for a long time to set them up,
- end up with a soggy crust, and
- probably have curdled edges, where the hot pan would overcook the edges while waiting for the center to firm up.
If we want loads of lemon-ness, we need more juice, and more juice means we need to cook the bars differently, especially if we want to keep a good crust underneath them.
Bright lemon custard for lemon bars
We want more lemon flavor, so we need more juice (and zest—one teaspoon isn’t enough!), but all that liquid is too much. What are we to do? Easy: pre-cook our filling.
By treating the filling as the custard that it actually is and pre-cooking it until it is nearly set, we can eliminate the soggy bottom, the long cooking time, and the curdled edges, all while drenching the bars in fresh lemon flavor.
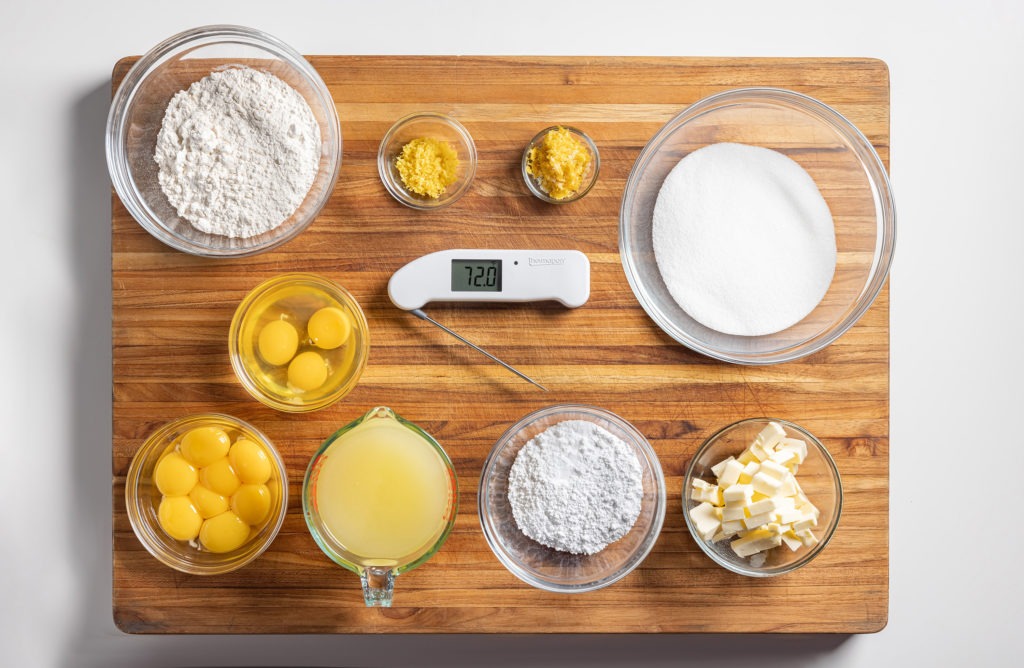
Custard temperature for lemon bars
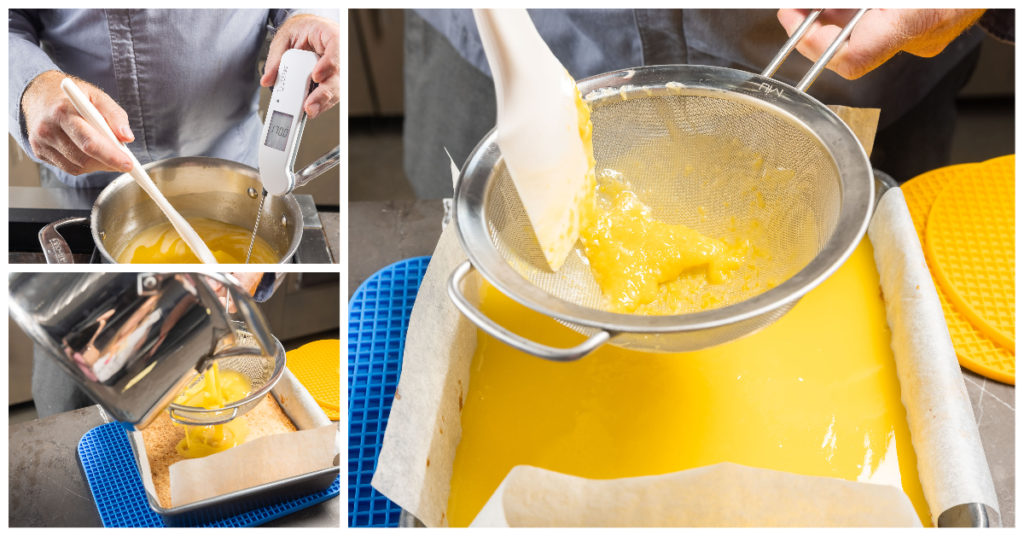
When making the custard for the lemon bar filling, we use more juice, so we need more eggs to set it, specifically egg yolks. (Egg yolks give the filling a rich creaminess, while egg whites give it more of a rubbery springiness.) With all the sugar and lemon juice, the eggs set to just the right thickness at 170°F (77°C). Cook the custard over medium-low heat to avoid scorching, and use your Thermapen® ONE to temp the custard as it heats.
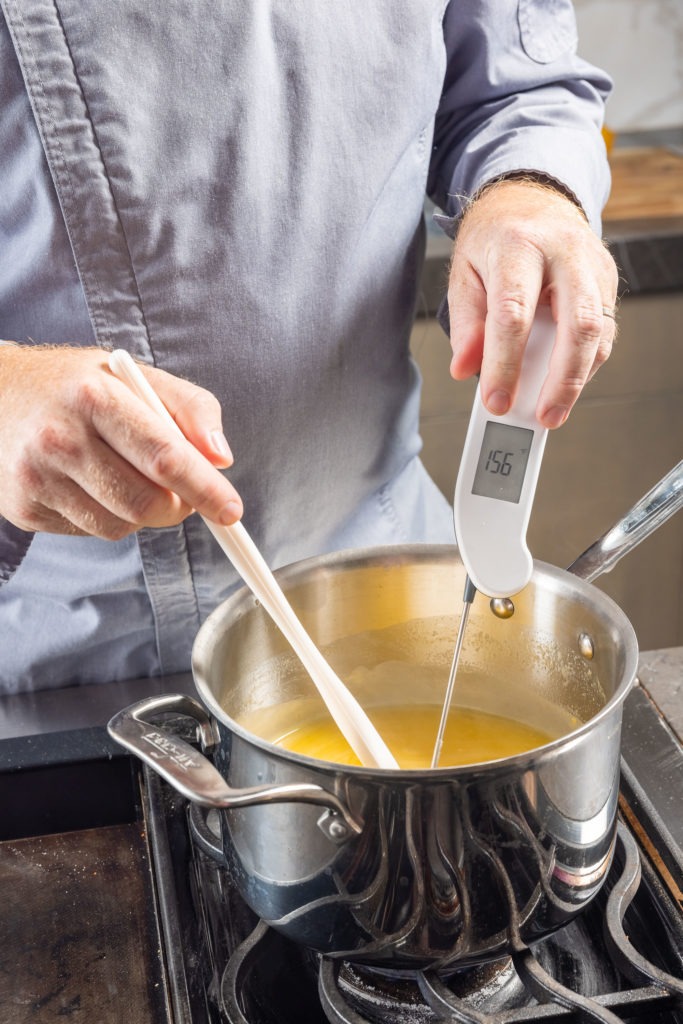
Once the lemon custard hits 170°F (77°C), strain it immediately onto your pre-baked crust. (Straining eliminates any non-homogenous egg bits, as well as the zest which will have given up its flavor by this time.) The bars can then be baked for about 10 minutes to finish setting the custard. That short bake time keeps the crust crisp and gets you eating faster!
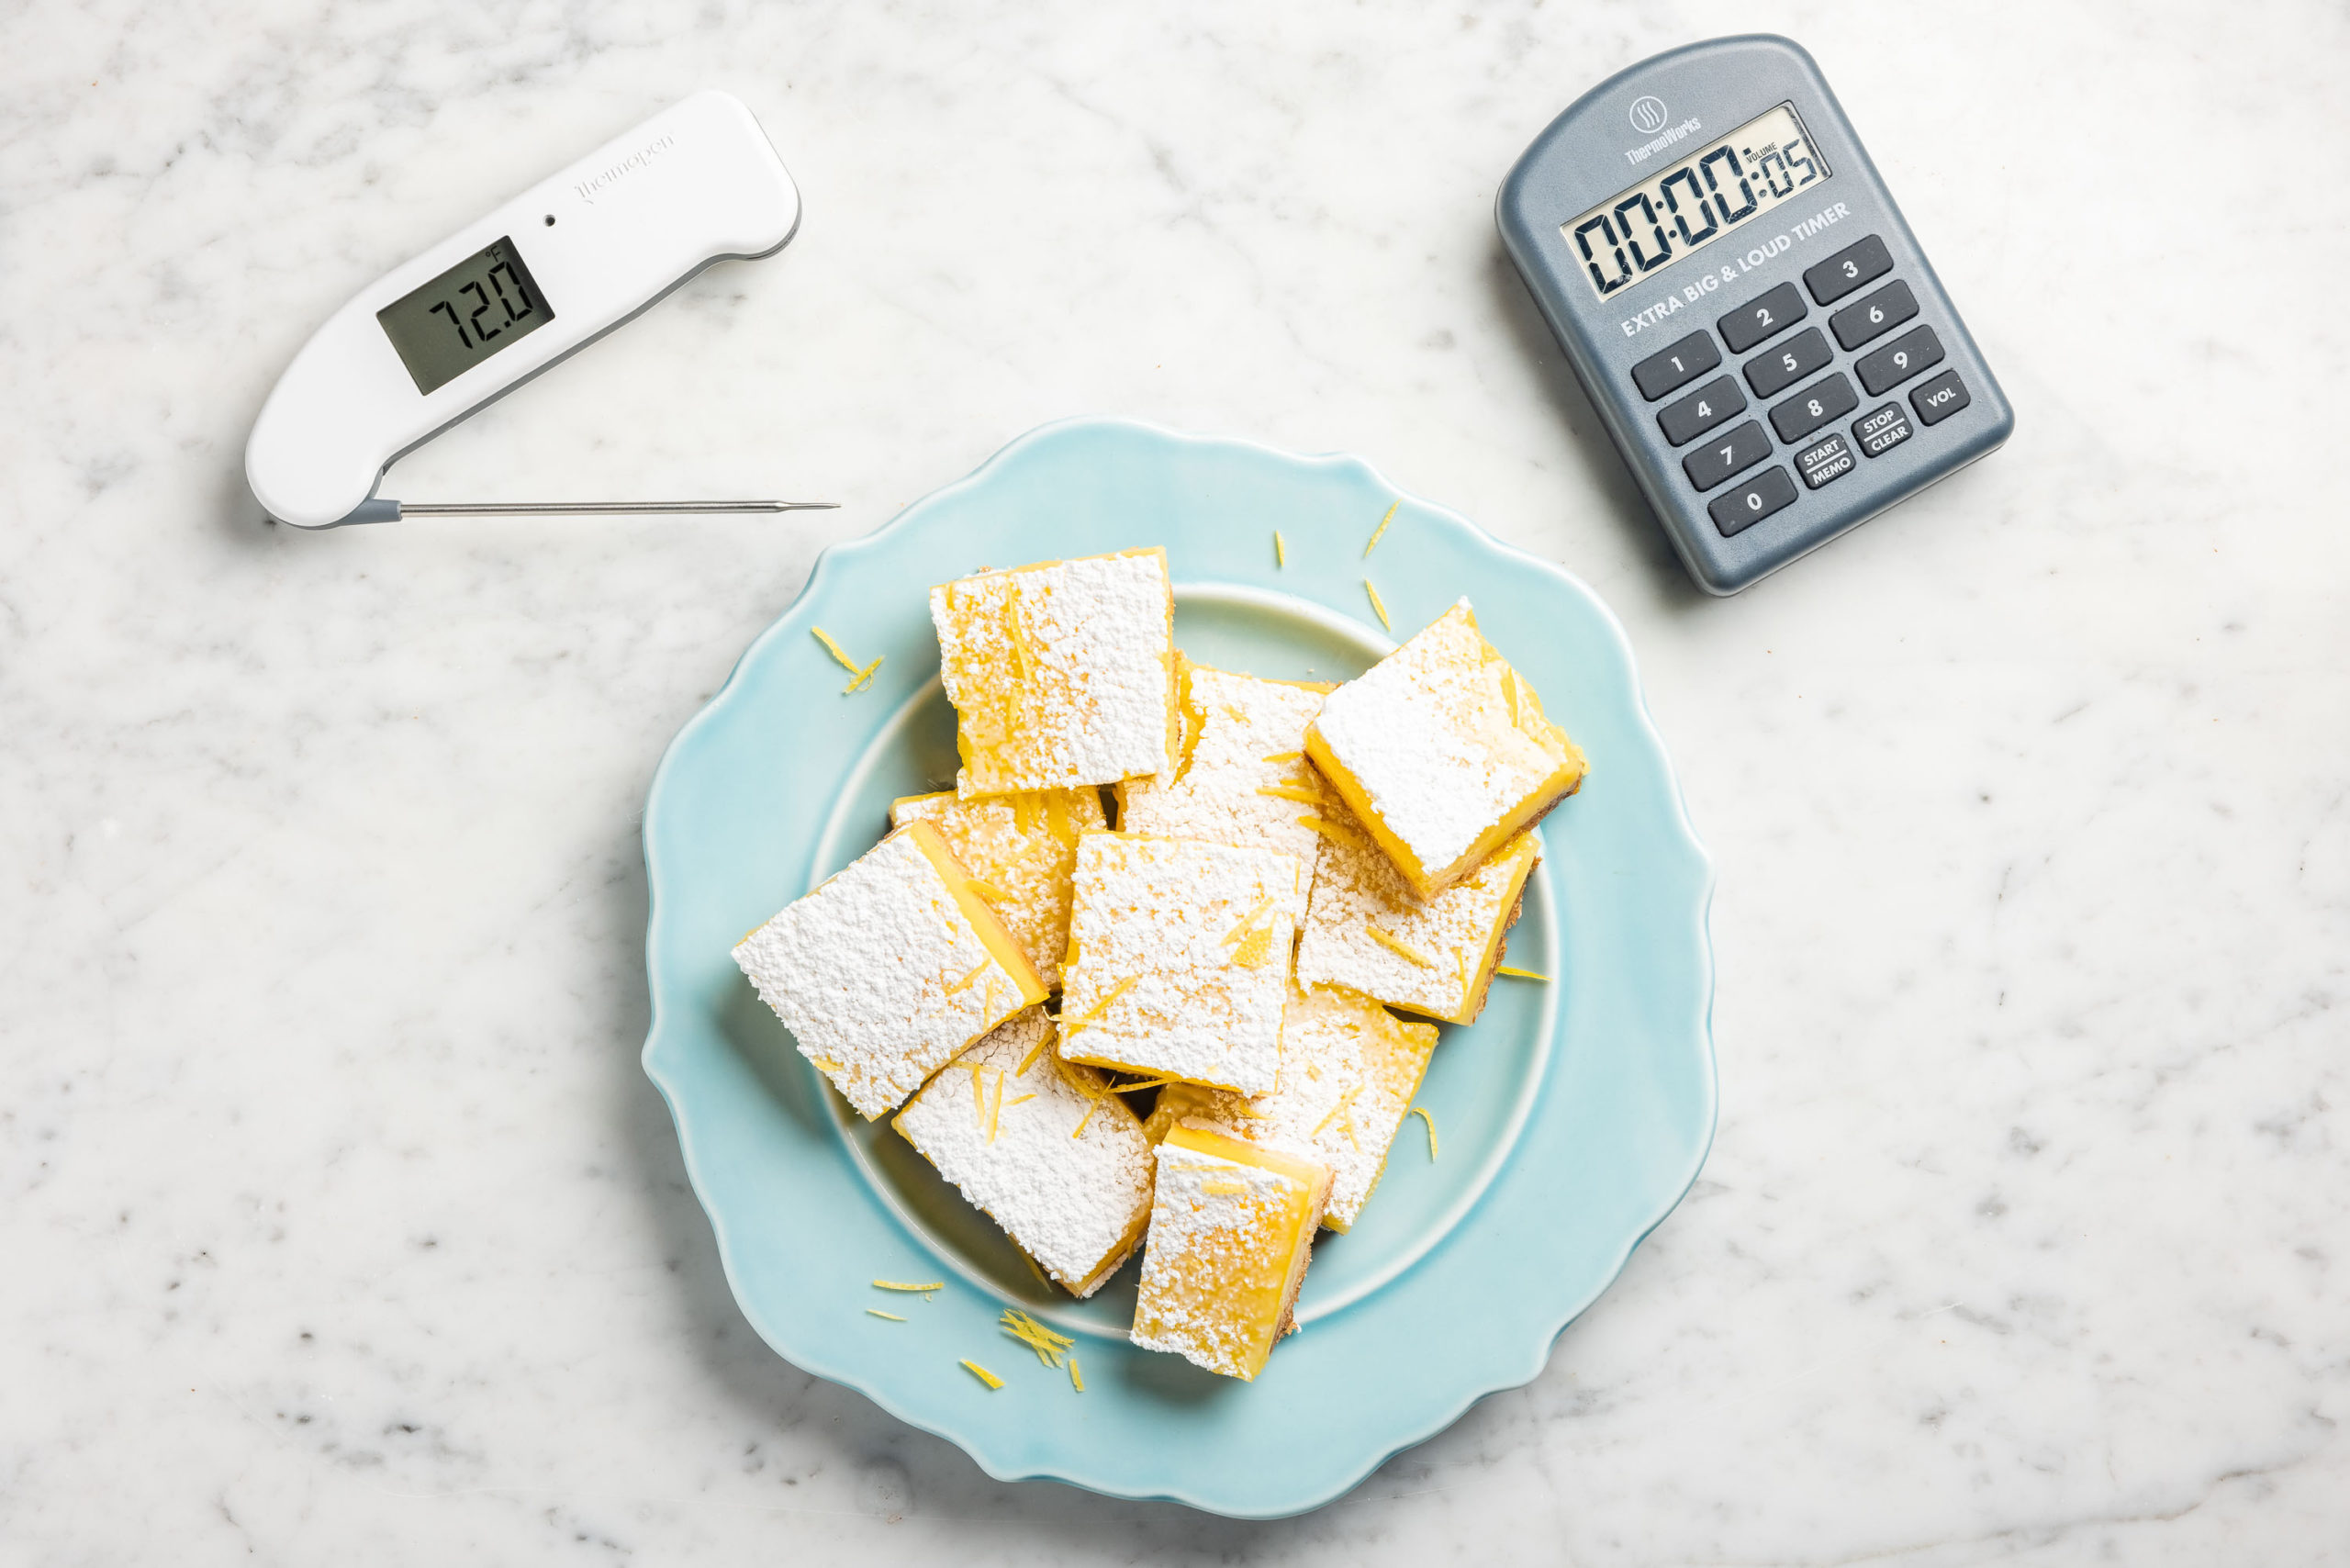
These bars are joyously lemony. They are just sweet enough, just tart enough, and aren’t cloyingly sugary. The shortbread crust is good enough to make batches of on its own, and the whole final product is like squares of perfect lemon tart. That’s the power of thermal thinking! We amped up the lemon juice and offset the required bake-time with carefully temperature-controlled custard cooking. With the accuracy of Thermapen on your side, results like this are easy!
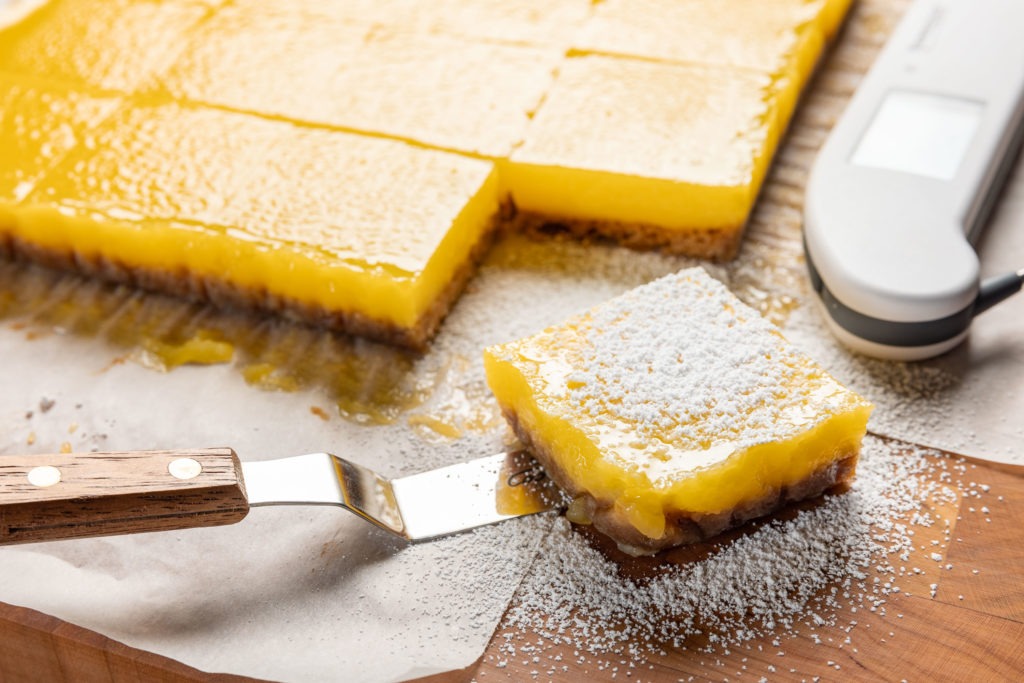

Gorgeous Lemon Bars Recipe
Description
Adapted from Stella Parks’ recipe on SeriousEats.com
Ingredients
For the Crust:
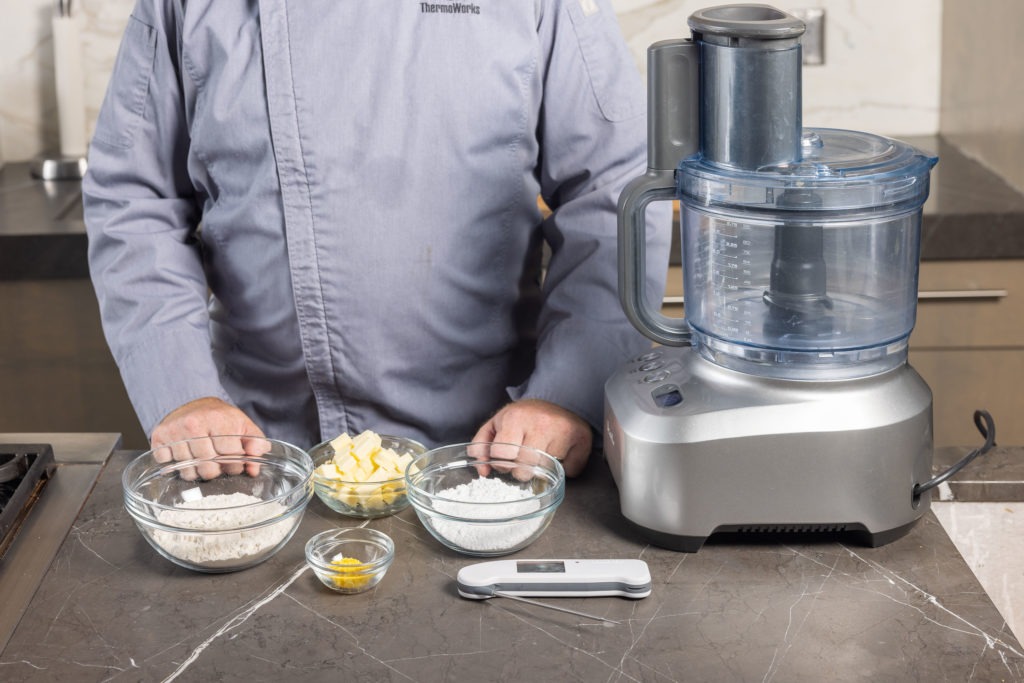
- 4 1/2 oz (1 C) all-purpose flour
- 2 oz (1/2 C) powdered sugar
- 1/4 tsp kosher salt; for table salt, use half as much
- 1/8 oz (1 Tbsp) fresh lemon zest
- 4 oz (1 stick) cold butter, cut into 1/4” dice
For the Custard:
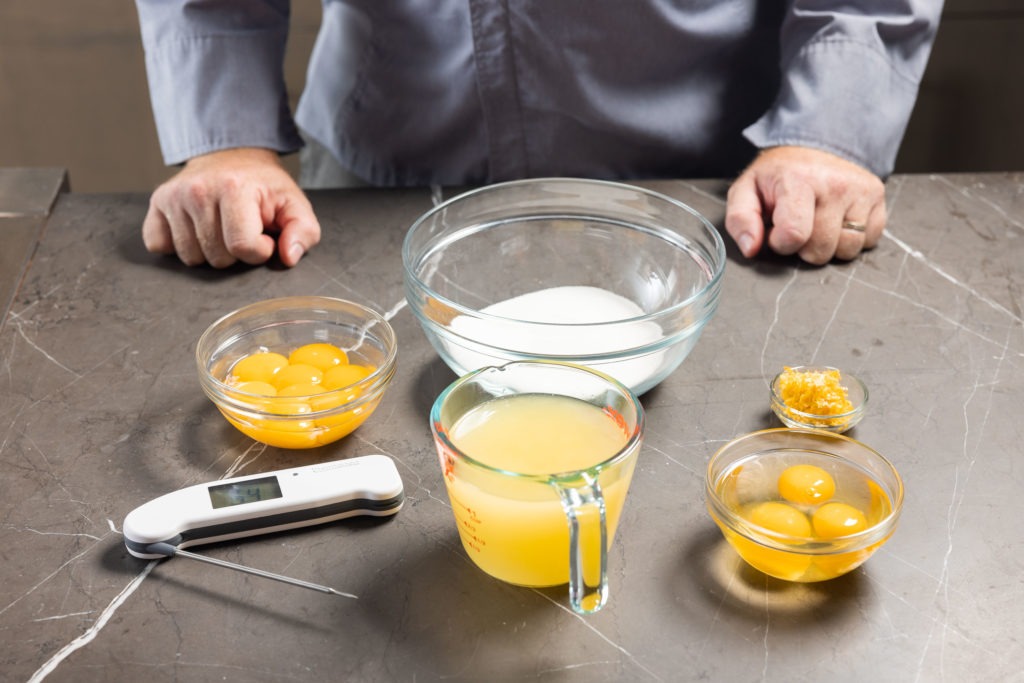
- 9 1/2 oz (1 1/3 C) granulated sugar
- 3 large eggs, cold
- 4 3/4 oz (1/2 C) egg yolks, from about 8 large eggs
- 1/4 oz (1 packed Tbsp) fresh lemon zest
- Pinch of kosher salt
- 11 oz (1 1/3 C) lemon juice, from about 8 large lemons (fresh really is much better than bottled lemon juice for this application)
Also: more powdered sugar for dusting and any garnishes you like.
Instructions
Make the lemon bar crust
- Preheat your oven to 350°F (177°C).
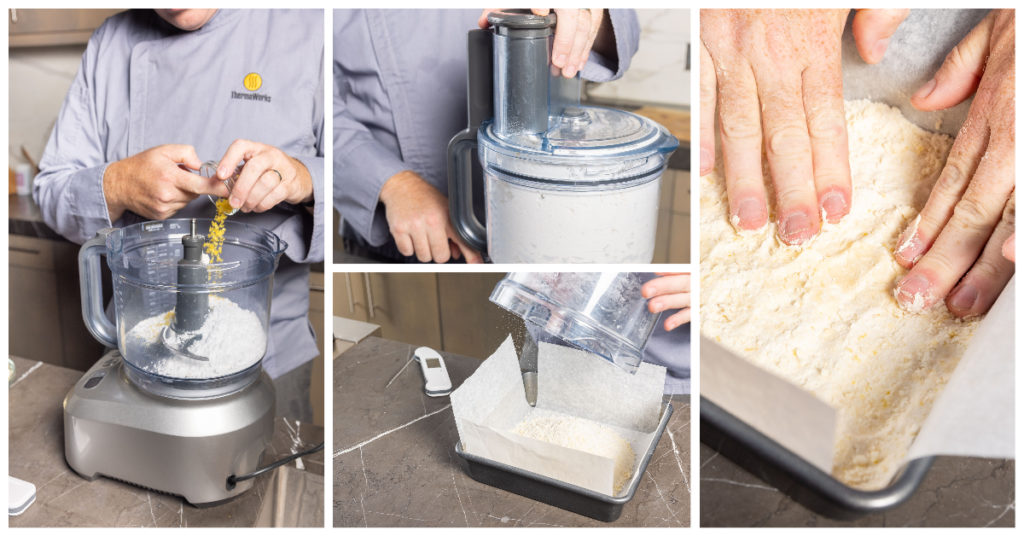
- Combine all the crust ingredients in a food processor and pulse about a dozen times until it forms a coarse meal.
- Line an 8″ x 8″ cake pan (non-stick preferred) with parchment paper that hangs over the edges.
- Pour the crust-mix into the pan, shake it to level it, and press the crumbs down with your fingers. Try to even out any uneven spots.
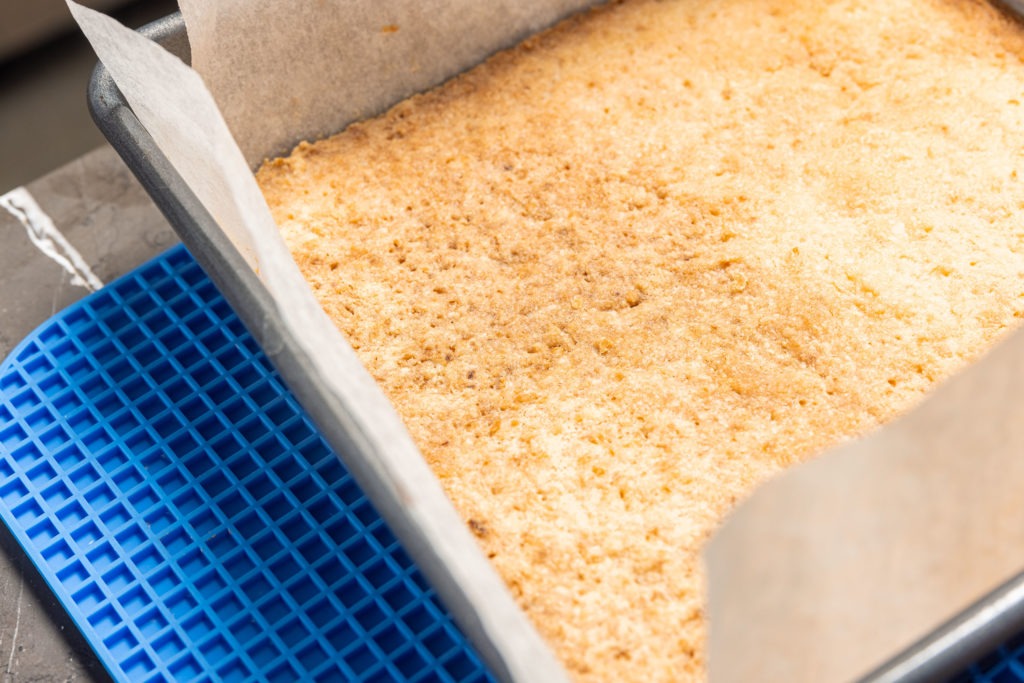
- Bake the crust for 30 minutes, until golden brown and delicious smelling.
Make the lemon custard
- When there are about 10 minutes left on your crust timer, start making the custard.
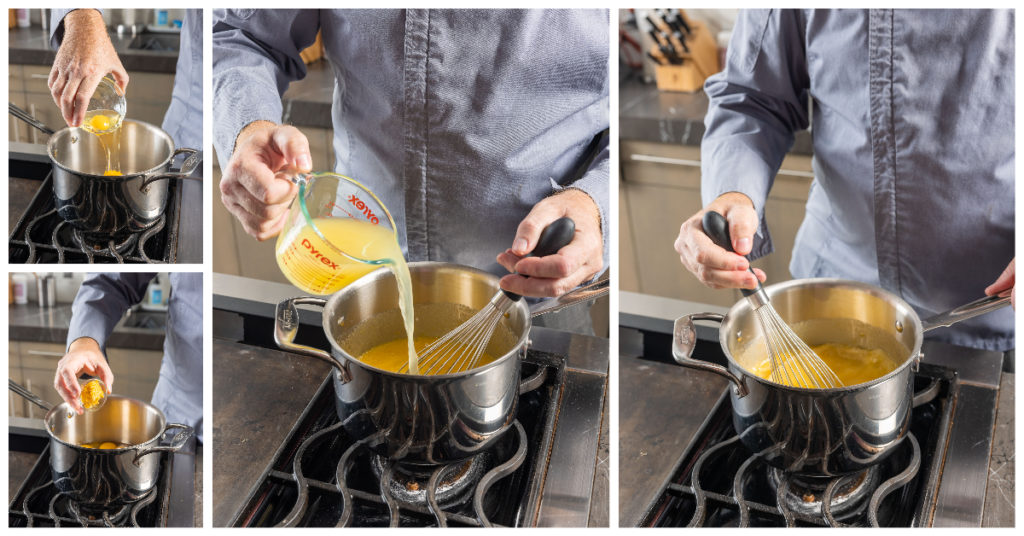
- Whisk together the sugar, eggs, yolks, salt, and zest in a 4-quart saucepan with a heavy bottom.
- Once well combined, whisk in the lemon juice.
- Turn the heat on low and heat, stirring gently, until just warm to the touch (3–4 minutes)
- Increase the heat to medium-low and start temping with your Thermapen ONE as you continue to stir, scraping the bottom of the pot.
- When the custard reaches 170°F (77°C), after 8–9 minutes, remove it from heat.
- The crust should have come out of the oven by now, so strain the custard right onto the crust.
Bake and chill the lemon bars
- Cover the pan with aluminum foil and bake in the same oven for 10 minutes.
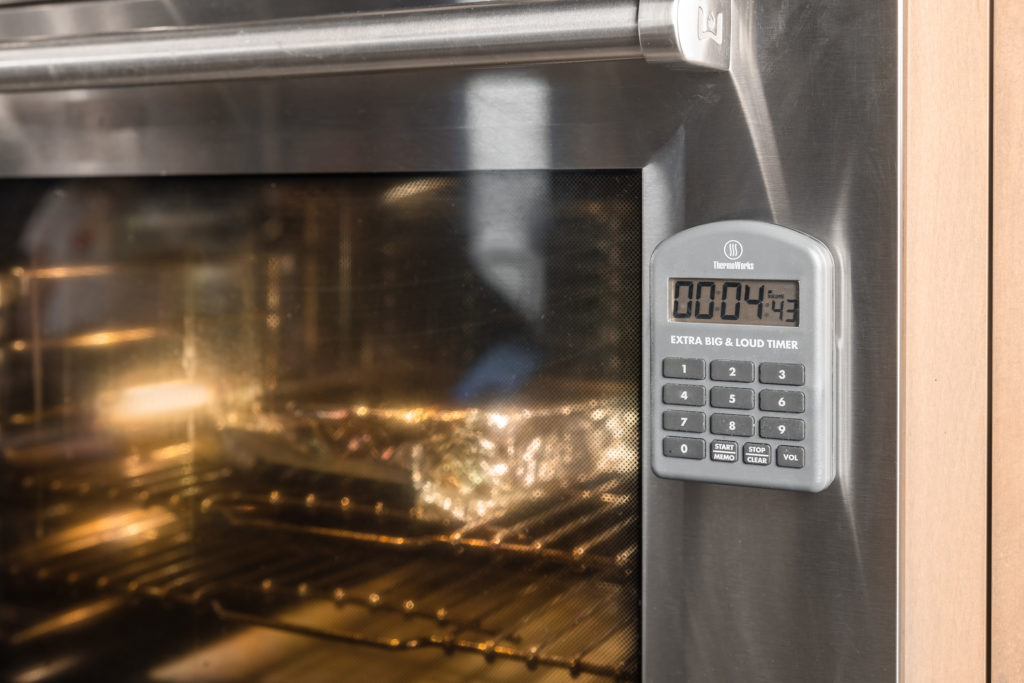
- Remove the pan from the oven, uncover, and allow to cool to room temperature.
- Re-cover with foil and chill in the refrigerator for at least 1 hour.
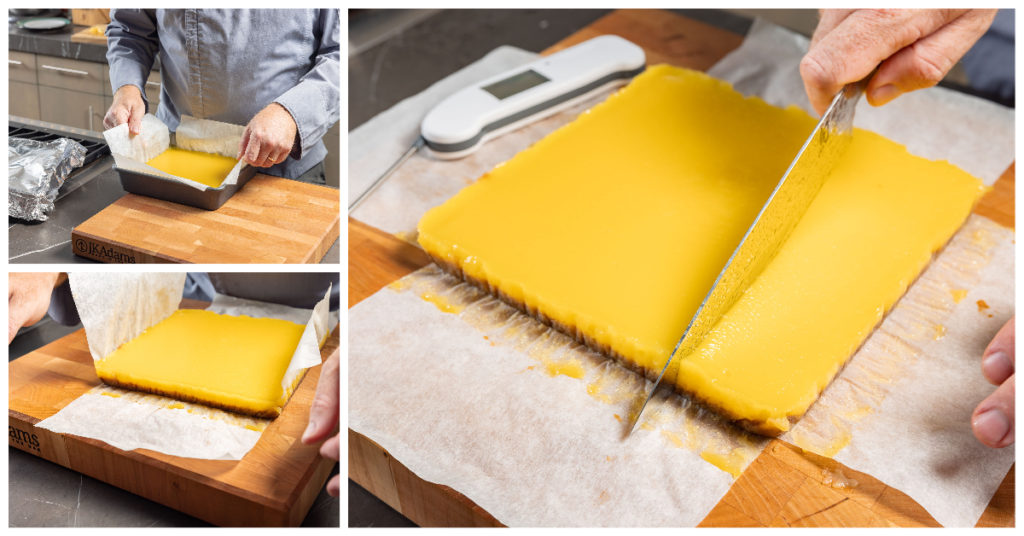
- Lift the bars from the pan using the overhanging parchment paper
- Slice with a sharp knife, dust with powdered sugar, and serve!
Shop now for products used in this post:


