Thermal Tips for Perfect Fudge
A classic fudge recipe that works is one of the sharpest tools in the home candy maker’s toolbox. Well, it’s not sharp; it’s yielding and smooth, creamy and rich, and always a welcome treat for visitors. And since treats season is upon us, with candy and gifts being exchanged around every corner, we thought we’d help you prepare with a recipe for chocolate fudge. Use your thermal knowledge and your Thermapen® ONE to make creamy, delicious fudge.
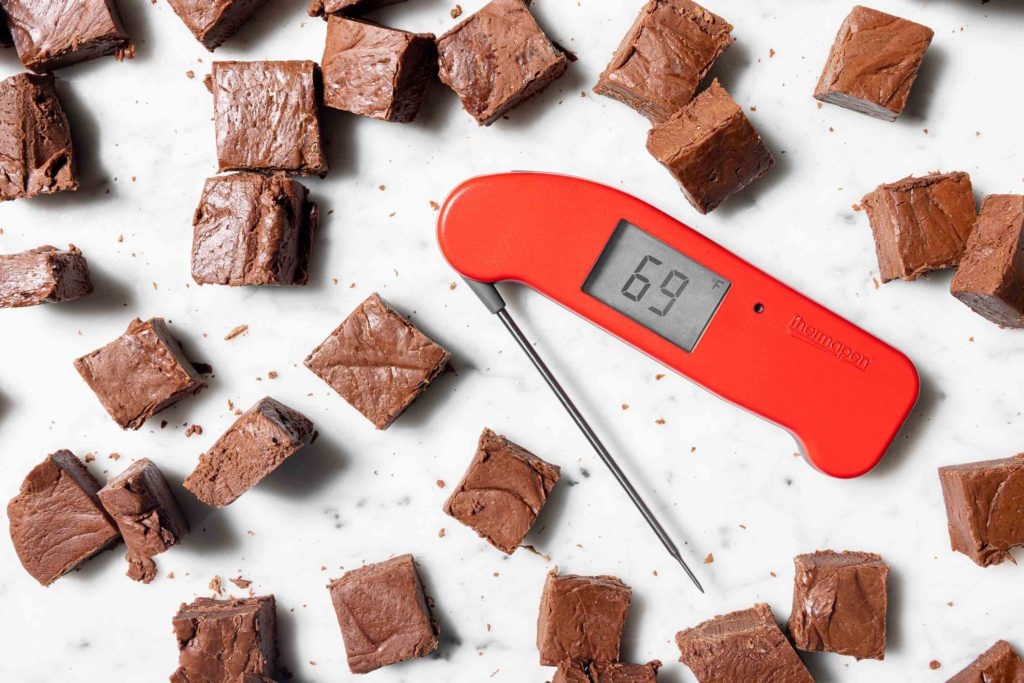
(Why use the Thermapen? Read about the best thermometers for candy making.)
Principles of quality fudge
The key to creamy, luscious fudge is controlling crystal formation.
If the sucrose (table sugar) crystals are small, the fudge will feel creamy and smooth on your tongue. But if the crystals are large, the fudge develops a crumbly, dry, or even coarse texture. So how can we assure a quality finished product? In short, we control crystal size by controlling the temperature and the environment of the sugar. Let’s look at what happens….
Sugar crystals in candy making: an overview
The first thing to understand in making fudge (or any other candy, really) is seed crystals, and that means understanding solutions.
When we dissolve sugar in water, we break sugar crystals apart, leaving disassociated sugar molecules. Warmer water, with its faster molecular action, can hold more sugar in solution than cooler water, with its lower molecular velocity. When a solution is holding as much sugar as it can at a given temperature, we say it is “saturated.” If we remove some of the water from a saturated solution (by evaporation, for instance), OR lower the temperature, it becomes “super-saturated.” Super-saturated solutions remain liquid but are just looking for a reason to crystalize again.
If we were to add a crystal of plain sugar to such a solution, free-floating sugar molecules would immediately start joining up with it, with as many leaving the liquid solution as needed to bring it out of super-saturation. So a crystal seed is “an initial surface to which sugar molecules can attach themselves and accumulate in a solid mass. The seed can be a few sugar molecules that happen to come together during random movements in the syrup,” (Harold McGee, On Food and Cooking, pg 684) promoting the exodus of molecules from a super-saturated solution. Since fudge is made of highly concentrated sugar, controlling seed crystals is one of our most important tasks.
➤Why we want to control them
If only a few seed crystals are introduced to a solution, the lack of competition for free molecules gives them the opportunity to create large crystals, leading to a coarse, dry texture. But if we take careful control over the seeding, we can create many more crystals, thus decreasing average crystal size—and there you have it, creamy, smooth fudge.
➤How sugar crystals form
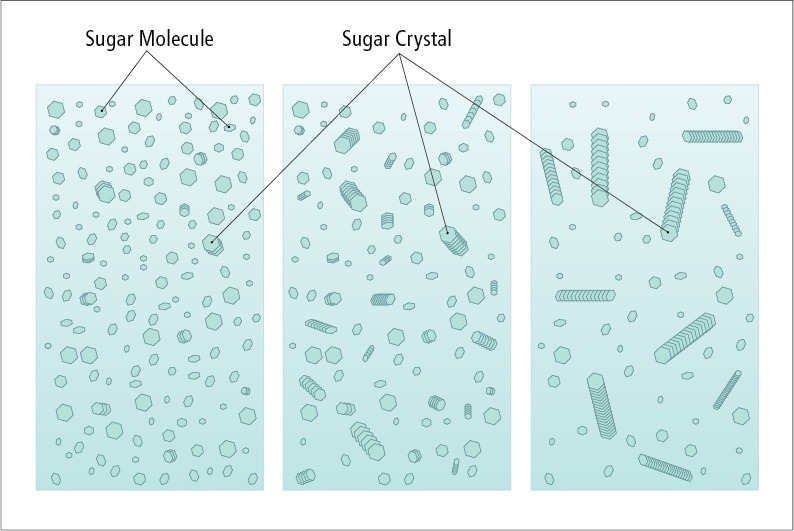
In order to control the number (and therefore size) of sugar crystals in our candy, we must understand how they form. As a syrup of sugar cools, the molecular motion decreases, allowing sugar molecules to link up side by side. The image below demonstrates two sucrose molecules and how they line up to crystalize. In a saturated solution, crystals are always forming and dissolving at a rate that equalizes to zero growth. If, however, in a super-saturated solution, a crystal manages to form, there are enough nearby molecules that can grab on and join the new structure.
Crystallization can be induced by cooling, by agitation, or even by impurities. Yes, even a small speck of dust in your candy can be a starting seed for uneven crystals to form.
(image public domain from http://www.crystallography.net/cod/3500015.html)
➤How to control them
Given what we now know about crystal formation, how can we control their growth and therefore our fudge’s texture? There are three ways that we can control to limit crystal growth.
- We can limit crystal grown by preventing fully formed crystals from entering the solution from the outside.
- We can interfere with crystal growth via inclusions to the fudge, such as fats and non-crystalline sugars.
- We can control the temperature and agitation of the fudge, only allowing crystals to form at the right temperature.
Environmental controls over seed crystal formation
As we mentioned, crystallization can be aided by dust, debris, or even rough surfaces in your solution. If you don’t dissolve the sugar fully, the undissolved crystals can also act as seeds (this is most likely happen if you don’t keep sugar crystals from forming on the walls of your pot). If there is some crumb that has found it’s way into the pot, it could start the seizing process and you will end up with a bowl full of almost impenetrable chocolate sugar. And believe me, you don’t want to try to clean that out.
To prevent this all from happening, keep your workstation spotlessly clean during candy making and only add chunky ingredients, like nuts or marshmallows, to your fudge when it’s time to start the crystallization.
Another way to control the formation is with inclusions like fat and corn syrup.
“Using impurities to prevent sugar crystallization is the rationale behind most successful candy recipes.” —Ali Bouzari, Ingredient, pg 54
By introducing a fat (like butter or half-and-half) to the solution, we are putting blockers up between sugar molecules. Since these don’t cook off, they are also concentrated in our final product and will help decrease the likelihood that molecules can align correctly. (Plus, cream and butter in fudge taste delicious!) Corn syrup does the same thing. Since corn syrup is made of non-crystallizing sugars (mostly glucose), it will interfere with sucrose crystallization by simply being in the way of contact.
Thermal controls over crystal formation
➤Dissolution and concentration
We now come to the thermal meat of the matter. Even with a spotlessly clean kitchen and a Ph.D. in crystallography, if you don’t play the temperature game correctly, you’re not going to get the fudge you want. We’ve already discussed the need to completely dissolve the sugar, which will need to be done over heat since we’re trying to make a super-saturated solution (and you can’t just do that at room temperature!), but our thermal requirements go beyond that.
In candy making, we are looking for a solution that is super-saturated to a very precise degree. As we decrease the water content in a solution, it’s boiling point increases in a predictable way. Pure water boils at 212°F (100°C) at sea level, but the addition of solutes raises that temperature. So a sugar solution boiling at, for instance, 235°F (113°C) will always have about 85% sugar.
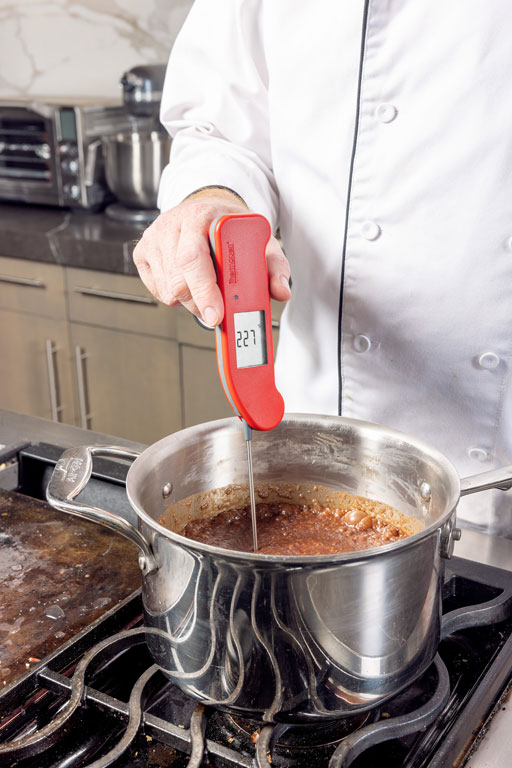
Those who have dealt with sugar cookery and candy making in the past will recognize 235°F (113°C) as the bottom of the “softball” stage. This means that a drop of syrup at this temperature when dropped into a glass of cold water will form a ball that can be smashed between the fingers. It also means that we have a high enough concentration of sugar to make fudge. This is where we need to stop the concentration: a soft-ball concentration is just right and a higher concentration will not set up properly.
That soft-ball stage is a great example of why using a good thermometer is important. We needn’t rely on old pre-technological kitchen lore, we have the power of thermometry! We can know the exact concentration if we know the exact temperature. Fast and accurate ThermoWorks thermometers enable that knowledge.
The importance of temperature in fudge
Just to reiterate how important to the fudge-making process temperature and thermometry are, we offer this anecdote. In preparing to write this post and take these photographs, we made five batches of fudge, varying the temperature slightly between batches. Ok, maybe that wasn’t our intent. Maybe our intent was to make two batches, but we found that we weren’t getting results we liked. Though it had a fine-crystal structure, it was just too hard. We tried again, and it was still wrong. And here’s the key, the thing we learned: softball stage is 5°F (2.8°C) wide, and we were aiming at the top of that range. When we lowered the temperature to the lower end of the range, we suddenly got smooth, creamy, delicious fudge. Most candy thermometers have division lines only every 5°F (2.8°C). That means a standard candy thermometer literally doesn’t have the resolution you need to make a data-based decision.
For more on candy making temperatures, see this useful candy making temperature chart.
Note on elevation:
If you live at a high elevation, you have to adjust your temperatures to account for the lower boiling point. To get exact numbers, use our handy-dandy boiling point calculator (you’ll need to know your elevation, which you can get from your zip code). But as a general rule of thumb, subtract 1°F (0.6°C) from the recipe for every 500 feet above sea level you are working.
➤Cooling
Once we’ve arrived at the proper concentration we want to move toward crystallization—the right kind of crystallization. We’ve worked hard to prevent seed crystal formation up to this point, but the time has come to allow those seeds to work.
To properly seed the fudge, we first have to slowly cool the fudge mixture. Without stirring or agitating the pot, allow the fudge to cool to 130°F (54°C)—or even lower! Harold McGee says that “candy texture is affected by the syrup temperature at which crystallization begins,” and this is the temperature where the seeds can form correctly.
The science on why this is true is kind of strange, so I’m going to leave it to the esteemed Mr. McGee to explain:
“Generally, hot syrups produce coarse crystals, and cool syrups produce fine crystals. Here’s the logic. Because more sugar molecules will arrive at the crystal surface during a given time in a hot syrup with fast-moving molecules than in a cold, lethargic one, crystals grow more rapidly in hot syrups. At the same time, because stable crystal sees are less likely to form at higher temperatures…the total number of crystals formed in a hot syrup will be lower. Put these two trends together, and we see that when a hot syrup begins to crystallize, it will produce fewer and larger crystals than a cool one, and therefore a coarse texture.” —Harold McGee, On Food and Cooking, pg 684
Getting that temperature right is very important, and that’s why an accurate thermometer is so important. The Thermapen is your top choice for all candy making, and fudge is no exception. The ±0.5°F (±0.3°C) accuracy is unparalleled for assuring a correct crystallization temperature. And with the thermal control well in hand, all you have to do is beat the fudge to set the seeds.
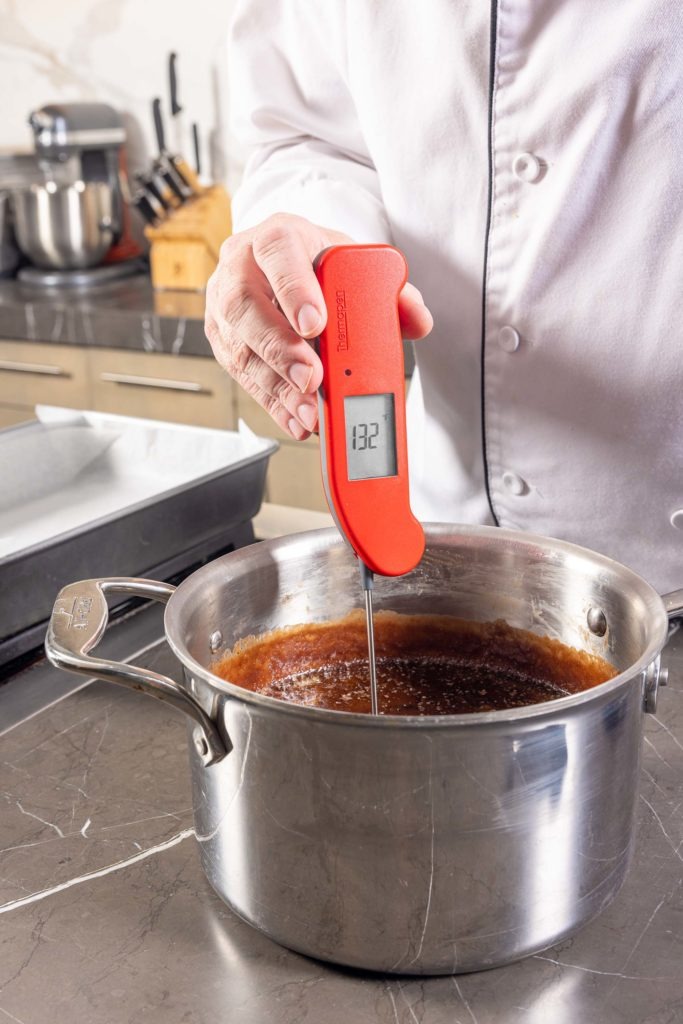
Making candy is all about concentrating sugar and controlling seed crystals. With Thermapen ONE, you have the thermal advantage you need to get your fudge just right for perfect seasonal treats.
Print
Old-fashioned Homemade Fudge Recipe
Description
Real fudge, not fancy ganache! It’s a little more challenging, but well worth the effort. Be sure to adjust your boiling temp by subtracting 1°F for every 500ft elevation above sea level.
Ingredients
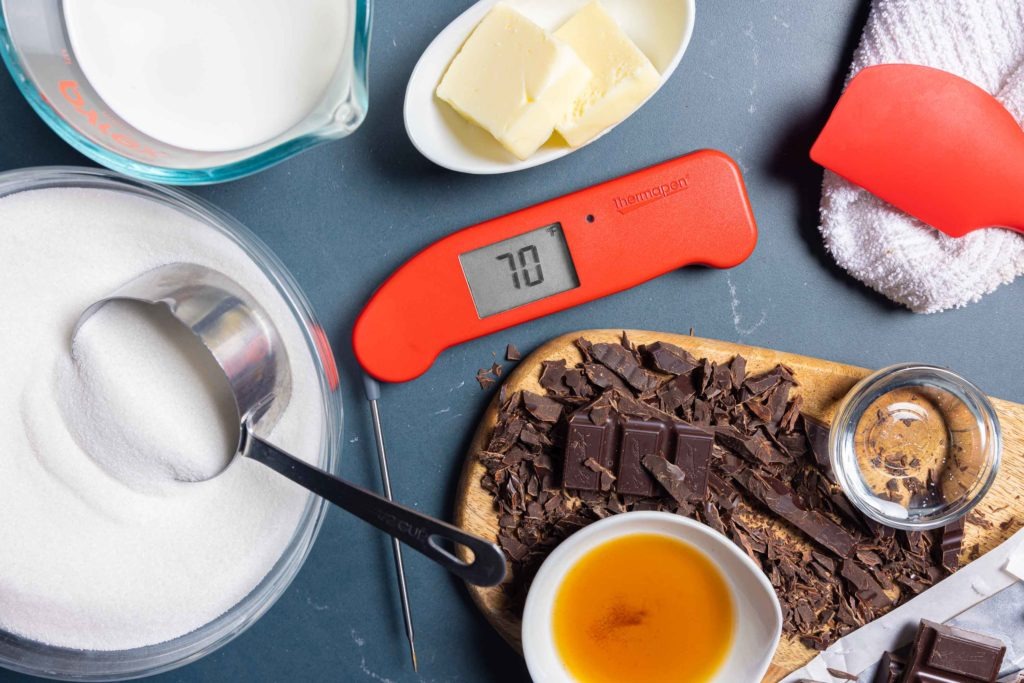
- 6 Tbsp unsalted butter, cut into 1/2 cubes
- 12 oz unsweetened chocolate, roughly chopped, divided
- 4 1/2 C granulated sugar
- 1 1/2 C light brown sugar
- 1 tsp salt
- 3 Tbsp corn syrup
- 2 1/2 C half-and-half
- 1 Tbsp vanilla extract
Instructions
- Place the cut-up butter in the refrigerator to chill. Also, set aside 6 ounces of the chopped chocolate for later use (no need to refrigerate it).
- Prepare a large bowl with cool water or a sink with an inch or so of water to quench your pan later.
- Place a medium saucepan on the stove and add the sugar, salt, brown sugar, half-and-half, corn syrup, and 6 ounces of the chopped chocolate to the pan.
- Cook over medium-high heat, stirring nearly constantly until the mixture reaches a boil. Stop stirring once it reaches a boil!
- Use a wet brush to wash the crystals from the sides of the pot, then let the mixture boil.
- Use your Thermapen ONE to check the temperature.
- When the temperature reaches 235°F (113°C), remove the pan from the heat and immediately put it into the water to quench the heat from it and stop cooking. Allow the pot to rest in that water for 5 minutes.
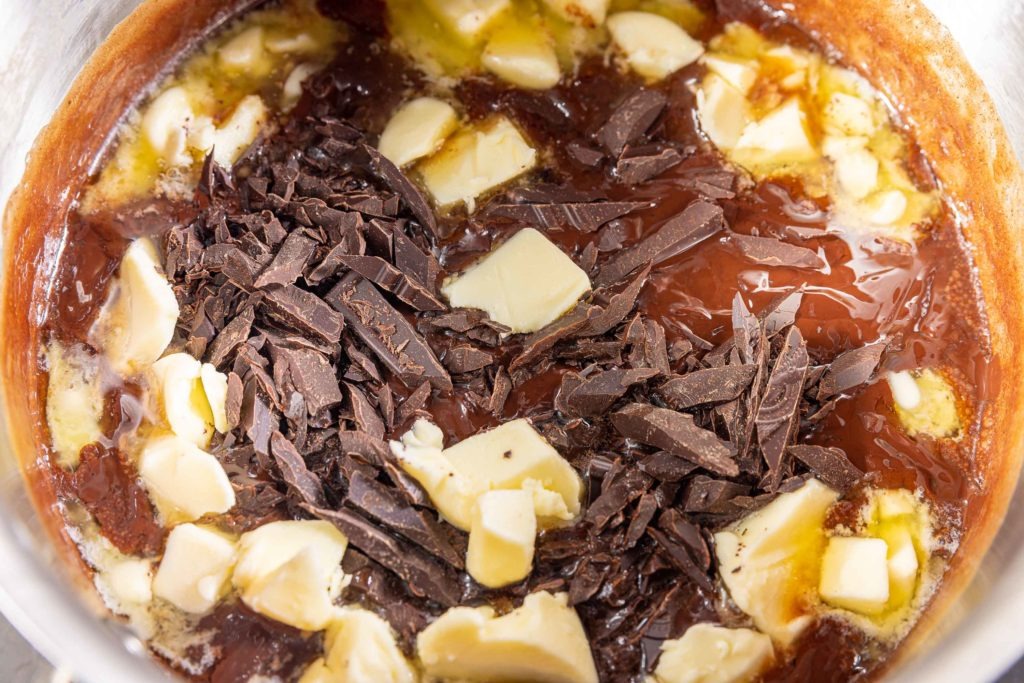
- Set the pot on the counter. Scatter the cooled butter, the rest of the chopped chocolate, and the vanilla on top of the fudge mixture.
- Allow the fudge to cool until it reaches 115–125°F (46–50°C), checking every 10-15 minutes with your Thermpen ONE.
- While it cools, prepare a 9×13″ pan by lining it with parchment paper.
- Once the mixture has cooled enough, use a wooden spoon or an electric hand mixer to beat the fudge until you see the very first signs of the mixture shifting from glossy to matte. Believe yourself when you think you see them! If you over-mix the fudge it will set in your pot. As soon as you see the first whisps of matte-ness, pour the fudge into your prepared pan.
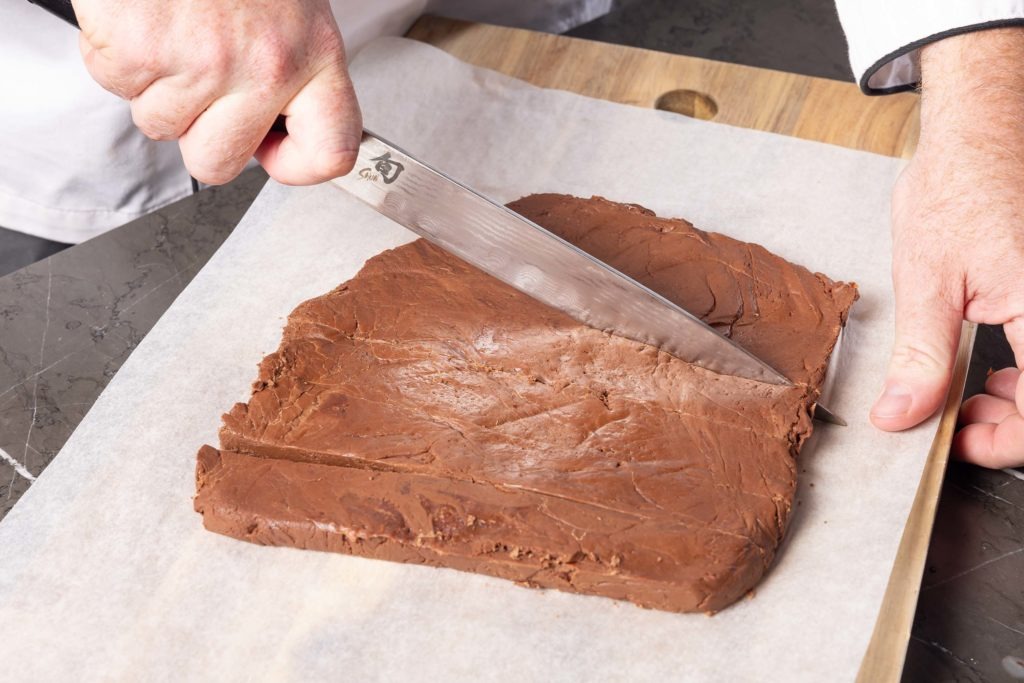
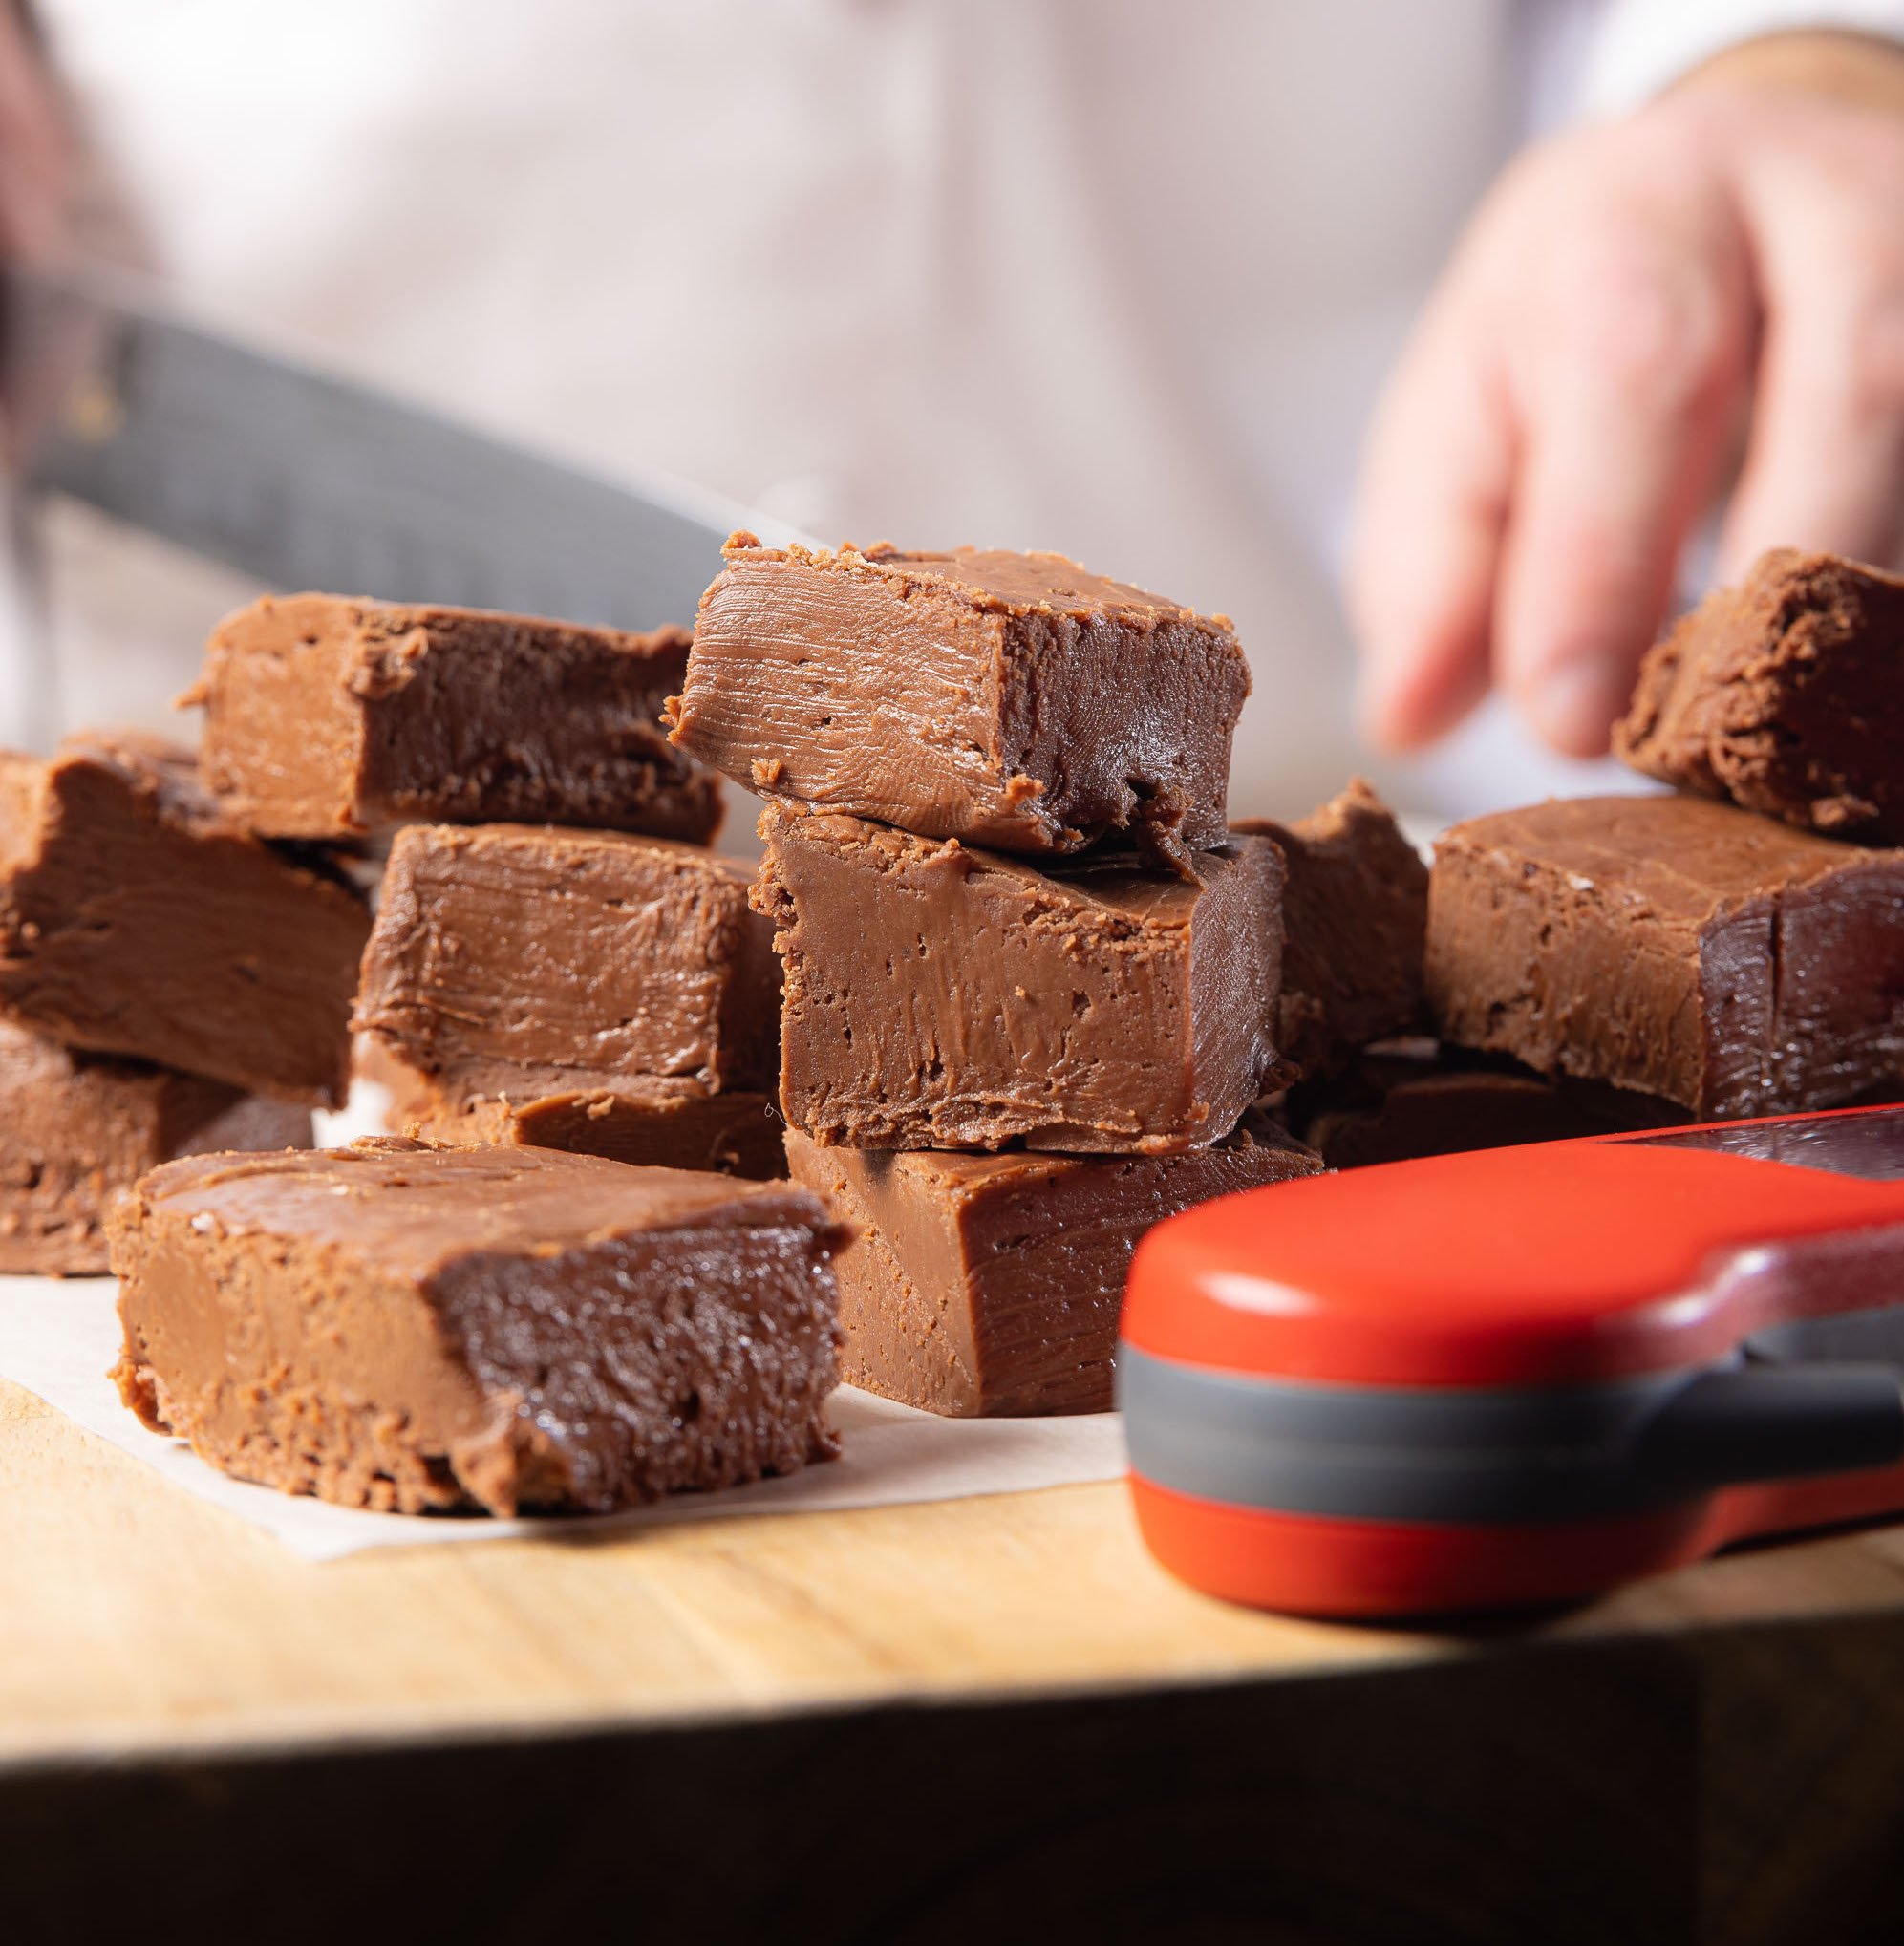
- Allow the fudge to cool and set for 1–3 hours, then lift the parchment from the pan, slice the fudge, and either serve immediately or store in a covered container for about a week.
Shop now for products used in this post:
Sources:
Harold McGee, On Food and Cooking
Ali Bouzari, Ingredients




I am cornfused, yes I know I misspelled it on purpose. you say use a wooden spoon and beat the fudge vigorously while watching the texture as it turns from glossy to matte.
Am I suppose to stir vigorously for 15 to 20 minutes? Is this Olympic fudge making. will I need to train for months to be able to vigorously stir fudge to this perfect matte look?’
Maybe I should just go to the store like I have been for years and buy a box of fudge mix.
I have printed the section of the recipe below.
thank you
Using a wooden spoon, start to beat the fudge vigorously. This stirring spreads the crystals around and breaks some of them up, ensuring smaller crystals throughout.
Watch for the texture to glint from glossy to matte. This might take a while—up to 15 to 20 minutes, and it may not be easy to spot at first. The texture change can be ephemeral, much like the way you catch a hint of color on a silk tie when you view it from just the right angle. Be vigilant!
George,
First, thank you for reading our blog and taking the time to comment! I apologize if I wasn’t clear in the instructions. I will try to clear this up.
Depending on many factors (room temp, relative humidity, etc.), beating the fudge to produce the right kind of crystals can take a long time. Using a wooden spoon as opposed to an electric mixer is a good idea for two reasons: 1) the metal paddles of a mixer will conduct heat out of the fudge more quickly, changing the way crystals develop, and 2) an electric mixer can beat the fudge too fast, too far.
“Vigorous” beating is relative: keeping it working, keep it moving. Working the fudge by hand gives you a better chance of getting it right because you can keep a better eye on it. That being said, if you have made fudge with an electric mixer in the past and have had good success, by all means, do what works for you! Good luck!
Is there an advantage to using a wooden spoon rather than all the really nice silicone spatulas I own?
Yes! the wooden spoon encourages the creation of microcrystals that start the transformation form syrup into…fudge!
I’m confused about the boiling point as measured using the Thermapen. The boiling point where I live is 208.5 degrees F, and I don’t know why it’s important to know that. I can visually see that the fudge has reached the boiling point, so why do I need to measure it? Is it because it’s easy to overheat the mixture, or boil it too long, trying to reach 212 degrees F.?
If that’s the case, I see that I need to know my local boiling point so I can verify that it’s been reached and stop stirring at the appropriate point. By the way, thanks for the link to the Weather Underground website.
You need to know the local boiling point so that you can subtract the correct number of degrees from the doneness temperature. if you’re at 208.5, you need to subtract 3.5°F from the final syrup temp or it will be overcooked.
I made really good fudge first time out!! The recipe and the tips are perfect. I have confidence to continue to make new (old) candies!!! Thanks ThermoBlog!
This fudge recipe is the best I ever made. Everyone that has eaten it agrees. Creamy and delicious! Following the process exactly yields excellent results. I have other fudge recipes and plan to apply the process to them to see if the resulting product is as creamy.
I use a very similar recipe with the exception that it makes about half the amount and all ingredients except 1.5 T butter and 1.0 T vanilla are added in the beginning. Here’s my issue. If I wait till 130 degree F, the fudge has almost set. Trying to beat it is almost impossible. I have a corse, grainy result. Never mind. I have checked my 50 y o candy thermometer against two other thermometers and it reads 20 degrees too high.