Pineapple Upside Down Cake Doneness Temps and Recipe
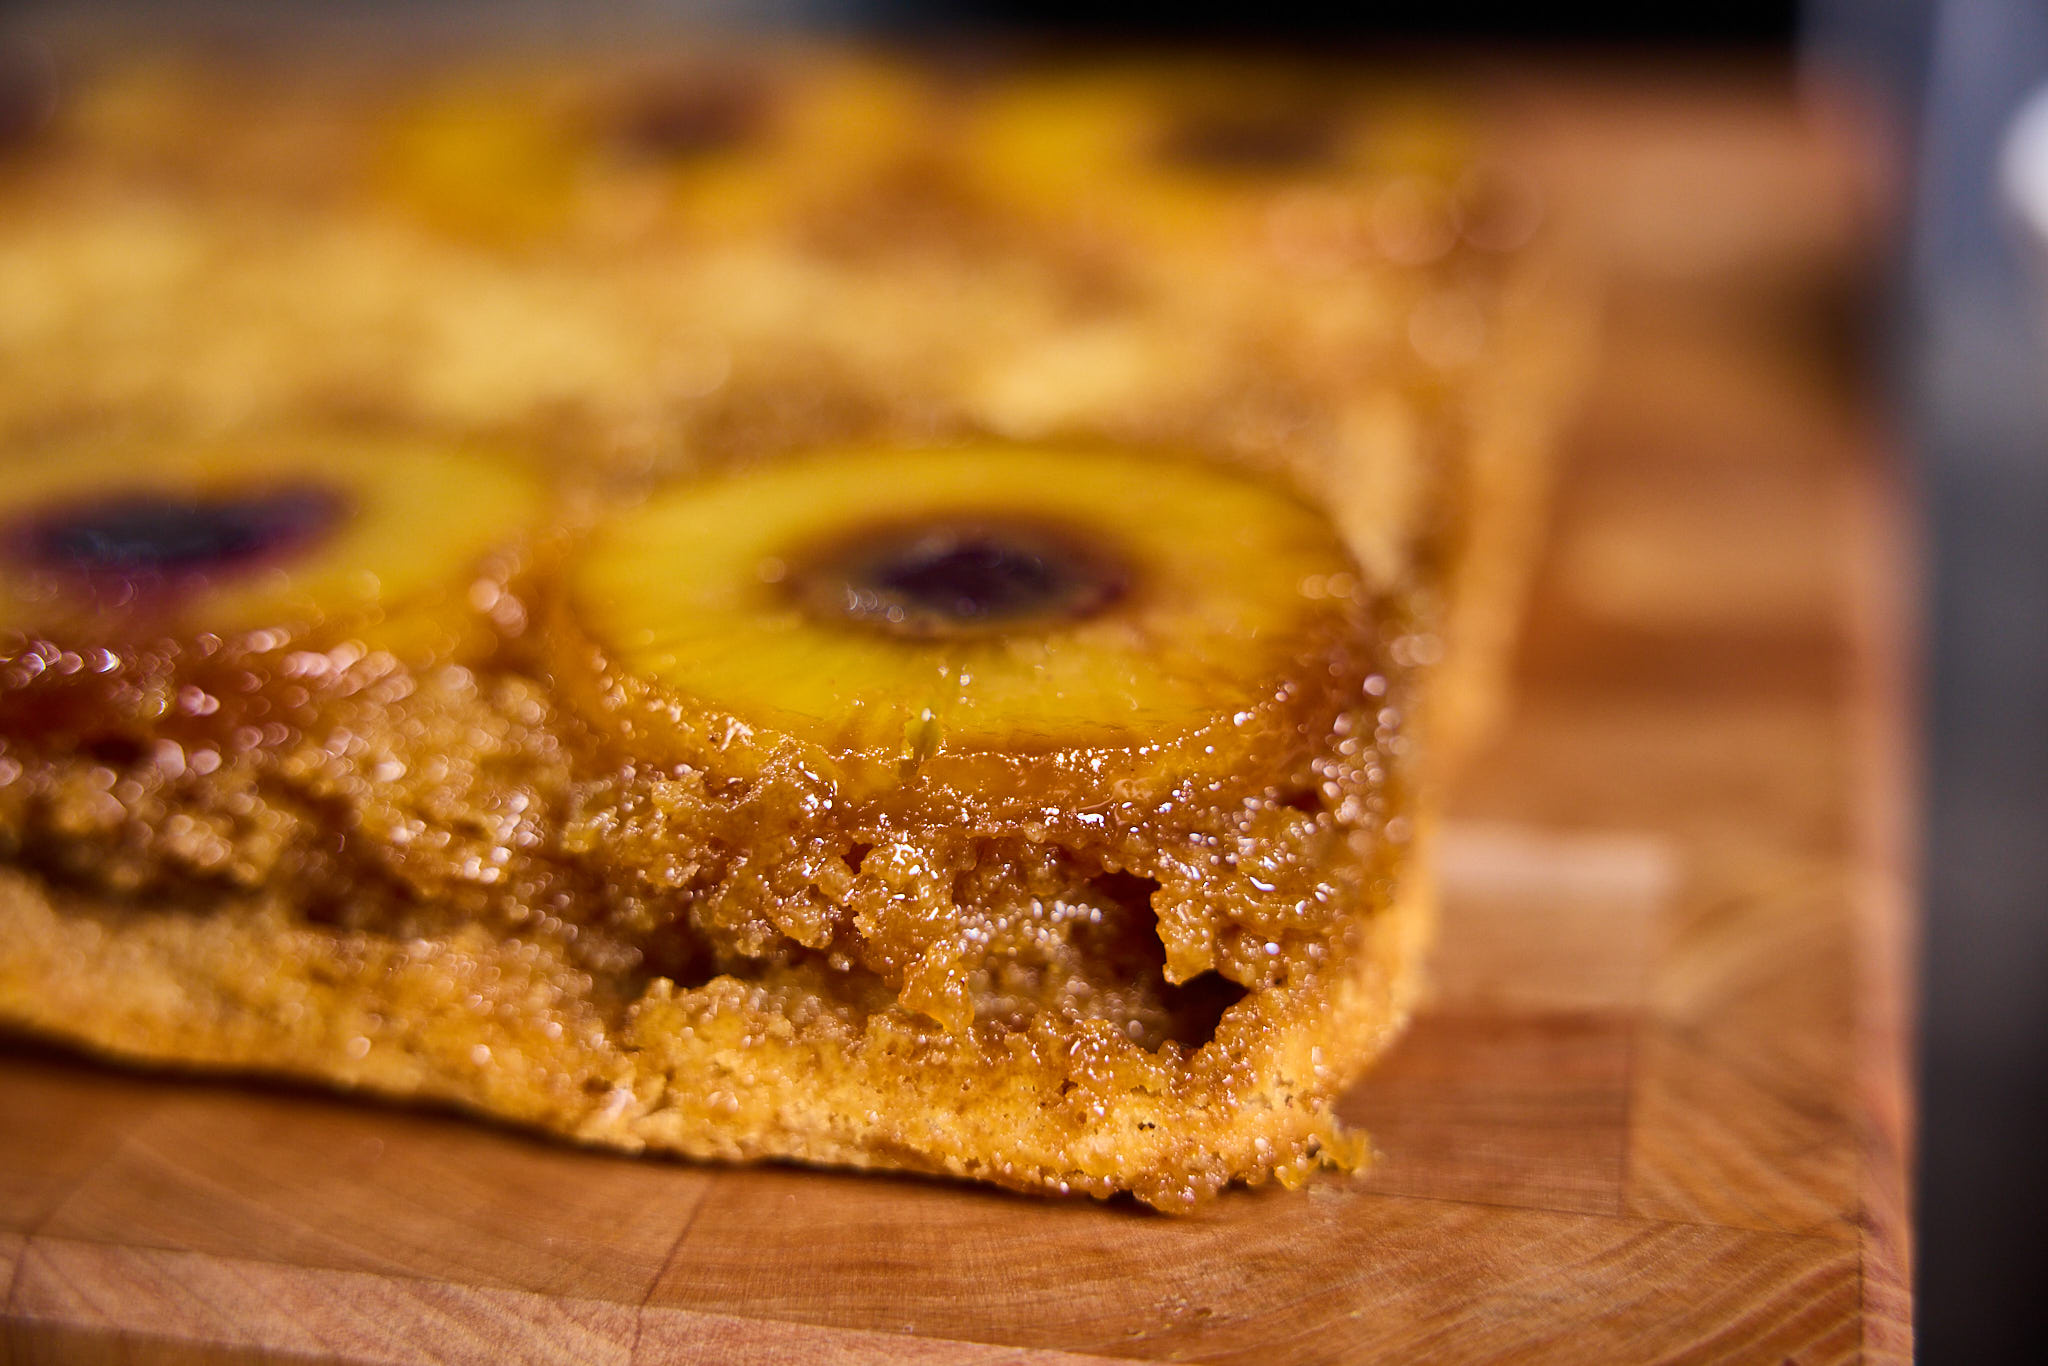
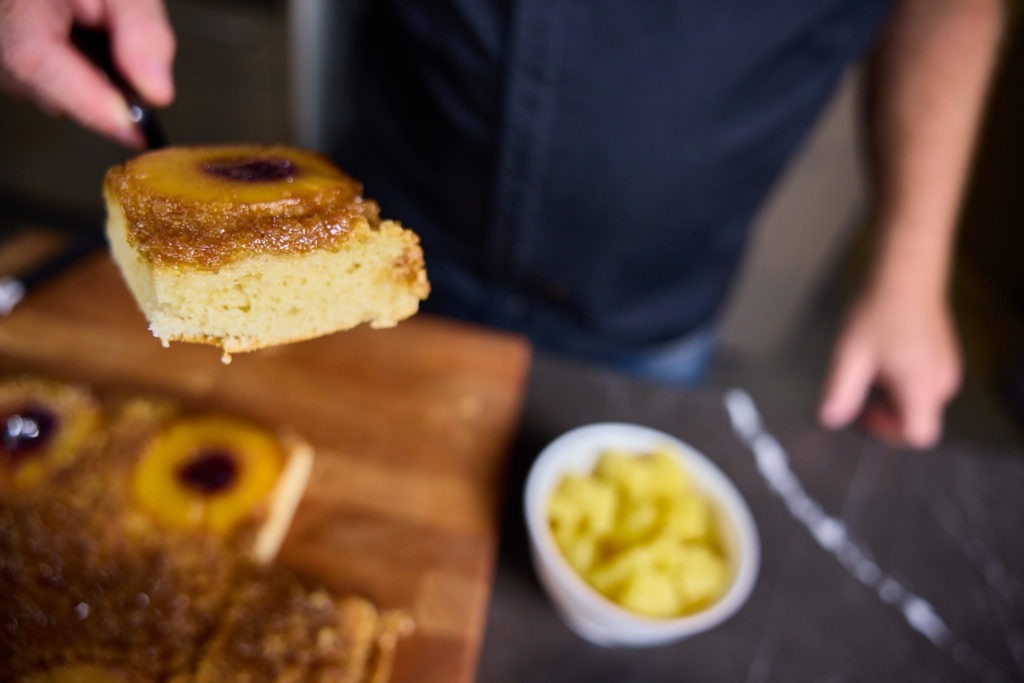
Pineapple upside-down cake is one of the simple wonders of the home kitchen. Classic yellow cake is cooked atop a layer of buttery caramel and zesty pineapple. The result, turned out of the pan so that the bottom is on the top, is a culinary delight beloved by all ages.
Such a showpiece cake should always be perfect, not dry or undercooked. In this post, we’ll talk about the doneness of this American classic and how to get it just right every time. We take our recipe cues from a great version presented by Bon Appétit, but the thermal principles apply to your family’s recipe just as well. Let’s get cooking!
Upside-down cake background
Upside-down cakes have been around for a long time. They all consist of a (perhaps artfully arranged) caramel layer with fruit on the bottom of a pan with cake batter layered on top, then cooked. The resulting cake is turned out of the pan with the bottom on top, displaying the sugary, buttery, fruity layer, which acts in place of icing.
The earliest of these cakes was cooked directly in a skillet on a stovetop—an option that could be easier on the fuel budget than heating an oven—but they are oven cakes now. You can make a whatever upside-down cake with whatever fruit you choose. But the one we’re most familiar with, pineapple, has been the predominant flavor since the 1920’s when canned pineapple became widely available and aggressively marketed by pineapple companies. The sweet-meets-tart flavor of the pineapple is a perfect foil to the buttery caramel of the rest of the topping, and the classic yellow cake atop (underneath?) the filling is pure nostalgia.
Upside-down cake doneness temps
One thing that can ruin a pineapple upside-down cake, though, is having it either undercooked or cooked until it’s bone dry.
Though there is some wiggle room, cakes do have a doneness temperature. That’s right, the ol’ “Stick it with a toothpick” test is not highly precise! Yes, it can tell you if the cake is still uncooked in the middle, but it can’t tell you how far from done it is or if the cake is overcooked and starting to dry out. An accurate thermometer like Thermapen® ONE, however, can! So what temp are we shooting for?
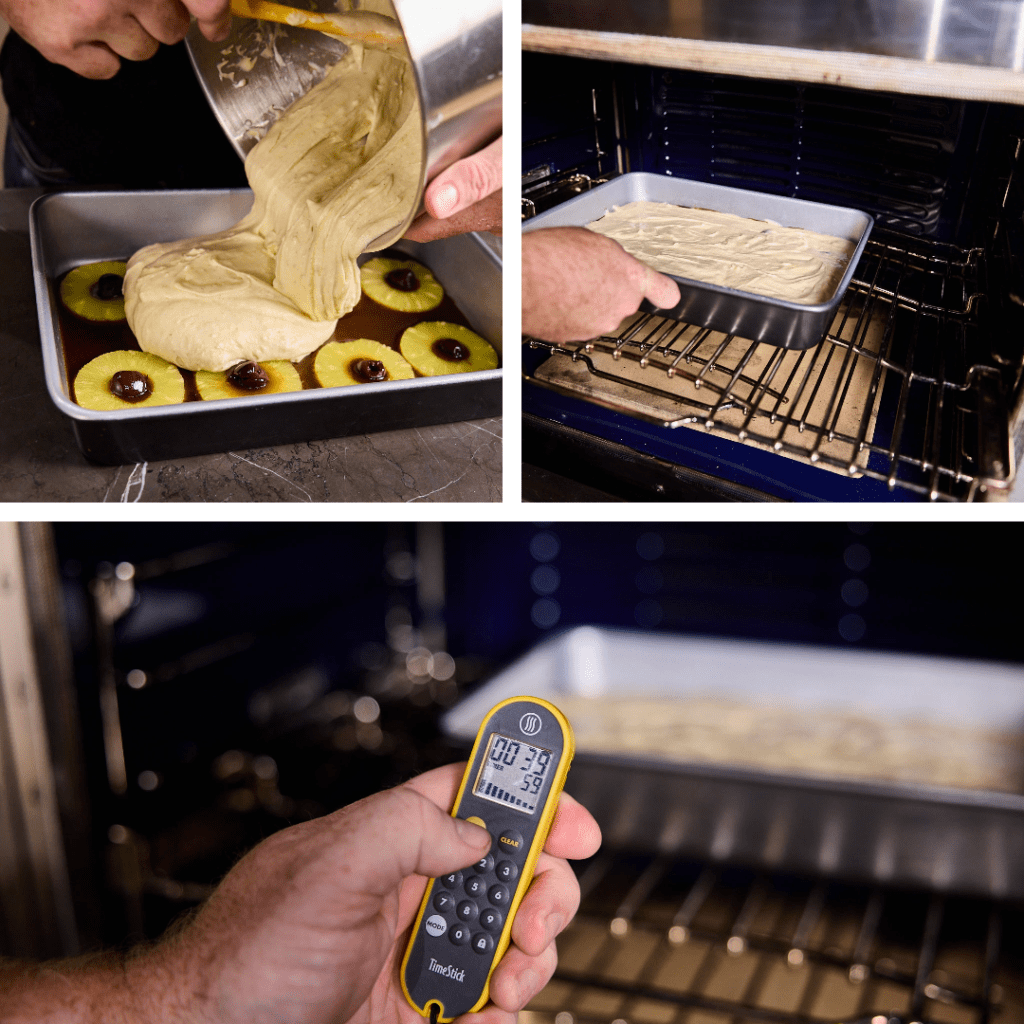
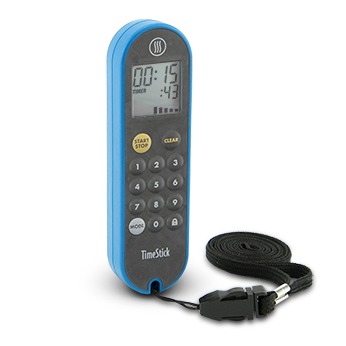
Creamed cakes, of which this is one example, are done when cooked to a lowest internal temperature between 200 and 209°F (93 and 98°C). Cake maven Rose Levy Beranbaum—who temps her cakes, despite her unfathomable experience—says she takes her first temperature at the first time listed in a recipe. So if a recipe says “cook for 15-25 minutes” she starts temping at 15 minutes. In this case, the recipe calls for 40–50 minutes (easily kept track of using TimeStick®), so we start checking the temp at 40 minutes.
Actually temping the cake is particularly important in this recipe, where the caramelly gooeyness at the bottom of the pan can give you a false impression on a clean toothpick test.
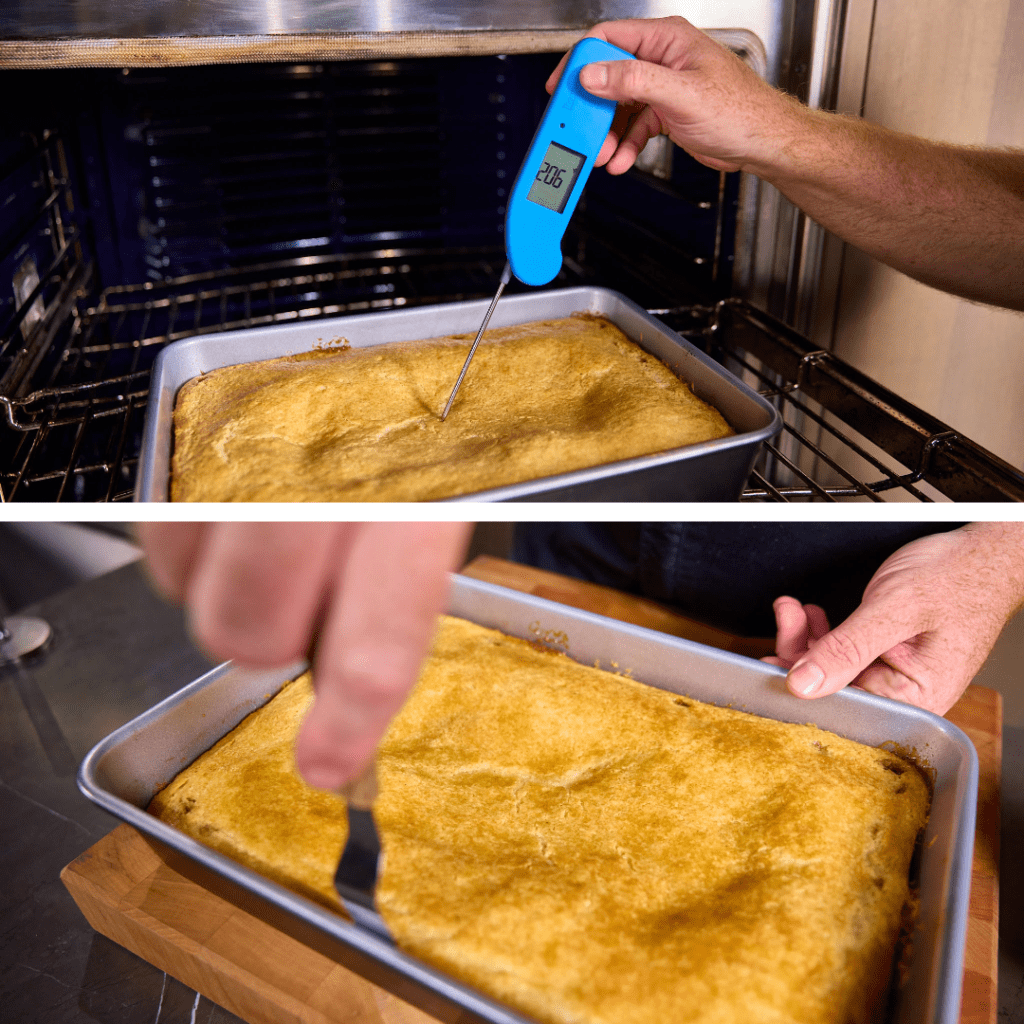
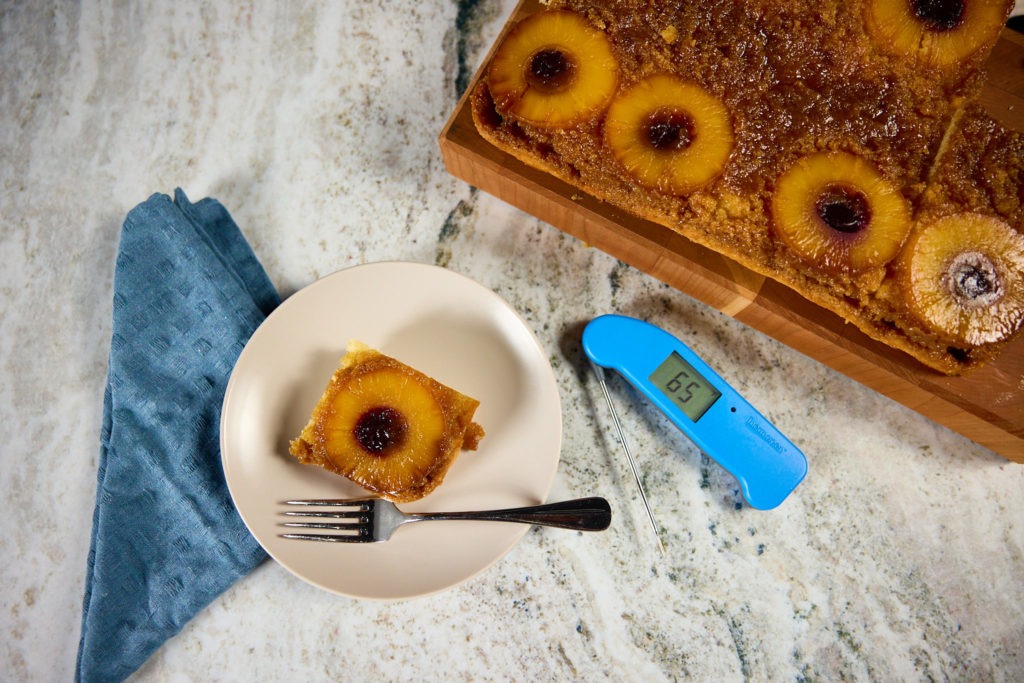
To temp your cake, insert the tip of your Thermapen deep into the cake and pull it out slowly, looking for the lowest temperature on the display. If you don’t see anything below 200°F (93°C), your cake is ready to take out!
If, by chance, you temp your cake at the first time mark and it’s already above 209°F (98°C), you might want to check the accuracy of your oven! It’s probably cooking hotter than it says.
Other temperatures to be aware of
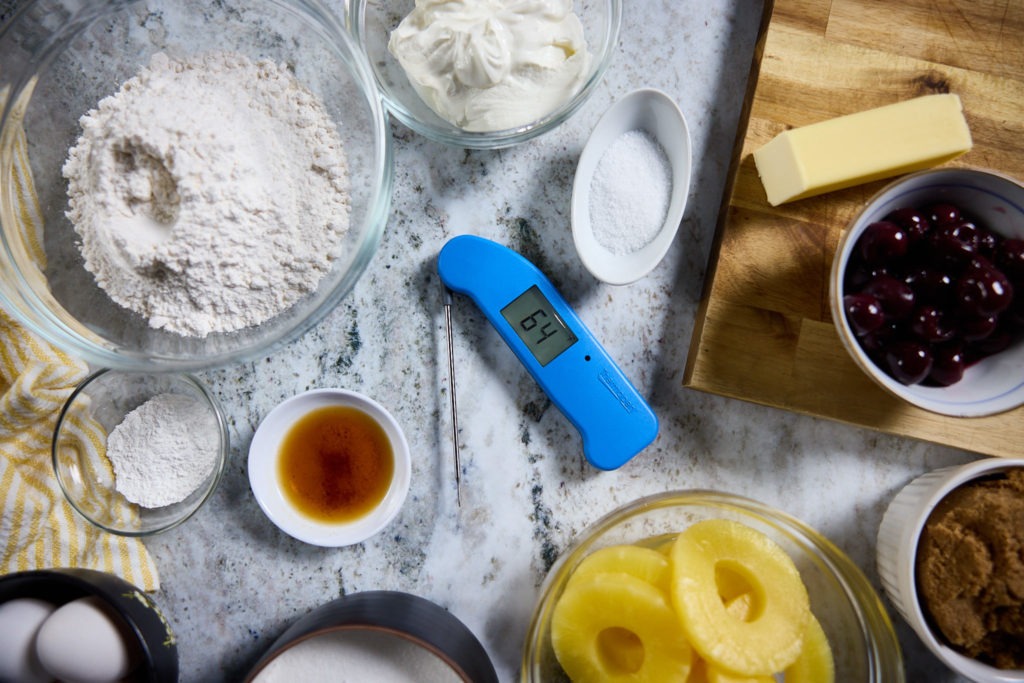
Doneness is key, of course, but for the very best cake, you should keep an eye on the ingredients as well. Room-temperature butter will cream better and give you a fluffier cake. Room-temperature eggs will combine more readily with your other ingredients. Use your Thermapen to verify these temps as you go, too.
Whether you’re celebrating a birthday or you’re just having a good weeknight dinner, this cake will bring the fun! It’s classy, classic, and tasty, and with your Thermapen you’ll have greater confidence that your cake is done properly than if you use a toothpick.
And while the cake we present here is a spectacular representative of the genre, you can apply the critical temps we’ve talked about here to your favorite upside-down cake recipe, too. Make one this weekend and bring a slice of sunshine to your family or friends.
Happy cooking!

Pineapple upside-down cake recipe
Description
Adapted from a recipe at Bon Appetit.
Ingredients
CARAMEL TOPPING
- 1 C brown sugar, packed
- 6 Tbsp unsalted butter
- 1 Tbsp vanilla extract
- 1 tsp Diamond Crystal or ½ tsp Morton kosher salt
- 1 15-oz can pineapple rings, drained
- 8 maraschino cherries, stems removed—or other canned cherries according to taste
CAKE AND ASSEMBLY
- 2½ C (288 g) cake flour
- 1 Tbsp baking powder
- 1 Tbsp Diamond Crystal or 1¾ tsp Morton kosher salt
- ¼ tsp ground mace
- 3 large eggs, room temperature
- 1 Tbsp vanilla extract
- 12 Tbsp (1½ sticks) unsalted butter, room temperature
- 1½ C (300 g) granulated sugar
- 1½ C sour cream
Instructions
- Preheat your oven to 350°F (177°C), adjust a rack to the middle position.
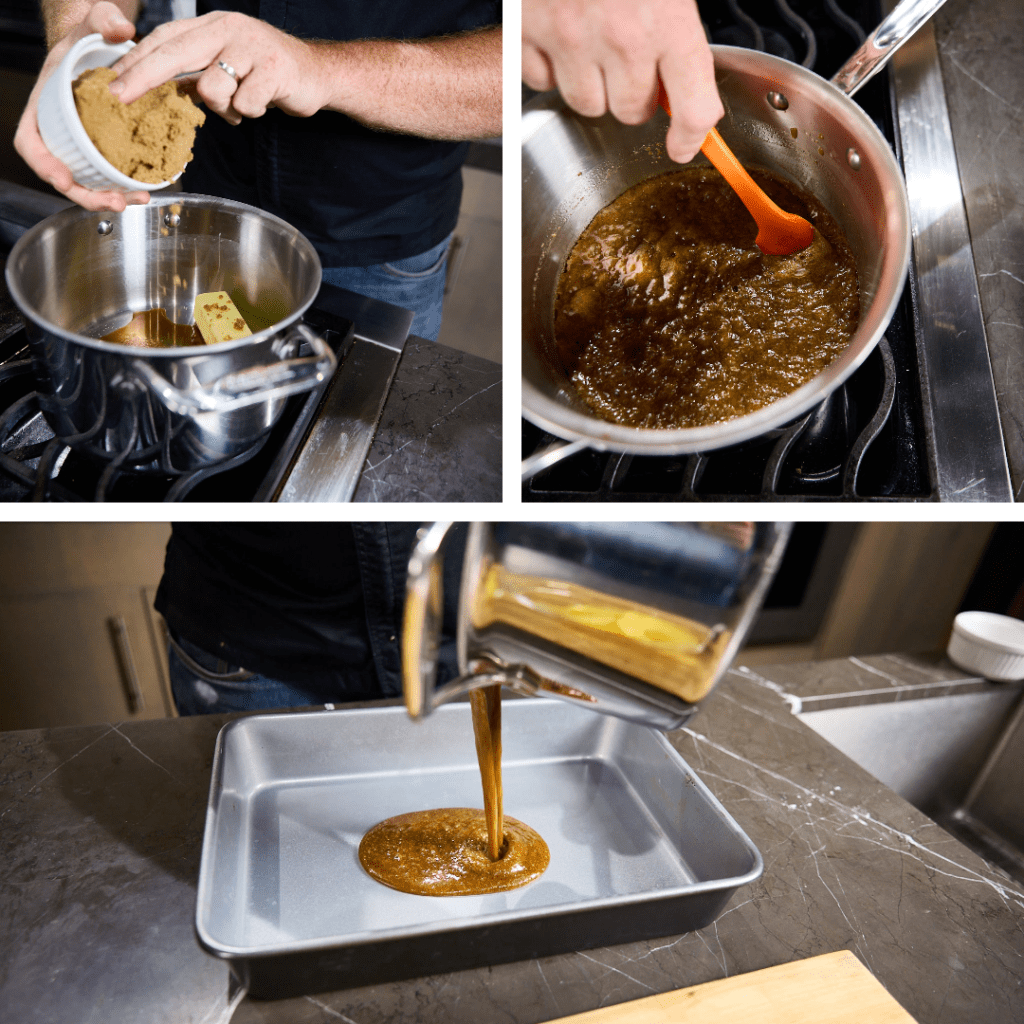
- In a small pan, compine the butter, brown sugar, vanilla, and salt from the topping ingredients. Cook them together over medium heat until bubbly.
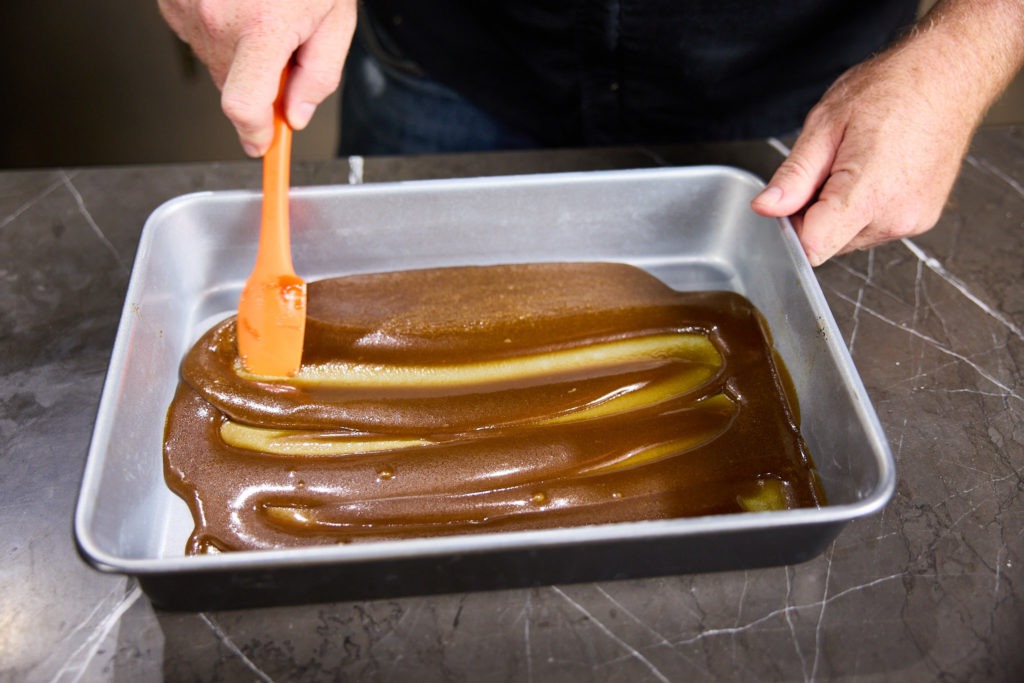
- Pour the caramel mixture into a prepared 9×13” pan. Spread the caramel out with a silicone spatula, if needed.
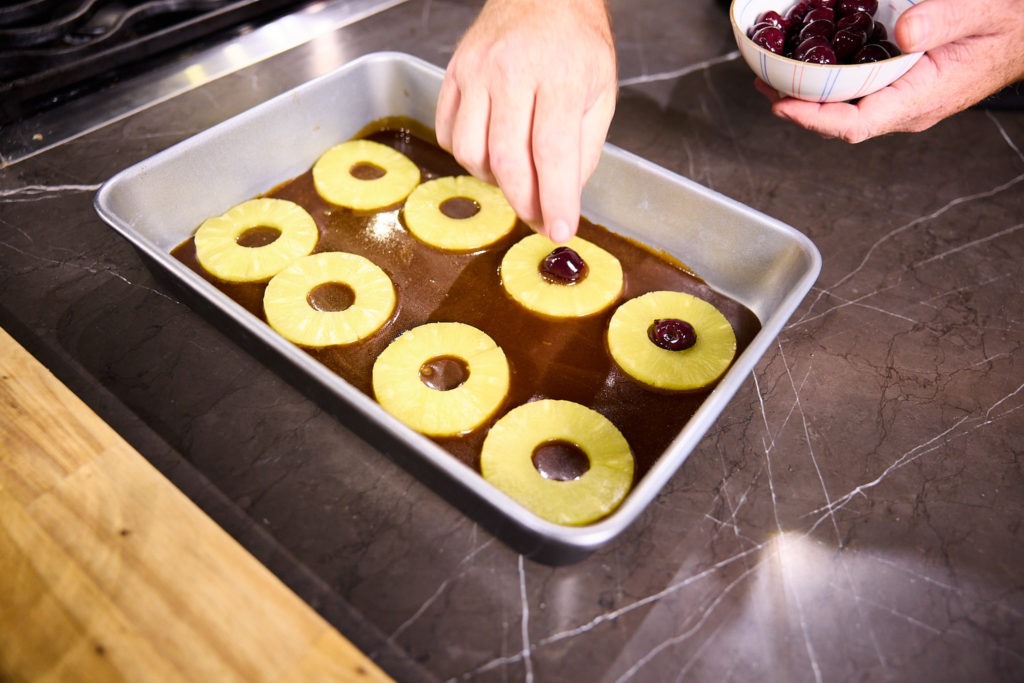
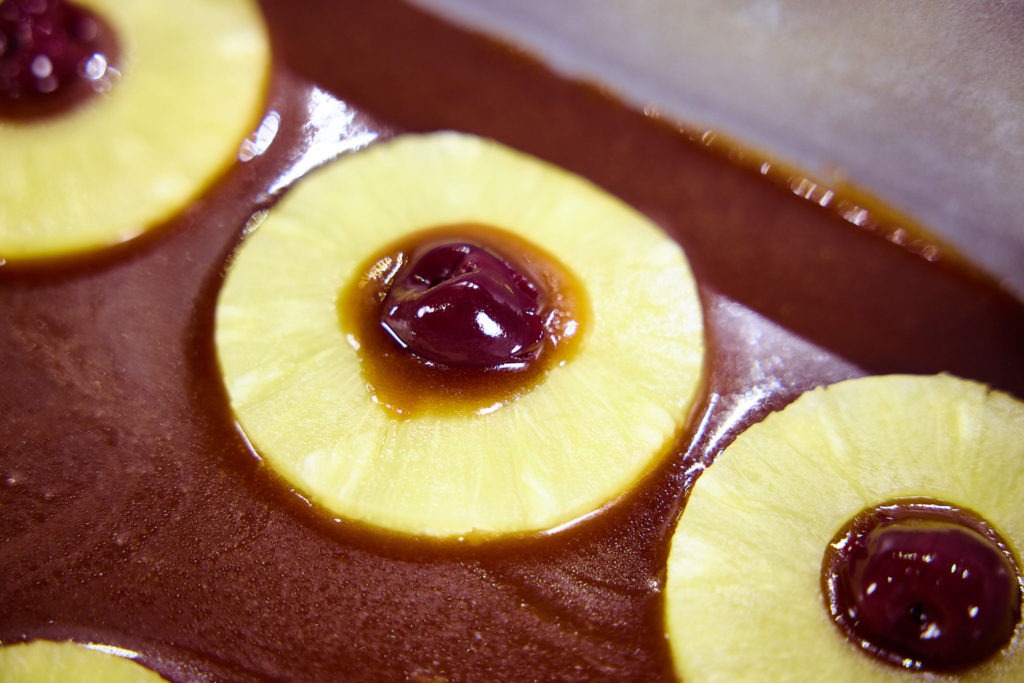
- Arrange the pineapple slices on the surface of the caramel in whatever pattern or design you choose. Place a cherry in the center of each ring.
- Whisk together the flour, salt, and baking powder, and mace in a bowl, set aside.
- In another bowl, whisk together the eggs and vanilla.
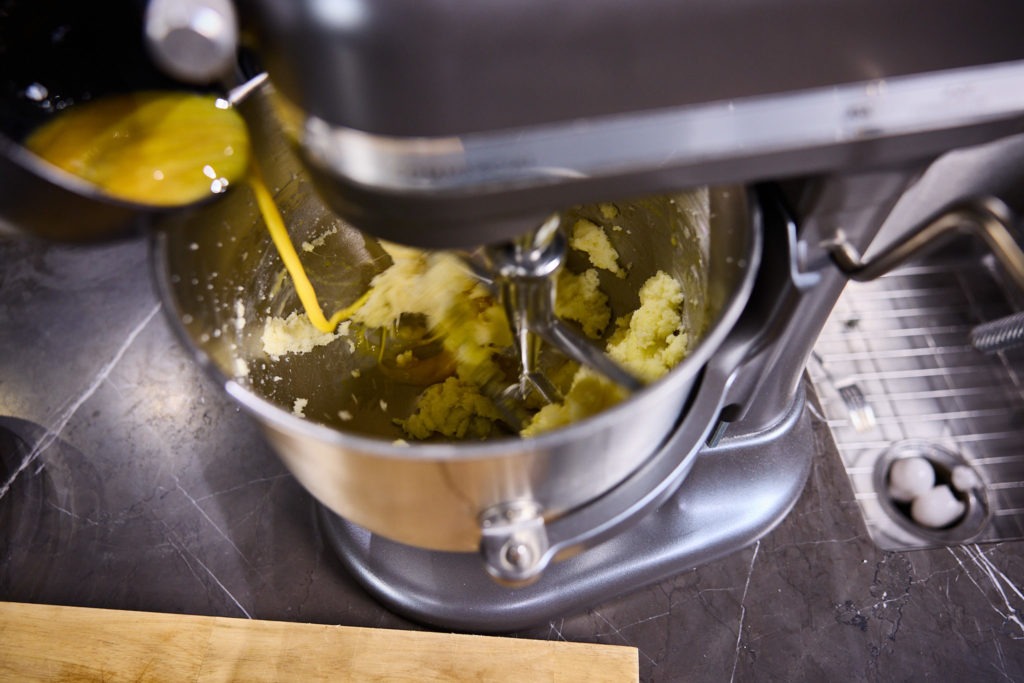
- In a stand mixer, cream together the butter and sugar until fluffy and light colored, 4–5 minutes.
- Add the egg mixture in four additions, completely combining after each addition.
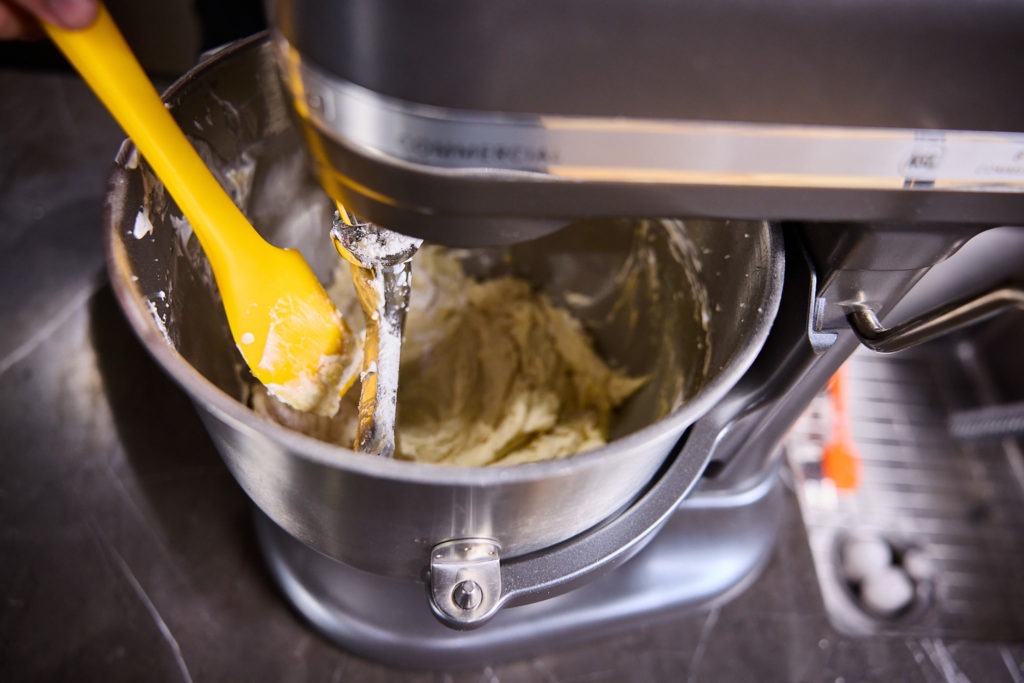
- Add the dry ingredients alternating with the sour cream—3 additions of dry with 2 additions of cream between them.
- Make sure the batter is well mixed by stirring through it a couple times with a spatula.
- Pour the batter onto the caramel in the prepared cake pan. Smooth with a spatula.
- Bake the cake for 40–50 minutes, checking the temperature with your Thermapen ONE at 40 minutes. If you find a temp lower than 200°F (93°C), keep cooking. If not, pull the cake from the oven.
- Let the cake cool on a wire rack somewhat, about 15 minutes. Loosen the cake from the edges of the pan with a butter knife or small spatula. (If you wait until the cake is completely cooled, it will be harder to remove from the pan.)
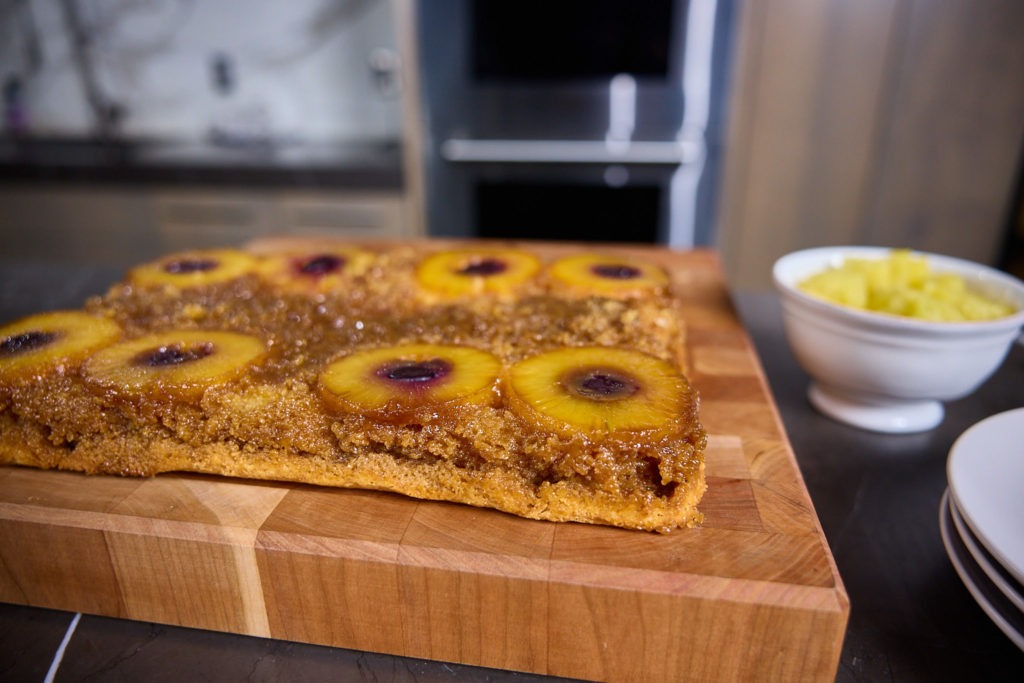
- Flip the cake pan over onto a cutting board or large platter and lift it off the cake.
- Beautiful! Enjoy the cake with some good vanilla ice cream, or just on its own.
Shop now for products used in this post:


