Infrared Thermometer Buying Guide
Welcome to our comprehensive buying guide for infrared thermometers! Infrared thermometers offer quick, non-contact readings ideal for various applications. However, choosing the right instrument requires careful consideration of several factors. Factors such as the type of laser targeting, the distance-to-spot ratio (which determines measurement accuracy at different distances), and the temperature range of your intended use will affect your choice. And you’ll need an understanding of emissivity settings to get accurate readings on different surfaces. But don’t worry, we’ll help you navigate through the key features and considerations so you can make an informed decision. Whether you’re a professional in an industrial setting, a home user who is cooking or doing automotive maintenance, or a medical practitioner, finding the perfect infrared thermometer starts here.
Contents:
- Understanding lasers on IR thermometers
- Distance to spot ratios: what is being measured from where
- Infrared thermometer temperature ranges
- Emissivity and infrared thermometer
- Buy an infrared thermometer
Infrared Thermometer: Understanding Laser Guides
Temperature areas of IR thermometers
Most infrared thermometers use a laser to show the user where they are taking the temperature. The laser does not take the temperature but acts as a guide to help the user aim the thermometer correctly. But there are important things to know about how infrared thermometers work. You see, infrared thermometers take an average temperature of a circular target area. If that area is a 1-inch circle, you get the average temperature over that circle. If it’s a 4-foot circle, the temperature displayed will be an average over the whole surface. That can greatly affect the accuracy of your reading! Just because a laser is pointing to one spot does not mean you are measuring the temperature at that single spot.
It’s critical that when you’re aiming an infrared thermometer, you take that into consideration. (For more on how infrared work and FAQ , check out our post on infrared thermometer basic & best practices.)
As we said, infrared thermometers measure a circular spot on the surface of the target. As you move further away that spot grows (explained further below in the Distance-to-Spot Ratio section). Your choice of laser targeting type depends on your preference and the specific requirements of the measurement task. Below are the various types of laser guides that we employ in our IR instruments.
No Laser
No laser targeting is common with compact infrared thermometers and combo units. These typically have shorter distance-to-spot ratios, so laser targeting is less critical.
Single Dot Laser
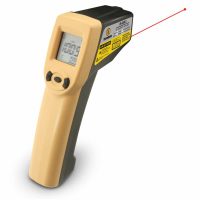
Single-dot lasers are very common in the industry. These simply show a red dot on the surface you’re targeting. It’s critical to know where the red dot is on the diameter of your measuring spot. All of our infrared thermometers with a single red dot have the red dot at the bottom of the target spot. So when you see the red dot, it’s the bottom point of a circular spot being measured.
Two Dot Lasers
These function the same as a single dot unit but with an additional dot on the opposite side of the measurement area. The two dots give you a better idea of the width of your measured spot, though they don’t show you everything being measured.
Circle Lasers (The Gold Standard)
This is the gold standard of laser targeting. The laser projects the exact area of the measurement area. You’ll always know exactly what your infrared is measuring. This is particularly important if you are taking a measurement but not aiming the thermometer perpendicular to the surface. The circle will flatten out to an ellipse, but you still know exactly what is being measured.
Distance-to-Spot Ratios on Infrared Thermometers
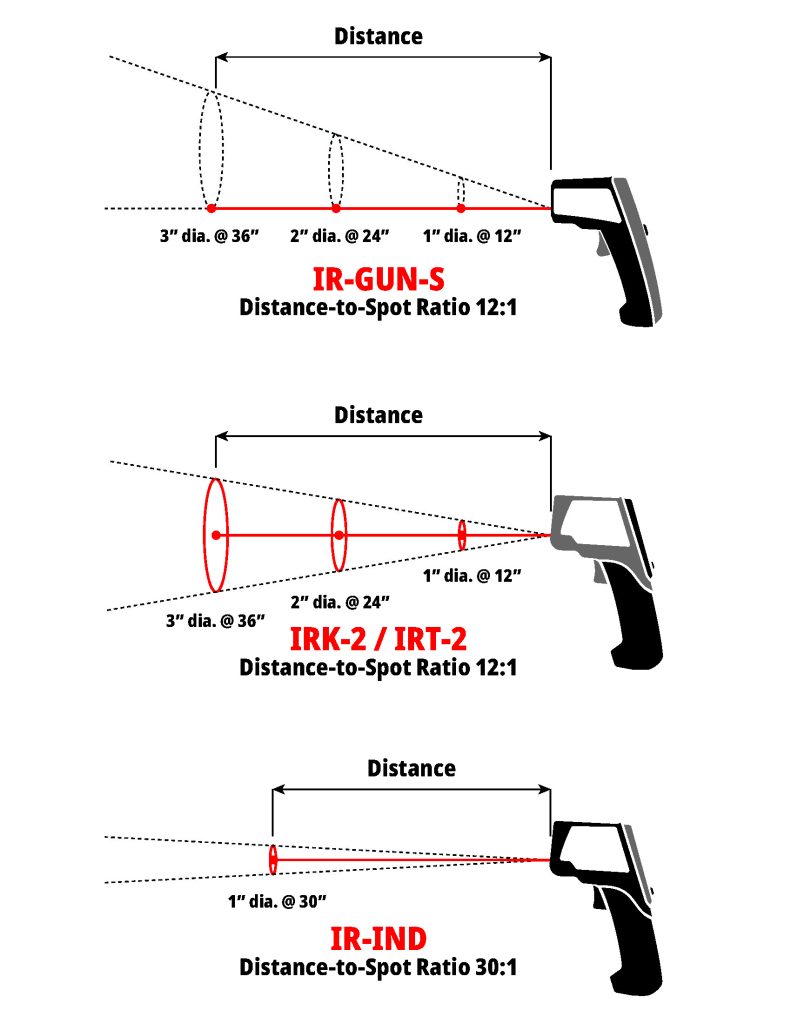
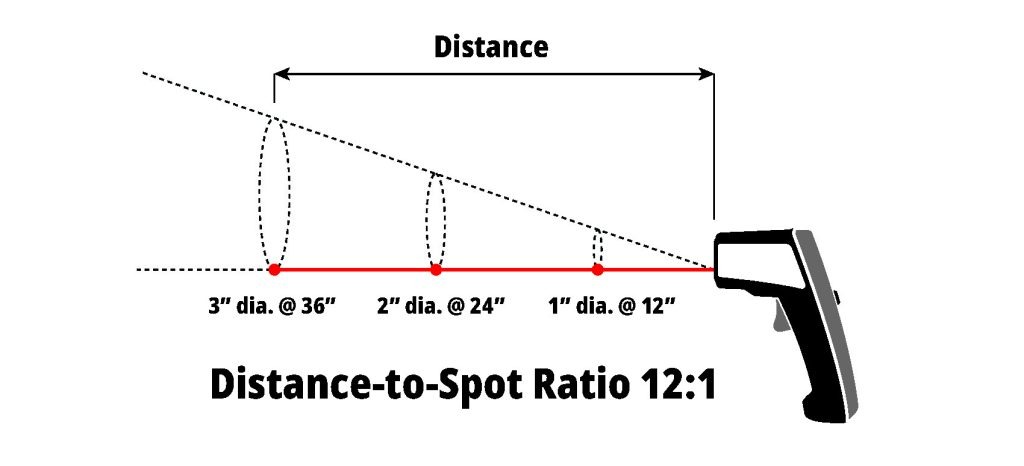
The distance-to-spot ratio in infrared thermometers is a crucial specification that determines the size of the area from which the device collects infrared radiation to measure temperature accurately. Represented as a ratio (e.g., 12:1), it indicates how large an area will be measured in exact relation to how far it is being measured from. For instance, a thermometer with a 12:1 ratio can accurately measure the temperature of a 1-inch diameter spot from a distance of 12 inches. A higher ratio signifies greater precision at longer distances. This is great for users who need to measure temperatures from a safe distance in various applications such as temping pizza ovens, industrial processes, HVAC systems, or electrical maintenance. Understanding this ratio helps you select the appropriate thermometer for your needs, balancing accuracy with the required distance.
5:1 Or Less
Shorter distance-to-spot ratios are common in smaller infrared thermometers and combo units like the Thermapen® IR. It’s great for taking general-purpose measurements from a closer distance.
12:1 Distance-to-Spot
A standard general-purpose distance-to-spot ratio, 12:1 is great for everything from temping skillet and grill temperatures to automotive and HVAC purposes. The Industrial Infrared (IRK-2) is very popular for this distance-to-spot range.
30:1 and Beyond
A 30:1 Distance-to-Spot ratio is perfect for hard-to-reach or extremely hot targets. Imagine a vent on the ceiling or a pizza oven that gets well above 1000°F. Often as the distance-to-spot ratio increases to 30:1 the temperature range will increase as well. Our Hi-Temp Infrared Thermometer (IR-IND) has that tight ratio with a higher temperature range.
Infrared Thermometer Temperature Ranges
The temperature range of an infrared thermometer refers to the span of temperatures within which the device can accurately measure. This specification is vital as it determines the thermometer’s suitability for specific applications. Some infrared thermometers have narrow temperature ranges ideal for specialized uses, such as measuring extremely high temperatures in industrial processes or low temperatures in cryogenic applications. In contrast, others offer broader ranges suitable for general-purpose tasks like cooking or HVAC maintenance. Understanding the temperature range ensures that you select a thermometer capable of measuring temperatures within their desired operating conditions, guaranteeing accurate results across various applications and environments.
Common Applications and Temp Ranges
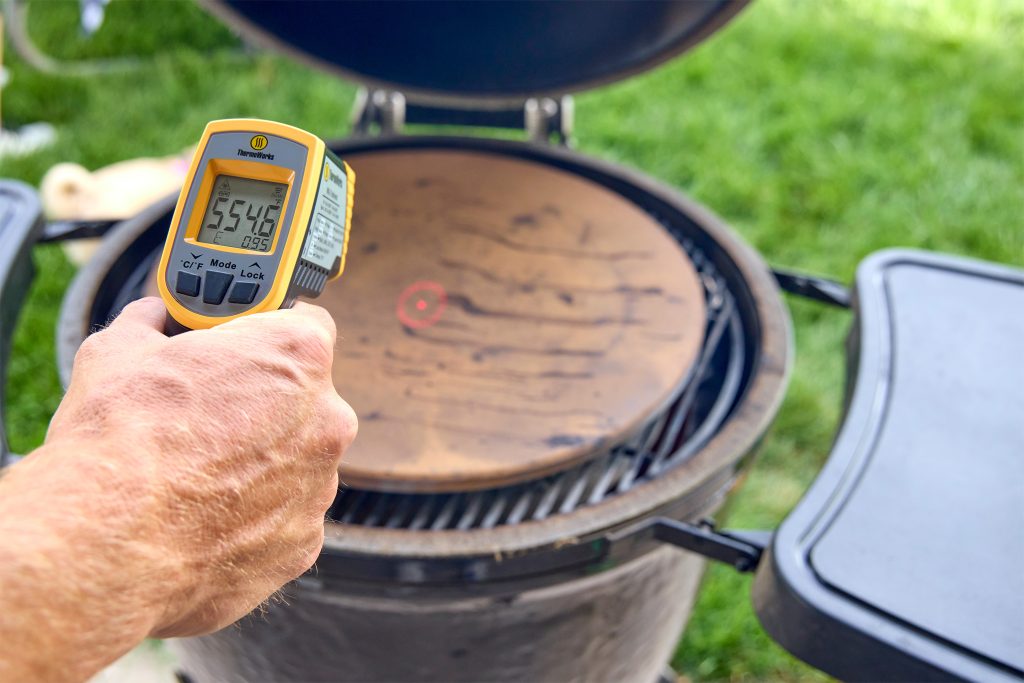
- General Cooking (skillets, grills, etc.): For everyday cooking tasks, an infrared thermometer with a temperature range of around -58°F to 572°F (-50°C to 300°C) would be sufficient. This range covers typical cooking temperatures for meats, vegetables, and other foods on skillets, grills, and ovens. For high-heat grilling, any of our infrared thermometers that go to 1022°F (550°F) would be great.
- Pizza Ovens: Pizza ovens require higher temperature ranges due to the intense heat needed for quick and crispy pizza crusts. An infrared thermometer with a range of approximately 212°F to 1472°F (100°C to 800°C) would be suitable for accurately measuring the temperature inside pizza ovens.
- HVAC: HVAC systems involve measuring temperatures in both heating and cooling processes. An infrared thermometer with a broader range, such as -58°F to 1022°F (-50°C to 550°C), would be appropriate for HVAC applications, covering temperatures encountered in both heating and cooling systems.
- Automotive: Automotive applications may require measuring a wide range of temperatures, from engine components to exhaust systems. An infrared thermometer with a range of -58°F to 1832°F (-50°C to 1000°C) would be suitable for automotive maintenance, allowing users to measure temperatures in various automotive systems accurately.
- General Purpose: For versatile use across different applications, a general-purpose infrared thermometer with a wide temperature range is ideal. A range of -58°F to 1022°F (-50°C to 550°C) would cover a broad spectrum of temperatures encountered in everyday tasks, making it suitable for home use, DIY projects, and light industrial applications.
Emissivity Settings on Infrared Thermometers
Emissivity is a fundamental concept in infrared thermometry, referring to the efficiency with which an object emits thermal radiation. It’s a ratio ranging from 0 to 1, where 0 indicates perfect reflectivity (no emission), and 1 represents perfect emissivity (total emission). Understanding emissivity is crucial because it directly affects the accuracy of temperature measurements made with infrared thermometers. Different materials have different emissivity values, and if the emissivity of the object being measured is not taken into account, it can lead to inaccurate temperature readings. Therefore, having an emissivity setting on an infrared thermometer allows users to adjust the device’s readings according to the emissivity of the surface being measured, ensuring precise and reliable temperature measurements across various materials and surfaces.
Some infrared thermometers have a fixed emissivity setting, like the Food Safety Infrared (IRFS) where the intended use is food, so it is fixed at 0.97. However, most of our infrared thermometers feature an adjustable emissivity setting. Check out our emissivity table for common materials and their emissivity value.
We hope this has been helpful to you in your research. Remember to think of the guidance type, the distance-to-spot ratio, and the temperature range and application you’ll be needing it for. As always, if you have questions about which thermometer you should get, feel free to contact out world-class in-house customer service team.


Thank you for this posting. I think a few emissivity examples would make the concept for easier for rookies like me to apply to real situations. eg. What type of error might occur on a sample material if the emissivity setting were off? Would temps read high or low, etc. and by how much might be the error?
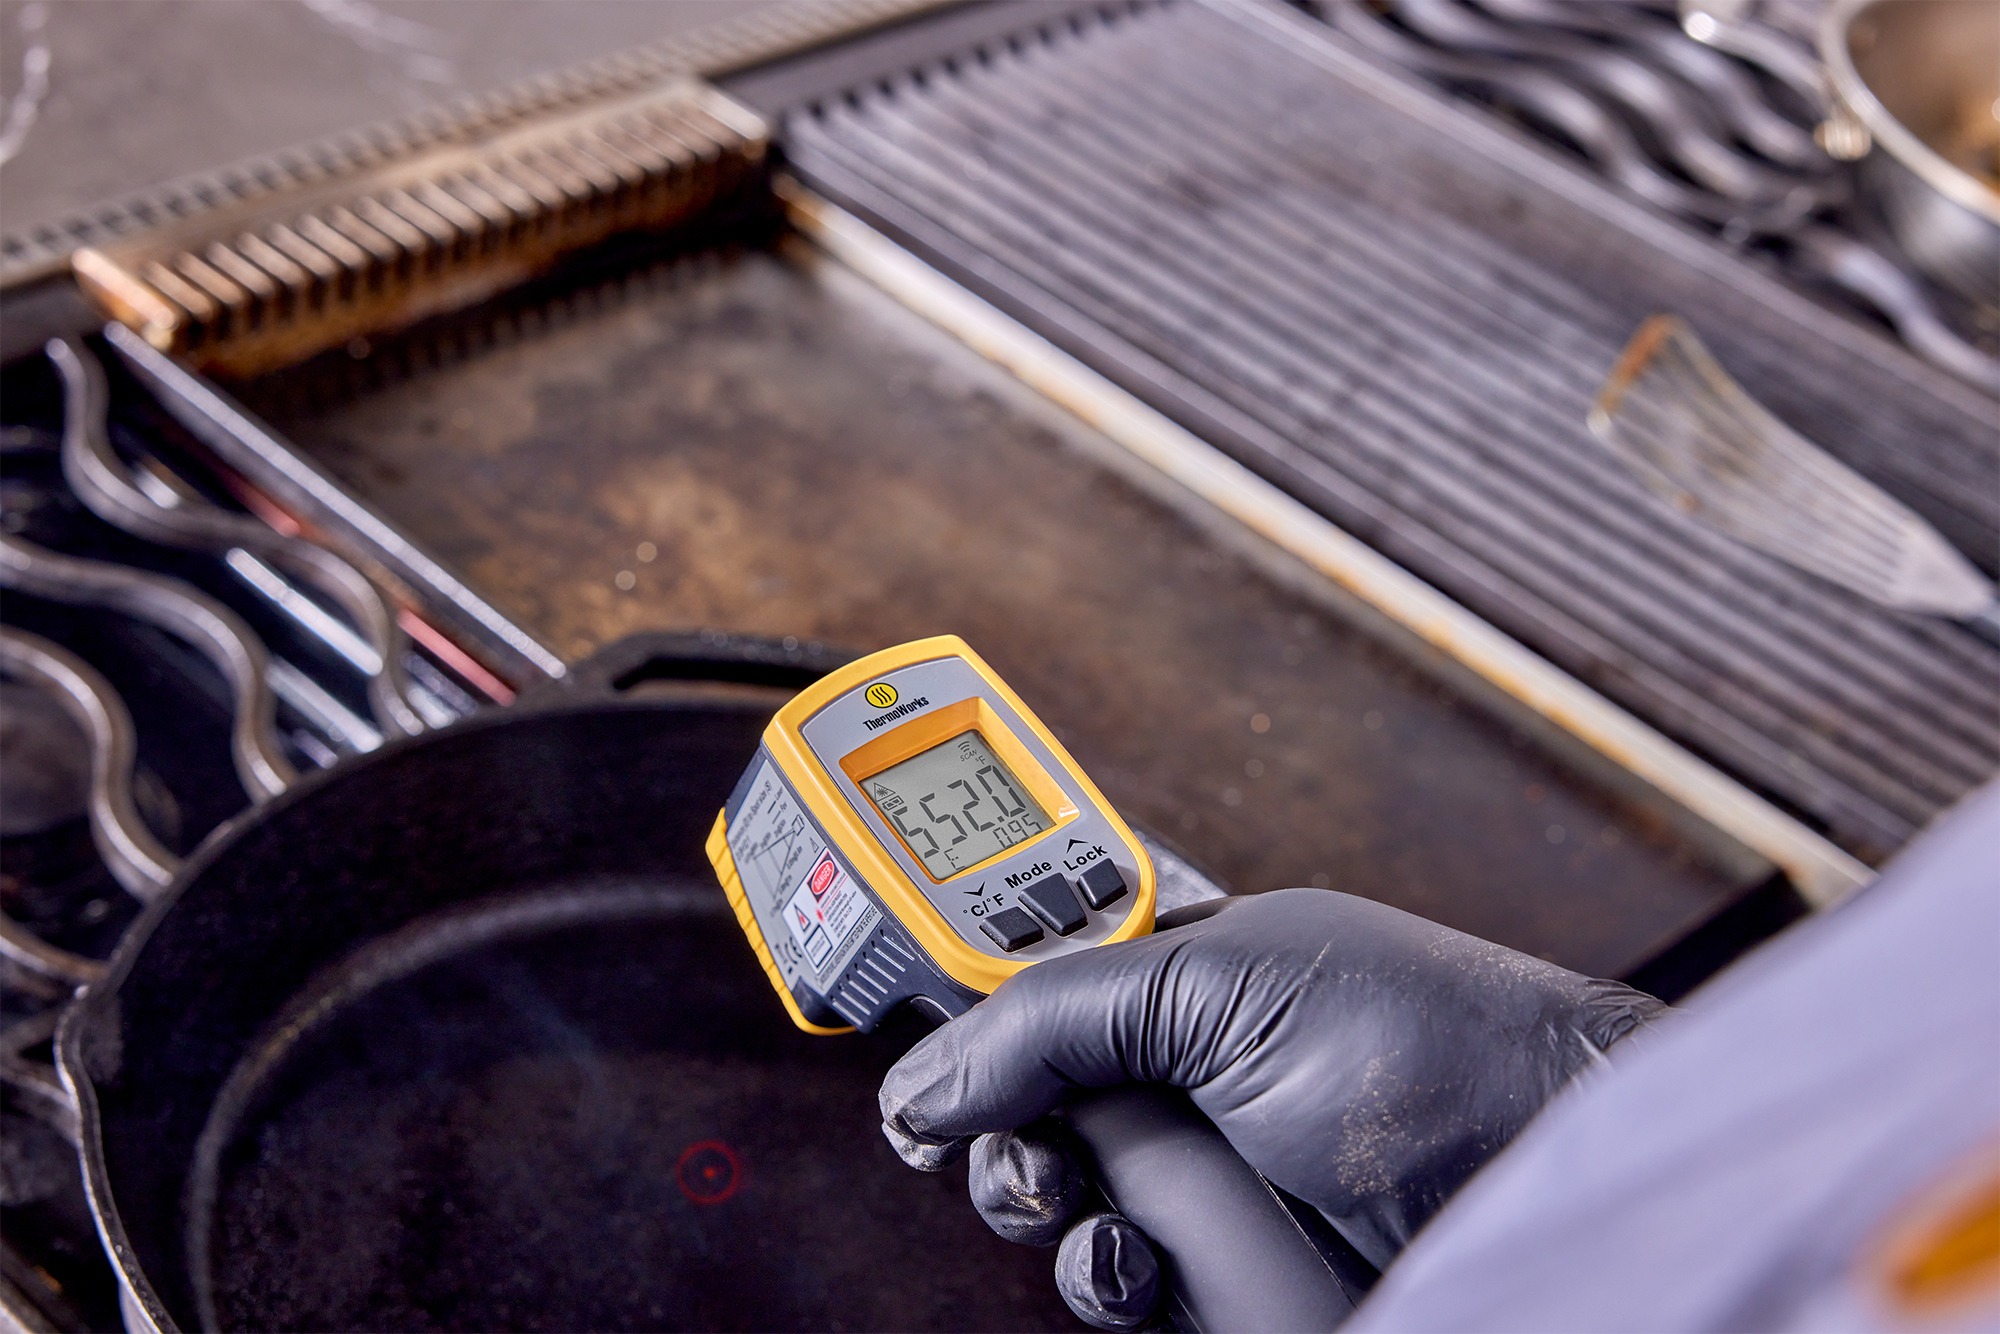
I can give one anecdotal example. We were shooting a video at a local steakhouse and they had just turned their well-scrubbed steel flattop on when we got there. We repeatedly checked the surface temperature with an IR to make sure it was hot enough and we kept getting readings in the high 200’s. It was the wrong emissivity. We added a drop of oil to the surface and immediately got readings closer to 350°F.
Are any of these IR thermometers suitable for measuring molten brass, copper or aluminium in small home type gas and/or electric furnaces (using small (~3kg crucibles)?
Great question, and a fun skill to master! we do have some extra-high temp IR thermometers, including the Professional Hi-temp IR, which goes up to 1832°F, which could cover molten brass. But if you want to be sure you’re safe for most melted metals, you might want the Ultra Hi-Temp IR, which goes up to 3272°F (but only reads down to 212°F). Let us know how it goes!