Beer-can Chicken: A Thermal Exploration
Do you realize it’s been over 25 years since beer-can chicken entered the American culinary lexicon? For more than two decades, people have been cooking this intriguing dish for parties and cookouts and even competitions. It is an undeniably fun way to cook a chicken, but we wondered: is it a better way to cook a chicken?
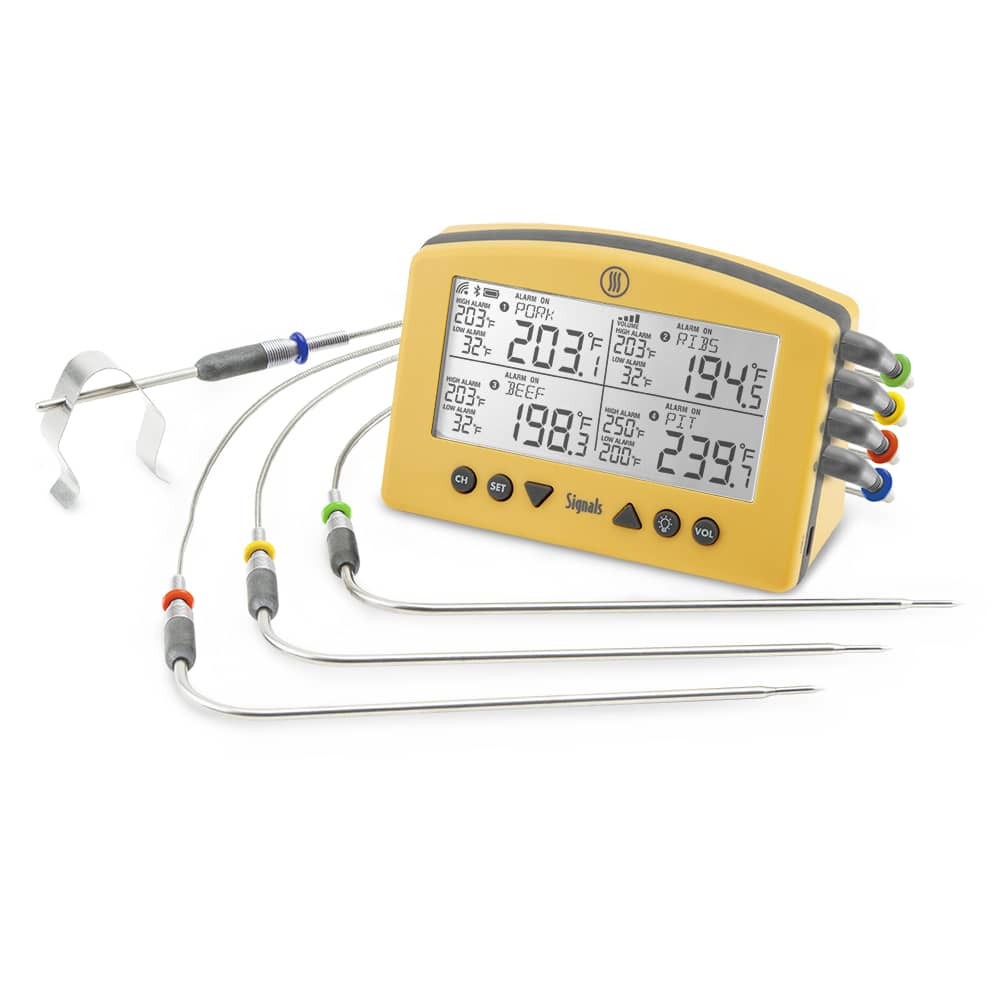
We hooked up our Signals™ multi-channel BBQ thermometer and our ThermoWorks app to get to the bottom of what’s happening in beer-can chicken, from a thermal angle. What we found may or may not surprise you, depending on how dedicated you are to this cooking method. Let’s get into the data and find out what’s going on.
What is beer-can chicken, and why do people make it?
Beer can chicken is a grilled/barbecued chicken that is cooked with a half-emptied can of beer inserted into its body cavity. The idea behind this method is that the beer cooks off and transfers both flavor and moisture to the meat, creating tender, juicy, beer-y chicken. And if it is doing that, it will certainly be worth it!
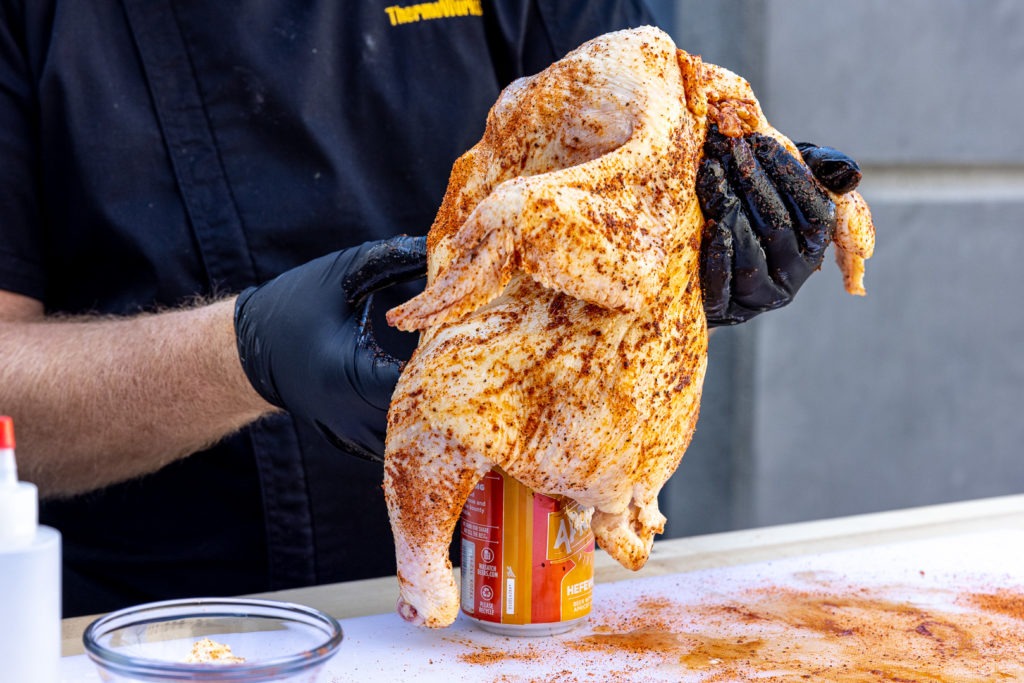
Now, whether or not those things happen (we’ll look at the data in a minute), I expect people will keep cooking this dish. Why? Because you barbecue a chicken with a can of beer in its cavity—it’s an incredibly fun idea.
Beer-can chicken: experimental design and procedure
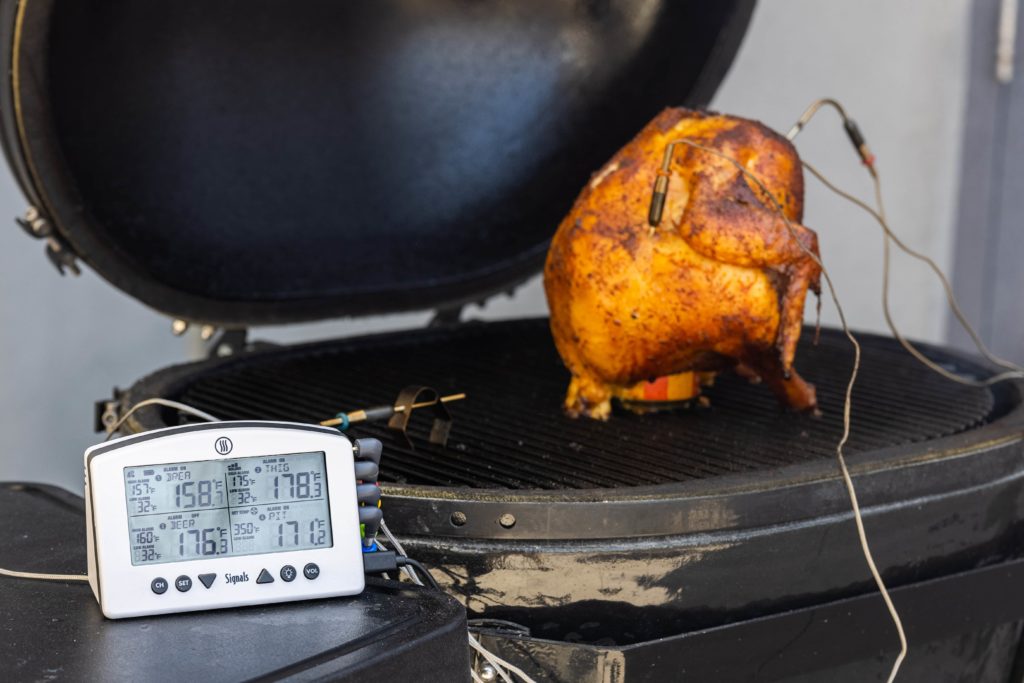
To test this cooking method for efficacy, our plan was to use four probes. One—the air probe—with the Billows™ BBQ control fan, one in the breast meat, one in the thigh meat, and the last one in the beer in the can.
To prepare our chicken for cooking, we seasoned it under the skin with BBQ rub and with a little butter (to help the skin crisp up), we also rubbed the skin on the outside with a neutral-flavored oil and more BBQ rub.
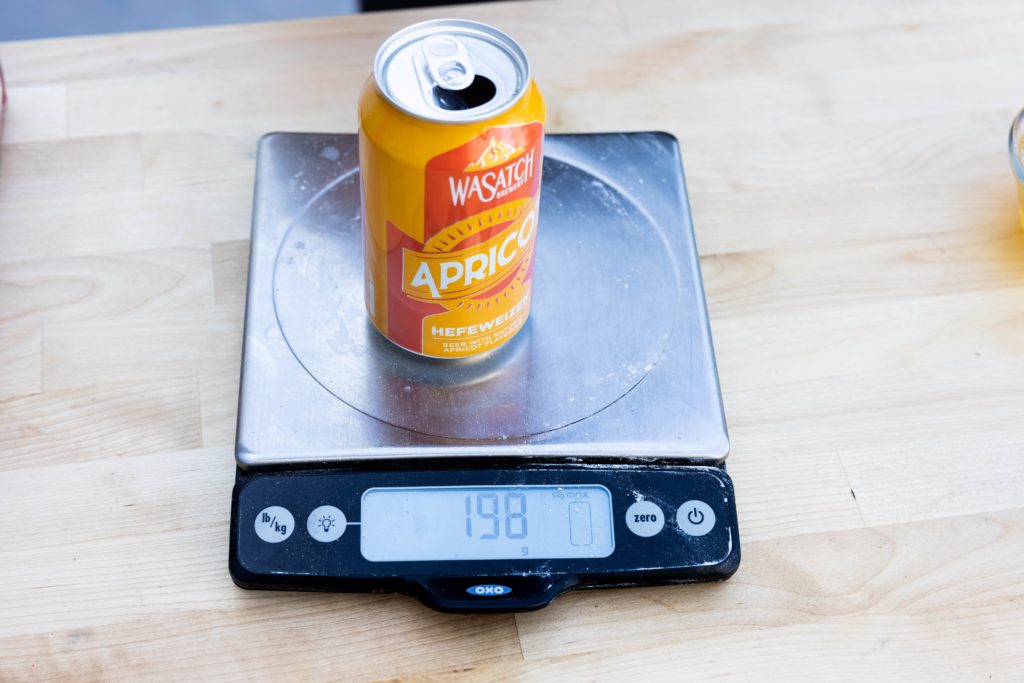
We heated a smoker that was set up for indirect cooking to 325°F (163°C) using the air probe with our Signals and Billows. While heating, we removed half the contents of the beer can, then weighed it so we could measure any mass lost to evaporation/boiling. It weighed 198 grams.
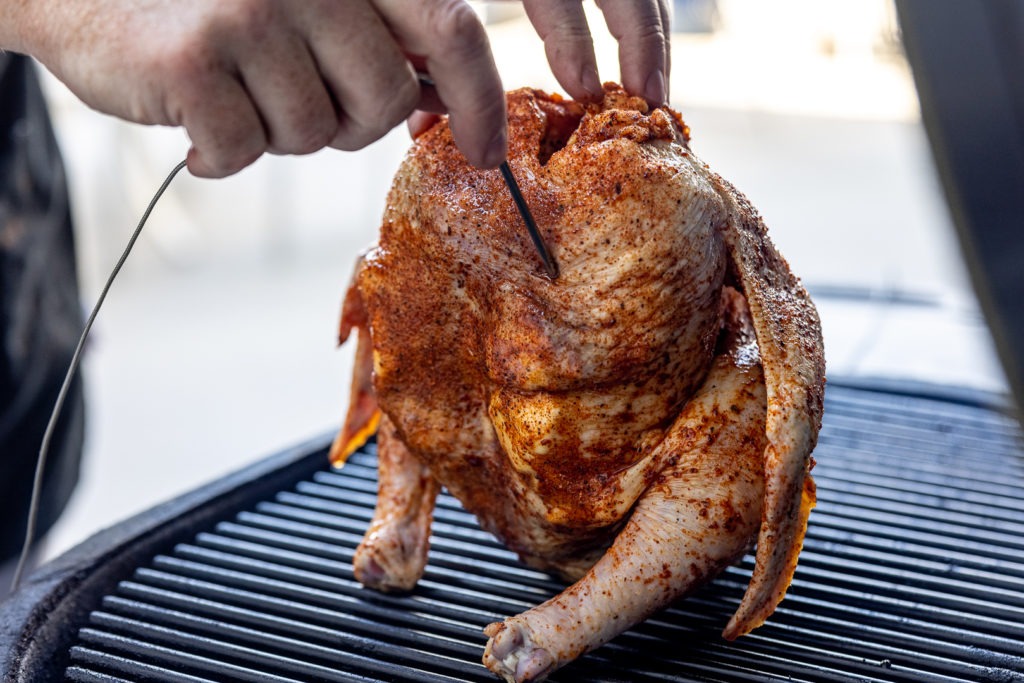
We shoved the can into the chicken and stood it up in the smoker. We put a probe in the thermal center of the chicken breast and set its high-temp alarm to 157°F (69°C). We put a probe in the thigh and set that alarm for 175°F (79°C). (We were hoping, of course, to hit our doneness temperatures in both the breast and the thighs, with the dark meat being cooked to a higher temp than the light meat.) The probe in the beer didn’t get an alarm, since we weren’t looking for any particular doneness temp.
The cook was monitored remotely using Signals’ cloud capabilities, watching the pit and probe temps throughout the cook on our desktops.
Results: is beer-can chicken worth it?
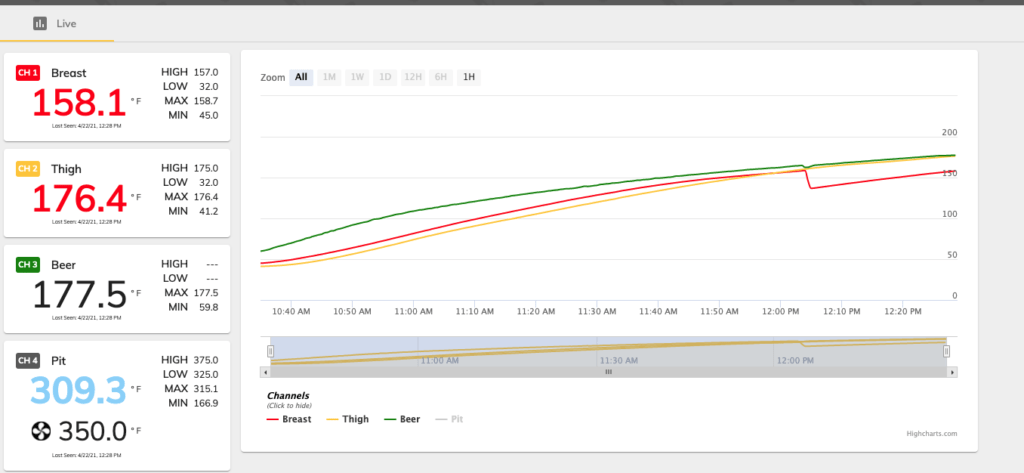
This is a data-centric post, so we’re going to put up the graph of the cook before we get to the pretty roasted chicken pictures. Here you go:
Let’s examine the data.
We can see the temperature of the beer in green. Its temp rises more quickly than do the meat temps, which makes sense as the can was closest to the heat and was a metal conductor.
Then we see the thigh temp in yellow, rising to meet the beer temp as the cook finishes. The breast meat is interesting. I inserted the probe in what I thought was the thermal center, but when a high-temp alarm sounded on it, but Thermapen verification showed that there were places in the chicken that were still well cooler than the 157°F (69°C) target. I moved the probe into one of these locations in the breast, which you can see as the precipitous drop in breast temperature at about 12:05 p.m.
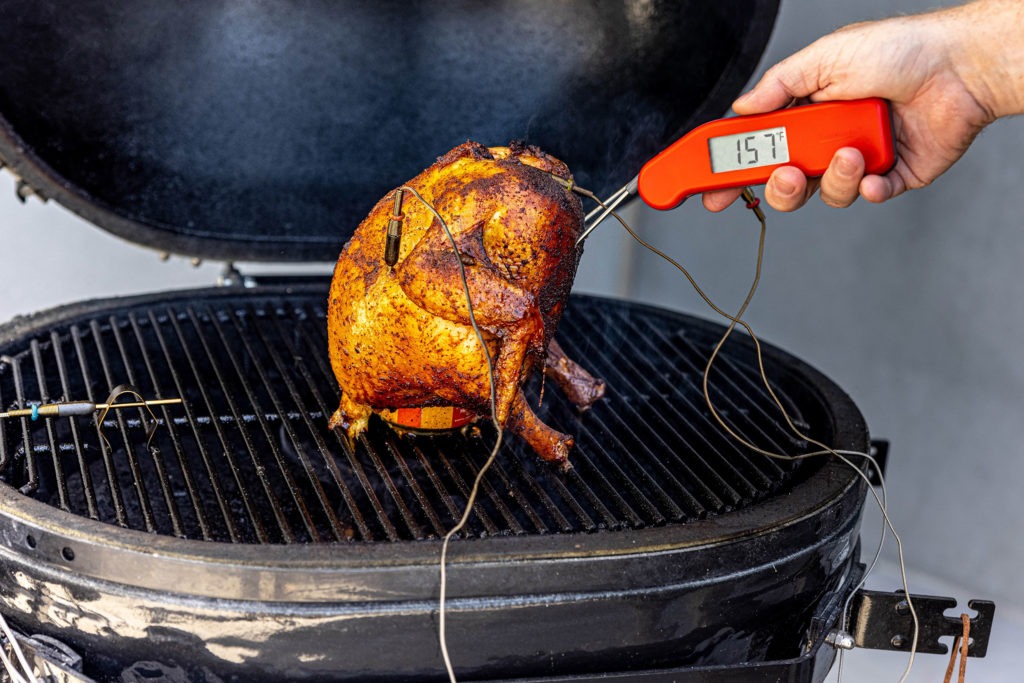
What is great here is that we did get the temperature differential that we wanted between the light and dark meat. I suspect that has something to do with the legs being closer to the heat source and free to rotate away from the body of the bird. I honestly didn’t expect the differential to come out quite so nicely, so that was a pleasant surprise.
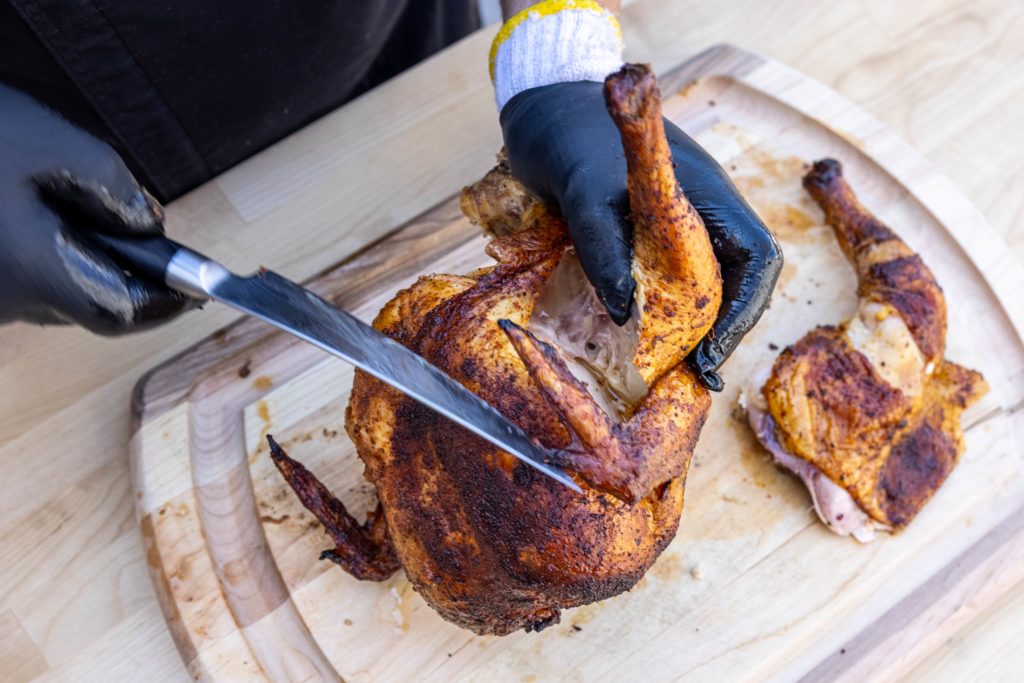
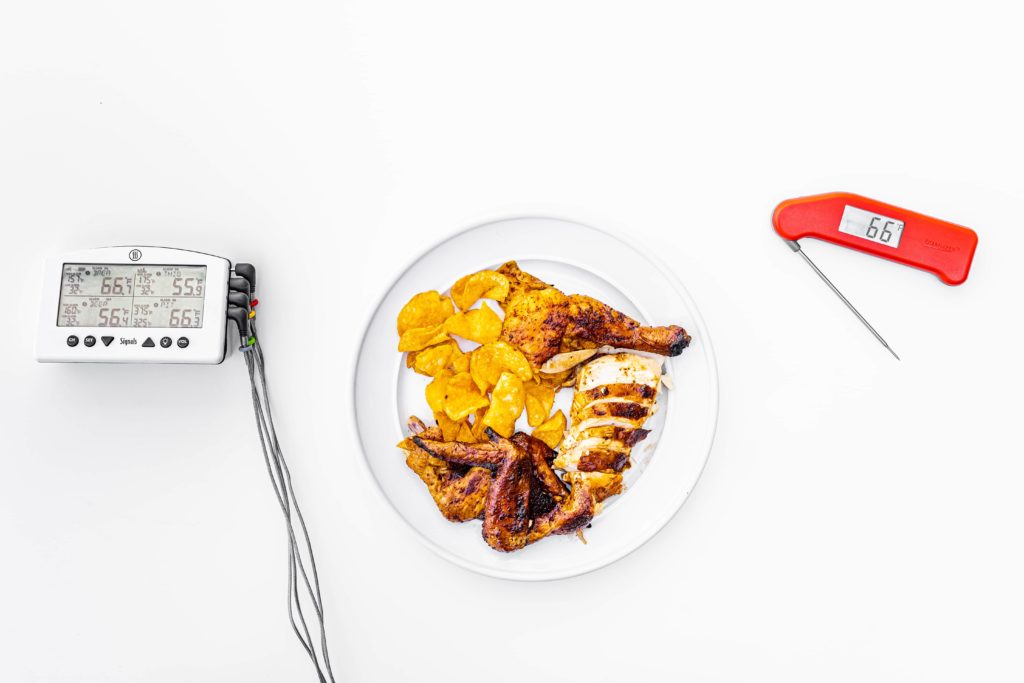
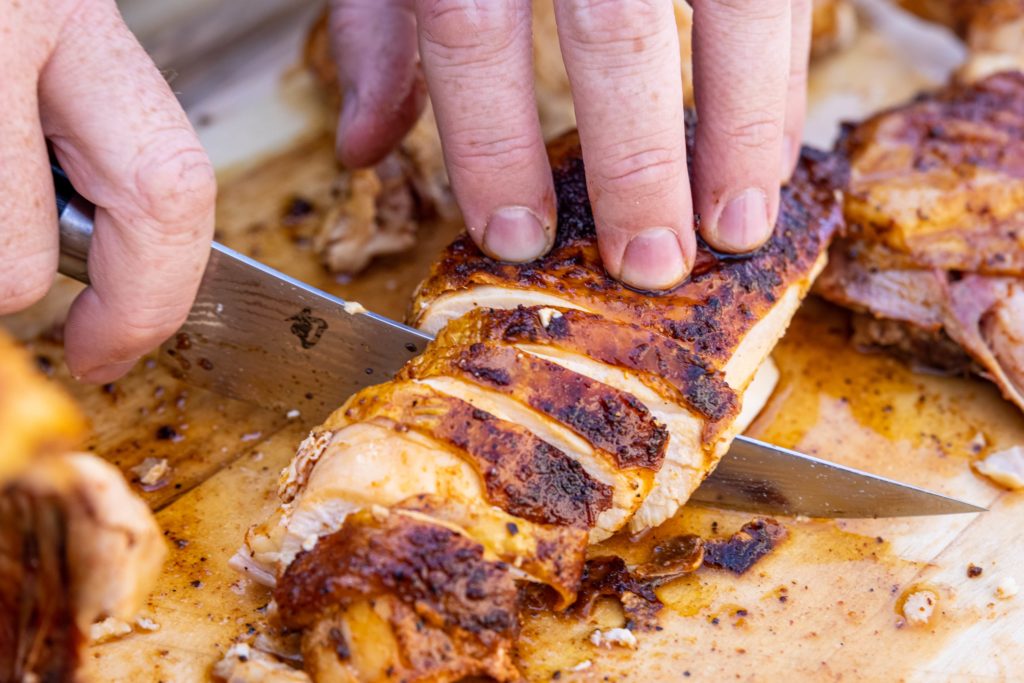
The leg, wing, and thigh meat of this bird were excellent. It was exceedingly tender and not at all gummy. The breast meat was a little dry in places, and I’d probably drop the internal temp to 155°F (68°C) were I to do this again. Overall, it was delicious but, as you’ll see below, we surmise it had less to do with the beer can and more with a well-seasoned chicken being cooked to proper temperatures.
What about the beer? Did it affect the chicken?
One of the reasons to do this cook is to get beer-infused chicken that is extra juicy from the liquid that is cooked off into it. Unfortunately, the data just doesn’t support that.
You see, the boiling point of pure ethanol (alcohol) is 173.1°F (78.4°C), and water boils at 212°F (100°C) (at our elevation, those numbers change to about 164°F (73°C) and 203°F (95°C)respectively.) But a combination of the two liquids will boil at a point between those temperatures. We used a beer that was 4.8% ABV, which has a boiling point 7.49°F (4.16°C) below the boiling point of pure water, so at our elevation, the boiling point of our beer was about 196°F (91°C). (And no, it isn’t the case that the alcohol in a water mixture will boil at its boiling point while the water stays put.) Since the temperature of our beer never rose above 178°F (81°C), none of it boiled off. Sure, there may have been a little vapor loss—as you might see in a pan when you’re bringing water up to a boil but haven’t gotten there yet—but it wasn’t much.
In fact, when we weighed the can of beer after taking it out of the chicken, its mass had increased to 211 grams. More chicken juices had dripped into the beer than beer evaporated out.
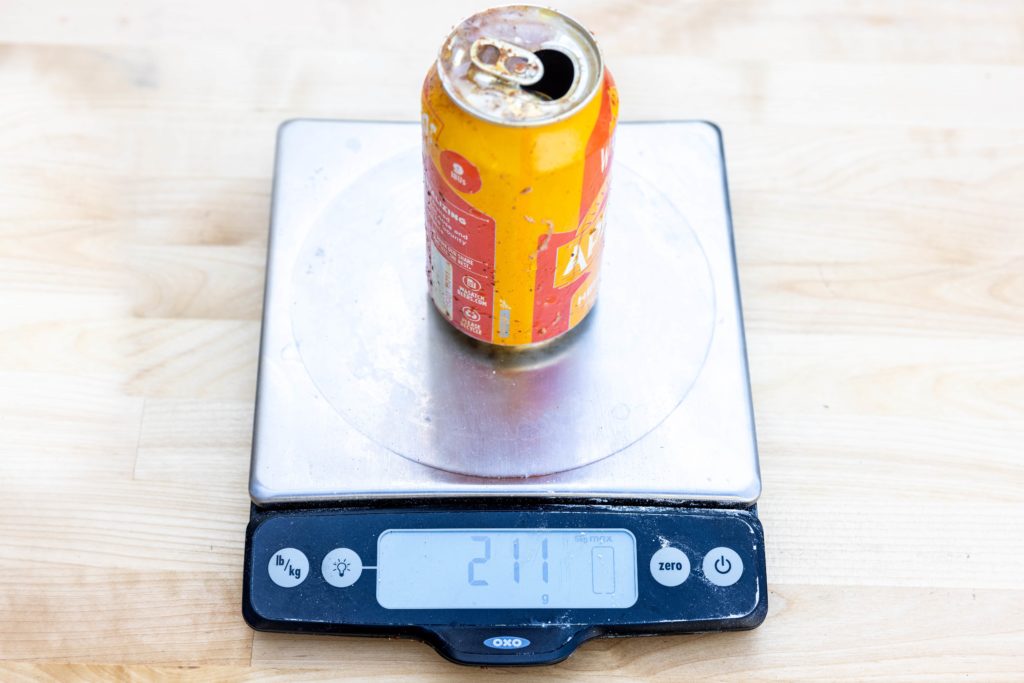
So, no, the beer isn’t evaporating to make your chicken juicier, and it isn’t “distilling” the flavors of the beer into your chicken. *Sigh.*
Conclusions
In the end, this was one tasty grill-roasted chicken. Was it any tastier than a standard grill roasted chicken? Not really, no. In fact, it’s much slower than a grilled spatchcocked chicken, and the spatchcocked chicken has skin that is more crisp.
That being said, this method is really no more difficult than roasting a chicken another way (and easier than spatchcocking a chicken), and the presentation really is fun.
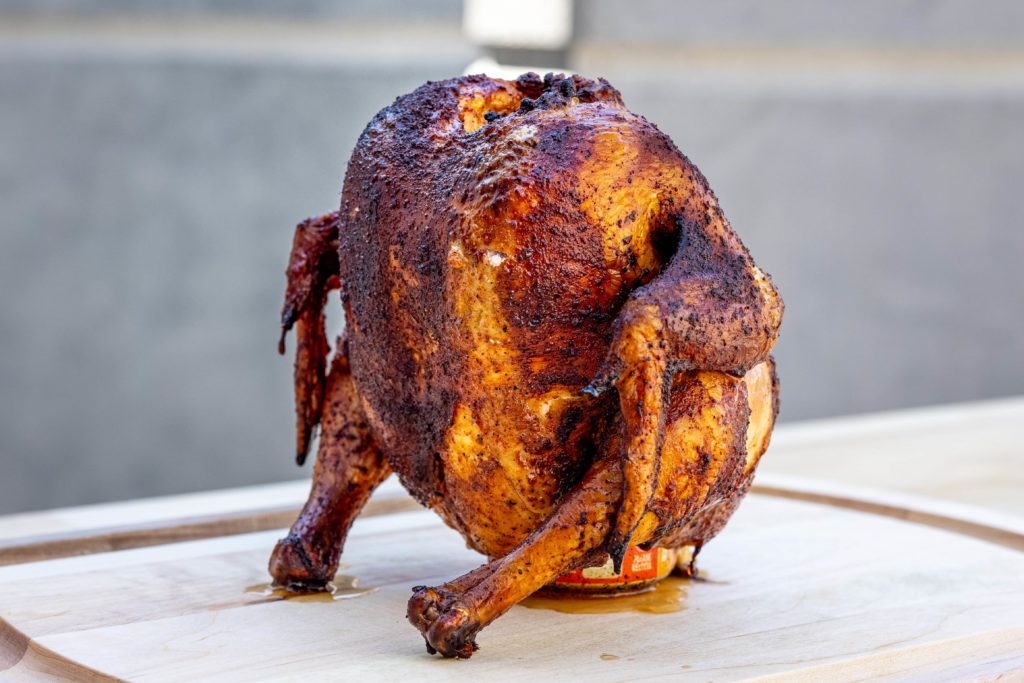
So I say if you like it, go for it—get out there and cook some good food! Your family will laugh as you bring the bird to table, still stuck on its can. And as long as you’re paying attention to critical temps and using your Signals or another leave-in probe thermometer to track them (and verify with a Thermapen), you’ll end up with good chicken every time. There’s nothing wrong with it, but you might want to save the beer for someone who will appreciate it more than the chicken will.
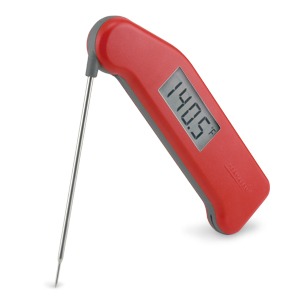
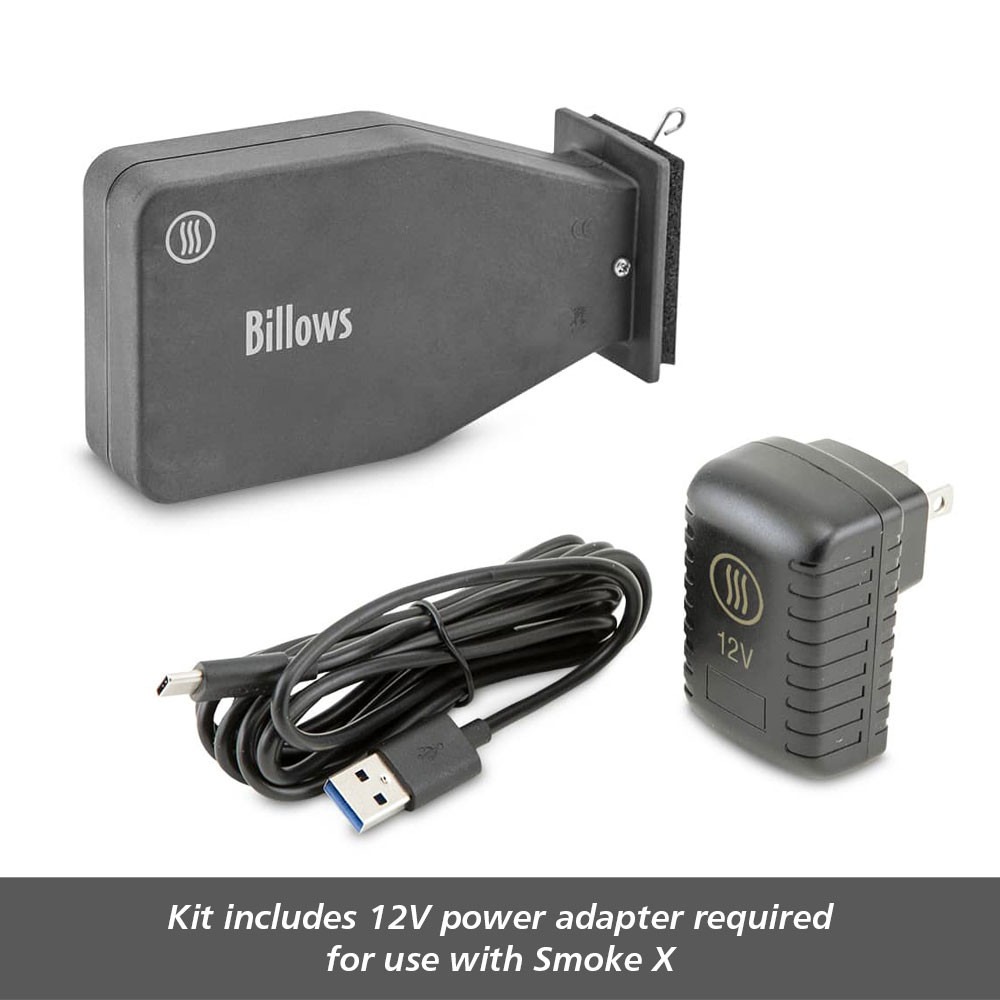
Shop now for products used in this post:


Great post, Chef Martin. I long suspected little or no evaporation of the beer, but I was surprised to see the can actually gained weight. So funny how that happens and how cooking myths start.
I use a vertical roasting stand by Norpro instead of a beer can. It provides additional stability for the chicken and is stainless steel so it’s fairly easy to clean. I also spatchcock chickens with great results. The differences are speed of cooking and speed of cleanup. The spatchcock method wins in both cases. To get the skin crispy with the vertical roaster, I turn up the heat to 400+ for the final 15 to 20 minutes. The chicken is good eating by both methods.
You are dead on. I prefer spatchcocking now, but I think I have the same stainless rack and it works great. Beer Can was a fad that never proved out
I used a Bunt cake pan, covered the center hole with foil and then placed the chicken over the hole–just like you would over a can of beer. The bunt cake pan caught the juice from the chicken, which was delicious because of the seasoning I used.
Great idea!
I’m going somewhat contrarian to Chef Martin here. I think there IS something to the “steaming” thesis. A 375F BCC cook of mine resulted in a definite water loss from the can, AND a measured liquid temperature of 203F.
I think if the bird and beer are not cold at the start, and especially if direct heat (with a drip pan) is used, 178F is unrealistically low.
I also think Chef Martin could have prevented drippings from entering the can, which error skewed the results and conclusion.
Very interesting
Please do more articles like this
Great post! Very good data and interesting point about the boiling point of the liquids. I how a different material container holding the liquid would effect the liquid temp, like the Traeger “Bird Throne” which is a ceramic beaker designed for beer can chicken! Being ceramic I bet that would effect the liquid temp. I have one and it works great!
we like the method because it is a convenient set and forget way of cooking. we use a lower fire, around 275*F. it is a more forgiving method if you are not quite ready to eat at the expected time of completion
I’ve made many beer can chickens. We love the flavor and how juicy they are. I’ve always wondered if the beer was doing anything and now I know. It’s not. I know the flavor is a mix of using a seasoning I buy from Cabela’s called Beer Can Chicken seasoning. And plenty of smoke! We also season it under the skin and throughout and put rosemary in the cavity. Any left overs I grind into a chicken spread using the skin as well. We love it all!
That ground chicken spread sounds delicious!
Beer can chicken is great. Very moist, made it many times. My company loved it also. Will keep this recipe always in mind, If having company unexpected it’s a fast meal to get ready. Believe me it’s great, and easy.
Using 22″ Weber Grill with coals banked on opposite
sides of small,disposable, aluminum pan,I place beer canned chicken on pan. Put lid on with all vents open. With legs closest to coal ,they hit prop temp very close to breast. ATK has Peruvian chicken recipe that is outstanding by this method.
Thank you for a wonderfully geeky piece about a now time-proven recipe. It was just well written and researched. One of the things I love about ThermoWorks, in addition to your products, is the information you create. One of the few cooking devices I recommend to friends without hesitation.
I’ve been making it for years on a Weber charcoal grill. Chicken size is a critical issue there. I think it comes out exactly the way I would like as long as you manage the heat correctly. And, of course, beer can size can impact the ability to use certain grills.
Then what if : you foiled around the bottom of the chicken and left the “can in the middle” exposed and cooked closer to direct heat so as to raise the temp of the beer in the can above 200 degrees for a substantial part of the cook. Any infusion then? Flavor difference. Just wondering if its an effort to try or give up on??
Thank you
I’ve been trying to think of ways to get this to work. Maybe heat the beer to near boiling before putting it in the chicken? Getting that flavor would be very nice.
The way to make it work, Chef, is to have the can stood off the bird’s cavity, to allow the liquid to simmer and steam throughout the cavity. Many of the purpose-built BCC rigs do this. I use the Napoleon infusion rig, which not only does this, but also prevents drippings from re-entering the can and cooling the liquid.
Easy to get the liquid over 200F this way
Good to know, I’ll have to try it some time.
If one doesn’t want the liquid in the Napoleon rig spread wide, there’s enough room inside the cone to stand a 12 oz beer can inside. This is what I did to replicate your article’s setup, so that the grill’s heat was only heating the bottom of the can. At a 375F air temp, it only takes 20 minutes to get water up to 200F and it tops out at about 206F.
Thanks for the interesting and thorough experiment & analysis. The conclusion would seem to be – it’s a waste of a half can of beer.
I agree, I only stock craft beers and couldn’t differentiate between beer can method and simply placing the chicken breast up on the grill so I was always saying to myself that half pint better be worth it. I’m happy now to know I can enjoy the entire pint with a clear conscience while my chicken cooks
I do beer can chickens all the time and agree the beer does add not add flavor.
However there are two main reasons to do them.
First the mess stays in a foil pan if you place the beer can in a pie plate.
Second, they are almost impossible to really overcook and the upright position does keep most of the meat moist.
Thus I do them when we have a bunch of people and you are busy enough doing other things that you can not watch them every second.
Getting them right even without a probe is fairly easy.
Roasting a chicken on a beer can is my favourite method of roasting perfectly cooked chicken. I have found the liquid in the can really doesn’t matter that much as far as the taste of the bird goes. One of the big problems that I had cooking chicken of the BBQ is the flare-ups. If you are not sitting right beside the BBQ during the cooking process, one flare up and you have blacken chicken. In beer can chicken, is just light the two outside burners on high (we have a 4 burner grill), put the chicken in the center, add some apple or cherry wood chucks on the two outside burners (if you want a slightly smoked flavor), close the lid and come back 60 minutes later. That’s it. No monitoring needed. The chicken is done perfectly every time.
Interesting article, thanks.
I’ve been BCCing for some 20 years? Seems like it. I’ve also experimented with using the wire birdcage to support the chicken and “in my experience, the beer can does help to moisten the chicken from within.
Some thoughts and extra bits of info:
1) the original rules said to pour out half the can. That’s not enough because you do not want to the beer level to be higher than the level of the chicken meat. Since the beer does not get very hot, it will prevent the meat from getting properly cooked. So, about 1/4 full is fine.
2) the physics of evaporation are not being taken into consideration in your article. Yes, the maximum about of vapor release will happen at boiling but evaporation occurs all the time and at any temperature above freezing, the evaporation rate goes up as long as the humidity in that environment is less than the evaporation rate. Consider: at any given temperature and humidity, at some point the condensation and evaporation are equal. As the temperature goes up, more evaporation is occurring than condensation assuming the humidity stays the same. If your pit is 309°, there’s evaporation from that can. The fact that it weighed more at the end than at the beginning was the extra juices from the chicken increasing the contents.
I can say that after the cooking is over, as I cut into the breast meat, I always have extra juices pouring out. The next day, not so much but it never is no matter how it was cooked.
Things that can cause things to vary include how hot the pit was, how long any given ramp up in temperature is, the size of the chicken*, the original temperature of the chicken when placed in the BBQ.
Lastly, I noticed that you did not lock your chicken wings to the body (in the “hand’s behind your head — you’re arrested!”) pose. We’ve found it does a world of good to keep the wings juicier than if left stuck out as in your photo.
*Don’t know where you folks are located but in southern California, it’s almost impossible to find a chicken in the store under 5 lbs. That also might make a difference.
Gary,
Thanks for writing in! I think you’re right about the 1/4-full can—it could help.
A for the evaporation question, I think I’d disagree, to some extent. Yes, you get more evaporation the higher the temp is, but if you create an environment that is saturated, there will be no evaporation! The humidity inside a hot chicken cavity is quite close to 100%, so there isn’t a lot of evaporation going on. Yes, the extra weight was definitely due to the chicken drippings getting into the beer, but I don’t think much actual beer left the can.
That being said, yes, you can absolutely cook a very juicy bird this way! But I have serious doubts it’s because of liquid transference from the beer vapor to the chicken.
Oh, and even here in Utah most chickens are closer to 5 lb.
Happy cooking!
Hi. Thank you so much for doing this excellent experiment. I have also used this method with a Weber charcoal grill using their product in place of the beer can with beer placed in the chicken holder. I also found (to my dismay) that all the beer was still in the holder cup when the bird was removed from the grill. I also tried the same thing using balsamic vinegar in place of the beer. The bird came out with a brown appearance that permeated the meat. My wife did not appreciate the taste so I never did it again !! Just so you know, salmonella requires 165 degrees for 30 seconds to be killed. Recommending cooking poultry to a lower temperature is a very bad idea.
In all, this is a tough and messy way to cook a chicken. You really have to want to do it this way. Instead, I recommend cooking it in a clay pot in your oven.
Regards and thanks again for your excellent work.
Bruce,
Thanks for writing in!. The vinegar sounds interesting if not very strange. The lower temp, though, is justified! Salmonella dies at 165°F in less than 10 seconds. At 157°F it takes 34 for it to die off, according to the USDA. We take a look at our post on chicken temps for more info!
I have roasting pan that will hold 2 chickens that way. I used it once, because I much prefer chicken done on a rotisserie.
Interesting article for sure. But I thought the point of the beer can was help cook the meat more evenly inside the bird. Is there no truth to that?
Eric,
Even if that were the case, I don’t think the can is helping anything. The can blocks hot air from getting into the cavity, which would help cook the breasts from the inside. Instead, most of the heat has to come from the outside, which can overcook the outer layers before the inner ones get up to temp.
Really enjoyed this gonna share it with my buds.
I’ve been doing chicken this way for nearly 20 years – and it my family’s absolute favorite. I cook on a 22 inch Weber – indirect heat, and use my best cooking tool – the thermometer – to tell me when it is done. Your pictures look like mine. This is just a great way to cook chicken and present to your guests!
Okay, I can now cross BCC off my list of recipes to try. Really enjoy your sciencey posts and the recipes you share!
This is wrong. Theres a more advanced more modern technique that incorporates the beercan, in a sort of redneck souv vert. First you open the beer. Then you pour it in a glass. Take a beer can and cut it in half longways turn can on its side on the face of the grill, kinda like a troth. Then you pour some beer back in the half-can. ( along with seasonings) Then, you take a well seasoned spatchcock chicken and place it over the top of the half can troth filled with beer and seasonings. Then you take a deep disposable aluminum baking cake pan and put it over the top of that. Then you take a glass pot lid over the top to keep it snug. Then you wait about an hour and a half. Then you take it out. Then you put slap it on the hot part of the grill and do a reverse sear.
I’d like to see you try to debunk that method Mr “thermo-blog. GUARANTEED beer infusion as the bird steam in beer and alcohols are trapped and carmalized beneath the cake pan.
The redneck sout vert reverse sear halfcan beercan chicken. Unbeatable. Undebunkable.
Luke,
I had never heard of that method, and it certainly sounds like it has more potential for beer-infusion. We just wanted to check the classic, original version of this cook. I will have to try your version on my own at least, though!
Brine the chicken the night before in a ziplock bag in the fridge. Guaranteed to be juicy, even if you overshoot your breast temps a bit.
Brining overnight can do a lot to overcome dryness, it is true. Good call.
I have been using the Williams Sonoma beer can set up for about 15 years. I don’t think they sell it anymore, It’s consists of a stainless steel cup that holds about 10 ounces of liquid, twisted on an off a perforated stainless steel oval tray, so the legs can be easily supported and heat can flow up from a grill.
I don’t use beer, just water. It doesn’t matter what liquid you use, you will never taste it the essence of beer, wine, vinegar, whisky, etc. I have tried them all. Maybe a hint at the top of the neck cavity but whatever spices I use overwhelm it. If you put a lot of rosemary in the can you can detect rosemary in the meat, but limited to the breast section by the neck cavity, mostly interior, it doesn’t permeate throughout the chicken.
The key to cooking fast and having a juicy unbrined chicken is
1. Heat the water or whatever liquid you use to boiling in a microwave and pour it into the “can” right before you mount the chicken and put it on the grill. The can will then provide conductive heat to the inside of the chicken so it cooks a lot quicker and you don’t have to worry about not getting to temp. If you use cold or room temperature water it takes too much time and energy within a 1 hour time frame to bring the liquid to >165F while inside of a cold chicken.
You cannot rely on the “steam” from traditional beer can cooking because it either never gets hot enough or takes too long so that when steam is finally produced it goes up through the neck cavity so that heat transfer occurs to only the top 1/3-1/4 of the chicken.
If you start with really hot water the conductive heat from the hot liquid to the metal to the inside of the chicken is what allows more even and quicker cooking. I also put a pan underneath the grate so it doesn’t flame up. I usually use a gas grill but have used a Weber charcoal grill as well.
2. Fold back the wings, rub in oil or butter and wrap in foil with the reflective part facing outwards.
I cook a 4 – 5 lb chicken at 400-425 in a gas grill, rotating every 15 minutes and can finish in about 1 hour! With crispy skin to die for.
This not comparable to spatchcocking, which is really just grilled chicken. This is truly roasted chicken with crispiest skin possible.
I basically agree with the idea of beer can chicken being about the position of the chicken not the beer. In your conclusion you state that “more chicken juice entered the can then evaporated out”. You cannot make that conclusion. What if the beer evaporation was 100 grams and the chicken fat increase was 111, you would get the same final weight.
Fait call! I didn’t consider that.
I tried this last night – I should have read this post and the comments first. The breast meat came out juicy but didn’t have much flavor. The thighs were a little undercooked in places, the temperature was 168 but I should have checked more spots. Not sure I will do this again, I might try the spatchcocked method next time. Do you have a good recipe?
Spatchcocking is a fantastic way to go! Check out this post for a good recipe: https://blog.thermoworks.com/grilled-whole-chicken-butterfly-for-success-2/