Sous Vide Grilled Tri-Tip: Achieving Perfection Through Thermal Thinking
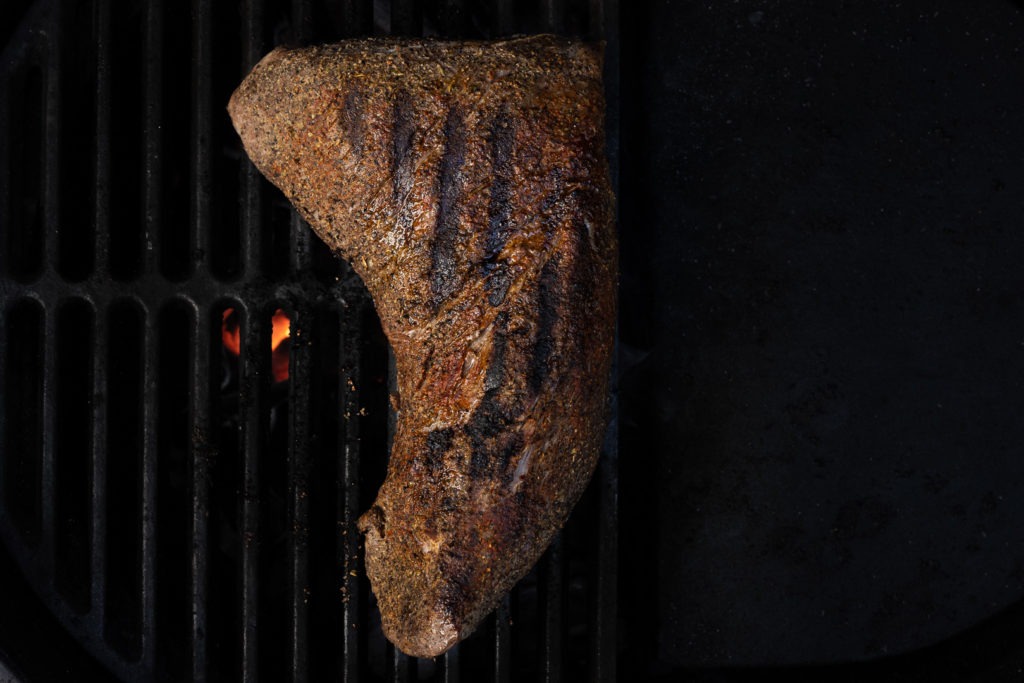
Perfect tri-tip steak is a pure carnivorous joy. Tri-tip is such a lovely piece of meat. Uninterrupted by fat seams or gristly bits, it’s just one wide, thick swath of beefy goodness, made all the better with a good sear on a hot grill. But the geometry of tri-tip can get in the way of that enjoyment: the parts of the tri-tip where it narrows towards the edges and points tend to get overcooked on the grill.
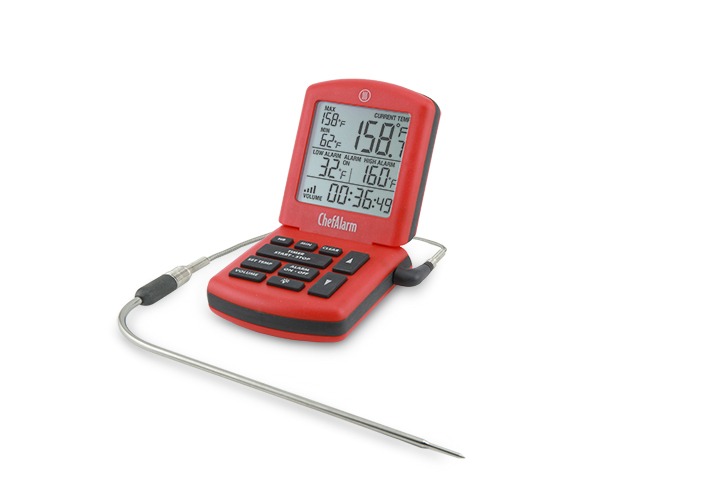
In this post, we’ll discuss one way of getting a perfect, edge-to-edge-pink tri-tip by employing some thermal thinking and a sous vide bath, following the advice found on JustOneCookbook.com. Get your ChefAlarm® out and your grill warmed up, this is going to be good.
Sous vide tri-tip: advantages
Cooking a tri-tip by sous vide is a fantastic way to get a just-right result. Sous vide circulators are great at maintaining a given temperature, allowing your food to cook right up to your preferred doneness without the chance of overcooking. Their true advantage over other methods is twofold: they cook almost without gradients and they cook via conduction, not convection.
First, the tight accuracy of the sous vide bath means that if you leave, say, a piece of vacuum-sealed steak in the bath that is running at 127°F (53°C) for a long enough time, then the whole steak will come to thermal equilibrium with the surrounding water—it will be 127°F (53°C) all the way through. There will be no grey band at the surface, there will be no colder-in-the-center surprises. That kind of gradient-free cooking is just not achievable on a hot grill by itself.
Second, the water bath is a faster, more efficient way of cooking than air. Water can hold far more heat than air can (it has a higher heat capacity) and the direct contact afforded by submersion means that the water can transfer that thermal energy far more efficiently than air can. Even though we’re only cooking the meat at 135°F (57°C), we get to a doneness temperature as fast or faster than we would in, say, a hot oven.
Sous vide warnings and disadvantages
One thing to be aware of when cooking sous vide is that we can properly cook something at temperatures that are actually in the temperature danger zone. Some people think that you can toss a steak in the sous vide and leave it there for seven hours, but if you’re cooking it to rare or medium-rare, you’re cooking in the TDZ, and you’re staying there for way, way too long. This is one reason why we need thermometers in sous vide cooking. Once our meat reaches our desired temperature, we should take it out and finish it/serve it.
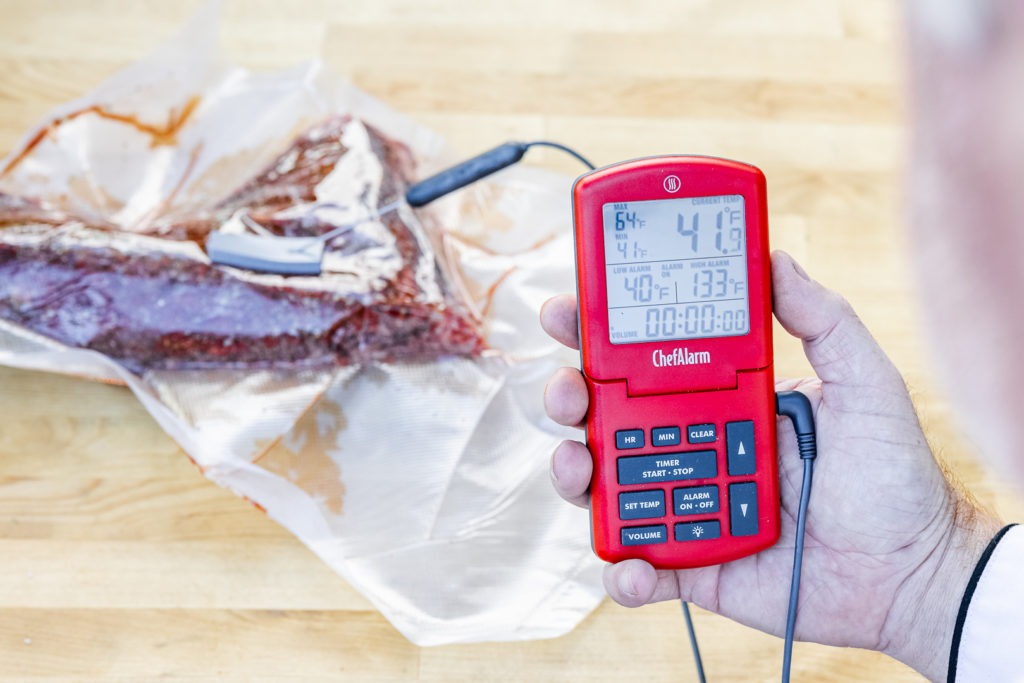
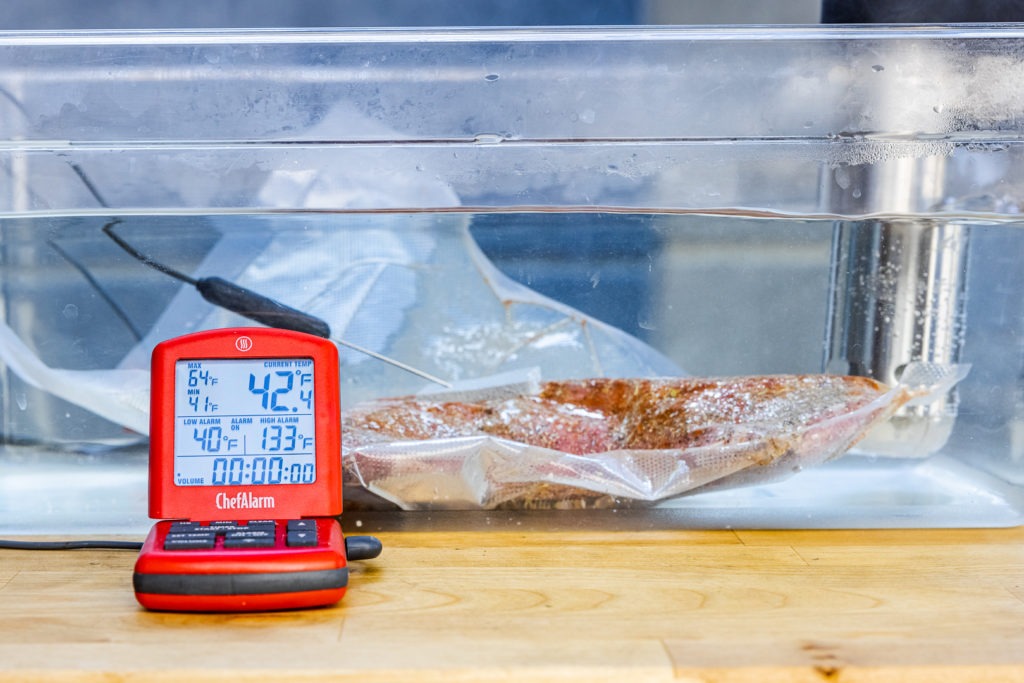
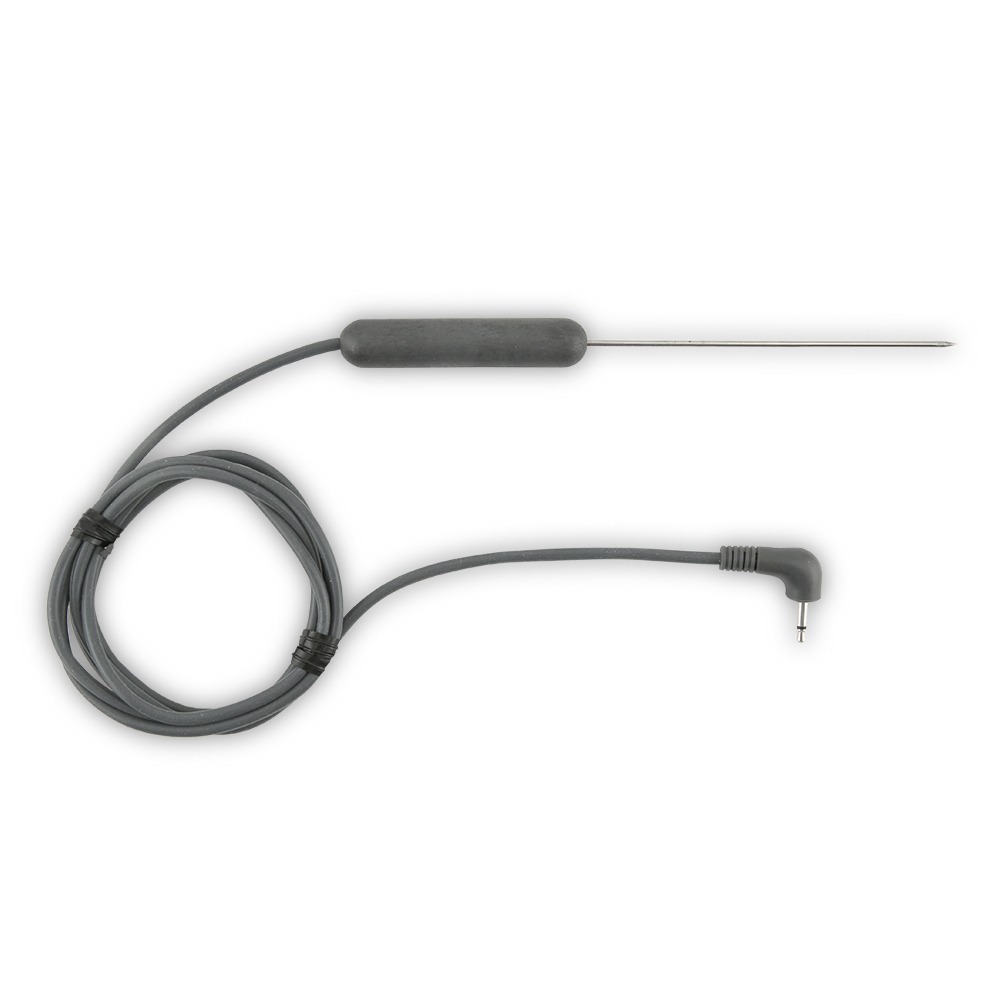
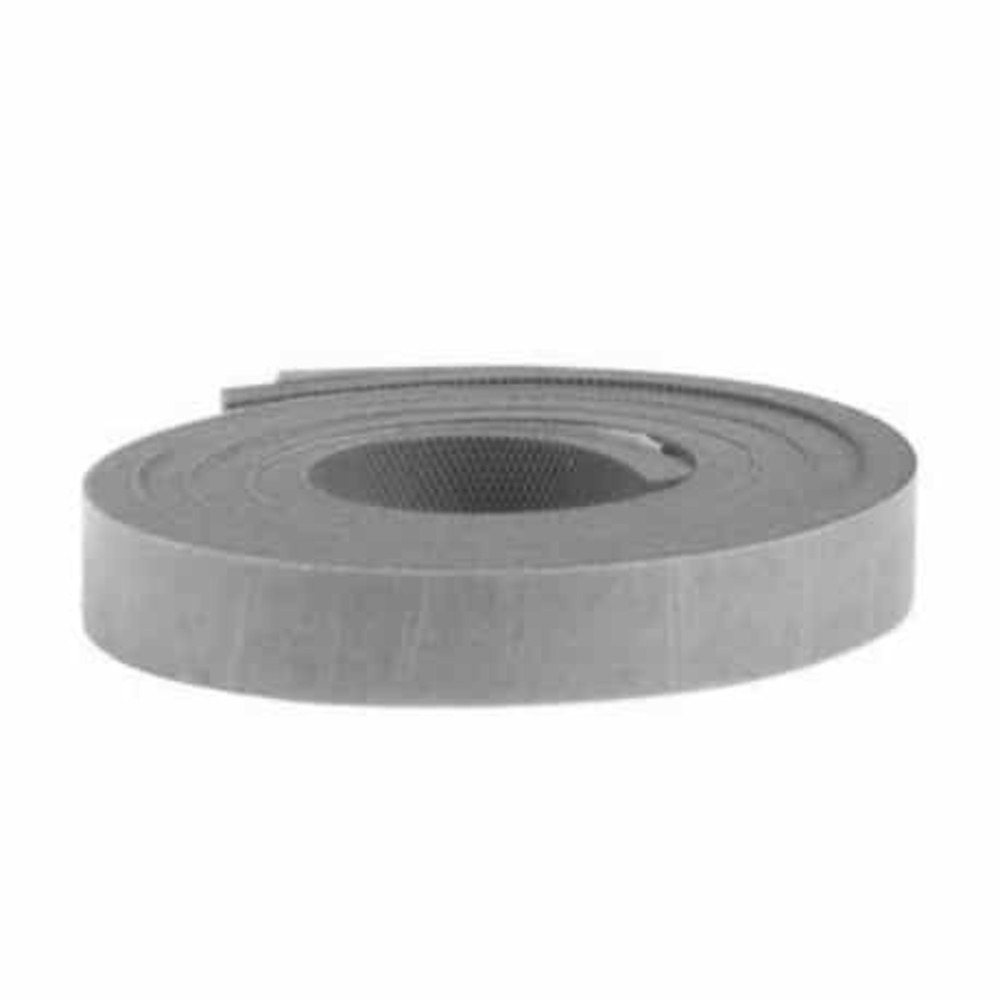
But even beyond safety concerns, it is important to use a thermometer for quality purposes. There are enzymes in meat that can stay active at sous-vide temperatures, and those can break down the meat in ways that are not delicious. How so? Let’s just say that there is a difference between tender and pasty. Using a ChefAlarm with the Pro-series® Waterproof Needle Probe to track the internal temp of your meat during sous vide cooking will give you great results every time. (You’ll also want to pick up some sous vide tape to keep things from leaking around that probe.)
Of course, the one disadvantage of sous vide cooking is that there is no Maillard browning—and hence, no roasted, seared meat flavors. That is why the grilling portion of this method is so important. But won’t grilling undo all the no-gradient work we’ve just done? Let’s take a look.
Chill out for perfect doneness
If we want the delicious flavor of the seared crust but we want to keep our tri-tip pink from edge to edge, we need to chill out. Or rather, we need our roast to chill out.
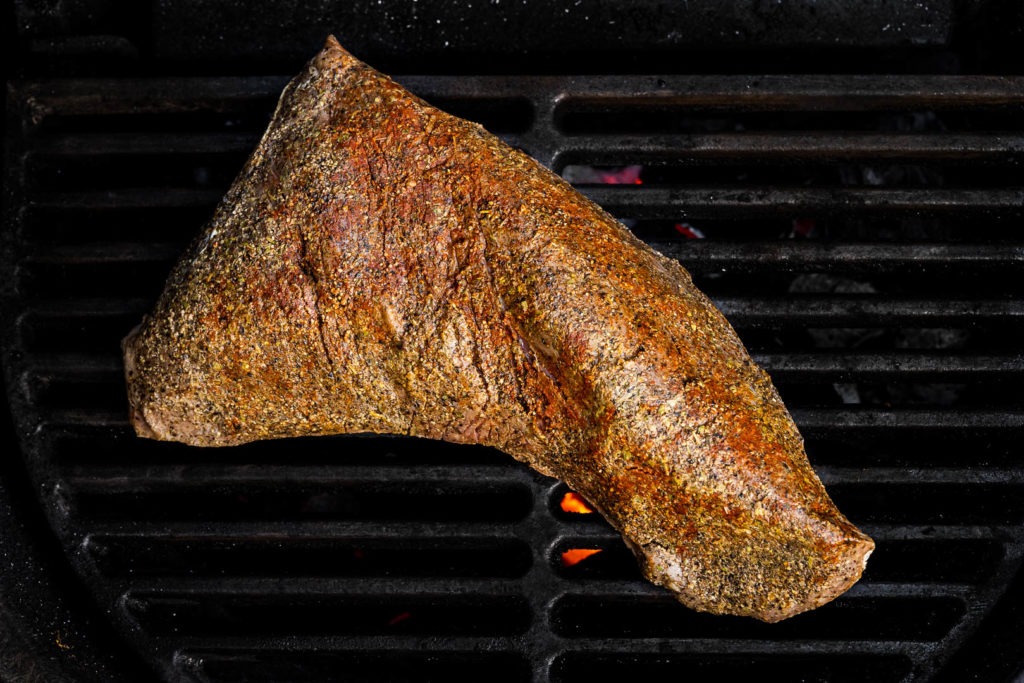
Once the meat is taken from the water bath, we don’t go straight to the grill. Instead, we take a pause at an ice bath. By dunking our (still-in-a-bag) meat in a large bowl full of ice and cold water for a minute or two, we chill the outside of the meat down very quickly, creating a thermal barrier that the grill-heat will have a hard time penetrating. If our grill is nice and hot, we’ll get browning on the very surface, where the grill grates and flames make contact. But, because the meat is sufficiently cold near the surface, there will be almost no greying inside the meat—not even in the thinner, more pointed parts that usually overcook.
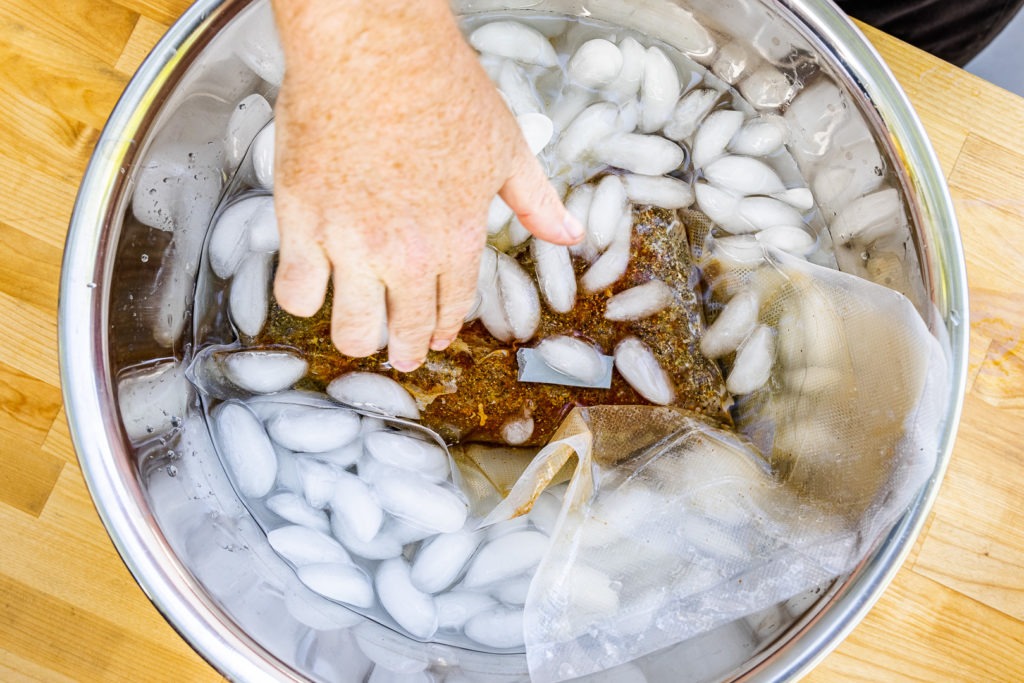
For tri-tip roast, I look for medium-rare doneness, 130–135°F (54–57°C), so I set my circulator to 135°F (57°C). I set my thermometer to 133°F (56°C)—there is no carryover when we cook sous vide. When my ChefAlarm sounded, I pulled the meat from the hot water and dunked it in an ice bath for two minutes, slit the bag open, removed the meat, and tossed it right on a hot grill. I gave it about 1–2 minutes per side, including along its thicker edge, then took it to the cutting board.
No rest period was necessary because there were no gradients through the meat, and thus no equilibrium needed to be reached. We sliced in, and the meat was beautiful! It was juicy, it was tender, and the seasoning had good penetration. An absolute win.
How long does cooking a sous vide tri-tip take?
As I said above, it doesn’t take long to cook a tri-tip sous vide, but how long should one plan for the cook? According to Immersed: the Definitive Guide to Sous Vide Cooking by Phillip Preston (one of the true authorities on the subject), two-inch-thick tri-tip that needs to go from 40°F (4°C) to 133°F (56°C) will take about 86 minutes. That’s not bad, especially considering how evenly it will be cooked!
This method for grilled sous vide tri-tip produces amazing results every time. You can season it however you want, with a rub or just with salt and pepper—it’s the thermal concepts that are important here. Set your sous vide circulator to 2°F (1°C) above your target temp, put a ChefAlarm probe in your meat, and pull it when it gets where you want it to be. Chill it, grill it, and dig right in. If you like tri-tip, you’re going to love this preparation! It’s easy, it’s fun, and it’s perfect. I hope you give it a go.
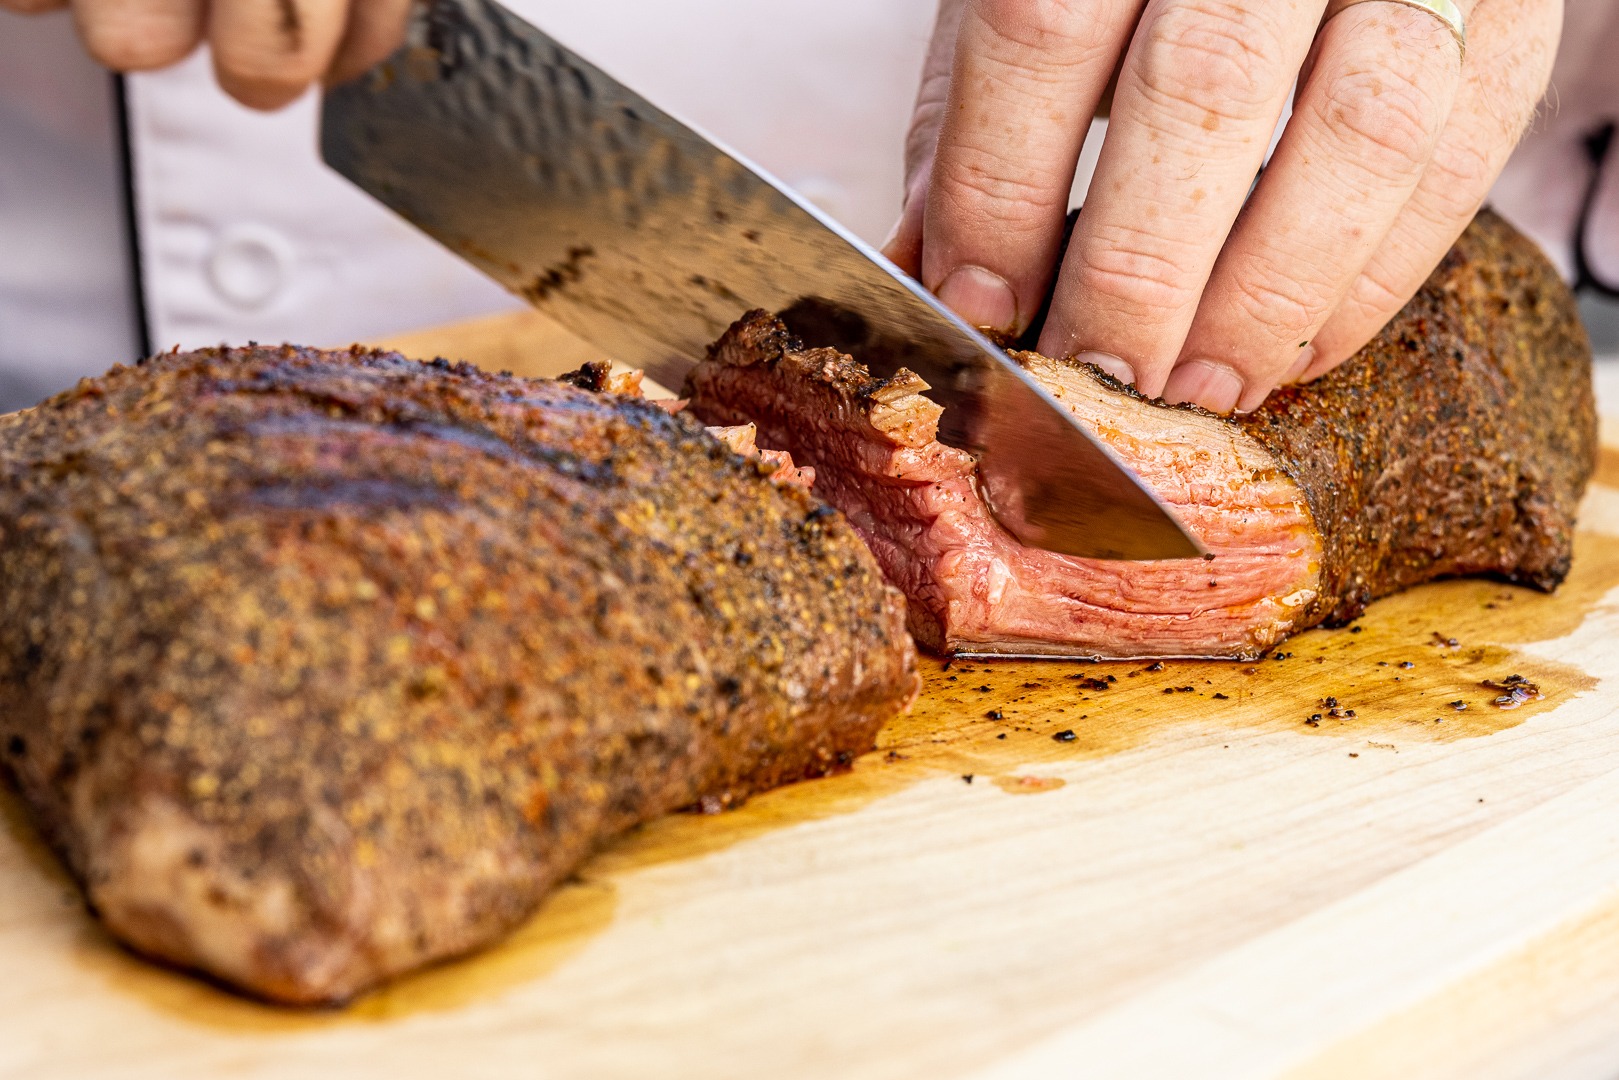
(Oh, and once it’s perfectly cooked, you will need to slice it the right way to ensure tenderness. Check out this piece about slicing tri-tip for a quick tutorial.)
Print
Grilled Sous Vide Tri-Tip Recipe
Description
A procedure for sous-vide tri-tip that is then grilled for maximization of both flavor and perfect doneness. Following the advice of JustOneCookbook.
Ingredients
- 1 tri-tip roast
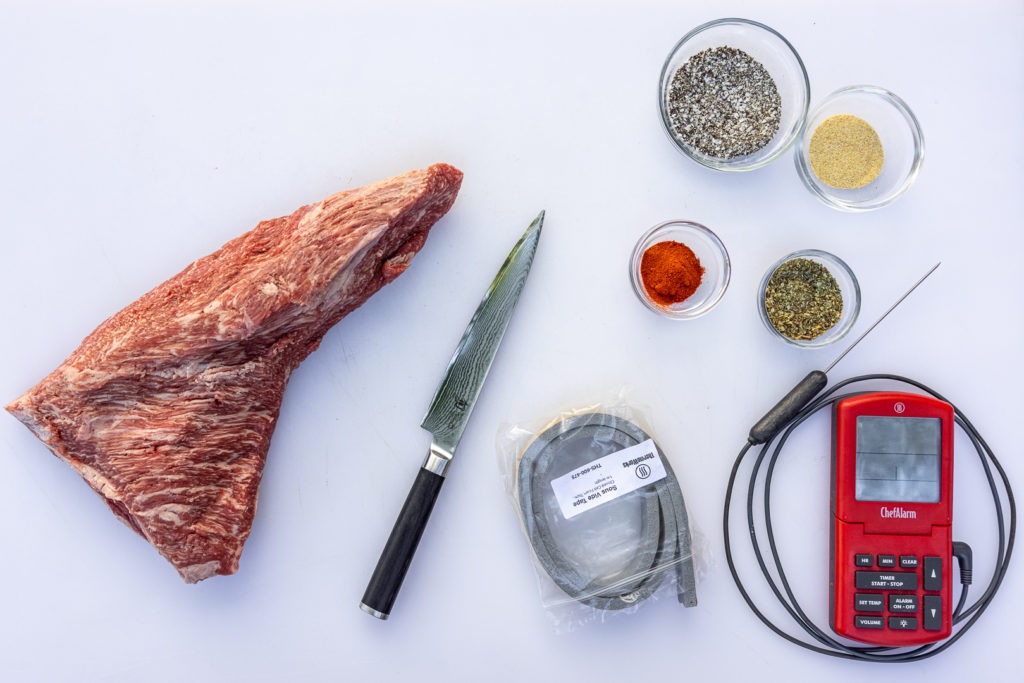
- Seasonings of your choice (we used salt, black pepper, granulated garlic, dried oregano, paprika, and cayenne)
- Ice for an ice bath
Special equipment: immersion circulator
Instructions
- Set up your immersion circulator and begin heating the water to a temperature that is 2°F (1°C) higher than your preferred doneness temperature. 135°F (57°C) is a great water temp for medium-rare meat.
- Season your tri-tip generously.
- Place the tri-tip in a vacuum-sealing bag and seal it up. (If you don’t have a vacuum sealer, see the note, below.)
- Apply a piece of sous vide foam tape over the thickest part of the roast and insert a Waterproof Needle Probe through it and into the deepest part of the meat. Place the sealed meat in your sous vide bath.
- Attach the probe to a Chef Alarm and set the high-temp alarm for your desired doneness temp. 133°F (56°C) is a great level for medium-rare.
- While the meat cooks in the bath, preheat your grill for direct-heat cooking. Also prepare your ice bath by filling a large bowl with ice, then filling up to the level of the ice with cold water.
- When the high-temp alarm sounds on your ChefAlarm, remove the meat from the sous vide bath and place it in the ice bath for two minutes, agitating it from time to time.
- Remove the meat from the vacuum bag and place the meat on the hot grill.
- Sear each side for 1–2 minutes, until good grill marks form.
- Remove the tri-tip from heat. Slice it and serve!
Notes
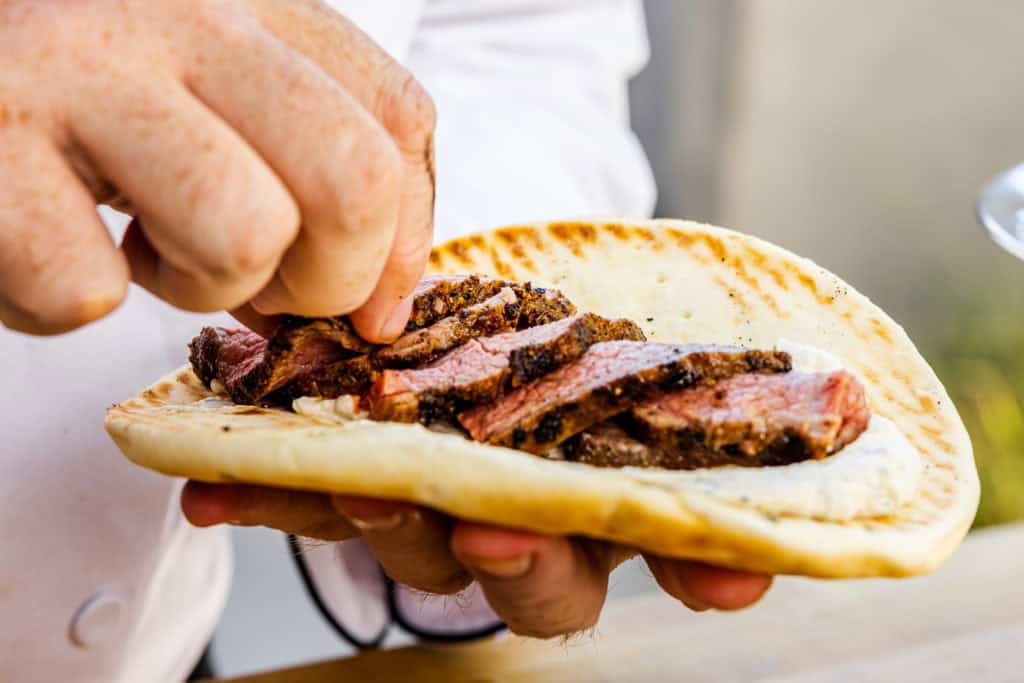
This method will work with any seasoning palate you like. We happened to go with something a little bit Mediterranean and made some delicious beef pitas out of it, following the same sauce and topping ideas that we used in our chicken shawarma post.
If you don’t have a vacuum sealer, you can put your tri-tip in a large freezer bag, squeeze most of the air out, and submerge it in the water. All the air will be pushed to one part of the bag and you can let it out there. Or you can hang a freezer bag from the side of your vessel using an office clip—no vacuum necessary.



I’m not sure that I agree with the statement about meat being in the danger zone too long. Check out the science at https://douglasbaldwin.com There are charts that show how long meats of various thickness and temps have to remain in the water bath to achieve pasteurization. For example, if you souse vide a piece of chicken just long enough to reach 142 degrees, it would be dangerous. However, given enough time at that temp, it becomes safe and tender.
Google 30 hour eye of the round (30 hours at 131). I’ve done this with tri-tip as well. Extremely tender! When going with this low of water te, some feel better if they sear it first to kill off any surface bacteria.
This is how I cook all my tri-tips. It turns out perfect everytime. I have never done the ice bath though, good call on that. I will have to try it. Thanks fo rthe article.
Tri-tip is amazing sous vide, but cooking it for only an hour is missing the point of SV.
Tri-tip (and most other cuts from the sirloin) is WAAAAAAAAAY better after a 6+ hours in the bath.
Also, tri-tip is three separate muscles and the grain direction flips 90° in the middle. If you just slice it through, some of it will be tough. You need to separate the muscles and slice each one across its grain.
“As the cooking temperature increases from 120°F to 150°F (50°C to 65°C), Vaudagna et al. (2002) found that cooking weight loss increased and shear force decreased. They also found that holding the beef in the water bath for 90–360 minutes did not have a significant effect on the cooking weight or the shear force.”—DouglasBaldwin.com/Sous-Vide.html
Booo! why not just cook a tri-tip on the grate as it is meant to be cooked? it is a roast, after all and fairly forgiving if you have a reasonable fire. Of course it can be difficult to buy a tri-tip with the proper fat cap at the grocery without asking your butcher to stop ruining the roast before you have a chance to buy it. Easy fix, befriend your store’s butcher and tell him you want an untrimmed (or minimally trimmed tri-tip with a 1/4″ of fat cap on it). Then, rub or marinate (or just S&P) and grill that bugger over a slow smokey fire, rest, slice and enjoy.
Temperature IS everything but sous vide tri-tip? i am depressed. I want to say “lame” but i expect I will never win a new thermapen if I say so and my olde thermapen 5 is getting long in the tooth (and the 12V battery is getting harder to find).
Chuck,
Don’t worry! Negative comments don’t decrease your chances of winning a Thermapen!
Why set the temp of the water different from the pull temp of the meat? The great thing about sous vide cooking is the ability to set the temp of the water to the finish temp of the meat.
I agree with setting the temp at 135° and leaving the meat in that water bath for 2 + hours—depending on the thickness of the meat at the thickest part—chilling in an ice bath for several minutes and finishing on the hottest grill you can manage for only long enough to sear the meat. Another good sous-vide benefit is the lack of precise pull times, the meat cannot get hotter than the water bath in which it cooks. You can control the timing to assure your guests are served perfectly cooked, hot food when you are ready.
https://www.douglasbaldwin.com/sous-vide.html “A Practical Guide to Sous-vide cooking” is considered the authority on sous-vide cooking. Reference Baldwin for the methodology to assure safe and tasty sous-vide results.
Rick,
Douglas Baldwin’s site itself gives estimated times for pull thems that are 1°F below the set water temp (table 2.2) and says “You can decrease the time by about 13% if you only want to heat the meat to within 2°F (1°C) of the water bath’s temperature.” And, as commenter GrillGirl2020 noted, his website also tells us that for tender cuts, like tri-tip, there is no significant decrease in shear force (increase in tenderness) for longer cooking times. So why not shave off 13% of the cook time if it’s not going to make it more tender anyhow?
That being said, it really is, as you say, a fantastic way to cook meat and have it at the ready for when guests arrive. Sear it up and serve it fresh!
With my ThermoWorks Smoke, I grill my 1 3/4” Filets at 225 F indirect to an internal of 126 F (confirm with my MK4)then I sear them at 650 F (confirm with my TW Industrial Infrared) for 45 seconds a side. No blood, no brown, no temp or doneness gradients. Why are you recommending a water temp 2 F over finishing temp? Get it done quicker? How about +10 F ? +20? Also where does the tenderness go if you don’t slice it immediately? Can’t wait to try out your recipe. Thanks
Pistol,
yes, we set it higher by 2°F to get it to our target doneness more quickly. If you want to set it 10°F+ higher, you can, and it will speed up, but you’re risking more temperature gradients there. The center will be, say, 133°F but the exterior will definitely be 143°F.
Good question about the tenderness. If you leave it in the bath for longer, the tenderness will stay the same (on tender cuts like this. Chewy cuts like short rib get more tender if left in the bath). If you take it out, sear it and let it sit, it will start to cool and seize and toughen. I wouldn’t grill it until right before serving.
I hope that helps!
I use this same approach using my smoker (low and slow) instead of a sous vide and it comes out fantastic. That hint of smoked wood imparted before searing on the grill makes a huge difference.
Hi Arik,
Would you share your method for a tri tip. I love them but have not tried smoking them. And I smoke a lot. Mostly spare ribs. Weight approx, time and temp if you will.
Thanks in advance,
Roger