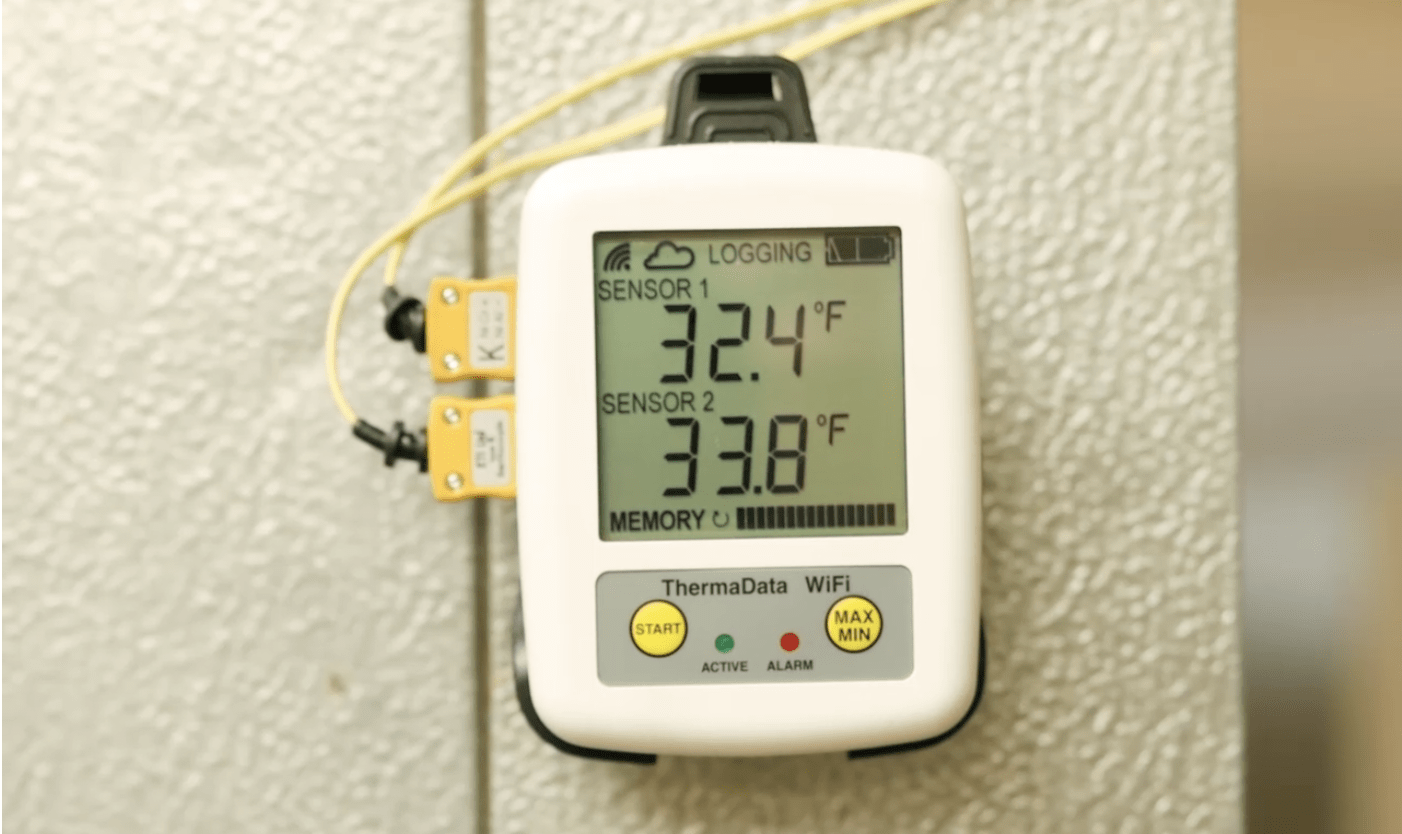
Setting Up Your ThermaData WiFi
Some in Food Service worry that installing a Wi-Fi-enabled data logger in their cooler or freezer is too complicated. Here’s a step-by-step guide to properly setting up your ThermoWorks ThermaData® WiFi Restaurant Walk-in Kit to prove how easy it really is…
Step 1:
Open the provided glycol thermal buffer bottle. Remove the foil seal and insert the provided plastic septum into the top. Replace the lid and slide the bottle into the bottle wall-mounting bracket for later.
Step 2:
Remove your ThermaData WiFi data logger from the box. Use a small flathead screwdriver to unscrew the battery compartment cover on the back of the instrument. Remove the cover. Properly insert the provided AA-size batteries, paying attention to the battery orientation diagram inside the unit. Replace the battery cover and tighten the battery screw securely. Do not over-tighten.
Step 3:
If you plan to use the provided Mounting Magnet for installation, screw it into the back of the wall bracket. Clip your ThermaData into the bracket.
Step 4:
Be sure to label the probes (i.e. “Channel 1” and “Channel 2”) so you can keep track of them inside the cooler or freezer. Temporarily remove the standard built-in thermometer from the outside of your cooler or freezer wall and thread the new Type K temperature probe cables through the existing hole past the insulation. Screw the built-in thermometer back into place. Then plug both probes into your ThermaData WiFi logger. Adhere the magnet on the ThermaData mounting bracket to the wall or screw the mounting bracket into place.
Find the proper placement for your glycol bottle in the cooler or freezer. Attach its wall bracket to the wall with screws. Insert the probe tip from the shorter 10-foot cable through the septum into the center of the glycol bottle. Ensure that the probe tip is not touching the bottom of the bottle. Place the bottle into the mounted wall bracket.
Step 5:
If you’re using your ThermaData WiFi to track the cooling of food, such as ROP sauces or soups, place the probe tip of the longer 25-foot cable between two layers of the packaged food. (OR you can use this second probe to monitor a second cooler or freezer following the same installation process outlined above.)
Step 6:
Once your ThermaData WiFi is mounted outside your cooker and the probes are set up, now it is time to set up the WiFi logger in the ThermoWorks app. Download from your favorite app store (Google Play or iOS) and follow the setup instructions in the app. To connect the WiFi logger to your WiFi network.
All Done!
Once it’s connected, you can monitor your cooler or freezer temps directly on the ThermaData WiFi logger display, or in your app on your phone, or on your computer desktop using your ThermoWorks Cloud account.
Enjoy the peace of mind that comes from knowing that if anything happens to your walk-in cooler or freezer (or even if someone just leaves the door ajar) and the temperatures get too warm for proper food safety, you will be notified immediately and be able to take corrective action, saving your food inventory.
For additional assistance with your ThermaData WiFi installation, don’t hesitate to contact our Technical Support team by chat, by calling 1-800-393-6434 and asking for Technical Support, or by emailing techsupport@thermoworks.com.
To get answers to questions about the ThermaData WiFi data logger and its capabilities, or to customize installation to your needs and facilities, contact our Commercial Sales specialists by chat, by calling 1-800-393-6434 and asking for Commercial Sales, or by emailing sales@thermoworks.com.
Invest in a ThermaData® WiFi Restaurant Walk-in Kit today here!


