Canning Principles: Temperature, Time, and Acid
For those that garden, nature’s bounty often offers more fresh produce than a household can easily eat. Two hundred years ago the only way to save that extra food was to pack it in salt or sugar to desiccate and preserve it. But in 1810, a French candy maker named Nicolas Appert discovered a means of canning food to preserve it. And though his technique was hardly scientific, it opened the door to the modern food preservation techniques we have today.
In this post, we’ll be taking a look at the science and the tools you need to succeed at home canning, as well as examining the processes by which food safety research is done for canning recipes.
Contents:
- Spoilage and disease: the reasons why
- Protective measures: defeating our tiny foes
- The problems of measurement at home
- Established recipes and the dangers of “winging it”
- How research is done
- Research applications to home canning
Spoilage and disease: why good food goes bad
Microbes cause food to spoil. If that sounds overly simplistic to you, then you must come from the modern age, long after the time when people thought that meat spontaneously generated maggots or the virtue of a cheese had changed. We now know that the reasons foods rot and become inedible is because they are being consumed and changed by microscopic life—mostly bacteria and molds.
But these microbes do more than just compete with us for nutrients—and it is a competition: you might scare a deer out of your garden and save your cabbage, but the mold wins your bread loaf every time, right?—they also make us sick. And while there are some bacteria and fungi that are benign, or even helpful to us, there are many that will make us sick, or even kill us.
As mentioned above, this tendency to spoil was, until relatively recently, combatted by drying, salting, or sugaring (candying) foods. By drying things out—in the sun or by salting or candying—people were able to keep the foods they harvested and eat them through the winter and early springs months. Dried beans, dried fruits, dry grains, and dried meat along with salt pork, salt cod, and salt-cured hams were staple foods of the pre-canning world.
Canning brought about the ability to harvest food when it is freshest and best and keep it in a state that is near to its ‘natural’ condition. Further advances in canning made it reliably safe by killing not only those things that eat our food, but also those things that can make us sick. Spoilage and disease could be beaten, and fresher foods were the result. Now there is a great canning renaissance going on, with younger people learning how to preserve whole gardens full of fruit, overcoming spoilage, and (hopefully) creating delicious, safe foods that can last.
Defeating our tiny foes: How canning works to preserve foods
So how does canning preserve food, prevent spoilage, and keep you safe? There are two basic roads to food sterilization in the home kitchen: heat and heat + acid.
Heat
Heat is used to destroy living bacteria like E. coli and Salmonella, as well as fungi. Every species of bacteria that food scientists study has what is known as a thermal death time (which is not a thermometer-themed metal band). This time variable, denoted in the literature by the letter D, is the time it takes for the amount of a bacterium to be reduced by 90% at any particular temperature.
So if you have 100 bacteria with a D of 3 minutes at 160°F (71°C), after 3 minutes, you’d only have 10 bacteria, and after 3 minutes more, only 1. Of course, higher temps yield faster death times, and there’s a whole branch of study devoted to this topic with lots of fun math. But let it suffice to say that a long enough time at a given temperature will kill both spoilage and pathogenic microbes dead, rendering your pickles safe to store and safe to eat. (No news there, that’s the whole point of temping chicken and beef before eating them!)
But the heat that can be achieved in a water-bath canner—which is essentially a big pot that can fit bottles in it—isn’t high enough to kill spores. And, friends, while the bacteria already listed above are bad, they have nothing on the spores. The toxin produced by C. botulinum is so deadly that an injection of 0.000000000002 grams of it can lead to lethal paralysis in an adult. It’s bad.
To get the kind of heat needed to neutralize the botulinum spores, you need a pressure canner. We’ve previously discussed the ideal gas law in relation to cooking pasta, but it comes into play in home canning with pressure canners, too. As the pressure of a gaseous system increases without a corresponding increase in volume or decrease in the amount of gas, the temperature must also rise. Only by bottling in a pressure canner can the high temperatures needed, 250°F (121°C) for 3 minutes, be reached. If all you have is heat, then you need to bottle under pressure to make your food safe.
Heat + acid
Or you can acidify your food. Botulinum spores are deactivated by acidic environments of pH less than 4.6. To use a water bath canner, you must have an environment that is chemically hostile to spores, which is the “heat + acid” path to sterilization. Yes, the water bath will kill simple pathogens and fungi, but on its own, it won’t be able to kill the spores of botulinum. If you don’t have a pressure canner, acid is the only way to go. Does that mean everything must be pickled? No. Basically, all fruits are acidic enough, pH <4.6, to prevent the spores from maturing. Most veggies will need pickling to be safe in a water bath canner, and meats can never be done in a water bath.
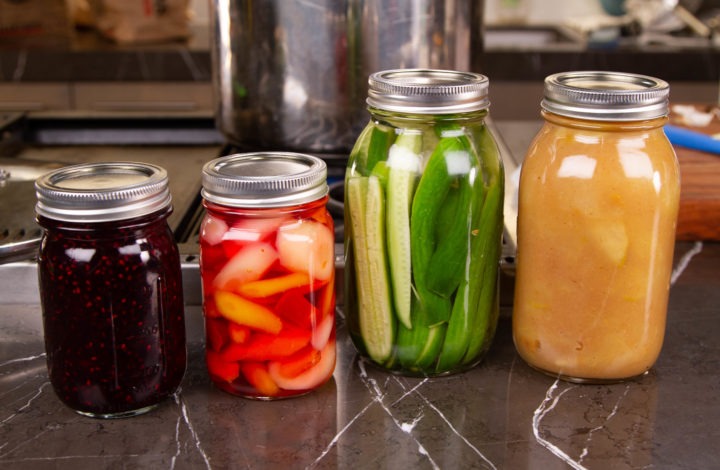
You can see that the pickle brine we made was well below the 4.6 pH cutoff, as was the applesauce and jam:
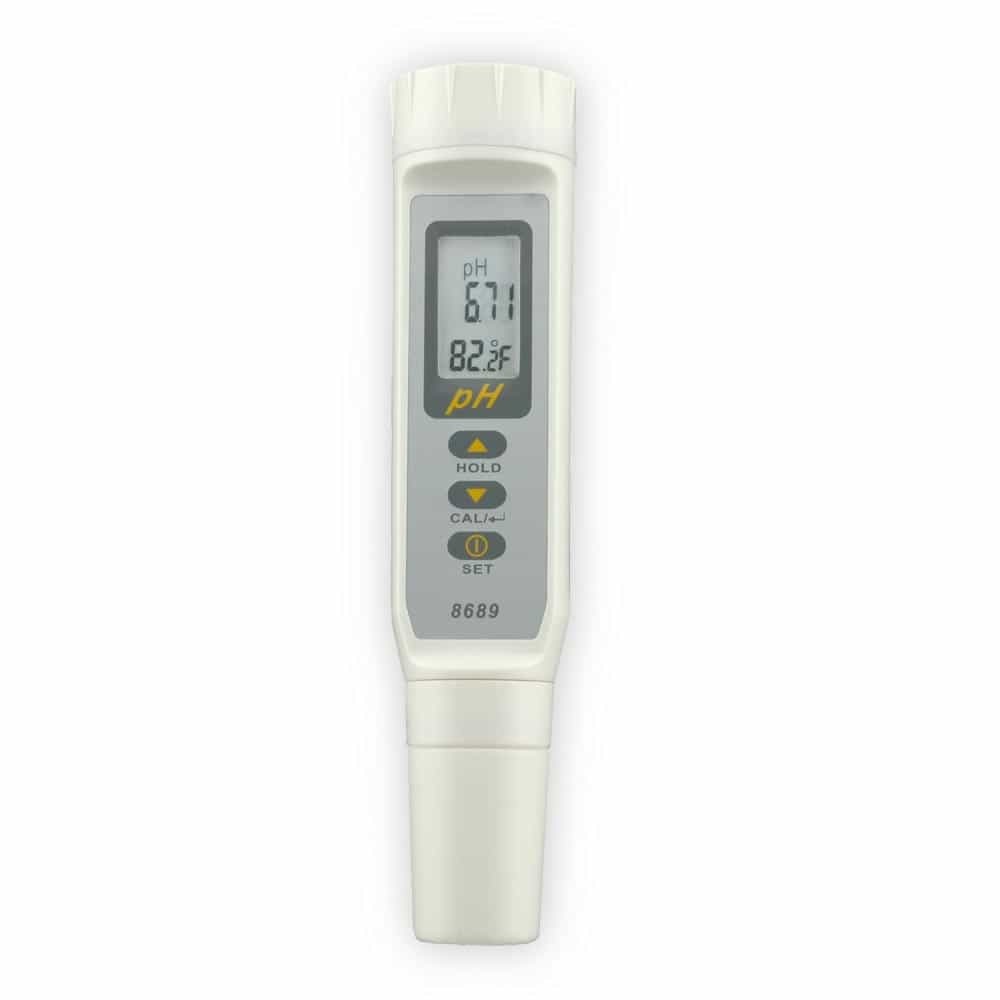
If you are serious about home canning, you should consider getting a pH meter. Far more accurate than test-strips, a High Accuracy pH Meter gives you professional-level, reproducible results that are dependably safe. This is especially important if you’re working with tomatoes. You see, though tomatoes seem super acidic, they aren’t. In fact, most tomatoes ride right on the line of acceptable pH. And that closeness to the line can vary from breed to breed, from plant to plant, and from year to year. Home-bottled pasta sauce or salsa might seem safe without additional acid, but a pH meter might show that to be untrue. Look at the example below:
Here are two bowls of tomato from a local grocer. The chunky one is a Roma-type, the thin, pink one a slicing type. The pH’s of the two samples vary widely, with the Romas coming surprisingly close to an unacceptable level.
Problems of measurement in home canning
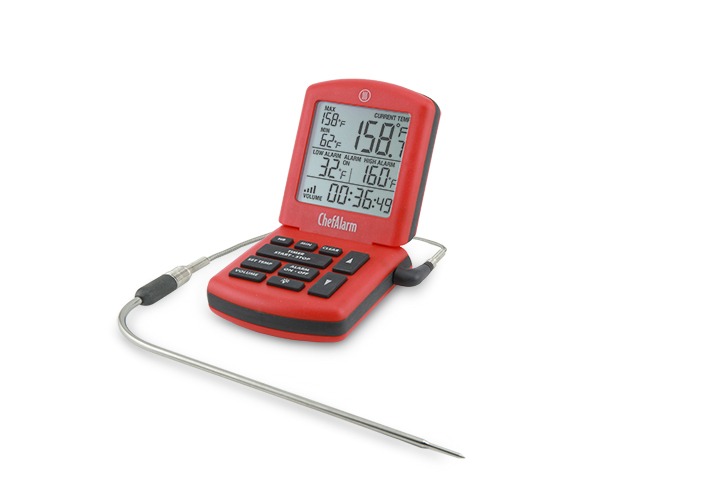
Now that you’re familiar with the concepts of thermal death time, pressure, and pH, you ought to feel better equipped to go can some veggies. But hold on. How are you going to track the temperatures in your bottles to make sure your food is safe? This is a problem for the home canner. Every food has unique thermal properties. Some are easy to heat, others stubborn and unwilling to change. Applesauce heats up differently than dilly beans. Of course, when I first started thinking about what to write for this article, I thought to myself “no problem, just put a ChefAlarm®…” and then realized that any thermometer in the jar would compromise the seal, rendering the ‘preservation’ a moot point.
So how can you know that your food has achieved a proper temperature for enough time that the thermal death point of the jar of food has been met? Easy. Let someone else do it for you.
Use established, research-based recipes for canned food at home
There are people whose job it is to create and test recipes for canning. They use sophisticated techniques and even some pretty high-level math to make sure that the foods you bottle at home are safe. They have the facilities and the tools to do the thermal work that you can’t easily do at home.
This will be a hard pill to swallow, but you really shouldn’t just use Grandma’s old recipes for canning procedures. Nor should you “wing it” when it comes to canning. In every serious canning book you read and in any good canning class you take, they will always drill in, again and again, the importance of using published, research-based recipes for canning. But why? What do they do that Grandma didn’t do?
They do a lot.
The work that goes into a recipe (not a YouTube recipe, mind you) is immense and exhaustive, and it’s done for your protection and benefit. Yes, your ancestors didn’t die of botulism, but that doesn’t mean you won’t. Let’s take a look at what it takes to create a research-based recipe, and also look at how temperature and thermometers are used in the process.
How bottling recipe research is done
In preparing for this article, I spoke to a few food-science professionals about the research that they conduct and the rigor that it requires.
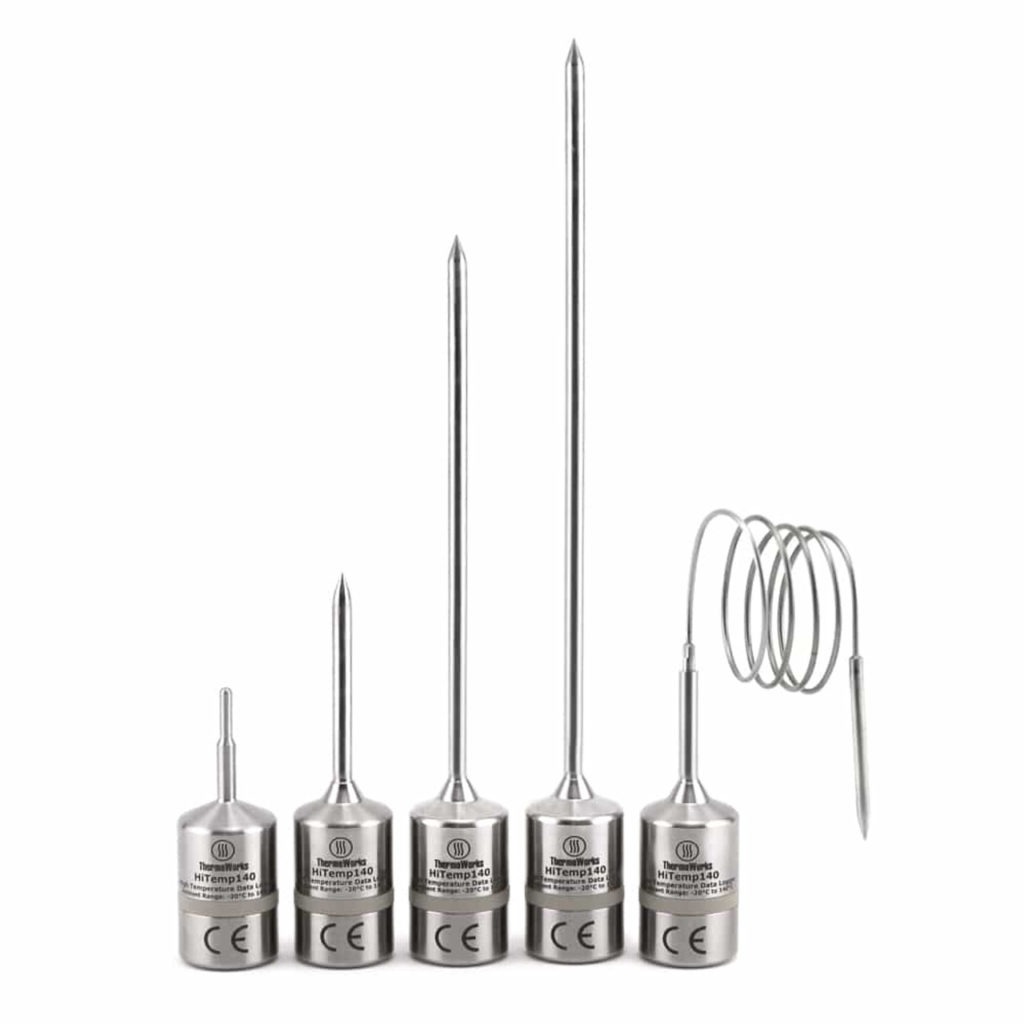
Cathy Merrill, of the Utah State University Extension, is researching the viability of electric pressure/multi cookers for canning purposes. Using ThermoWorks data loggers, she is performing tests on 3 foods—green beans, pinto beans, and chicken—at 3 elevations, each in 3 different canners, each iteration has 3 bottles of each food, with a total of 3 iterations. That’s 81 bottles of each food, 243 bottles total. In each bottle is a ThermoWorks hi-temp data logger that tracks the internal temperatures of the foods. When she is finished with her research, she will publish her findings so that others may try to replicate them. And that’s just to find out if multicookers can be used for pressure canning! (Spoiler: so far it’s not looking good.)
Another Utah State University scientist, Dr. Brian Nummer describes the research done on a recipe as follows:
[The following tests are] done for raw pack and then done separately for hot pack.
- Establish recipe ingredients including ingredient size, texture, slices, puree, etc, etc.
- Using pint and quart jars, fill according to standards.
- Place 5-10 temperature probes in each jar x canner load. Establish the cold spot. Repeat for some 12-24 canner loads.
- With cold spot known, rerun canner loads to determine complete temperature parameters (come up time, time at temperature, etc).
- Using canning formulas determine the over-processing required to ensure safety.
- Canning formulas can also be used to provide different altitude instructions.
- Rerun 12-24 canner loads at each altitude to confirm food safety.
- Possibly rerun canner loads in different makes of canners.”
—Dr Brian Nummer, private correspondence, Sept. 6, 2018
All of those steps are done with probe thermometers that record the temperature in the thermal center of each jar. There is rigorous temperature work going into those recipes—this is what makes published recipes safe. And this is how you can use temperature, in a secondhand way, to ensure your food is safe. You just need to follow the instructions to get the same results.
We attempted using some of our water-proof, high-heat logging thermometers to loosely approximate one round of this research and to show why processing times are what they are. We made a batch of cucumber pickles, carrot pickles, blackberry jam, and applesauce. Into each jar, we placed a Hi-Temp 140 logging thermometer. We estimated the thermal center to be at the center of the jar.
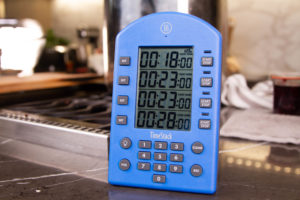
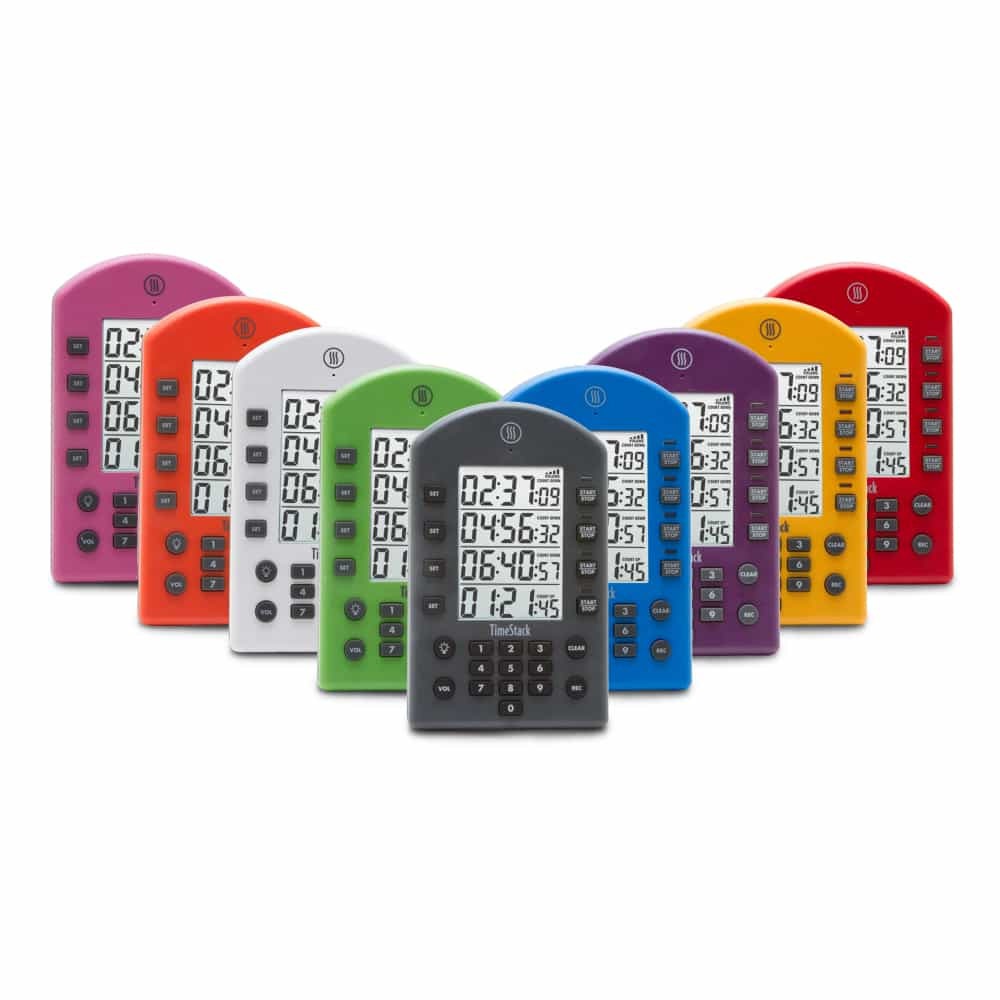
We placed the several jars into a simmering water bath at 180°F (82°C) and processed them according to recommended times, adjusted for our elevation (add 2 minutes per 1,000 ft elevation above sea level). We used the TimeStack® to track the times once the water came to a boil, which was handy, keeping track of 4 times simultaneously.
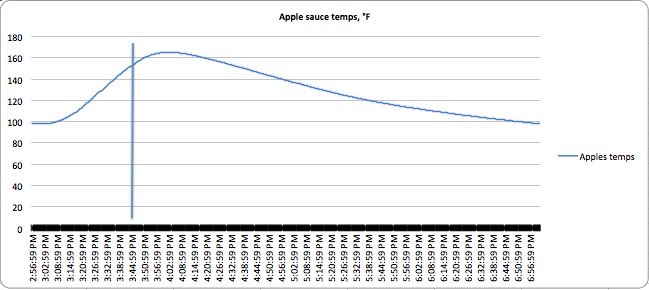
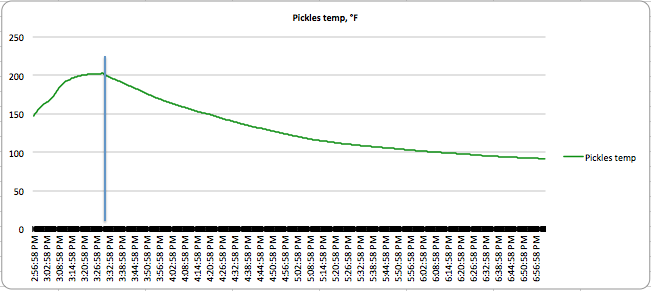
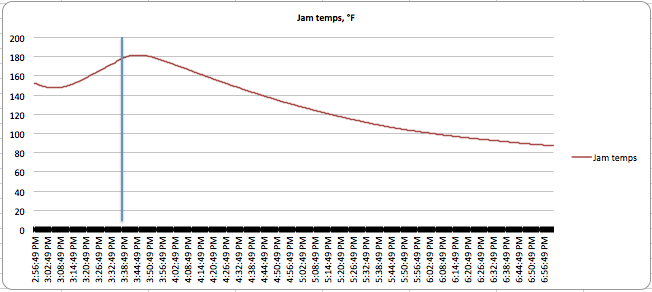
You can see the results of the canning in the following charts:
The vertical lines indicate the time the bottle was removed from the boiling water. You can see lots of variation in the thermal activity. Applesauce has a lot of carryover cooking, as does dense jam, while watery pickles both stop cooking almost as soon as you take them out of the water. Also, the applesauce never really got above 163°F (73°C), but was at temperatures high enough for long enough to kill the bacteria present in it. Winging it doesn’t take these thermal features into account.
Applications to home canning
All of this may seem confusing, or even off-putting, but it needn’t be. The great thing about these researched recipes is that they are pretty much foolproof, and if you just follow the instructions for them, you are as guaranteed to be safe as you are when buying canned or bottled food from the grocery store. You are, in a second-hand fashion, using thermometers to care for your food.
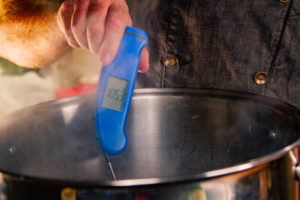
But just because you’re using thermal measurements that have been made by others doesn’t mean there isn’t still room for ThermoWorks in the canning kitchen! Like I already said, if you’re really into canning, you might want to get a pH meter. And a Thermapen® or a ChefAlarm can be very helpful for getting your water bath ready— the water bath should be at 180°F (82°C) when you add your food as the kill times have been calculated for that. A fast and accurate thermometer like the Thermapen is perfect for that (as well as for checking the gel on your jams!). But a leave-in alarm thermometer is great for letting you know when to start the timing on your canning: set it for your local boiling point, and when the alarm sounds, start your TimeStack.
With today’s technology and the vast research efforts that go into recipe research, there’s no reason to not put up your garden’s bounty. ThermoWorks’ Thermapen, timers, leave-in thermometers, and pH meters all allow you to get safe, long-lasting results from your home canning. So get some mason jars and get cooking!
References:
For canning recipes, contact the website of your state’s agricultural extension service.
Also, check out the USDA Complete Guide to Home Canning.
Shop now for products used in this post:






Question: If a homade hot sauce (5 lb pureed carrots, 1 lb onions, garlic, 1 lb scotch bonnet peppers, vinegar) has been cooked on stove top, then properly cooled and poured into sanitized hot sauce bottles, what would a safe shelf life be?
1. I do not have a Ph meter, but added quite a bit of vinegar (didn’t use a recipe, maybe 2 – 3 cups).
2. The sauce was cooked, then cooled, then bottled. There was no processing done after bottling. I have water bath processed pickles and stuff in jars in the past, but not these 5 oz glass hot sauce bottles.
Should these little hot sauce bottles be boiled like Mason jars? Would the hot sauce in the bottles be safe? Do they need to be refrigerated? If I get a Ph meter, what is the “safe ph” for non-processed foods?
Jason,
Tough questions. I would look around and see if you can find a recipe similar to yours and follow those instructions for processing.
That being said, I would at least try to process it. Hot, uncooled sauce into hot, sanitized containers. Boil them for 15 or so minutes.
BUT! I haven’t done any death-time studies on this process! I have made “raw” vinegar-based hot sauce and kept it in the fridge for over a year.
Many local ag-extensions will test the pH of a homemade sauce for a small fee. I’d fund out what you’re actually working with, then you can also have reproducibility.
Personally I’ve found that a lot of grandmother and great-grandmother’s recipes are rather more intense than the modern ones, and several of them add a fair amount of salt just to be sure. And then, on top of that, when they opened it they’d boil it for 20 minutes more to get rid of any botulism that had somehow survived.
It works if you don’t mind your vegetables being just short of mush.