Smoked Pulled Pork: Game Day Loaded Nachos!
(Note: ThermoWorks recently featured an excellent post on Game Day Boston Butt Nachos by Grillax.com, you should check them out, too!)
Finger foods are a game day staple, and in that category, nachos are royalty. Give this munchie an upgrade with piles of decadent slow smoked pulled pork and smoked cheese and you’ll be your party’s MVP. We have the low and slow temperature tips and award-winning recipes you need for BBQ success—game on!
Taking the time to make your own BBQ pork is a must for these nachos. It’s what makes this recipe a show-stopper.
BBQ: The Magic of Low and Slow Cooking
Pork butt comes from the heavily-worked shoulder of the animal. The meat is tough and is held together with a web of connective tissue. These connective tissues are primarily made up of collagen.
Collagen: Collagen is a tough protein with a triple helix structure (pictured below, right). It will begin to break down in the range of 160–180°F (the full temperature range of collagen breakdown is 160–205°F [71–96°C]), but it takes a long time for the tightly bound molecules to unwind (or denature). Tough cuts like pork shoulder need to spend time in a low-temperature cooking environment (225-275°F) and come to an internal temperature of about 200°F (93°F).
Gelatin: Once the collagen has unwound, it dissolves into gelatin. And this is what makes smoked meats so tender and silky. The gelatin can absorb up to 10 times its own weight in water. So the liquid in the meat that has been expelled by the high internal temperature are reabsorbed and the end result is smooth and succulent. The process of turning a tough cut of meat into a tender, juicy masterpiece seems magical, but it’s all about managing cooking temperatures.
Plan Ahead
As with any meat smoking project, be sure to plan ahead for how long the cook will be. The length of your cook will depend on the size of your pork butt, the cooking temperature, and whether a stable cooking temperature was maintained.
Temperature control is dependent on proper temperature tracking. Use an alarm thermometer like Smoke™ with a Pro-Series® air probe and grate clip (included with Smoke!) to monitor the internal temperature of your smoker so you know when to add more fuel or adjust the vents.
There are special considerations when smoking meat in cold weather. Read through our post, Cold Weather Smoking: Baby Back Ribs, for expert tips when barbecuing in chilly conditions.
Diva Q’s Championship-Winning Pulled Pork
- 1 bone-in pork butt, about 10 lbs.
- Wood chips (hickory, oak, or apple)
Pineapple injection
1 cup fresh pineapple juice
- 1/4 cup brown sugar
- 2 tbsp. salt
- 1 tbsp. Worcestershire sauce
- 1 tbsp. soy sauce
- 1-1/2 tsp. ground mustard
Fun Fact: Pineapple contains an enzyme called Bromelain that breaks down protein. Pineapple juice acts a great tenderizer for tough meats! Fresh pineapple juice has more active enzymes than juice that has been pasteurized. If you don’t have a juicer, process fresh pineapple in a blender until it is liquified—up to 5 minutes.
Spice Rub
- 1-1/2 cups of your favorite dry rub
Wrap
- 1 cup brown sugar
- 3/4 cup melted butter
- 3/4 cup apple juice
- 1/4 cup Tabasco chipotle sauce
- 1/2 cup dry rub
Other Ingredients and Equipment
- 1 cup apple juice for spritzing
- Smoke™ dual-channel alarm thermometer with wireless receiver
- Thermapen® Mk4
Instructions
Prep the Pork
- Whisk together all injection ingredients into a small bowl until the sugar dissolves. Set aside.
- Place pork butt into a large plastic container, bowl, or zipper-lock bag large enough to hold the pork. Inject the pork butt with the injection liquid.
- Apply dry rub to the pork butt liberally on all sides. Cover the pork and refrigerate for 4 hours.
Preheat the Smoker
- Preheat your smoker to maintain a cooking temperature of 225–250°F (107–121°C). Monitor the temperature using a Smoke thermometer with a Pro Series air probe and grate clip.
- Set the smoker’s high alarm temperature to 260°F (127°C), and the low alarm temperature to 215°F (102°C).
- Add a couple of handfuls of wood chips, close the smoker’s lid and wait for the smoke to begin developing.
Cook the Pork
- Place a High temp cooking probe into the center of the thickest part of the pork butt, avoiding the bone.
- Place the pork butt onto the smoker fat-side down. Close the lid and attach the meat probe to your Smoke thermometer.
- Set the meat’s high alarm to 160°F (71°C). Cook until the high alarm sounds, and verify the internal temperature with a Thermapen (about 6–7 hours).
- Replenish wood chips every hour while the pork cooks to maintain consistent smoke.
- Once the internal temperature is verified, remove the pork shoulder from the smoker and take it inside for wrapping.
Wrap the Pork, then Continue Cooking
- Prepare two layers of heavy duty foil wide enough to completely wrap the pork butt on all sides. Place the pork into the center of the foil fat-side down (or place the pork into a foil pan).
- Sprinkle over the pork butt the brown sugar, melted butter, apple juice, Tabasco chipotle sauce, and dry rub. Wrap well with foil.
- Replace the meat probe and return to the smoker. Cook until the pork’s internal temperature reaches about 195–200°F (91–93°C) (reset the meat’s high alarm temperature on Smoke to 195°F [91°C]) and the bone can be pulled out easily (about 2-3 hours).
Rest and Pull
- Once the high alarm sounds, verify the pork’s internal temperature with a Thermapen. Place the pork butt into a large plastic container or cooler and let it rest for 2 hours.
- After 2 hours, pull the pork into chunks, removing any bits of fat and gristle. Add Diva Q Competition Sauce (recipe below) to taste.
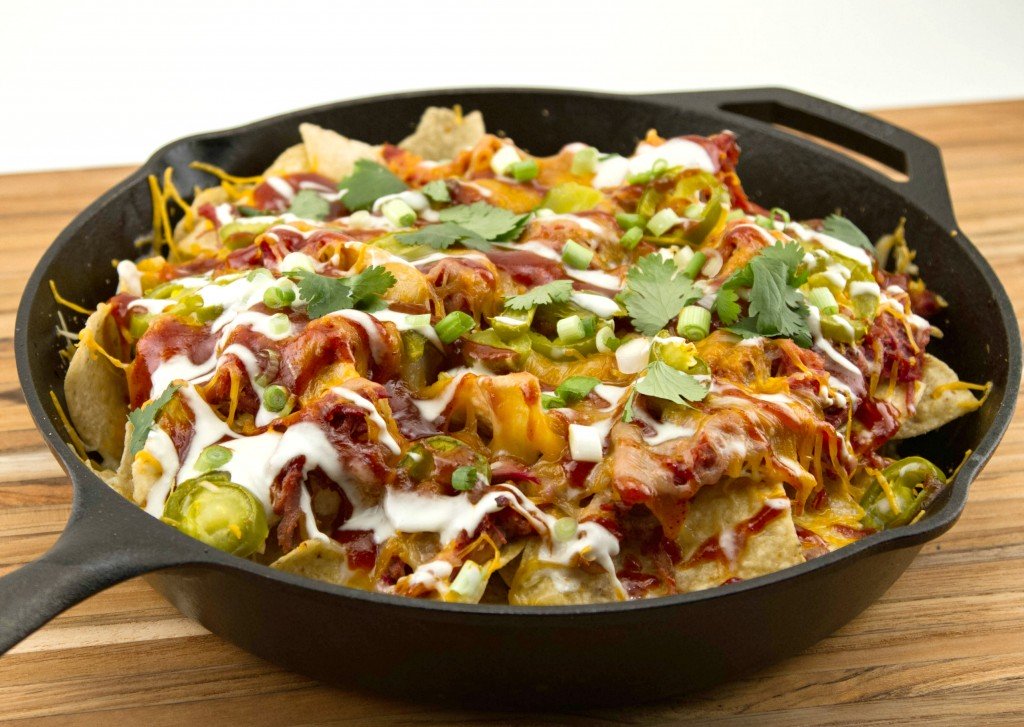
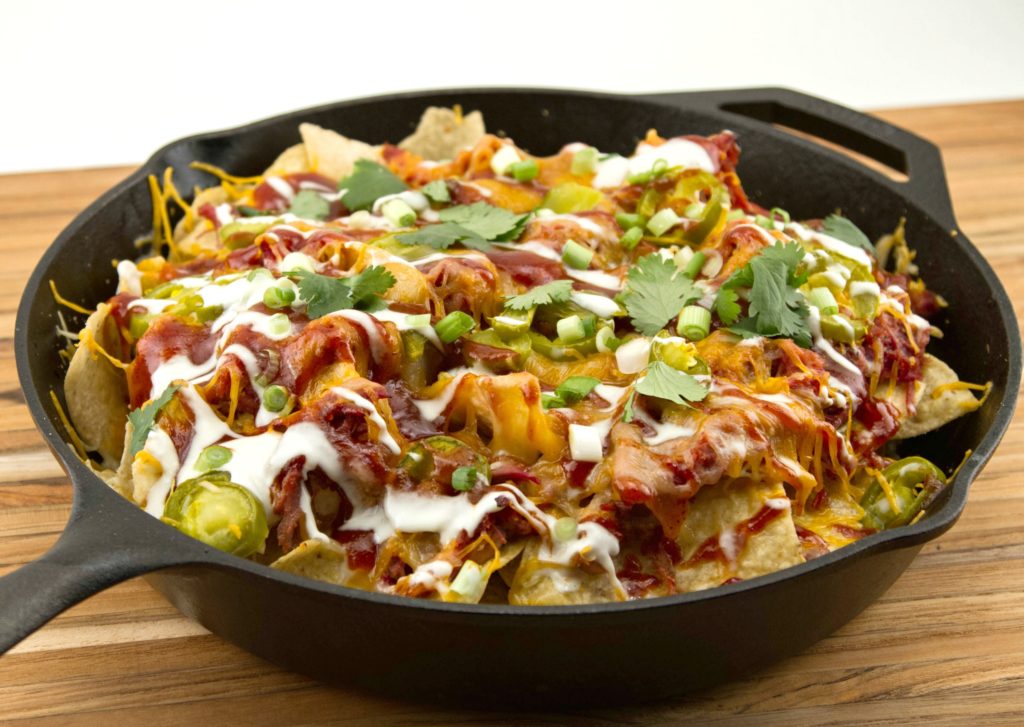
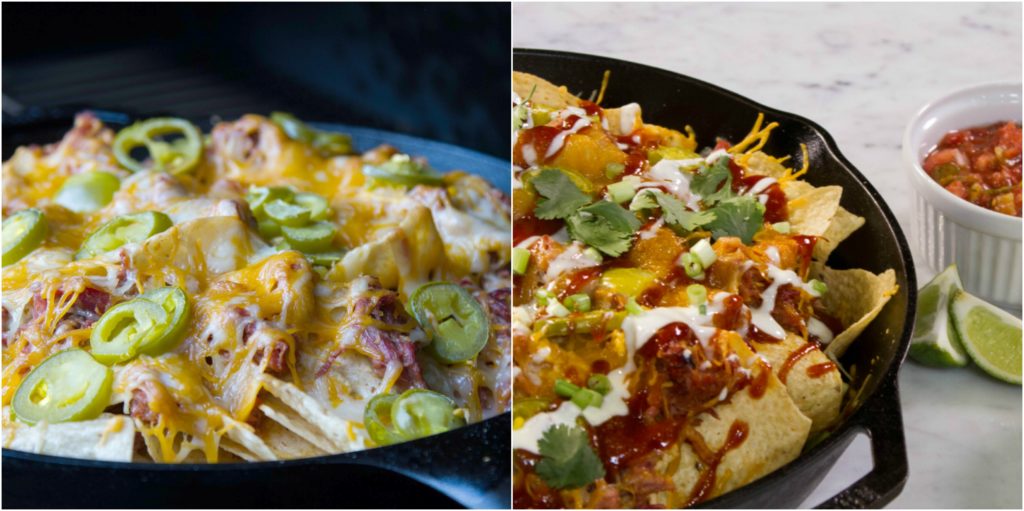
Pulled Pork Nachos
Smoked cheese gives another layer of rich smoky flavors to these nachos. Check out our post, Thermal Tips: How to Cold Smoke Cheese for tips and recommendations on how to make your own!
- 1 large bag corn tortilla chips
- 2 cups warm smoked pulled pork
- 1/2 cup Diva Q Competition Sauce (recipe below)
- 2 cups shredded cold-smoked cheddar or Monterey jack cheese
- 1/2 cup pitted, sliced black or green olives
- 1/3 cup chopped green onions (or chopped red onion)
- 1 cup fresh or pickled jalapeños (or to taste)
- Sour cream or Mexican crema
- Salsa fresca
- Fresh cilantro for garnish
Diva Q Competition Sauce
- Makes about 3 cups
- 1 cup ketchup
- 1/2 cup brown sugar
- 1/2 cup apple cider vinegar
- 1/2 cup apple juice
- 2 tbsp. mustard
- 2 tbsp. honey
- 1-1/2 tsp. garlic powder
- 1-1/2 tsp. onion powder
- 1-1/2 tsp. chili powder
- 1-1/2 tsp. tamarind paste
- 3/4 tsp. ground black pepper
- 1/4 tsp. ground ginger
- 1/4 tsp. hot sauce
- 1/4 tsp. chipotle powder
- 1/4 tsp. salt
- 1/8 tsp. vanilla extract
To make Diva Q Competition Sauce:
- Mix together all ingredients in a small saucepan. Simmer, whisking often until all the ingredients are well combined—15–20 minutes.
- Bring to a rolling boil for 5 minutes, whisking often.
- Remove from the heat and cool for 10 minutes. Store in a nonmetallic airtight container in the refrigerator.
Instructions
- Preheat smoker or grill to 375–400°F (191–204°C).
Assemble Nachos
- Spread 1/3 of the chips on the bottom of a disposable aluminum pan, sheet pan, or cast iron skillet.
- Top the chips with 1/3 of the pulled pork, 1/3 shredded cheese, 1/3 onions, and 1/3 jalapeños. Repeat these layers twice.
- Place the pan on the grill or smoker and cook until the cheese is melted. About 10 minutes.
- Remove the nachos from the heat and finish with Diva Q competition sauce, Mexican crema, and cilantro. Serve with guacamole and salsa fresca on the side.
Getting everything right with the pulled pork takes time, but the right tools make it easy, and expert recipes make it worth the wait! Share these nachos with your family and friends for the big game, because “life’s too short for bad barbecue.” —DivaQ
Products Used:
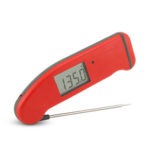 Thermapen |
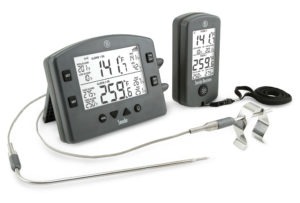 Smoke |
|---|
Resources:




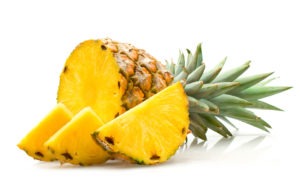 1 cup fresh pineapple juice


I copy and pasted onto a blank word document the ingredient lists. Was I missing a way to print things out without all the pictures which use up so much toner?
This looks great, love the pineapple injection!
Bill,
Yes! Scroll down to the bottom of the post (down to the product mentions and resources) and there is a green printer icon on the right that says “Print Friendly.” Click on the icon and the blog post will appear in a new window in PDF format. At the top of that window is a box you can click to print the post without images.
Thanks!
-Kim