Smoked Chuck Roast: A Cheaper Cut Shines
Sometimes we want some good, meaty BBQ beef but don’t have either the time or the money for a good brisket. That doesn’t mean we should despair, though! There are other cuts of beef that you can smoke for delicious beef flavor, and chief among these is chuck.
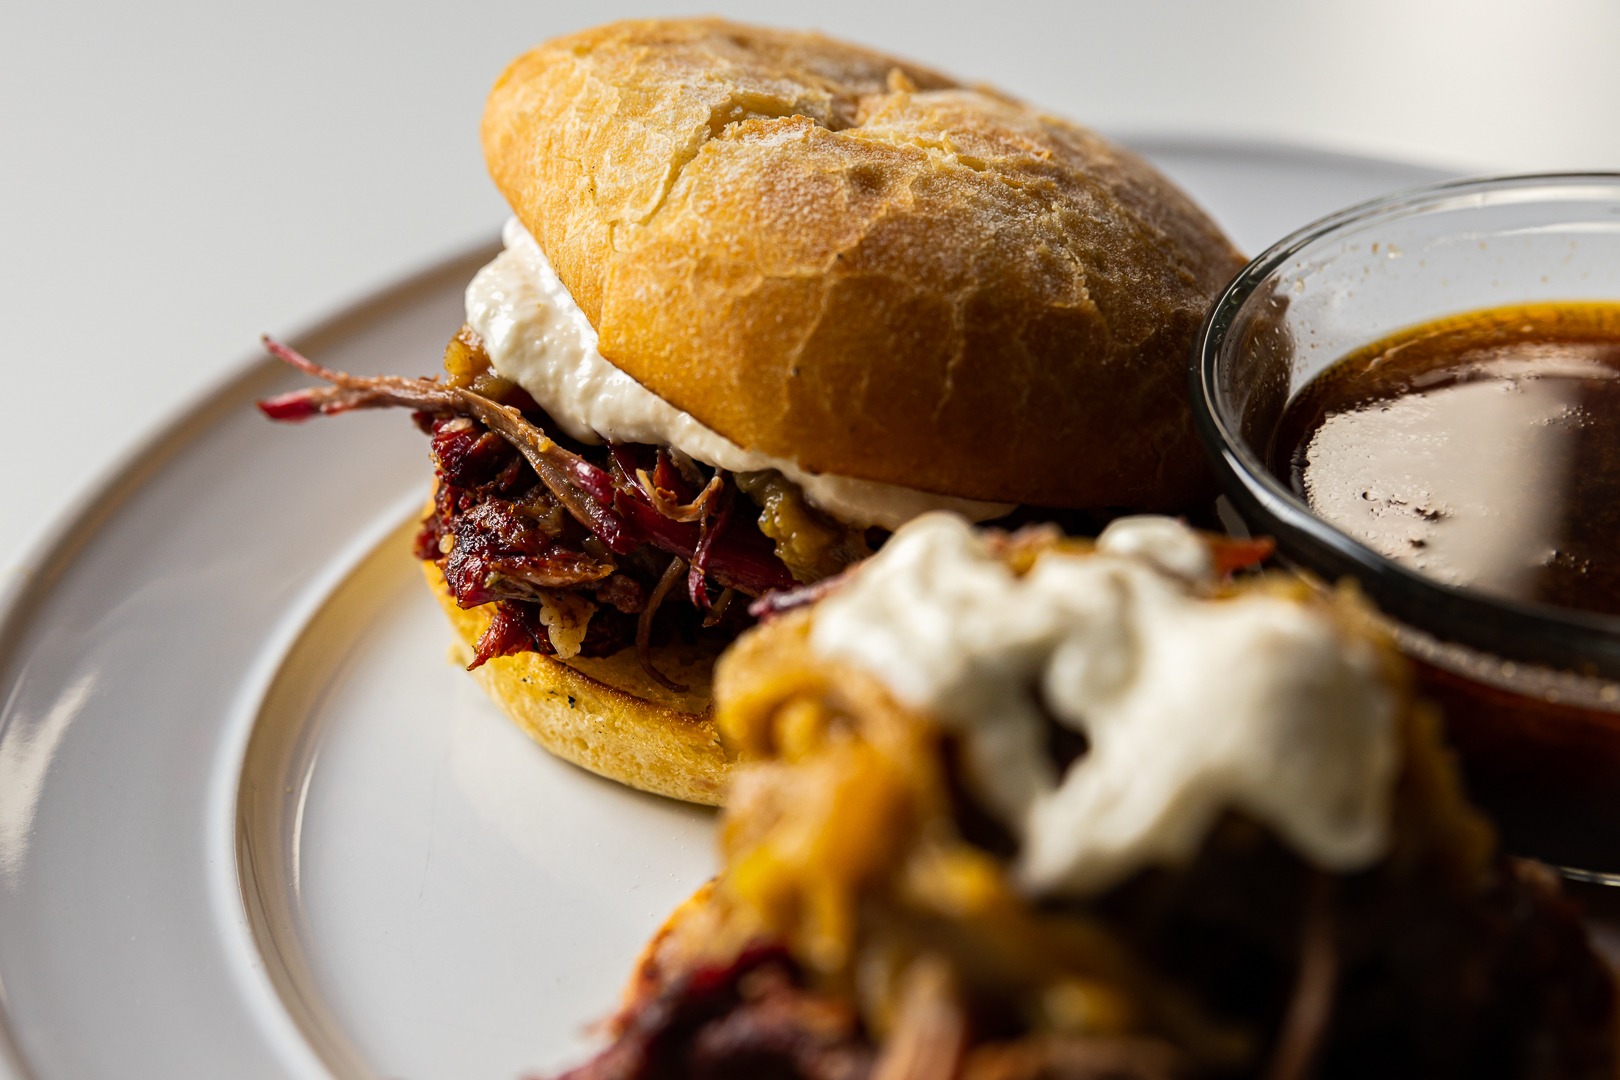
Smoked beef chuck takes less time to cook than a brisket, and though you can’t really serve it in slices, it does make an excellent pulled-beef sandwich. In the method we present here, from Malcom Reed at HowToBBQRight, you also end up with a pan of amazing beef jus for dipping those sandwiches! Let’s take a look at how to make this great dish, including the thermal processes involved.
What is beef chuck?
Beef chuck is the shoulder of the steer. Like pork shoulder, it is great for shredding, BBQ, and braising. It is chock-full of collagen and connective tissue, and has several membranes that run through it
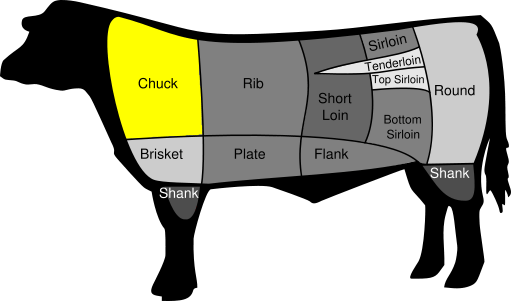
You might most often see chuck used a pot roast, where its tendency to get tender and fall apart when properly cooked is celebrated. It is a well-used muscle and has lots of deep, beefy flavor.
Luckily for us, it’s also quite cheap when compared to some of the other beef cuts!
Thermal tips for smoked chuck roast.
With any high-collagen cut of meat, there are basically two methods for creating tender meat: BBQ and braising. Both methods use low(er) temperatures, the main difference is that braising includes some liquid and happens in a closed, humid environment, while BBQ is pretty dry heat. Of the two, braising is faster, because you don’t deal with the stall in braising. The wet, steamy environment of a braise has 100% relative humidity, so no evaporative cooling can happen, so your meat’s temperature continues to rise without slowing down.
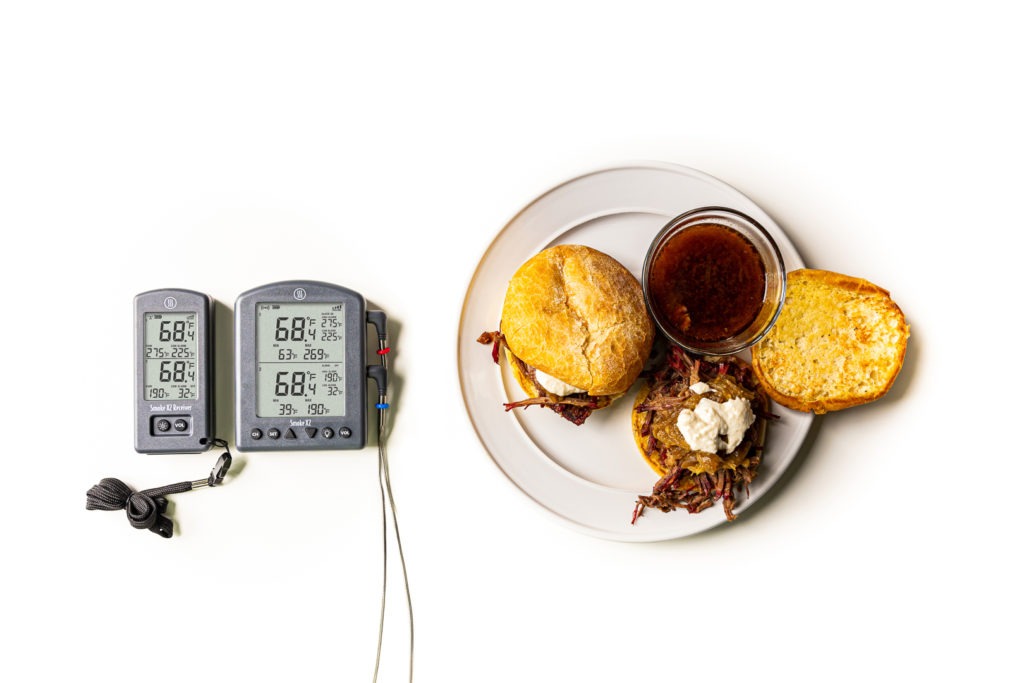
But of course, we like BBQ’d meats—the flavor, the smoke ring, the whole experience. We’re not after pot roast, after all. This recipe plays both sides of the thermal field. We smoke it up to 150°F (66°C) and then place it in a pan with some hot liquid and continue to cook until the meat is fall-apart tender, at 200°F (93°C). Using the new Smoke X2™ will allow us to monitor both the pit temp and the meat temp all the way through this cook, and to do so from the comfort of our homes with the Smoke X2’s deep-penetrating RF signal.
(By the time we get to our wrapping temp, the meat has taken on as much smoke as it’s going to, so we’re not missing out on any flavor by wrapping)
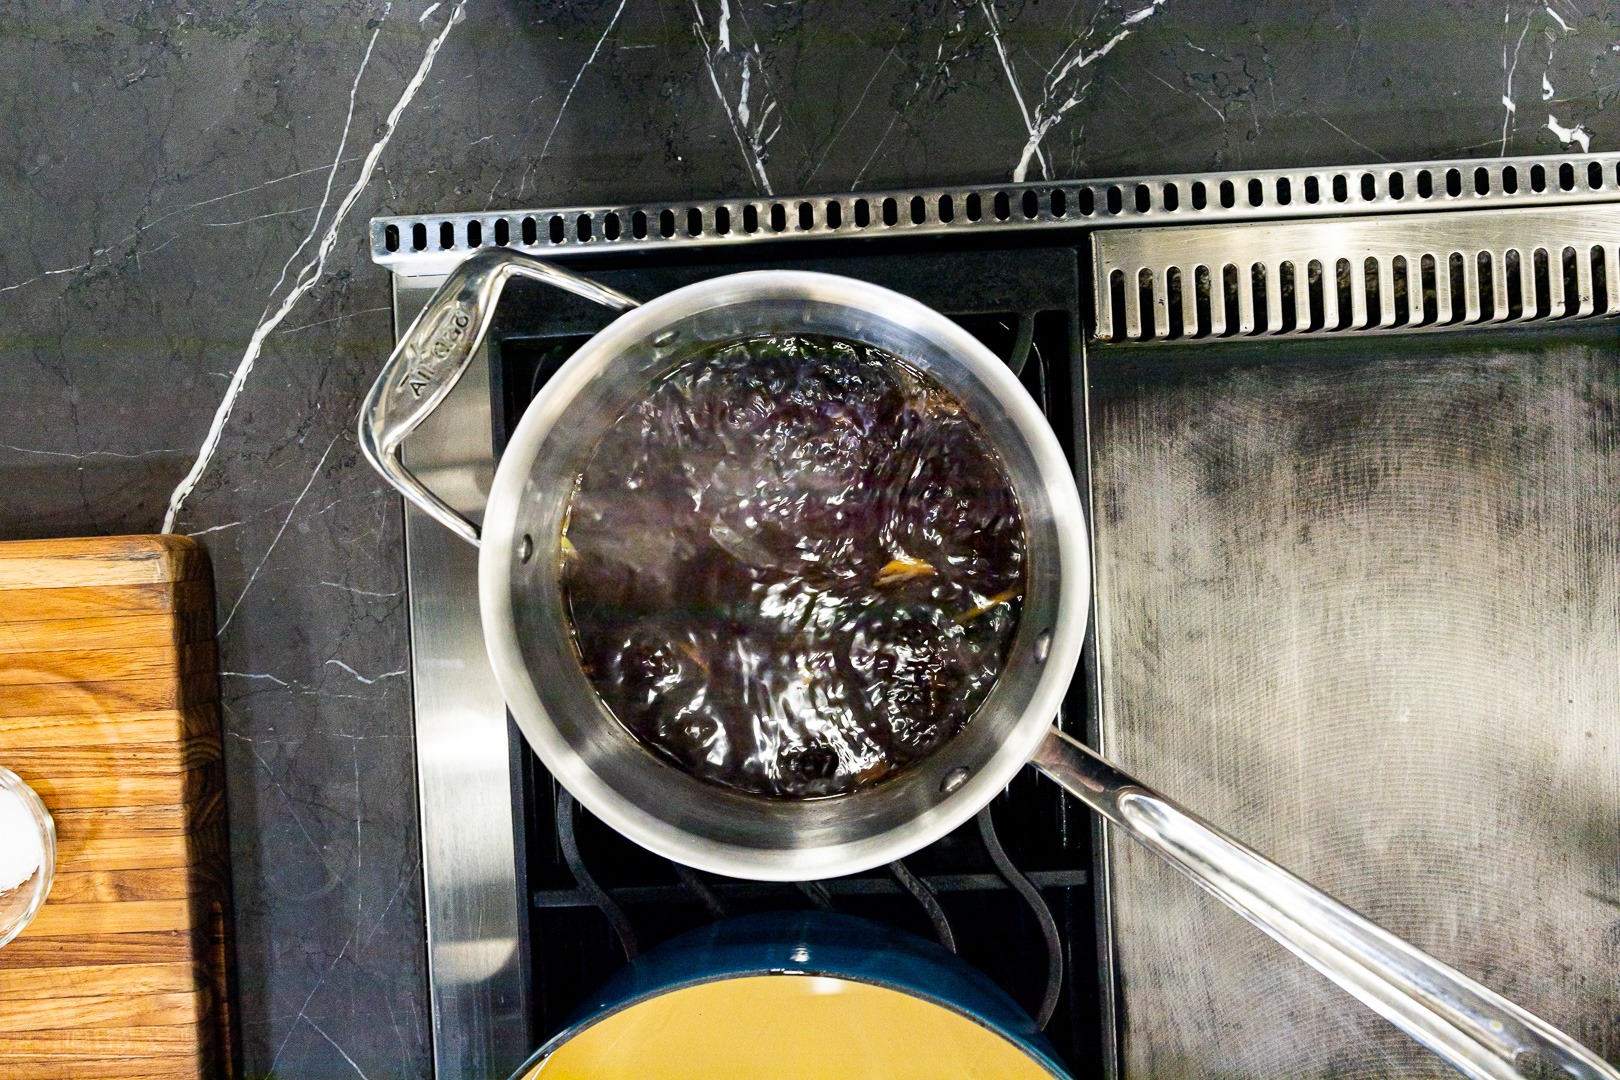
This two-pronged approach is akin to the Texas crutch, except that we’re adding broth to the wrapping. And, heck, while we’re at it, why not add a sliced onion, too? Really you can add anything you want to the braising liquid to flavor it how you want, but no matter how you flavor it, be sure it’s already hot when you add it to the pan with the chuck roasts. If you add cold liquid, you’ll have to bring it all the way up to cooing temp, and that will slow you down. Preheat the broth in a pot on the stove before adding it to the meat. This will also give the meat a thermal boost, as you’ll have a large thermal reservoir in the liquid that can pump heat into the meat as it cooks.
Smoked chuck pulled beef sandwich recipe
Based on Malcom Reed’s Pulled Beef Sandwich.
Ingredients
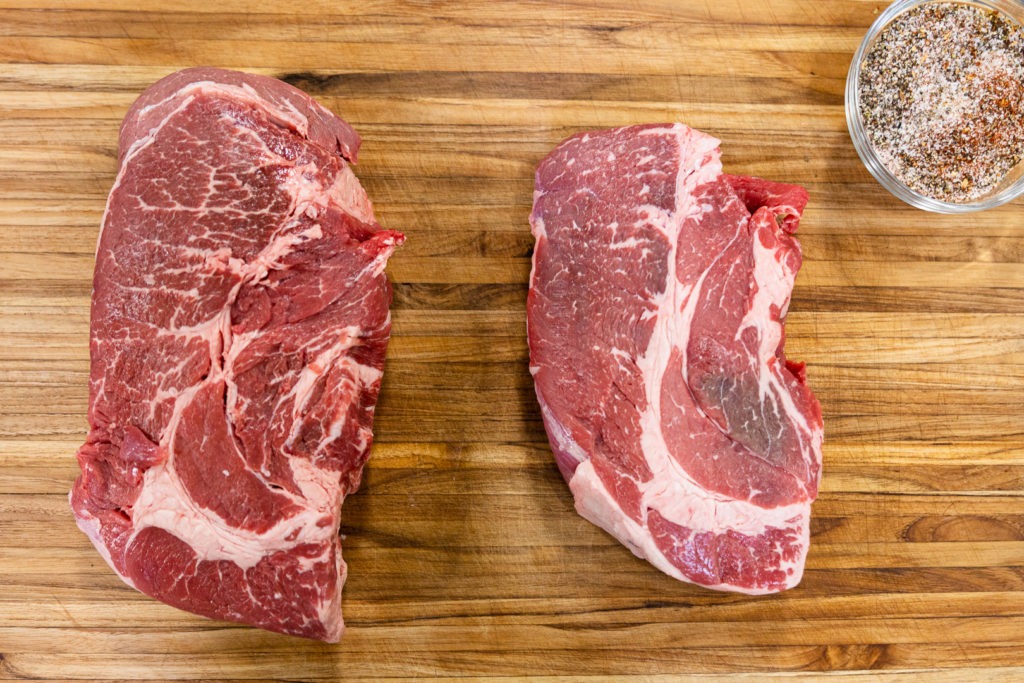
- 2 chuck roasts
- BBQ rub
- 32 oz beef broth
- 1 onion, sliced thin
For the sandwich
- Rolls
- Prepared horseradish
- Mayonnaise
- Well-sauteed onions
Instructions
- Preheat your smoker to 250°F (121°C). Use the air probe from your Smoke X2 to monitor the air temp, setting a high alarm at 275°F (135°C) and a low alarm at 225°F (107°C). Or, if you have a Billows™ BBQ control fan, you can run it with your Smoke X2 to maintain your pit temp.
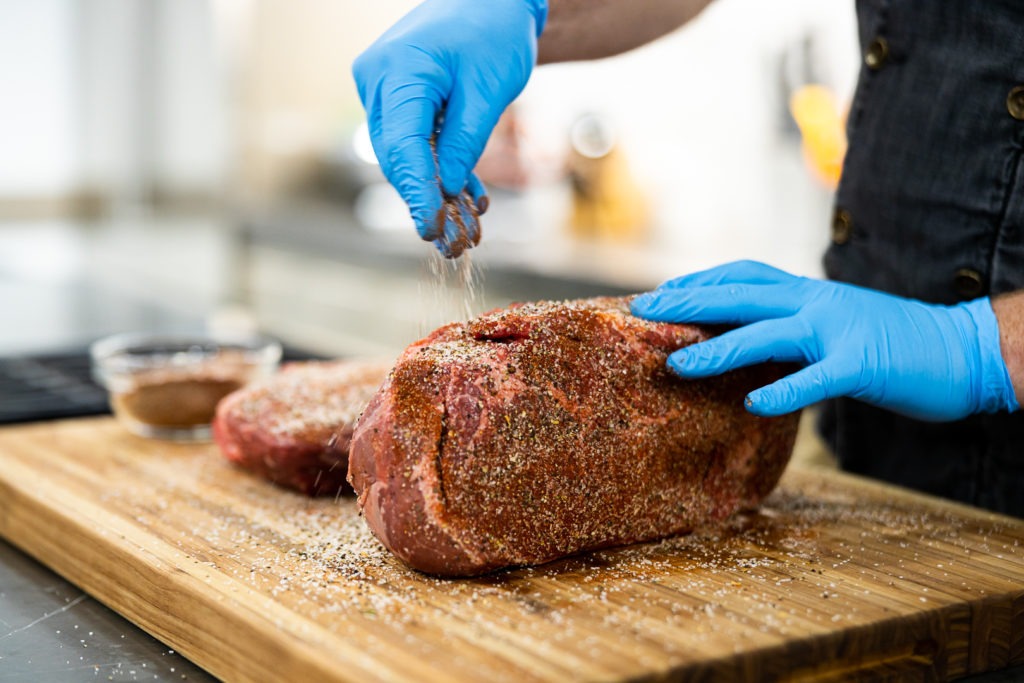
- Season your chuck roasts liberally with the BBQ rub. Just a note on that rub here: for this particular recipe, something with a little bit more of an herbal presence is much better than something with a lot of cumin in it. Some parsley and oregano are definitely welcome in this recipe.
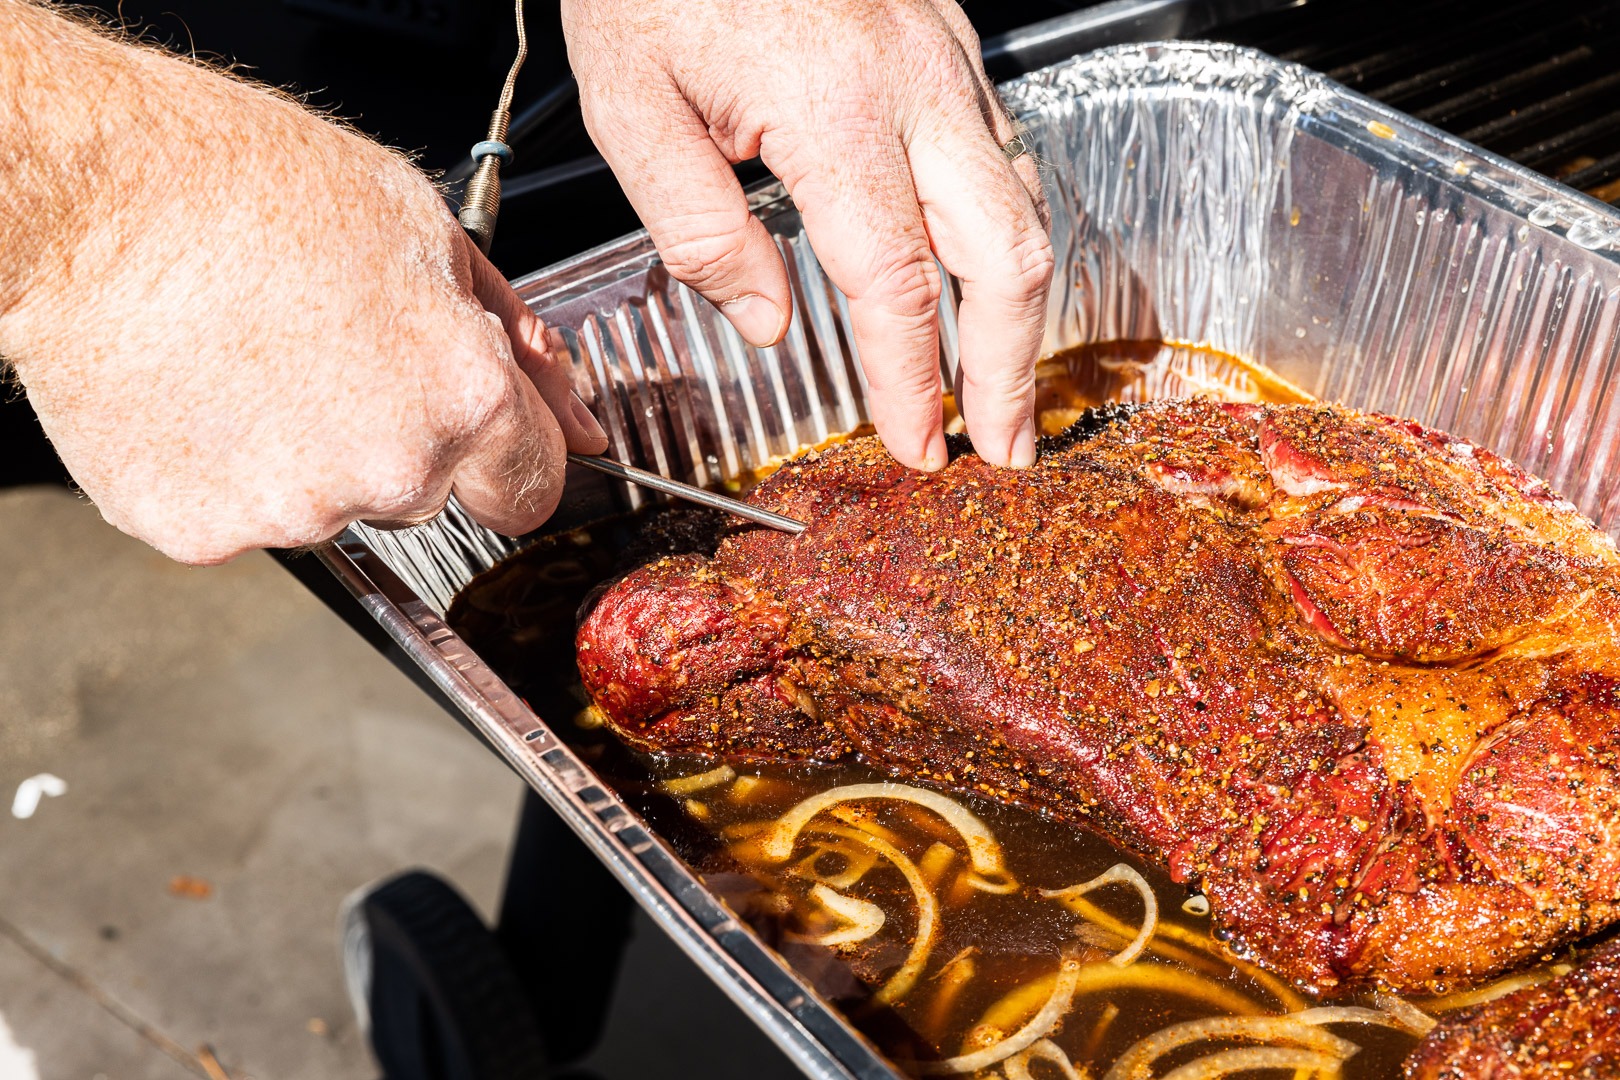
- Place the chuck roasts in the smoker and probe one of them with the Smoke X2’s meat probe. Set the high-temp alarm for 150°F (66°C) and smoke the beef.
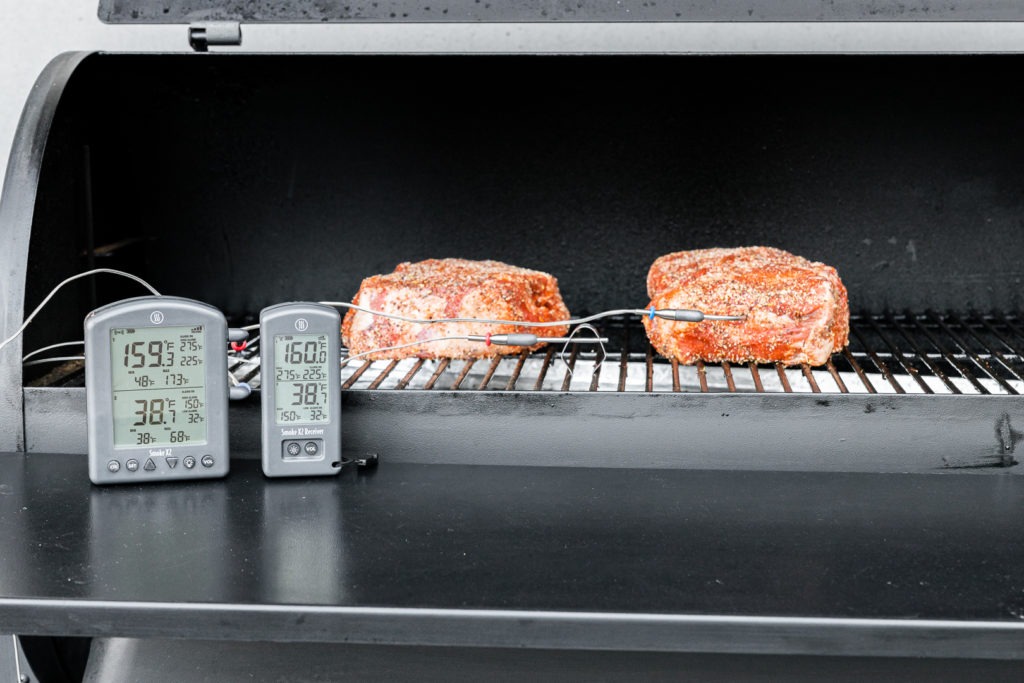
- When the internal temperature of the chuck roasts gets close to your target, preheat the beef broth on the stove.
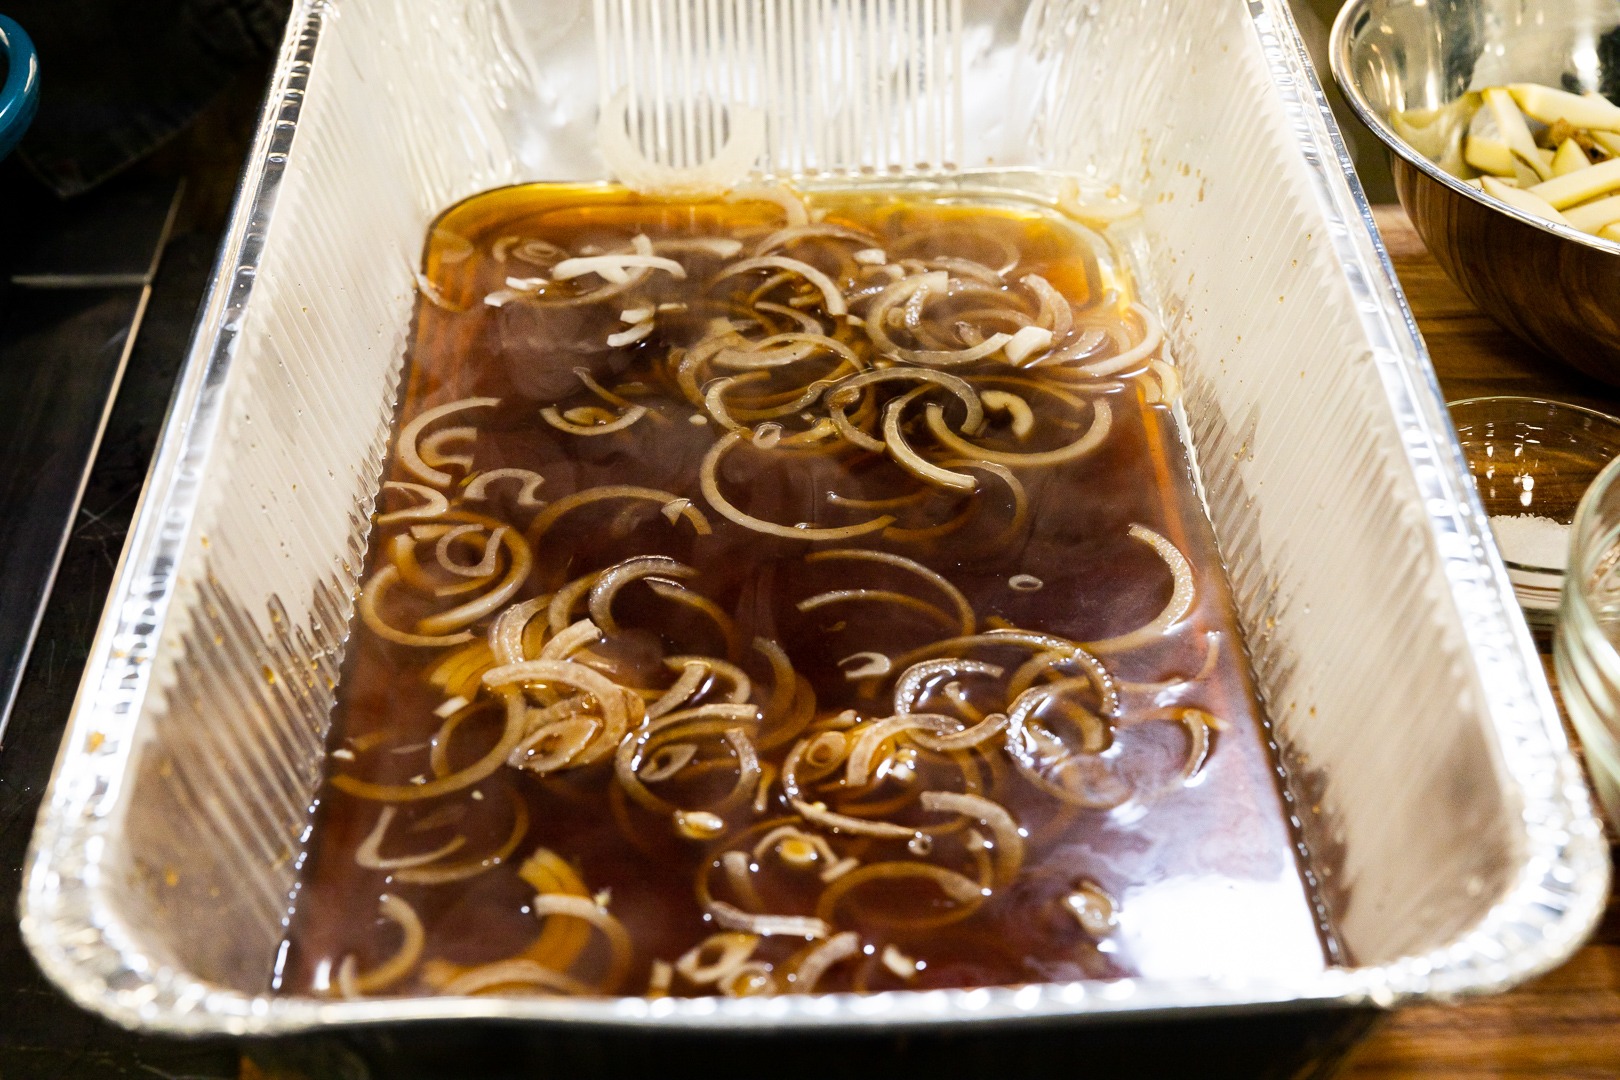
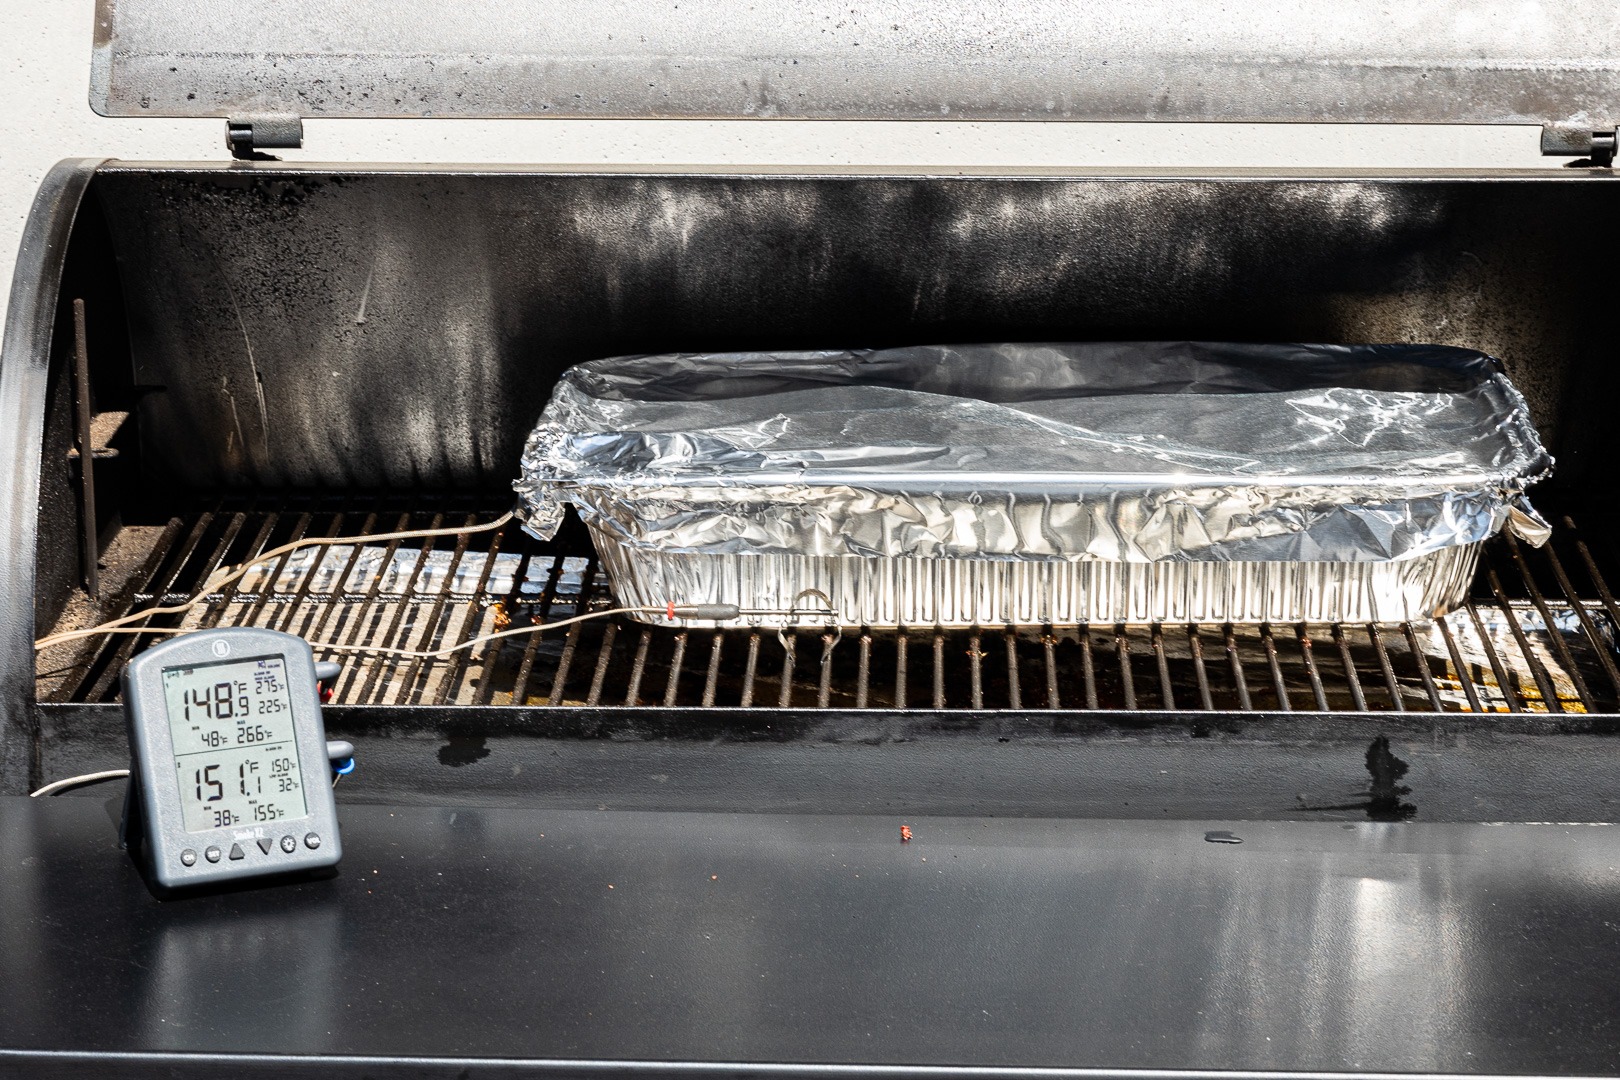
- When the meat’s high-temp alarm sounds, pour the broth into a disposable aluminum pan with the thinly sliced onions.
- Nestle the chuck roasts into the onions and broth. Cover the pan tightly with foil and stick the thermometer probe back through the foil into one of the chucks.
- Set the new high-temp alarm on the meat for 200°F (93°C) and continue to cook it in your smoker. (If you want to save fuel, you can technically cook it in the oven at 250°F [121°C] from this point on.)
- When your alarm sounds again, check the temperature and the tenderness with your Thermapen®. If it feels super tender throughout, or maybe just a timy bit not tender in only one or two small spots, and is at 200°F (93°C) or more throughout, it’s time to take it from the heat.
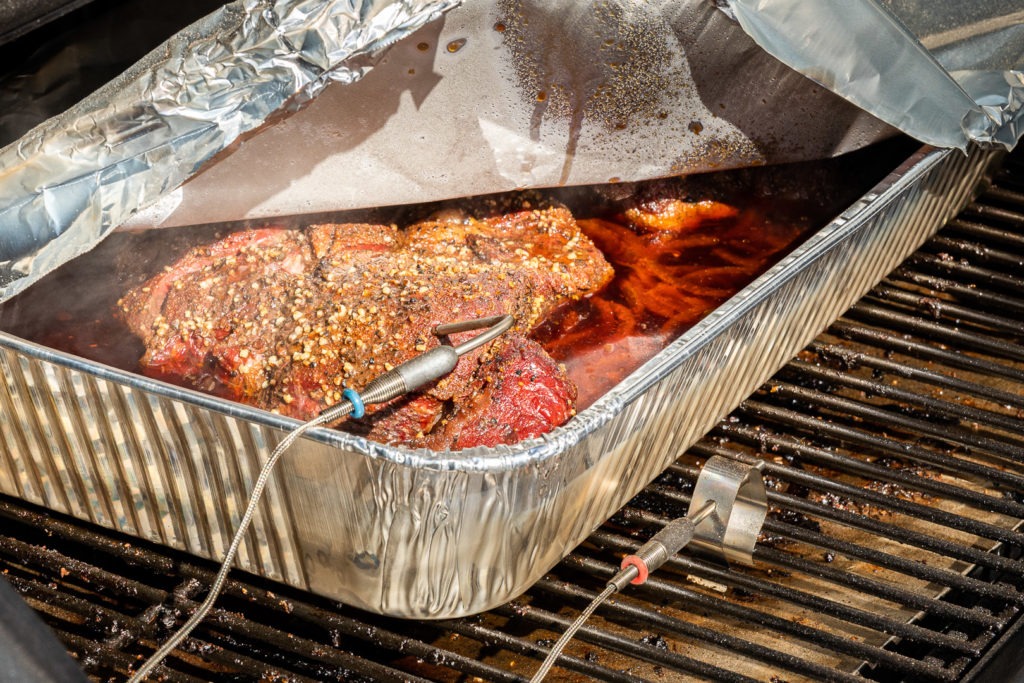
- Release some steam from the pan, then re-cover it and let it rest for an hour or more.
- Remove the beef from the pan and shred it. There will probably be some tough membranes in there. You can discard them.
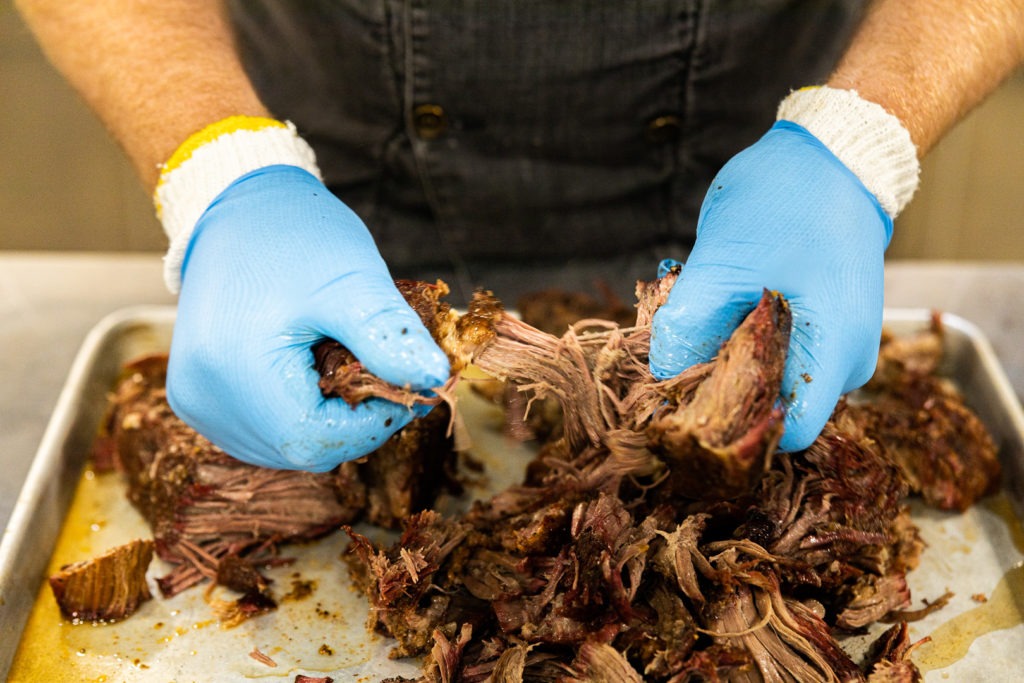
- Assemble your sandwiches! Combine horseradish and mayo to taste. Pile meat on each bun, moisten with a little of the meat juice. Top with horseradish sauce and onion. Serve with jus for dipping and enjoy!
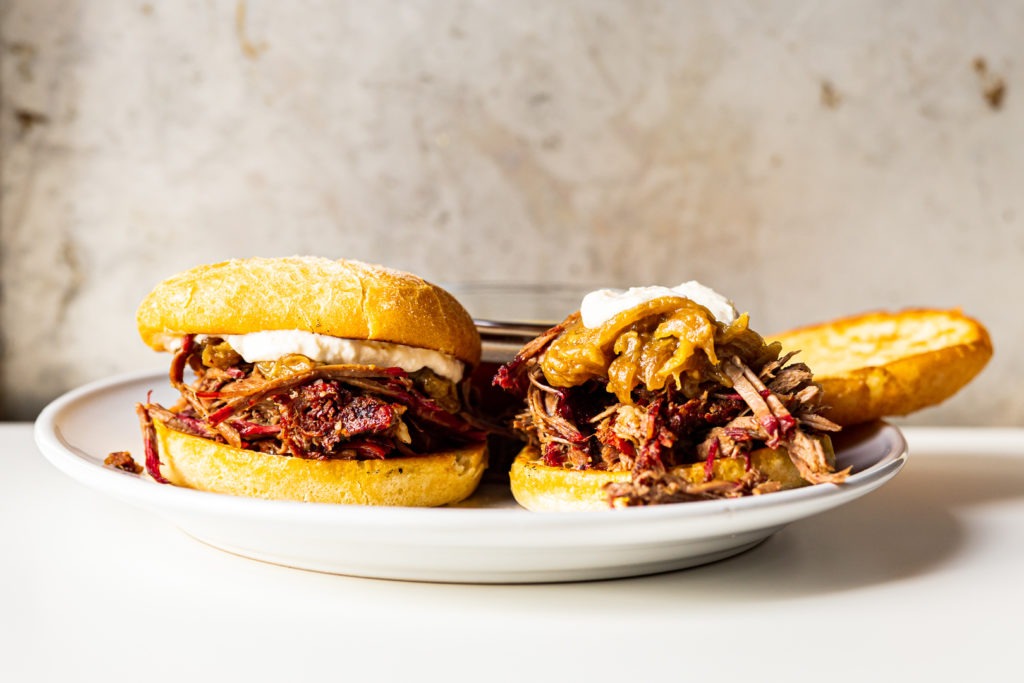
You don’t need to fork out your hard earned dough to get good beef BBQ. With some thermal thinking and a good thermometer, you can make BBQ smoked beef chuck that will be amazing. Serve these sandwiches with rich broth for dipping and a nice, bite-y horseradish sauce, and you’ll feel like a million bucks. And you’ll get dinner on the table without having to wake up at the crack of dawn (or sooner). It’s a win, and I hope you’ll try it soon.
Shop now for products used in this post:



Great recipe but do you have an approximate cooking time? That’s the problem with BBQ, timing it right so you’re not eating dinner at 3:00pm or 9:00pm.
About 6 hours or so!
Maybe you could publish the typical cooking time, a range that will depend on the high and low smoking temperature and the thickness of the roast.
Jay, in general, it’s about a 6-hour project.
Made this from Malcom last Sunday as per the recipe with a Prime Grade chuck from Costco with great results using my ThermoWorks Smoke. Much easier than brisket which is too much for us two.
Sounds like something I’d like to try. My issue with this article/recipe is that there is ABSOLUTELY NO mention of TIME whatsoever! I’m not a newbie to smoking and I know there can be large variances to smoking/cooking times depending on temp and mass but I KNOW it is totally possible to estimate within an hour or two (or less) if you know the size/weight of the cut and the smoking temp. I am extremely disappointed that a company that makes such accurate cooking instruments cannot provide cooking/smoking instructions that will allow the reader to plan their meal within at least even a few hours. I’m sure if I search, I WILL find some ballpark time to allow myself to cook this roast.
Gary,
You’re right, a ballpark is absolutely necessary. If you planned 6 hours for the whole thing, you’d be in a pretty good place, probably. Of course, chuck size, initial temps, etc, matter, but I’d plan on 6-7 hours for this. It’s about 3 hours before the braise and 2-3 hours of braising time.
we just bought 3 chuck roasts!! this is so awesome–as being from TEXAS..i love BEEF BBQ!
Looks great…going to try this soon…we eat a lot of chuck roast but never have tried smoking one.
I love your articles! Please keep up the good work.
Thanks so much for the article and info! We love our Thermapen:)
I tried this today and did not get “shredded” beef.
Firstly, I started with just a 2 pound chuck, well marbled but I doubt that it was highest tier meat. Just grocery store pack.
Our pellet grill stayed true to temp the entire cook.
My time/process was as follows:
10 am roast seasoned with just garlic, salt, pepper and left on counter to bring closer to room temperature.
11 am roast on the pellet grill
1: 40 pm internal temp 150′
Moved roast to foil pan containing warmed broth mixture and covered with foil, returned to grill.
2:30 pm internal 180′
3:20 pm pulled at 203′
4:30 sliced as pulling was not an option.
The meat was smoky and delicious. Beautiful smoke ring, some bark on portion that was not submerged in braising liquid. GREAT taste, not tough, reminiscent of brisket with added BBQ sauce.
Question: What could I have done to achieve pulled beef? I WILL be attempting this again!
Thank you in advance for your comments.
Cathy P
Cathy,
I’d give it another half hour or so of cooking. Sometimes with cuts that are very high in connective tissues, like this one, they need to be at the target temp for a while to melt things nicely. Resting helps, but pumping more low heat into it for a while longer will get you further. I’m glad it was good as it was, but I hope this helps you get it shredded like you want it to be.
Awesome recipe, thanks for putting it out there. I’ll note that in line with your recommendation on an herbal seasoning, I added oregano to the rub and a bay leaf and rosemary sprig to the broth. Came out excellent!
Rodney
Looks good and the comments are informative. Gonna give this a try.
Is there a pre-mixed / store bought rub that you like??
Any good beef rub will do. Heck, even just salt and pepper will get you pretty far!
Sounds like a great recipe. For every one hung up on a time frame for bbqing, I would suggest cooking more often so that you are at least somewhat familiar with how long some foods take to cook. If you can’t estimate a time frame from a given temp and the weight of the product that you plan to cook, you should probably leave it alone.
Also chuck is very closely related to the brisket, I would treat it like a portion of brisket, unless you are grinding it.
Trying the smoked chuck on Tuesday. Recipe is easy to follow and this sounds soo good.
I’ll update soon.