Katsu Curry: Frying Temps for Crispy Pork (or Chicken) Cutlets
I just want to jump right into this one, but I feel like I’m shortchanging this incredible dish if I don’t give it a little intro. Japanese katsu curry (Katsukarē) is a must-try for anyone and everyone that loves delicious food. Is this five-star French dining? Heck no. Is it food that satisfies on a deep physical as well as emotional level? Yes! This is something that you need to have in your culinary repertoire.
Katsukarē is immensely popular in Japan, obviously, but also has regional variations and fanbases all around the Pacific. It has adherents in Australia, for instance, and Hawaii, where it can be part of the famous plate lunch. Once you taste it you’ll know why. It’s astoundingly tasty. How tasty? Our photographer, who obviously eats everything that we cook, called this dish “easily top 5” for things he’s eaten here, so that’s high praise.
Making a tasty plate of katsu curry is not hard, but making one that’s great takes just a tiny bit more effort and a little thermal thinking. Here we’ll follow some of the advice from Just One Cookbook for the crispest katsu and we’ll look at how we can ensure just that much more flavor in our curry. Let’s get to it!
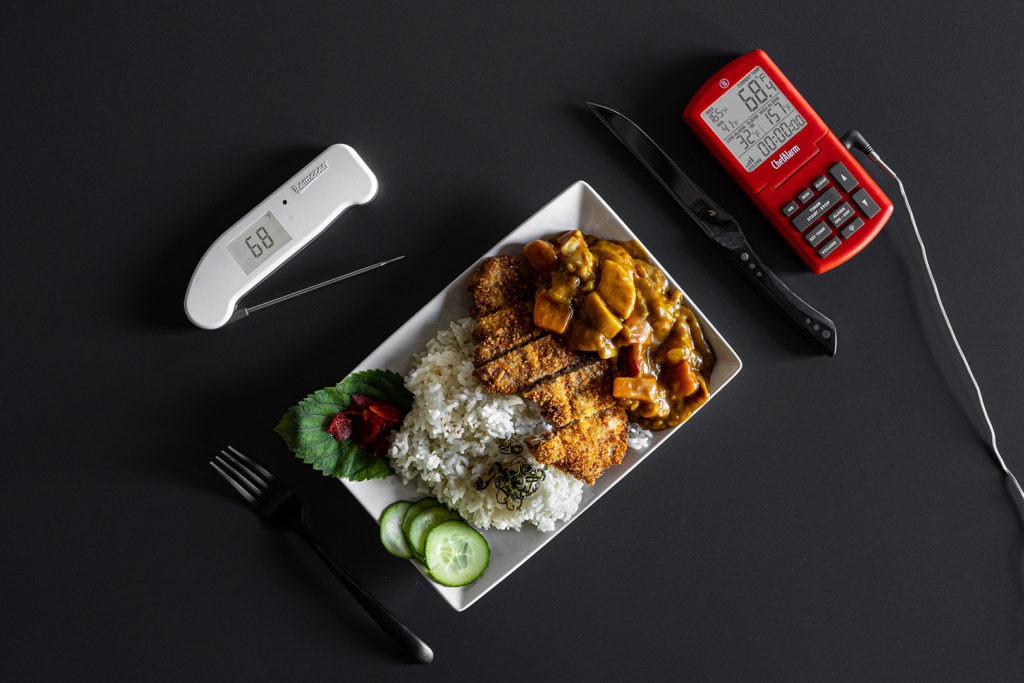
What it katsu curry?
Katsu curry (katsukare) is the ingenious marriage of katsu (a breaded and fried meat cutlet) with rich and flavorful Japanese curry, all served on a bed of rice. You get the crisp crunch of the breaded meat with the thick, gravy-like curry. In many ways, you could say that Japanese katsu curry is spiritual kin to American chicken fried steak, just translated into another cultural flavor palate.
Katsu curry can also be seen as a special case of katsudon, a rice bowl with katsu and toppings. One of the toppings, in this case, is curry.
The version we present here is made with a thinly pounded pork chop, meaning that this is a tonkatsu curry (ton means pork/pig). You can make this same recipe with chicken instead, just use boneless skinless chicken thighs pounded out thin and breaded the same way. Either way, you’re in for a treat.
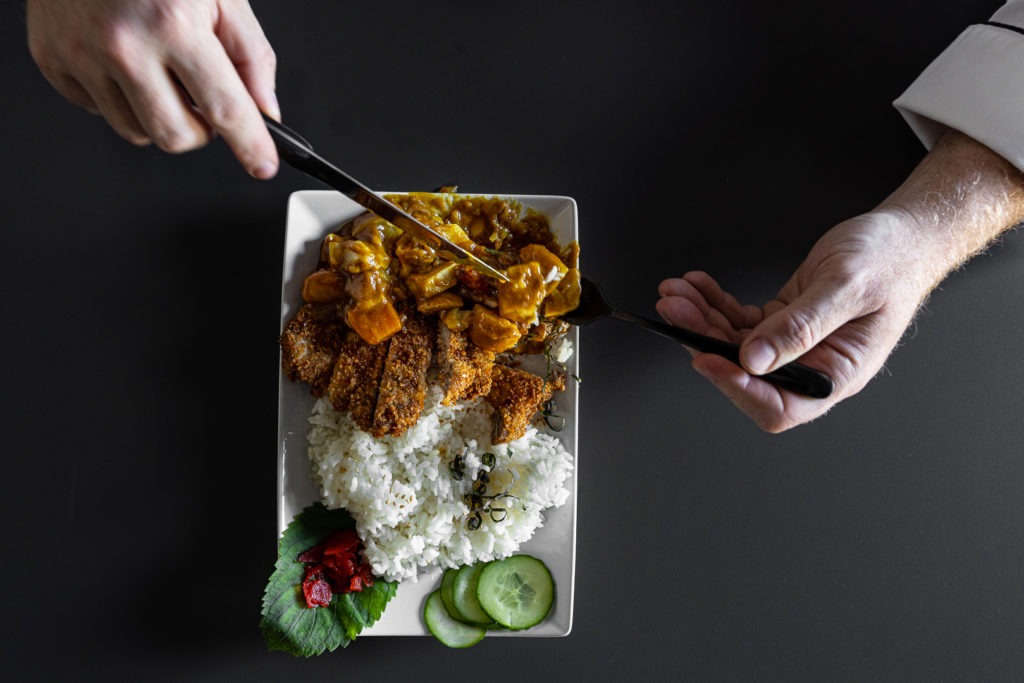
Japanese curry—getting deeper flavor
The Japanese curry that tops the pork katsu in this dish carries most of the weight of deliciousness. Don’t get me wrong, the fried pork is good, but it’s not curry good on its own. So how does one make Japanese curry?
Japenese curry roux
Japanese curry is made with a roux (mixture of flour and oil used for thickening sauces) that is deeply imbued with curry powder. You cook your vegetables and meats in a stock or broth, then add a few chunks of roux. The fat in the roux melts and the flour and spices thicken the stock into a luscious gravy.
You can make your own curry roux bricks to use in curry by cooking together flour, butter, and large quantities of curry popwder and any other spices you want to use, or you can just buy bricks of it at the grocery store. Most well-stocked grocery stores carry curry roux in their Asian aisle, Golden Curry is a very common brand. Even people in Japan use the premade bricks, so don’t feel like you’re cheating by using a premade product. Try the one you can buy first, then decide if you want to try making your own.
I’ve been making Japanese curry for years and am still buying the blocks, so take that how you will.
Getting deeper flavor in Japanese curry
You can put whatever you like in your curry, but carrots and potatoes are quite common and very good. I also like diced red pepper and mushrooms.
But just tossing all your ingredients in a pot and boiling them isn’t going to make your curry as good as it could be. For that, you need to get more flavor development. One of the easiest ways to do that (besides adding a little sesame oil and a little instant dashi stock) is by properly sauteeing your ingredients first.
Use a heavy pot or Dutch oven that is well heated with some oil in it. When the oil is nearly smoking, start adding veggies. Onions and peppers go in first, then, once those have started to brown and blister, the carrots. Once the carrots are picking up a little caramelization around the edges, you can add the mushrooms (yum). Again, get some color before moving on! The browning, slight charring, and caramelization you create in this step makes a big difference in the flavor of the final curry.
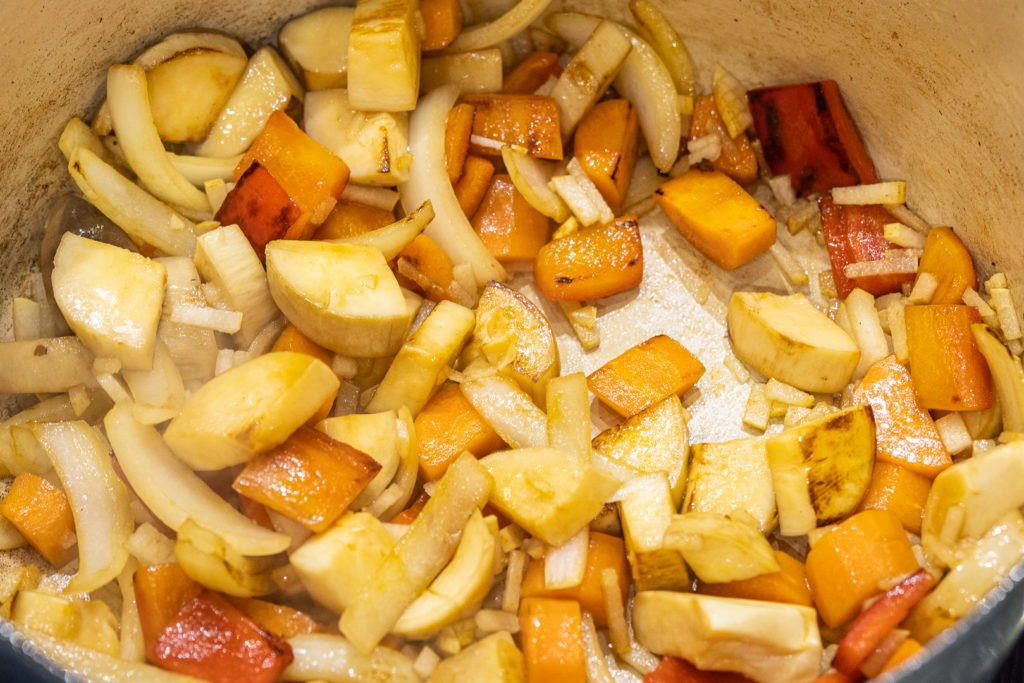
Once everything has been browned, you can add the potatoes. The potatoes don’t need browning and can be added with the water. The whole thing is brought to a boil and allowed to simmer until the potatoes are tender. Then you add the curry cubes and stir to combine and thicken.
On, and don’t forget the apple/pear.
What?
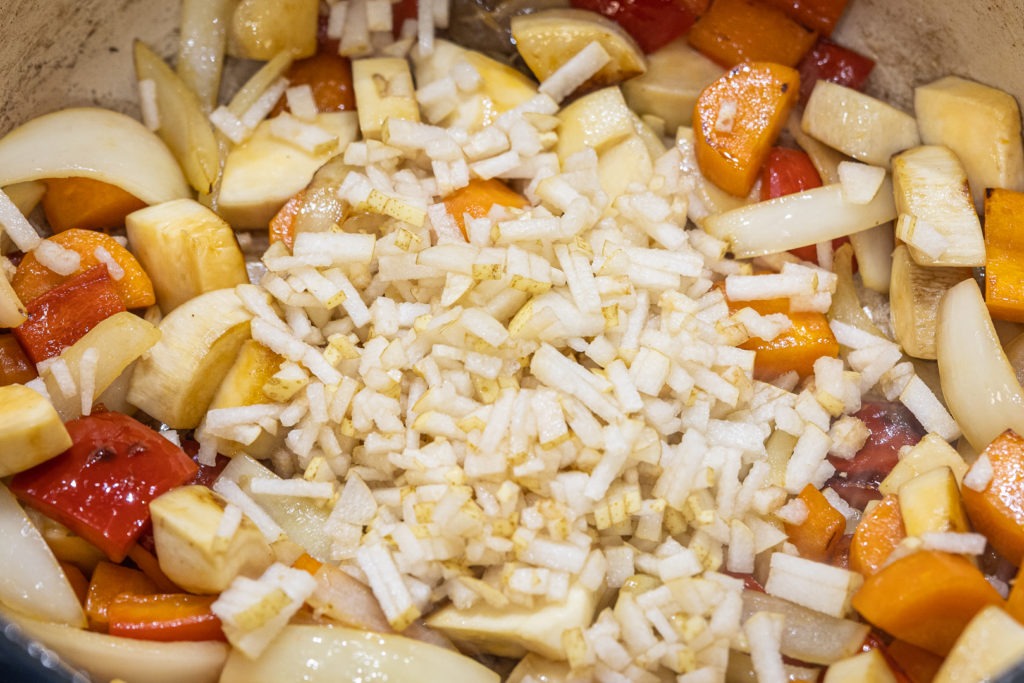
Japanese curry is best with a grated/finely diced apple or Asian (or European) pear added in the final sauté step. Add it after all the other browning but before you add the potatoes and water and cook until a little color appears. You will not see it in the final curry, but its flavor and sweetness help this curry go the extra mile.
Getting maximum crisp on the katsu
Since we’ll be swathing our pork cutlets in gravy, we need to think of a way to help them stand up to it without going soggy. Nami, at Just One Cookbook, provides a clever way to get the crunch we want by using a thermal solution: she double-fries the katsu at two different temperatures.
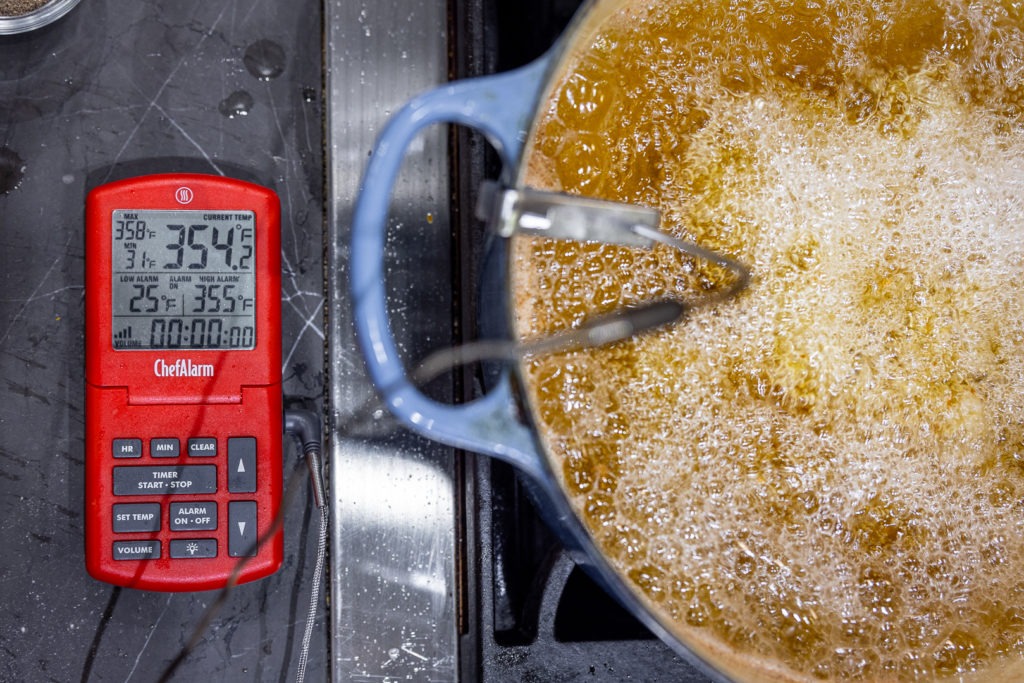
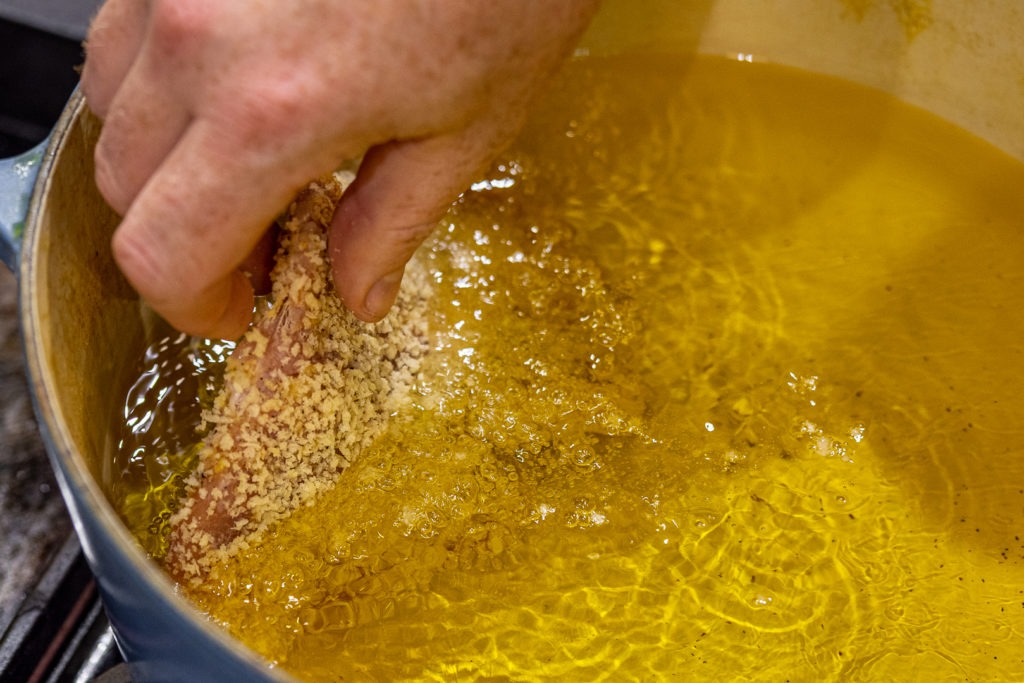
The initial fry is done at 340°F (171°C). Cook all the cutlets at this temperature for about 1 minute each, setting them aside as they come out of the oil. Then the oil is turned up to 355°F (179°C). The temperature difference is not huge, but the resulting katsu has a mighty crunch that stood up to many minutes of photography before I got to dig into it. Using a deep-fry thermometer like ChefAlarm® to keep track of your oil temps, helping you to adjust your flame as needed, is key for a fry like this with a narrow temperature window. Cooking this too hot will char your delicate breadcrumbs, and cooking it too cold will give you soggy, oily katsu. Hitting that temperature on the head really helps!
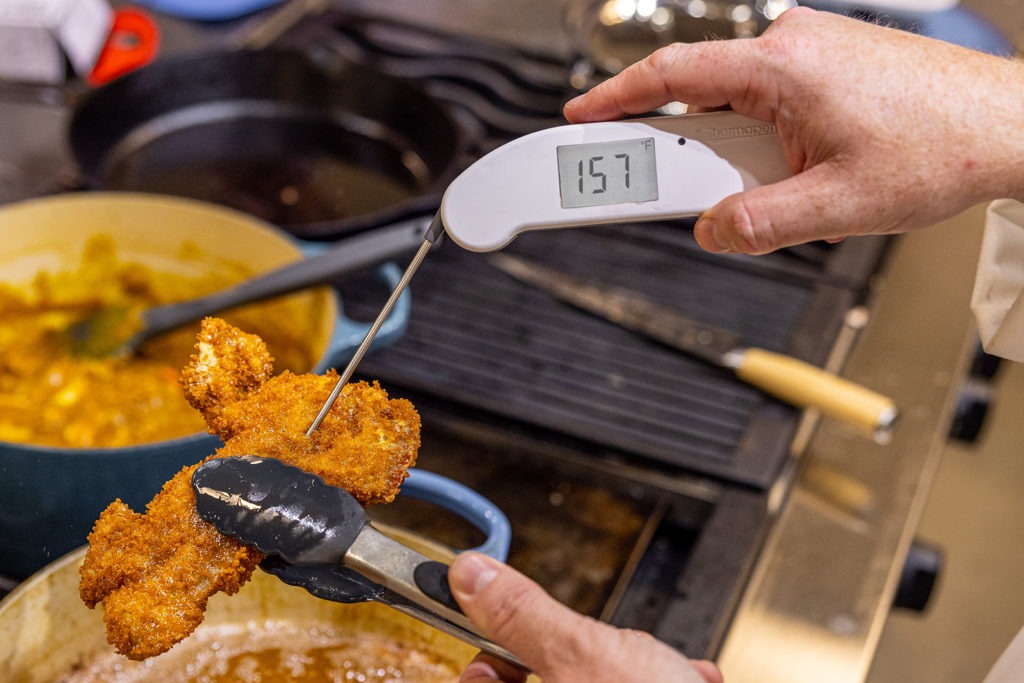
What about internal temperature? Excellent question! Internal temp does matter for the pork, but with cutlets this thin being cooked—not once, but twice!—in hot oil, we don’t really need to worry about hitting the USDA recommended pork temperature of 145°F (63°C). We used our Thermapen® ONE to check one of the cutlets as it came out of its second fry and found our temp to be even higher than needed. Does that mean dry pork? Not necessarily. I recommend using a cut that isn’t just the loin chop—those dry out more easily. Use sirloin chops, if you can find them. They retain just a bit more moisture. And if you serve the katsu fresh, it will still be juicy enough.
Note: don’t forget the pickles!
Almost no Japanese meal is complete without some kind of pickle, and this dish is no different. You can but some of the pickled daikon radish that we served with this—it is deeply funky, sweet, and fascinating—or just throw together a quick pickle with thin-sliced cucumbers with some salt, rice vinegar, and a pinch of brown sugar. The bright acidity and the cook crunch act as a foil to the rest of the dish, setting it all off wonderfully.
This is a culinary trip you really ought to take. This dish is not hard to make, and the payoff is huge. Take the time to sauté your ingredients with care, go to the trouble of double frying the katsu at the right temps, and pretty soon you’ll start considering opening up a curry shop. Hyperbole? Could be. You know how I get on this blog. But I think you’ll see that the hyperbole isn’t very far off base. I hope you try it this weekend (though it’s very doable on a weeknight, too), maybe even for friends. Share the goodness. Happy cooking!

Katsu Curry Recipe
Description
Pork Katsu with Japanese Curry, with guidance from Just One Cookbook.
Ingredients
For the curry:
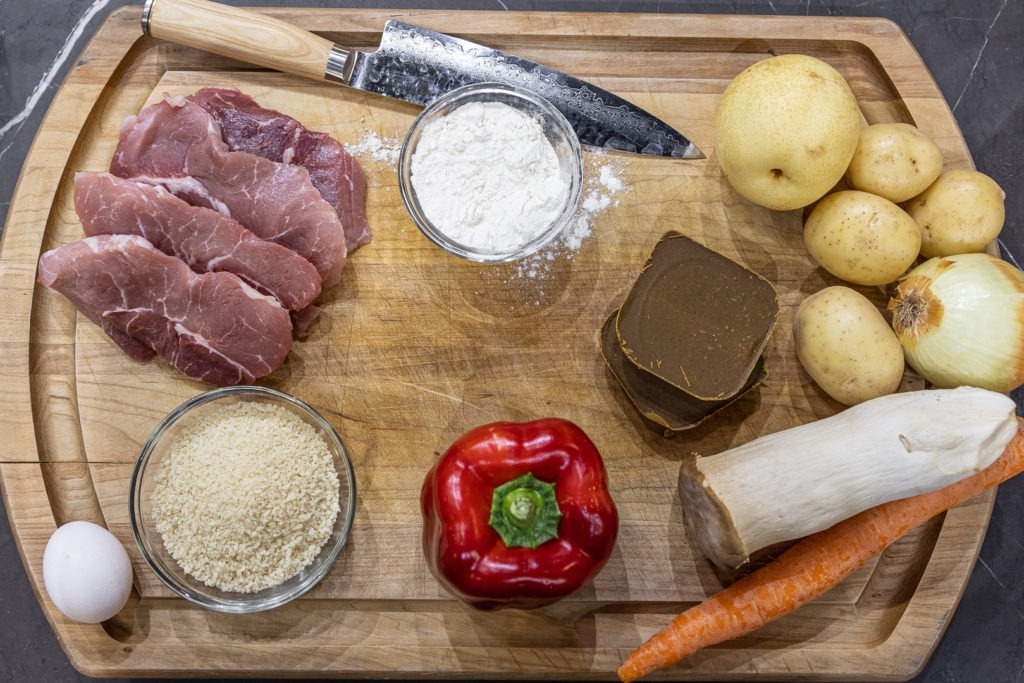
- 2 Tbsp neutral oil
- 1 tsp sesame oil (optional)
- 1 onion, sliced
- 1 red bell pepper, diced
- 1 carrot, peeled and sliced
- 1 large king oyster mushroom, cut into chunks (usually available at Asian markets—4 oz other mushrooms if you can’t find them)
- 1 apple or Asian pear, grated or finely diced
- ~10 oz potatoes, cut into chunks
- 6 cups water
- 7.8 oz package of curry cubes Golden Curry or Vermont Curry brands are good)
For the katsu:
- 1 C panko bread crumbs
- 4 boneless pork chops
- Salt and pepper
- 1/2 C flour
- 2 eggs
- 1 Tbsp oil
Also, white rice and pickled vegetables for serving
Instructions
Make the curry
- Heat the neutral oil in a large heavy pot over medium-high heat until nearly smoking. Add the sesame oil.
- Add the onions and peppers, sauté until blistered and a little charred on the edges.
- Added the carrot slices, sauté until browning.
- Add the mushroom chunks, same story.
- Add the pear/apple and cook a couple more minutes.
- Add the potatoes and water. Bring to a boil and turn down to a simmer.
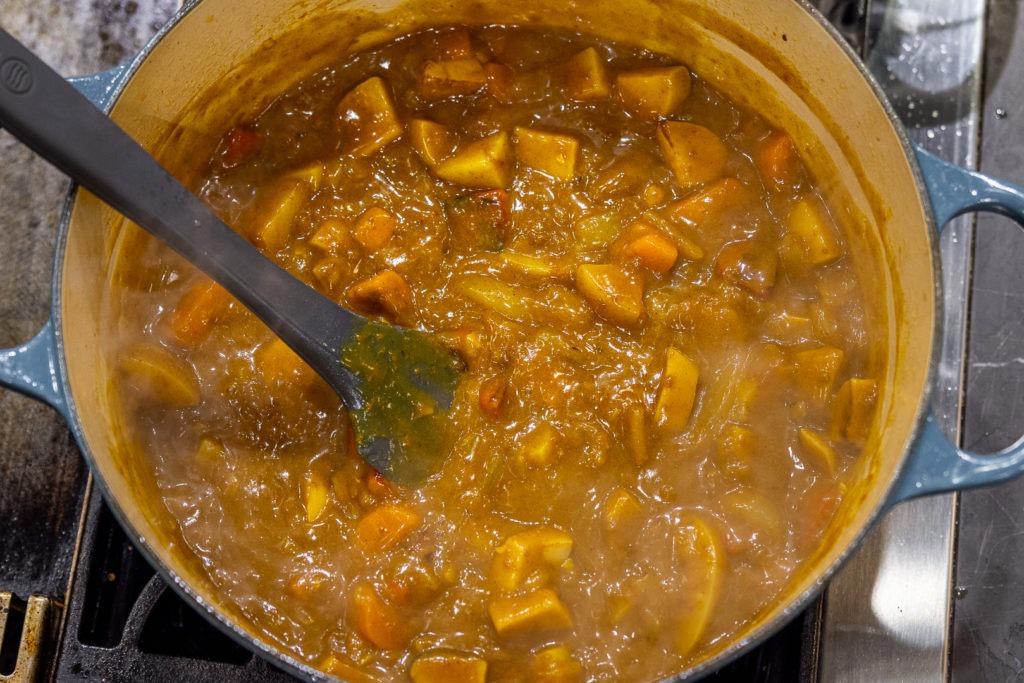
- When the potatoes have cooked through, add the curry roux to the pot and continue to cook, stirring, until the cubes have melted completely and the curry is thickened.
- Adjust the consistency by cooking longer to thicken or by adding water if too thick. Taste and adjust the salt.
- Set the curry aside with a lid on it to keep it warm.
Prepare the katsu
- Place your panko in a wide dish and spritz it thoroughly with water. Let the panko soak up the water as you prepare everything else. It should be somewhat soft as if you had made breadcrumbs from fresh bread.
- Start preheating 2–3 inches of neutral oil in a pot suitable for deep frying. Use your ChefAlarm and set the high-temp alarm for 340°F (171°C).
- Pound the pork chops out between two sheets of plastic using a meat mallet. A torn-open freezer bag works wonderfully for this. The cutlets should be about 1/4″ thick.
- Season the cutlets with salt and black pepper
- Whisk the eggs together with the tablespoon of oil.
- Bread the cutlets by first dredging them in flour, then dipping them in the beaten eggs, then coating them in the softened panko.
- Set the breaded cutlets aside until the oil is hot.
- When the ChefAlarm sounds, add one cutlet to the oil (two, if your pot will allow it without them interfering with each other).
- Cook the cutlet for 1 minute, turning it over with tongs halfway through.
- Remove the cutlet from the oil and set it aside to drain while you cook the other ones.
- Allow the oil to return to 340°F (171°C) before cooking the next cutlet.
- When all of the pork pieces have been fried once, change the high-temp alarm on your ChefAlarm to 355° ( 179°C) and heat the oil to that point.
- Re-fry each piece of pork for another minute. If you are concerned your cutlets are too thick and might not be done inside, verify the internal temp with your Thermapen ONE. Allow them to drain on a rack set in a cookie sheet or on some paper towels.
Put it all together
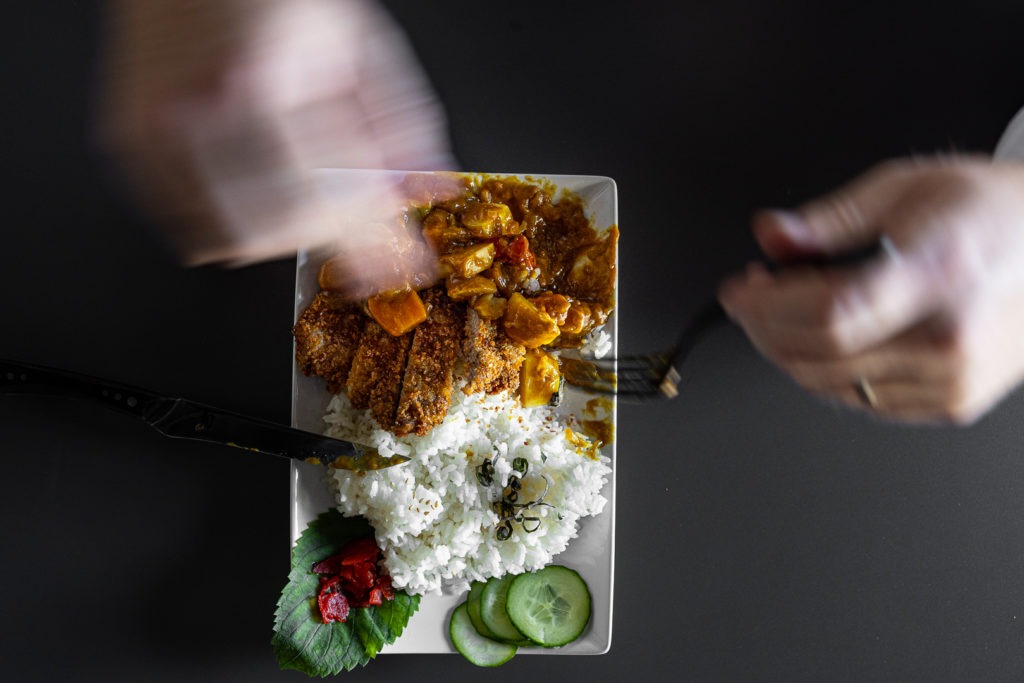
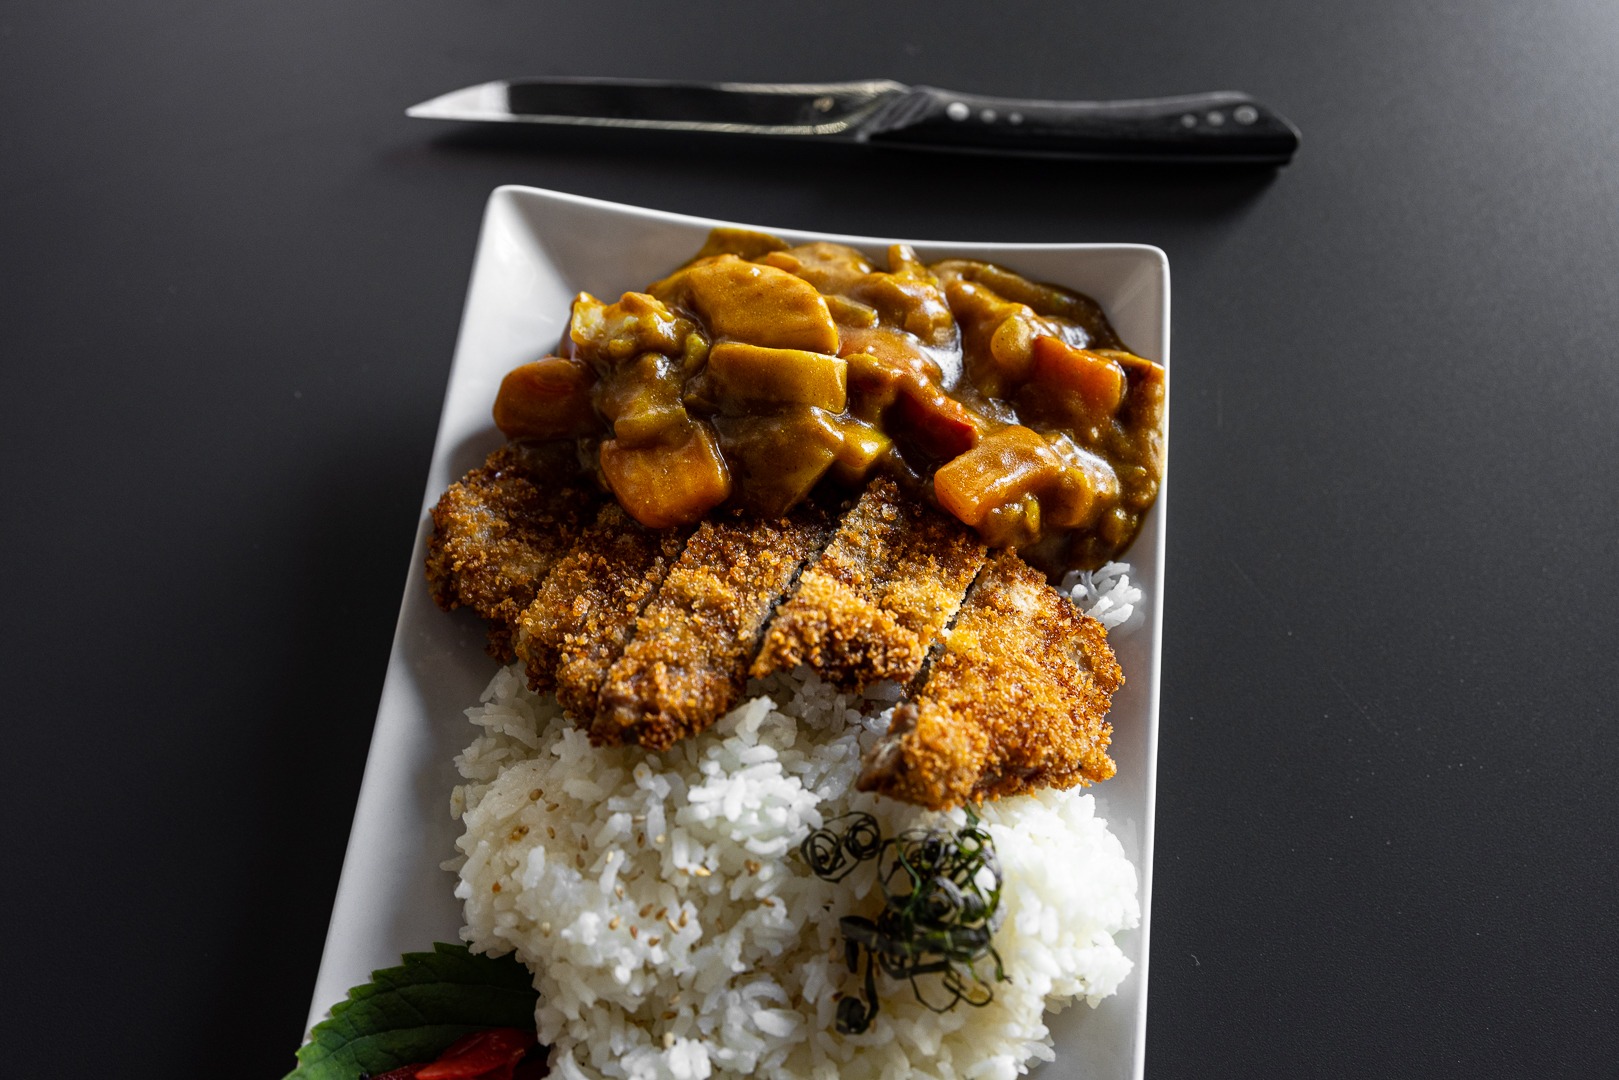
- Cut each katsu into strips across its short axis. Lay those strips on a bed of white rice on your plate
- Ladle a healthy portion of curry onto the katsu.
- Garnish with pickled daikon and serve it up!
Notes
This recipe for curry makes more than you’ll “need” for the katsu. Serve any leftovers warmed up on more rice. Or maybe just go heavy on the sauce and don’t have any leftovers? Either way.
If you want to do this with chicken instead of pork, the process is exactly the same, but do check those internal temps to make sure they are over 165°F (74°C). You won’t have a lot of thermal mass or time-at-temp to kill the bacteria slowly.
Shop now for products used in this post:




I looked forward to making this, we have made pork katsu several times and I was intrigued by the idea of the Japanese Curry. Well, the pork turned out fine, as did the rice. The curry was lousy and there is a lot of it left over. I used Golden Curry brand, 7.8 oz as specified. However I was concerned about the amount of water called for in the recipe, so I only used 4 cups instead of 6. Should have been pretty thick, right? No….. I tried to cook it down, finally gave up and added a tablespoon of cornstarch which improved it but not a lot.
Ther other problem is it’s pretty bland, no good curry flavor here. I am going to have to use up some of the vegetables so I will likely add some Thai curry paste and another T of cornstarch.
Don’t bother with this, there are too many other (and better) recipes out there.
Harmon,
I’m sorry to hear you didn’t like the curry part of this, but I’m glad the pork turned out well. One can, of course, use any kind of curry one likes. I’ve never had my curry end up too thin with Golden, but I’d recommend looking at Just One Cookbook’s recipe for homemade curry roux.
It is worthwhile pointing out that Japanese curry, specifically it being first introduced as a dish in the Japanese navy, was a means of addressing deficiency diseases among Japanese servicemen. One of the recruitment incentives for the navy was all the white rice you wanted; white rice was regarded as being higher quality than brown rice, and the more deeply the rice was milled to remove its outer layers, the higher quality it was believed to be — but this also removed the vast majority of the nutrients in the rice. Sailors, choosing diets composed almost entirely of white rice, would get beriberi, a thiamine deficiency. Looking at other navies, particularly Britain’s, attention focused on curry, which as served was significantly different from Indian curry, consisting of tinned curry powder, butter, meat, root vegetables, and a flour-thickened sauce. Since both meat and flour contain thiamine, it was a sovereign remedy for beriberi, and served over rice, could feed an entire mess hall. The Army fell in behind curry as a food to keep from losing troops to debilitating disease, and troops demobilized after WWII brought their desire for the dish with them. By this time, it had largely mutated into a roux-based curry sauce served with/over rice, with various optional additions of vegetables, fruit, and meat depending on the ship or unit from which a particular curry recipe was derived.
I was unaware of that history and love learning that! Thank you.