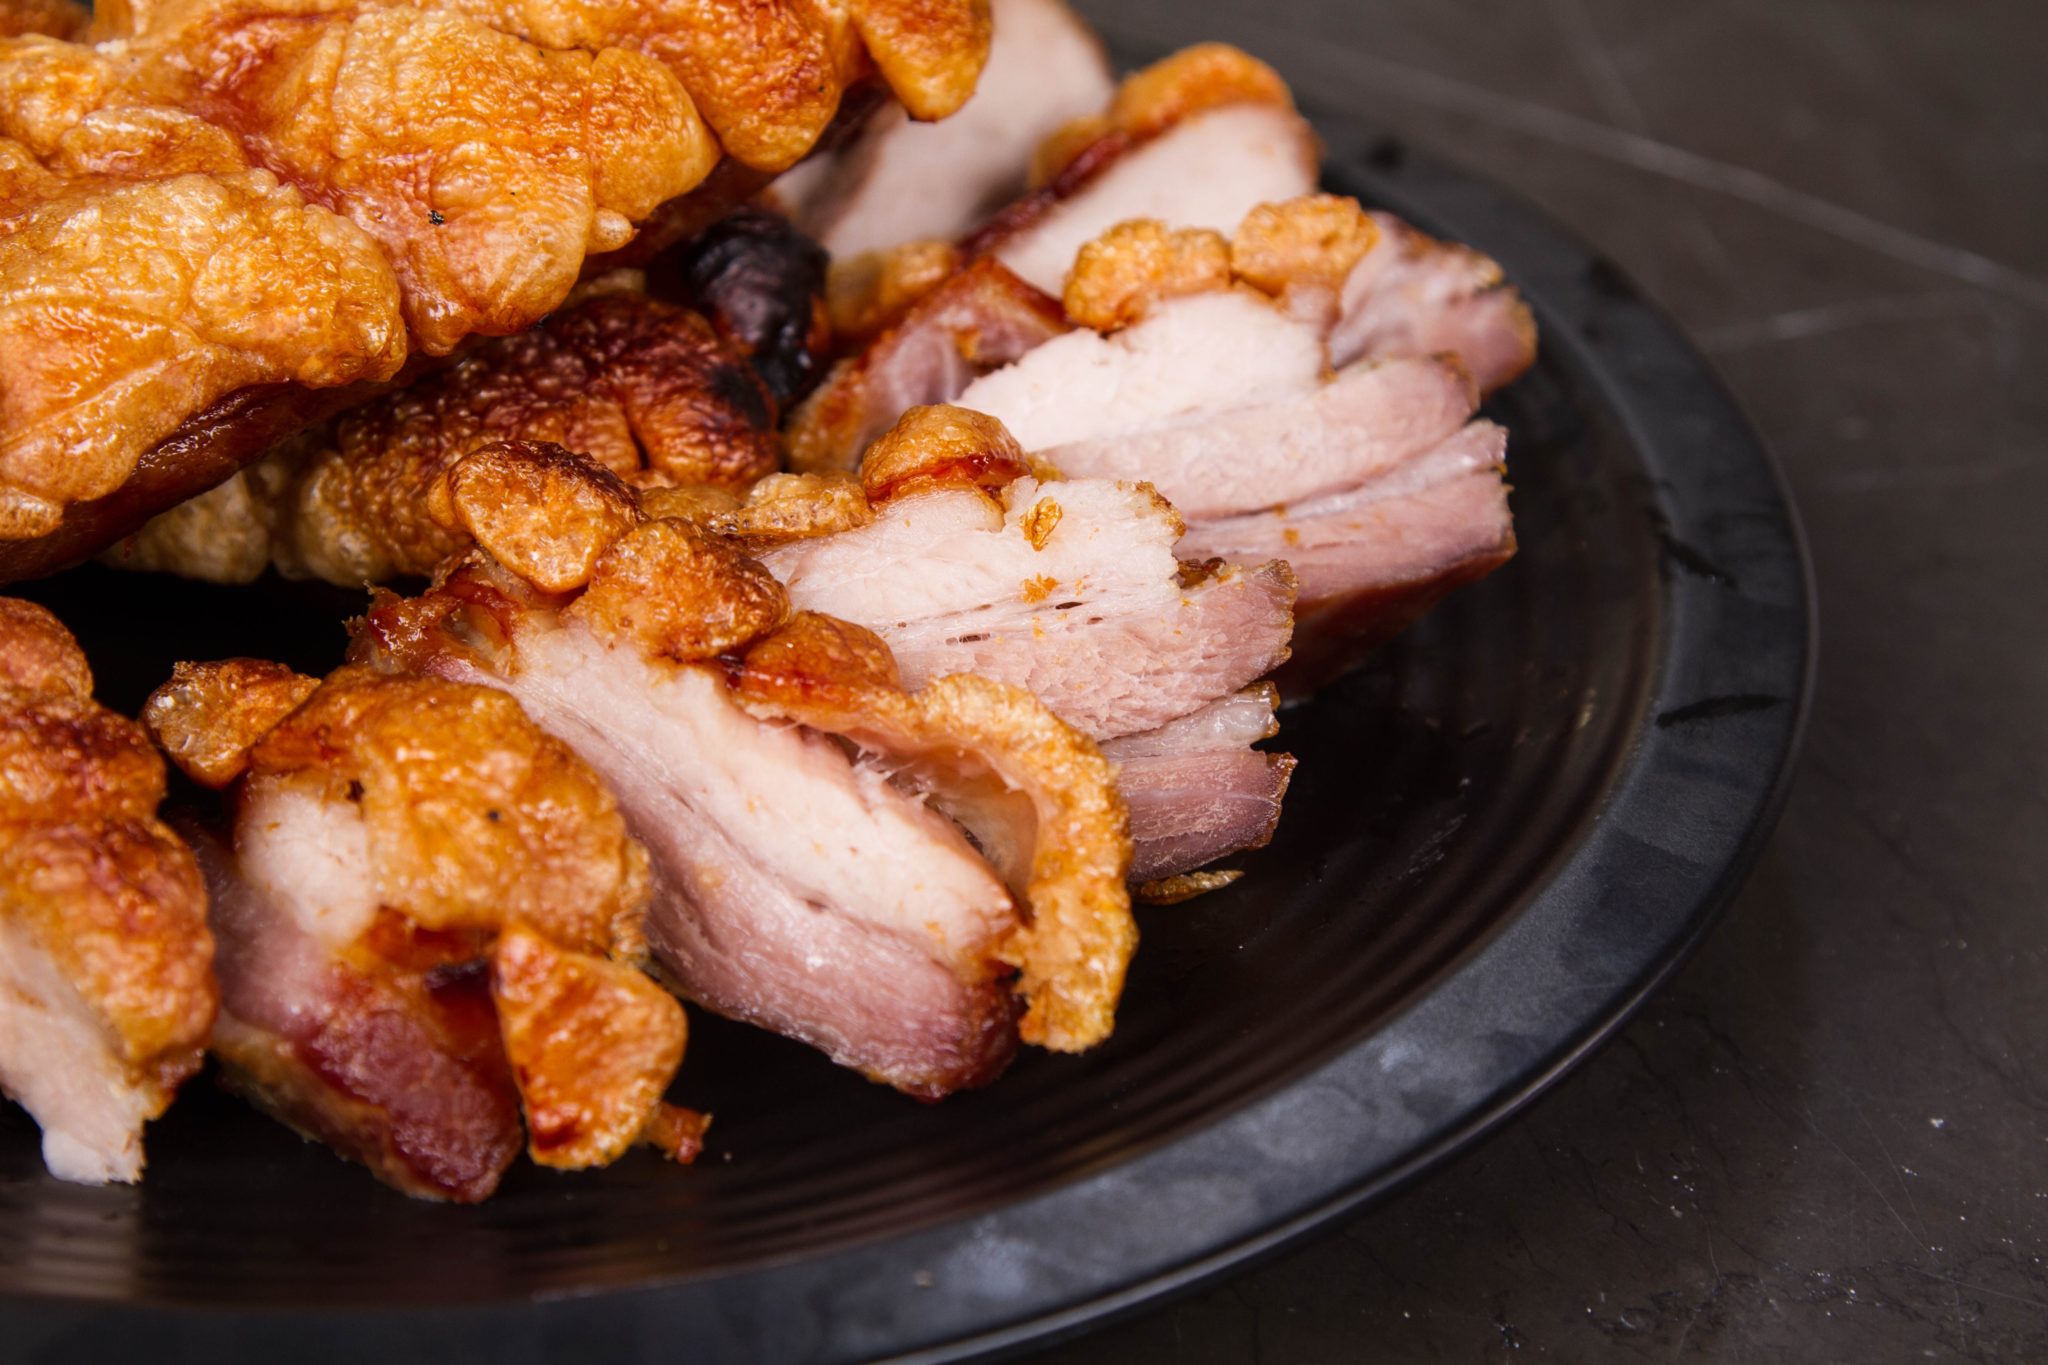
Slow-Roasted Pork Belly with Chicharrones
Do you remember the first time you had pork belly? I do. It was 2010. I was walking through the Bloomington’s farmers’ market as it was closing down and the annual food festival was gearing up. I happened to walk by the table of one of the city’s best chefs and he slipped me a sample (I guess I was looking particularly hungry). I won’t bore you with the details, but let’s just say I was hooked. It was tender. It was silky. It was pork-y. It was also fatty and unctuous in a way that spoke right to the primitive lizard part of my brain.
So memorable was that one morsel of food that I can still recall it to this day. But since then I have learned that there are ways to make pork belly even better, and one of them is to coat it in crackling.
Pork skin has a particular way of crisping into deliciously crunchy crackling (also called chicharrones, scratchings, or pork rinds) when cooked correctly. But is it possible to combine the richness of pork belly with the crunchy candy goodness of crackling? With the help of the good people at America’s Test Kitchen and J. Kenji López-Alt, you bet we can.
First, we take care of the meat and then worry about the topping—a two-stage cooking process. Pork belly is full of connective tissue that melts down into lovely, juicy gelatin for that silky mouth-feel. To accomplish this, we’re going to cook first at a low temperature for a long time. Collagen strands start to unfold into gelatin at 170°F (77°C), so we need our meat to get up to at least that temperature (well above the FDA recommended temp for pork ‘doneness’). We’ll set the high alarm on our ChefAlarm® for our chef-recommended temp for pork shoulder barbecue—190-205°F (88-96°C). (Belly and shoulder both have lots of connective tissue, and that temp will yield maximum tenderness.)
How to Make Pork Cracklings
Pork skin offers both a special challenge and a special opportunity to the cook. Pork skin is even more chock-full of collagen than the pork meat itself (Harold McGee, in On Food and Cooking, gives the collagen content of pork skin as 30%). This sounds promising for cooking our skin down into something gelatinous and moist. But the fact of the matter is that pork skin is most likely to become flabby and soft (if cooked at a lower temp) or leathery and tough (if cooked at a higher temp). This happens because there isn’t enough protein-stiffening to make the skin crisp up at the low and slow temperatures needed to melt collagen. At higher temperatures, the proteins stiffen at the same time the gelatin is forming, preventing true crunch.
So the challenge is to make skin worth keeping.
Let’s look deeper at the science of what’s going on in pig skin while it cooks. When we reach the temperature at which the collagen melts—which really gets going at 170°F (77°C)—we end up with liquid from the skin and meat trapped in little pockets of gelatin. Like I said above, that can mean flabby skin. But Kenji has figured out that if we then take that flabby-skinned pork with a million little water pockets trapped inside the loose proteins and put it into a high-heat oven, 500°F (260°C), the sudden infusion of high heat inflates all those little water balloons with steam.
And here’s the key: as the bubbles expand, their walls stretch out thinner and thinner; eventually they are so thin that the heat from the oven is able to quite rapidly set them into a permanent shape that won’t collapse even when the pork is pulled out of the oven.
—J. Kenji López-Alt

In essence, we are getting the “oven spring” that bakers get in their cakes, but with pork skin. A blast of heat makes steam, and then while the steam pockets are inflated, the walls of the pockets set in place. The result is a crunchy, crackly skin that will make everyone at the table squeal with delight.
Crispy, Slow Roasted Pork Belly Recipe
Recipe from Cook’s Illustrated’s Cook’s Science, with additional instructions from J. Kenji López-Alt’s The Food Lab
Ingredients
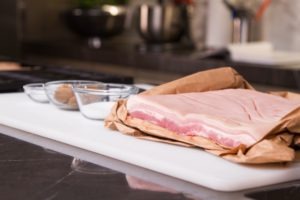
- 3 pounds skin on pork belly, about 1 ½ inches thick
- 2 tablespoons packed dark brown sugar
- 2 tablespoons + 1 ½ teaspoons kosher salt
Instructions
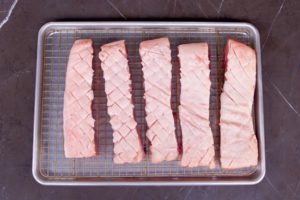
- Score the pork skin in a cross-hatch pattern, making cuts every ½ inch. Cut just deeply enough to get through the skin and a little fat. Do not score the meat underneath.
- Cut the belly into 1 ½” wide lengthwise strips. (Lengthwise in this case means perpendicular to what a slice of bacon would be on the belly.)
- Let the pork sit in the refrigerator, uncovered, at least 12 hours or overnight. (We’re basically dry brining this meat.)
- Heat the oven to 250°F (121°C) and put pork on a wire rack in a rimmed baking sheet. The rack is important, because we’re trying to roast this pork, not braise it. Putting it up on the rack will allow the juices and rendered fat to drip away without accumulating around the meat. (Depending on your pork and your pan you could end up with a wallow of liquid surrounding the pork to change the way it cooks.) This recipe strives for a roasty, toasty exterior achievable only by dry roasting.
- Insert the probe from a ChefAlarm into the thickest part of the pork and set the high alarm for 195°F (91°C). Cook the pork until the alarm sounds. This could take as little as three hours and as long as six (as it did for us this time). The thickness of pork and efficiency of your oven can affect cook time. We used a TimeStick® to allow us to move around the building while the pork was cooking. IT WAS NOT MEANT AS A TIMER FOR THE MEAT. This recipe is all about temperature, not time.
- When the ChefAlarm sounds, verify that the pork belly has reached 195°F (91°C) in several places with a Thermapen®.
- Remove the pork belly from the oven.
- Adjust the oven heat to 500°F (260°C).
- When the oven comes to temp, put the pork back in the oven. Remove the ChefAlarm probe, as it is not necessary for monitoring this step.
- Watch the pork carefully, the skin will begin to puff and crisp in just a few minutes.
- Rotate the pan every 5 minutes until all the skin is puffy, crunchy, and crisp. (You may need to remove some pieces from the oven before others, as they can finish at different rates.)
- Allow the pieces to cool until you can handle them. Then slice, serve, and enjoy while they are still warm!
Fatty pork belly can be improved upon by giving it a coat of fun crackling, which you can get by a long, slow cook of the meat, followed by a heat-blasting treatment at the end. This will create a crunchy crust so tempting, that you’ll want to hog all the results for yourself.
Products Used:
Resources
The Food Lab by J. Kenji López-Alt
Cook’s Science by Cook’s Illustrated
On Food and Cooking by Harold McGee


Great recipe. I finished mine off in a 500 degree oven fire for about 20 minutes. Cracklings were perfect.
Bruce,
We’re glad to hear it went well for you! Enjoy!
I suspect one could perform step 1 in a smoker, and finish it off in the oven. Is that correct? Has anyone tried this?
Yes, you could!
Question regarding the fat and skin : If I would like to cook (in liquid) a cut of Pork (like pork knuckle) and later remove the soft cooked skin with fat, can I get that cooked skin and fat to render crispy at all? Or is the process so that it can’t be achieved?
You certainly can! It’s usually done in a two-step fry, first at about 210°F for an hour or more, then at about 375°F until puffy and crisp. But you can also take it off the braised meat, cook it “dry” in the oven, then blast the heat like in this recipe.