How to Render Beef Tallow
We’ve established that french fries fried in beef tallow are more delicious than those fried in, say, peanut oil. But how does one come by beef tallow? It’s not readily available in stores like it was in our grandparents’ day. Yes, you can buy it online, and if you’re fortunate, you can buy some from a local producer at a farmers’ market. But if you don’t have access to those resources, what are you to do? Well, make your own.
What is tallow?
To begin with, tallow is the rendered fat of mutton or beef, though in American parlance, it almost exclusively refers to beef. It is a high smoke-point oil that is highly saturated, with a rich flavor. It was used for generations in deep-fry applications until the cholesterol scare of the 1980’s put an end to its widespread use.
Why use beef tallow for frying?
As we’ve already said, beef tallow makes delicious foods when used for deep frying. But it also has temperature advantages. We have found that beef tallow has a higher heat capacity than peanut oil, meaning it can do more heat-work per degree than peanut oil. Plus, beef tallow is high in niacin, which is one ot those “recommended vitamins and minerals” you’re already not getting enough of, so that’s nice.
Another advantage that beef tallow has over vegetable oils is its longevity. Beef fat is a highly-saturated fat, which is why it solidifies at room temperature. But saturation provides a longer life for the oil. According to Dr. Oscar Pike, a food scientist at Brigham Young University who specializes in oils, it is the unsaturated fats in oils that break down after repeated heating and cooling. A highly saturated fat like beef tallow isn’t as susceptible to useage-decay as, say, soybean oil.
As long as it’s stored properly in an airtight container—preventing oxidation—beef tallow will be good for many uses before you have to replace it.
What fat to use to render beef tallow
To start with, you will need some beef fat. Most grocery store meat departments (if they have in-house meat cutters) will save beef fat for you if you let them know in advance that you’ll be wanting some. What they give you will be fat from prime rib roasts, T-bone steaks, and other various cuts. Ask them to run it through the grinder for you, and it will do okay. But, according to traditional recipes and some first-hand experience, the best tallow comes from beef suet.
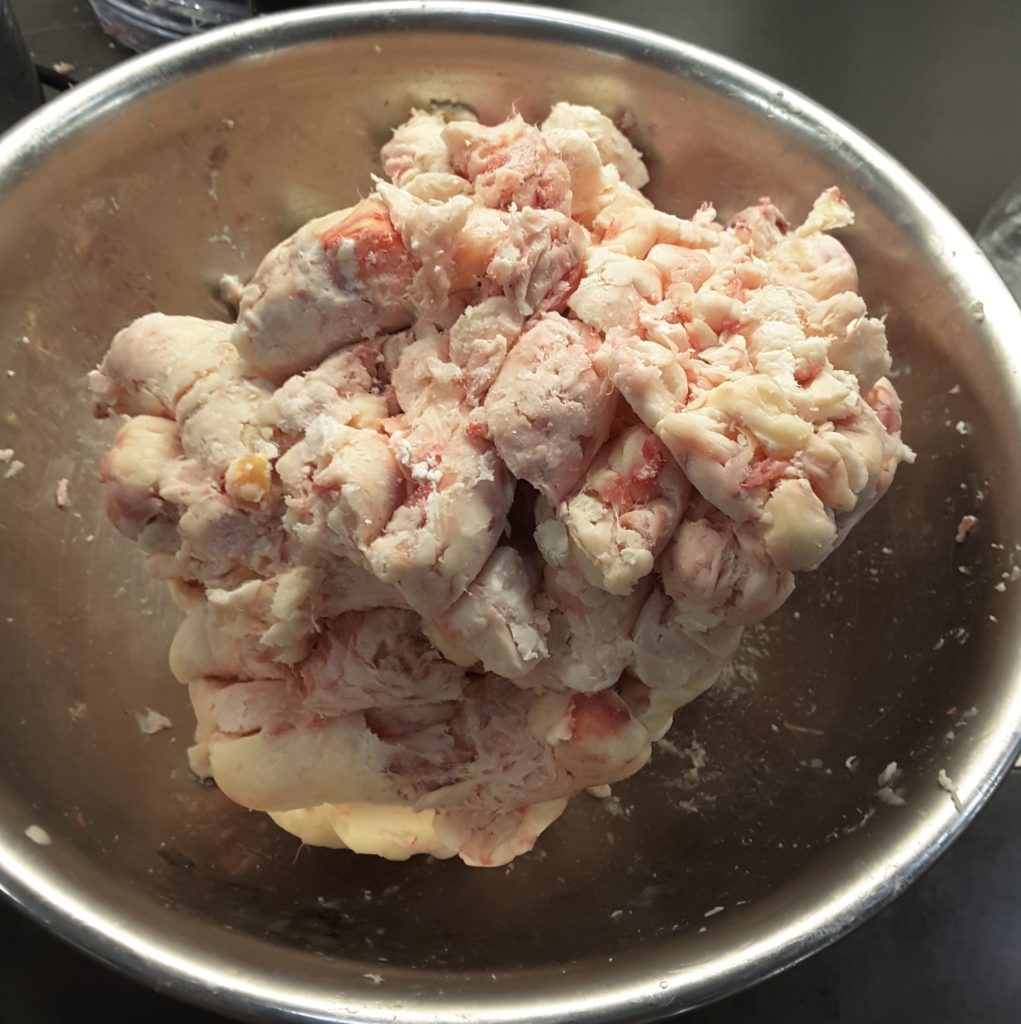
Suet is the clumpy, almost cake-y fat that surrounds the kidneys. It hides beneath the loins of the cow. If you can get suet from a grocery store meat department, bully for you. I had to go to a local slaughterhouse/butchery to get mine. It really is worth getting the suet for a purer, better tallow. I still advise asking the butcher to run it through the grinder, though.
Rendering beef tallow
- If the butcher has not ground your tallow, you will need to. Working in small batches, pulse the tallow in a food processor until finely minced. I recommend holding the pulse button while dropping a few pieces of tallow through the feeder chute at a time.
NOTE: be sure your suet is cold—as in partially frozen. It is soft and will gum up in the machine when warm.
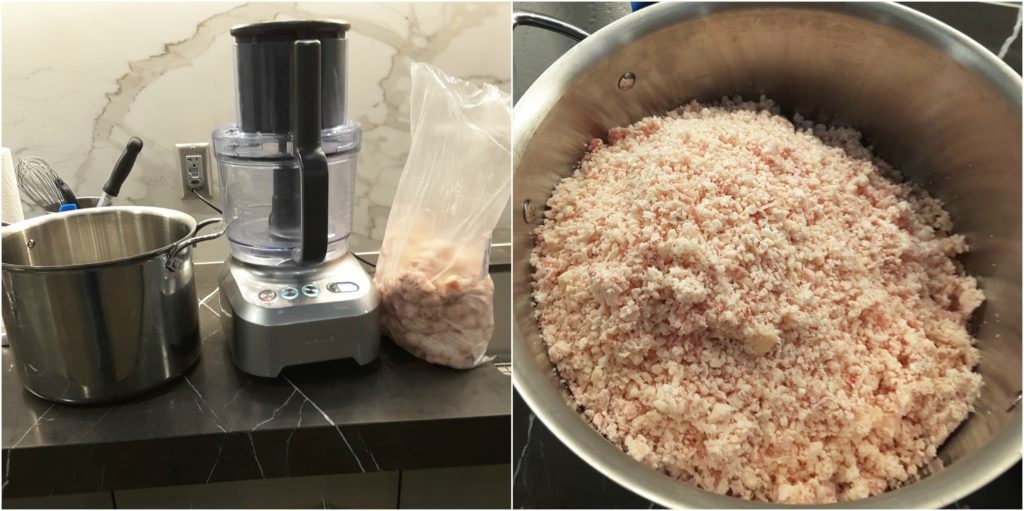
- Once all your tallow is ground, put it in a large pot and add enough hot water to peek through the tallow’s surface. Put the pot on a stove and turn the heat to high. The goal is to cook the proteins in the beef suet so that they don’t stick to the pan or each other while simultaneously starting to render the fat from the cells.
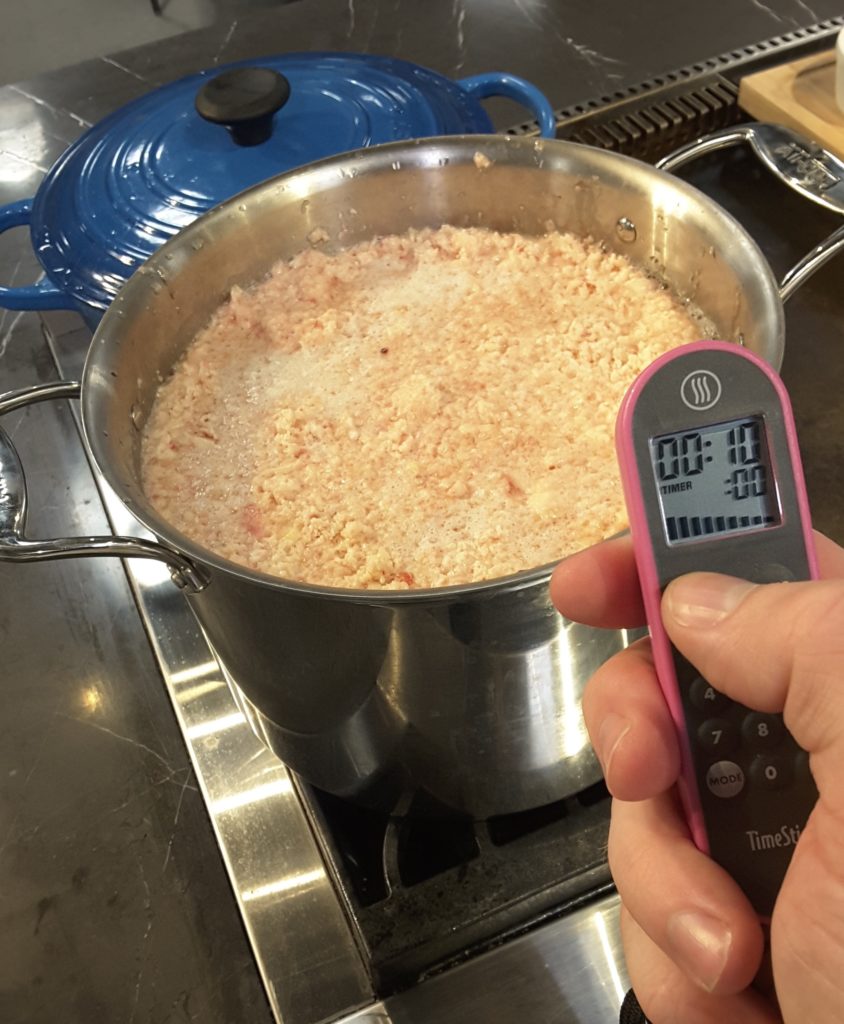
- Bring the water in the pot to a heavy simmer and start scooping the scum off that forms on the surface. Stir the suet so that it is all swimming freely and can cook.
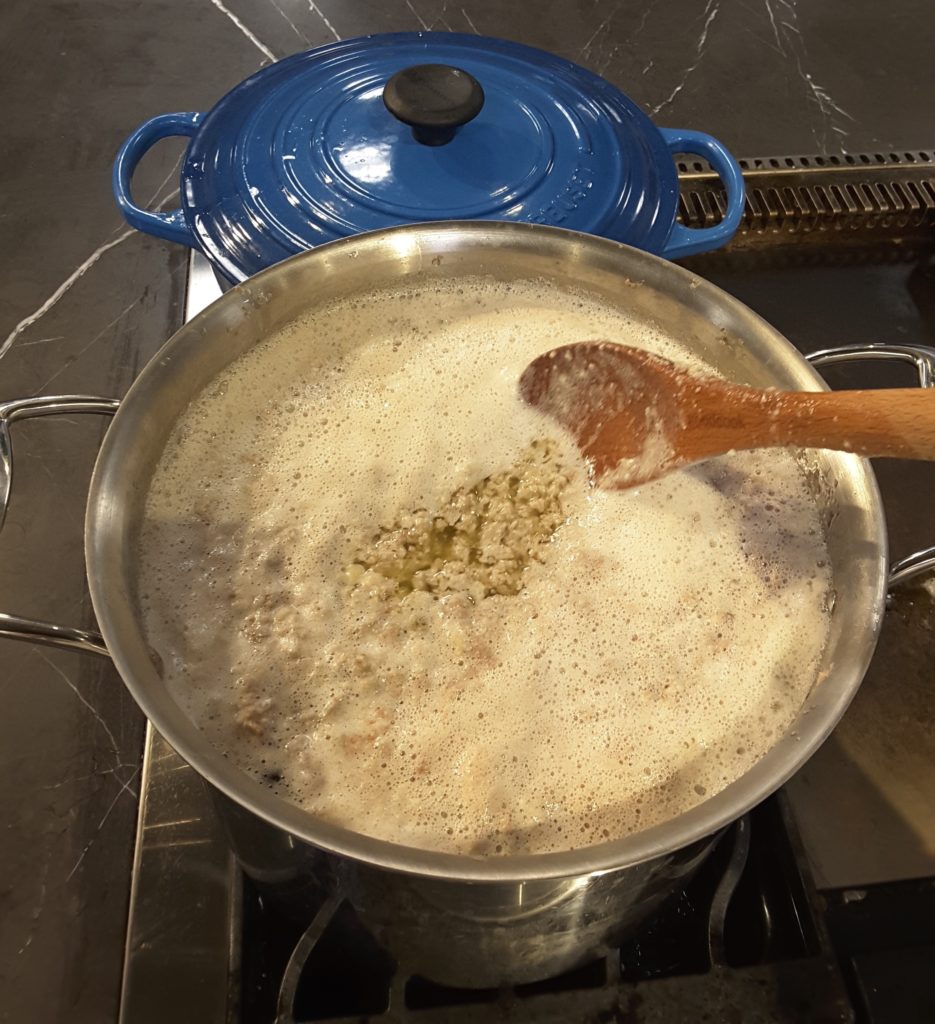
- Once the pot stops producing copious scum, let it go at a high simmer.You’ll want to keep an eye on it, but it doesn’t need to be tended to constantly. Check on it from time to time to make sure it isn’t boiling over, clumping too much, or sticking to the bottom—get a TimeStick® and set it for 10 minutes, check on it, reset for 10 minutes, etc. You’re going to cook all the water out of the pot and out of the fat tissues. This will take some time!
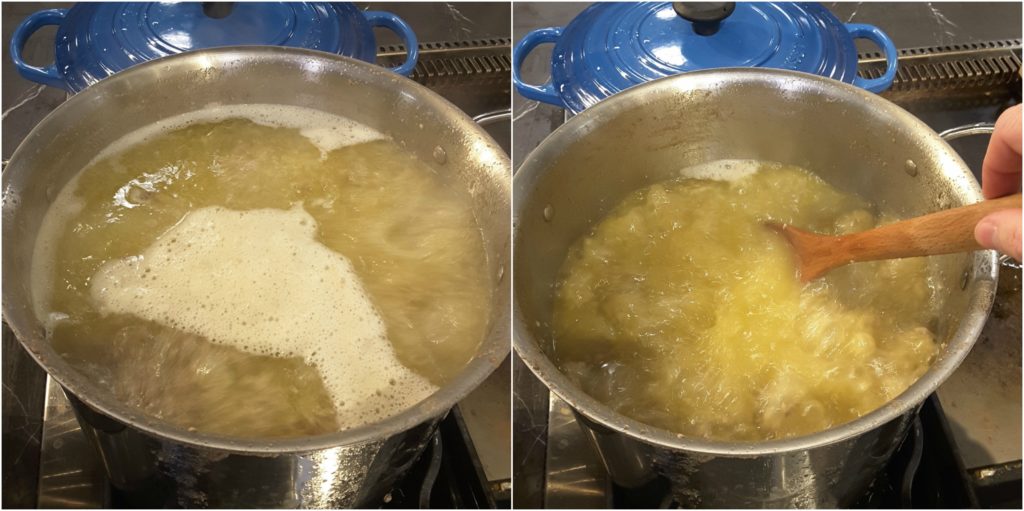
- Over time, you will notice a film of fat floating on the water which will get thicker and thicker. Don’t worry, this looks nothing like the foam layer. It will look like you poured, well, oil in the pot. The simmering will be just what you expect. Adjust the flame to avoid boiling it too quickly, which can lead to boil-overs.
- After an hour or so, depending on how much fat you started with, you will notice a change in the sound of the boil—which will have a deeper, more gurgle-y bubble to it—and you will see even more fat on the surface of the water. This will mean that you are starting to run low on water. Turn the heat down a little bit and set the timer for 10 more minutes.
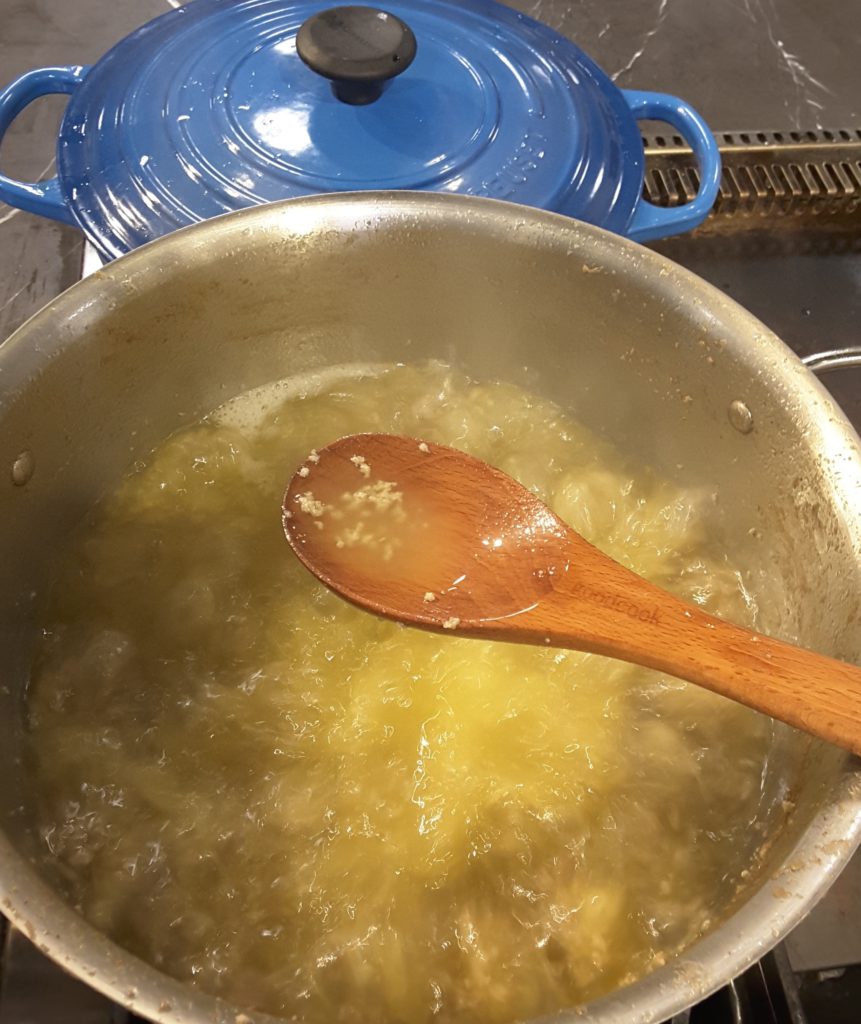
- Give the tallow a stir, scraping the bottom. If any bits are sticking to the bottom, scrape them up to prevent burning. This is when paying attention becomes more important. As the water dries out and the pot is filled more and more with rendered fat, those bits are going to start cooking to the bottom of the pot. A flat-nosed wooden spatula is a great way to keep that from happening.
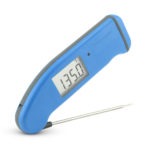
- The bubbles in the pot will start to get smaller and more oily looking as the water cooks out. Now you’ll want to grab a Thermapen® and start spot checking the temperature. As the water cooks out, the temp in the fat will start to rise. As it passes 212°F (100°C), the water in the little bits will start to sizzle out, creating very small bubbles all over in the pot. We want to cook the fat to 230°F (110°C). This temperature ensures that we’ve cooked a good deal of the water out of the fatty bits, but isn’t so high that we’ve started to crisp and brown them, thus tainting the oil with denatured proteins. Keep scraping the bottom of the pan with your wooden spoon throughout this process!

- Once you reach 230°F (110°C) kill the heat on the oil and let it cool for a half hour or more. The meaty bits will settle to the bottom and you can strain the oil through a fine-mesh sieve or some cheesecloth. Press out the bits to extract as much oil as possible.
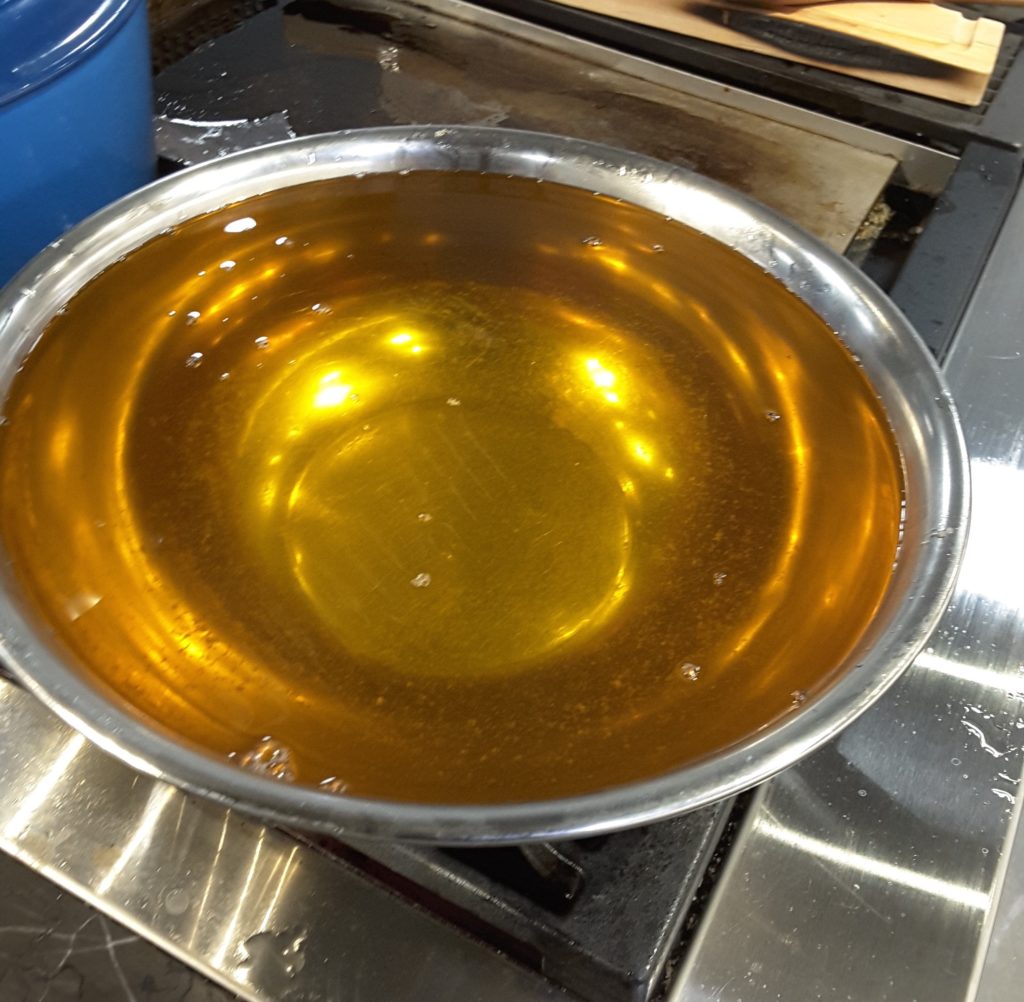
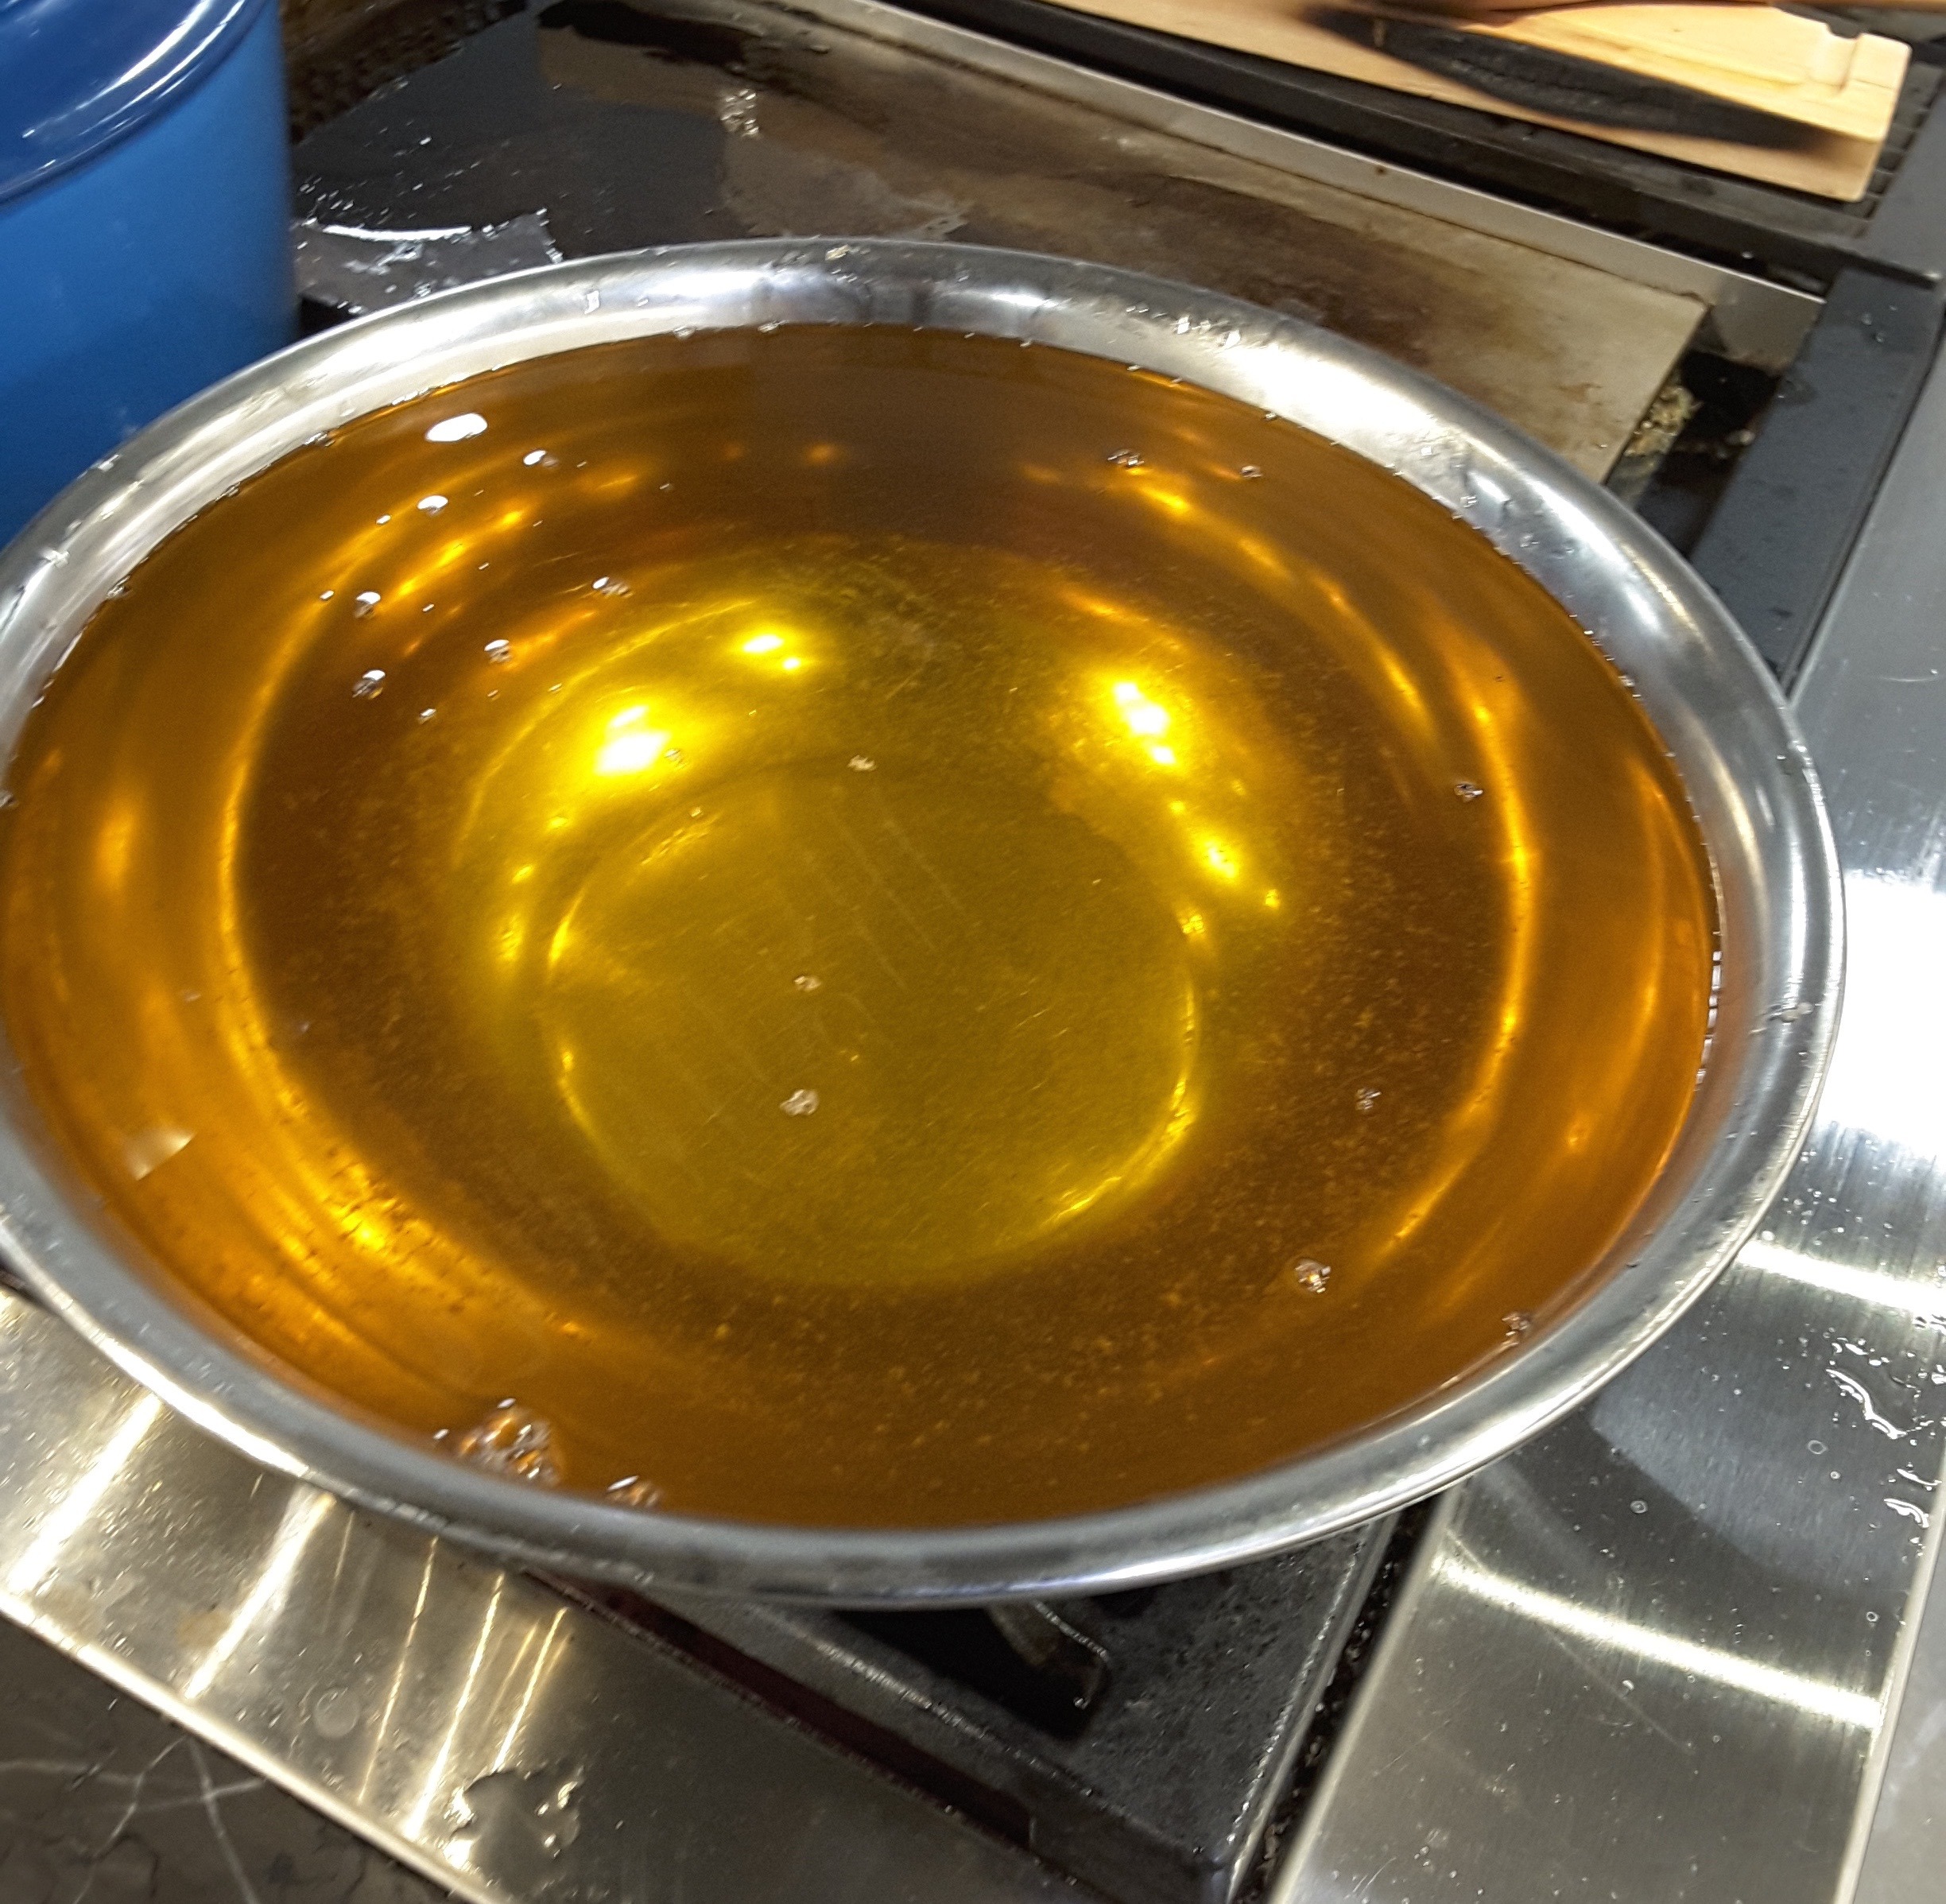
- Allow the oil to cool on the countertop. It will solidify and turn a beautiful buttery golden color. If you want to save it for later, you can freeze it; but even under regular refrigeration, it will already last for months if not longer. If it ever smells like rancid beef, it’s not good anymore.
So there you have it, a method for rendering your own golden, delicious beef tallow for deep frying, sauteeing, and any other high-temp cooking needs you may have. Use your TimeStick to keep an eye on things and a Thermapen® to make sure you cook it to the right temp, and enjoy!
If you’d like a great idea for what to do with your tallow, use it for frying french fries!
 |
 |
|---|
Products used:



Thank you for posting a pic of what you started with. I’ve read several articles on this because I wanted to make sure I was doing it right, but yours is the first one I’ve come across that showed the stuff you started out with. I’m from Indiana, corn country, but I live in Bolivia in South America and they are still stuck on dietary advice from the 70’s. They also swear raw potatoes can give you worms, btw, lol! Anyway, what you have pictured here looks identical to what I get for less than a dollar for 4 and a half pounds.
LorriAnne,
I’m glad you found the post helpful! And I’m happy for you that you can get the tallow so cheaply where you live. SOunds to me like there are some amazing fries in your future!
What is the issue with rendering the fat pieces above 230? I allowed them to crisp(brown) a bit since I like to use it after I make the tallow, as a result I stopped the cooking at 270F. Is there anything wrong with pulling it at that temp vs 230? Does that change the fat profile or the tallow I am using or affect it in any way?
You’ll get a “toastier” flavor in the fat and possibly a little more contamination that can lower the smoke point, but overall it should be fine.
Can I ground my tallow in a normal Blender?
That will not go well! Unless it is well frozen, it will bog down and get melty and smeary too fast.
Spot on using a grinder – makes a huge difference on yield. My favorite rendering method is in pressure cooker.