Homemade Caramels: A Candy Temperature Guide
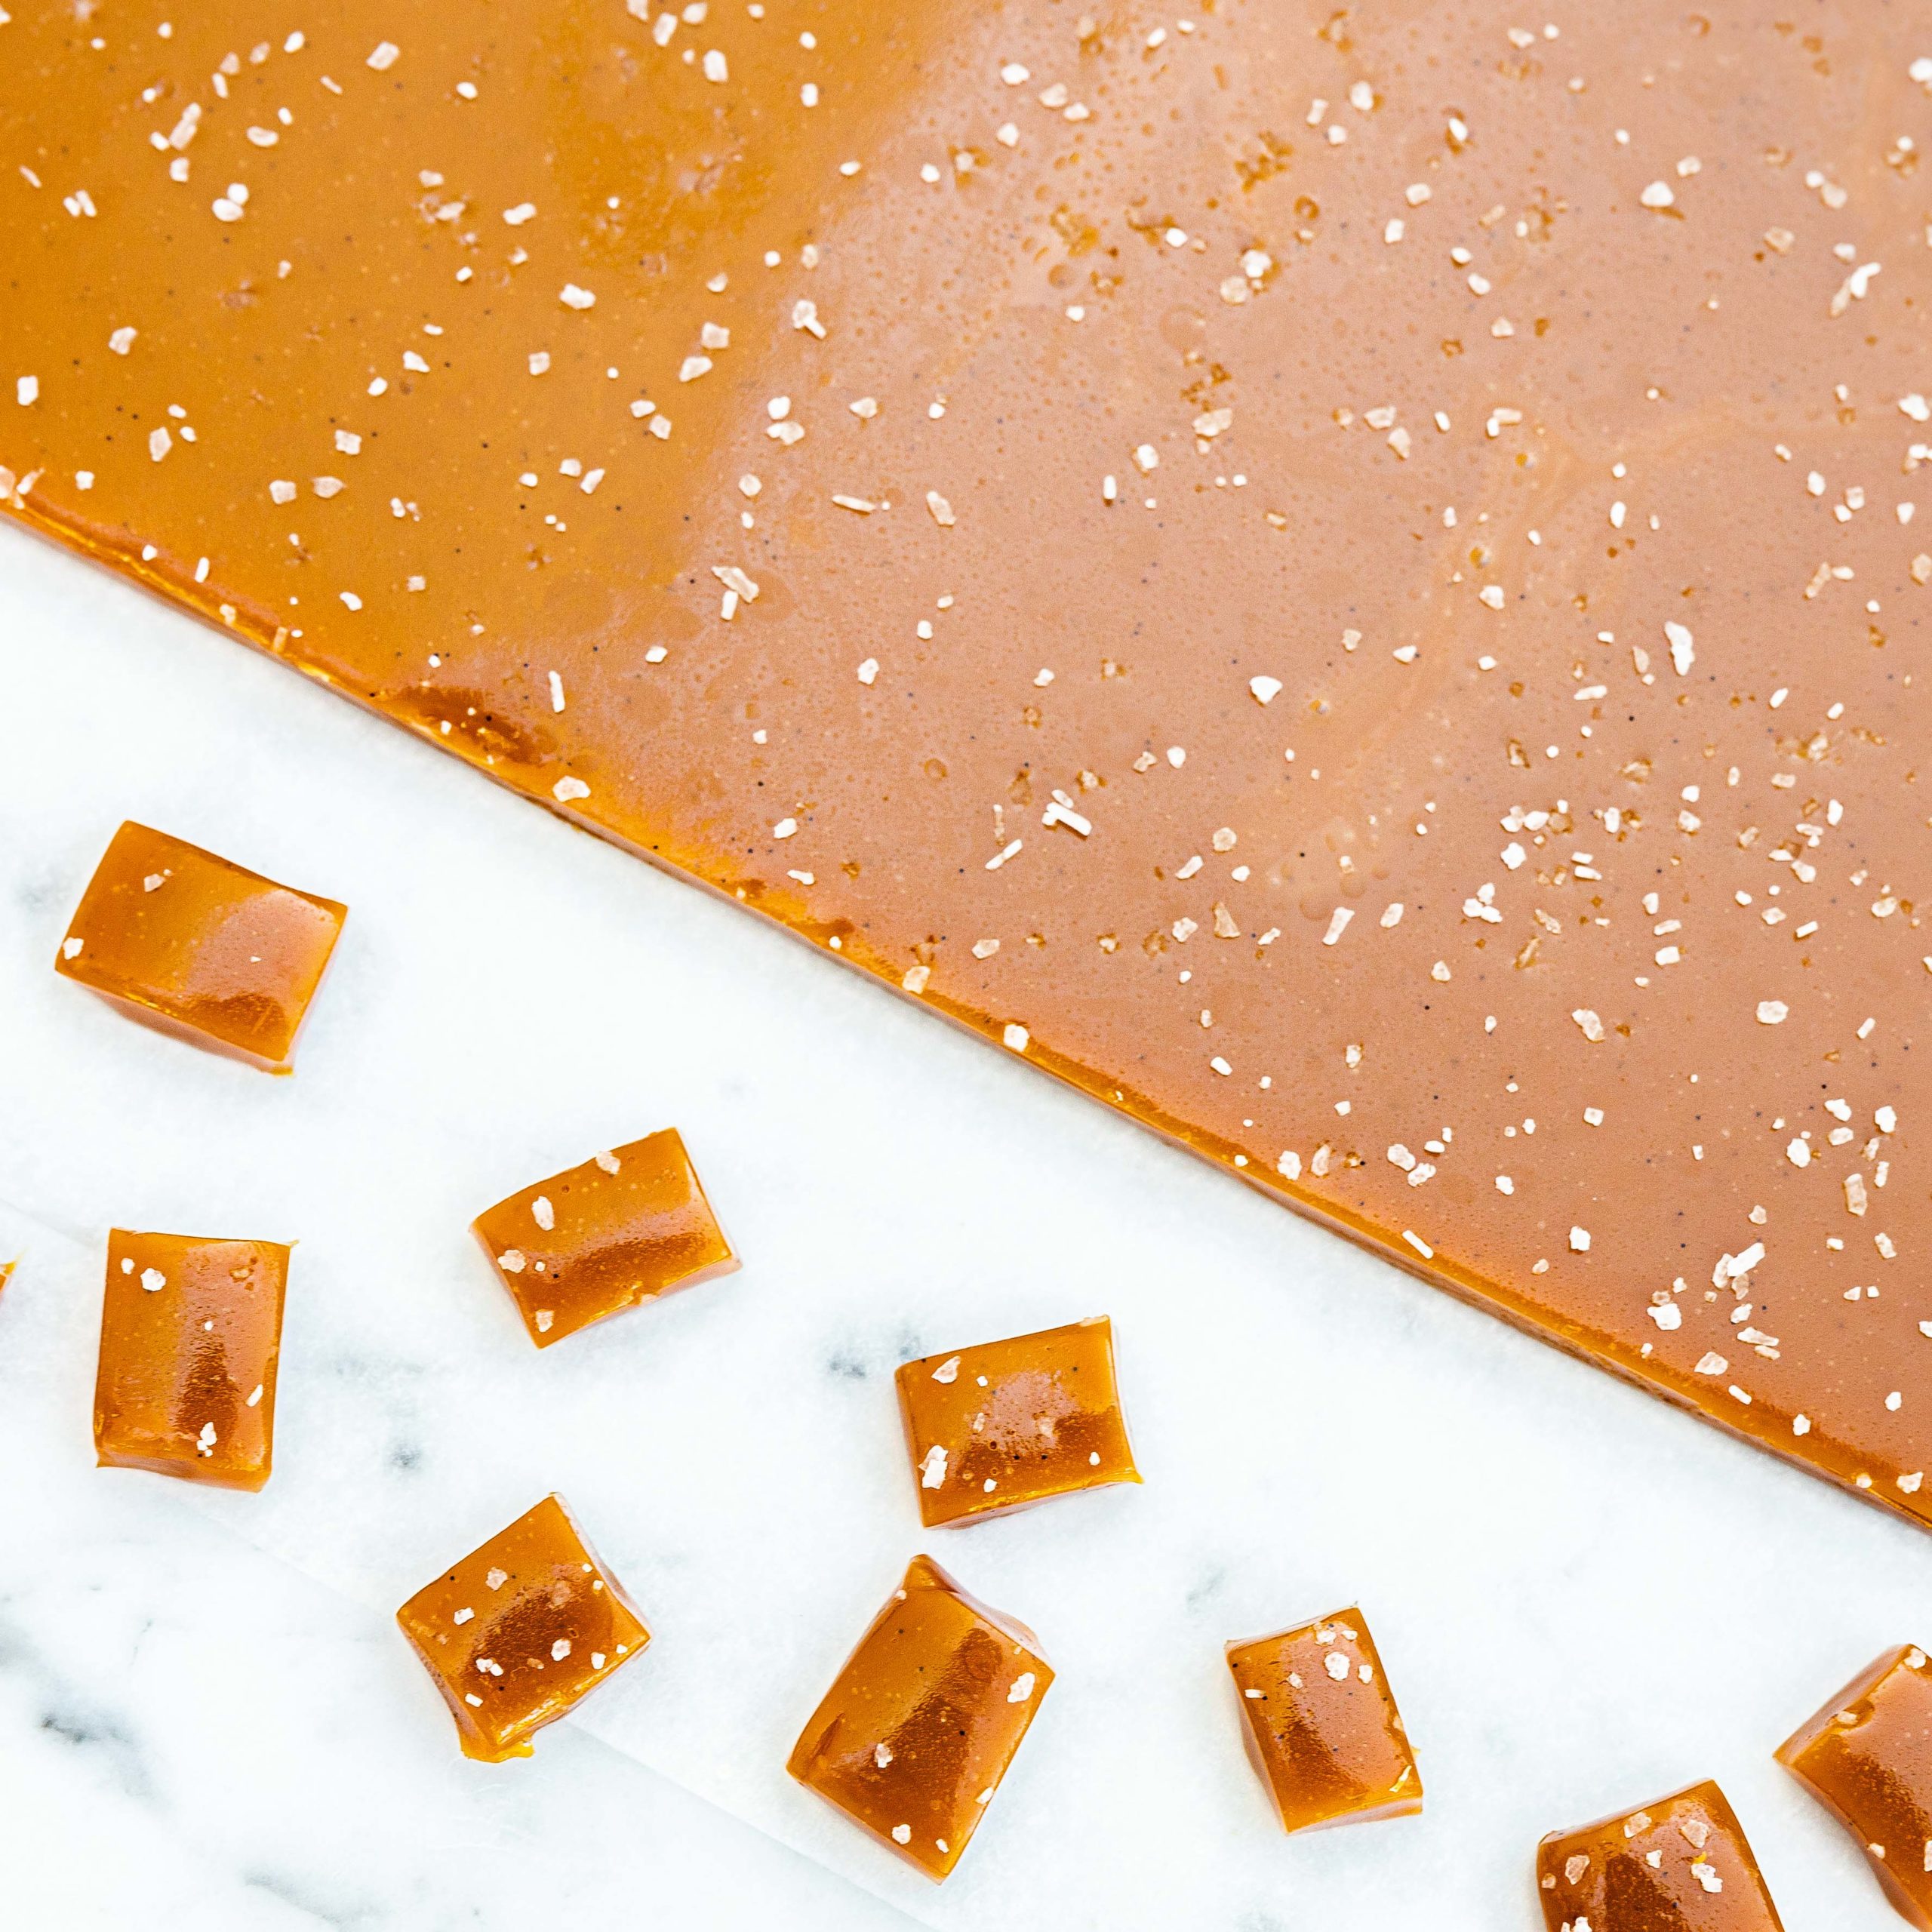
When it comes to homemade candies, caramels are king. Divinity can be daunting, fudge can be finicky, and nougat is a non-starter for some. But caramels? They’re the entry-level, gateway-drug of candy making, and with good cause. As candies go, they’re delicious, widely appreciated, and easy to make, once you understand what’s happening. As a vehicle for looking at what’s happening in caramel making, we’ll use a recipe that was developed just for us by our friends at The French Pastry School. Get ready, this is going to be sweet.
(For more on the French Pastry School and ThermoWorks, take a look at this video about why they use the Thermapen®.)
How to make homemade caramels
Making caramels is a two-stage thermal process. The first stage is all about flavor and the second is about texture. Let’s break those down.
Caramel flavor
The first step in making caramels is cooking the sugar to create the caramelly flavor we want—we caramelize the sugar.
Caramelization is the name given to the chemical reactions that occur when any sugar is heated to the point that its molecules begin to break apart. This destruction triggers a remarkable cascade of chemical creation. From a single kind of molecule in the form of colorless, odorless, simply sweet crystals, the cook generates hundreds of new and different compounds, some of them small fragments that are sour or bitter, or intensely aromatic, others large aggregates with no flavor but a deep brown color. The more the sugar is cooked, the less sugar and sweetness remain, and the darker and more bitter it gets.
—Harold McGee, On Food and Cooking, pg.656
To achieve caramelization—and flavor—we first have to cook the sugar to a temperature of at least 320°F (160°C). This is best accomplished by cooking the sugar in a pot over medium to medium-high heat and adding either some corn or glucose syrup to your sugar or adding up to 20% of the weight of the sugar in water. Both the glucose and the water will help prevent the sucrose (table sugar) from recrystallizing during the cook. once it is all melted, do not stir it during the caramelization process! If any crystals appear on the walls of the pot during the cooking, brush them down with a wet pastry brush.
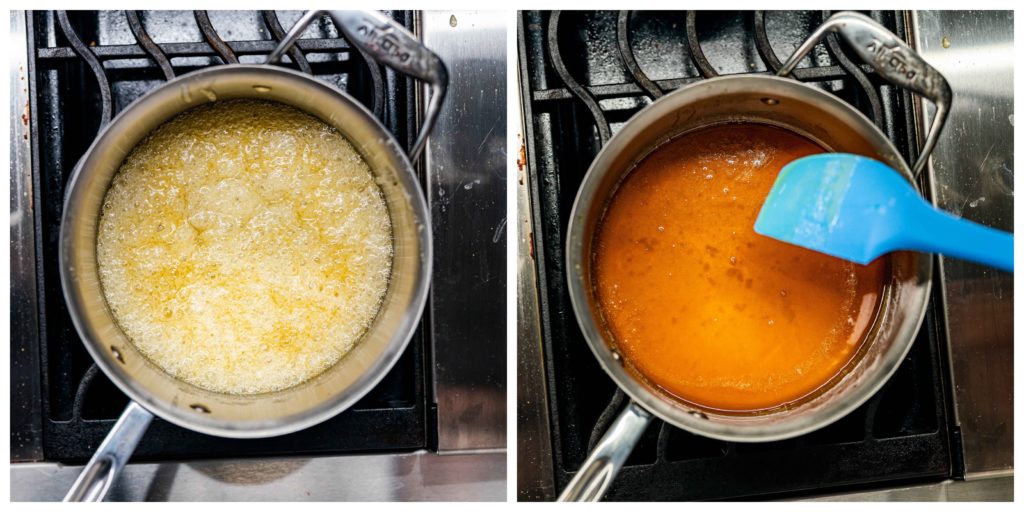
How deep a caramel flavor you like will determine to what temperature you cook your sugar. I like a stronger, darker caramel flavor, but some people think my caramels taste a little too strong. There is no exact guideline here, so play around with it, measuring your temps and making notes on flavor. If this batch isn’t strongly flavored enough, increase the temp by a degree or two next time. I recommend something in the range of 330°F (166°C). This is one place where your senses can be a fairly reliable guide. Do you like how the caramel smells? Is it a dark enough color? Record the temperature using your Thermapen® and move on.
Once you get the color and aroma that you want in your caramelized sugar, it’s a good idea to either set the pan on a cool, heatproof surface or dip the bottom of the pot into some water. The caramelization process is exothermic (it gives off heat), so if you just remove your pot from heat, your temperature may continue to climb. Stealing some of the thermal energy from the pot and caramel will stop the reaction.
Chewy textured caramels: what is the firm-ball stage?
Now you have caramelized sugar, isn’t that a caramel? No. If you were to pour the caramelized sugar onto a sheet, it would harden like, well, hard candy. We want chewy, gooey caramels! For that, we need to introduce two things: liquid and interference.
Caramelized sugar is at the “caramel stage” of candy-making, meaning it has no water in it—it is 100% sugar. Chewy caramels, however, are cooked to the “firm-ball” stage.
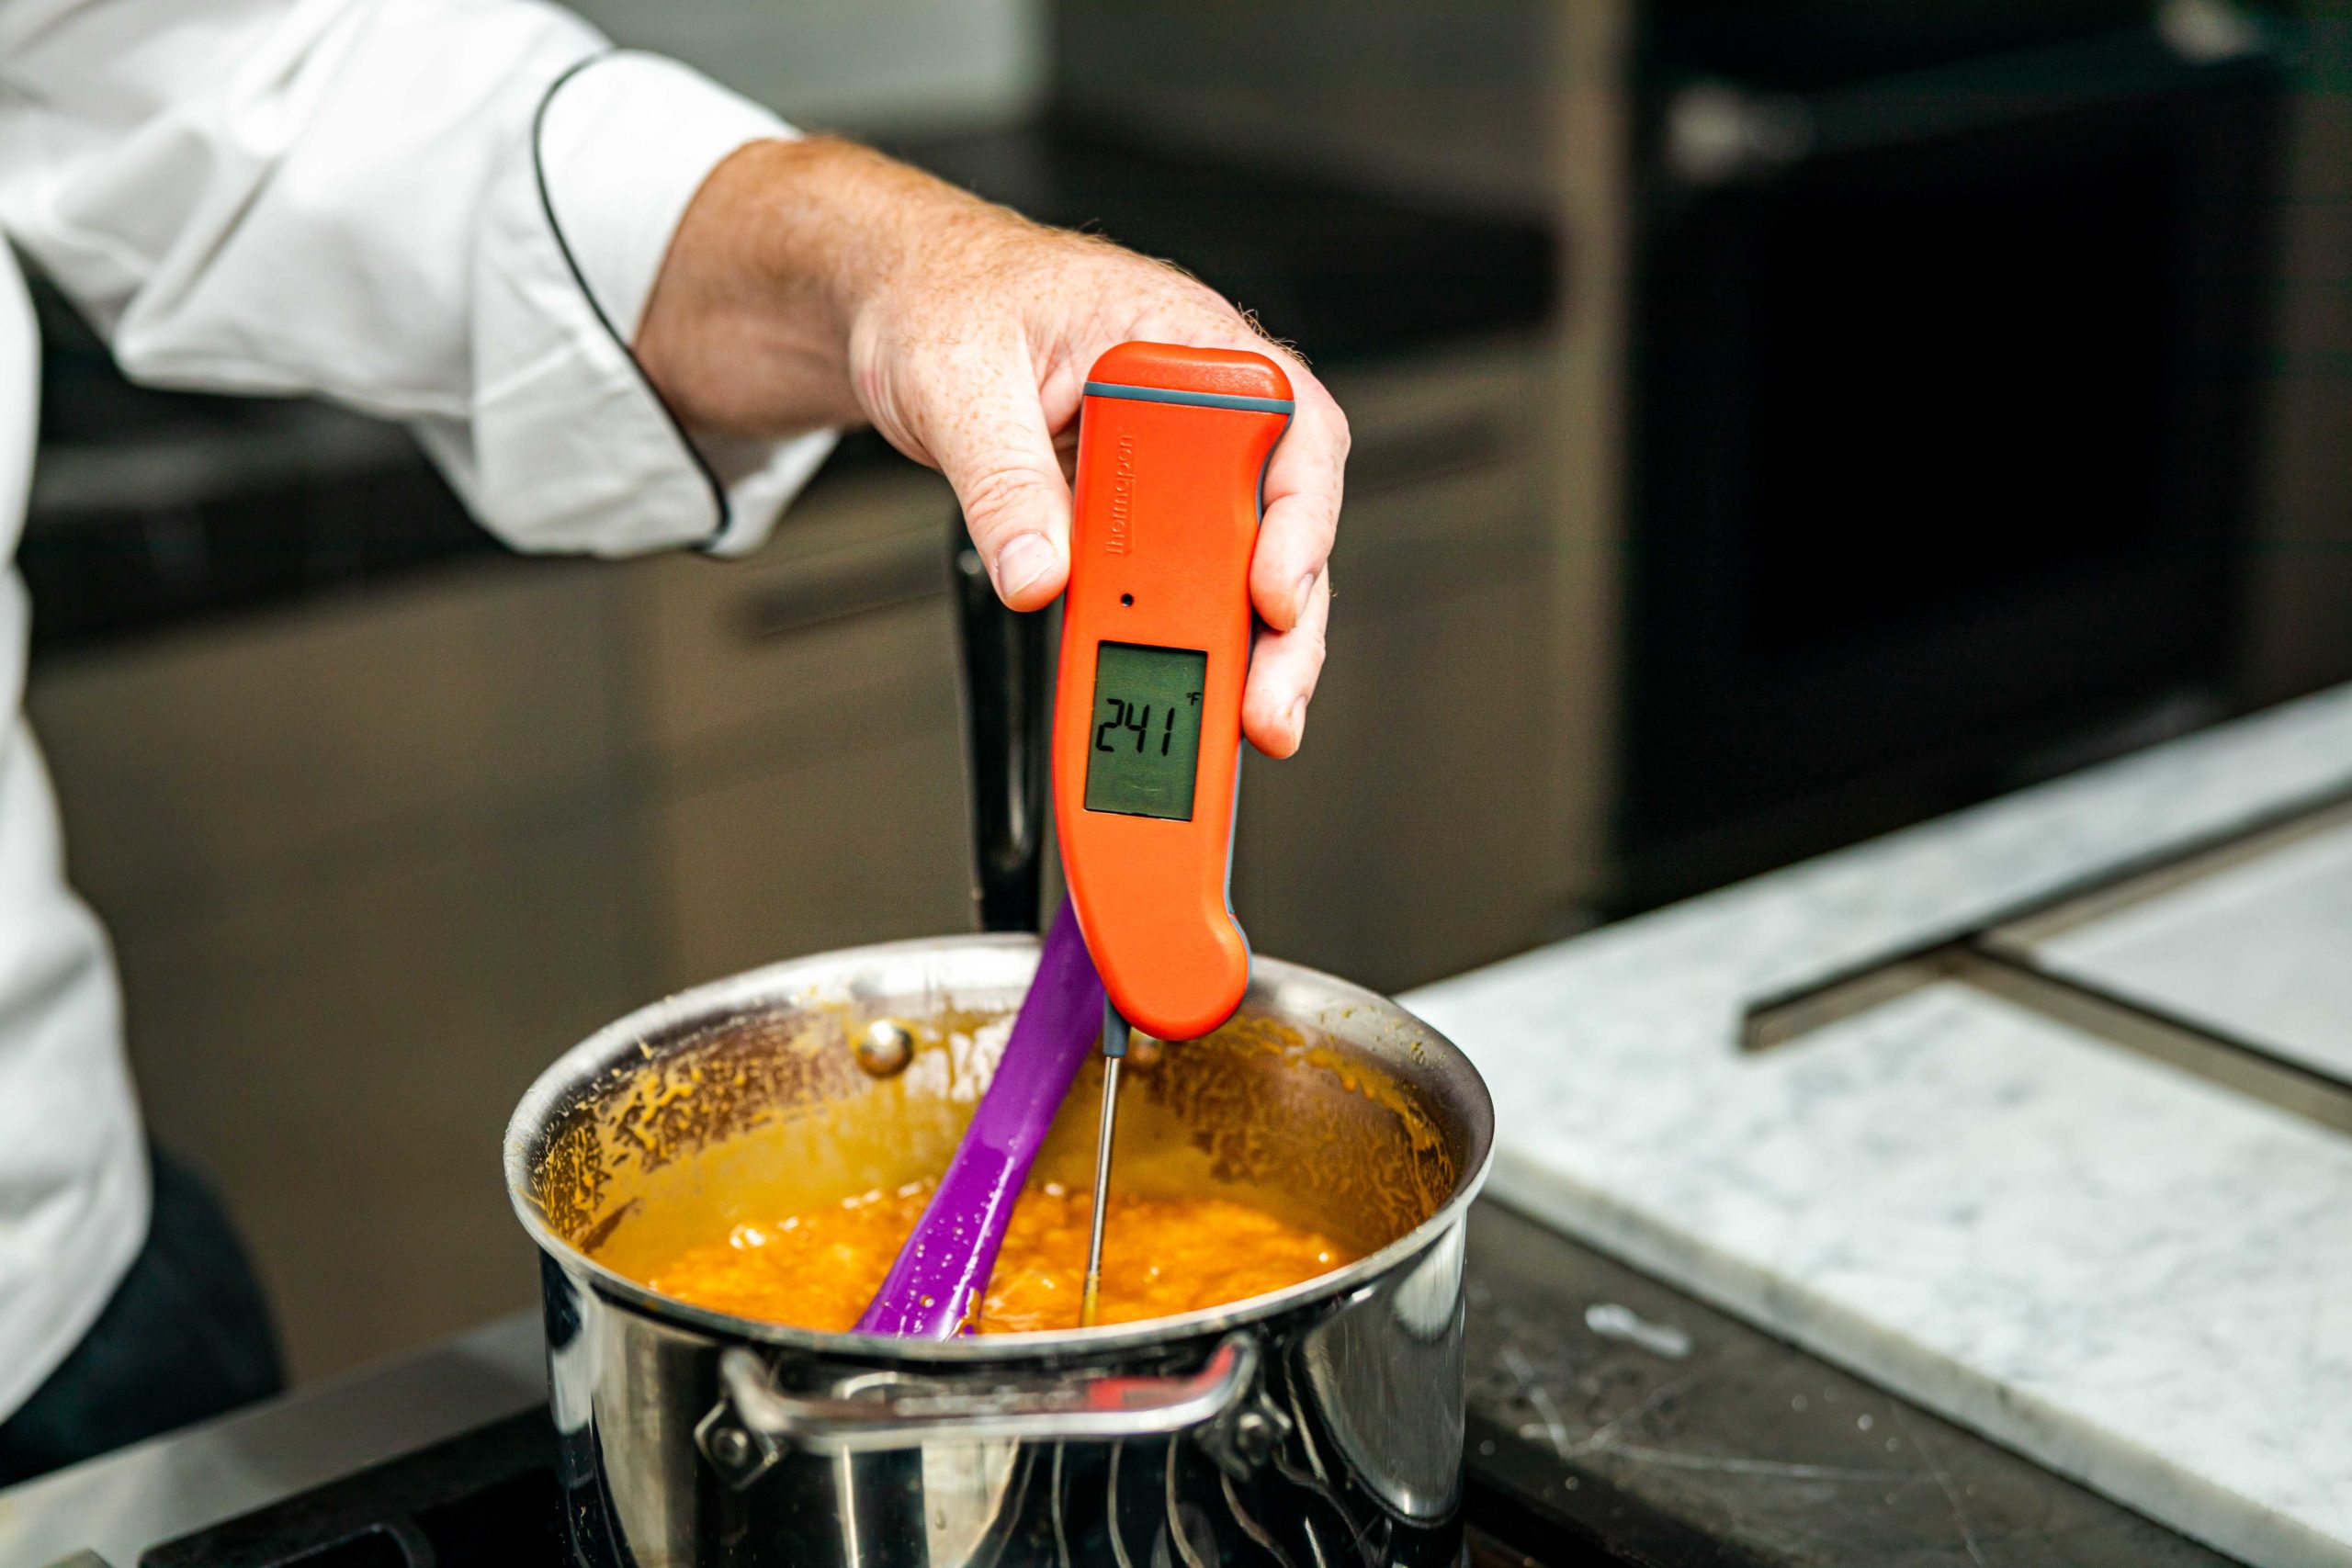
What is the firm-ball stage? The firm-ball stage is the state wherein the boiling point of the solution reaches a temperature that indicates that the syrup contains 87–91% sugar, 245°–249°F (118–121°C). We’ll add liquid to the caramelized sugar and then cook it to the proper temperature to achieve that percentage. That will give us the firm-yet-gooey texture we want.
CANDY TEMPERATURE CHART
| Stage | Temperature | Sugar concentration | Common uses |
|---|---|---|---|
| Thread | 230°-234°F | 80% sugar | thick syrup |
| Soft-ball | 235°-240°F | 85% sugar | fudge |
| Firm-ball | 245°-249°F | 87% sugar | caramels |
| Hard-ball | 250°-265°F | 92% sugar | divinity, nougat |
| Soft-crack | 270°-290°F | 95% sugar | saltwater taffy |
| Hard-crack | 300°-310°F | 99% sugar | toffee, brittles |
| Caramel | 320°-350°F | 100% sugar | varying colors and flavors of caramel |
So far so good. But we can further improve the texture, richness, and overall flavor of the caramels by interfering with the crystallization of the sugar.
Fats and proteins that are added to the caramels get between the sugar molecules, preventing them from clumping and crystallizing. These fats and proteins most commonly come from butter and cream. These ingredients bring both the liquid we need to get to firm-ball stage and the fats and proteins we need to interfere with the sugar crystals.
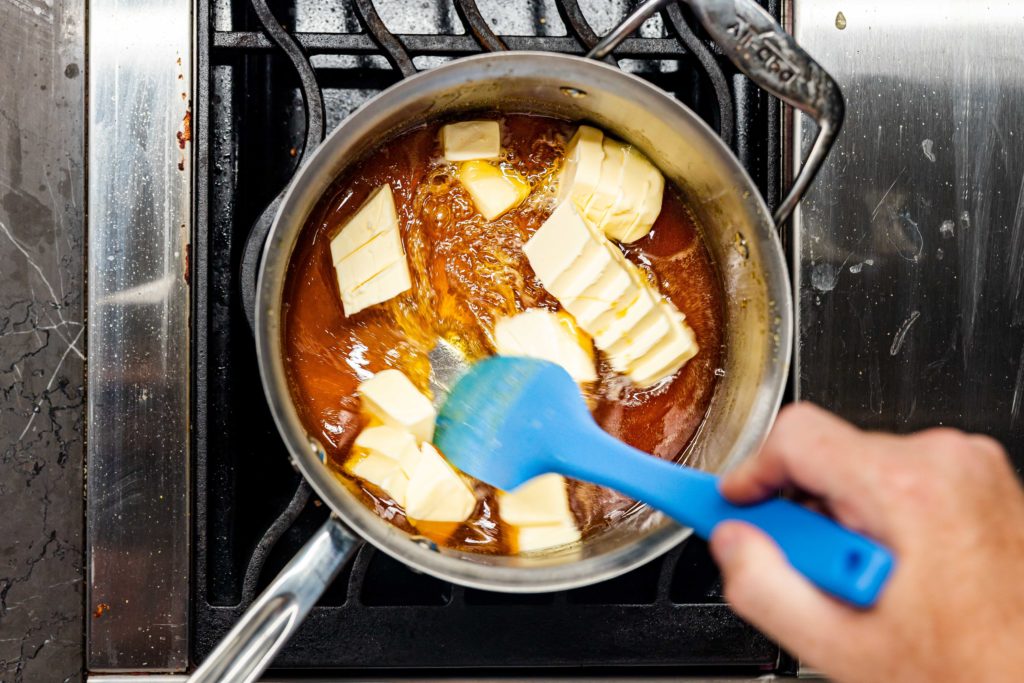
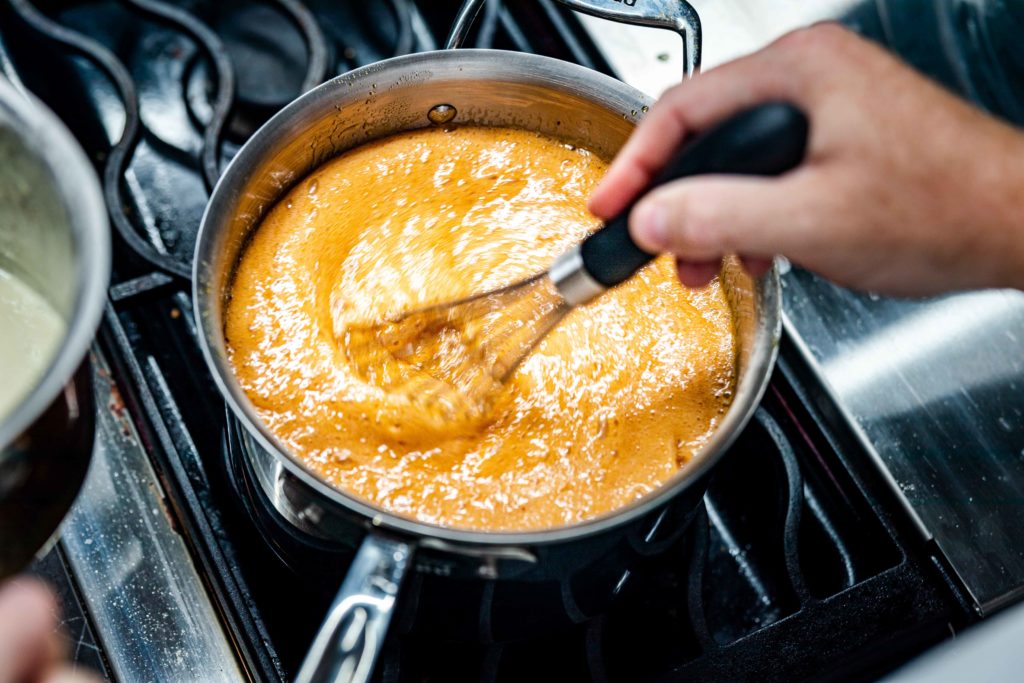
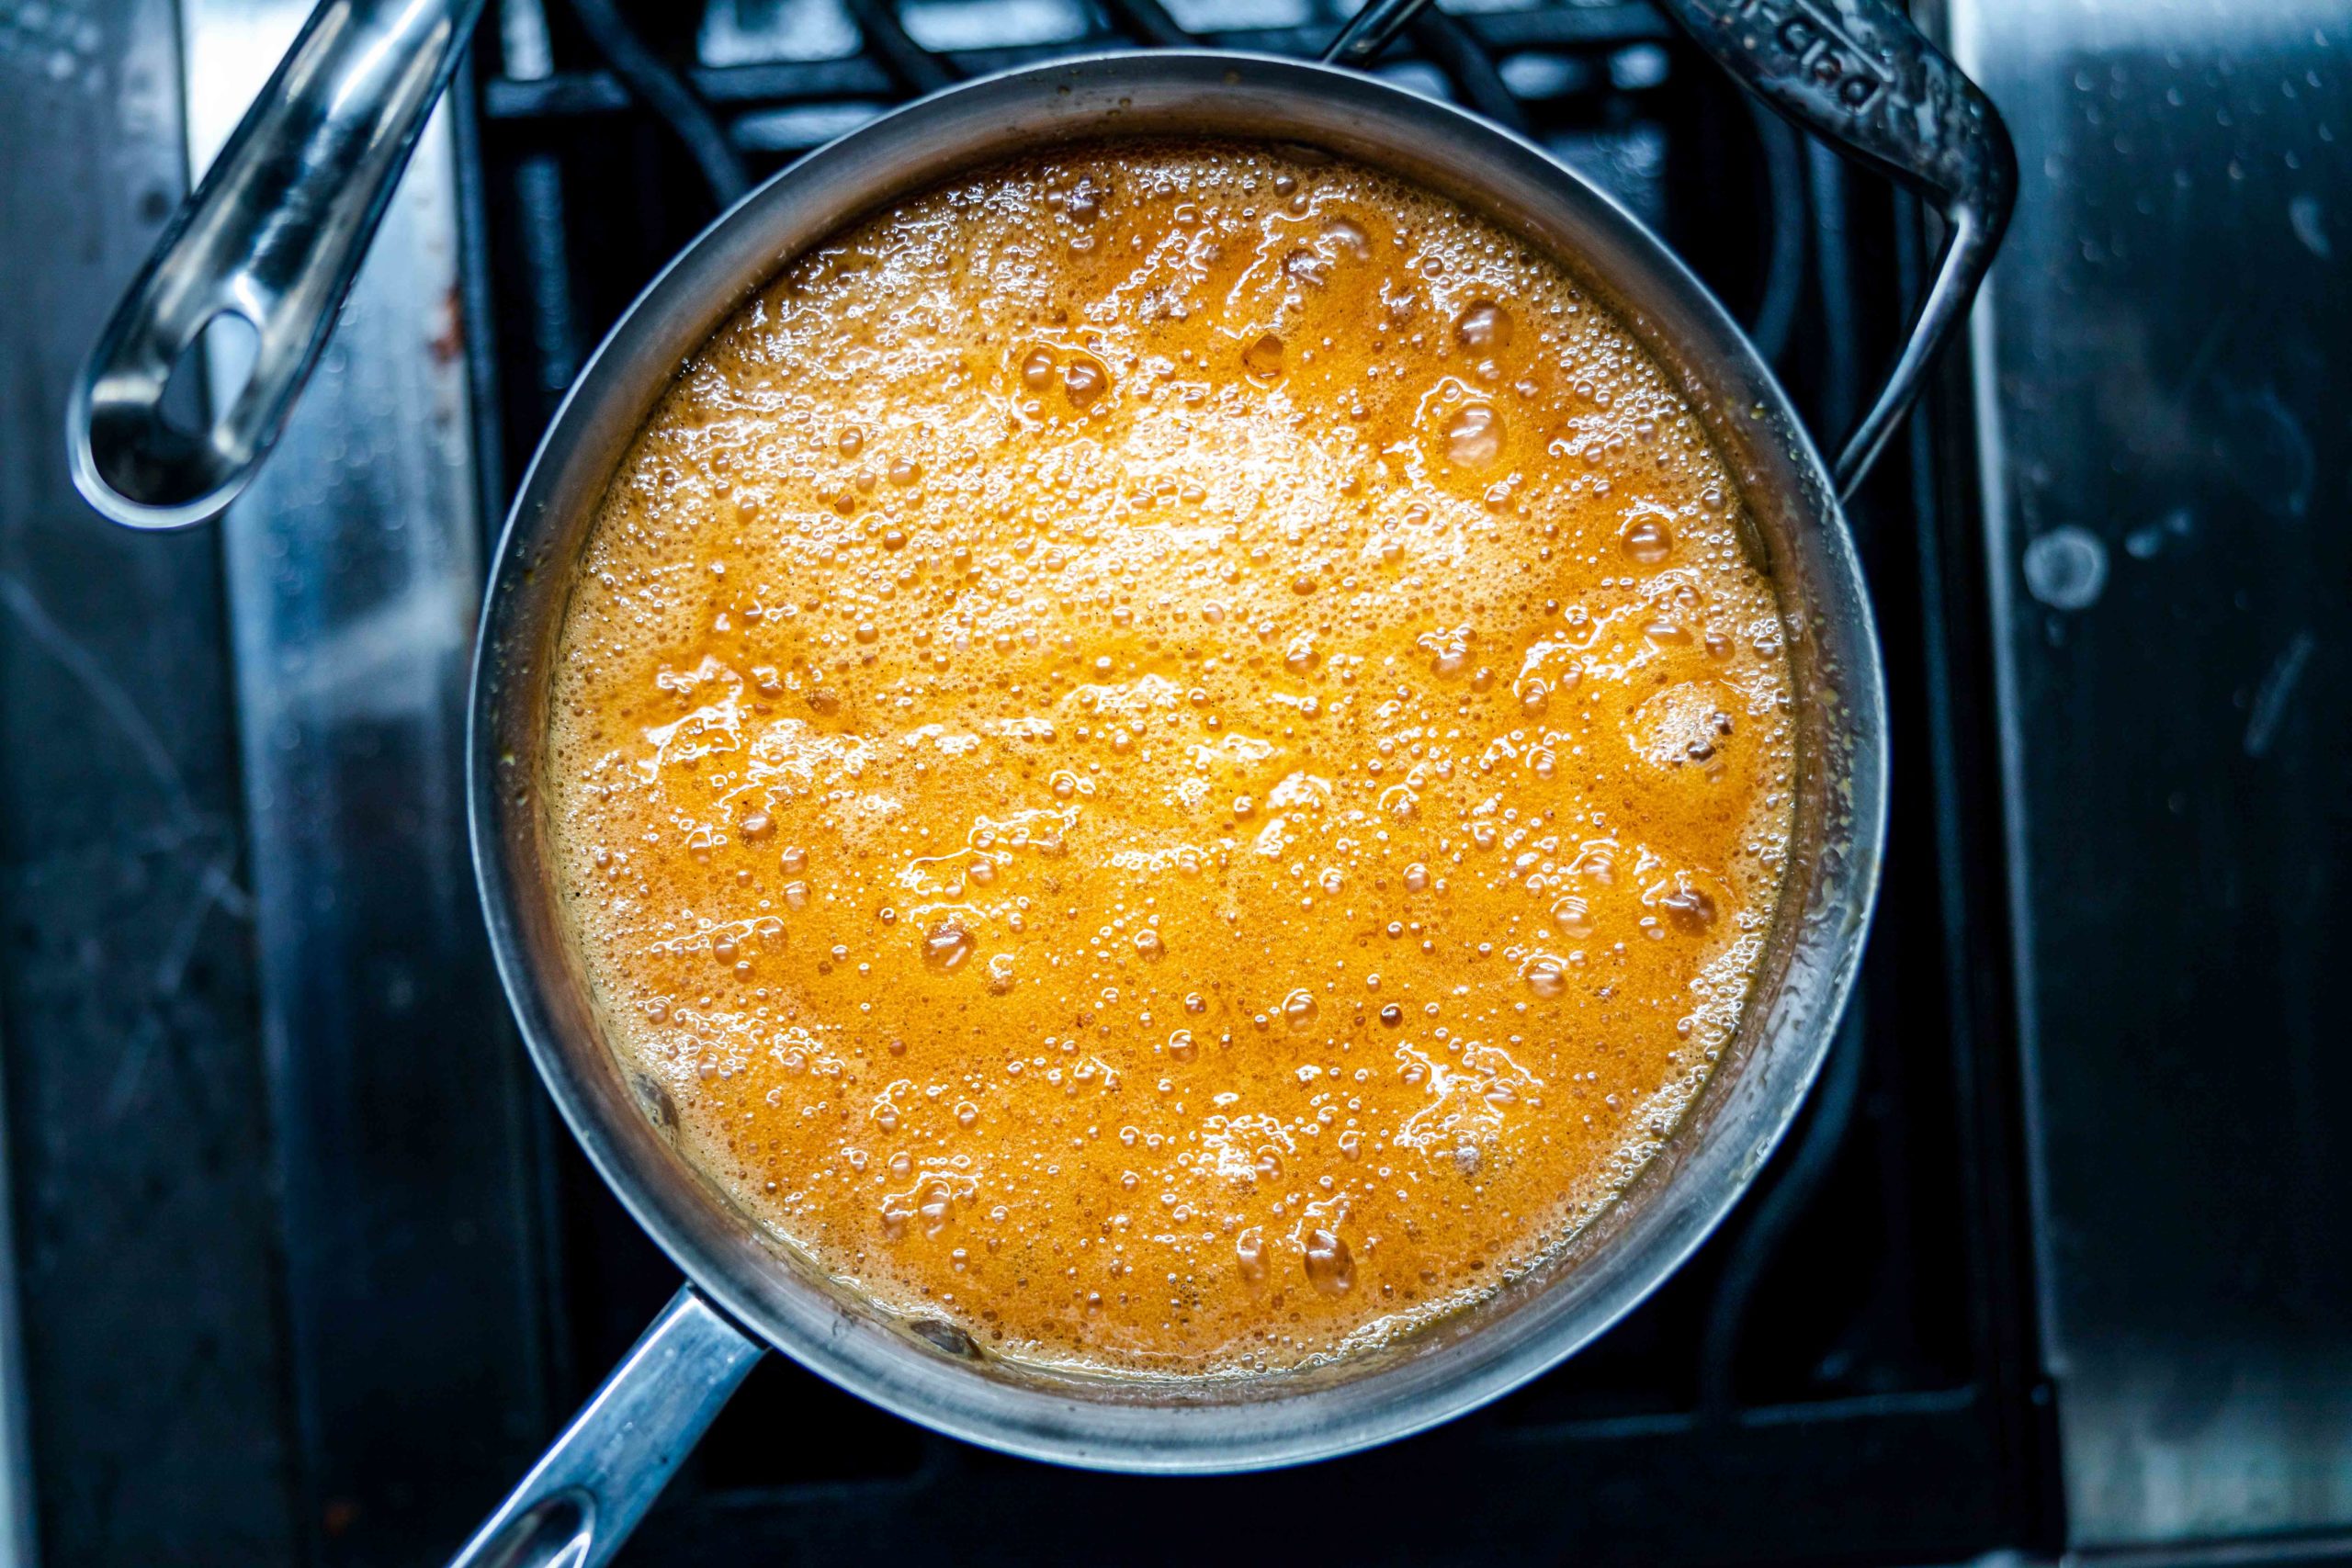
When you add these enrichening agents and start to cook the mixture down to the correct stage, the caramel will foam up a great deal, reaching 3 or more times its original volume. Make sure you are working in a pan that is large enough to accommodate the increased volume.
On baking soda in caramel recipes
If you have a recipe without baking soda for which you’ve found the perfect temperature for the perfect chew, you may want to cook these caramels 2-4°F (1-2°C) hotter. The inclusion of baking soda in caramels raises the temperature of a given final water content by up to 2°C—the soda reacts with proteins in the milk and butter to make them hold onto water more tightly. Two recipes of caramels that are identical except for the addition of baking soda will have different outcomes if cooked to the same temperature.
Thermal by-ways on the road to caramels
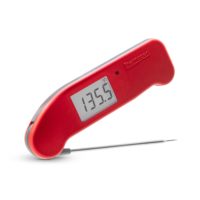
The French Pastry School included a few thermal tricks that help speed and ease the cooking of these caramels. One trick is to use softened butter instead of cold butter. The softened butter melts in more readily, obviously, and that reduces the need for more stirring. They also suggest warming the cream until it is hot but not boiling, 122-140°F (50-60ºC). Increasing the cream’s temperature means a shorter cook time and will also lessen the chance of the caramel clumping as you add it. So warm the cream either in the microwave or in a separate pot, checking the temp with your Thermapen, until it is hot.
Note on elevation in candy making
All candy recipes are written at sea level. As discussed above, syrup boiling temperatures equate to sugar concentrations. But at higher elevations, water boils at lower temperatures, meaning water exits the solution sooner. And that means that candy temperatures need to be lowered. For every 1,000 ft above sea level at which you are cooking, reduce the boiling temperature by 2°F [1.1°C].
Buttery Salted Caramels Recipe
Created for us by The French Pastry School. Because of the school’s rigorous standards, all units are given in grams, which is a much more exacting way of measuring.
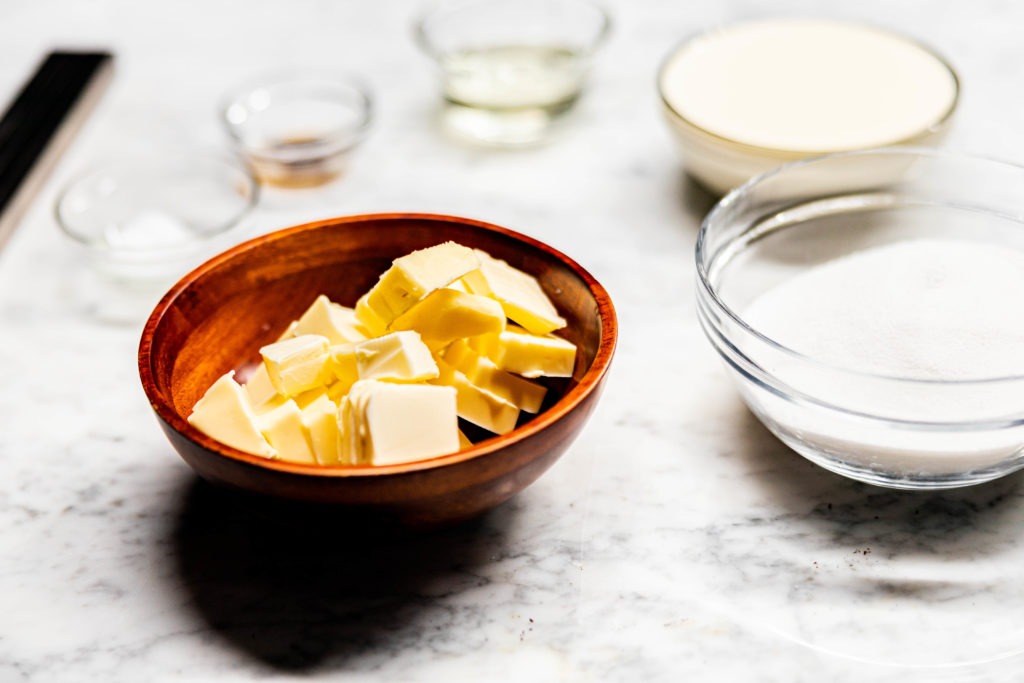
Ingredients:
- 225 g Granulated sugar
- 50 g Glucose or corn syrup
- 135 g Unsalted butter (soft)
- 225 g Heavy cream, 35% fat
- 0.5 g Baking soda
- 1 g Sea salt (plus more for sprinkling)
- 10 g Vanilla paste
Instructions:
- Bring all ingredients to room temperature.
- Slightly oil a 7” X 7” shallow pan. Line the bottom with a square of parchment paper. Or layout some candy-making bars on a sheet of parchment on a surface that can handle high heat.
- In a medium saucepan on medium heat, slowly caramelize the sugar with the glucose while stirring with a high-heat spatula.
- Once the caramel is golden brown in color, turn off the heat and stir in the soft butter.
- Warm the cream to 122-140°F (50-60ºC) with the baking soda, salt, and vanilla paste. Use a Thermapen® to check the temperature.
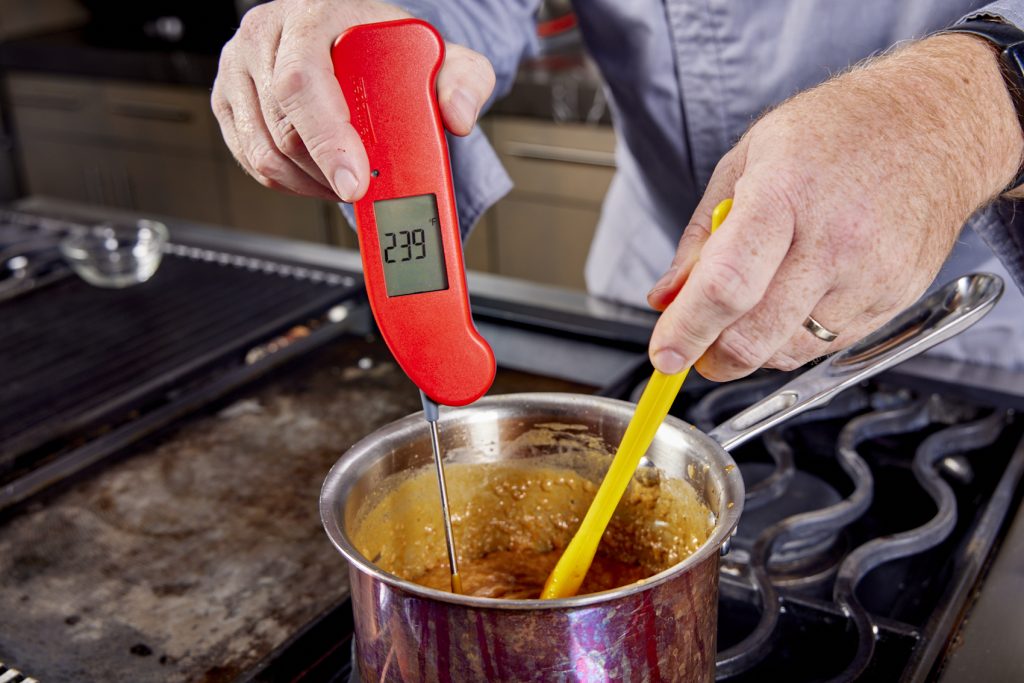
- Place the caramel on low heat and slowly add the warm cream to the caramel mixture in 3 additions while stirring with a whisk.
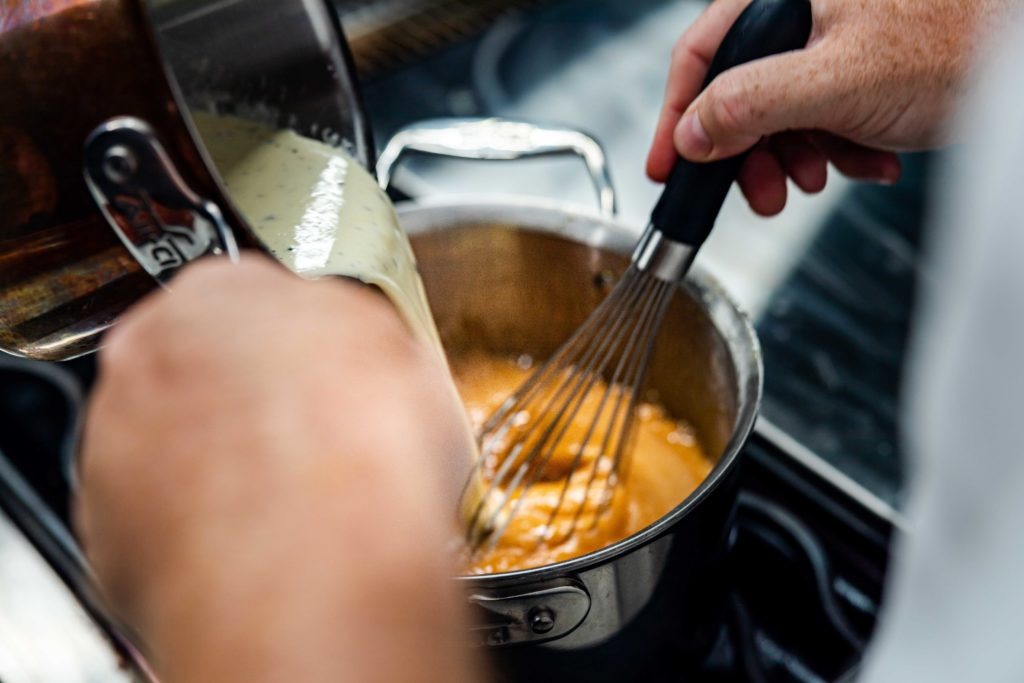
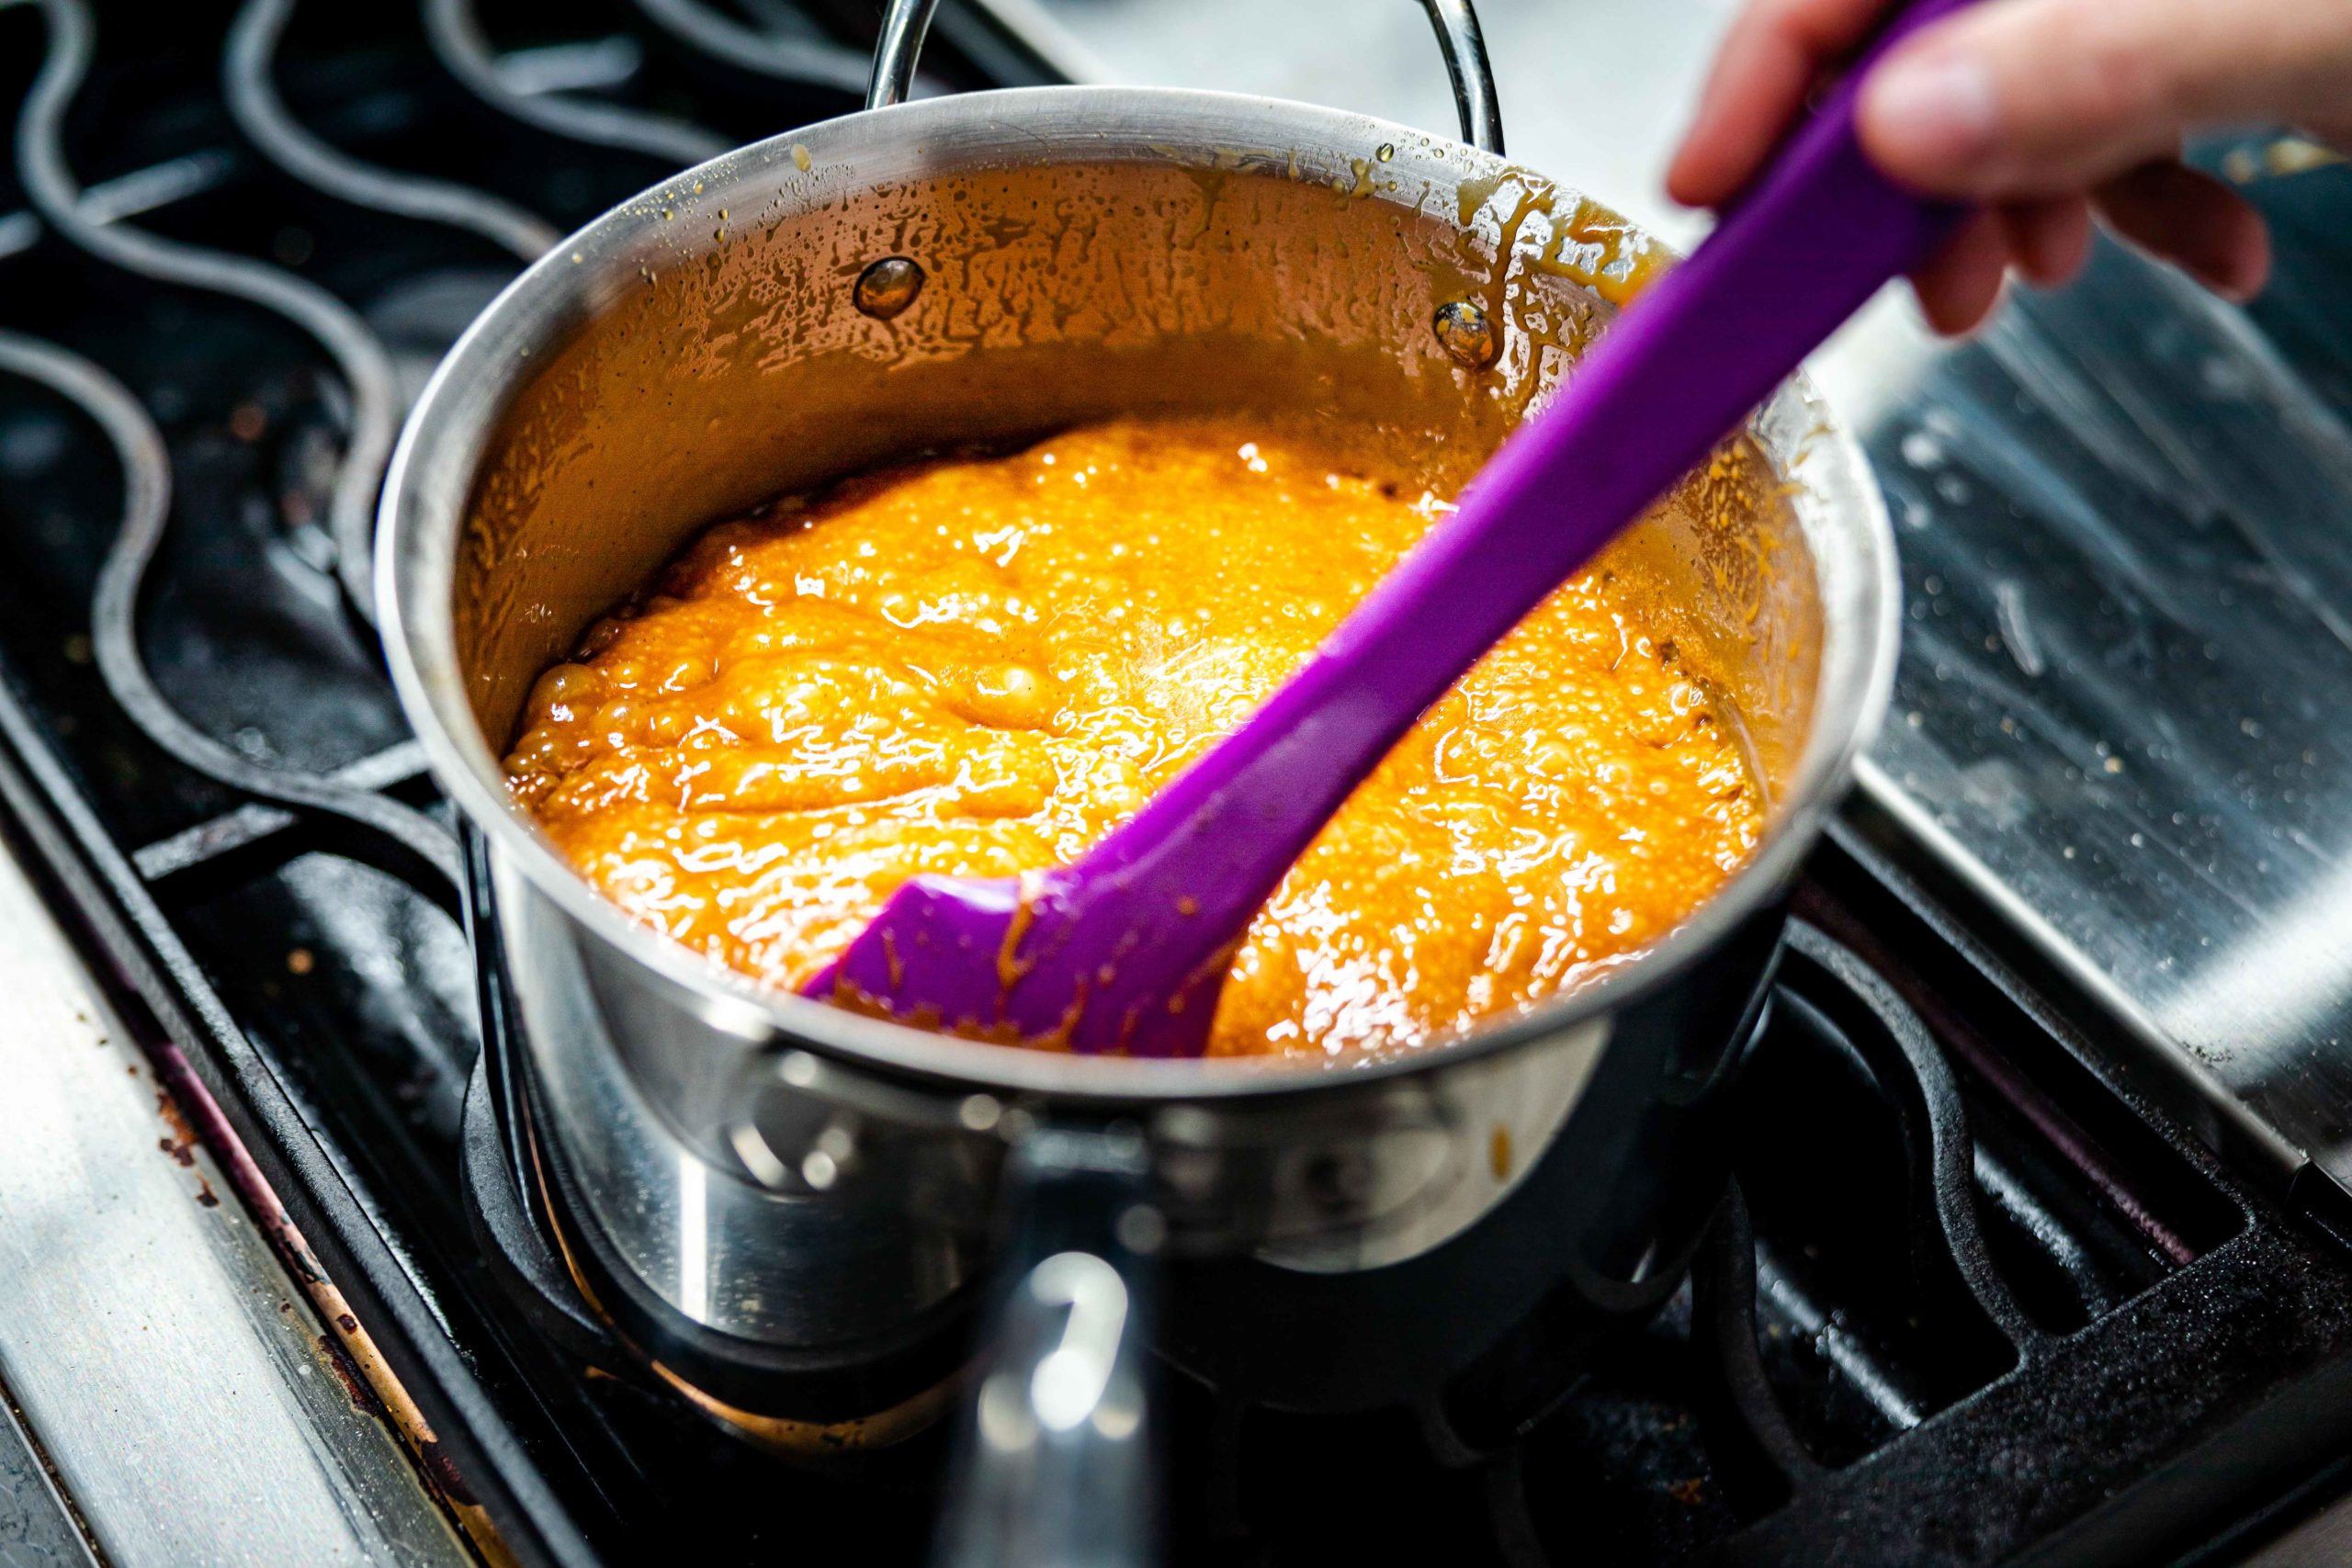
- Bring the mixture to 248°F (120ºC) while stirring continuously in all areas of the sauce pan.
- Remove the pan from the heat and stir for 30 seconds to allow the mixture to cool.
- Pour the caramel into the shallow pan or onto the parchment, and let set overnight in a cool place, but not in the refrigerator.
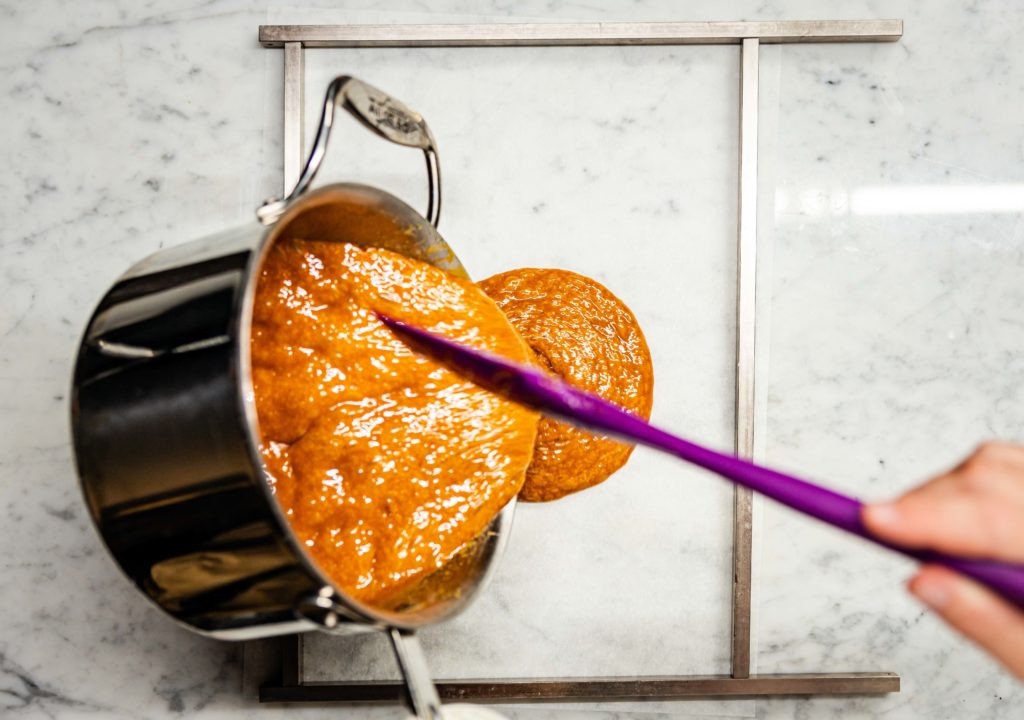
- The next day, run a knife along the edges of the shallow pan.
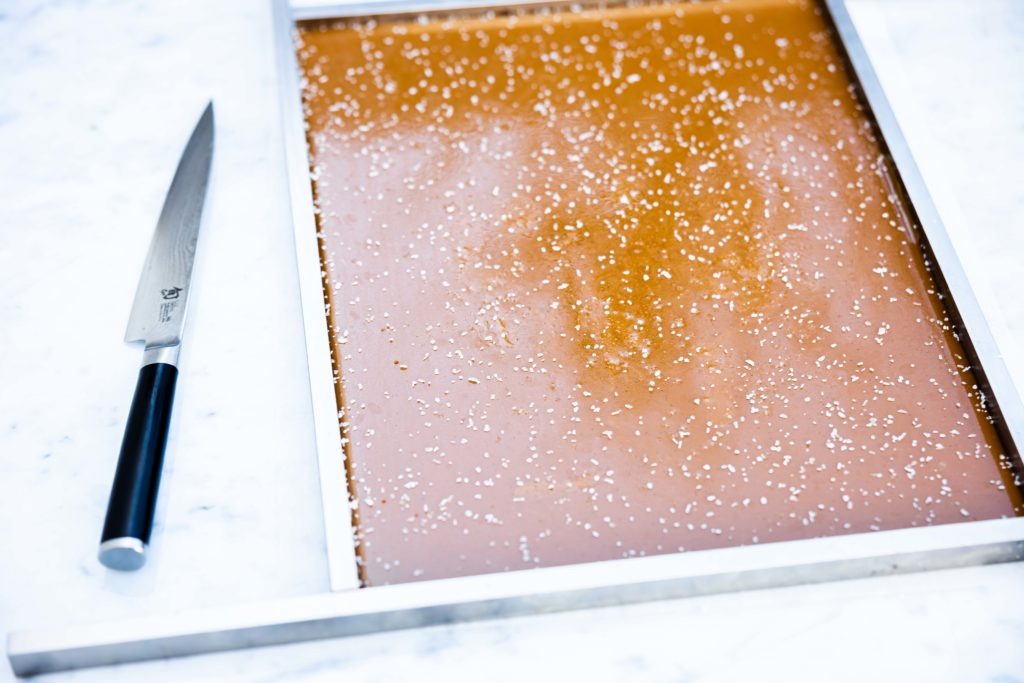
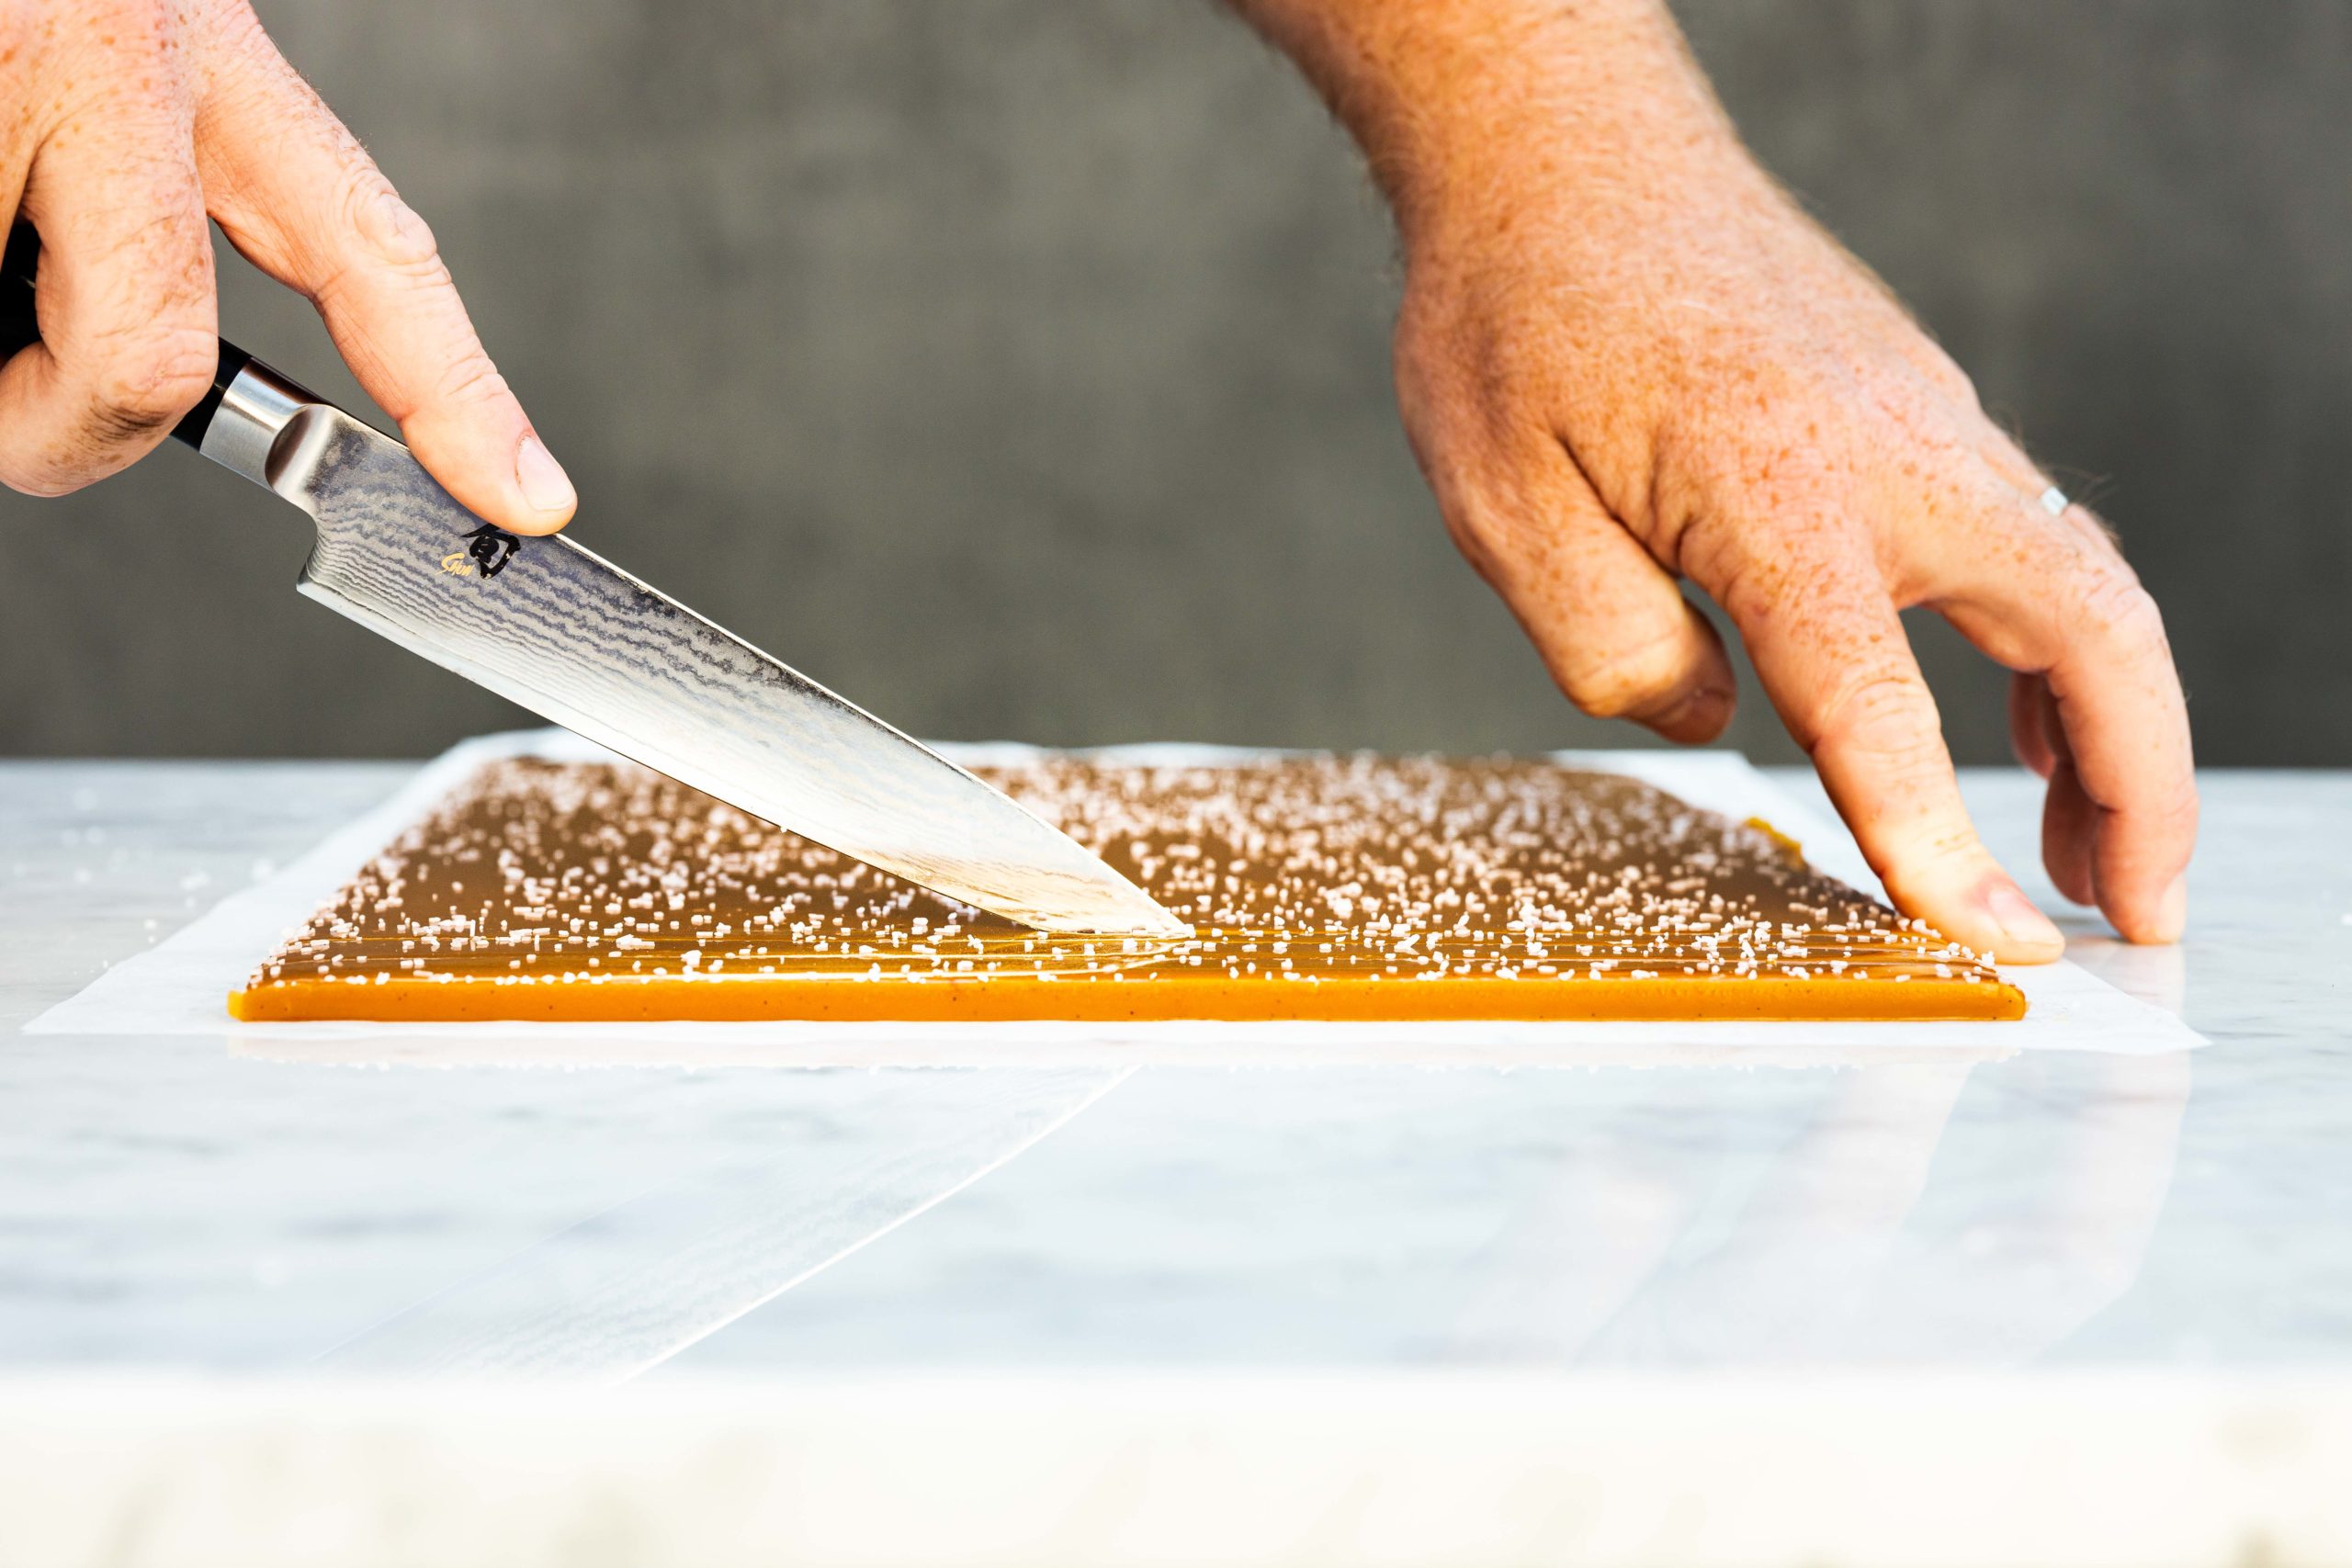
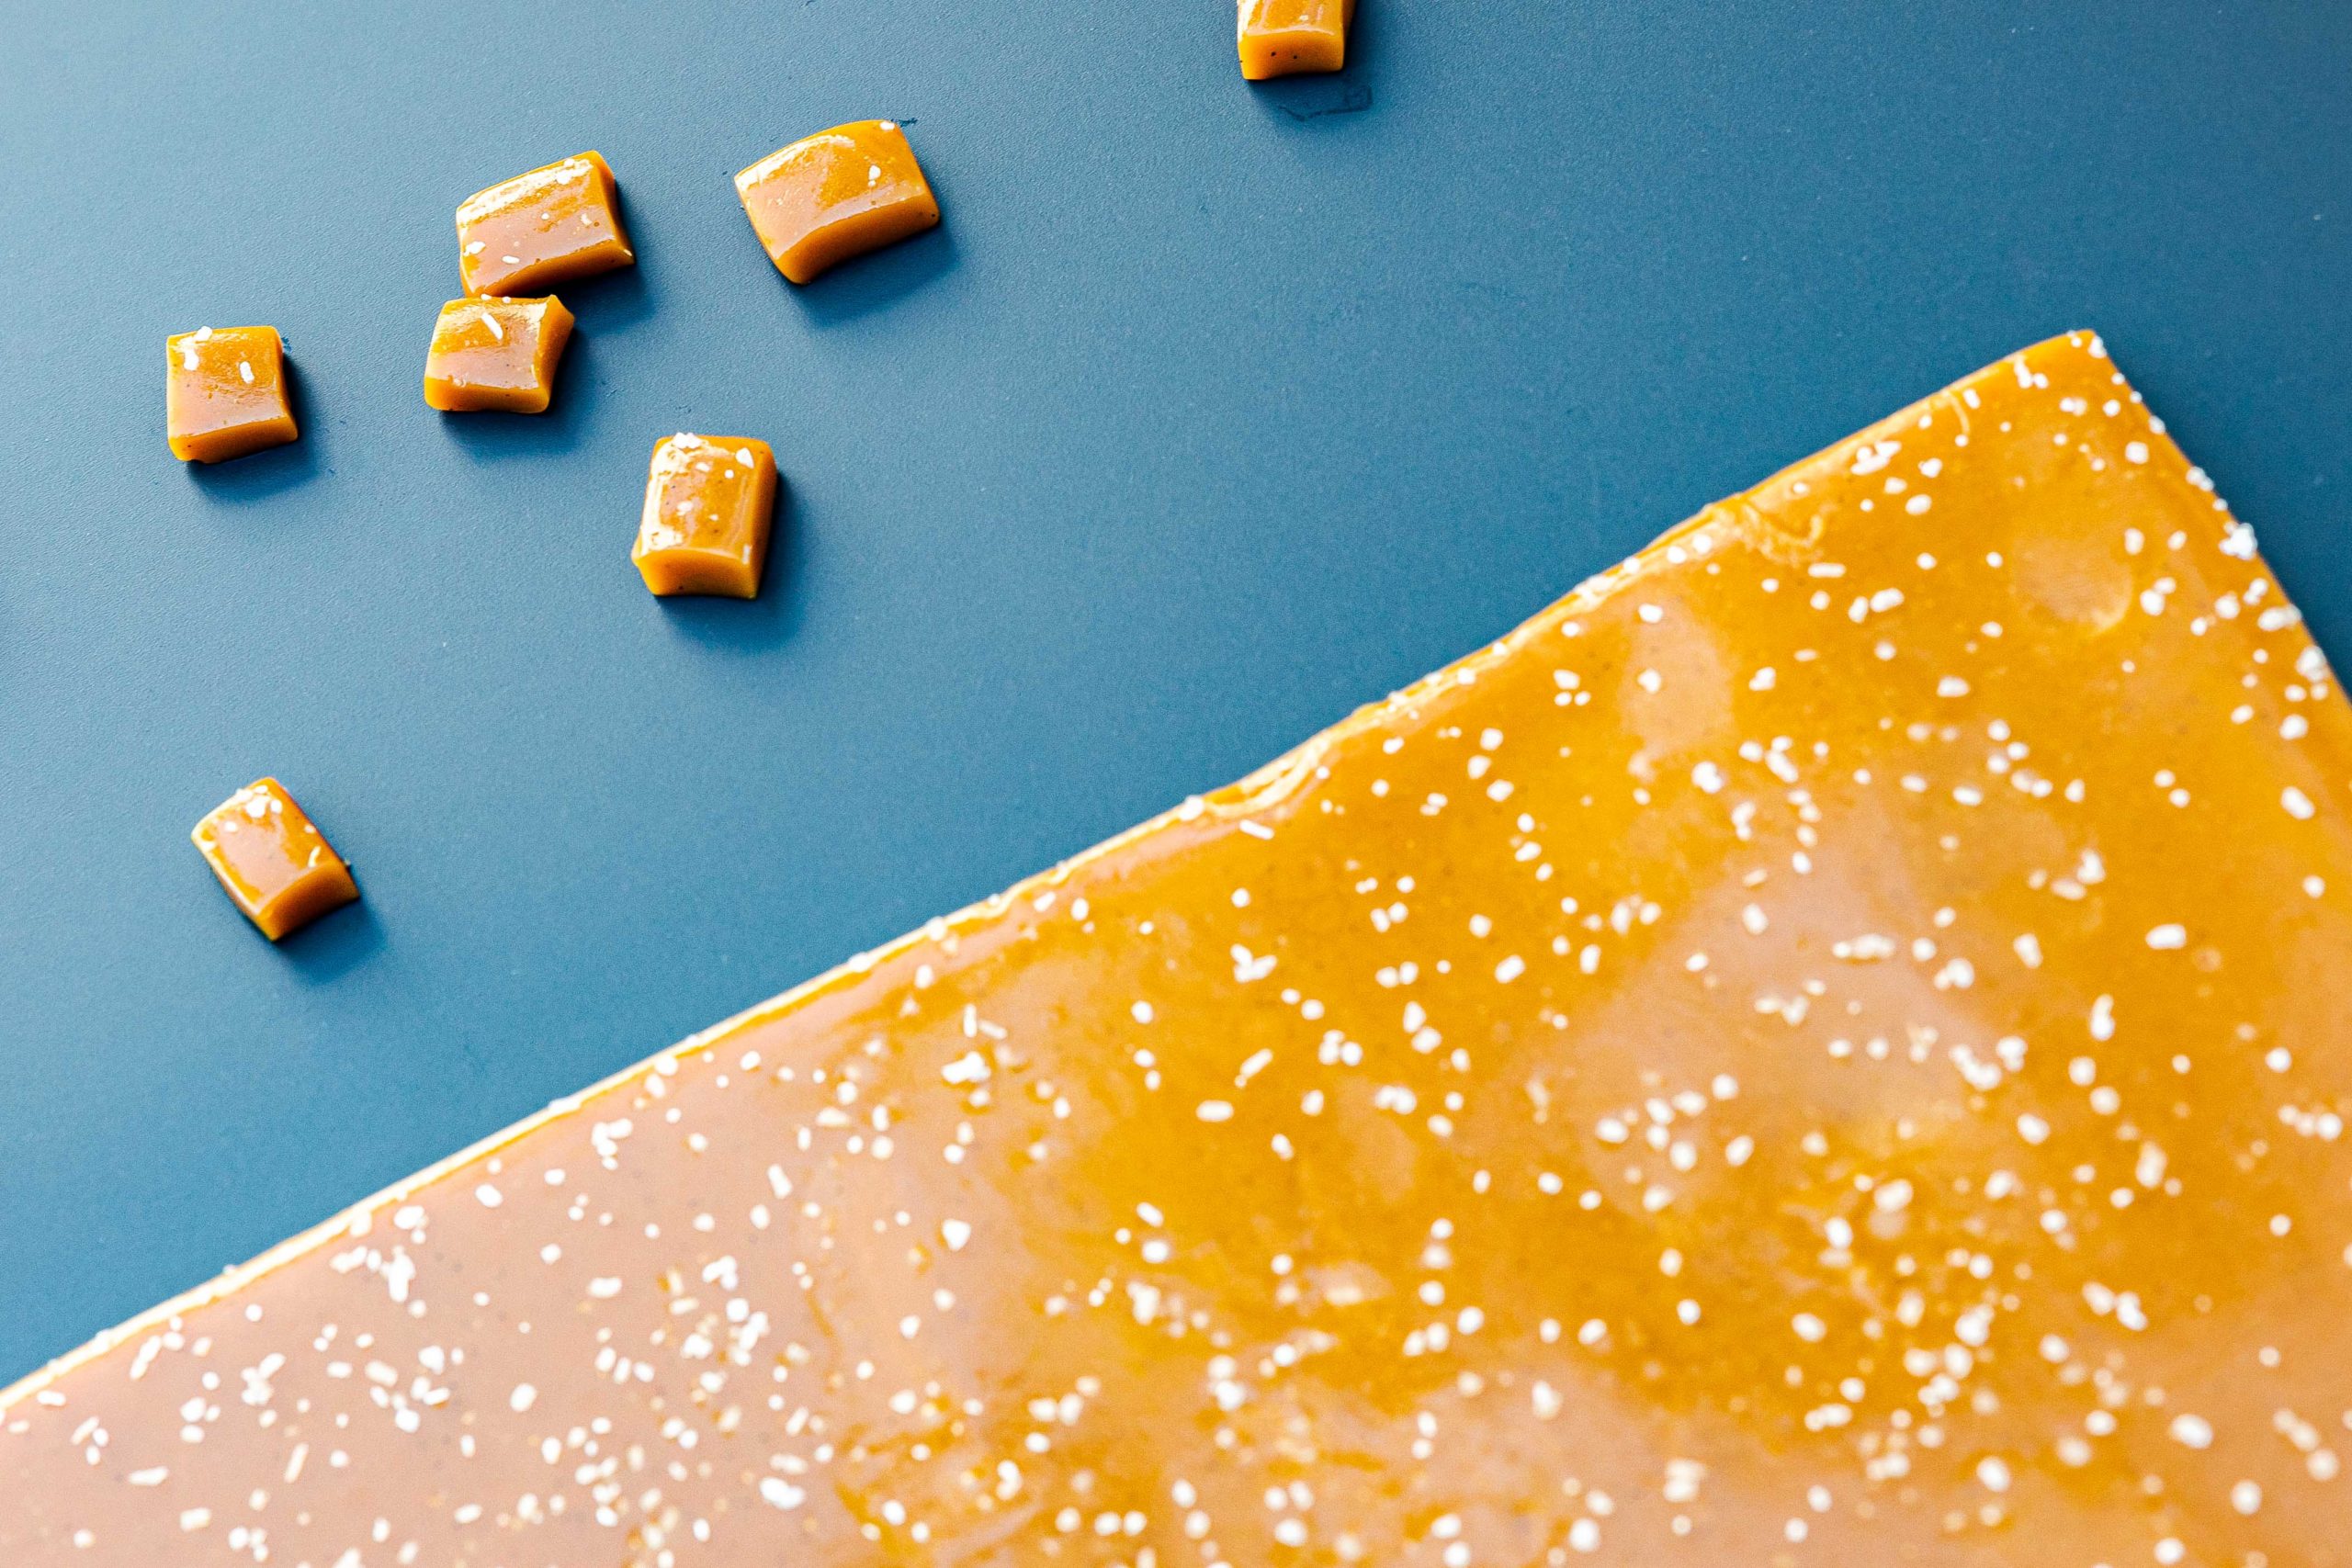
- Take the caramel out of the pan and place it onto a cutting board, sprinkle the top with coarse salt.
- Cut the caramel into squares and wrap in cellophane or waxed paper.
With thermal knowledge on your side, you can make caramels as good as Grandma’s were. It a fun project and one that you’ll be glad you tried. Have a sweet Holiday!
If you’d like to learn more, read our post on how to make chocolate-dipped caramels.


The instructions at the top indicate not to stir, but recipe indicates to stir while caramelizing. Which would be best?
Once the caramelization process has begun, you can stir with a clean spoon a little if necessary. Best not to, though.
Very interesting analysis of the issues of making caramels. Now do pate de fruit!!
Peter,
Thank you, and watch this space! You may get what you want sooner than you think…
Yes pate de fruits please!
We have a post on that!
Can you adapt this recipe to make brittle? I.e. cook it to the 310°F mark then mix in peanuts and pour? Would more baking soda be required?
Good question! I think that SHOULD work. I’d give it a half teaspoon of baking soda right before adding the peanuts. It may be butterier and more, well, brittle, but I have no problem with that. If you try it, let us know!
These caramels are INSANELY DELICIOUS. I’ve been making caramels for more than a few years, trying to perfect my technique and get that ever-so-elusive multi-dimensional depth of flavor along with the ultimate chew. This has involved a great many recipes, using different temps/timings, many different types of sugar (white, cane, Demerara, muscovado, Lyle’s Golden Syrup vs. corn syrup vs. glucose, warming or not warming cream prior to adding, adding cream in 2 different stages, etc., all with varying results, and not always good. But not one of those recipes added baking soda. What a revelation! Cooking to the higher temp was key (for me) to the depth of flavor I was searching for. And also (for me) the combination of glucose and cane sugar created the best chewy pull.
These were the very best caramels I have ever made. THANK YOU ThermoWorks and The French Pastry School for that!!
That’s so lovely to hear! Thank you for sharing!
Martin, this article on making caramels is excellent! Thank you for explaining the chemistry behind caramel making.
I do have one question. As the final caramel mixture approaches 248°, I almost always see a drop in temperature of 2-3 degrees. I’m all set to pull the pan off the heat to have this drop happen. What is happening at a chemical thermal level to the candy?
I don’t know why this happens, but I have seen it as well. I think it has something to do with moving to the next elevel of doneness. A burst of steam leaves, cooling the caramel. But I don’t know for sure.
Would .5 g be a pinch? I never learned metric measurements.
A pinch will do, indeed!
Does it matter if you usea non stick pot?
Uncoated pots are traditional and work perfectly well for candy making. If you only have a non-stick, that’s fine, but certainly don’t buy one for this purpose.
When traveling to France last year I had caramels with Passion Fruit. Since I have a full crop of these lovely fruits, I’d like to add some to the caramels. Advice please?
Wonderful! Strain the pulp, then use it in place of some of the liquid in your caramels. Cook to the same temperature. I have done this with commercially available passionfruit nectar and it was DELICIOUS. You can do it with any fruit pulp or juice, in fact. I like to make them with sour cherry juice.
What if you want chocolate caramel?
Ass some cocoa powder with the sugar in the first steps. It will boil in and incorporate. Or, use chocolate syrup instead of corn syrup!
What should be done differently with this recipe to give the caramels a longer chew so they can be eaten on a stick, like a homemade gourmet Slo Poke?
Increase the final pull temperature by a few degrees. The more water you cook ouy (the higher the boiling temp) the chewier it will get until it gets crunchy.
Hi im trying to achieve a recipe for filling cookies, at what final temp should I get out the caramel ? 248?
Thanks
Are you looking for something runny or firm or chewy as a filling? I’d start by subtracting about 5°F for something very soft and even kind of runny (that you’ll need to refrigerate to cut well). Add 3-5°F to go firmer.
I’m confused… you initially start out telling us to get the temp up 330ish°, and then in the recipe, you have it at the 248ish° area at completion. Wouldn’t the 330° burn it? I have always seen recipes (and I know everyone is different), but the consensus is between 235° to 238°, anything 239° is cutting it close, and above 240° you’ll more than likely burn it… And yes, I know, there are varying circumstances, like the type and thickness of your pan, variations of heat, gas vs electric… but temps are temps…
Taking the sugar all the way to 330°F caramelizes the sugar, imparting that deep, rich caramel flavor. Then you add butter and cream and whatever else you want to flavor the candies and then take it to 248°F. The point is, in fact, to burn the sugar juuuuuuust enough to make it tasty. You wouldn’t take the caramels themselves to that temperature, but that’s where caramel flavor comes from. Many recipes for caramels omit this step and instead count on brown sugar for a flavor that is deeper than, well, white sugar, and those recipes are also delicious—but they won’t taste as authentically caramely as these. Great question!