How to Cook BBQ Pork Butt: A Guide
Barbecue is an American tradition 1 that people take seriously. And one of the most important and iconic barbecue dishes is tender, juicy, shredded pork butt.
In this post, we want to do a thorough rundown on BBQ pork butt—a pork-butt primer, if you will. We’ll talk tools and temps, sauces and seasonings, and everything you need to know to make perfect pork butt each and every time. Enjoy!
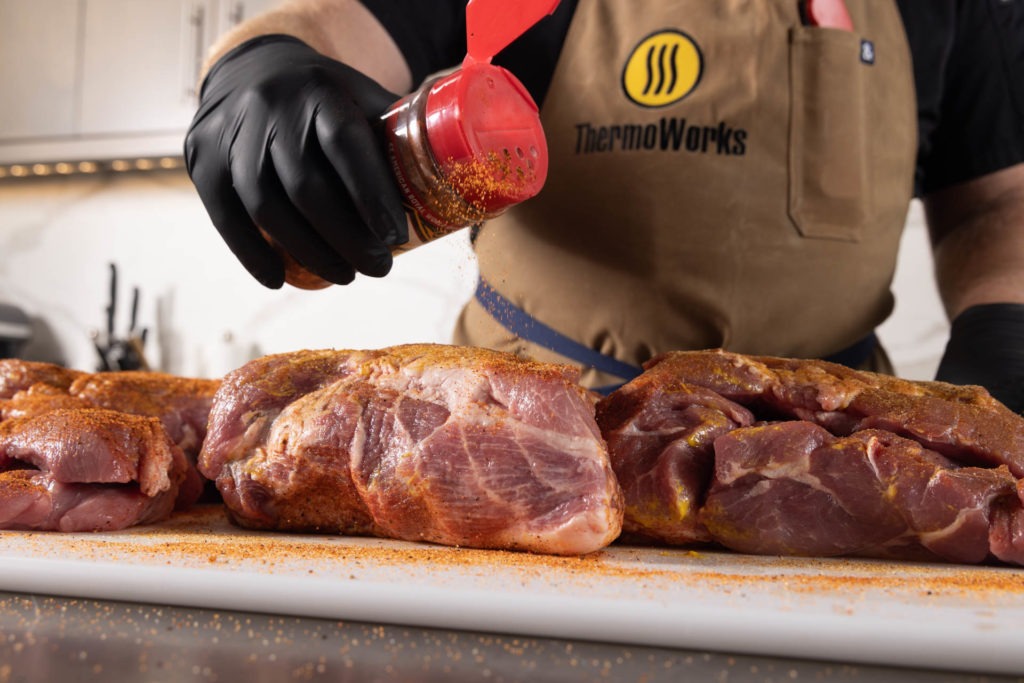
What is pork butt?
First, we have to start with this question: is it pork butt or pork shoulder? YES! This cut of meat comes from the front shoulder of the hog. It gets its name from the way that salted versions used to be packed and shipped in barrels—a “butt” is a cask of about 126 gallons. So “Boston pork butts” were casks of salted pork shoulder shipped originating in Boston. Somehow, thanks to the vagaries of language, the name stuck, and “pork shoulder” is now often called “pork butt,” a humorous fact that is well exploited by BBQ teams across the country.
(What we would think of as the hog’s “butt” is actually the ham, the rear upper leg of the animal.)
So whether we talk about smoked shoulder or smoked butt, we’re talking about the same thing.
Bone-in vs boneless pork shoulder
When shopping for shoulder, you’ll face the question of whether you want it bone-in or boneless. Now, there are old-hand BBQ gurus who will swear up and down that bone-in gives you more flavor, but actual studies have found that to be untrue. What a bone does offer is structure and a fun bone-pull at the end of the cook, if you’ve cooked it right. But a bone also brings more thermal mass that has to be heated, and the added structure that it provides actually decreases the meat’s surface area, decreasing the amount of smoke that can be absorbed and slowing the flow of heat into the muscle, slowing the cooking.
If you want the drama of pulling a clean bone from the center of your pork butt right before serving it, get a bone-in, but if you just want a mass of juicy shredded pork, you’ll actually get more smoke flavor and seasoning area with a boneless version. It’s your choice, and for that matter may be limited by what’s available in your area.
Skinless or skin-on butt
Though they are not common to find at your run-of-the-mill meat department at a grocery store, you can find skin-on pork shoulders. These are sometimes called “picnic shoulders” and are wonderful for many applications, especially Puerto Rican pernil, but they’re not what we’re after for barbecues. The skin keeps the smoke from penetrating into the meat and only gets hard and tough—not crisp and delicious—when cooked low and slow. Buy one if it’s all you can find, but use a good sharp boning knife or filet knife to skin it, then use the skin for something else like homemade pork cracklings or extra rich ramen broth.
Pork butt structure and thermal requirements: temperatures and times for tenderness
The meat of the hog’s shoulder is used for some serious work—it supports the animal all day and also has to move it around. As with all support-and-work muscles, the shoulder is full of connective tissues within the muscle. All that connective collagen is tough and has to be cooked down and rendered into gelatin before we’ll want to eat it. 2
Rendering collagen down into gelatin takes both time and temperature. It won’t even begin to break apart into more palatable protein strands until it reaches about 170°F (77°C), the beginning of the Collagen Melt Zone (CMZ), so you’ll need to cook it to that temperature at the very lowest. But we said temperature and time, right? Indeed, the higher the temperature, the faster those collagen strands unwind. When cooking pork butt, the optimal final temperature is somewhere in the neighborhood of 203°F (95°C).
A notable exception
- One important exception to the 203°F (95°C) doneness temp is Kansas City-style sliced shoulder. Because those pitmasters want sliced meat for sandwiches, as opposed to a pile of shreds, they don’t cook all of the collagen out. Instead, they cook their pork to 175°F (79°C). At that temperature, the meat is tender enough to eat in slices without being chewy, but not so tender as to fall apart. It’s quite tasty, and we recommend trying it!
A pork butt is a pretty big piece of meat, ranging from five to twelve pounds, and that much meat takes time to come up to temp. (A classic cut of meat, the pork steak, is cut from the shoulder, but it is only about a half-inch thick so it can get into and through the CMZ quickly.) How we get to that final temperature is a bit of a balancing act.
If we cook the meat too hot and fast, speeding through the CMZ, the collagen won’t have time to melt, and by the time it does, the meat can dry out from the hot cooking. So we arrive, as expected, at the good-ol’ “low and slow” method. By cooking the pork in the range between 225 and 275°F (107 and 135°C) we hit everything just right. The meat has time to soak in the CMZ while coming up to temp, but there isn’t so much heat that the meat dries out.
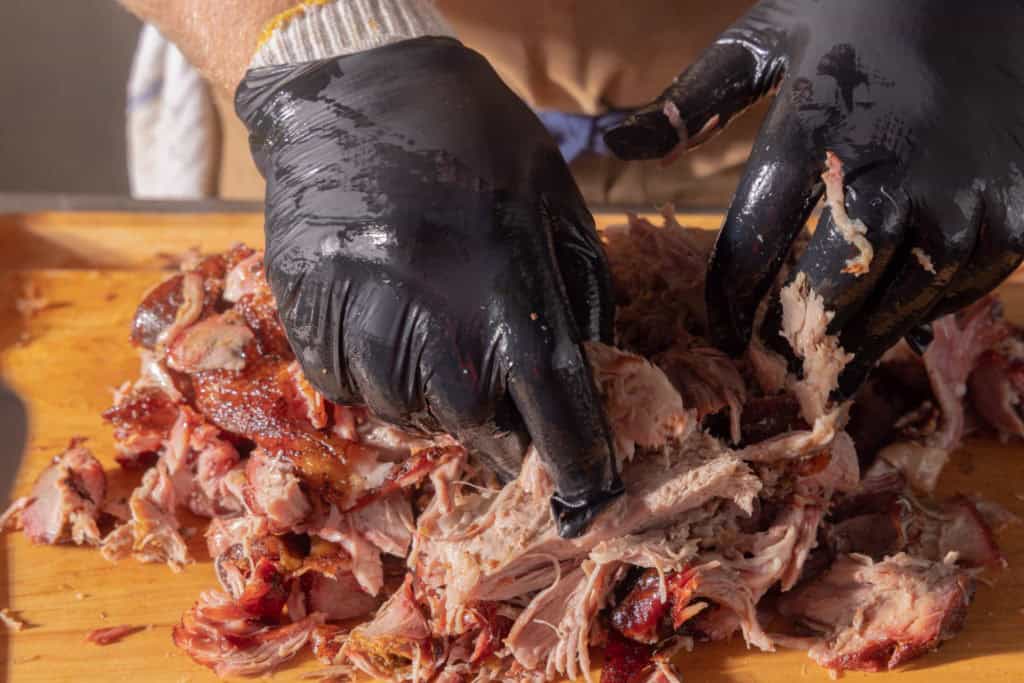
(Some people insist that you should only cook pork butt at 225°F [107°F], but you can get done a whole lot faster by cooking it just a little hotter. We cooked eight butts for this post and did them all at 275°F [135°C] and they were all fantastic. If you love smoke flavor above all else, cook lower. But you’ll still get smoke at 275°F [135°C].)
Tools for maintaining optimal smoker temps for pork butt
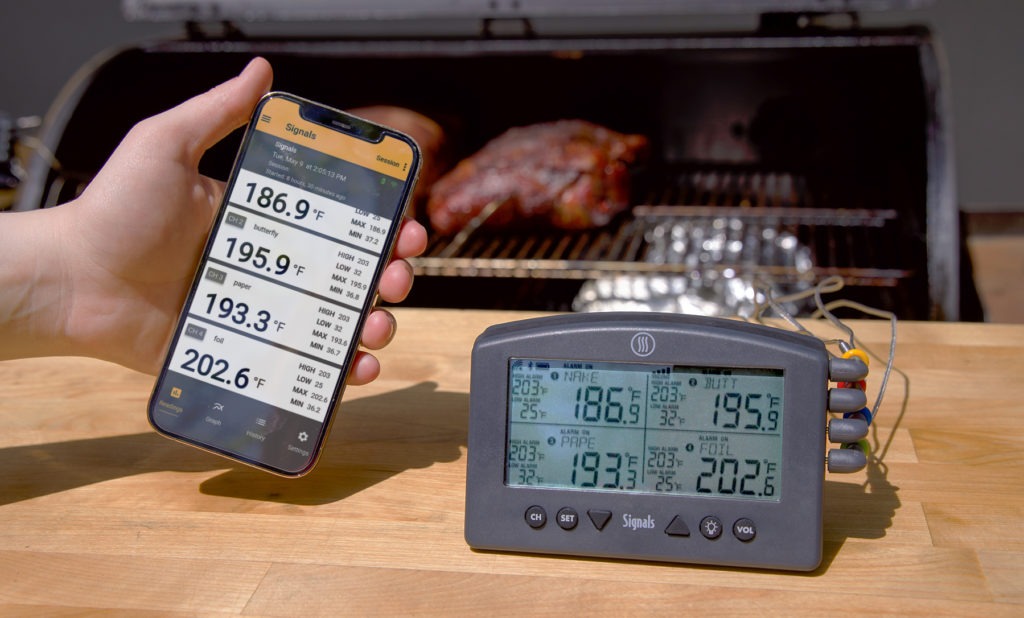
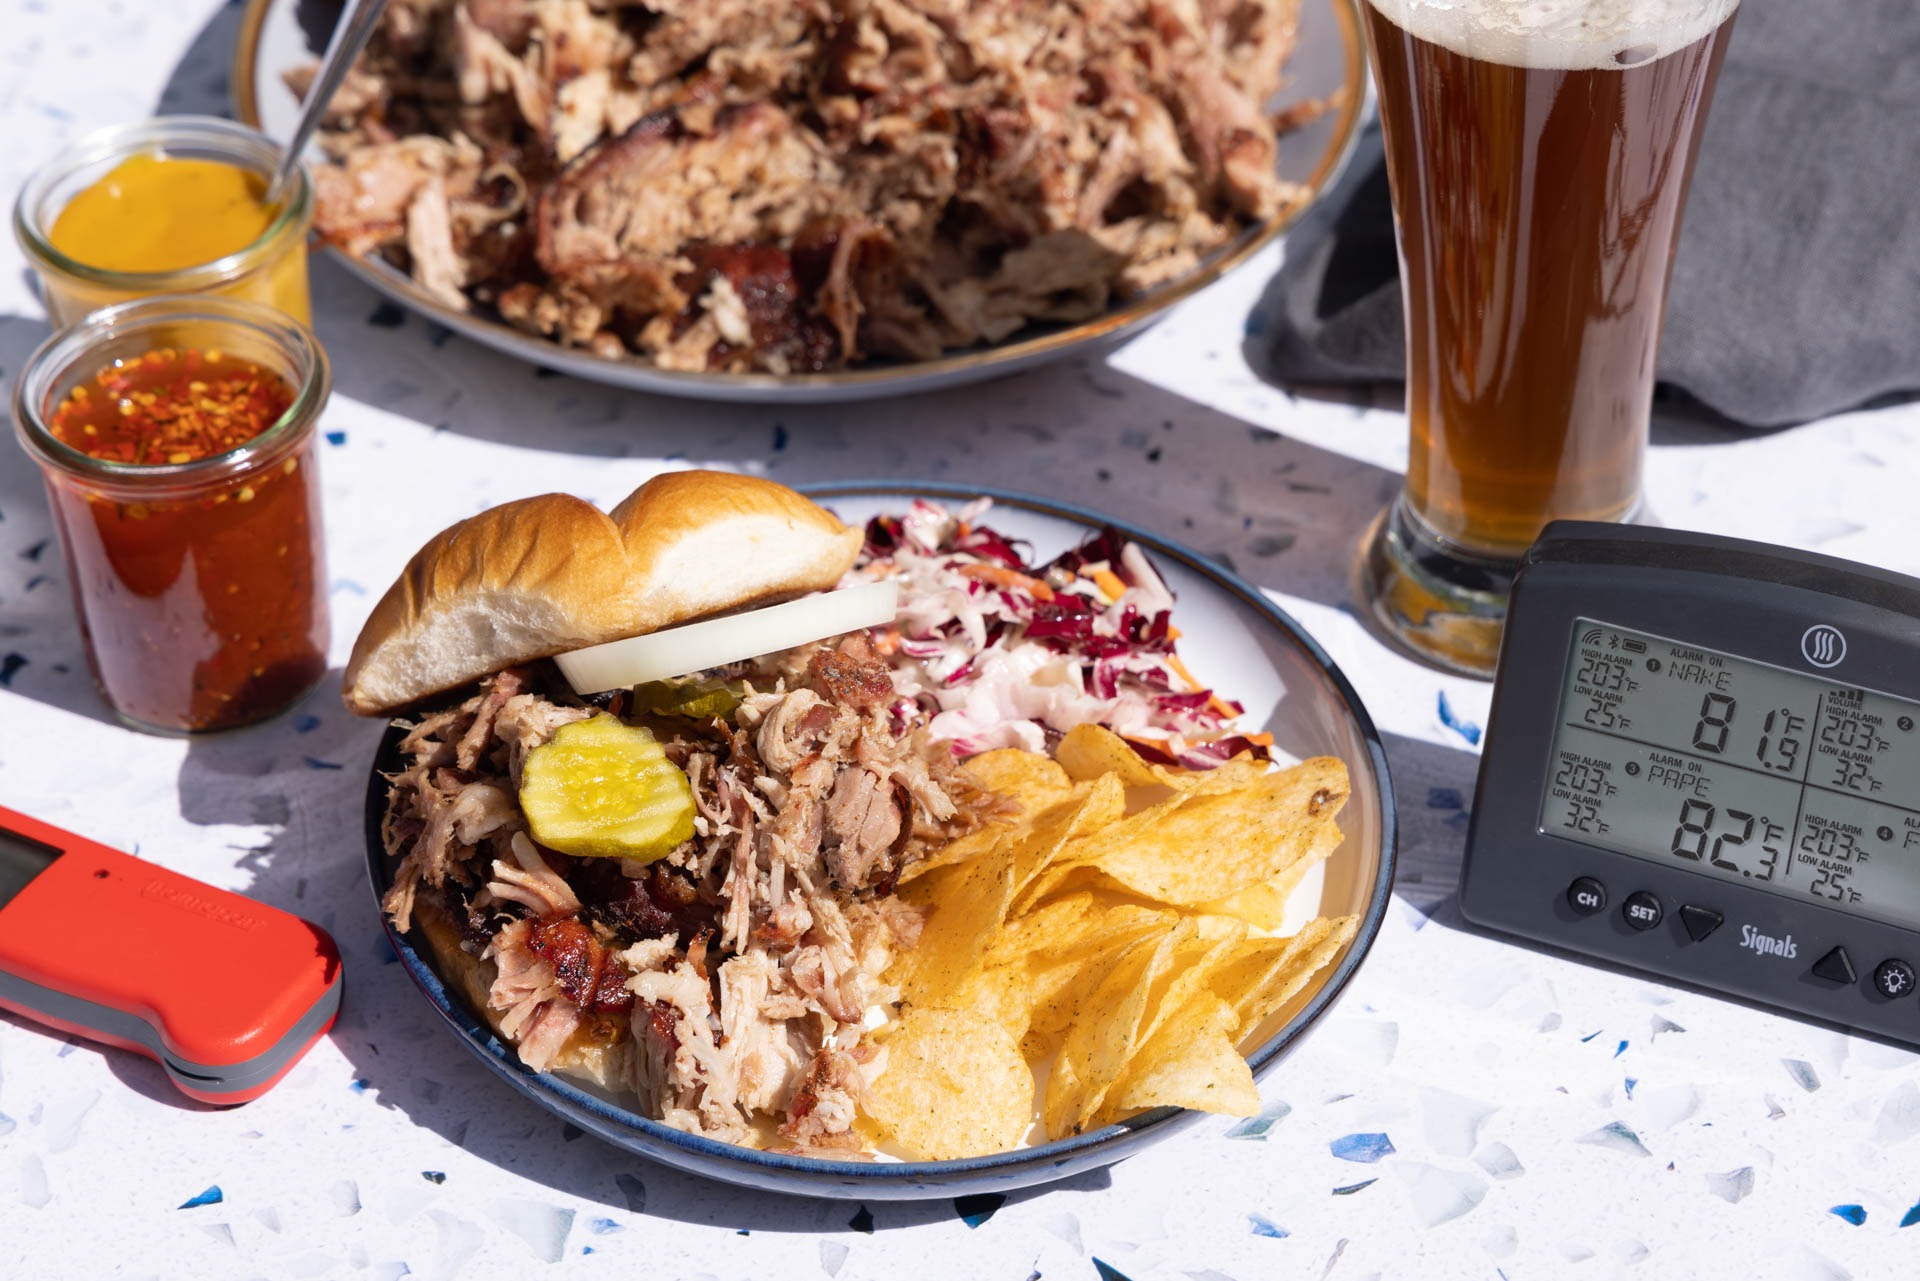
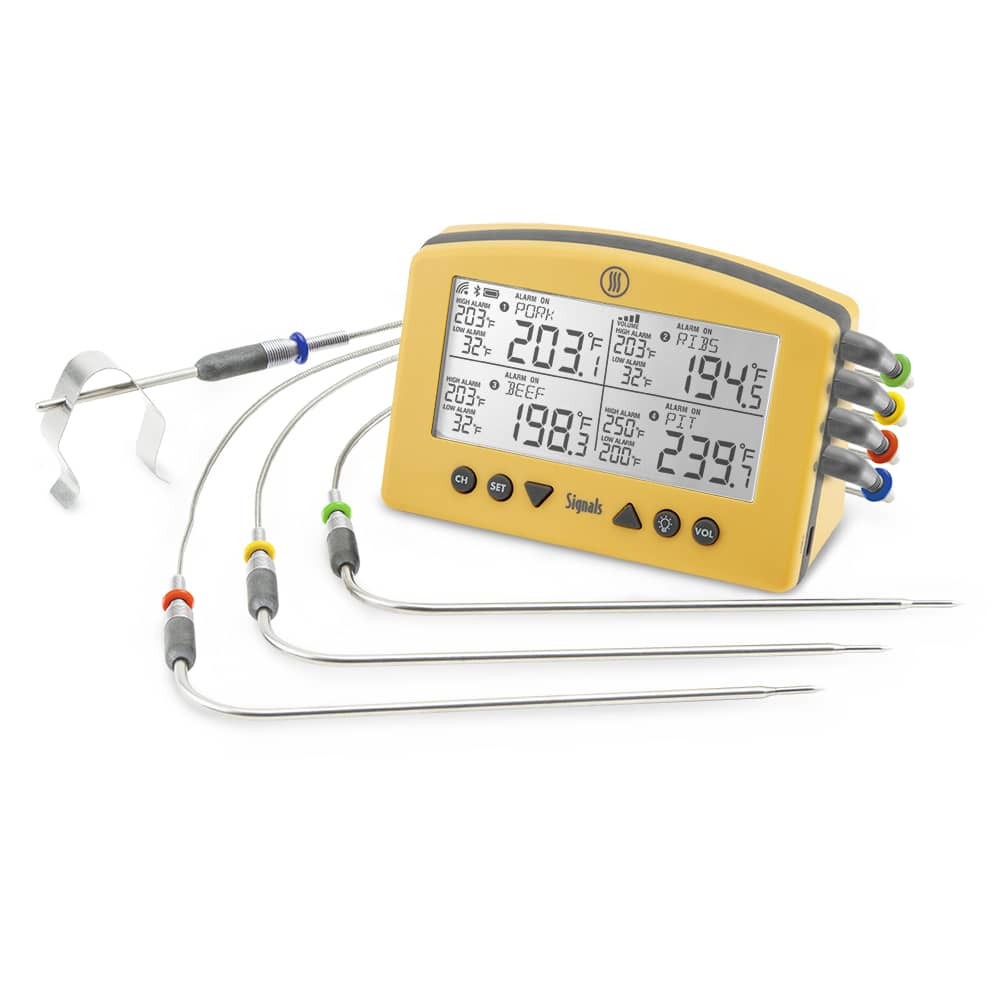
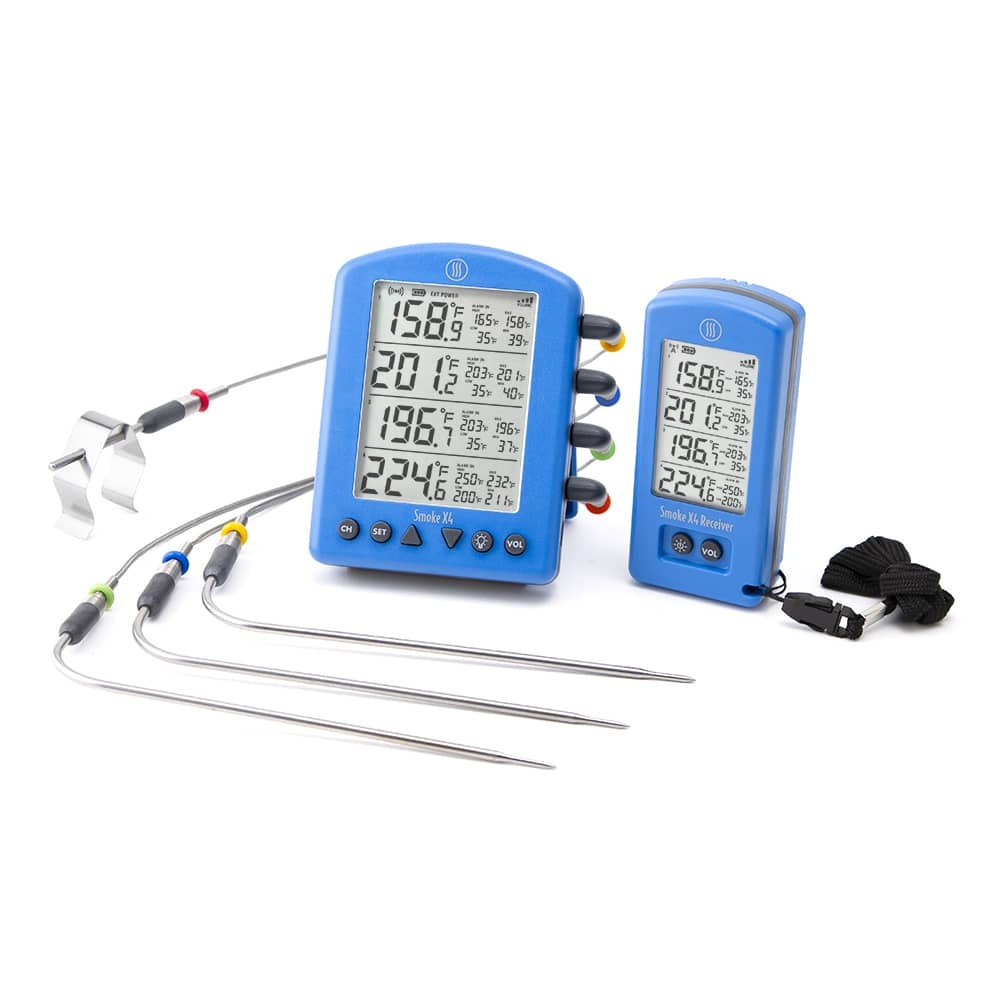
Keeping your smoker in the optimal temperature range for as long as a shoulder takes to cook can be tricky. There can be flare-ups or burnouts, and if you don’t know about them, you can ruin your dinner. Using a thermometer to monitor the pit temps, one like Smoke X4™ or Signals™ BBQ Alarm Thermometer, can help you keep track of things. Set the air probe up in your smoker and set alarms 25°F (14°C) above and below your ideal temperature. If your smoker gets too much air and gets hot, or runs out of fuel and cools, you’ll know about it before your meat cools down. This is important even with a pellet smoker, which can run out of fuel without you knowing.
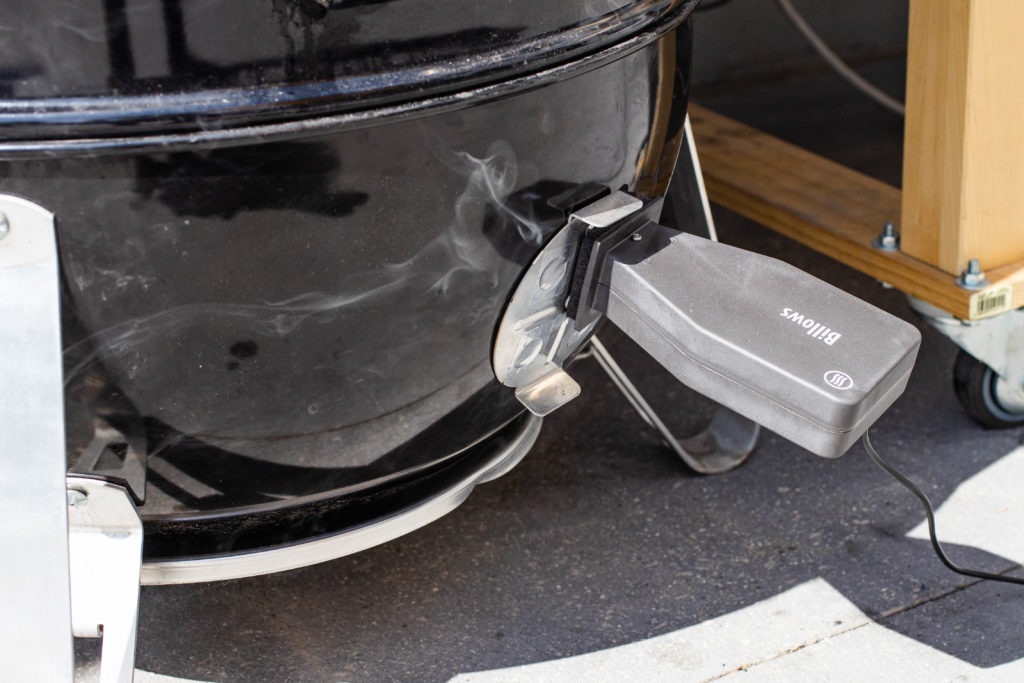
And if you don’t have a pellet smoker, you can use Billows™ BBQ Temperature Control Fan to actually regulate the temperature in your smoker:
On the stall: what to expect from a pork butt
If you know much about cooking pork chops, you may be shocked to see us calling for a 203°C (95°F) pull temp. Pork chops are done by 145°F (63°C), and dry after that! The collagen we talked about above is the key here. As the collagen dissolves, it also releases water that was bound up in the proteins, so the meat gets dry before it gets moist again. But there is an odd thermal barrier that we must cross to get to that collagen melt zone.
As the pork dries out—as a pork shop would—while passing 145, 150, 160°F (60, 66, 71°C), the water that the meat is squeezing out of itself makes its way to the surface of the pork butt, then encounters hot air and starts to evaporate, which causes cooling. So though we continue to pump heat into the meat, we don’t get a change in the temperature until that supply of easy-to-shed water has been used up. This is what BBQ folk call the stall. And it will make you worry if you’re new to this.
On the usefulness of data in the cooking of pork butt, or any BBQ, especially regarding the stall
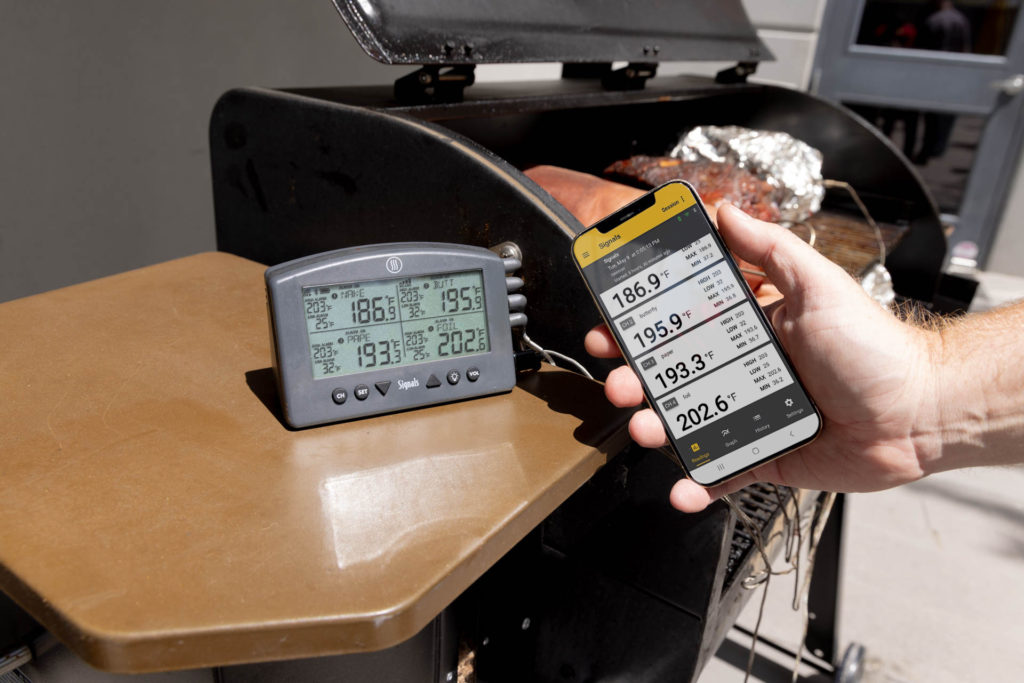
The stall can last for hours depending on the size and shape of your meat. But understanding how long it has lasted, and how things are moving, can be important for mastering BBQ pulled pork (or any BBQ for that matter). And that’s another reason why using Signals is great for this cook. Signals connects to your Wi-Fi and from there to the ThermoWorks Cloud. And once the data is in the cloud you can view it on your smart device (using the free ThermoWorks app) or your computer. You can actually watch the stall happen in the graphs and see the little upturn of the temperature as it ends and the temp begins to climb again. It’s very satisfying.
Coping with the stall: strategies for faster meat
There are a couple of options when it comes to beating the stall. First, we can increase the temperatrure, as noted above. That’s not really beating the stall, but it does cook more quickly. Instead, to really beat the stall, we can crutch or butterfly.
Wrapping pork butt
The stall is caused by evaporative cooling. How can we stop that? Not by increasing the heat … that will just make the meat sweat more quickly. Instead, we increase the humidity. Water can only evaporate into air that isn’t already full of water. That’s why you can’t cool off when it’s 100% relative humidity outside. To beat the stall, then, we can create a micro-environment where evaporation isn’t possible. We do that by wrapping.
To use the “Texas Crutch,” as it’s known in brisket-cookery, you wrap your pork butt in aluminum foil when it reaches the stall. The tight wrapping holds onto the water, some of which will evaporate. but once the air pocket around the meat reaches 100% relative humidity, no more evaporation occurs. So now all the heat we pump into the meat goes towards raising the temperature, not drying off its surface. Wait until the bark has formed—about 4 hours into the cook—and then wrap.
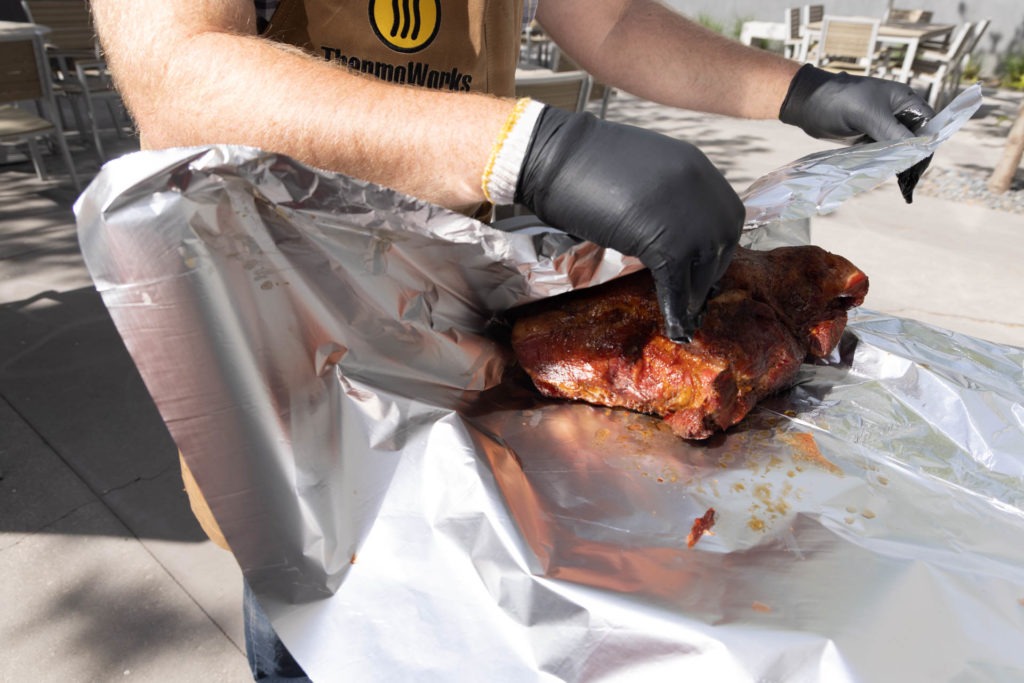
You can use foil, as we said, or you can use peach paper (BBQ paper, uncoated butcher paper). Foil works better. Paper is somewhat permeable to water, and some vapor escapes, fast enough that the stall still does its thing, though often to a lesser extent. (However, there is still a case to be made for paper, too, as we’ll see.)
Whether you wrap in foil or paper, you’ll need to keep an eye on the temperature. Insert a probe into the center of the meat when you put it in the smoker and connect your thermometer to the app, if applicable. (Smoke X4, for instance, doesn’t connect). When you see that the temperature has started to stall, pull the probe out, wrap the meat, and stick the probe back in through the wrap. Don’t worry, a few small holes in the wrap won’t negate the positive effects of the wrapping itself.
Smoker temperature for wrapping
A second advantage of wrapping is that you can crank up the heat a bit. Once the shoulders are wrapped, you can give the smoker a little more heat. The bottom of the pork will be protected from the more extreme heat by the pool of juices that will accumulate in the wrapping, and we don’t need the low-heat smoke flavor anymore—no smoke will get through the wrap anyhow! Kicking the heat up to 325 or 350°F (163 or 177°C) will do plenty and will get you to the finish line faster.
The ability to increase the smoker’s temp without fear is part of the appeal for paper, actually. As we said above, the paper won’t create quite the same seal, but it will create a pool in which the bottom of the meat can soak. You can preserve texture while increasing smoker temp and get some of the steam-bath advantages of wrapping, though those may be slightly decreased. So paper has its advantages, too.
Butterflying pork shoulder
Another strategy for fighting the stall is to increase the surface area and, at the same time, decrease the distance the heat has to travel into the pork. That is to say—we butterfly the pork. By laying the pork out flat, we increase the surface area that will both be accepting heat and losing water; both of those processes will speed up cooking. And as a bonus, we also get more area for smoke absorption and seasoning adhesion.
This is a place where boneless butts really shine. You can use the floppy bit where they removed the bone to start your cut, continuing down that gash until you have a very long, half-thick pork butt. This is probably our favorite method. It’s quite fast, and the added smoke and seasoning area makes it taste even better.
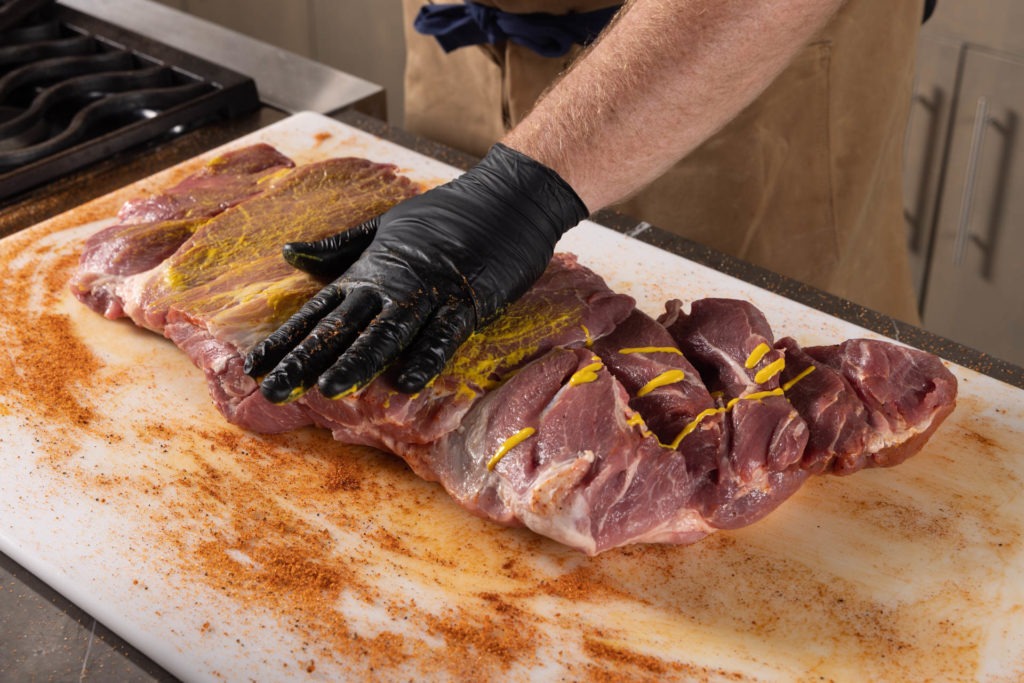
You can still wrap a butterflied butt, but you don’t need to. It’ll get done quick enough without it.
Probe the flattened shoulder with your BBQ thermometer, set the alarm to 203°F (95°C), and let it ride.
On resting pork butt, a necessity for tender meat
Whether we wrap a butt in foil to speed the cook or butterfly it, the speed can fight against us. If we get up to 203°F (95°C) quickly enough, we might still have tough meat inside. (Time and temperature, remember?) So we let the butts rest.
When your BBQ alarm thermometer tells you you’ve reached your target temp, verify that with your Thermapen® ONE. If you didn’t place the probe correctly, you might still have a few degrees before you reach pull temp. Assuming you find no lower temperatures, remove the pork from heat.
Now, if you’ve wrapped the meat, open the wrapping for a minute or two. This is called “burping” the meat and will help keep it from overcooking and becoming mushy during the rest. And yes, that can happen!
Reclose the wrapping or cover the meat if it was butterflied but not wrapped. Let the pork butt sit in a warm spot on your countertop or, better, in a cooler that will hold its own heat in. An oven set to warm will also work. The point is to let the residual heat in the pork to continue breaking down collagen but to do so without pumping more heat into the mass. This tenderizes the meat throughout, without drying.
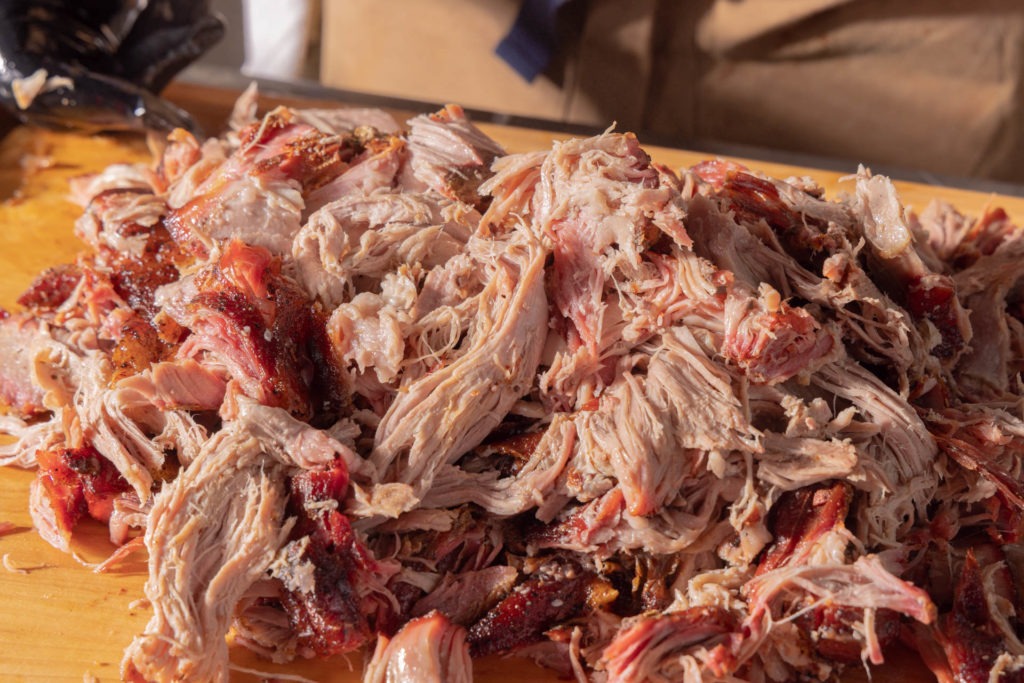
If you pull a wrapped butt or a butterflied butt from heat at 203°F (95°C) and don’t rest it, it will probably have a few muscles in the center that will not want to shred. And that will make you sad.
Give your pork an hour to rest and it will reward you with amazing texture and an easy shred. Worth it. Oh, and when you unwrap it, save all those juices from the wrap and mix them in with the meat after you shred it up. Don’t lose that flavor!
A butt that has cooked naked the entire time will likely need little to no resting. It will have been in the CMZ for so long already that it should be well-jiggly by the time it comes off the heat.
Graph power: using data to help you understand your cook
As we said, we cooked a bunch of butts for this post. Take for instance this smoker load of pork:
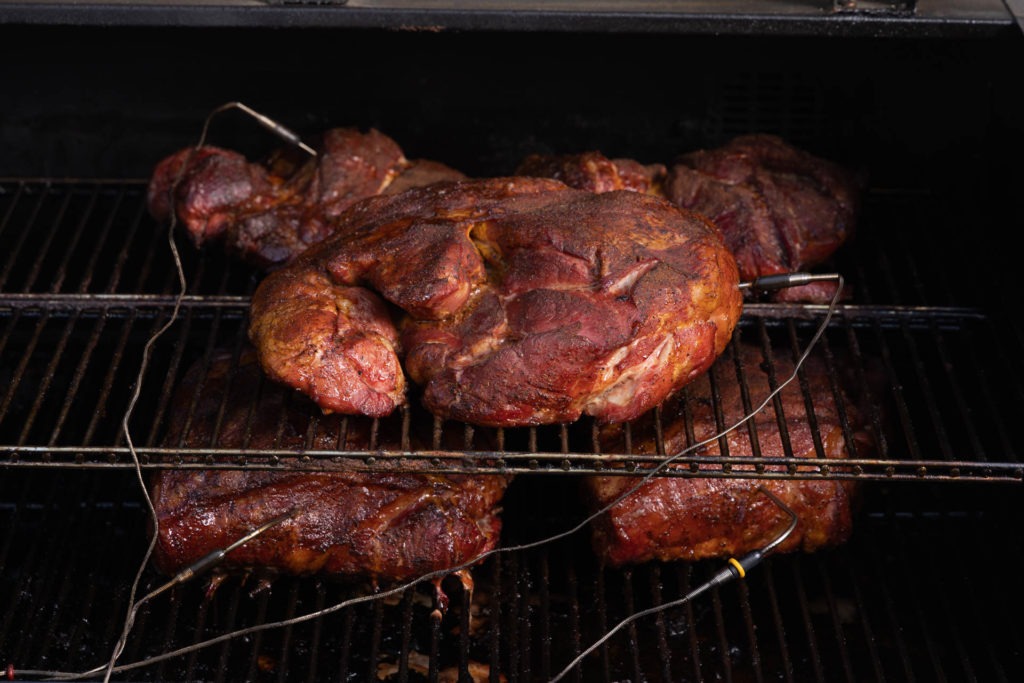
We ran a probe from each pork butt to our Signals and tracked the cook starting at about 6 a.m.
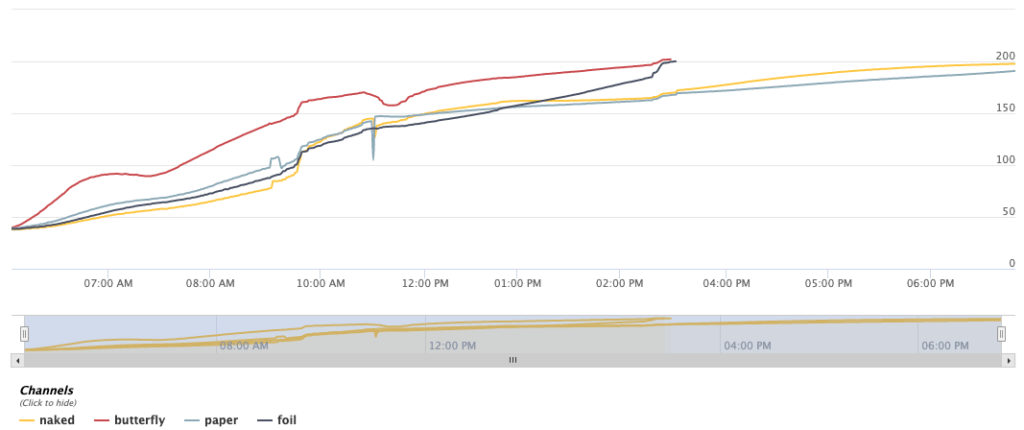
And this graph shows our results. You can see our pellet smoker running out of pellets at about 7 a.m. and you can see where we opened the lid of the smoker for about 10 minutes to take pictures of the shoulders as they cooked at about 11 a.m. (See that evaporative cooling? Impressive!) We can subtract the valleys those occurrences caused from the total time of the cook, because they wouldn’t have been there otherwise.
You can also see that a naked butterflied pork shoulder takes about the same amount of time to cook as a foil-wrapped whole shoulder. For that reason we really love the butterfly method. Better flavor, faster cook time. The best of both worlds!
You can also see the stall happening in the naked and paper butts, starting at about 11 a.m.; the temperature of both butts barely moves until about 3 p.m. The fascinating thing here is that the paper-wrapped butt maintains a lower temp than the naked one does once they leave the stall. That’s probably because it was larger. We tried to buy equally-sized butts, but you can only take what’s available, and one was at least a pound larger than the others.
Because we used our Signals on this cook, we could easily watch what was stalling, what was moving, and what was mostly done. And we can use that knowledge to plan our future cooks. Next time we cook an eight-pound shoulder at 275°F (135°C), we know that we can expect it to take about 5–6 hours for it to finish if it is wrapped in foil or naked butterflied. Or we can plan on a 9–10 pounder taking about 12 hours.
And because we can archive and store the data, we can compare our next cook to see how things went differently.
On BBQ sauces and seasonings for pork butt, from universals to regional variations
Of course, you won’t just put a pork butt in a smoker. You’ll season it first. You can use whatever BBQ rub you like for this, and if you have a special blend you make yourself, bust it out. Because pork butt cooks more quickly than brisket, you can use sweeter rubs than you might for brisket. We like something with some spice, but are not opposed to a plain salt and pepper rub (equal proportions kosher salt and restaurant-grind pepper by volume) or a simple SPOG (salt, pepper, onion, garlic).
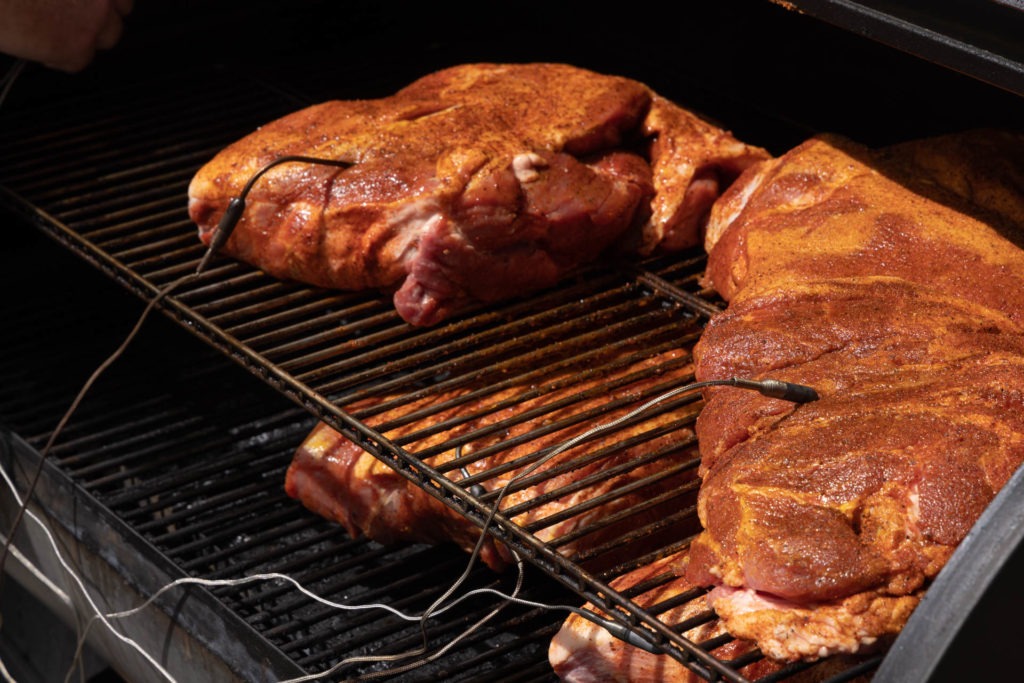
You can use a binder like yellow mustard if you like, but pork butts are often wet enough to bind the rub on their own. If you use a binder, use it lightly; you don’t need mustard caked onto the meat. (You won’t taste it later anyhow).
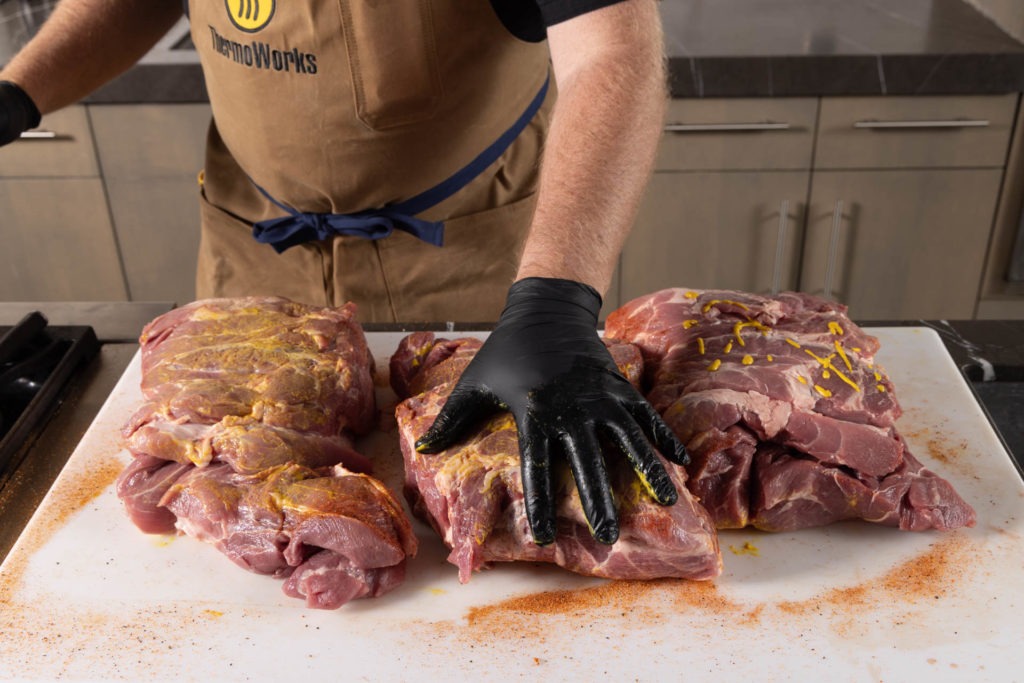
For brisket, bark is super important, but it is less important for pork shoulder. We certainly want our seasonings to bark up before we wrap them, but the final bark doesn’t matter that much. That’s why we don’t do an unwrap-and-cook step after the wrap (which e.g. we do for ribs to re-set the bark). After all, everything is going to be shredded together into one tangled mass of meat, so the barky bits won’t be missed much.
Sauces for pulled pork
How you dress your pork once it is cooked, rested, and shredded may have more to do with geography more than anything else. BBQ sauces are highly regionalized. Memphis-style sauce is more tangy and thin, Kansas City sauce is thicker, molassesier. And then there is the great North Carolina debate. There is a line of demarcation that runs through the state which determines whether a thin vinegar or a thicker tomato-and-vinegar sauce is used, with a significant portion of the southern part of the state in the mustard sauce camp. They’re all great, but in our testing over the last couple weeks, more ThermoWorkers like the mustard sauce than any other sauce we made or provided. Find what suits you, and roll with it.
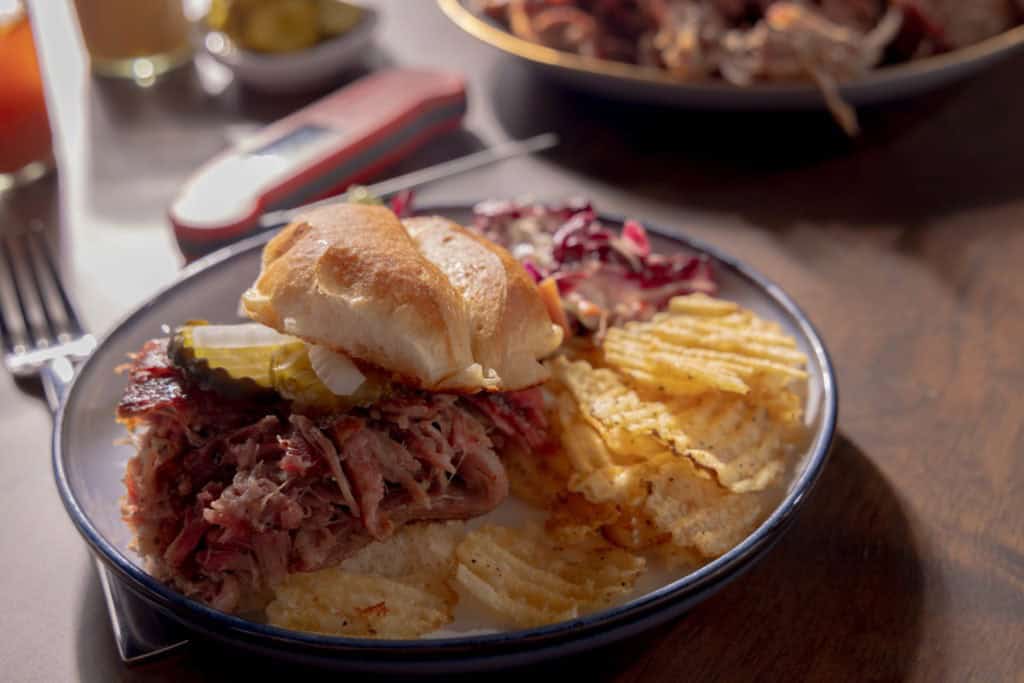
Of course, we can’t forget to mention coleslaw here. Coleslaw isn’t a sauce, per se, but it certainly is a widespread topping for pulled pork sandwiches. Scoff if you like, but the crunch and sweet tanginess of a good coleslaw is just about perfect on a juicy pulled pork sandwich.
Conclusion
Pork butt is easier to get right than brisket and often takes less time. With the right monitoring tools, like Signals and your Thermapen ONE, it’s easy to make delicious pulled pork that shreds like a dream—often with one big squeeze! We find the butterflied version to be the best, but you can wrap it in foil or paper (turn up the heat a little when you wrap it) or let it go naked the whole time. Get it up to 203°F (95°C) and let it rest, and shred it up. It’s a phenomenal way to feed a crowd, and if you make a whole butt for a small group, you get plenty of leftovers, which freeze like a dream. If you’re still hesitant, get an eight-pound shoulder and cook it at 275°F (135°C) like we did, and you can follow our graph above for a rough guide to timing. Get cooking, get happy. Happy cooking!
Shop now for products used in this post:



Great article – very clear and thorough explanation of the process. Conveys a good understanding of the how and why of cooking a butt.
“Ass the pork dried out while passing 145, 150, 160°F (60, 66, 71°C), as a pork shop”?
I thought it was from the the hog’s shoulder.
Yes, I’m just comparing the drying to how a pork chop would behave.
Excellent article describing the entire process. I use Signals app on my phone and final temp using the Thermapen. Can really follow the stall with Signals and then knowing when to wrap. Have not tried butterflying yet, but try it next time.
Excellent article on pulled pork. Now I understand why some of my pulled pork turned out tough in places, not so much in others! Thank you!
Yes it solves it for me as well
I’ve been smoking butts for almost 50 years and this is one of the best explanations of the cook I have seen. Excellent article.
The diferent graph lines need to be identified; pellot, wrapped, etc,
Butterflying is definitely the way to go, especially for a smaller piece. I usually cook ~ 4lbs because it’s just two of us eating it, and it was just over 1 hour/lb.
Just a general comment: These tutorials, all of them, are extremely informative and educational. Even when they pertain to things that I would never dream of cooking, knowing the techniques can be very useful to understand. Thank you.
Thank you!
Really enjoyed your article. Made alot of good suggestions and recommendations. Cooking a Pork butt this week. Thanks
Great article, just like the rest of your informative blogs. I have a question about cooking temps while “at altitude.” Here in Denver we are at about 5000 feet – does trying to go to 203 (past the local boiling temp) dry out the meat? Should I be aiming for a lower pull temp?
Matthew, great question. The situation is complex, and I’m not 100% sure of the answer. Here at ThermoWorks HQ, our boiling temp is about 203.5°F, so we face a similar, if less drastic, circumstance. (Your boiling point at 5000′ should be in the neighborhood of 202°F.) Let’s take a think, shall we?
First, water in meat is not pure water, not even close. The boiling point of the water will be raised by its “impurities” (proteins, salts, emulsified fats, etc.). Will it be raised above 203°F? I’m not sure.
Next, does it matter? If you get your meat up to 202°F, you are still well within the collagen-melt zone. 203°F is a good marker of collagen melting temperatures plus times—by the time the meat gets that hot, it will have been there long enough to have done its melting work.
Lastly, I don’t think it matters anyhow. Just the other day we were cooking a pork dish, braising it in the oven, and though out boiling point is 203°F, the meat got up to 205°F and came out gelatinous, juicy, tender, and wonderful.
So, you can aim for a lower temp like 202°F and give it a little longer, but don’t be surprised if it gets up to 203°F. If it does, don’t worry!
Love your hardware (electronic engineer here) and appreciate the great info. I’m a barbecue hound from North Carolina that cooks both Memphis and Asheville styles.
Keep em coming!
Will do! Thanks for reading!
I actually cheat with my pork butts. I let my crock pot do the heavy lifting overnight on low with apple juice and apple cider vinegar before I finish it off on a smoker real low for a smoke flavor. Out of the crockpot it is usually 190 something to a shade over 200 and the smoker for a couple of hours finishes it beautifully. My Thermo Pen helps me know where I am on the journey. My pork butt is always good and moist with a pleasant smoke flavor. My roots are deep in Eastern North Carolina so I know what good barbecue can be. I live in WNC and know what not so good barbecue can be. There is a difference. My version isn’t bad and I know the purists will scoff at the notion of my method, but myThermoPen is my best tool in the effort and it has not failed me.