Grilled Chicken Breasts: Temperatures for Juicy Meat
When it’s time for dinner, there’s a good chance it’s time for chicken. If you want juicy chicken breasts that are grilled to tasty perfection, you’re going to need to watch their temperature. Chicken breasts dry out with great ease, so keeping them juicy—especially when they’re cooking over hot coals—takes care.
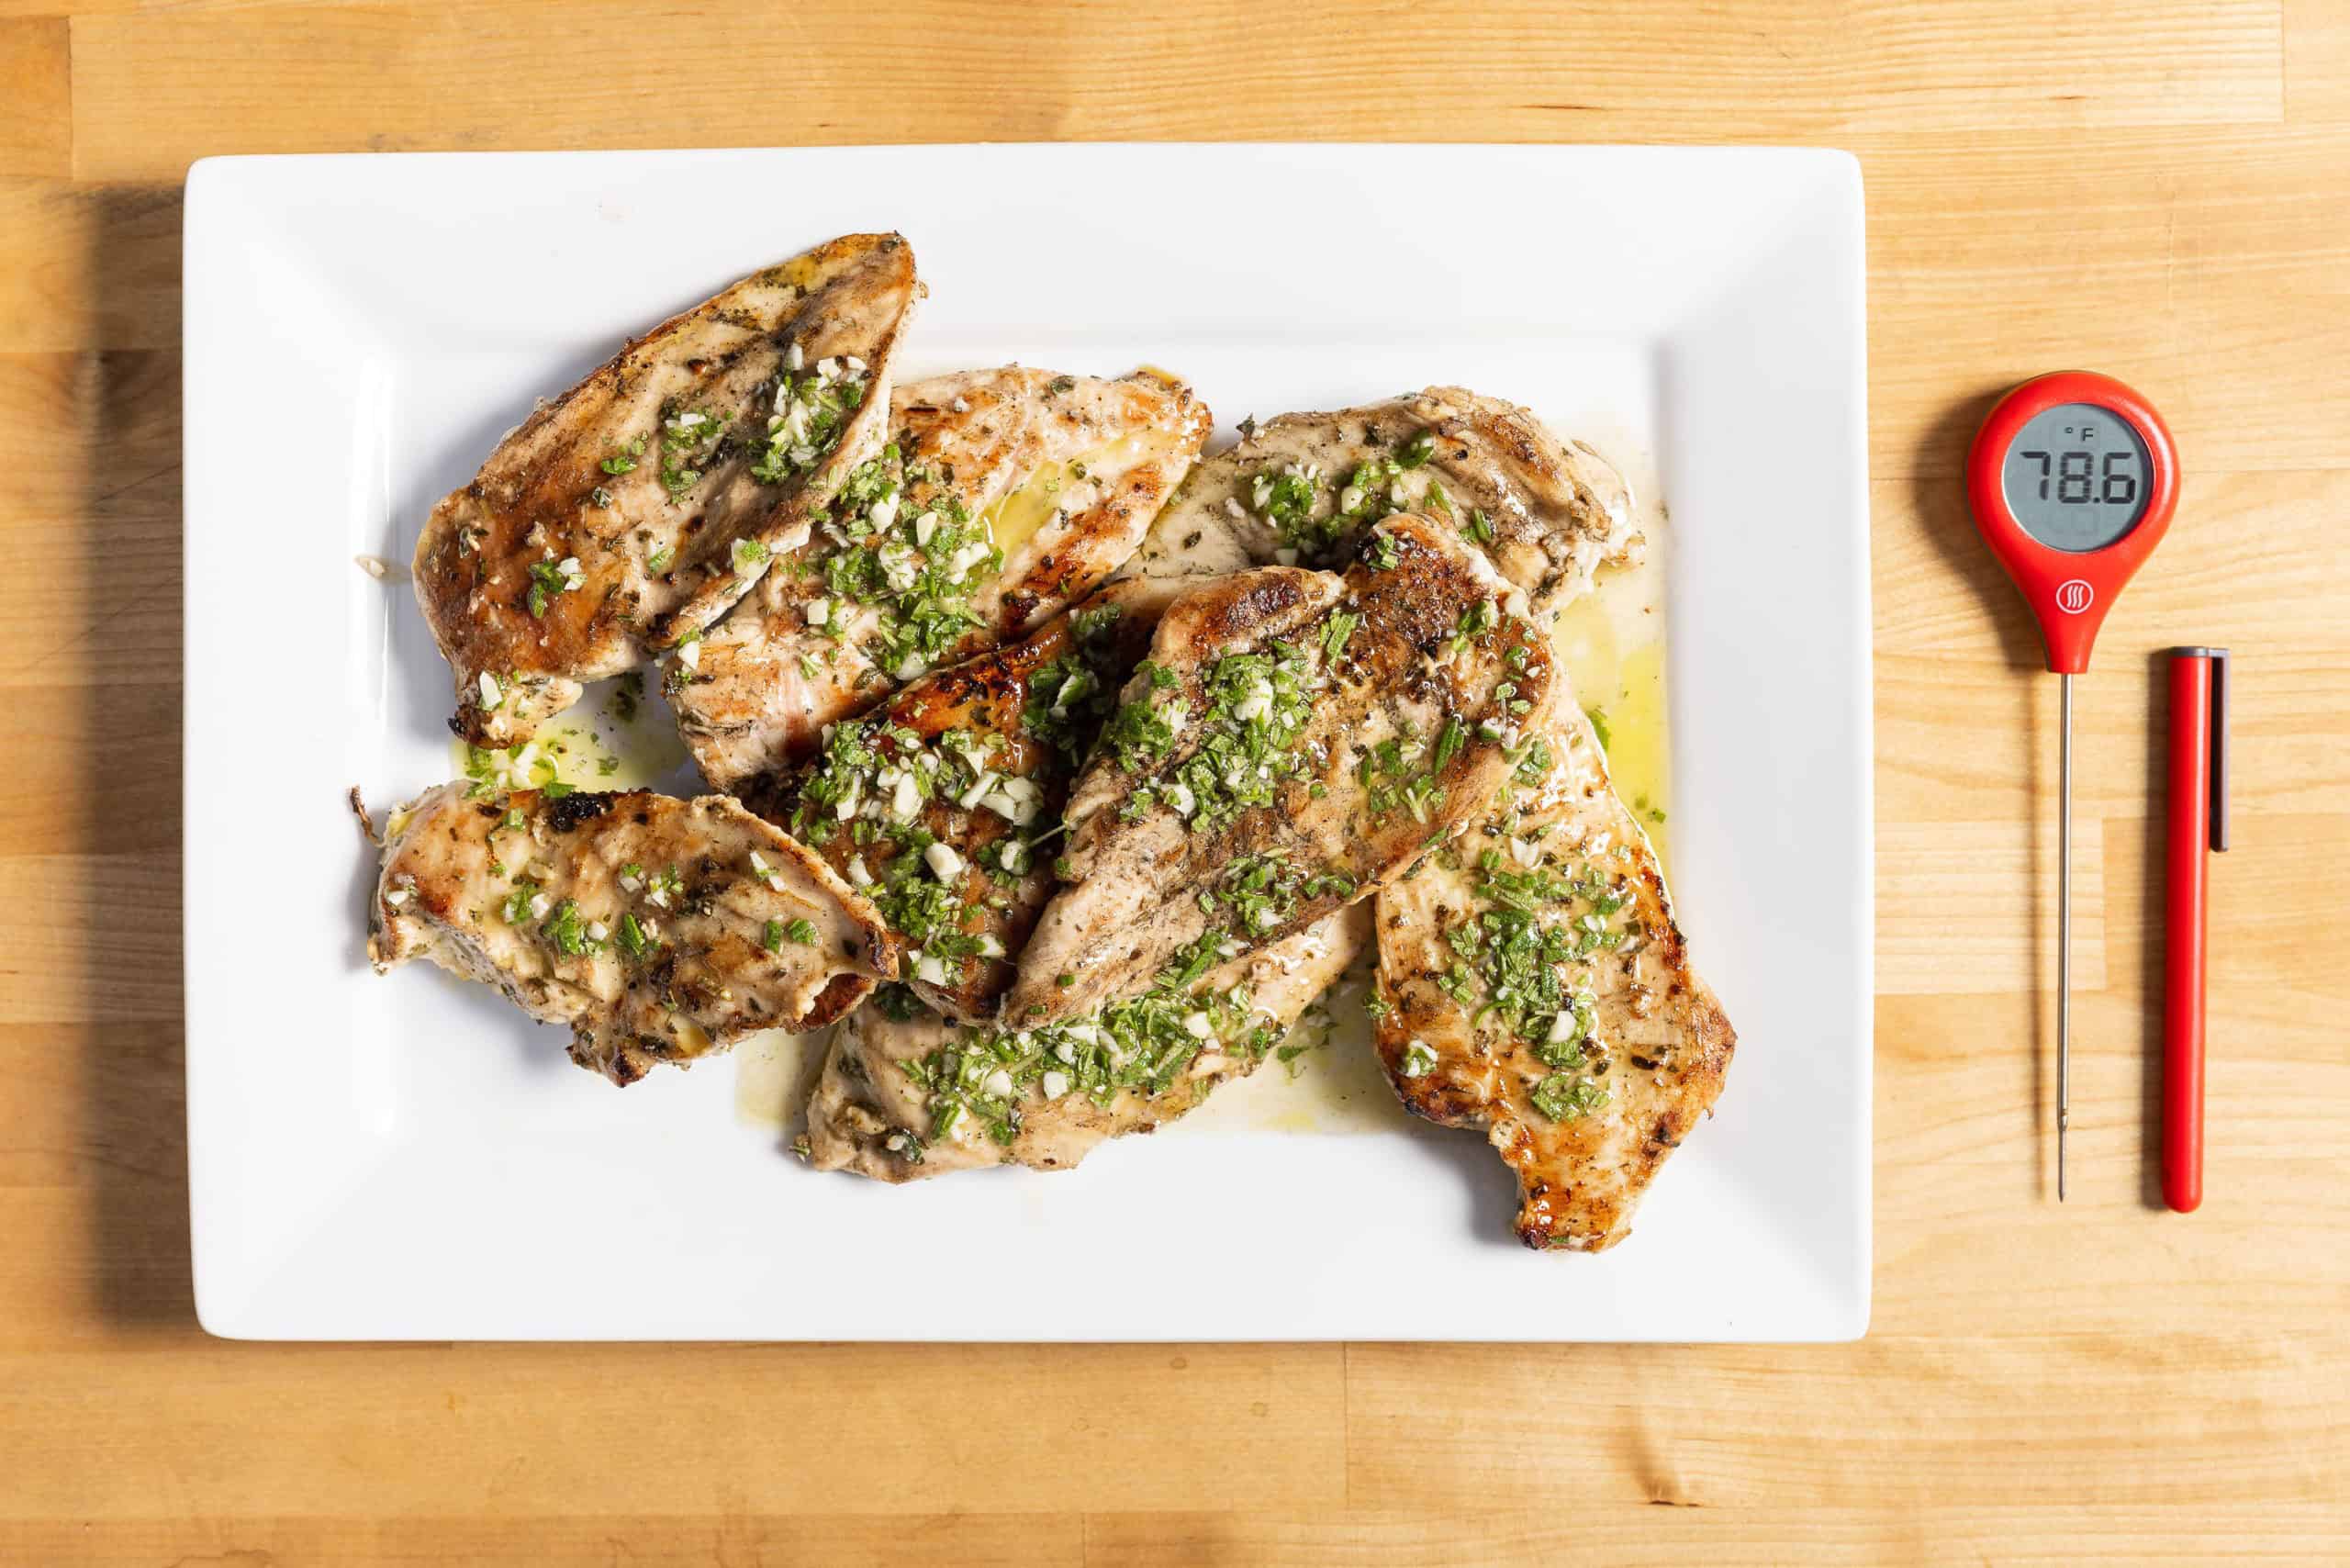
In this post, we’ll walk you through a great method with a delicious seasoning inspired by Serious Eats. We’ll cover the temps you need for success and how to use the ThermoPop® 2 to hit those temps dead on.
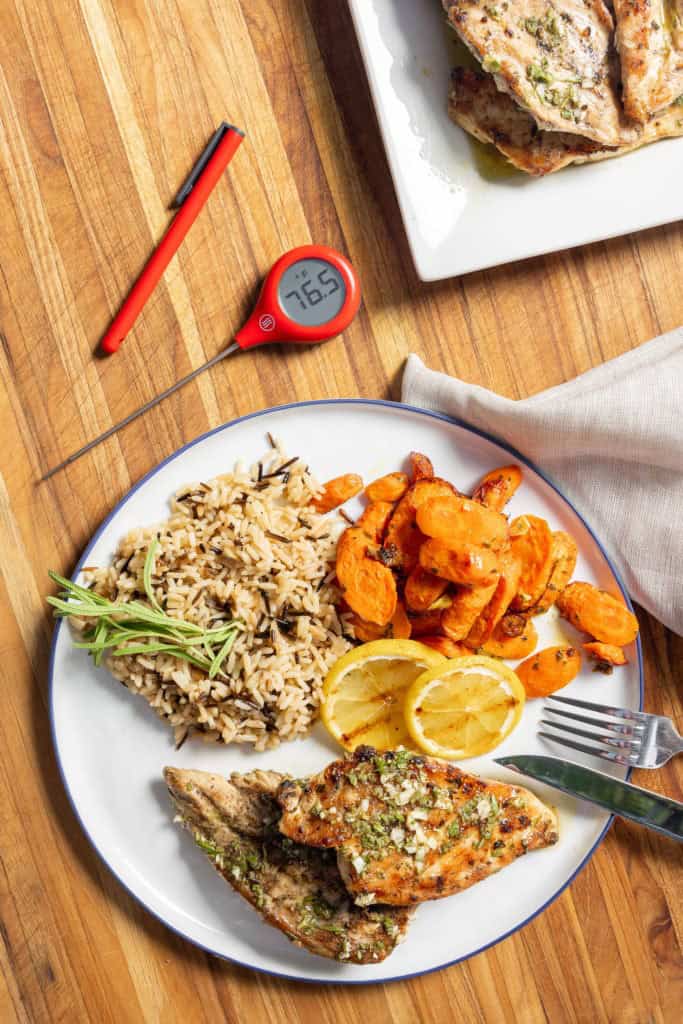
Dry chicken bad, juicy chicken good: temps to follow
Everyone loves chicken—if it’s cooked correctly. But chicken breasts dry out if they are not cooked right. In fact, by the time a chicken breast reaches the nominal “safety” temp of 165°F (74°C), its proteins have already expelled much of their water! So what are we to do?
That’s easy. We need to pull our chicken off the heat before it gets dry. Using an accurate instant-read thermometer like ThermoPop 2 allows you to hit your target temperatures dead on. If you haven’t been using a thermometer to cook your chicken, chances are you’ve eaten plenty of dried-out chicken breasts. With a quality instant-read thermometer, cooking chicken right is easy. Just check each breast for your “pull temp”—the temperature we want to take the meat off the heat.
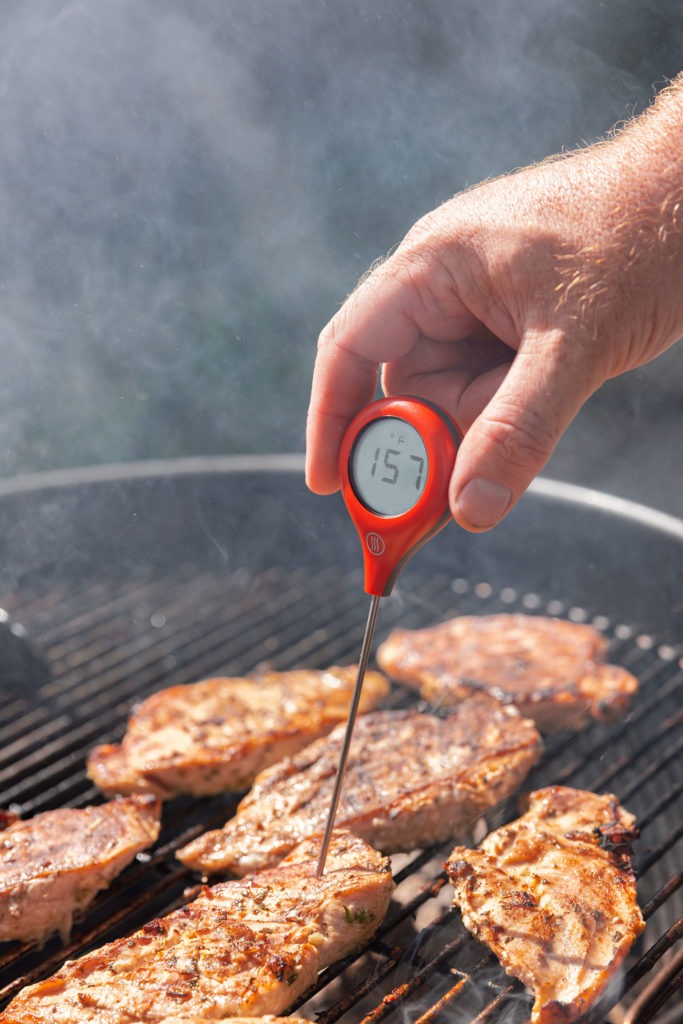
And the pull temp, in this case, is 157°F (69°C). If that seems low, check out our post about internal chicken temperatures. As long as the chicken is at that temperature for about 30 seconds, the bacterial kill-off is the same as at 165°F (74°C)!
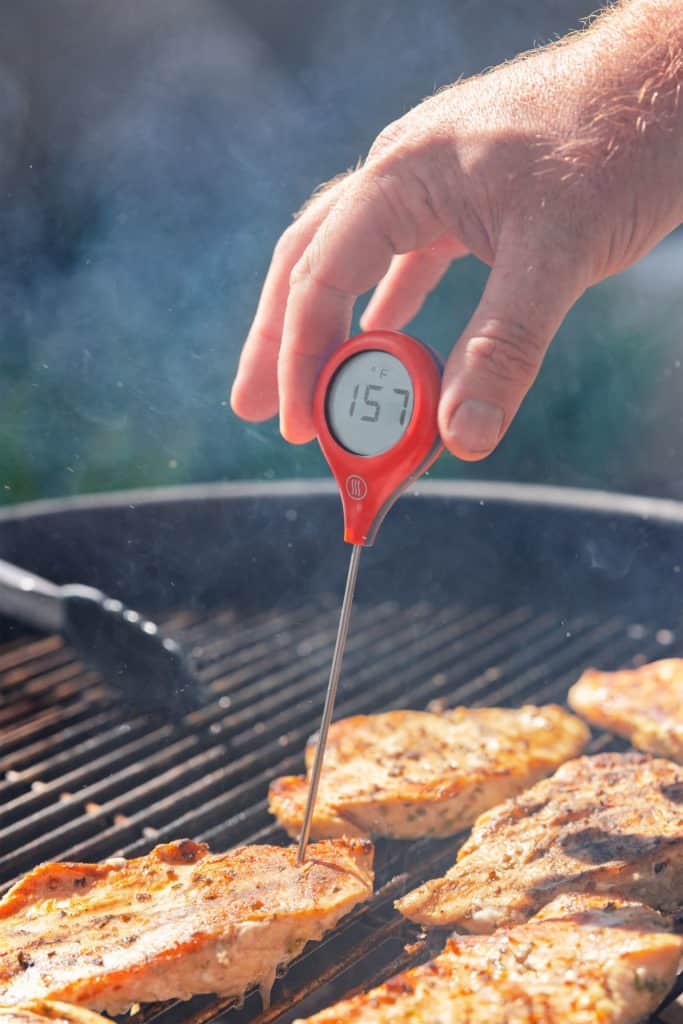
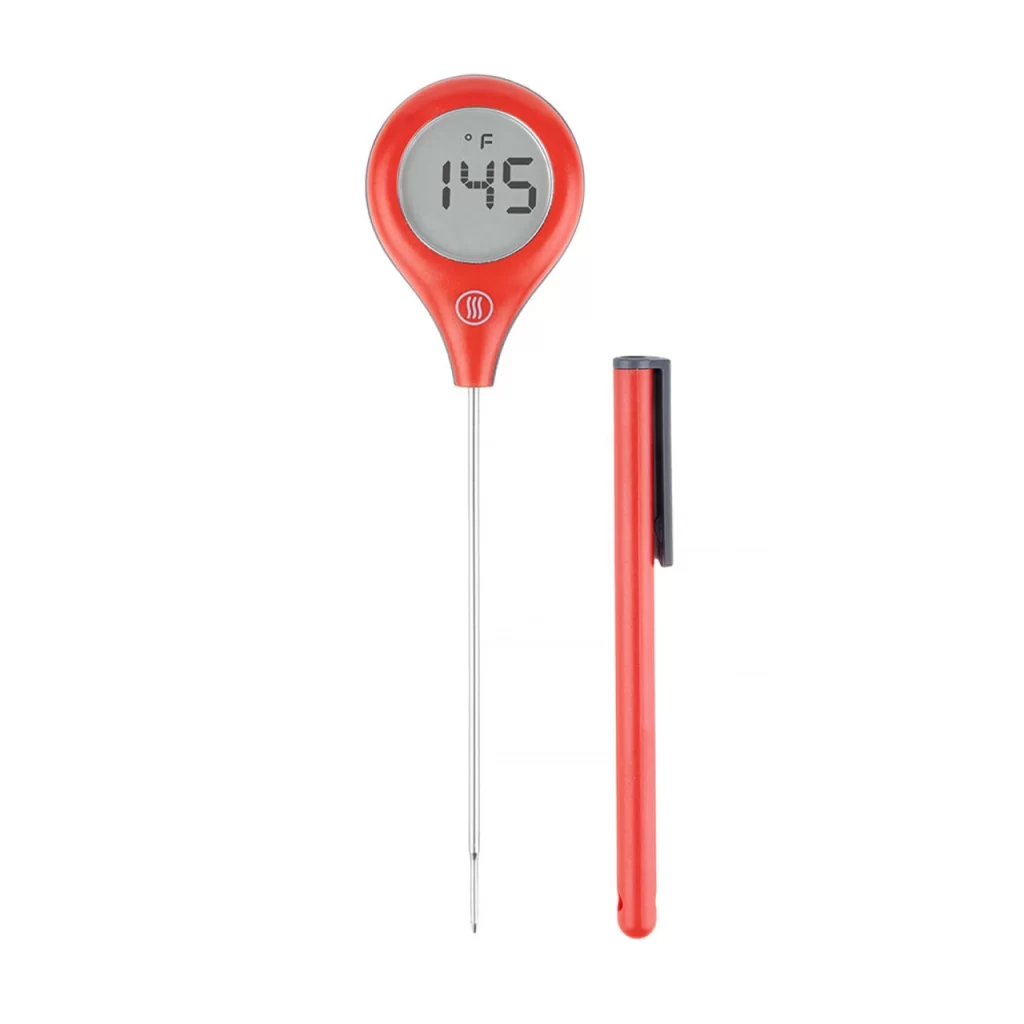
With 1°F (0.6°C) accuracy and 2-3 second readings, ThermoPop 2 is great for checking all your chicken as you grill it. You need that kind of accuracy when dealing with something as easily overcooked as chicken breast. As soon as you see that the lowest temperature in your chicken hits 157°F (69°C), remove it from heat and set it aside until they are all done cooking.
More reasons why you should use ThermoPop 2 when grilling chicken (or doing cooking just about anything else)
As if getting the meat done just right weren’t enough, ThermoPop 2 brings even more to the table and does it at a great price.
- It’s waterproof, so cleanup is a cinch.
- It’s slimmer than the old ThermoPop, so it fits better in the hand.
- It has a huge display with a button-operated backlight so you can always read the temperature easily, even in the dark.
- The auto-rotating screen lets you come at your chicken from any angle and still read the screen easily.
And if you’re using ThermoPop 2 professionally, you’ll love knowing that it has a NIST-traceable certificate and is NSF certified, so getting it past your ordering guides won’t be a problem.
Grilling chicken without overcooking
So we know what temperature to shoot for and when to pull, but how do we get delicious grilled flavor without zooming past that temperature? Flip it! Flipping the chicken every 60–90 seconds ensures even cooking and allows the meat to vent heat from one side with every flip. It’s like cooking on a spit—the meat is always turning.
And don’t worry, you’ll build up a nice sear this way. There is enough heat hitting the surface that after a few flips you definitely get some of that beautiful, delicious Maillard browning.
Seasoning grilled chicken breasts
For this recipe, we skipped a long marinade (which, science shows, doesn’t really help) and went for big, delicious flavors that are simple to achieve. Following the guidelines form a recipe at SeriousEats.com, we made a simple bath of olive oil, lemon juice, fresh garlic, and fresh rosemary. The breasts are tossed in half of that mixture, reserving the other half for saucing the cooked meat after grilling.
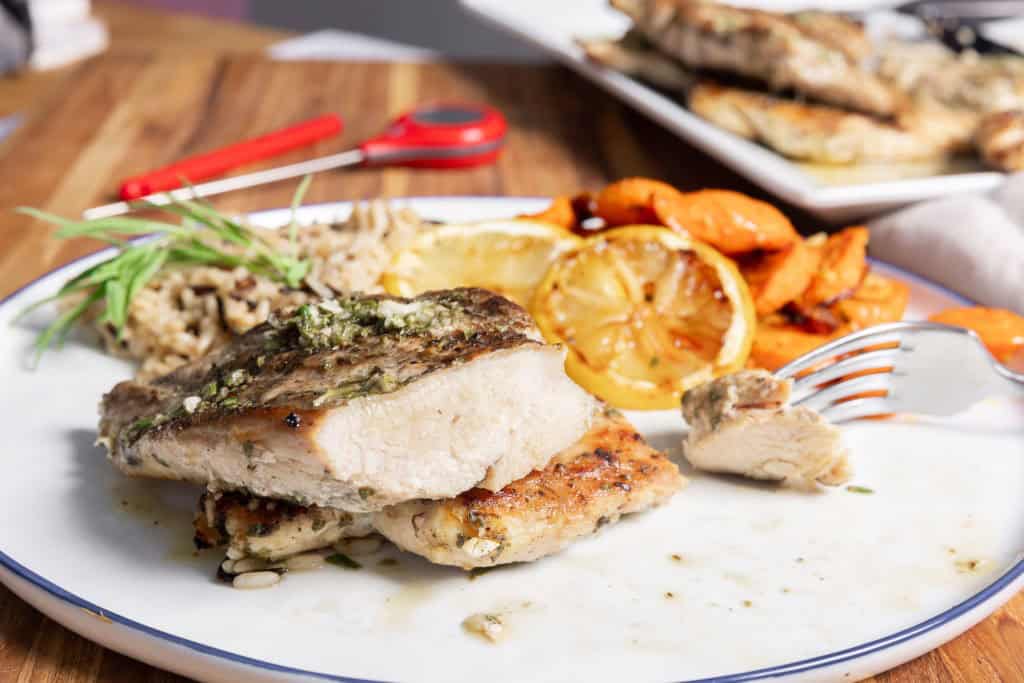
Having the cooked-in flavors of the “dressing” and the brighter, fresh version added later creates an excellent depth of flavor that pushes this to a better place than most grilled chicken breasts we’ve had.
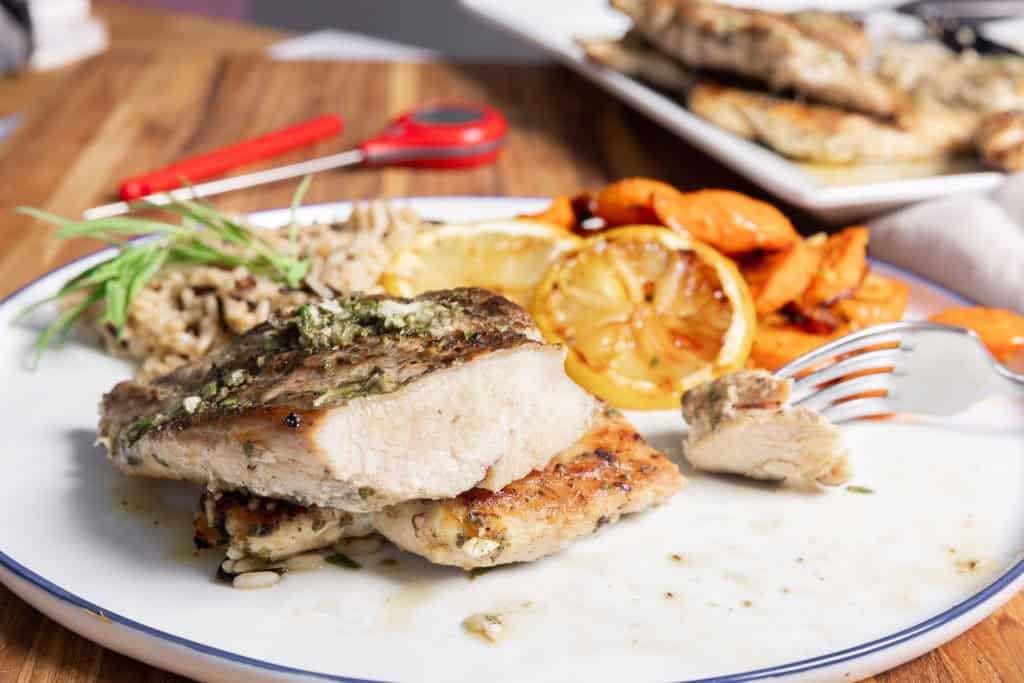
If you’ve eaten your fill of dry chicken, it’s time to start grilling with a fast and accurate thermometer like ThermoPop 2. You’ll get better results every time, and this bright, tasty grilled chicken is no exception.
Print
Grilled Chicken Breast Recipe with Lemon, Garlic, and Rosemary
Description
Sauce based on a recipe from SeriousEats.com
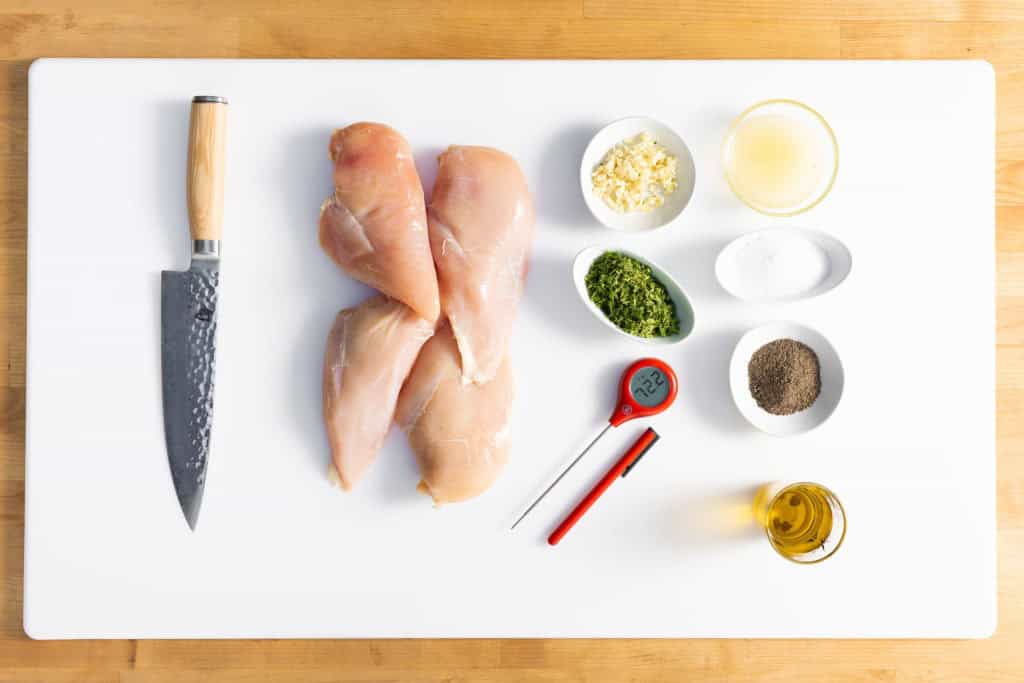
Ingredients
- 4 boneless, skinless chicken breasts
- 2 lemons
- 6 Tbsp olive oil
- 3 medium cloves garlic, finely chopped
- 3 Tbsp chopped fresh rosemary
- Salt and fresh-ground pepper to taste
Instructions
- Preheat your grill. We used one chimney-full of charcoal and put it under half the grate of our kettle grill. If using gas, turn it up to medium-high or high.
- Make cutlets of the breasts by laying each one flat and slicing it, halfway through its thickness, with a very sharp knife. Be careful!
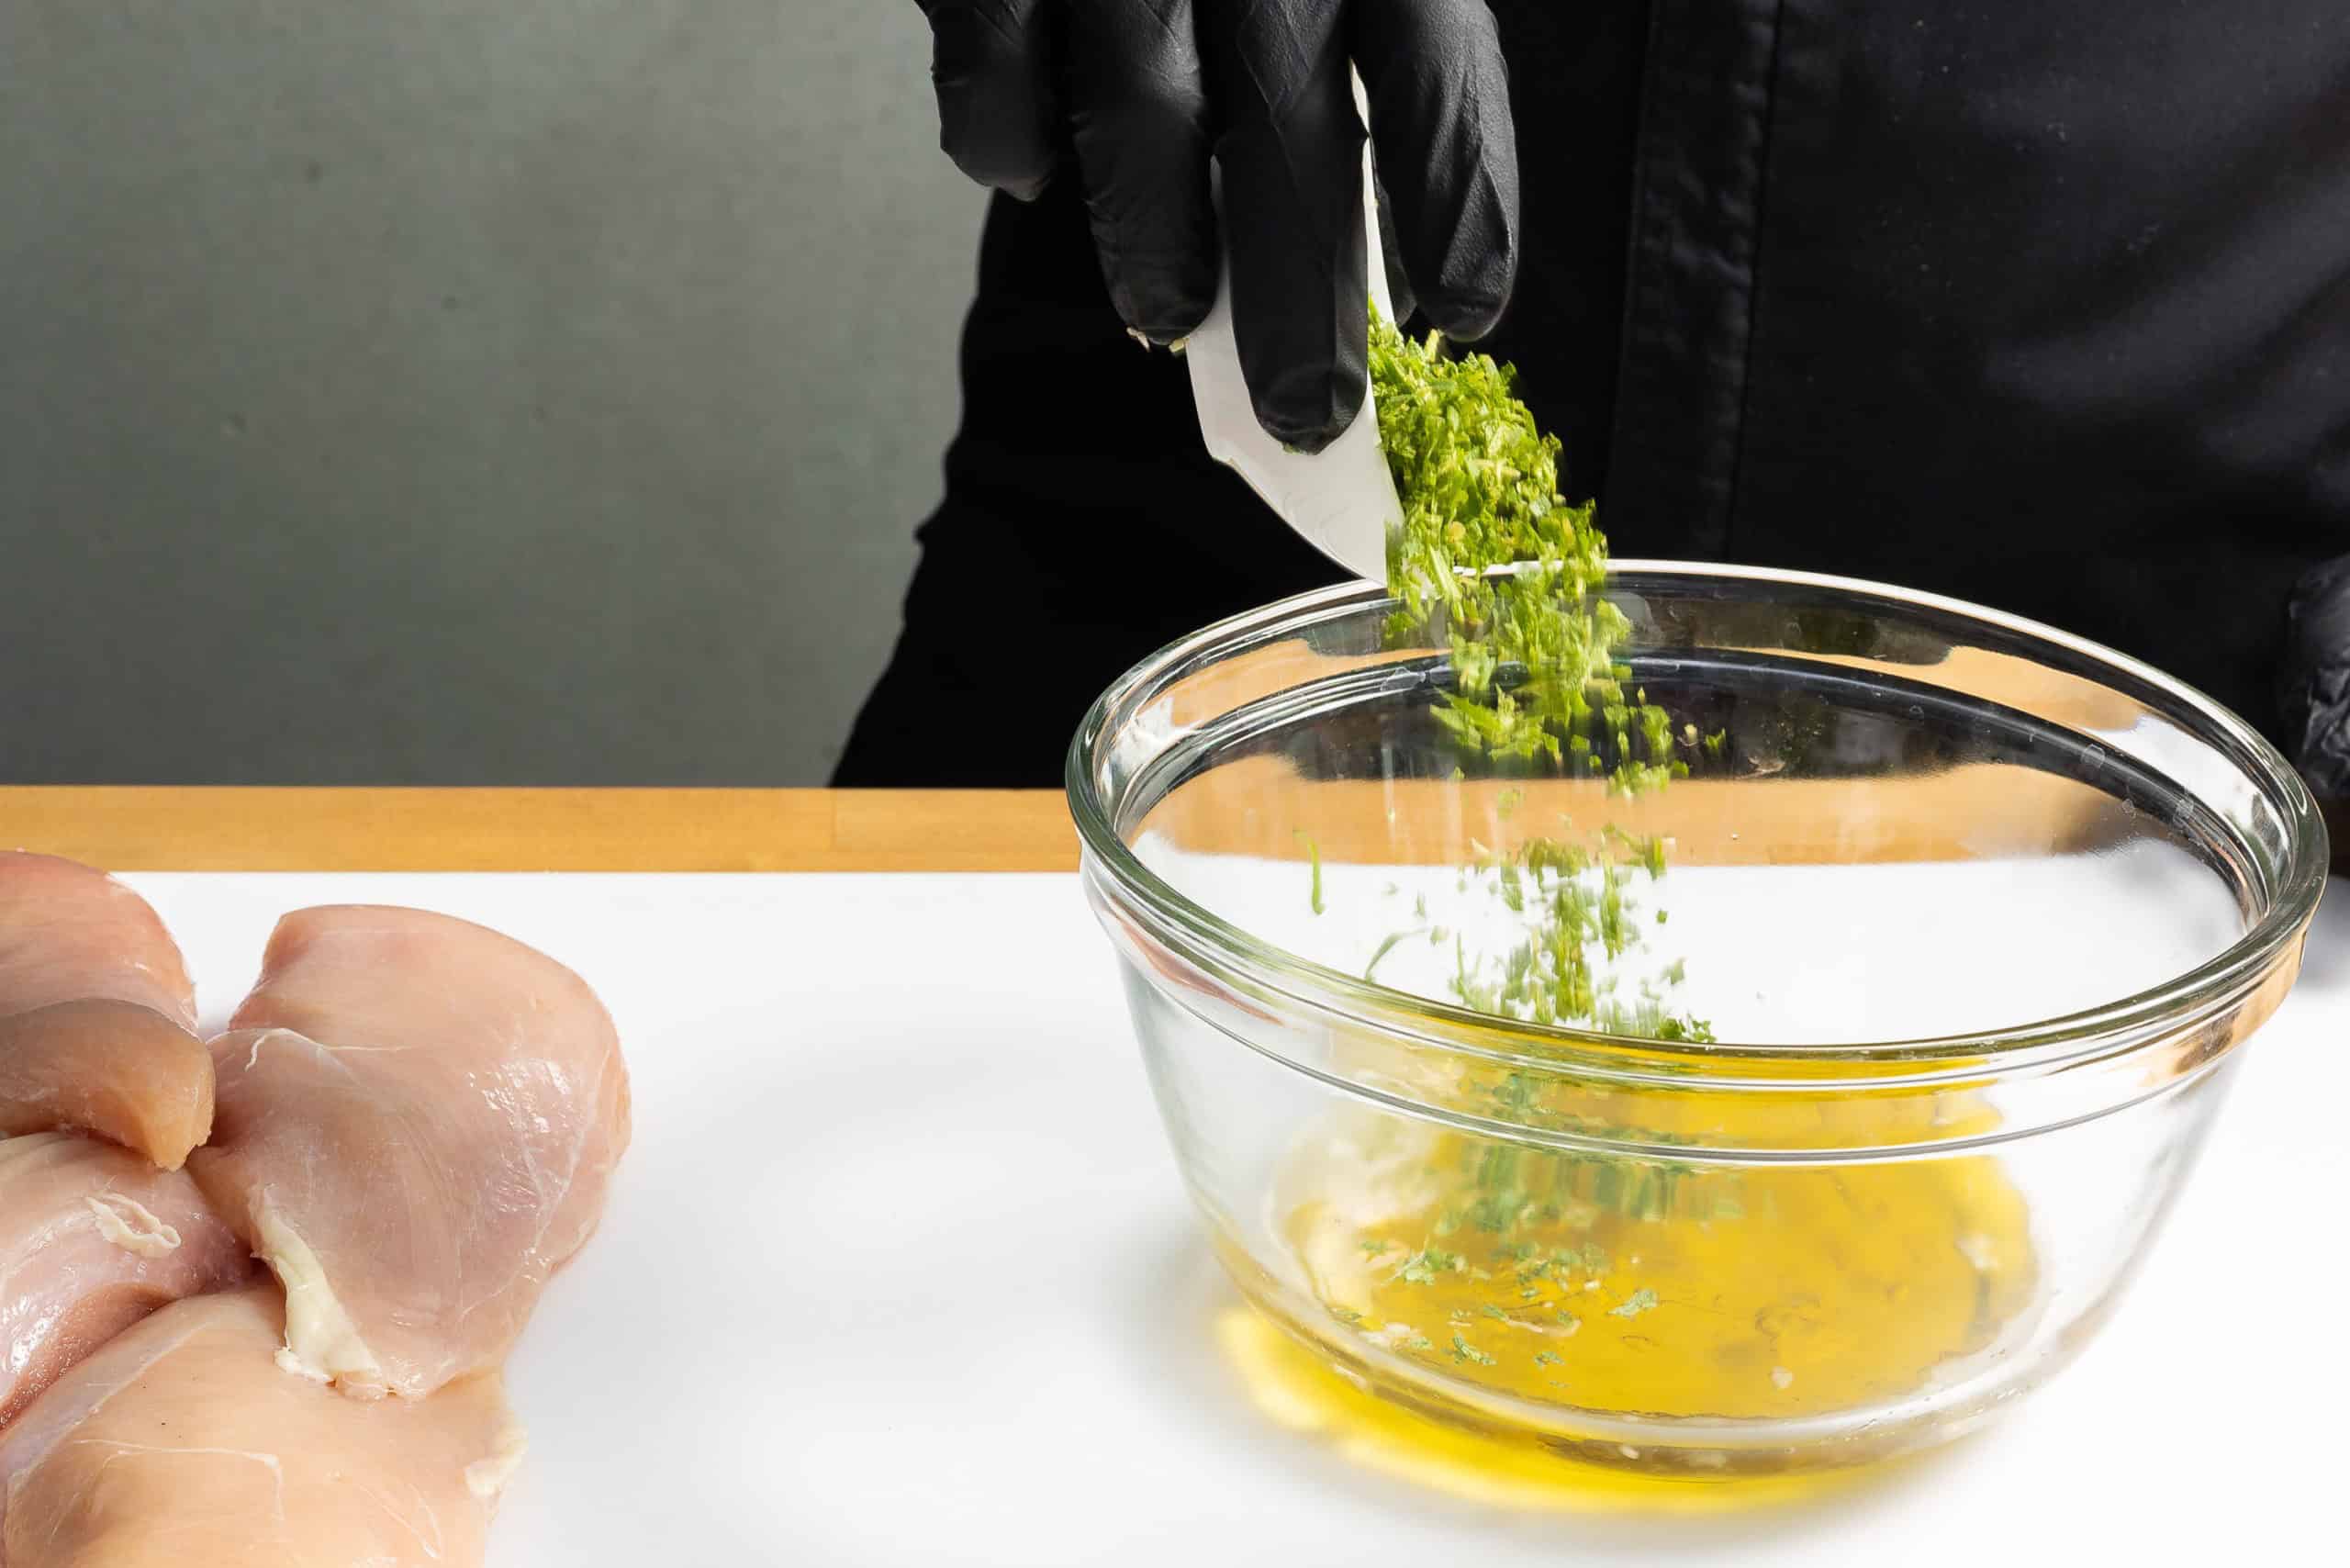
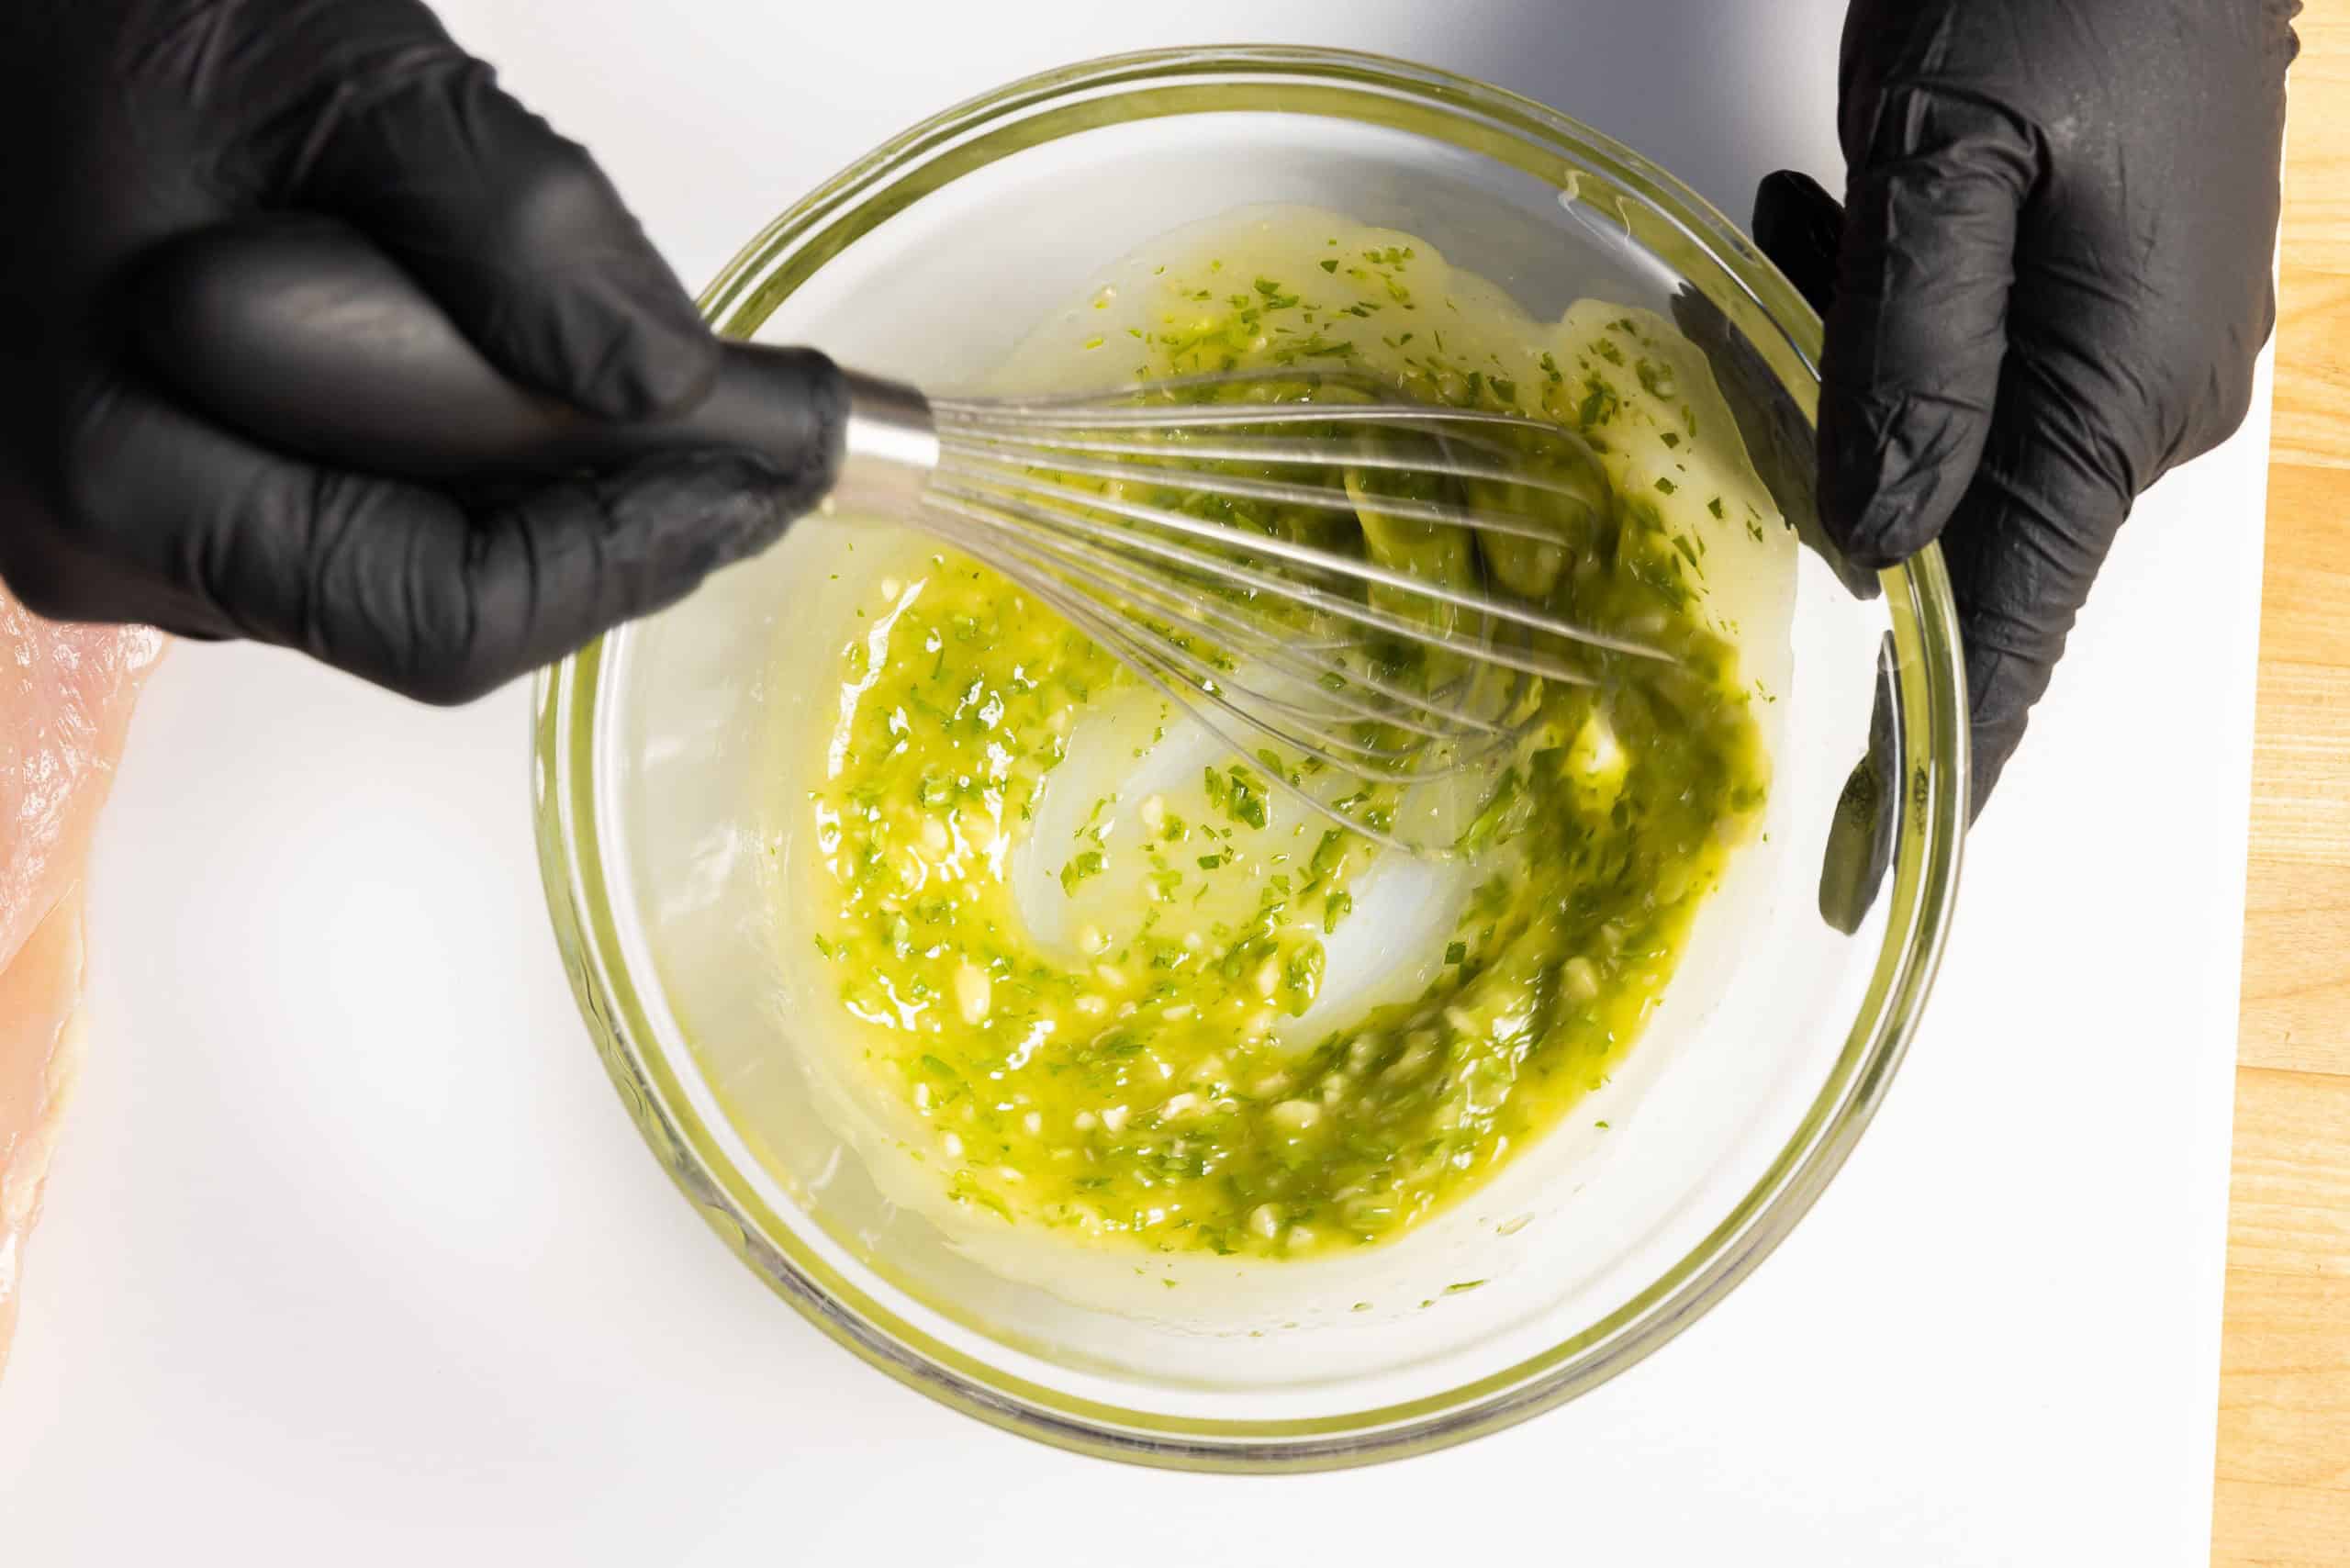
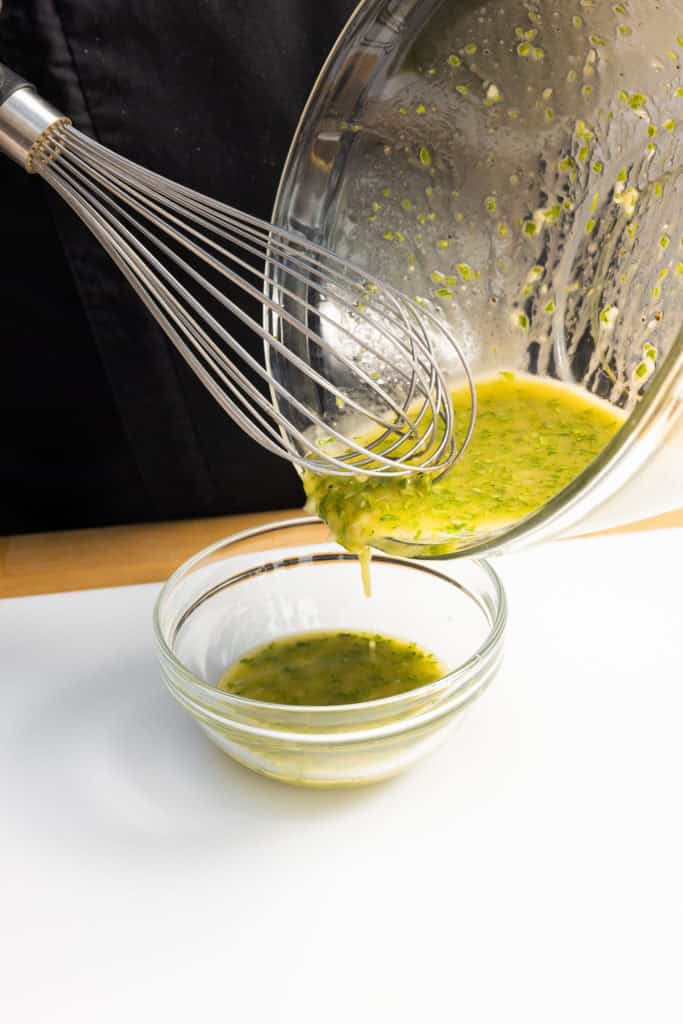
- Make the seasoning/dressing by—in a large bowl— whisking together the oil, enough juice from the lemons to make about 2 tablespoons, the rosemary, and garlic. Season to taste with salt and pepper.
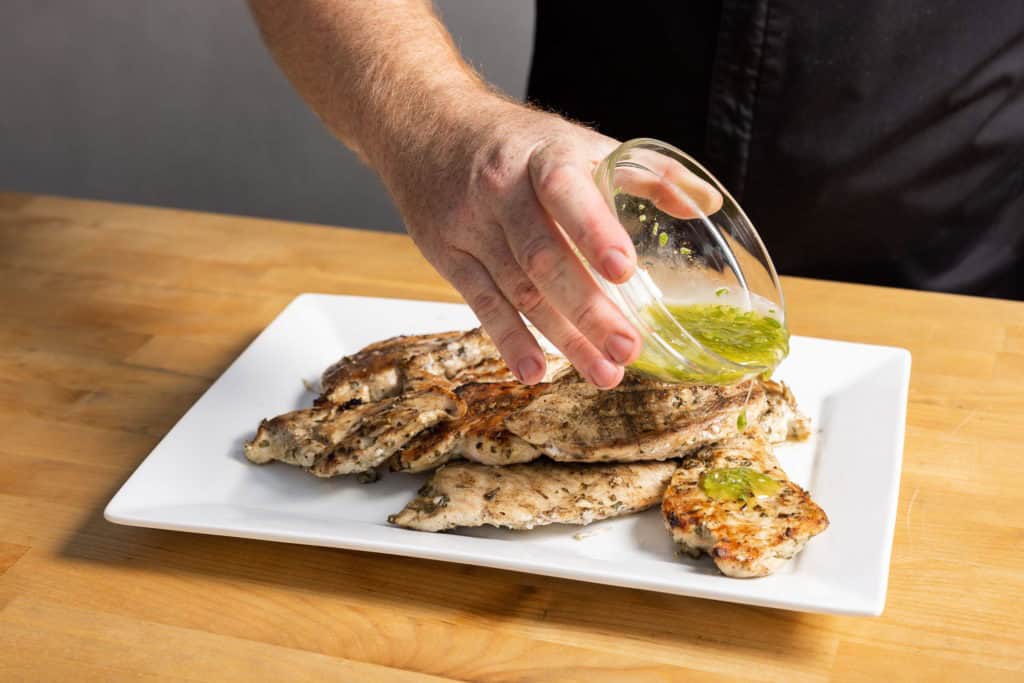
- Pour about half of the dressing into a small bowl and reserve it for topping the chicken after grilling.
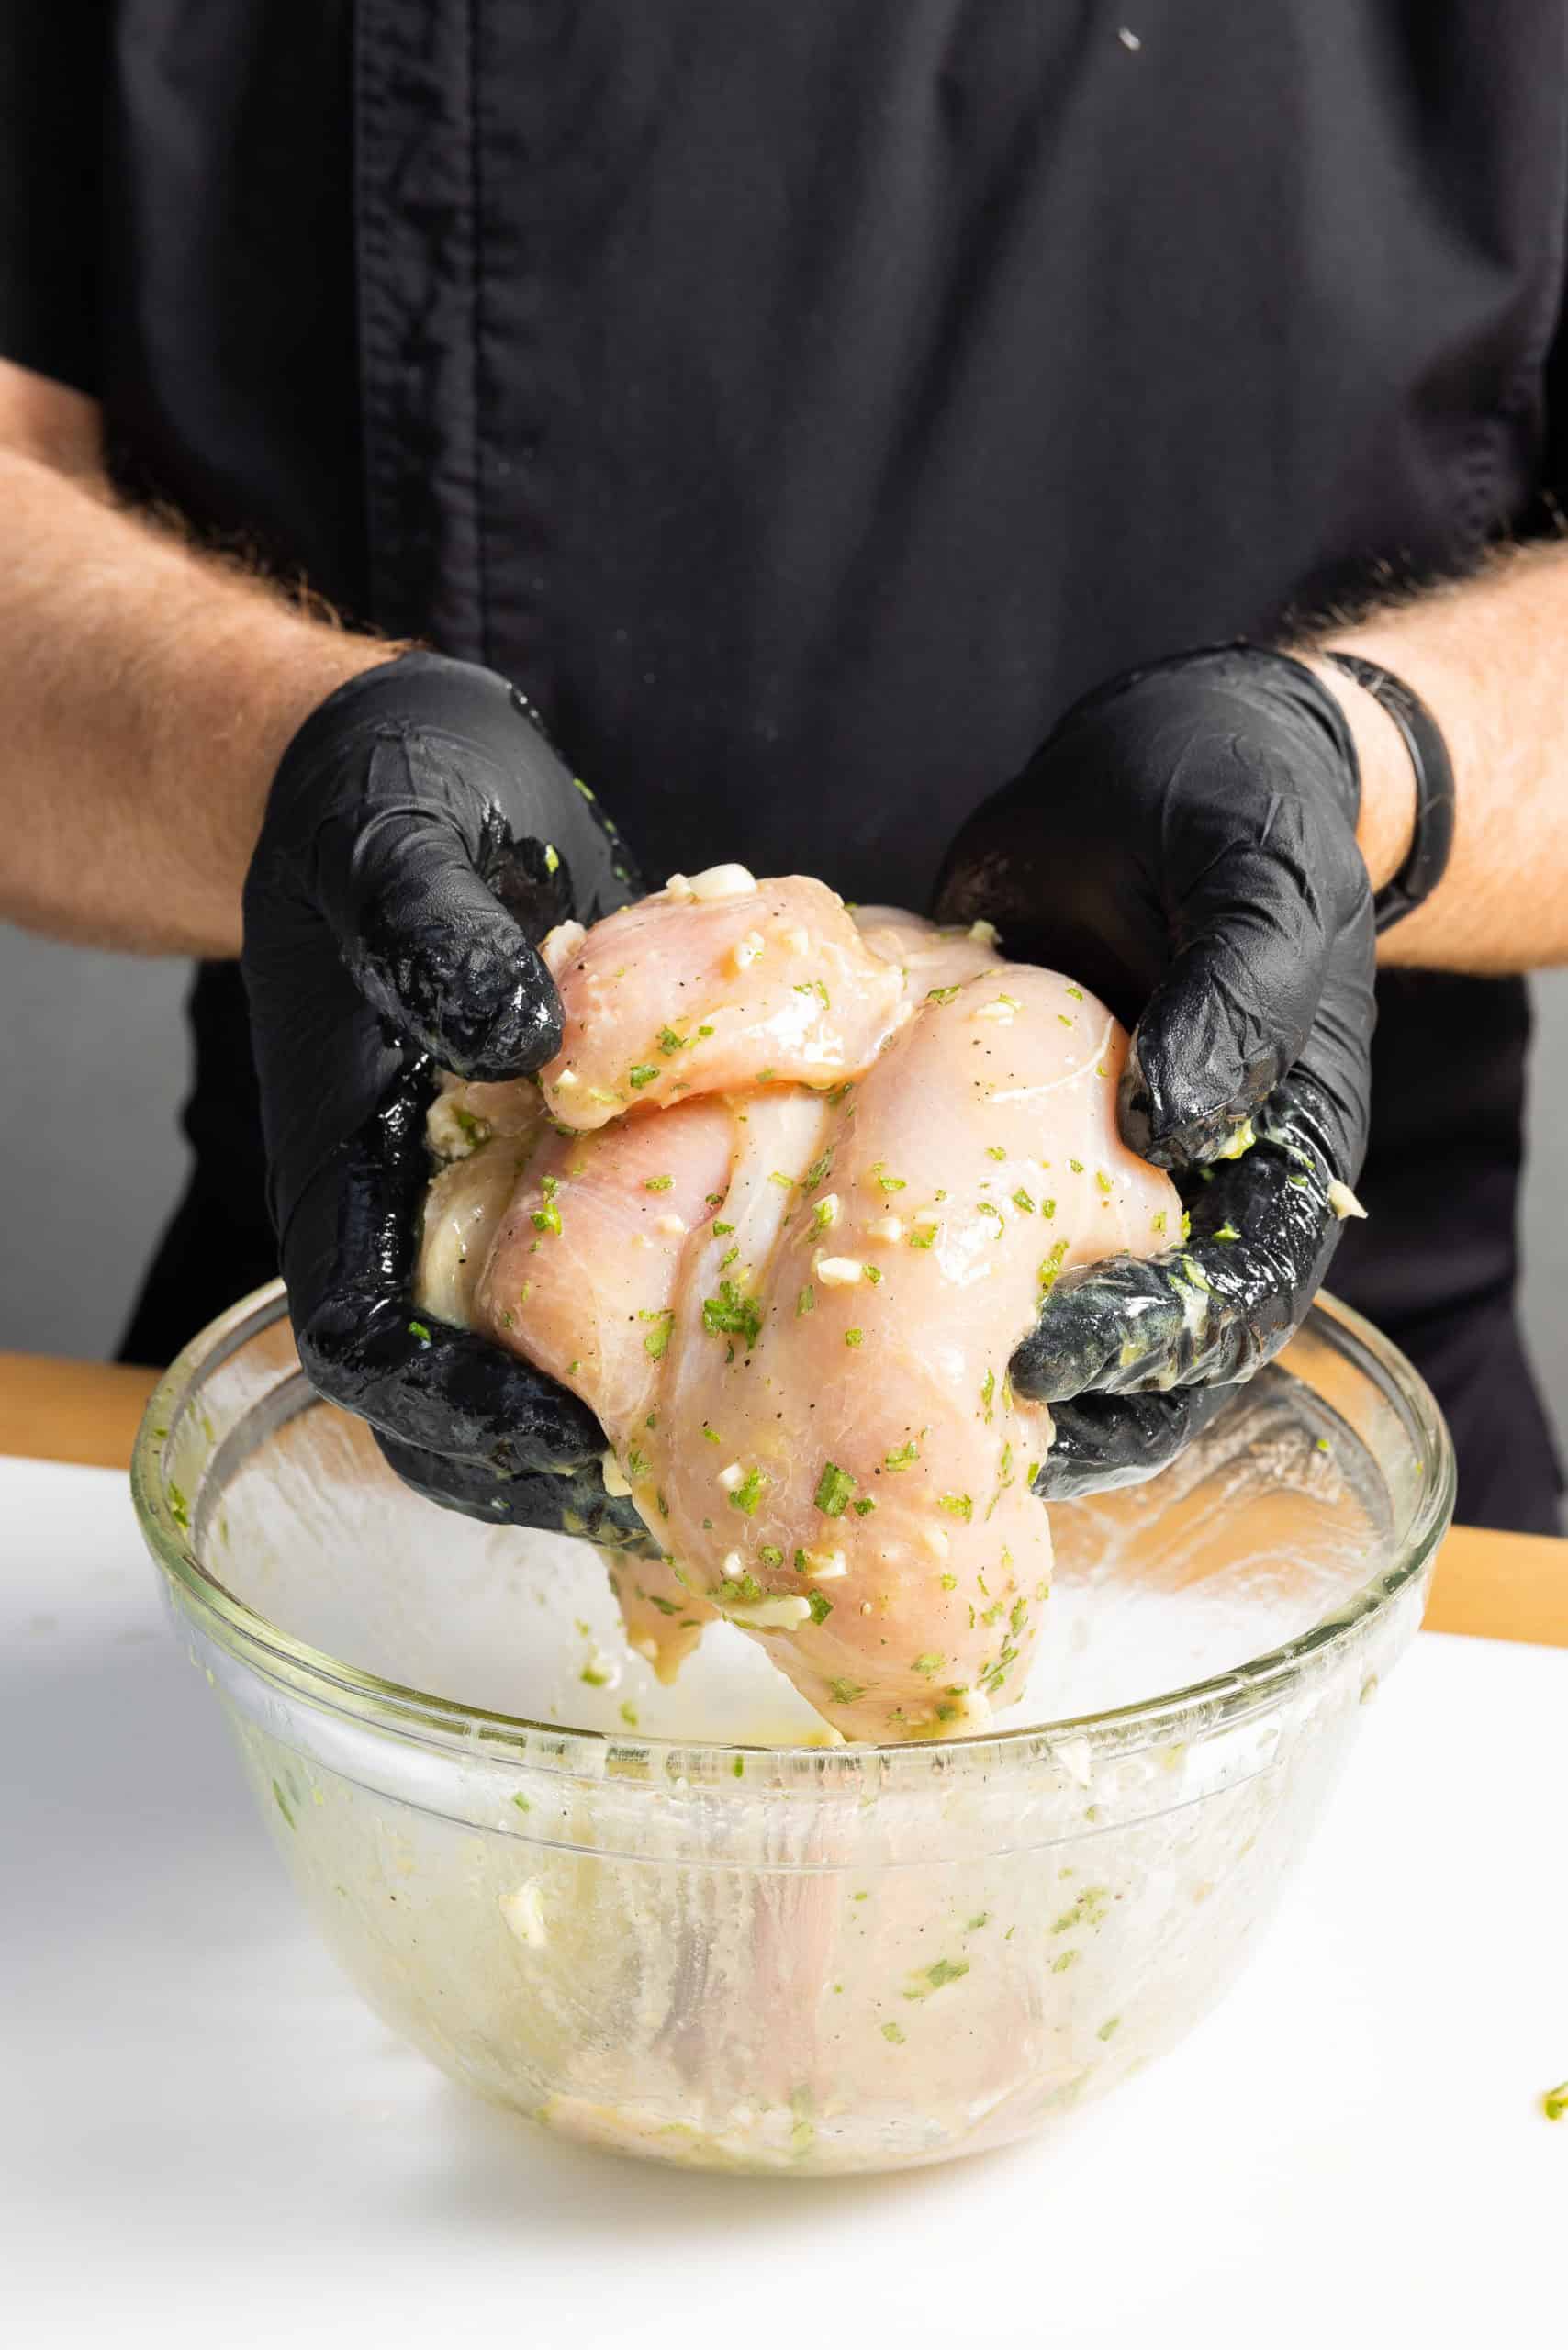
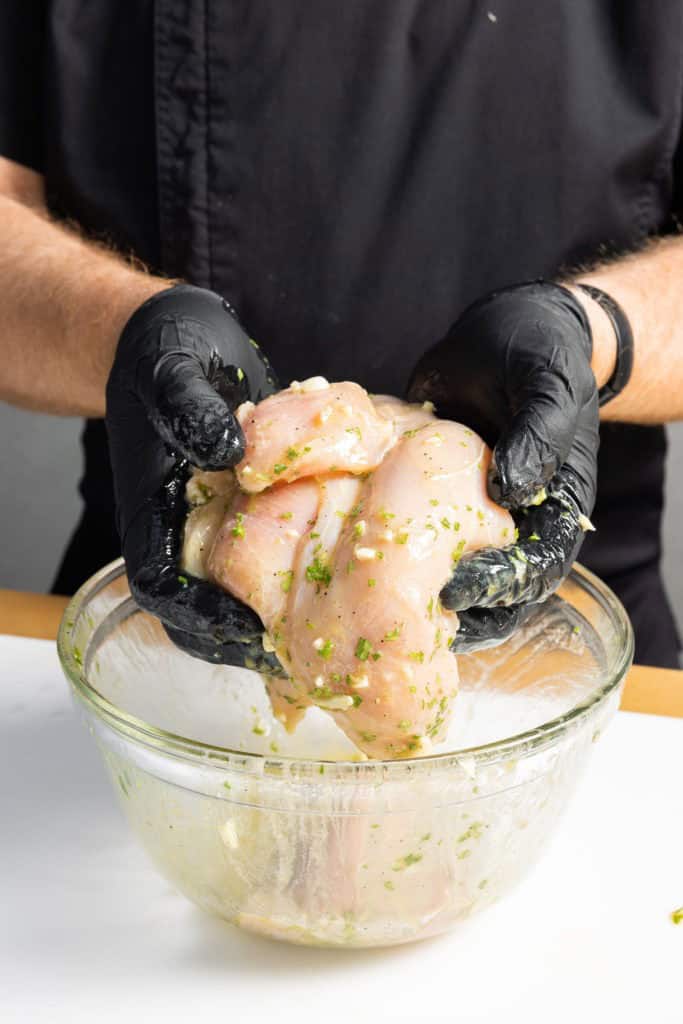
- Place the chicken cutlets in the large bowl and toss with the sauce until everything is evenly covered.
- Place all the cutlets on the grill and start to cook. Flip them all about every minute and a half.
- After flipping each cutlet twice, start taking temperatures between flips. Use your ThermoPop 2 to measure each cutlet’s internal temperature. Look for the lowest temperature in each breast.
- When the lowest temperature in each cutlet is 157°F (69°C), move it to the cool side of the grill or remove it from the grill to a serving platter.
- When all the cutlets are done, pour the reserved (non-chicken-exposed) sauce over them.
- Serve!
Shop now for products used in this post:


When checking temperatures how do you sanitize the probe? If you check the temp and it’s below 157 won’t it contaminate the chicken when you insert it again later? I’ve wondered what others do, or does anyone else worry about this? Thanks.
Great question! You can use a probe wipe, or have a clean, damp cloth nearby that you can use to wipe the probe. Even just that does a good job of removing a lot of bacteria. But if you check at, say 140°F, there are already fewer bacteria, and when you shove those into a 157°F environment, they start to die very quickly!
When using a gas grill where I can
Control the grill temperature. What temperature should I preheat the grill to before I put on the chicken? Also do I
Use the direct grilling method ?
Yes, this recipe uses a direct-heat method. (Though indirect heat with a sear is also a great method!) I’d set your grill for 375°F.