

How to Make Donuts: Temps, Tips, and More
There’s nothing like a fresh, warm donut. Pillowy and soft, they are one of the great achievements of the bready arts.
It is a shame, though, that donuts (we’ll talk names in a minute) seem forever stuck in the province of the diner and the specialty shop. Rows of coffee pots, counter-hops in short aprons slinging Java and sinkers, paper bags, brown boxes and racks and racks of fried creations are all images that the popular mind associates with the donut. Seldom, if ever, do we think of the home counter, the kitchen flour sack, or the stove with an oil pot on it.
To get donuts with that crispy on the outside, pillowy soft on the inside perfection, you have to hope you get to the donut shop at just the right time. Unless, of course, you make your donuts at home. Yes, friend, homemade donuts are possible, and they’re not even that hard to make.
Here, we want to give you the knowledge and tips you need to succeed at frying your own yeast donuts. (Interested in cake donuts? Take a look at our post on homemade cider donuts.) A lot of what you need to succeed is temperature-related, so we’ll be leaning heavily on our ChefAlarm®. With the right tools and a recipe adapted from SeriousEats.com, making great donuts at home is a cinch. Let’s take a look.
Shop now for products used in this post:
First things first: donut vs doughnut
There is a bit of a debate about the “correct” spelling for a fried bready pastry with a hole in the center of it. The origin of the word doughnut seems to come from an old usage of the word nut, meaning a small cookie or cake. A dough-nut, then, would just be a doughy cookie, or a cake made from dough. 1 But the term donut has been in play since at least 1900. Both doughnut and donut are used widely in America, and I tend toward the simpler spelling. The food itself has moved beyond a dough-nut, why shouldn’t the word, as well?
As a matter of historical interest, there is great debate about the origin of the donut with a hole in the center. There are many claims of origination that seem as spurious as they are entertaining. Still, it is certain that sweet, rich fried doughs—with or without holes—have no one point of origin in American or world cultural history. Convergent evolution has yielded a panoply of variations on the delicious theme of deep-fired and sugar-coated dough, and I couldn’t be happier about it.
How to make donuts
There are a few factors that will affect your donut outcome. Using the right tools and the right oil are key to the process, but so are the temperatures you encounter along the way.
Rest your dough
For donuts to get the structure we need, they need some gluten development. But that same gluten development makes them dang hard to roll out. After you make the dough, let it rest. The best thing would be to let them rest in the fridge overnight. This has two advantages. First, longer, cooler fermentation yields better flavor in the final product. Second, making the dough last night so you can fry more quickly this morning is a great idea.
If you can’t give it that much time, give it an hour or so at least for the gluten to slacken. You’ll be much happier when rolling things out.
Let your donuts rise
Light, fluffy donuts just do not happen without proper proofing. If you try to fry them before they’ve risen, you’ll end up with fried bread, sure, but there will be nothing light and delightful about it. Allowing the donuts to proof imbues them with thousands of tiny pockets of air that, when heated, expand, giving the donuts loft and lightness.
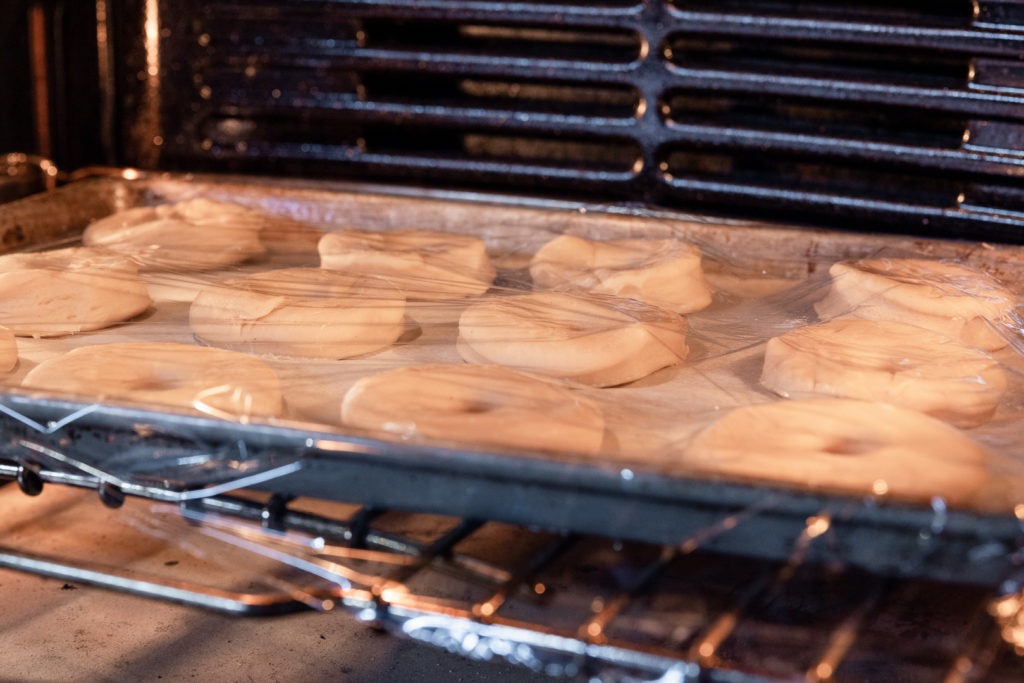
To proof them, they are first cut to shape, then allowed to sit at about 85°F (29°C) until they are larger, puffy, and tender-feeling. (The springiness of the dough should be slackened by the time the proof is done. They will not spring back when pressed with your finger.) If you’re not sure about the air temperature where you’re proofing, you can set up your ChefAalrm to monitor it.
Note: to speed the proof along, start your dough with warm water, about 90°F (32°C) (measure with your Thermapen® ONE). This will activate your yeast more quickly and get the whole proofing process on the road.
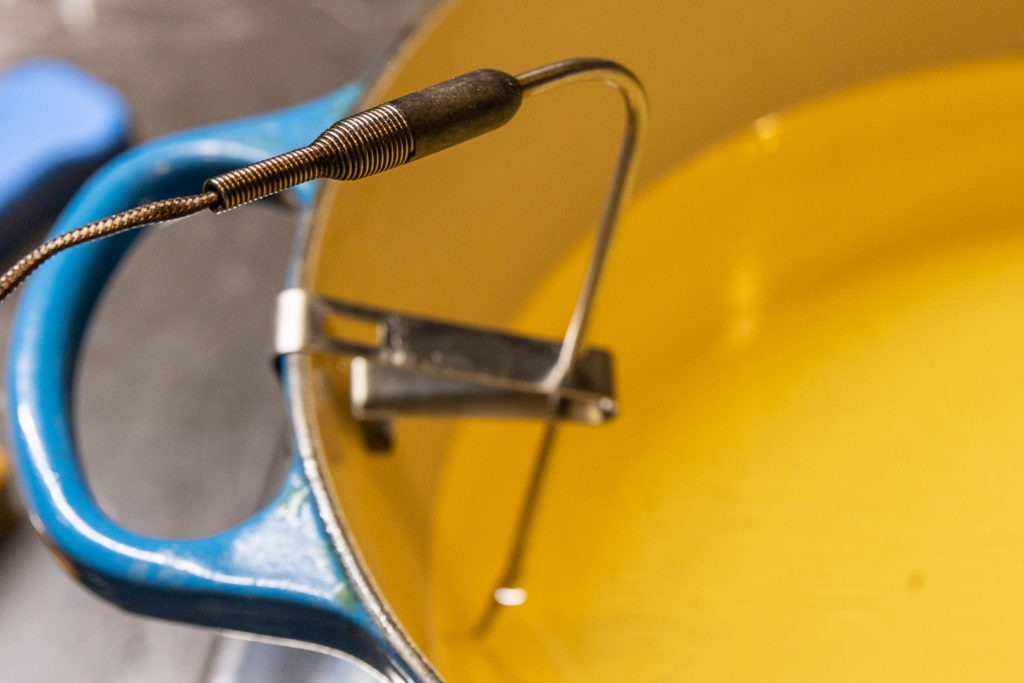
Use an appropriate frying vessel
To fry donuts safely, you need a pot large enough to accommodate a couple of quarts of oil and a few donuts. Something deep, heavy, and wide is best. A Dutch oven or a very large saucepan are both good, but J. Kenji Lopéz-Alt uses a wok, a solution that makes a lot of thermal sense.
Use the right oil
Frying donuts is like deep-frying anything else: you should choose a fat or oil with neutral flavor so the food you’re cooking isn’t overwhelmed by the flavor imparted during cooking. Peanut and corn oils are examples of neutral oils. You’ll also need to use an oil that can withstand high temperatures—something with a high “smoke point.” 2 (Serious Eats has a great article that delves into the details of smoke points of cooking fats with an index of more than twenty different fats.)
We have found that peanut oil or vegetable shortening yield the best texture for donuts, with shortening producing the crispest exteriors. However, frying in shortening can result in a somewhat waxy/fatty mouthfeel, but not everyone finds that to be the case. High-quality shortening will help avoid the problem.
Use the right thermometer and fry at the right temperature
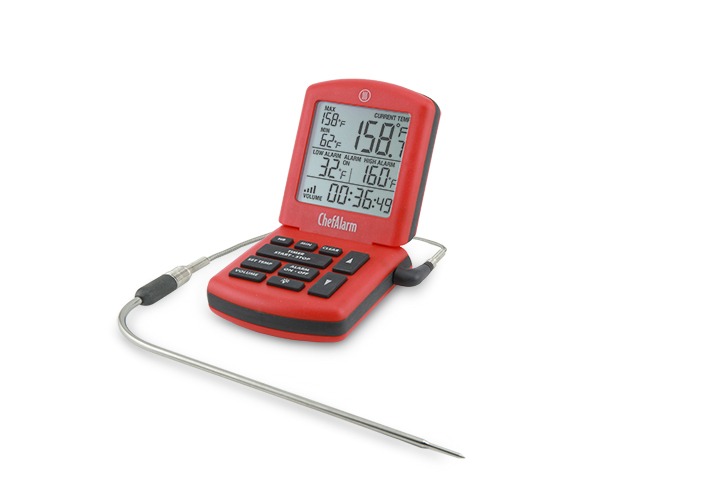
Hands down, the best thermometer for deep frying is the ChefAlarm. The high and low alarms on the ChefAlarm allow you to set a temperature window in which you want to stay while you’re cooking the donuts.
Set your high-temp alarm to 375°F (190°C) and your low-temp alarm for 350°F (177°C) to keep your donuts from cooking to quickly or too slowly.
Don’t crowd the pan
Look, we all want donuts, and we all want them now. But if you put too many in the pot at once, you’re not going to get any donuts that you want to eat. Patience is the watchword when it comes to donut cookery. Cooking only two to four donuts at a time will keep the oil temp from dropping too far during cooking. If you put six donuts in at once, there’s a good chance your oil temp will plummet, and you’ll get greasy, soggy donuts.
The donuts cook for about 2 minutes per side, depending on thickness. Flip them with tongs, chopsticks, a long fork…it doesn’t matter. Just be safe! If you want to check a donut on the first batch through the cook, you can stick it with a Thermapen and look for a reading in the range of 185–190°F (85–88°C).
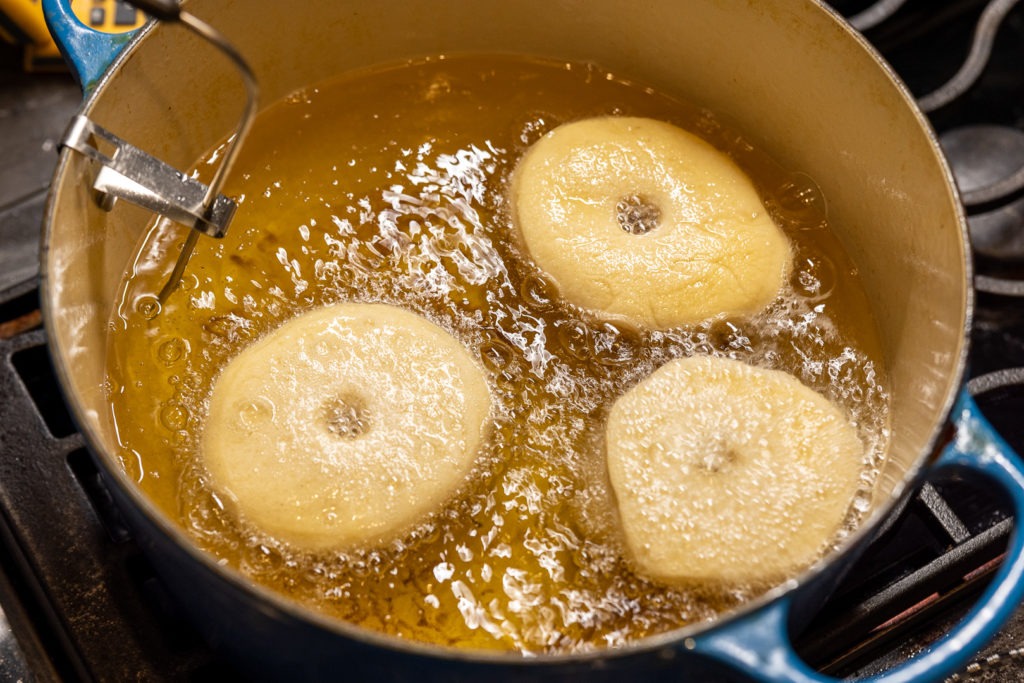
After you cook one set of donuts, give the oil time to come back up to temp before cooking more. Be patient, and watch your thermometer!
Drain the donuts properly
Draining the donuts on a bed of paper towels will keep them from getting greasy. A cooling rack seems like a good idea, but paper towels actually pull the oil out of the donut and wick it away. A cooling rack lets the oil pool in the bottom of the donut, and that’s just no good.
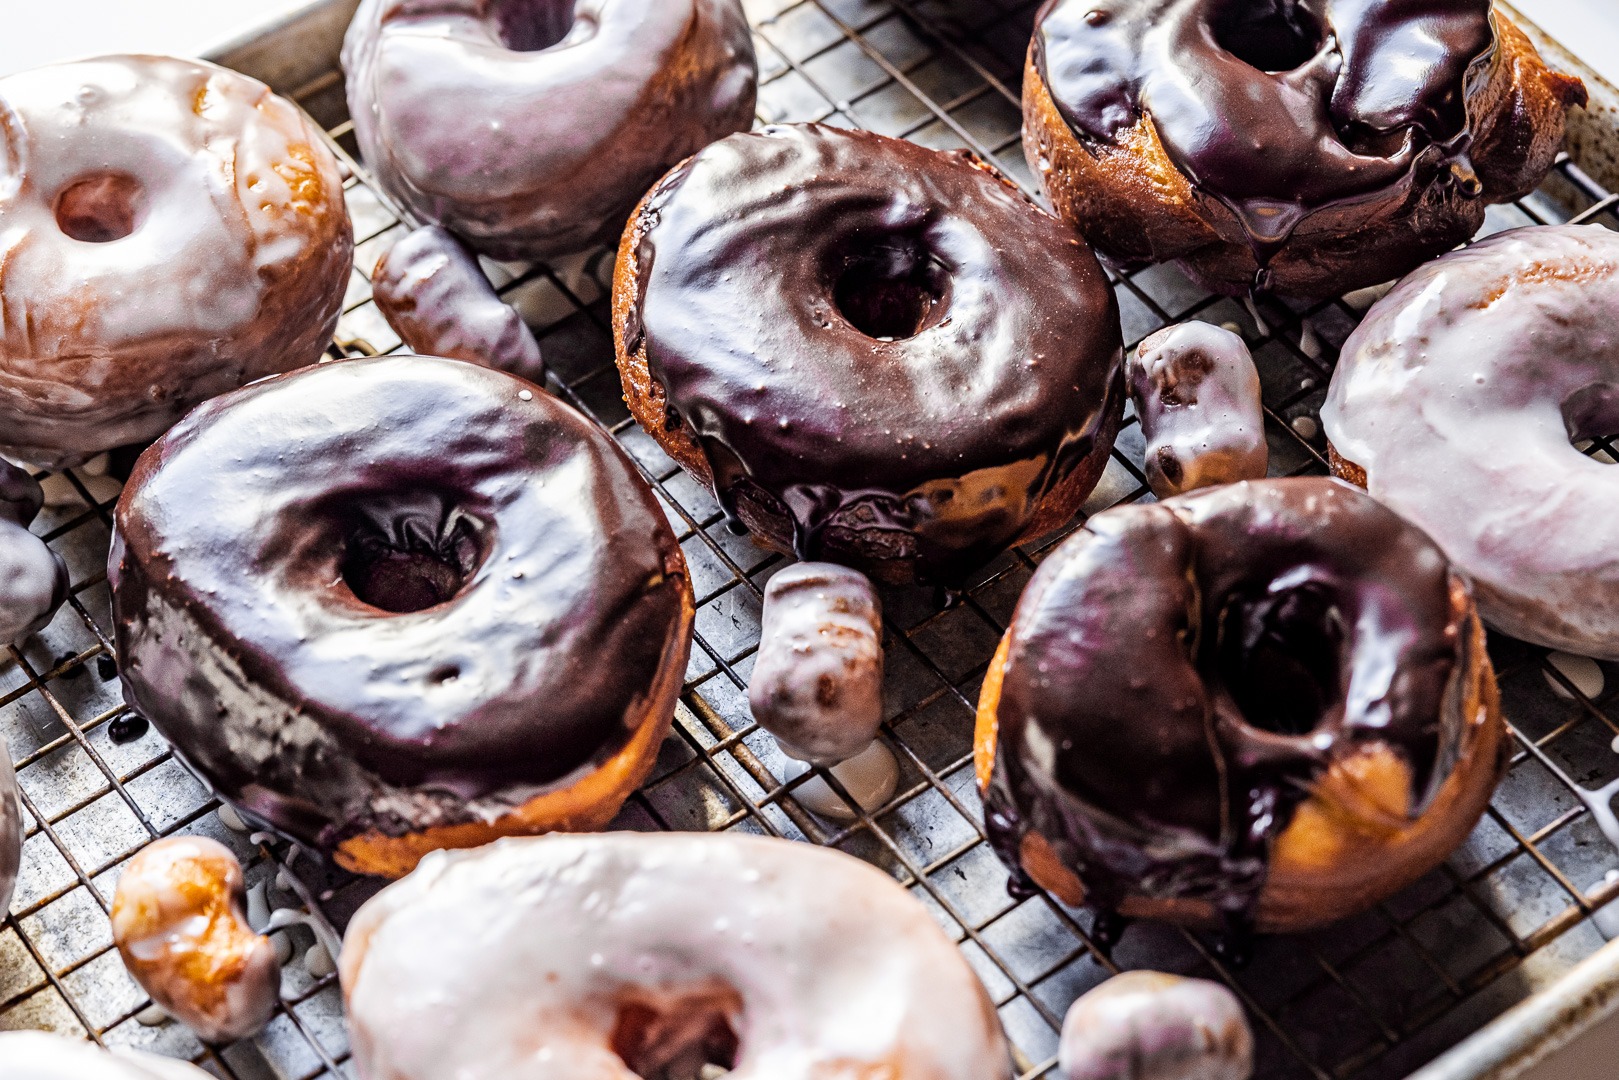
A note on how to glaze donuts and donut toppings
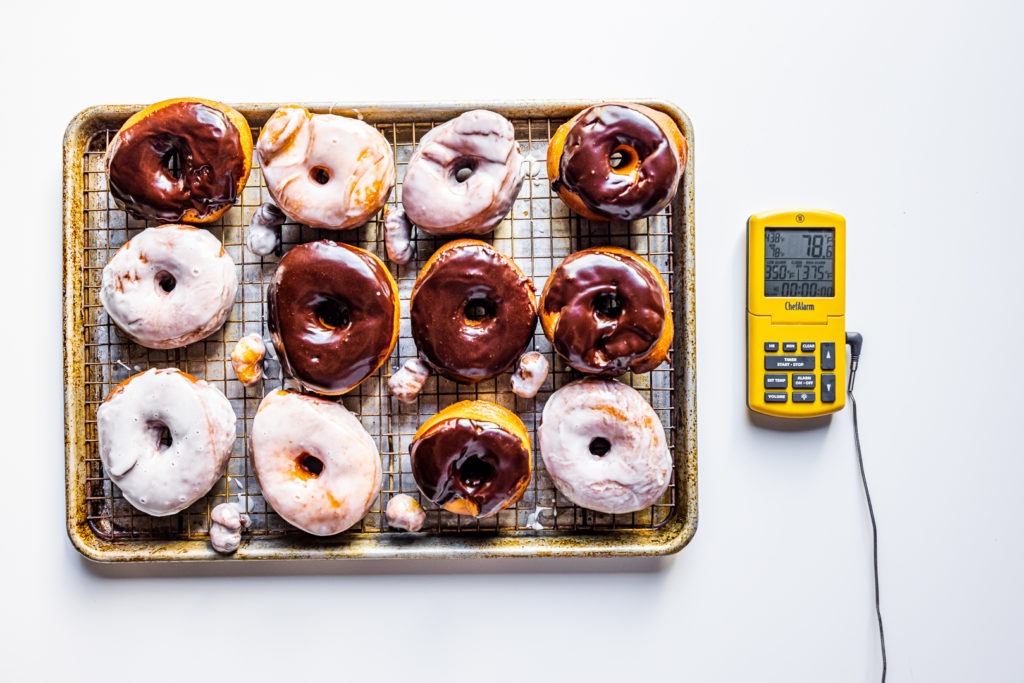
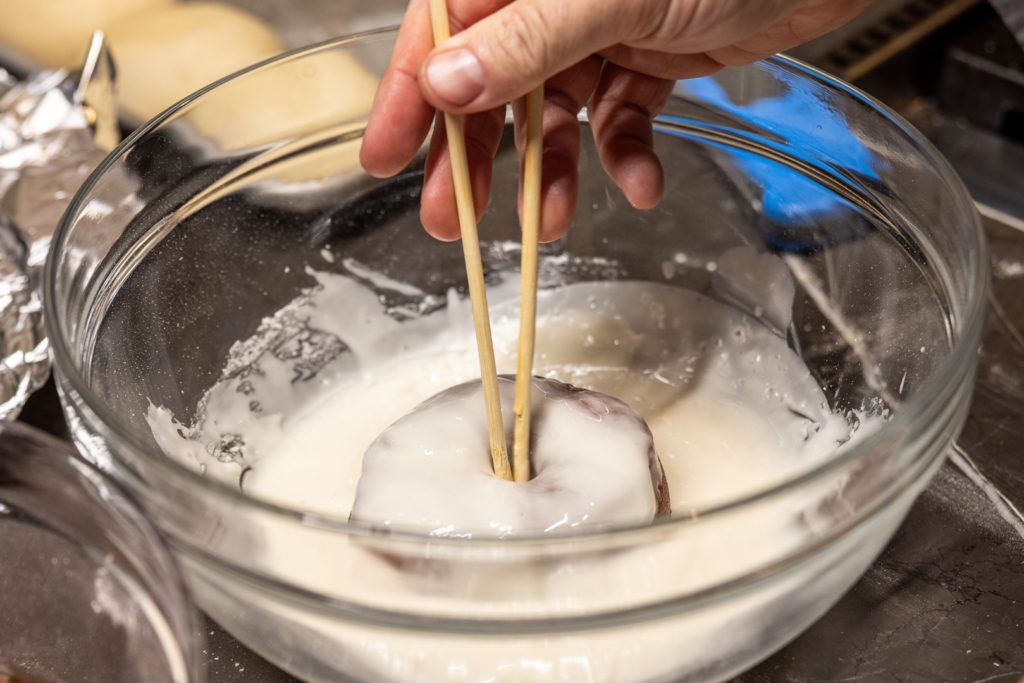
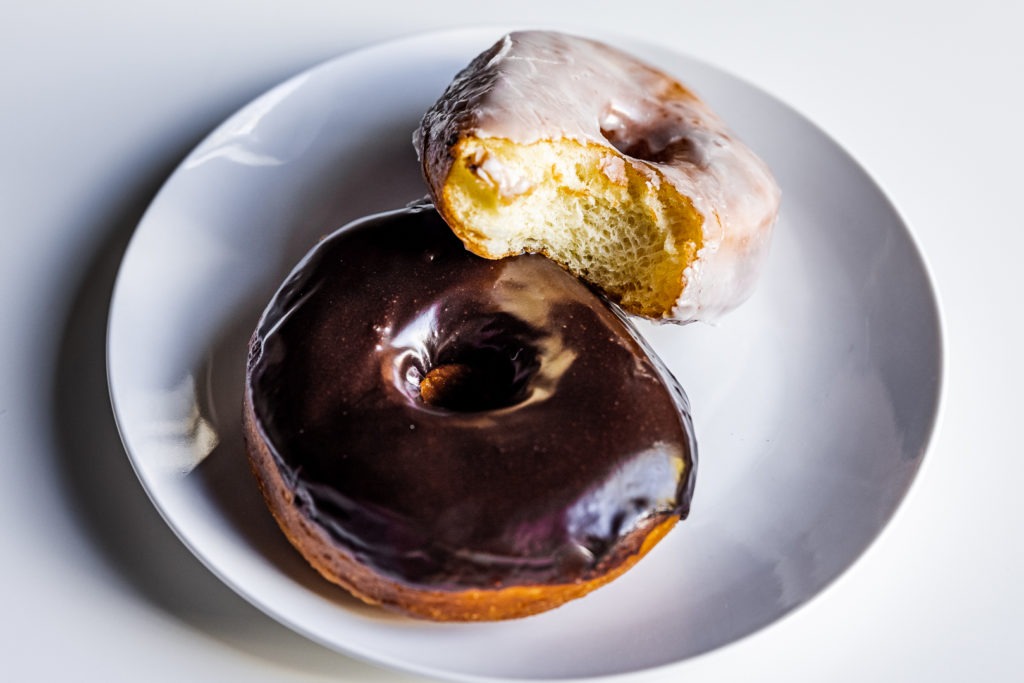
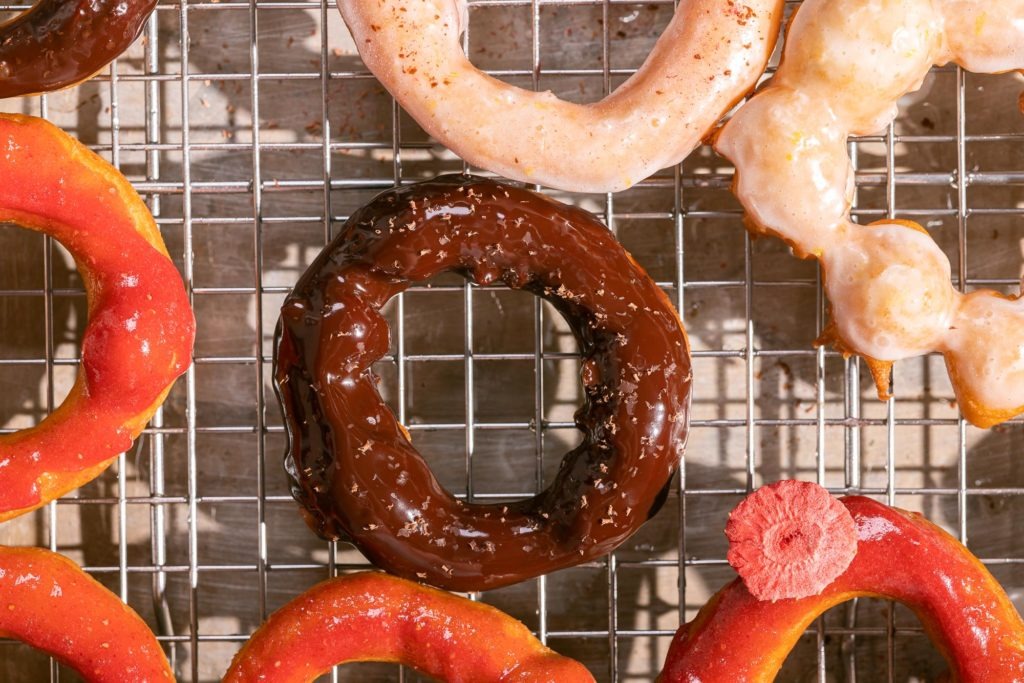
Donuts are best when hot, so you’ll want to serve them as soon as you can, But donuts are also best when glazed, or otherwise frosted. A simple glaze can be made with powdered sugar, vanilla, and some milk, but you can do just about anything you want to make the glaze, from a flavor perspective. The chocolate frosting you see on our donuts simply incorporated a heavy dose of cocoa powder in with the powdered sugar (and a corresponding change in the required hydration). Add some cinnamon to your glaze. Add some tart sour cherry juice. Or cranberry juice. Or horchata! And, of course, there’s nothing wrong with plain sugar. But no matter how you choose to top your donut, you want to do it as soon as it’s cool enough to handle.
The world of donuts need not be confined to the diner or the baker. There’s no reason why we can’t enjoy the glory of fresh, hot donuts in our own homes any time we want, as long as we understand how to make them. This recipe can be your guide in learning these techniques, but the thermal principles that we’ve discussed in the post go well beyond this one recipe. Try making them with different hydrations, different sugar ratios, or even try making spud-nuts using mashed potatoes as part of the dough. The thermal principles are the same, and the results, if you follow those principles, will be delicious.
Homemade Donut Recipe: Raised Rings of Joy
Equipment


Ingredients
For the Donuts
- 1 ⅛ C whole milk 90°F (32°C)
- ½ C sugar
- 2 ¼ tsp active dry yeast
- 2 whole eggs room temperature
- ¾ C butter melted then cooled
- 4 C 480 g bread flour
- 1 tsp salt
- 2 qt frying fat lard, shortening, or peanut oil
For the glaze:
- ¼ C whole milk
- 2 ½ C confectioner’s sugar powdered sugar
- 1 tsp vanilla
- 1 pinch salt
Instructions
Make the dough
- Activate the yeast by combining it with the warm milk and sugar. Set aside for a few minutes.
- Beat the egg and butter together in a separate bowl.
- Combine the flour and salt in the bowl of a stand mixer.
- Mix the milk/sugar/yeast into the flour. Mix on low until well combined. The dough will be very dry. Switch to a dough hook.
- Add the egg/butter mixture and beat on low speed to incorporate. Increase speed to medium-high and knead for 10 minutes. The dough should become soft and supple and slap around inside the bowl as it kneads.

- Remove the dough from the bowl, oil the bowl, and put it back in. Cover the bowl with plastic wrap. Set the dough bowl in the fridge to rest and slowly ferment overnight, or for a few hours at least.

Form the donuts
- Flour your work surface. Turn the dough out onto the surface. Flour it as well, and press it out until flat.
- Use a rolling pin to roll it out until it is slightly thinner than 1/2-inch thick.
- Place two pieces of parchment in two sheet tray pans, one in each pan.
- Use a donut cutter (or a biscuit cutter and a smaller-diameter cutter) to cut out the donuts. Place them, and their holes, on the parchment-lined pans.
- Smoosh the dough scraps back together, roll them back out, and cut out more donuts.
- Cover the donuts with oiled plastic wrap and place them in a warmish place to rise. An oven with a proof setting at about 85°F (29°C) is perfect. Allow them to rise until nearly doubled in size, tender, and poofy.

Fry the donuts
- While the donuts are proofing, prepare the glaze by combining all the glaze ingredients and mixing together until smooth and a good consistency. If it’s too thick, add more milk; if too thin, more sugar.
- For chocolate frosting, add 3 Tbsp cocoa powder to the powdered sugar and increase the milk quantity. The cocoa will require a disproportionate amount of milk. Add liquid until it is a thinnish, easily spreadable consistency.
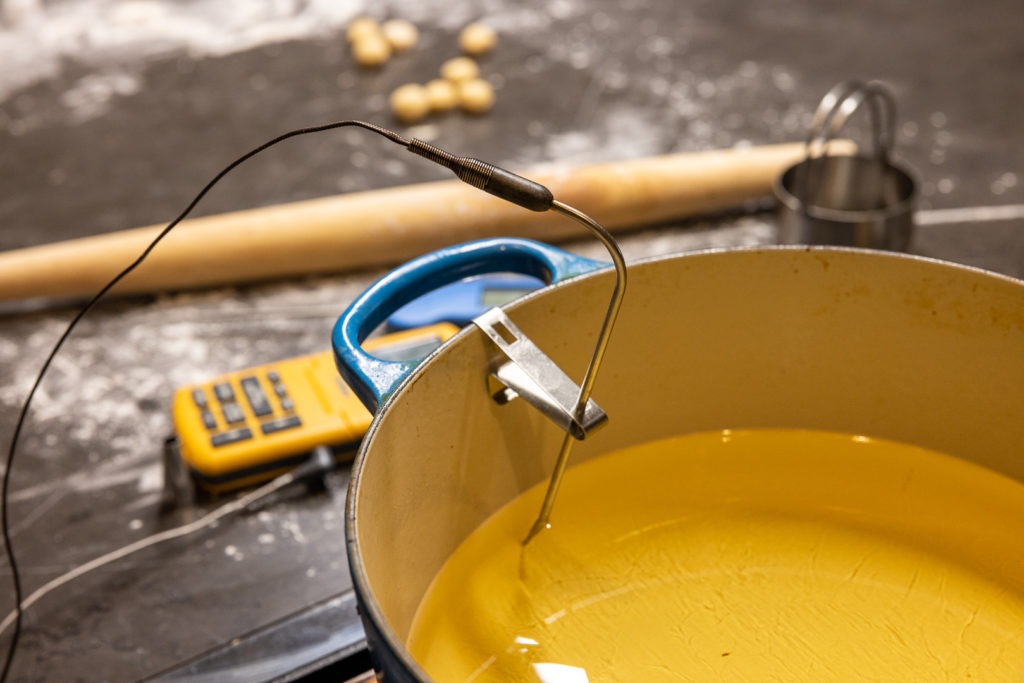
- Heat the oil. Use a pot clip to suspend a probe in the oil in a heavy pot. (Don't fill the pot more than halfway.) Set the CehfAlarm high-temp alarm to 375°F (190°C) and the low-temp alarm to 350°F (177°C). Heat the oil over medium-high heat.
- When the oil is hot and the donuts are ready, cut the parchment the donuts are on into squares using a sharp knife.
- lift the squares one at a time and use them to slide/flip the donuts into the hot oil.
- Monitor the oil temp as you cook 2 or 3 donuts at a time.
- Flip them after cooking for 2 minutes. Cook another two minutes and remove them to a paper towel-lined tray.
- Bring the oil temp back up and fry more donuts.
- Once the donuts are cool enough to handle, dredge them in the glaze. Using chopsticks to lift and turn them will make it easier.
- Serve the donuts while they are still hot and fresh.


Want to make donuts for someone you love but they can’t have gluten? No problem! Check out our post on making gluten-free mochi donuts.
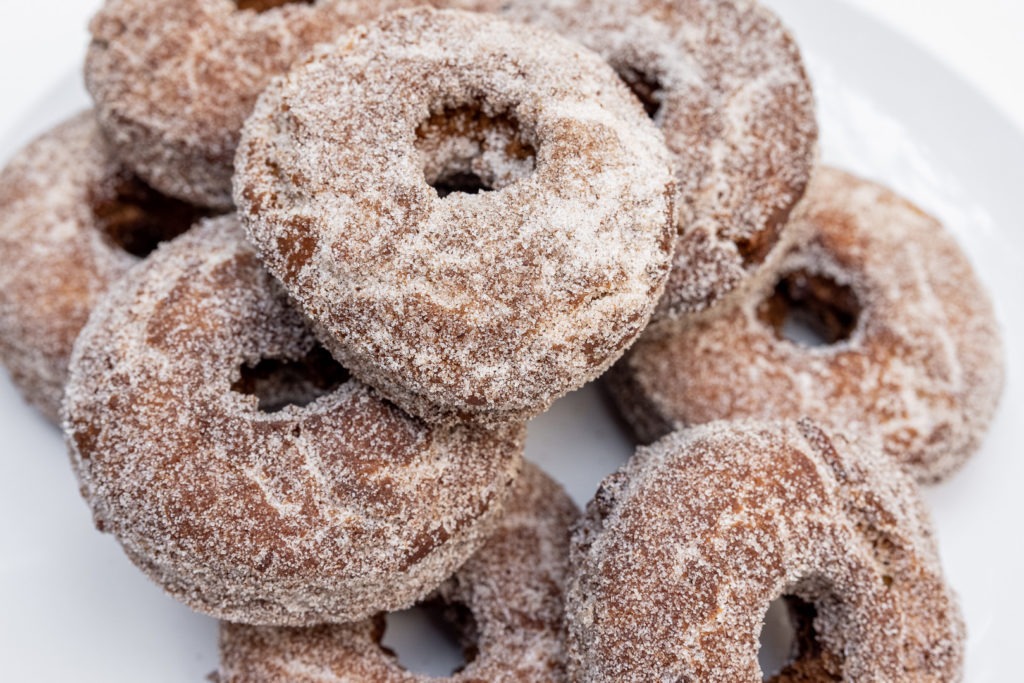
And for a classic donut for fall, check out this recipe for cider donuts. It’s a cake donut, as opposed to these raised ones, and well worth a taste!

I was reading your article and thinking about taking the plunge to make some donuts.
So how much cinnamon?
Really love to find great recipes and find things to experiment with.
In a glaze recipe this size, I’d start with a teaspoon or two. Powdered freeze-dried fruit is nice, too!
Tried your recipe and when I fry the donuts, they’re popping big air bubbles from the donut, should I poke them?
Andrew,
I usually don’t because I find the donuts get too oily when I do. Big bubbles may indicate uneven proofing. Check that your proofing box/oven/whatever isn’t too warm to see if that can help prevent the problem.
Those are some great tips. I always thought that making donuts is a difficult task but reading your tips now I think I should give it a try.
Give it a try and let us know how it goes!
What about putting the paper towels on top of the cooling rack? Would that be the best of both worlds?
Yes!
I just started into the donut world this morning! Mine came out doughy and raw-ish on the bottoms. I attribute that to not letting them prove long enough. But I fried mine in a deep fat fryer for one minute each side and they were dark. I cannot imagine how dark they would be at two minutes! I don’t understand something apparently. Is it because I used a deep fat fryer? Should I turn the temp down?
You may try that, and you may want to verify the fry temp with your Thermapen. (Not all countertop fryers are accurate in their temps!) Also, you’ll get much darker donuts if your oil isn’t super fresh. The more uses it has gone through, the darker the donuts will be.
glazed is melting after a couple of hours.. how can i prevent the glazed on melting?
Make the glaze a little bit thicker—less liquid. It will hold up a little better, but will be a little harder to apply. You can play with the balance until you find one that works just right for you and your local humidity.
Is vegetable oil considered a neutral oil?
Most oils labeled “vegetable oil” are soybean oil. They are neutral at room temp, but can start to taste funny at frying temps—not as funny as canola, mind you. Never use canola for deep frying. Soy will do in a pinch, but peanut and corn are our go-to oils for frying.
I tried your donuts and it was great! I have a question though..
I LOVE chocolate.. I tried to make some with white chocolate ganache (Ration 3:1 with the aim to make ganache thicker). but somehow it turned out to be just moist and didnt dry properly.
If i would like to make a topping with white chocolate.. what is your suggestion?
Thanks heaps!
Ganache doesn’t form a “shell” or firm up completely. IT always stays somewhat fudgy. If you want to mkae a white chocolate version, ganache is the way to go, but just know that it will stay moist. If it’s running off, try increasing the chocolate ratio.
Donuts should be made according to recipe and even the smallest details should be followed as well. Thanks for the above information and tips.
Temperature matters a lot while cooking. It can influence the taste of the dish very much. Thanks for sharing this useful information here.