Roast Chicken on the Smoker with Sauteed Brussels Sprouts: temperatures for success
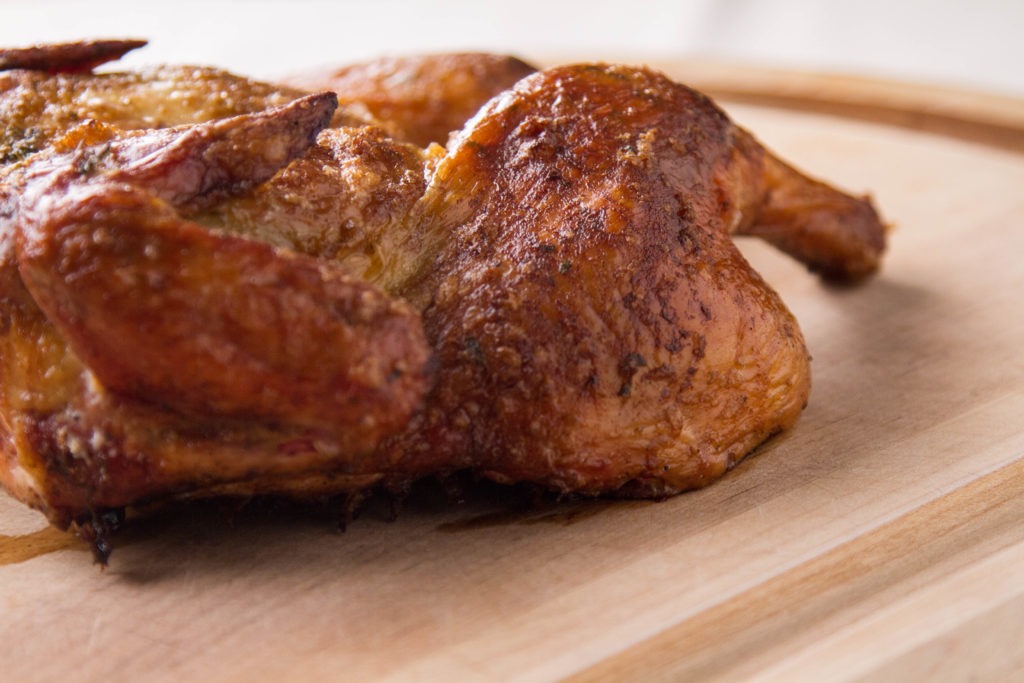
There are few dishes that are as simple yet impressive as well-roasted chicken. Done right, it is good enough to serve to guests without a lot of fuss to prepare. And a smoke roasted chicken? Well, that’s just tasty. Smoked chicken takes a little longer to prepare, but the end result is succulent and juicy with stunning golden brown and crispy skin.
The original recipe calls for this bird to be roasted in an oven, but we thought (correctly) that smoke roasting it would add a great flavor dimension. The cook is delicious, and with ThermaQ® WiFi it’s super easy to get right.
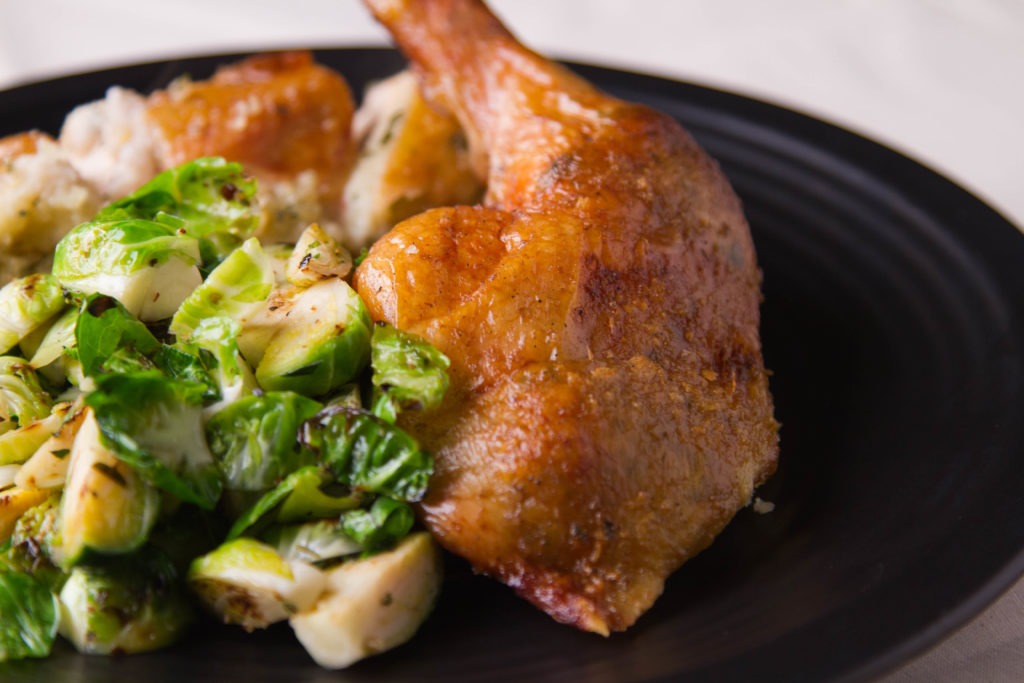
Chicken cooking temp
As this chicken is slow-roasting in a smoker, it will be held to a lower temp than it would normally be in an oven. That’s how we get a good smoke. We will make sure that our final cooked chicken temp is 160°F (71°C), which, while lower than the 165°F (74°C) often cited, will allow the chicken to rest and carryover cook up to a perfect doneness without drying the meat out. Leaving chicken on to cook until it reaches 165°F (74°C) would result in a higher temp because of carryover from our high-temperature finish, and would yield dry, tough meat.
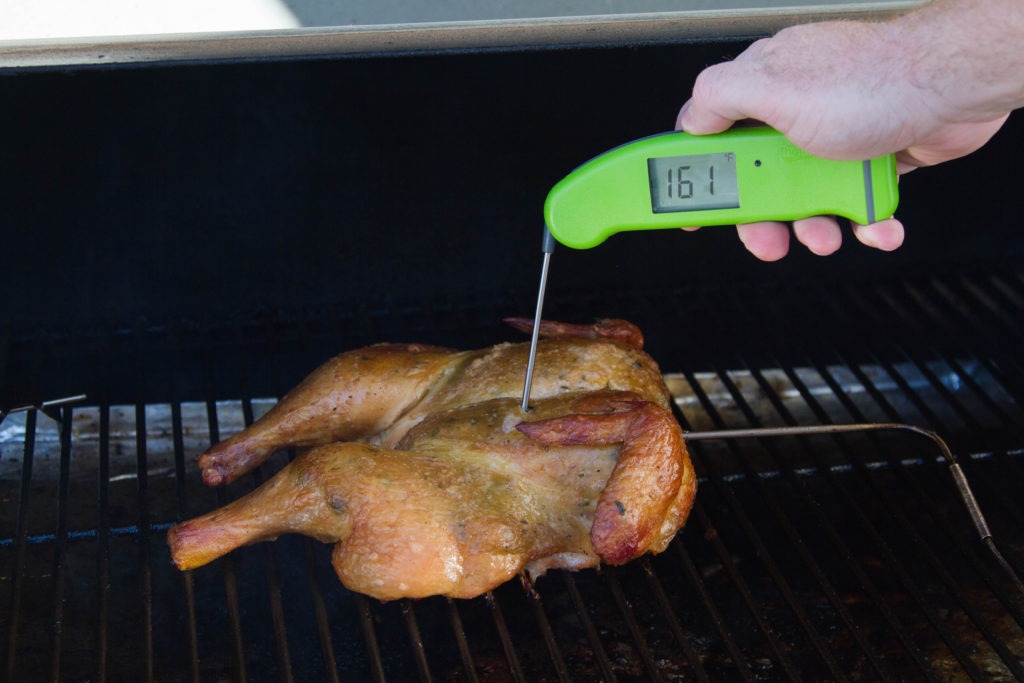
We will verify this final temp with our Thermapen® by inserting it fully into the breast and pulling it slowly through, looking for a lowest chicken temp of 160°F (71°C)
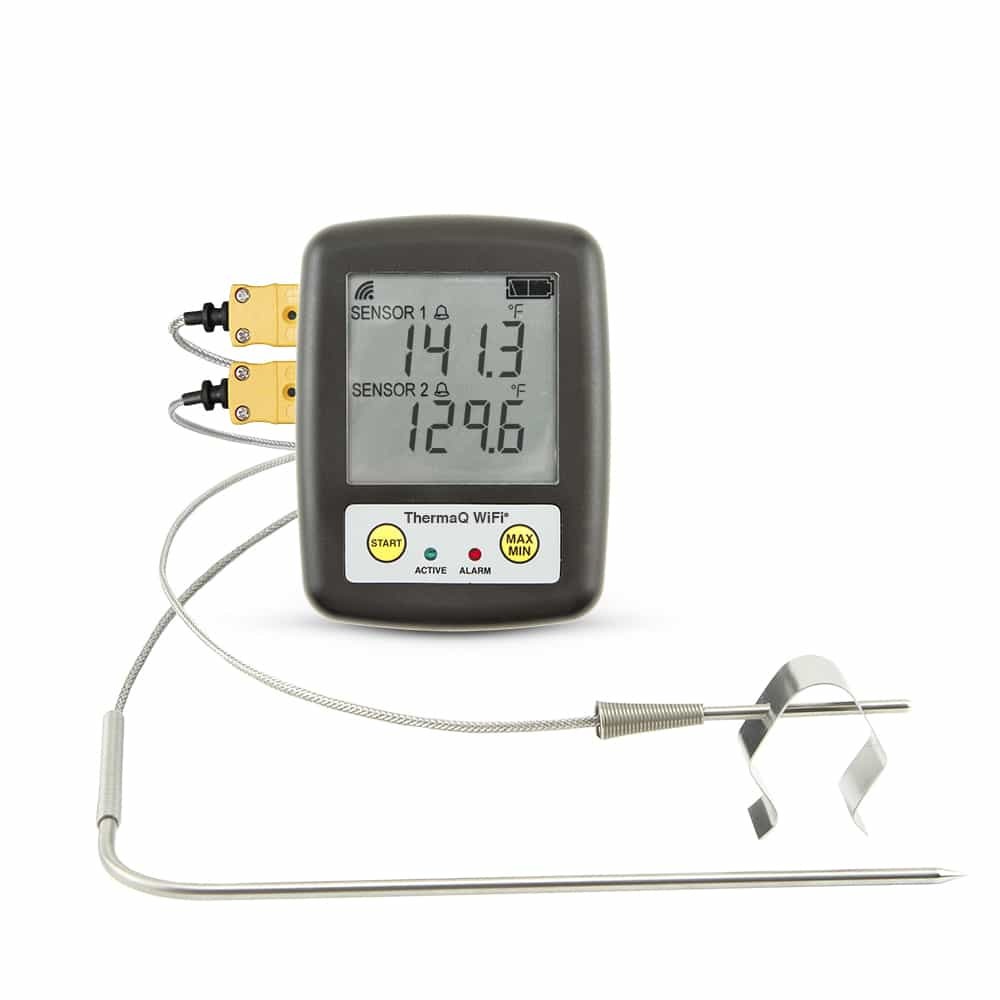
The ThermaQ WiFi’s two channels will give us unprecedented accuracy while allowing us to go about our lives while constantly monitoring the temp of the chicken and the smoker. We’ll keep our smoker in the neighborhood of 250°F (121°C). We’ll set the meat temperature alarm for 140°F (60°C) to cook the smoke into the chicken. When that temp is achieved, we’ll stoke our smoker up to 450°F (232°C) and reset our meat temp for 160°F (71°C). This high heat blast through the last 20°F (11°C) of cooking will give our chicken skin a nice crispness as well as a golden-brown burnished color.
As we will be cooking at a lower temp than called for in the original recipe, we decided to spatchcock (butterfly) the chicken by cutting out its backbone and smashing it flat in order to maintain some of the speed of the cook.
Spatchcocking is a great way to speed up the cooking on any fowl, and is actually especially great for the smoker because it also increases the surface area exposed to the smoke. Faster cooking and more smoke exposure? Sounds good.
Roast chicken seasoning
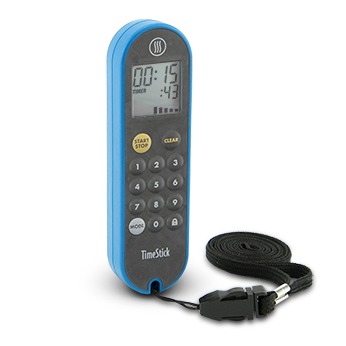
We’re going to do a dry brine on this chicken because we want it to be extra tasty and juicy. The recommendation from Cook’s Illustrated for 6-24 hours to dry brine a whole chicken. we’ll hit the short end of that, tracking the brine with our TimeStick®. If you don’t have that long, try to give it at least 1 hour of brining—even that much will help your chicken’s flavor and moisture.
We have often put compound butters under the skins of our poultry as a means of delivering flavor and retaining moisture in the meat, but this recipe goes a step further with the addition of the breadcrumbs to the butter. Usually, the butter under the skin would melt and eventually drain away, leaving behind the seasonings that we mixed into it, along with a faint buttery taste. By mixing breadcrumbs into the butter in an equal proportion by volume, we create a medium for the butter to be absorbed into. Rather than draining off, the butter stays in the breadcrumbs, creating a rich, buttery anti-stuffing around the bird.
Finally, we’ll serve the chicken with a simple recipe of sautéed Brussels sprouts, the sweetness of which goes great with the lemony, smoky flavors of the chicken. With careful temperature control from your ThermaQ WiFi, and a few sauteed micro-cabbages, you’ve easily created a meal fit for a king on your humble smoker. If you don’t have a good smoking thermometer, pick one up and get smoking today!
Print
Smoker-Roast Chicken Recipe (With Sauteed Brussels Sprouts Recipe)
Description
Based on Bon Appétit’s Buttery Roast Chicken
Ingredients
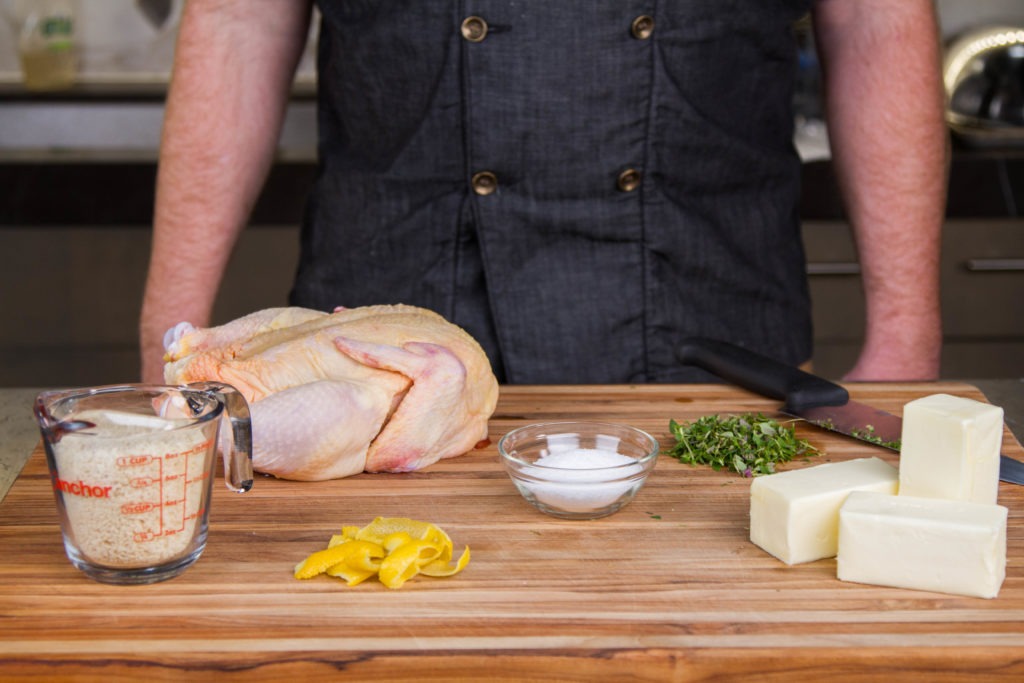
- 1 C breadcrumbs (made from freshly-staled bread is best)
- 2 Tbsp chopped thyme
- 1 tsp finely grated lemon zest
- 1½ C (3 sticks) unsalted butter, room temperature, divided
- 1 Tbsp plus more kosher salt, for dry brining
- 1 3½–4-pound chicken
Instructions
- Dry brine your chicken by Separating the skin from the breasts and rubbing 1 Tbsp salt under the skin. Then rub the skin of the chicken with more salt to coat it lightly but evenly.
- Place in refrigerator for at least 1 hour, but preferably 6-24 hours.
- Preheat smoker to 250°F (121°C).
- Spatchcock the chicken by
- cutting out the backbone with kitchen shears
- making a small slit in the cartilage of the breastbone
- Turning the bird breast-up and smashing it to break the bone and allow the bird to lie flat
- Mix breadcrumbs, thyme, lemon zest, and 1 cup butter in a medium bowl to combine. Use a mixer or just squish it together with your hands.
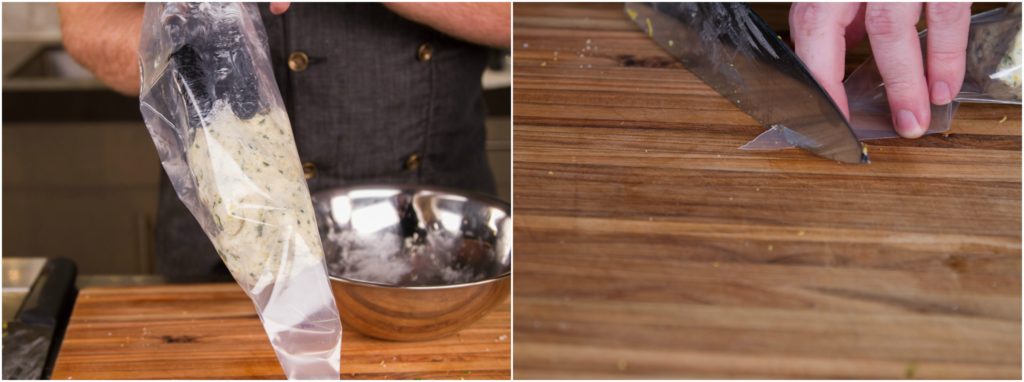
- Transfer butter mixture to a disposable pastry bag without a tip or to a resealable plastic bag. Cut off the tip of the pastry bag (or snip off one corner if using a plastic bag).
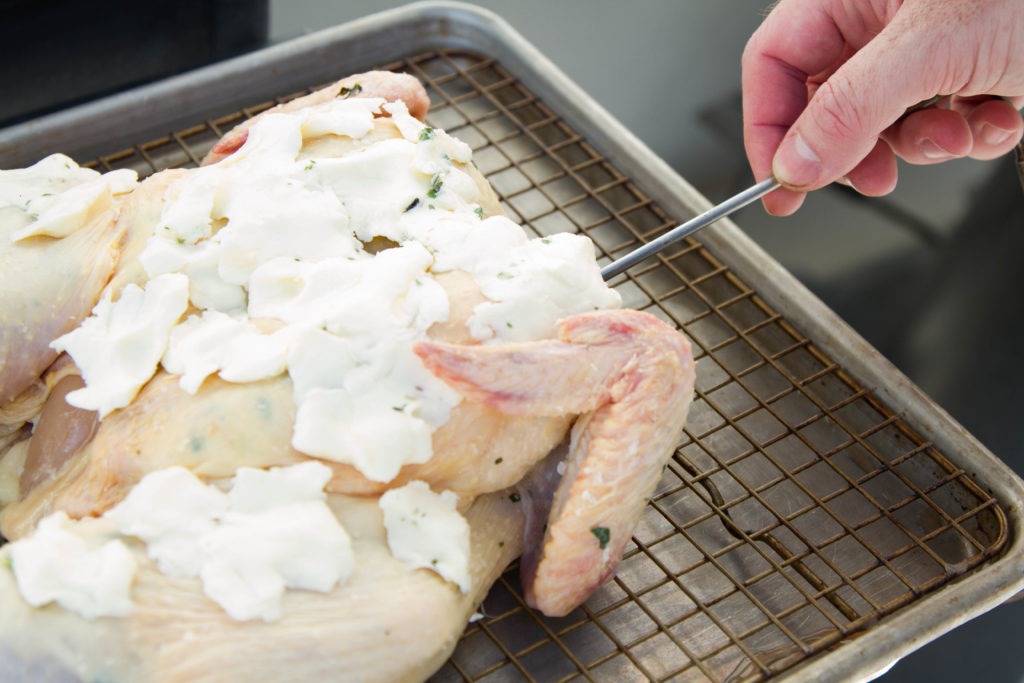
- Squeeze butter mixture under the skin on top of breasts and work it over breasts, thighs, and drumsticks so everything is evenly covered with butter under the skin.
- Rub outside of the skin with remaining ½ cup butter.
- Place chicken in the smoker. Insert the Smokehouse Penetration Probe into the thickest part of the breast and set the corresponding alarm on your device to 140°F (60°C).
- Set the air probe alarm to a high-temp of 275°F (135°C) and a low temp of 225°F (107°C).
- Cook.
- When the chicken alarm goes off, increase the smoker heat to 450°F (232°C), with corresponding air-probe alarms at 475°F (246°C) for the high alarm and 425°F (218°C) for the low alarm, and set the meat high alarm to 160°F (71°C).
- Cook until the meat alarm sounds. Check the breast and leg with a Thermapen® for doneness.
- Transfer to a cutting board and let rest at least 10 minutes before carving.
Sauteed Brussels Sprouts Recipe
Ingredients
- 1 ½ pounds Brussels sprouts
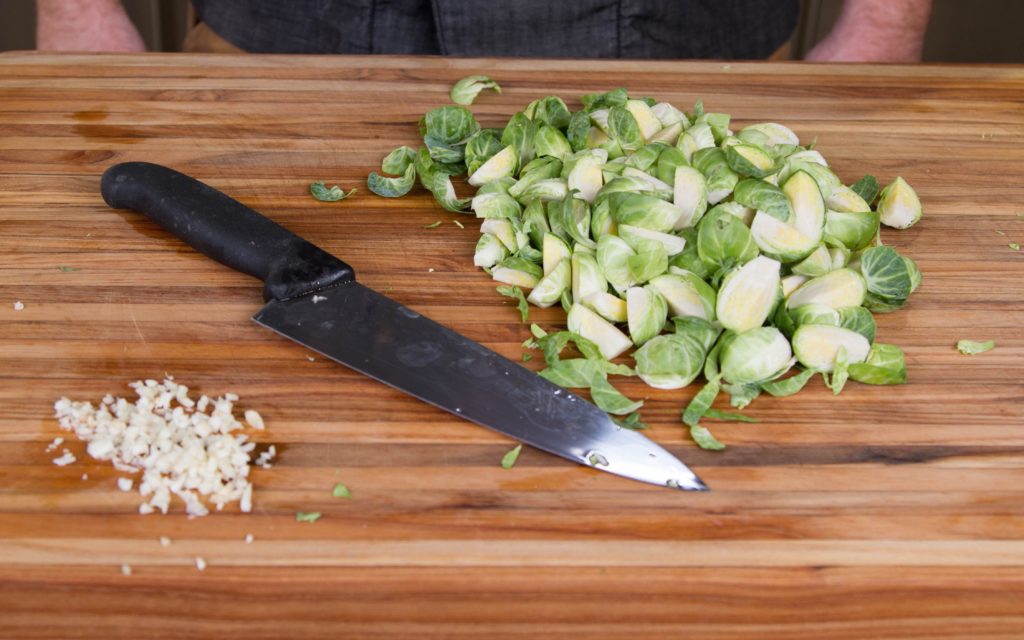
- 1 clove garlic, finely chopped
- 2 Tbsp clarified butter or olive oil
- Salt and pepper
- 2-3 Tbsp water
Instructions
- Trim ends from sprouts and quarter them.
- Add butter or oil to a large, flat-bottomed saute pan. Turn heat to high.
- Add garlic to the pan before the oil is fully heated. Watch its color as it sizzles and foams.
- Right as the garlic starts to color, add the sprouts to the pan and toss briefly to combine.
- Allow the sprouts to sit still for a minute or so to brown and begin to caramelize. Sprinkle with salt and pepper
- Stir and let sit again.
- Add the water to the pan and stir everything together.
- Let the water cook out of the pan and the sprouts just start to caramelize again.
- Remove from heat and serve, adjusting seasoning as needed.
Bring it together
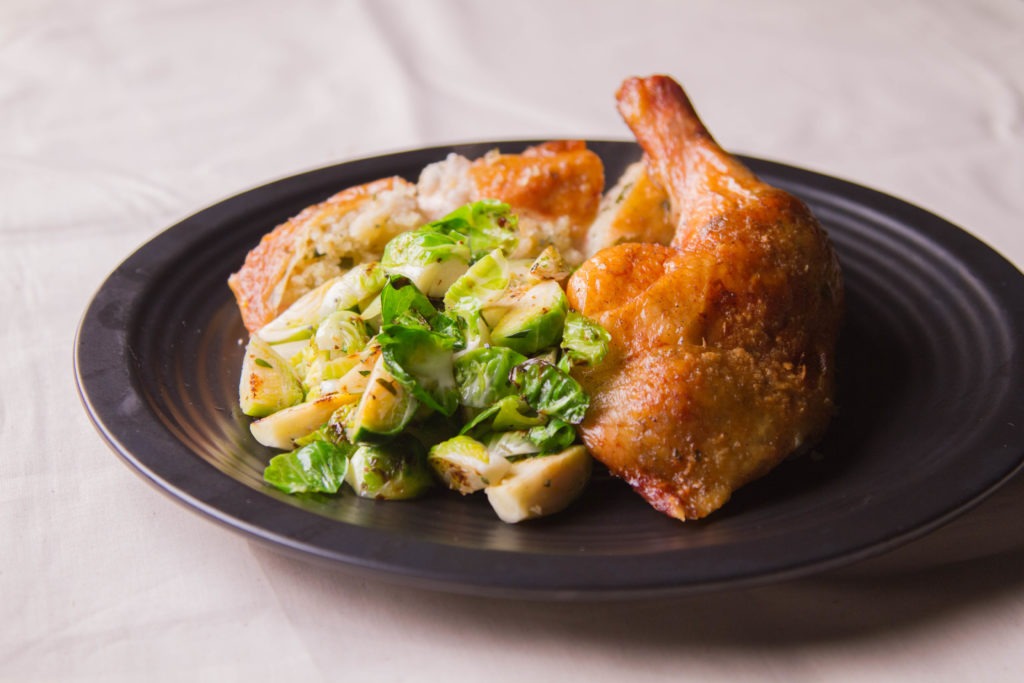
Plate the carved chicken with the sauteed Brussels sprouts.
Shop now for products used in this post:








I was taught that your probe should go into the deepest part of the thigh. Why do you choose the breast? I have tested this and there can be a range of 5°-10° difference.
David,
I recommend to you our articles on turkey temperatures which go more in-depth than I can here. Check out this article on probe placement, and this piece on dark vs. light meat.
In essence, it boils down to this: dark meat can take a higher final temp because of its higher concentration of connective tissue, while breast meat will dry out if cooked too high. By placing the probe in the breast we assure not only that the meat is not undercooked, but that it is not overcooked either. Ideally, you will get thigh meat that is 10–15° higher than breast temp to break that collagen down a little bit.
When we spatchcock a bird, we spread out the dark meat so that it is 1) less densely grouped, 2)more exposed to the heat, and 3) surrounding the breast meat like an insulator. There is, in this case, practically no chance that the thigh meat will not be done if the breast meat is. And by temping the breast we can get it just done, rather than overdone.
I hope this is helpful. If not, please feel free to ask more! I think you’ll find that if you try this method out, you will get juicier and mroe tender results.
Happy cooking!
Unless you have a ceramic cooker its unlikely you’ll get it up to 450 degrees in any reasonable time. The recipe sounds excellent, and think, I may try on my propane grill. Will use my Thermoworks Smoke to bring to successful conclusion! 🙂
David,
We happened to use a Traeger for this cook, and it can easily get up to 450°F. Other cookers can get there if you throw the vents open and give it some fuel. it won’t be about smoking at that point so much as high-cooking. One could also have a hot grill ready or even a hot oven to move the bird into to crisp up the skin. Tell us how it works on the propane!
Hi
Can you please suggest which wood to use to smoke with this receipe
Thanks
Steven,
I used Hickory, but oak, apple, or beech would all do well.