Chicken Breasts vs Chicken Thighs: A Thermal Explanation
If there’s one meat Americans love, it’s chicken. We eat nearly as much chicken each year as beef and pork combined.1 But despite our affinity for this fowl, Americans are often eating dry, chewy, chalky chicken.
Part of the reason why this happens so much is that most home cooks don’t understand when to use chicken breast and when to use chicken thigh. In this post, we aim to illustrate the differences between these two meats, as well as the thermal principles you need to understand to make the most of them. Temperature is the key to juicy chicken, so let’s take a look at the details. Spoiler: we prefer thighs for both thermal and gustatory reasons.
Contents:
- Chicken history: understanding the bird to understand the meat
- Chicken muscle anatomy: these meats are not the same
- Understanding collagen breakdown for tenderness
- Differences in doneness temps in light vs dark meat
- Uses for thigh and breast
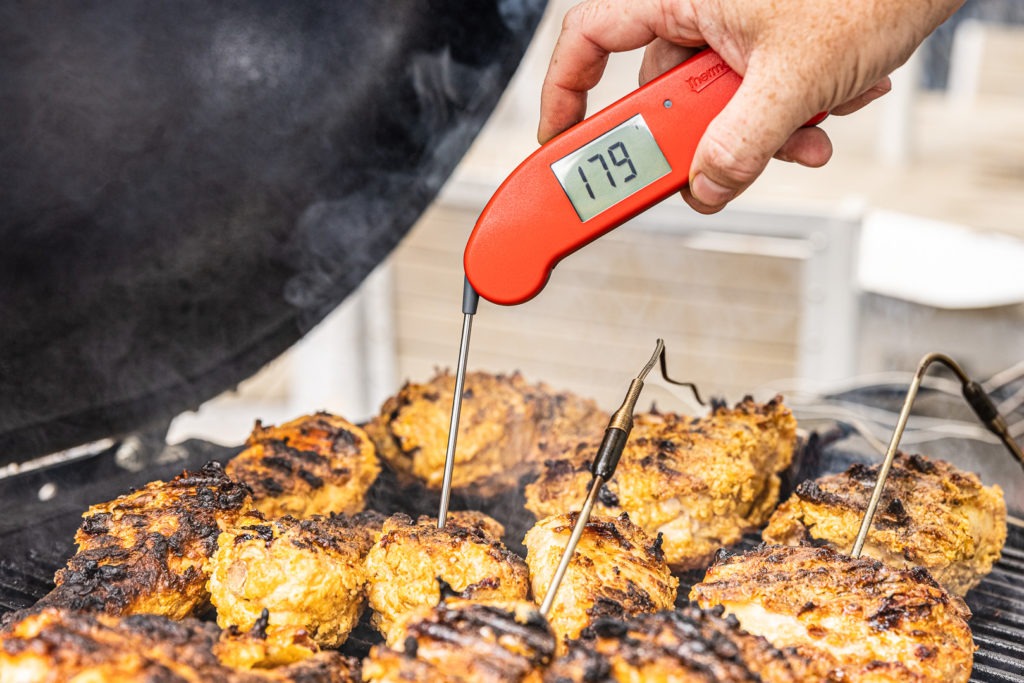
Different parts for different purposes
Chicken history: where chickens come from
To understand what’s going on with chicken meat, we need to understand the chicken. Chickens are non-migratory birds. In fact, they are descended from wild Red Junglefowl of Southeast Asia and India. There, they live in the boundaries between forests and fields, regrowth, or settlements. They seek cover in the lush forests while searching out forage in the open. They don’t need to fly except in short bursts to quickly escape predators or to reach their treed roosts.
People have been selectively breeding chickens for thousands of years, producing breeds that are cold tolerant, heat tolerant, good egg layers, good mothers, and good meat birds. But none of that selective breeding has created chickens that are meant for long-distance flight, with flying muscles built for long, hard exertion. After all, why would we want our dinner to learn to fly?!?
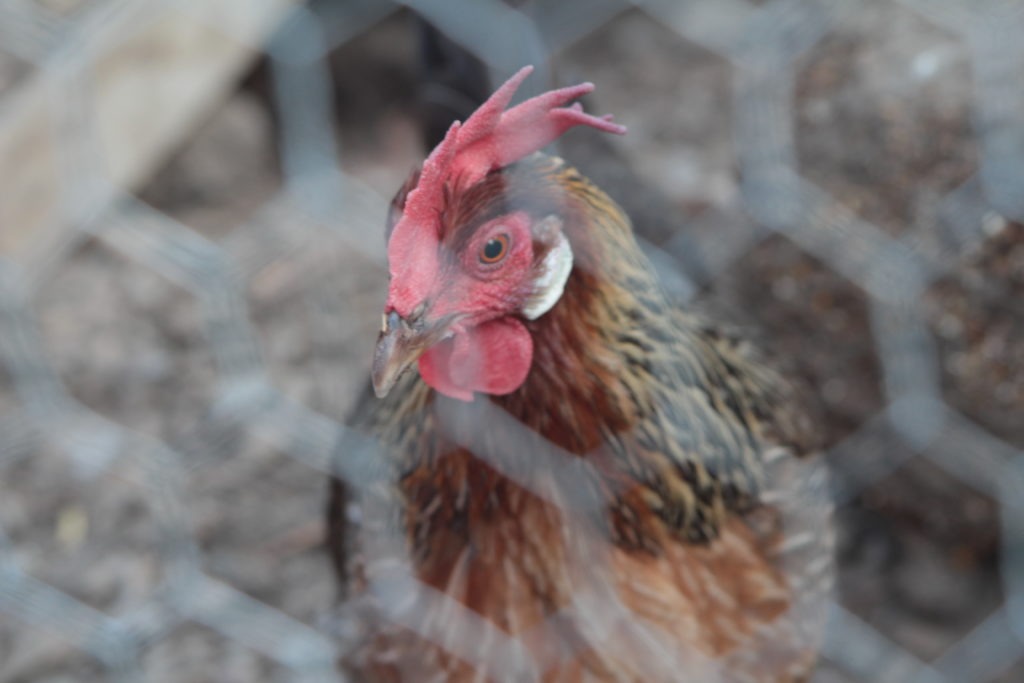
Anatomical differences between breast and thigh meat
So what does this history have to do with people cooking dry chicken? Everything!
First, let’s look at a little general muscular anatomy.
Because the ur-chickies weren’t migratory and only needed short bursts of strength, their breast muscles developed mostly fast-twitch (white) muscle fibers, whereas their legs, which support and move them slowly through long days of grazing and foraging, developed more slow-twitch (red) muscle fibers.
Because most animal muscles are used for both rapid and slow movements, they contain both white and red muscle fibers, as well as hybrid fibers that combine proportions of the other two . . . Chickens and turkeys fly only when startled, run occasionally, and mostly stand and walk; so their breast muscles consist predominately of white fibers, while their leg muscles are on average half white fibers, half red.
Harold McGee, On Food and Cooking, Pg 132
This is by no means a revelation; we all know breast meat is white meat and leg meat is dark meat. What many people don’t understand is that dark—i.e. more exercised—meat also contains more connective tissue:
The more force that a muscle exerts, the more connective tissue it needs for reinforcement, and the stronger the tissue needs to be.
Harold McGee, On Food and Cooking, Pg 129
Understanding collagen breakdown and meat dry-out: the keys to juicy chicken
To recap: legs do more work in chickens than breasts, so they have a much higher proportion of red, slow-twitch muscle fibers, and also a higher proportion of connective tissue to support the work they do. Knowing that, we can look at how meat cooks, and how connective tissue breaks down, to better understand chicken cookery.
How and why meat dries out.
All land-animal meat starts to squeeze its water out as it passes 120°F (49°C) as the myosin in the fibers contracts. That’s fine—we don’t generally like the texture of raw meat—and this first expulsion of juices into the areas surrounding the cells makes our meat juicier and firmer than when raw.
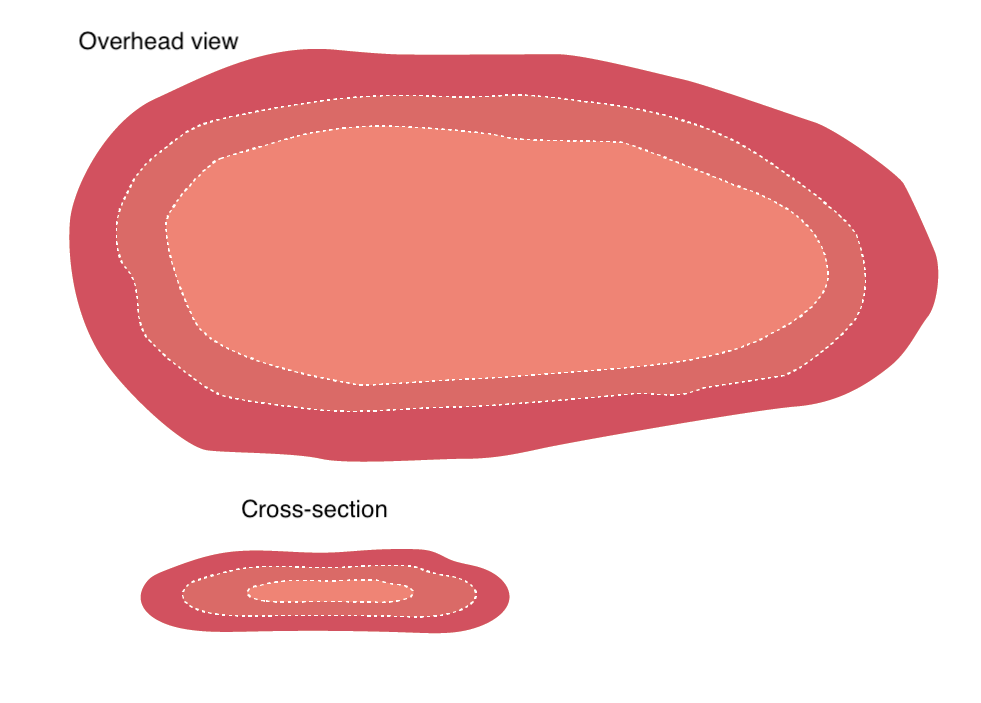
As meat passes 140°F (60°C), it suddenly sheds a lot of juice, gets chewier, and shrinks. This is because the collagen found in the meat is starting to denature, tightening its grip on the muscle fibers it surrounds and squeezing the watery cells. If we cook our meat much past this point, it has little water left to give, so it begins the path from juiciness to dryness. It gets tougher, stiffer, and drier with every degree above this temp. This is dry meat; this is what we want to avoid.
Collagen and meat tenderness
But then, as the meat passes 160°F (71°C), that constrictive collagen starts to turn into gelatin. Given time at these higher temps, much of the collagen in a cut of meat can dissolve into gelatin, and tenderness returns. “The fibers are still stiff and dry, but they no longer form a monolithic mass, so the meat seems more tender,” Harold McGee explains. Without the connective tissue wrapping the muscle fibers tightly, our teeth pass through them easily. And the gelatin that is created by the melting connective tissue absorbs some of the remaining water, becoming luscious and sticky-tasty in its own right.
This phenomenon of drying and then tenderizing explains why an undercooked brisket is so terrible. It has toughened, but not yet loosened. Take meat past its primary juiciness stages and, if there is enough collagen in it, it will become tender and delicious in its own way.
Differences in doneness temps for light-meat and dark-meat chicken
Chicken breast doneness temps
Because chicken breasts are not well exercised and have far more white fibers than red, they also have very little collagen. So when you cook a breast, all you are cooking is the tenderest fibers. According to McGee, “The tender breast meat gets dry and tough if heated much above 155°F (68°C).” Yes, you read that right. The “standard” answer for chicken safety is 165°F (74°C), but it dries out above 155°F (68°C). Now, if you’ve read our piece on chicken internal temperatures, you know that bacterial kill-off is a function of both temperature AND time, not just temperature, and you can certainly cook a chicken to 155°F (68°C) and be safe. But pushing it lower becomes difficult for breasts that aren’t attached to a whole bird, because they cool too quickly when removed from heat.
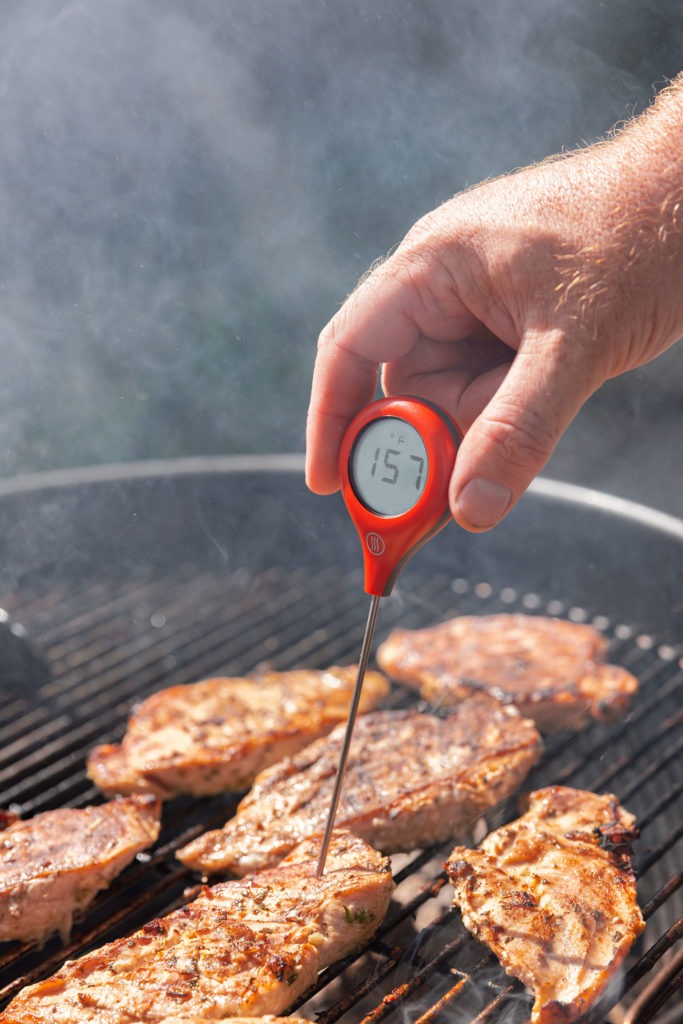
So really, chicken breast has a “doneness window” of about 5°F (3°C). That can be hard to hit, especially when you try to factor in carryover cooking. How many degrees below should you take it off the heat? Who knows?
Don’t get us wrong; properly cooked chicken breast is great, but it’s just so hard to hit, even with proper temperature tools.
Chicken thigh doneness temps
Leg meat, especially thigh, is another story altogether.
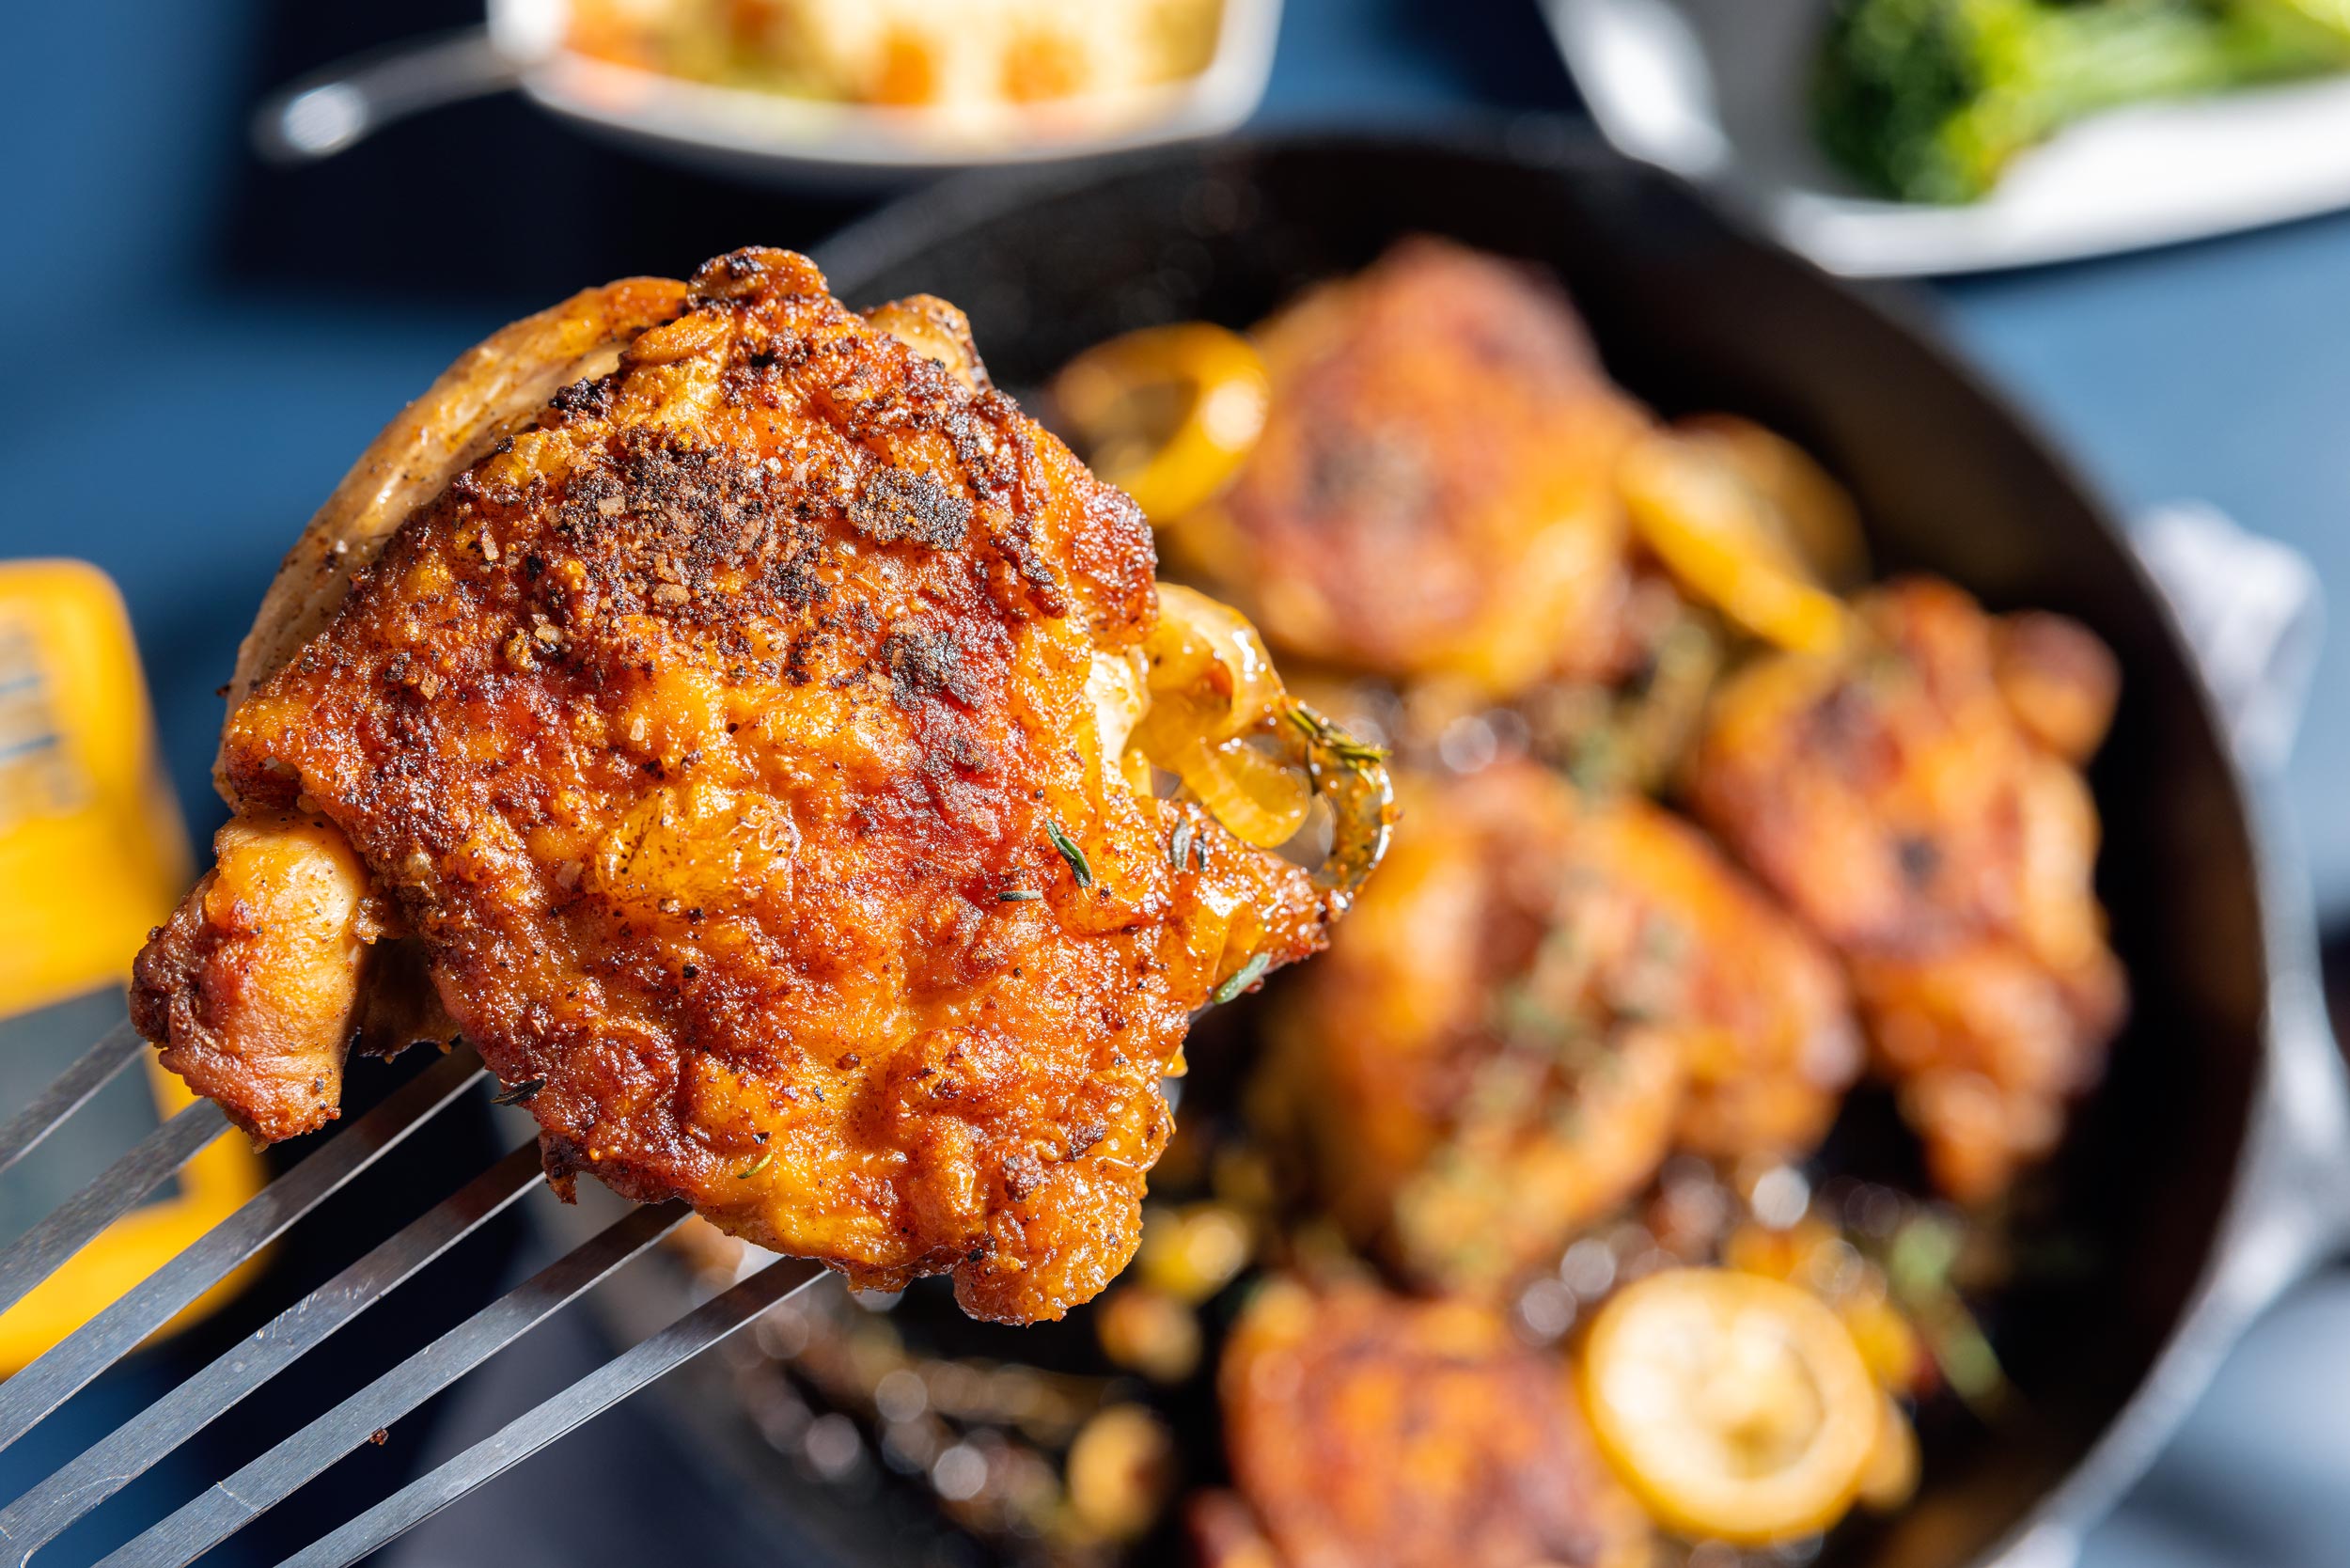
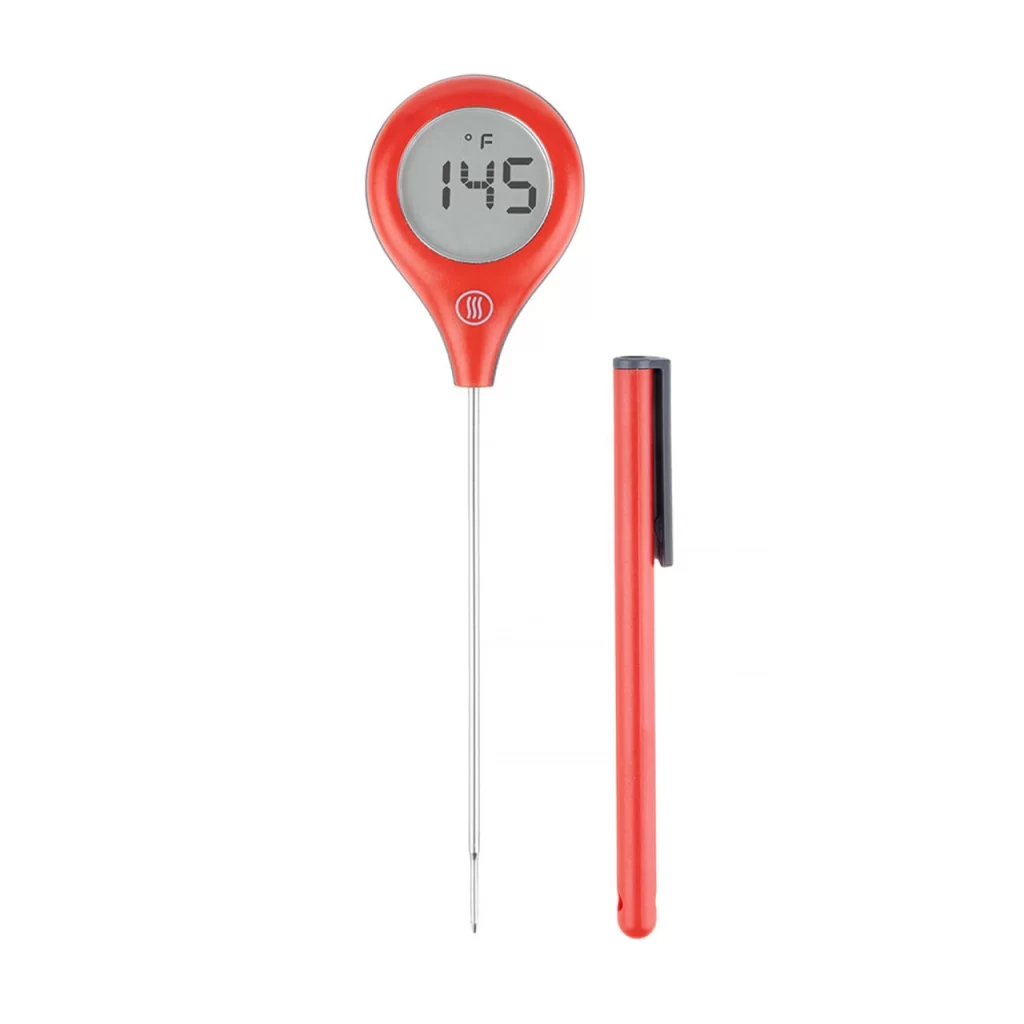
Because chicken thigh (and leg) meat is more exercised than breast meat and has more red muscle fibers, it also contains more collagen. That means it’s best when cooked to a temperature at or above 170°F (77°C). In fact, we often cook ours to 185°F (85°C), though they are good up to about 200°F (93°C). This wide latitude of doneness makes the thighs easy to cook, and remove the worries one might have about carryover cooking. You needn’t worry about removing the meat before a doneness temp and hoping to hit your target; you just cook it to your pull temp, and if it gets hotter, that’s fine. You can use your Thermapen® ONE to check it before you remove it from heat, and you’ll know it’s going to be just right.
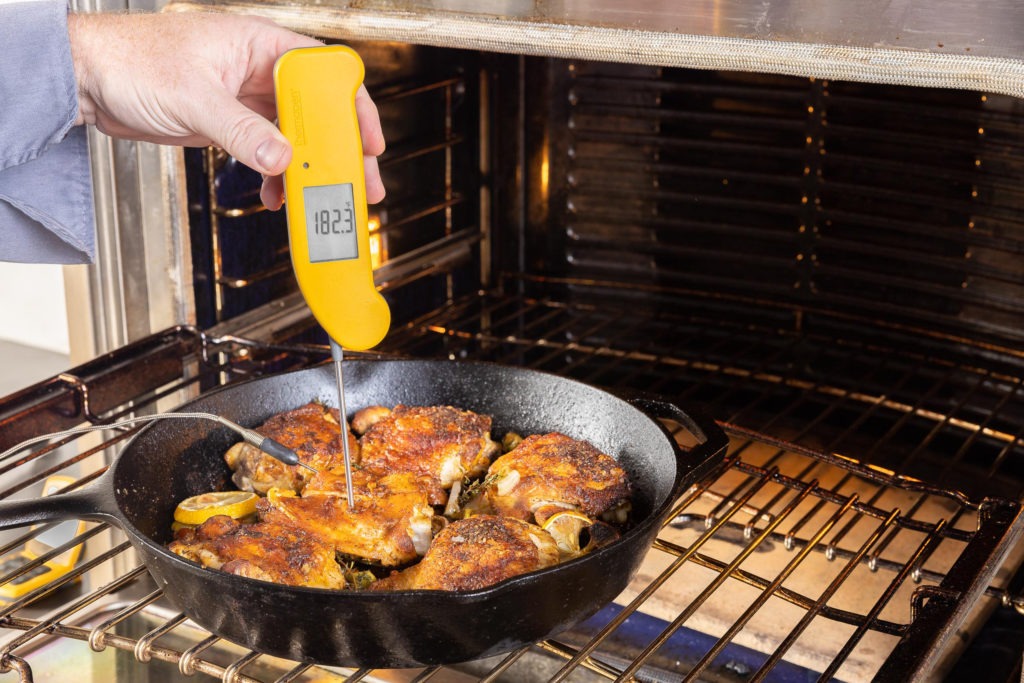
Uses for thigh, uses for breast
So you can see why we prefer chicken thighs to chicken breasts—in general. But that doesn’t mean there’s no place for breasts. Chicken breasts are great for gentle applications like sous vide, where temperature can be easily controlled. Gently poaching chicken breasts is also a wonderful way to cook them, especially if the poaching liquid is flavorful and rich.
If using chicken breasts in other applications, it is best to butterfly or flatten them to decrease the amount of thermal gradation that can occur during cooking. And pull them before they reach 165°F (74°C).
Don’t—please, please don’t—use chicken breast (frozen or thawed) in Instant Pot or slow cooker recipes. Countertop pressure cookers purposefully bring the ingredients up above boiling temperature to cook them quickly. This pushes all the water out of the breasts. And while you may think the chicken is juicy, it’s really just wet with sauce, which is a different thing.
For high-heat applications like grilling, pressure cooking, or frying, you just can’t beat thigh! If you cook it correctly, to a high enough temperature, the meat will be juicier, your sauces will be richer, and you’ll barely be able to tell the difference between your dish and a properly cooked breast dish. But it will be done with half the margin for error, and it will also cost less, which is a win for your family budget.
With the amount of chicken we eat as a country, it’s about time we learned to cook it right! With these thermal principles and some great temperature tools like Thermapen ONE, you’ll be able to make sense of your chicken recipes, and even improve upon them. Use a high-accuracy, fast thermometer and you’ll be sure to enjoy every chicken dish you make, secure in the knowledge that your family is eating food that is both safe and delicious.
Shop now for products used in this post:
According to data from the National Chicken Council, https://www.nationalchickencouncil.org/about-the-industry/statistics/per-capita-consumption-of-poultry-and-livestock-1965-to-estimated-2012-in-pounds/ ↩



Thank you! I really appreciate your blog as it provides more information than any other recipe site I have found.
I learned a great deal – thank you. Now, I’d like to take the newly cooked chicken and freeze half of it to use later. Can you suggest now warm/cool the chicken thighs can be when sealing for the freezer and still be safe? Looking forward to your reply or an additional section on this site.
Yes, I have a therma-pen now!!
Cool the thighs to room temperature before sealing for the freezer. Putting them into the freezer when hot will melt other things around them, making for (possibly unsafe) weird ice blocks later on.
I have a gas grill where I can set the temperature. What temperature should I set it to and how long before I start checking temperature of the chicken thighs I am using the indirect method
I’d set it for about 375°F and give it about 15-20 minutes before you start to check. Of, to avoid that guesswork, stick a probe from a leave-in-probe thermometer in it!