

Baked Chicken Breast Recipe: Thermal Guide Plus Salsa Verde
Baked chicken breasts are a quick, easy solution for dinner—but how many times do they turn out dry, rubbery, and nearly flavorless? No matter how good your sauce is, dry overcooked chicken is never good to eat. But there are a few tricks to cooking tender, juicy chicken breasts every time—regardless of the recipe you use. Keep reading for the temperature tips you need to get it right.
Chicken breasts account for 60% of the chicken sold in stores in the U.S., and most of it is boneless and skinless. And while it’s widely recognized that bone-in, skin-on chicken will have more moisture and flavor, so many of us have family members (I’m looking at you, kids!) who prefer not to deal with the skin or bones.
Besides, the stripped-down white meat is so easy to work with. And when boneless, skinless chicken breast goes on sale at the local grocery store, who can resist stocking up the freezer? Boneless, skinless chicken breasts are a staple in so many home kitchens, but there has to be an easy way to get better results!
3 Top Chicken Cooking Challenges:
Why are chicken breasts so notorious for being dry and tough? These three factors make even the slightest error in overcooking very noticeable.
- White chicken meat is very lean. White chicken breast meat has very little fat and nearly no connective tissue, which is problematic because the presence of fat accounts for much of the perception of moisture in meat. Fat also contributes to flavor, and the lack of it in chicken breast means the flavor of the meat is very delicate, so it’s important to retain the moisture and flavor that naturally exists in the meat. The best way to do this is to cook it to the proper temperature. Overcooking leads to dry, tough, sawdusty meat with nearly no flavor.
- High doneness temperature for food safety. Salmonella is the food safety enemy in chicken that dies only at higher temperatures. But cooking chicken breast to an instant thermal-kill doneness temperature will cause it to dry out excessively. Even slight overcooking is apparent in chicken breast because it is so lean. Tracking and verifying temperatures is critical to cooking juicy chicken that is also safe to eat.
- Its shape is uneven. The naturally uneven shape of a chicken breast makes it difficult for the entire piece of meat to be perfectly cooked at the same time. The thin, tapered end will be sadly overcooked and dry by the time the thermal center of the fatter end has reached its pull temperature.
So what are we to do?
3 Simple Keys to Juicy Baked Chicken
A few simple steps will set you up for juicy chicken success.
1. Brine It…If You Have The Time
A wet-brined chicken breast will absorb some of the water during the brining time, but will still end up losing quite a bit of moisture while cooking—nearly the same amount as dry-brined chicken. So either method should produce similar results.
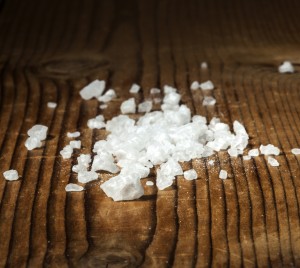
Brining in Water: Brining is the process of soaking meat in a salt water solution. Over time, the salt not only seasons the meat, but it alters the protein on the outer edge of the meat making it better able to retain its own moisture through the cooking process. Some of the water is absorbed by the meat for a juicier end result.
Dry Brining: Dry brining is the process of seasoning the meat with salt on all sides and allowing it to rest for at least 30 minutes—and up to overnight— with the salt on it before cooking. Salt is hygroscopic (or water-loving) and draws moisture to the surface of the meat. The salt dissolves in this moisture and is then drawn into the meat. The same chemical reaction occurs with dry brining as in wet brining, and the protein is able to retain moisture better during cooking.
Brining is best, but you may not have time for that on a busy night. If you can’t brine, be sure to season the chicken on all sides, not just a quick sprinkling of salt on the top.
➤ Take away: brined chicken will be more moist and juicy than chicken that is not brined. A 30-minute dry brine will improve the eating quality of your chicken dramatically.
2. Flatten It Out
Chicken breasts are an uneven teardrop shape, fat and thick at one end, tapered and thin at the other. The tapered end will finish cooking much faster than the thick end and will be overcooked and dry by the time the entire piece of meat has come to its pull temperature. To overcome this problem, the best thing to do is flatten the chicken breast by pounding it out.
Note, though, that the thinner you pound it, the faster it will cook, meaning it might overcook if not properly monitored. So pound it until it is basically even, but no thinner and then be sure to monitor the cooking temps!

➤ Tasty bonus: The pounded-out chicken breast will have more exposed surface area. That means more area for a flavorful seasoning and browning.
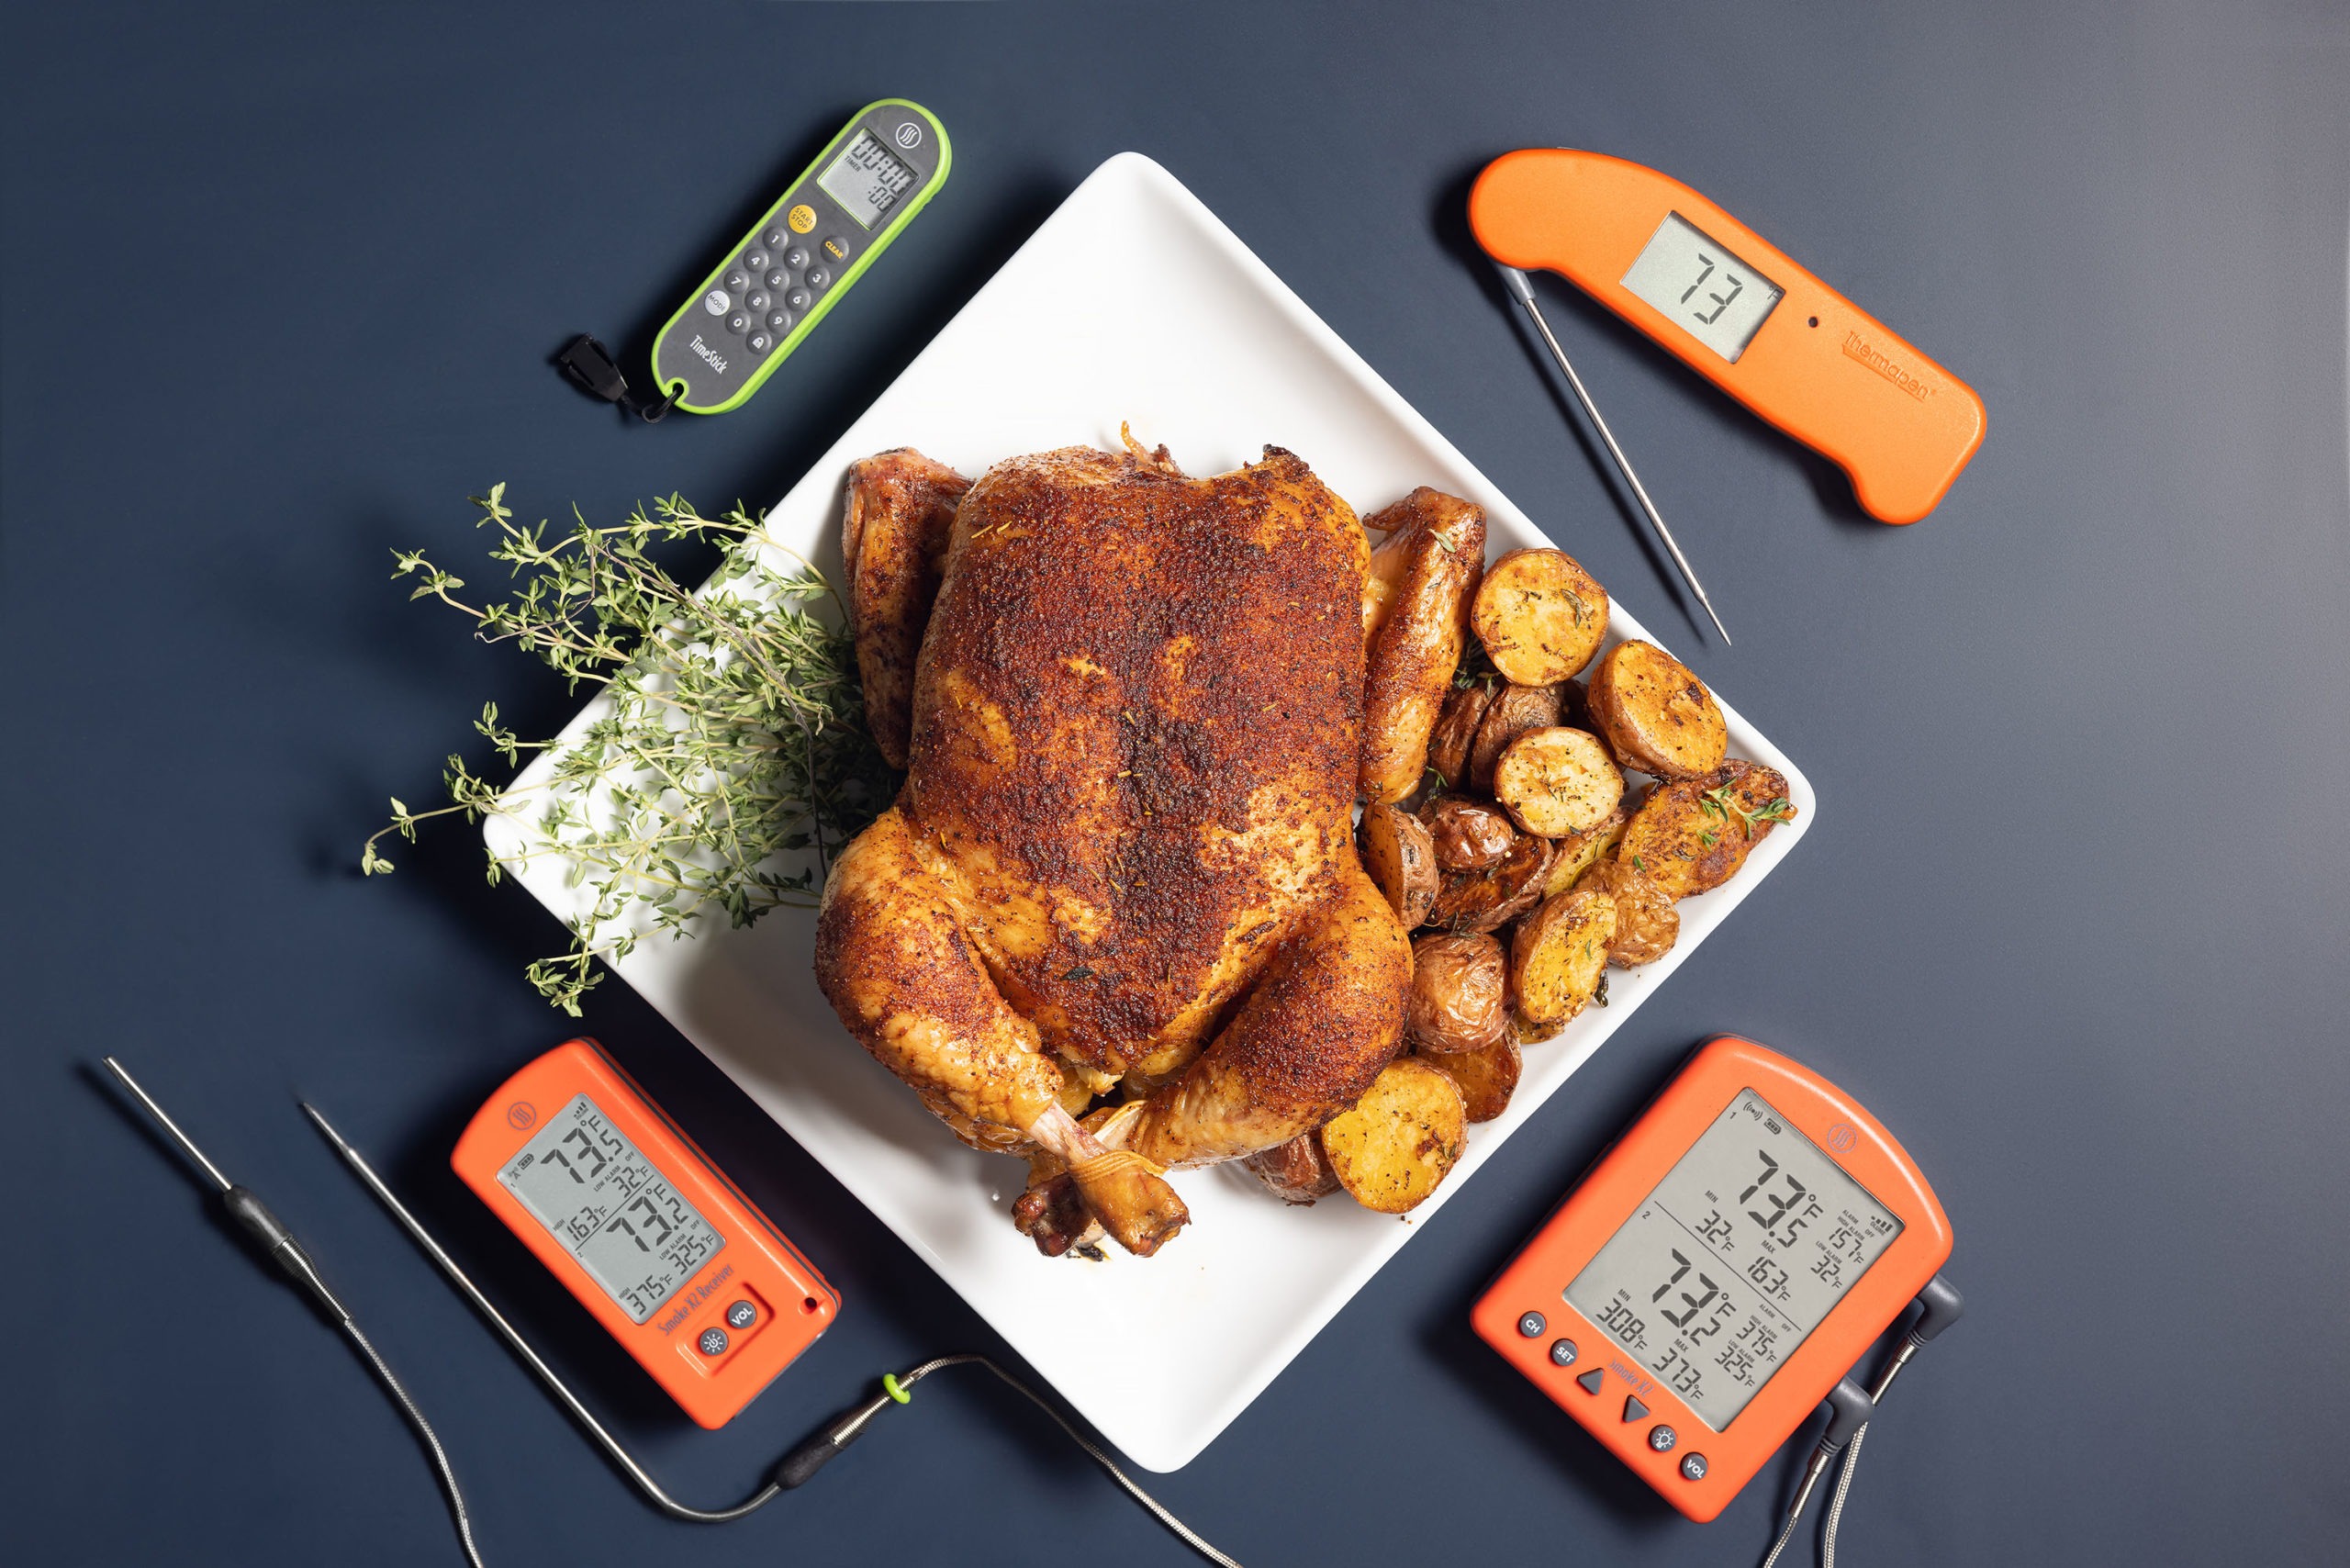
3. Track the Temperature, Then Verify
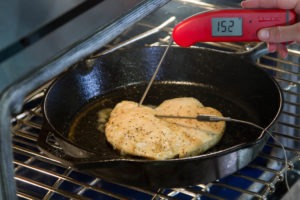
There are so many variables that play into exactly how long it will take your chicken to cook: oven temperature, oven accuracy, the size of the chicken breasts, the type of pan you’re cooking in, the temperature of the chicken, etc. It’s important to pull the chicken from the oven once as soon as it reaches its target temperature, and not a degree later. If it’s pulled at too high of a temperature, the chicken will be dry and tough.
Use a leave-in probe oven thermometer like a ChefAlarm® to track the internal temperature of the chicken as it cooks. DOT’s high alarm will sound when the target pull temperature is reached, then you can verify its internal temperature with an instant-read digital thermometer like the Thermapen® Mk4.
➤ Pull the chicken at its doneness temperature, and not a degree higher.
…buy a digital instant-read thermometer. You will never over- or undercook a piece of meat again. Do it. no more excuses, no more timing charts or poking with your fingers. Just buy a good thermometer, and don’t look back. I guarantee you will not regret it. …the Splash-Proof Thermapen from ThermoWorks is pricier than most, but it will last forever and it more than meets all the essential criteria. —The Food Lab, J. Kenji Lopez-Alt
What Happens to Chicken As It Cooks: Chicken Temp Matters
Significant changes occur in this white meat during the cooking process. In the image below you can see the changes that occur with texture, shrinkage, and loss of moisture as the internal temperature climbs. Temperatures beyond 160°F (71°C) are where the meat becomes irreversibly dry and tough. Temperature tracking is critical. For more information on exactly what’s going on with protein fibers during the cooking process, see our post Heat and Its Effects on Muscle Fibers in Meat.

➤ How Long to Cook Chicken: Until It’s Safe!
The USDA recommends cooking chicken to an internal temperature of 165°F (74°C) to eliminate salmonella and campylobacter bacteria. At this temperature, pasteurization is nearly instantaneous. However, if chicken is held for specific periods of time at lower temperatures, the same level of pasteurization will result as if the chicken had been cooked to 165°F (74°C).
What the USDA is looking for is a 7-log10 relative reduction in salmonella bacteria in the meat. That means that out of every 10,000,000 bacteria living in a piece of chicken, only one will survive. In the table below you can see how long meat needs to be held at specific temperatures for proper food safety.
Leave your thermometer’s probe in the meat after you remove it from the oven so you can see the temperature rise with carryover cooking. You can use a timer to be sure the final doneness temperature or above is held for the appropriate amount of time.
USDA Times and Temperatures to Obtain 7-log10 Lethality of Salmonella
| Temperature | Holding Time |
| 140°F (60°C) | 35 minutes |
| 145°F (63°C) | 13 minutes |
| 150°F (66°C) | 4.2 minutes |
| 152°F (67°C) | 2.3 minutes |
| 155°F (68°C) | 54.4 seconds |
| 157°F (69°C) | 34 seconds |
| 160°F (71°C) | 16.9 seconds |
| 162°F (72°C) | 10.5 seconds |
| 165°F (74°C) | <10 seconds |
Chicken doneness temp
We pulled our chicken at 157°F (69°C) and had a final doneness temperature of 160–161°F (71–72°C). The chicken only needs to maintain that pull temperature for 34 seconds to be safe enough to eat, which it actually surpasses in the carryover cooking. Pulling the chicken breast at the right temperature is what yields succulent, juicy meat.
Threefold Criteria for Tasty Chicken
What are we looking for in delicious chicken?
- Texture: Tender, not tough. The higher the doneness temperature, the tougher the meat fibers will become.
- Moisture: Juicy, not dry. Meat fibers expel more moisture at high doneness temperatures. Accurate temperature tracking and pull temperature are critical.
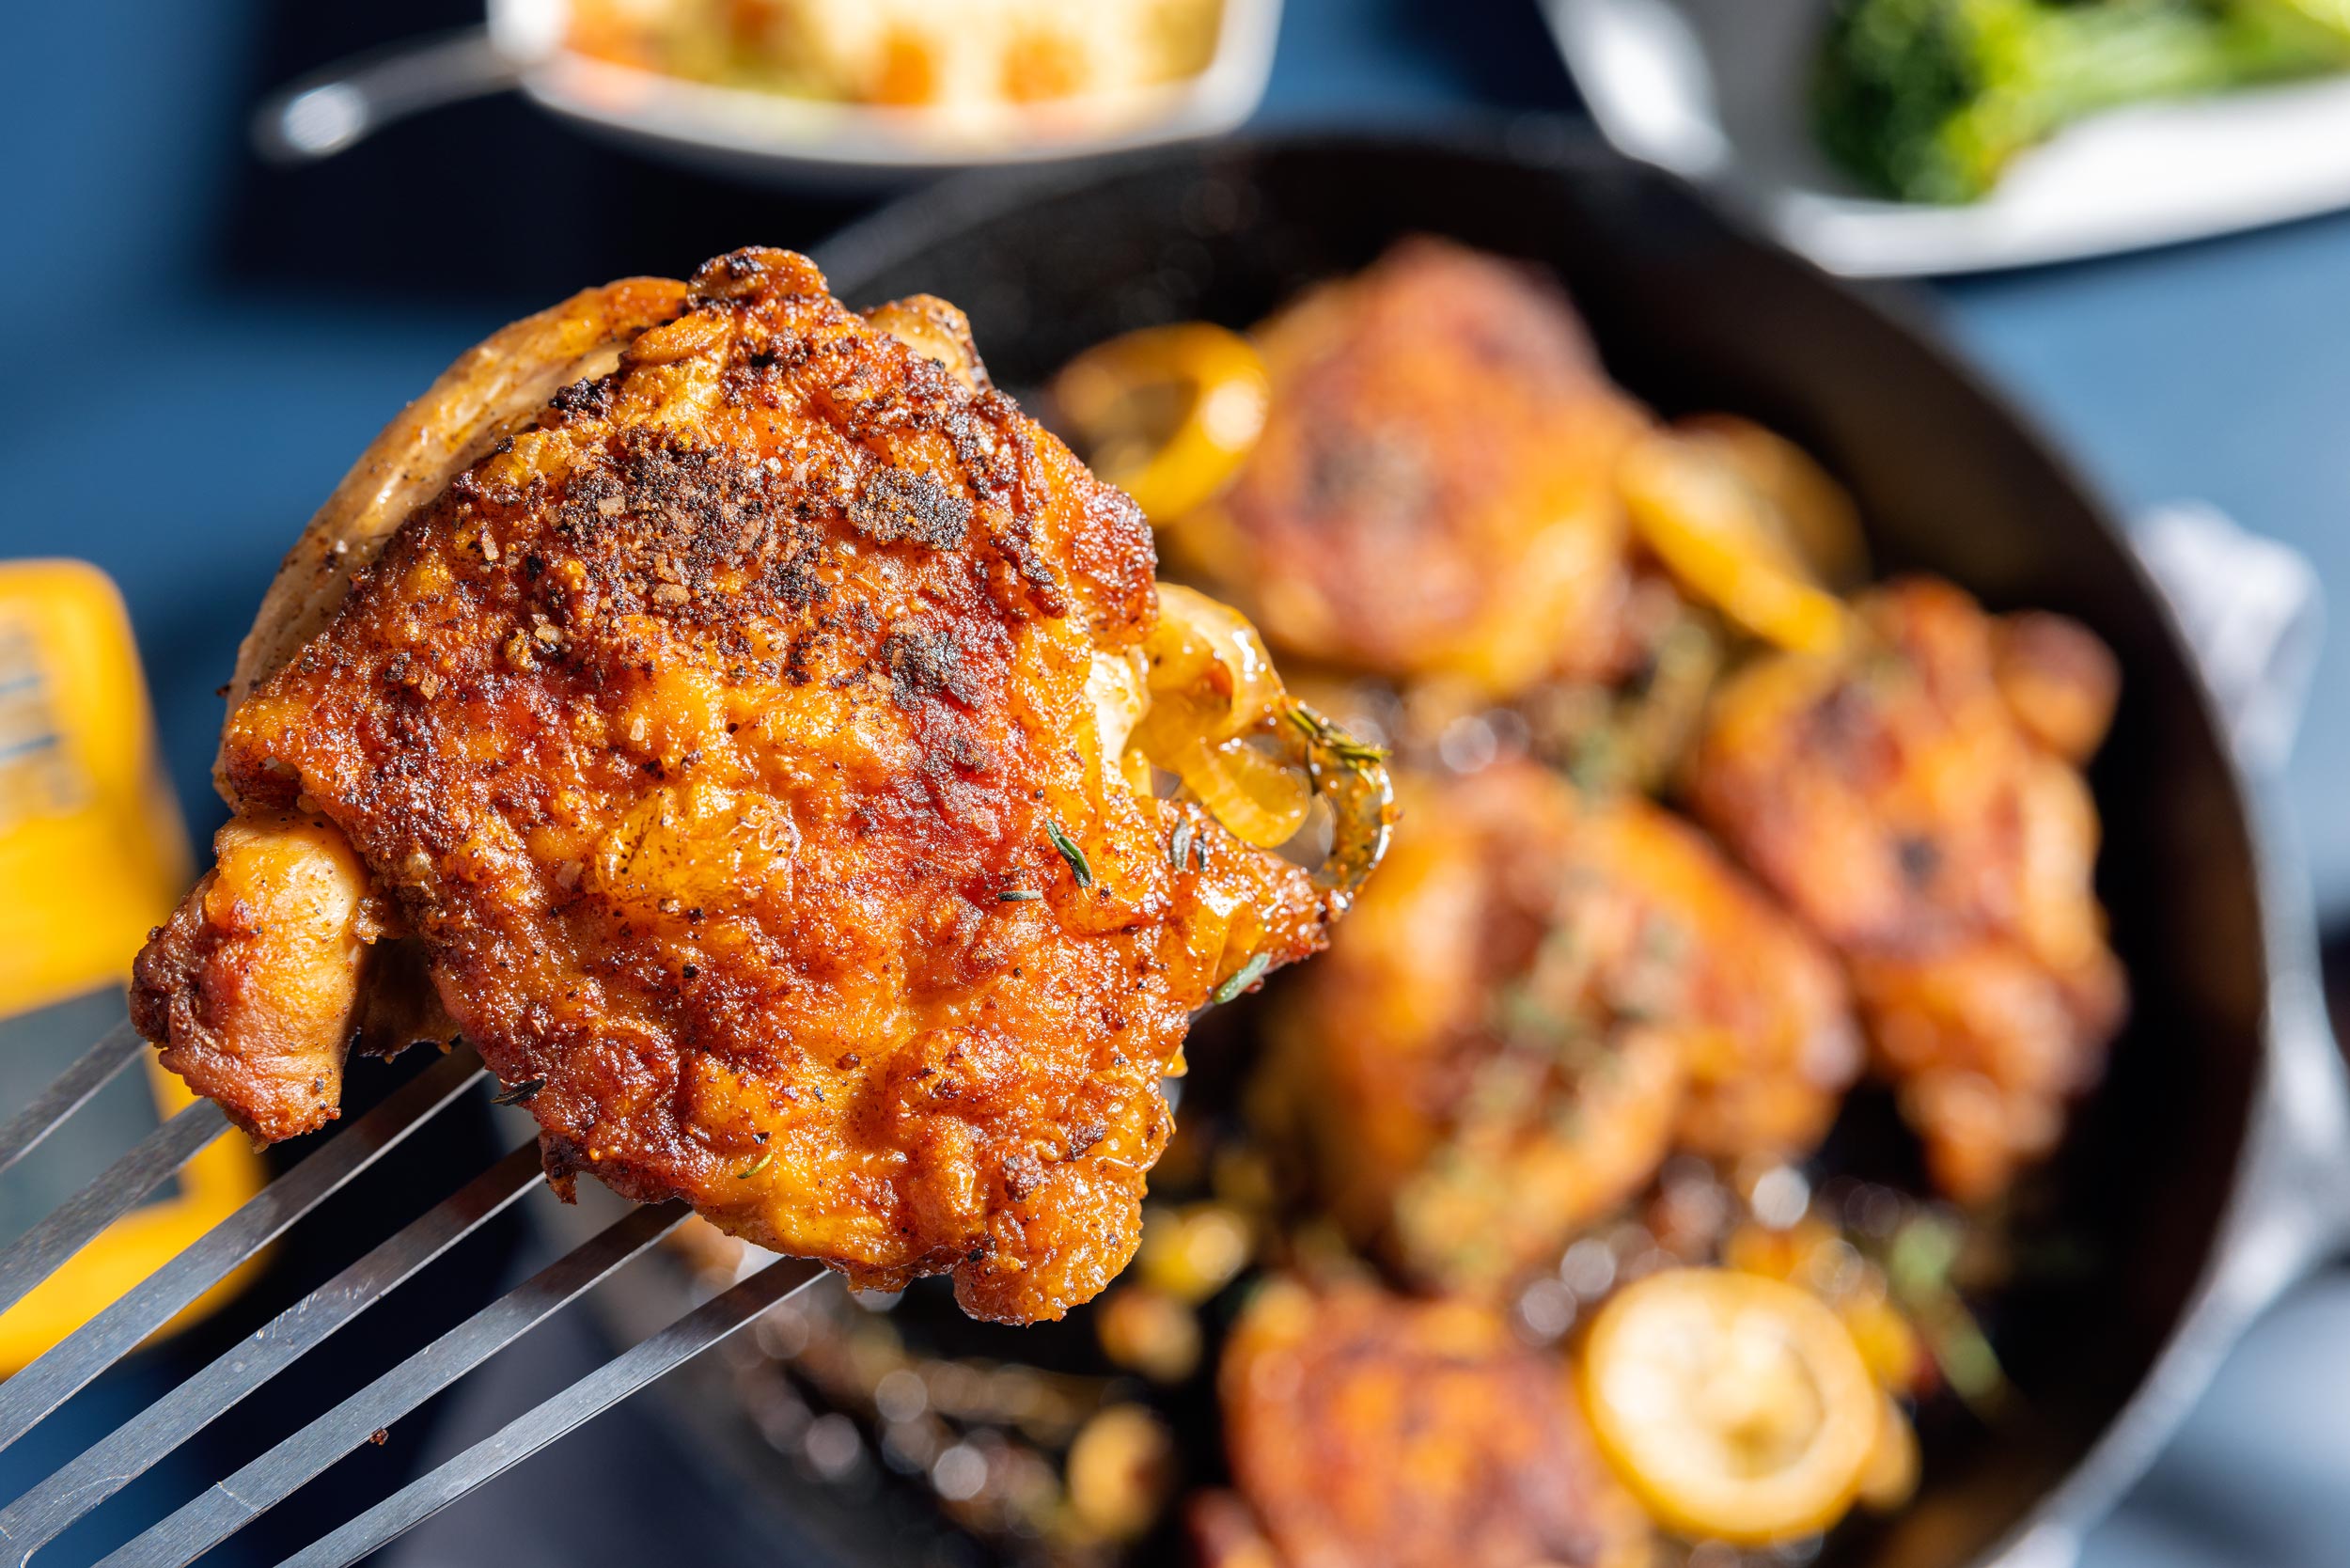
- Flavor: Sufficient seasoning and/or richness from the Maillard reaction. Browning on the surface of the chicken imparts flavor, but is not needed for every recipe.
Overcooking a thin piece of meat such as a butterflied chicken breast is easy without careful temperature tracking. Mind your temps to achieve the juiciest result.
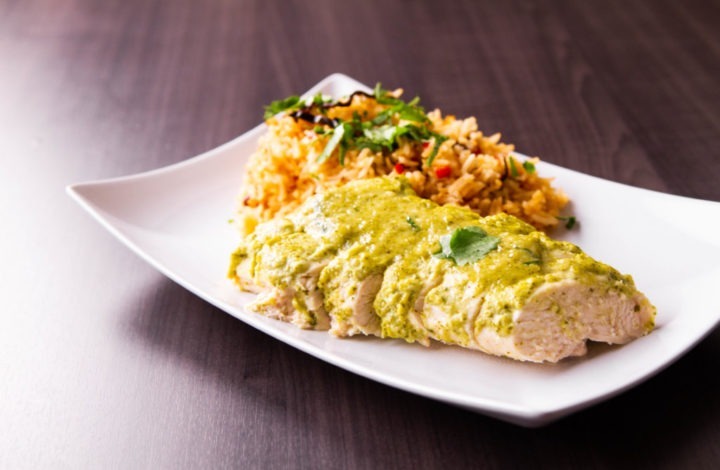
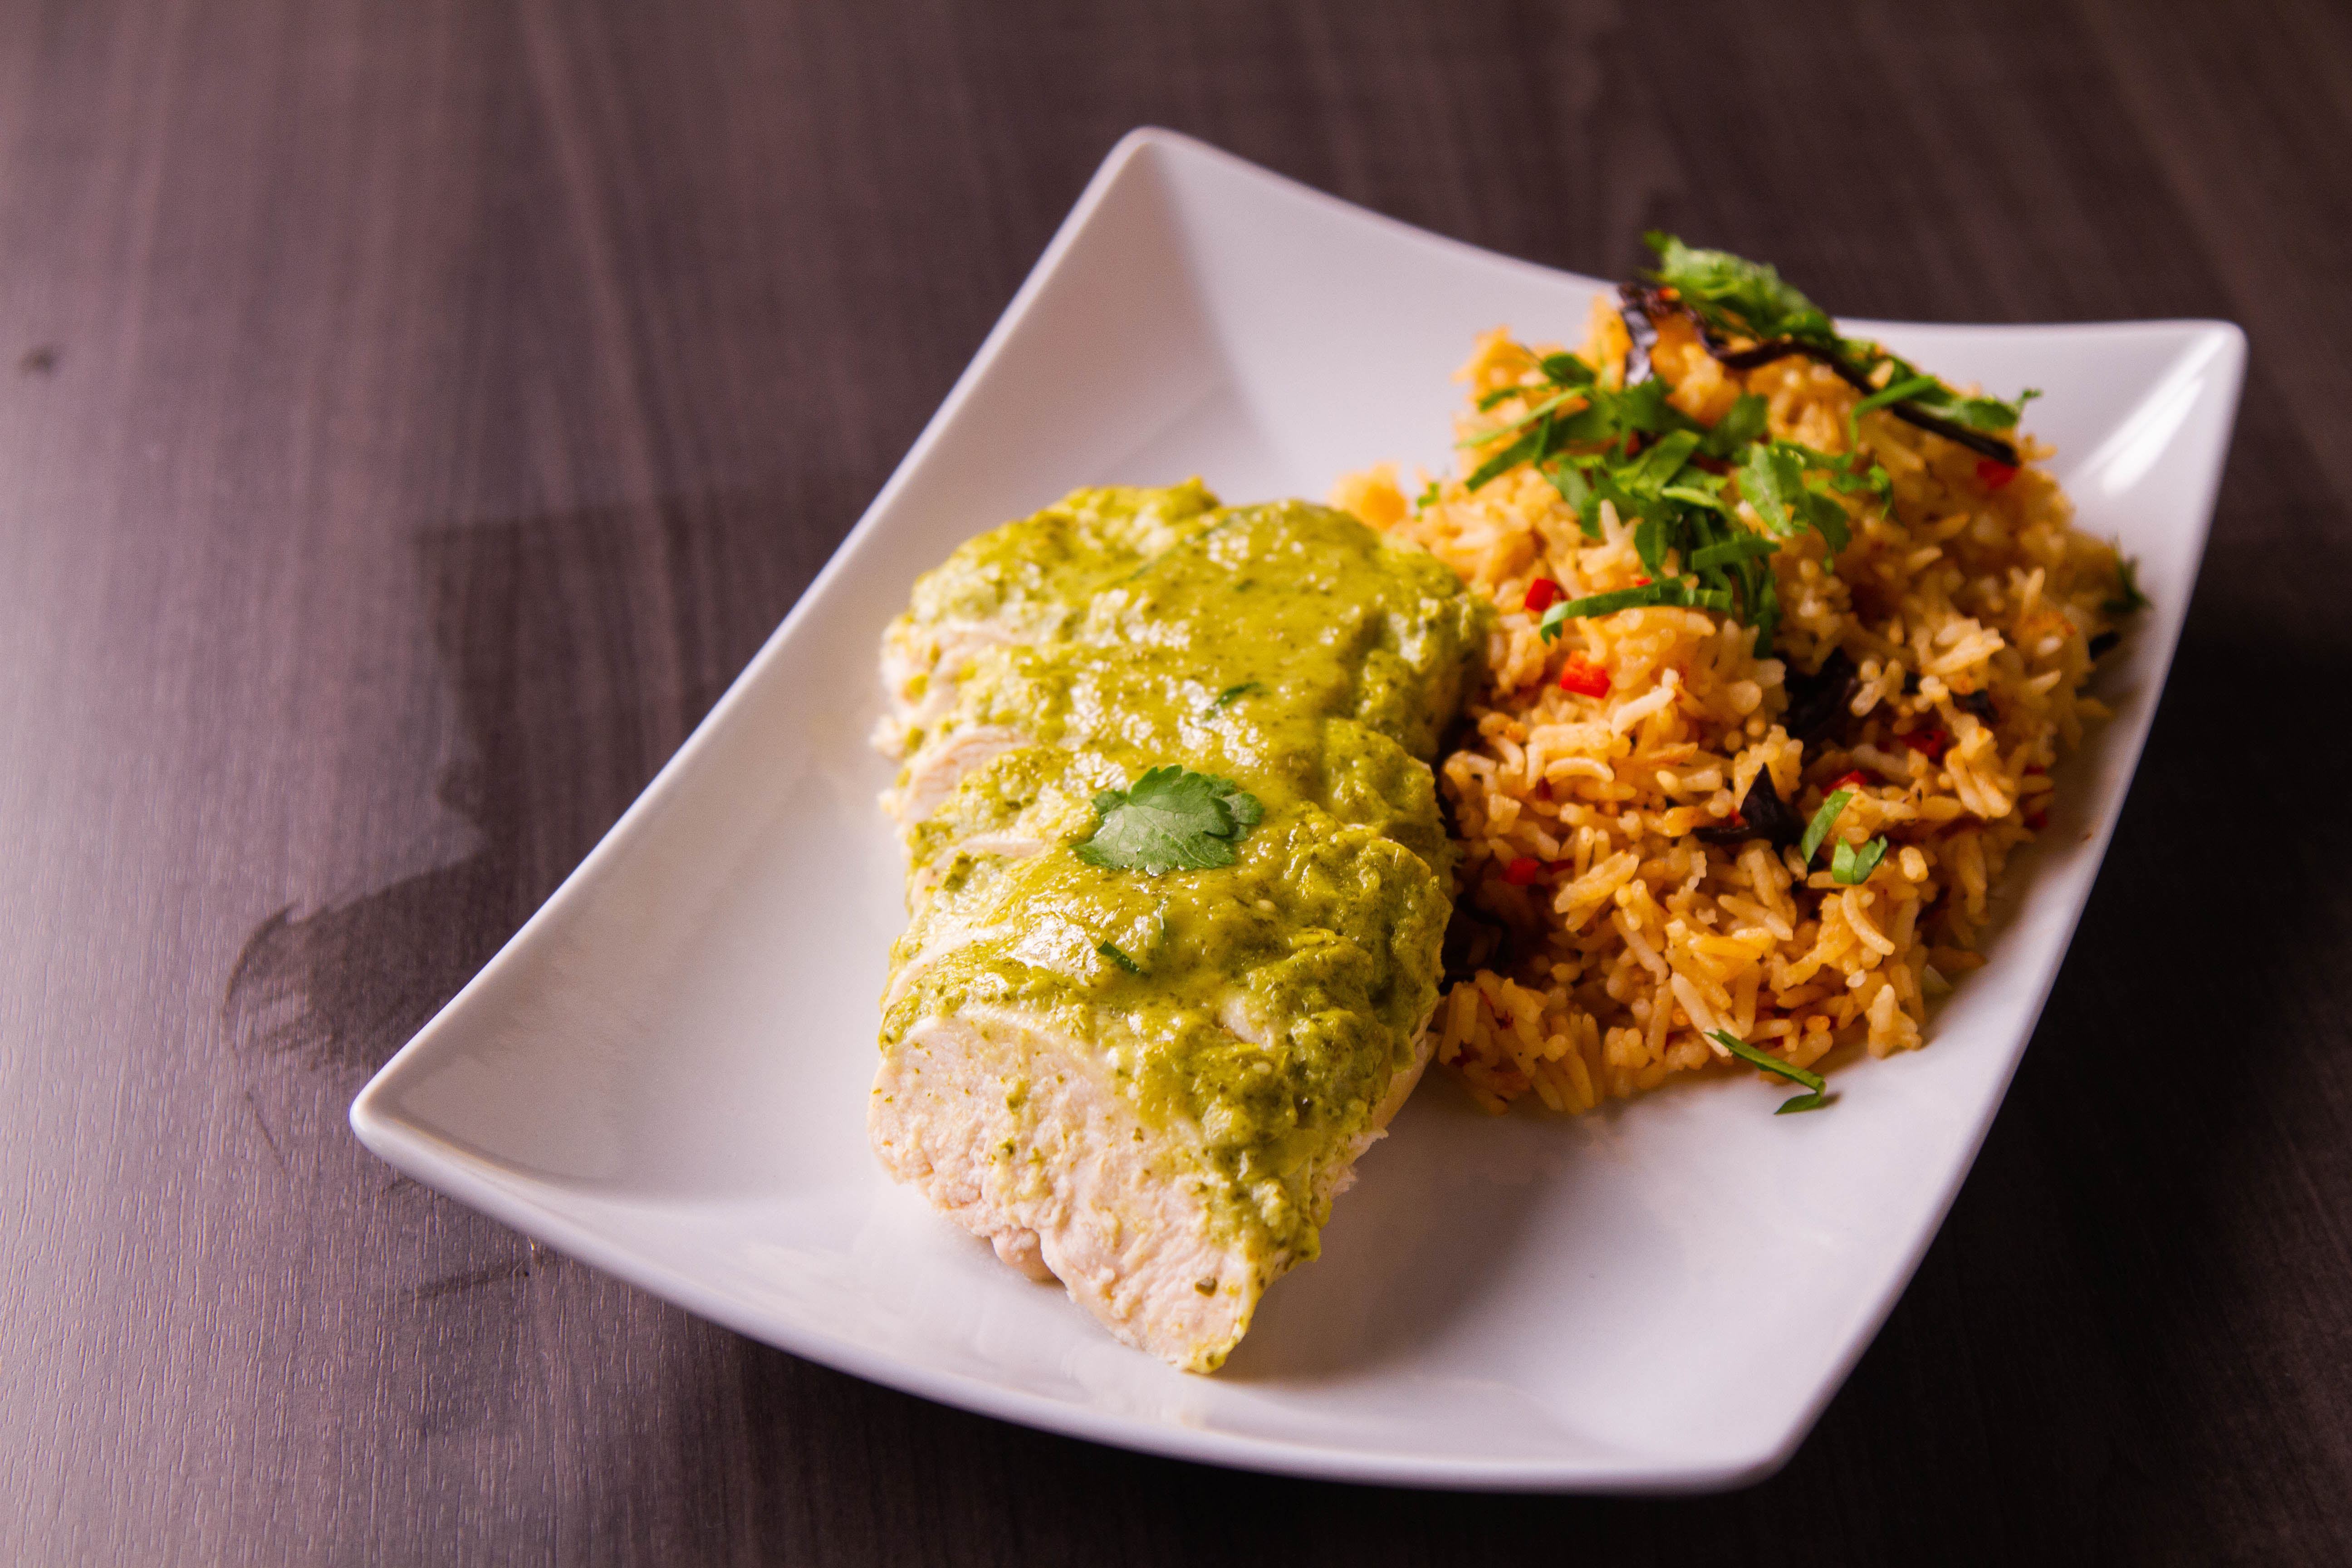
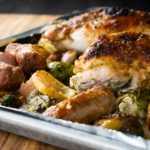
Baked Chicken Breasts with Roasted Tomatillo Cream Sauce
Based on “Baked Chicken with Roasted Tomatillo Cream Sauce Recipe” from SeriousEats
Ingredients
- 1/2 pound tomatillos, husked and rinsed
- 3 large cloves garlic, peeled
- 3 serrano chiles, stemmed (or fewer chilies to taste)
- 1/3 C loosely packed cilantro, plus more for garnish
- salt to taste
- 1/2 C heavy cream
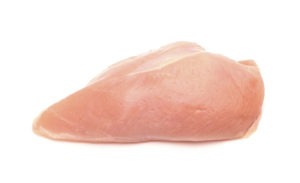
- 4 boneless, skinless chicken breasts
Instructions
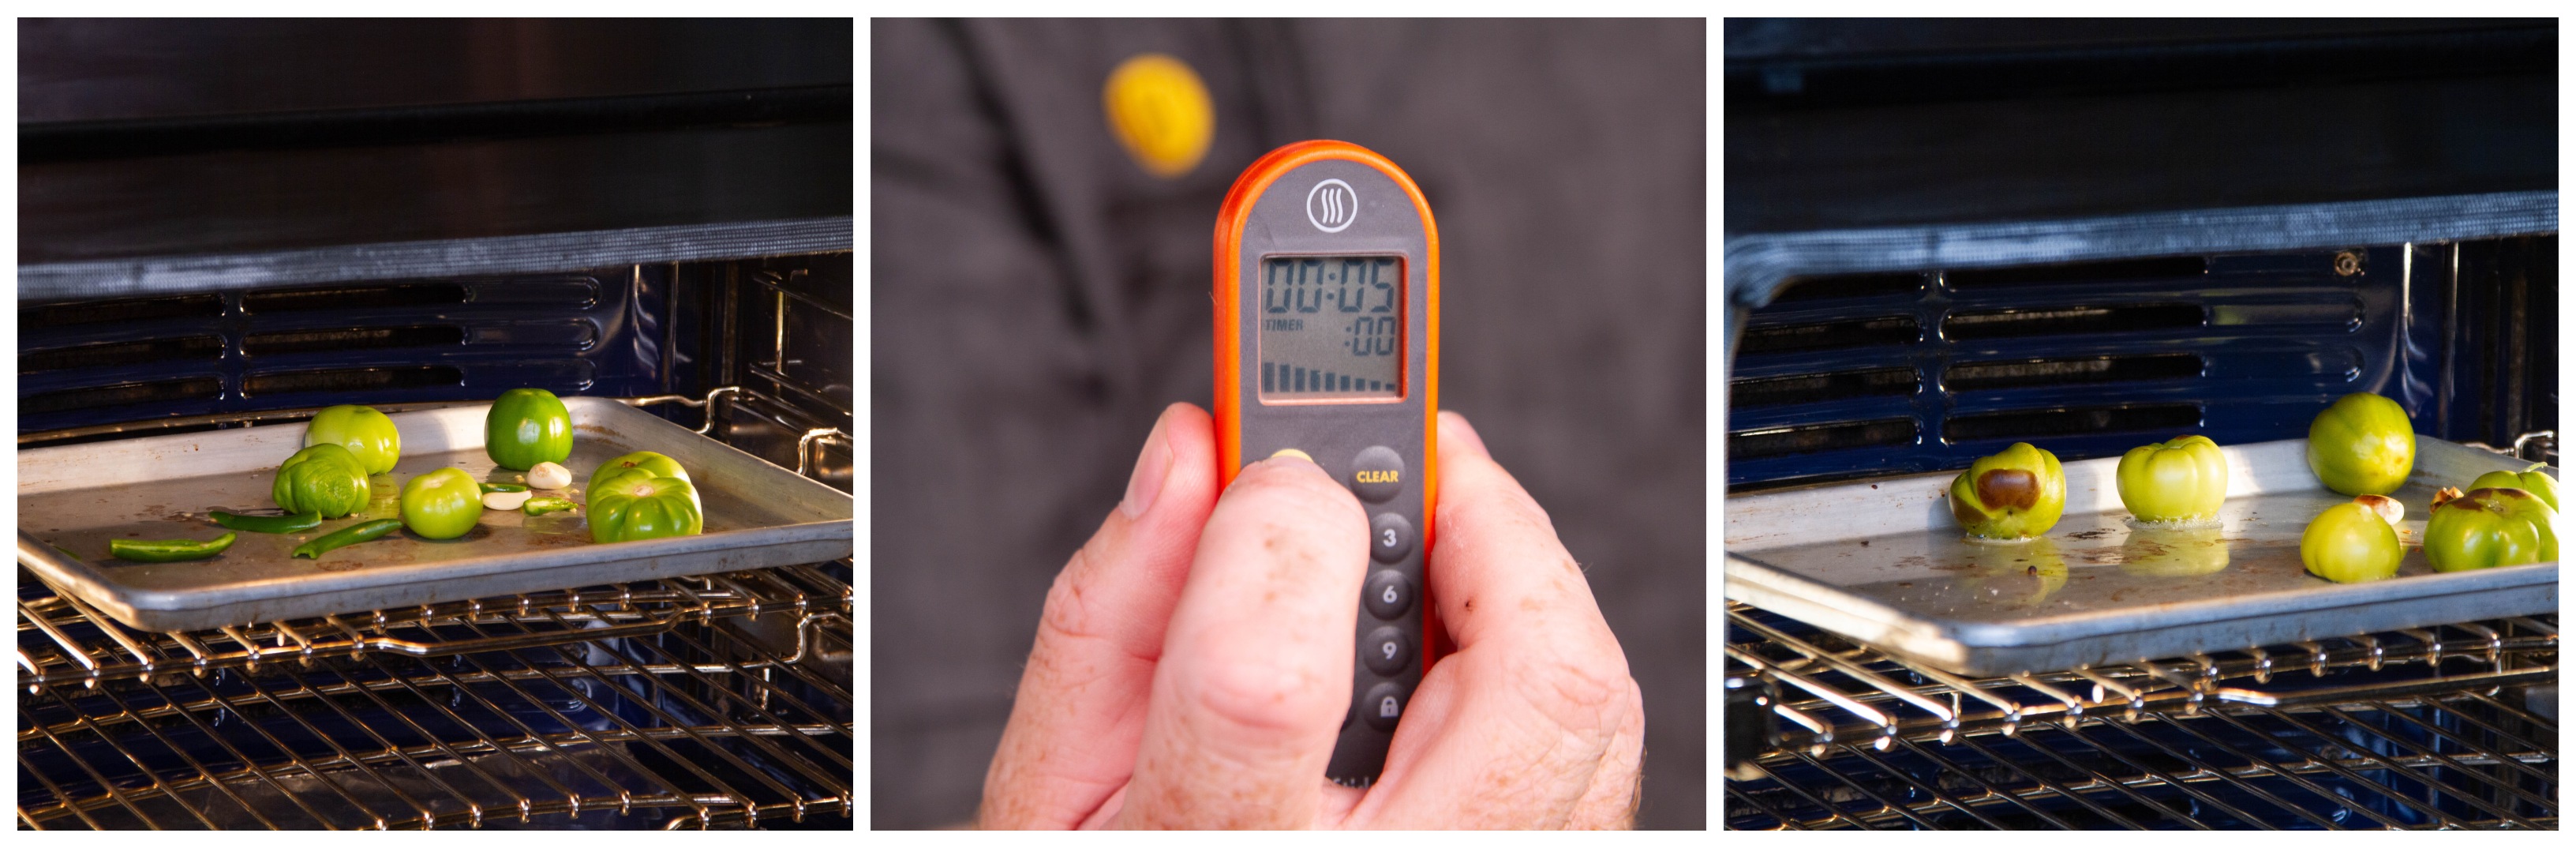
- Spread the tomatillos, garlic, and chilies on a baking sheet. Roast them under a hot broiler until they soften and are partially charred. (Watch them, this may happen at different times for each vegetable. Turn them once during cooking, giving the tomatillos about 5 minutes per side.

- While your veggies broil, pound your chicken breasts flat between two sheets of plastic wrap.
- Set the oven to 400°F (204°C).
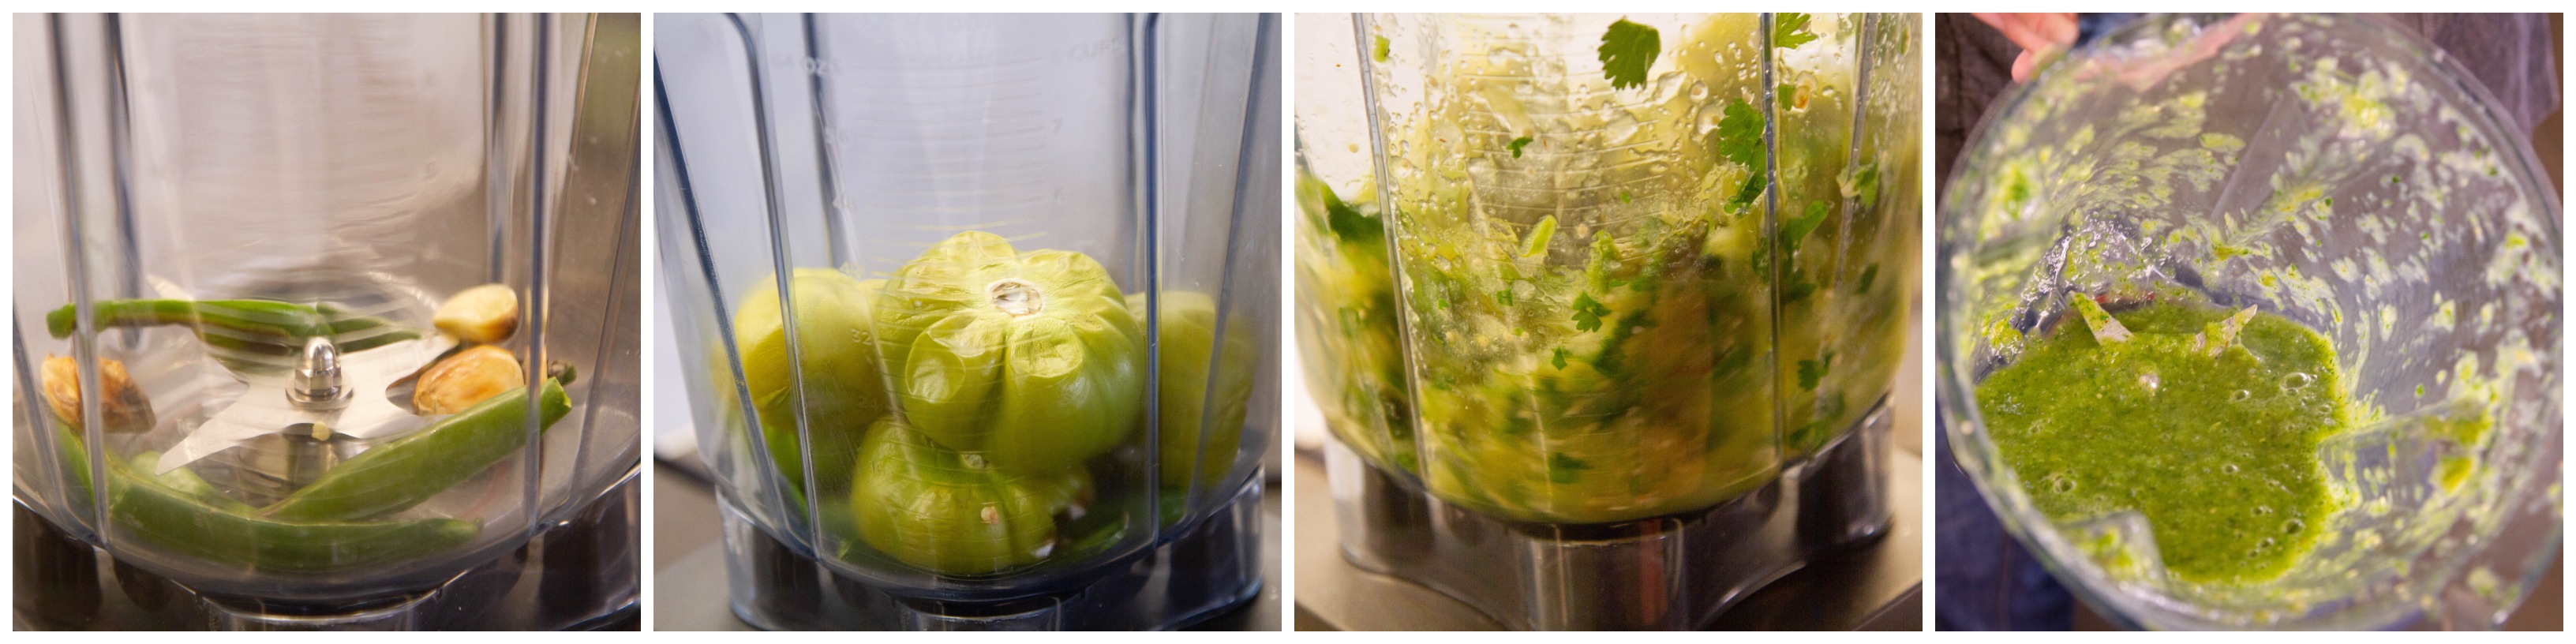
- Let the veggies cool slightly, then blend the roasted veggies with the fresh cilantro and just enough water to bring it together, if needed. Taste and season with salt.

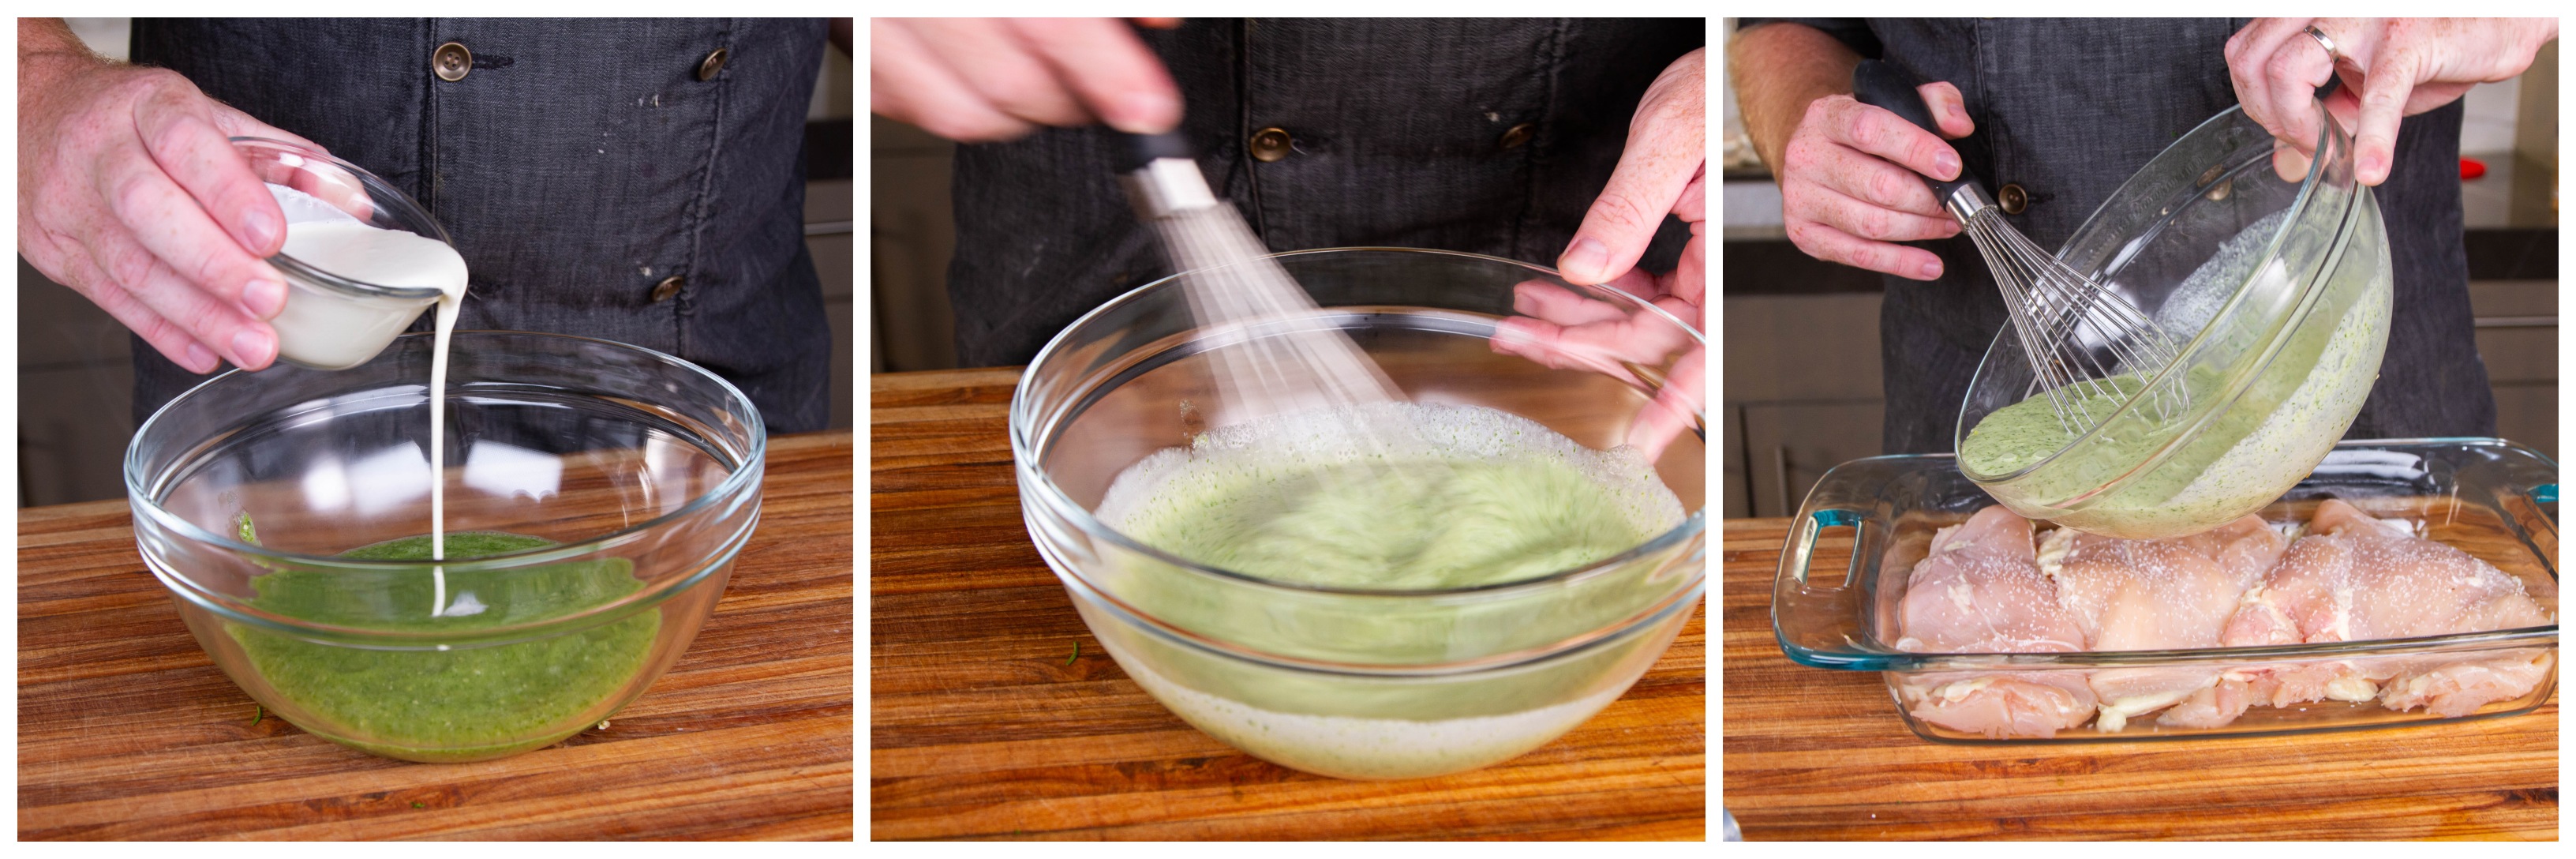
- Whisk the salsa together with the cream.
- Place chicken in a baking dish large enough to accommodate it all in one layer.
- Pour the sauce over the chicken, being sure to get sauce on every bit.

- Insert the probe of a ChefAlarm into the center of a chicken breast. Set the high alarm on the ChefAlarm for 157°F (69°C).
- Bake the chicken in the oven until the temperature alarm sounds.
- Once the alarm sounds, verify the temperature with a Thermapen. If you find a lower temp than the pull temperature, continue cooking after adjusting the ChefAlarm probe so that it reads the correct lower temperature.
- Once the temperature really has been reached, remove the chicken from the oven. Let it rest in the pan for at least 5 minutes.
- The sauce will be thinned from moisture expelled by the chicken. If you like, pour the sauce into a shallow pan, bring it to a boil, and reduce it until thickened.
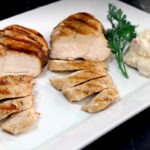
- Slice the chicken and serve it, maybe with some rice or a salad.


Baked Chicken Recipe Applications
Baked chicken is endlessly useful. You can easily bake it without a sauce, perhaps after browning it quickly in a cast iron pan, and then use it for myriad applications. Here we have a few ideas that’ll make a great quick meal. And don’t forget to hang on to any leftovers. They’re perfect for soup, lasagna, or pot pies.
- Chicken Mac and Cheese: Season with salt and pepper | Bake | Cut into small dice | stir into macaroni and cheese
- Chicken Tacos: Season with Mexican or fajita seasoning | Bake | Slice into strips | Serve in corn tortillas with shredded cabbage, avocados, queso fresco, and lime juice
- Chicken Parmesan Sub: Season with salt and pepper and garlic powder, or Italian seasoning | Bake | Slice into strips | Serve on sub roll with marinara sauce and mozzarella cheese | Broil until the cheese is bubbly
- Chicken Quesadillas: Season with Mexican seasoning | Bake | Slice into strips | Layer with shredded cheese on a tortilla, top with second tortilla | Microwave or bake to melt the cheese | Slice and serve with sour cream, guacamole, and salsa fresco
- Chicken Caesar Salad: Season with salt, pepper, and garlic powder | Bake | Slice into strips | Serve over chopped romaine lettuce tossed with Caesar salad dressing
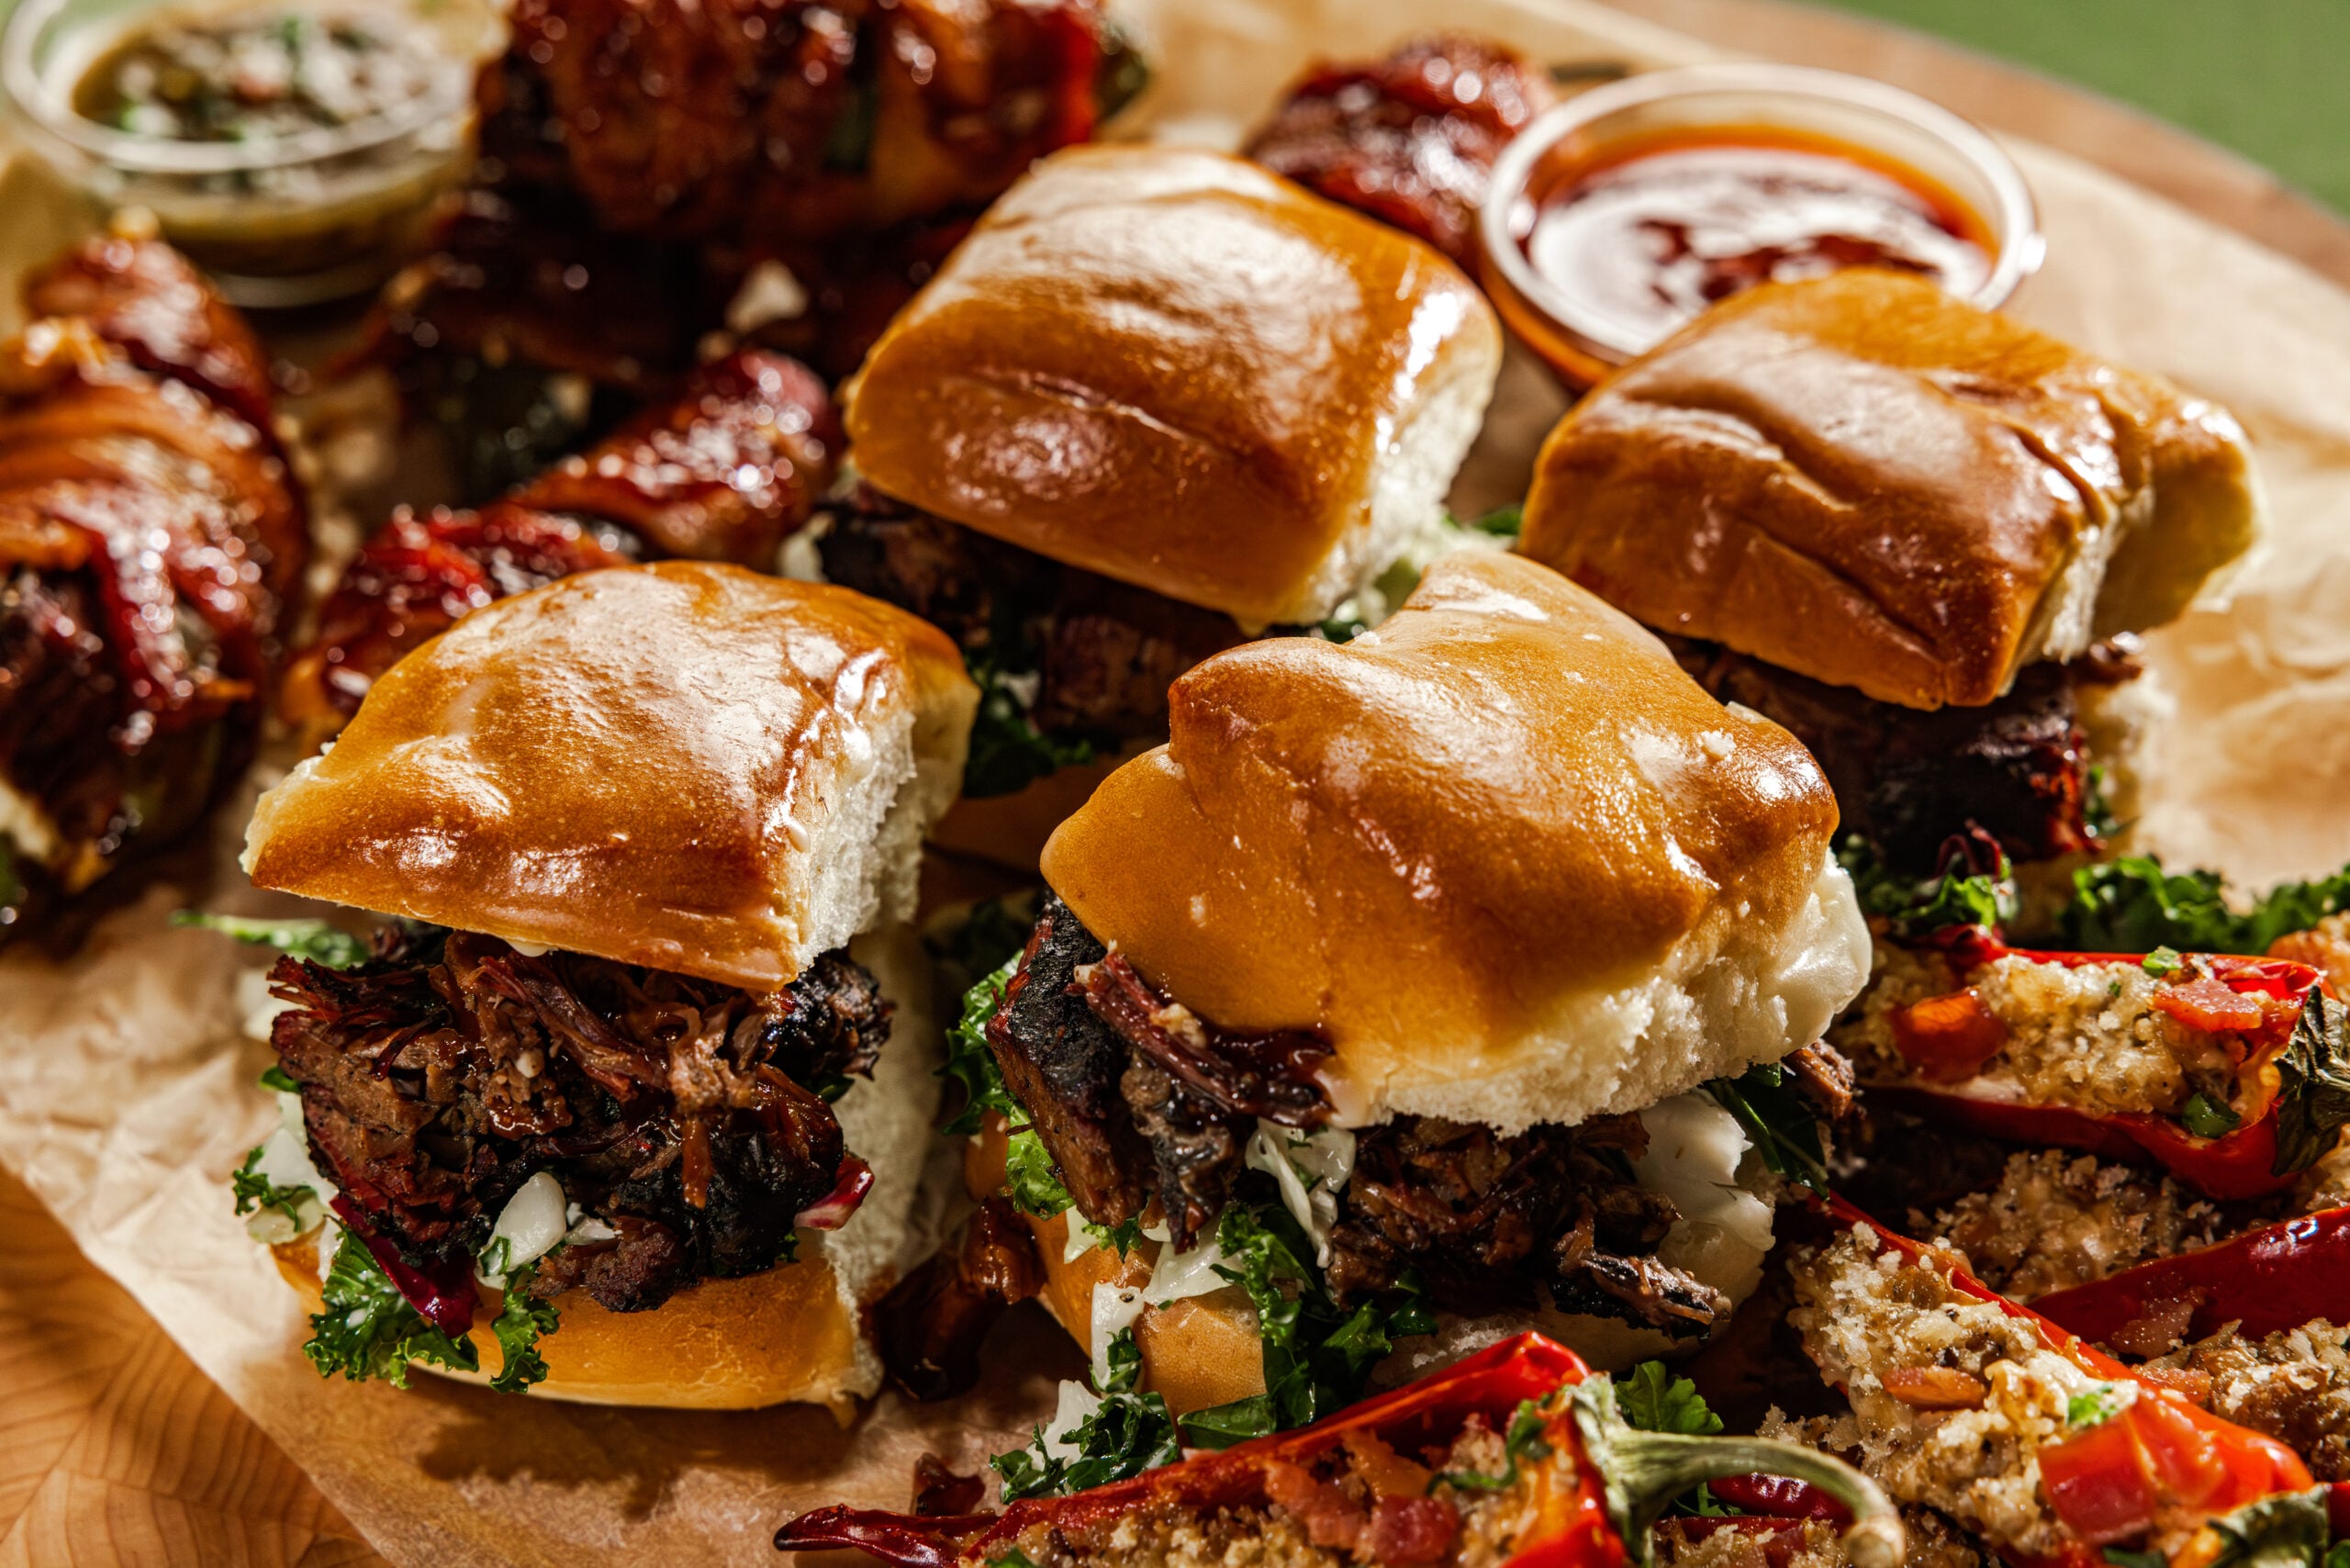
- BBQ Chicken Sliders: Season with your favorite BBQ rub | Bake | Slice into strips | Toss with your favorite BBQ sauce | Serve on Hawaiian rolls topped with coleslaw
No matter how you serve your baked chicken breasts, don’t forget to:
- Even out the thickness by pounding.
- Brine if you have time.
- Track and verify temperatures so you cook to the pull temperature and not a degree higher. Use a ChefAlarm and a Thermapen for best results.
Baked chicken breasts are a quick and versatile meat to cook for dinner any night of the week. And for the juiciest, most tender chicken, temperature is everything.
For more chicken breast ideas, see our other posts:
Products Used:

Resources:
Cook’s Science, Cook’s Illustrated
On Food and Cooking, Harold McGee
Ask The Food Lab: Why Do I Pound My Breasts?, J. Kenji Lopez-Alt, Serious Eats
The Food Lab, J. Kenji Lopez-Alt
This great recipe for juicy chicken: “Baked Chicken with Roasted Tomatillo Cream Sauce Recipe” from SeriousEats

Fantastic explanation. I love how detailed it is. Thank you.
I don’t understand. You said chicken needs to reach temperature of 165 degrees to kill bacteria. But the recipe said to pull the chicken at 152 degrees and then tent it until it reaches 157-158 degrees. Please explain the difference. Thanks in advance.
We said that the USDA recommends 165°F for an instant kill. But as the chart shows, you can get safe chicken in a little more time at a lower temperature.
Thank you fir your article. Will following this recipe allow the chicken breast to brown? Browned meat always looks more appetizing to me.
David,
I agree—browned meat always looks more appetizing. The side of the chicken that has contact with the meat will develop a nice brown surface.
Thanks!
-Kim
A basic brining solution is 1/4 cup of kosher salt dissolved in 1 quart (4 cups) of warm water. Combine the salt and water in a shallow baking dish and stir it gently until the salt is dissolved before adding the meat. This is enough to brine 4 chicken breasts or pork chops, about 1 1/2 pounds of meat. 15 minutes up to 2 hours is fine.
You can add other ingredients to taste if you like; brown sugar, onion or garlic powder, etc.
Thank you for the informative article on cooking boneless, skinless chicken breasts.
However, you talked about using chicken breasts with skin and bone-in being the best to use for tenderness and juiciness, but where are the directions for cooking with this type of chicken breast? I felt like I was left hanging. I kept waiting for you to go back to this information, but you never did.
So, how do you keep the chicken breast with the bones and skin and their irregular shape moist when cooking?
Brining is not an option for those on a low sodium diet, but the rest of the post is good to go for all.